Followup to the Onewheel XS
-
this is amazing!
I'm excited to see what comes of this project!
-
You wouldn't download a tire?
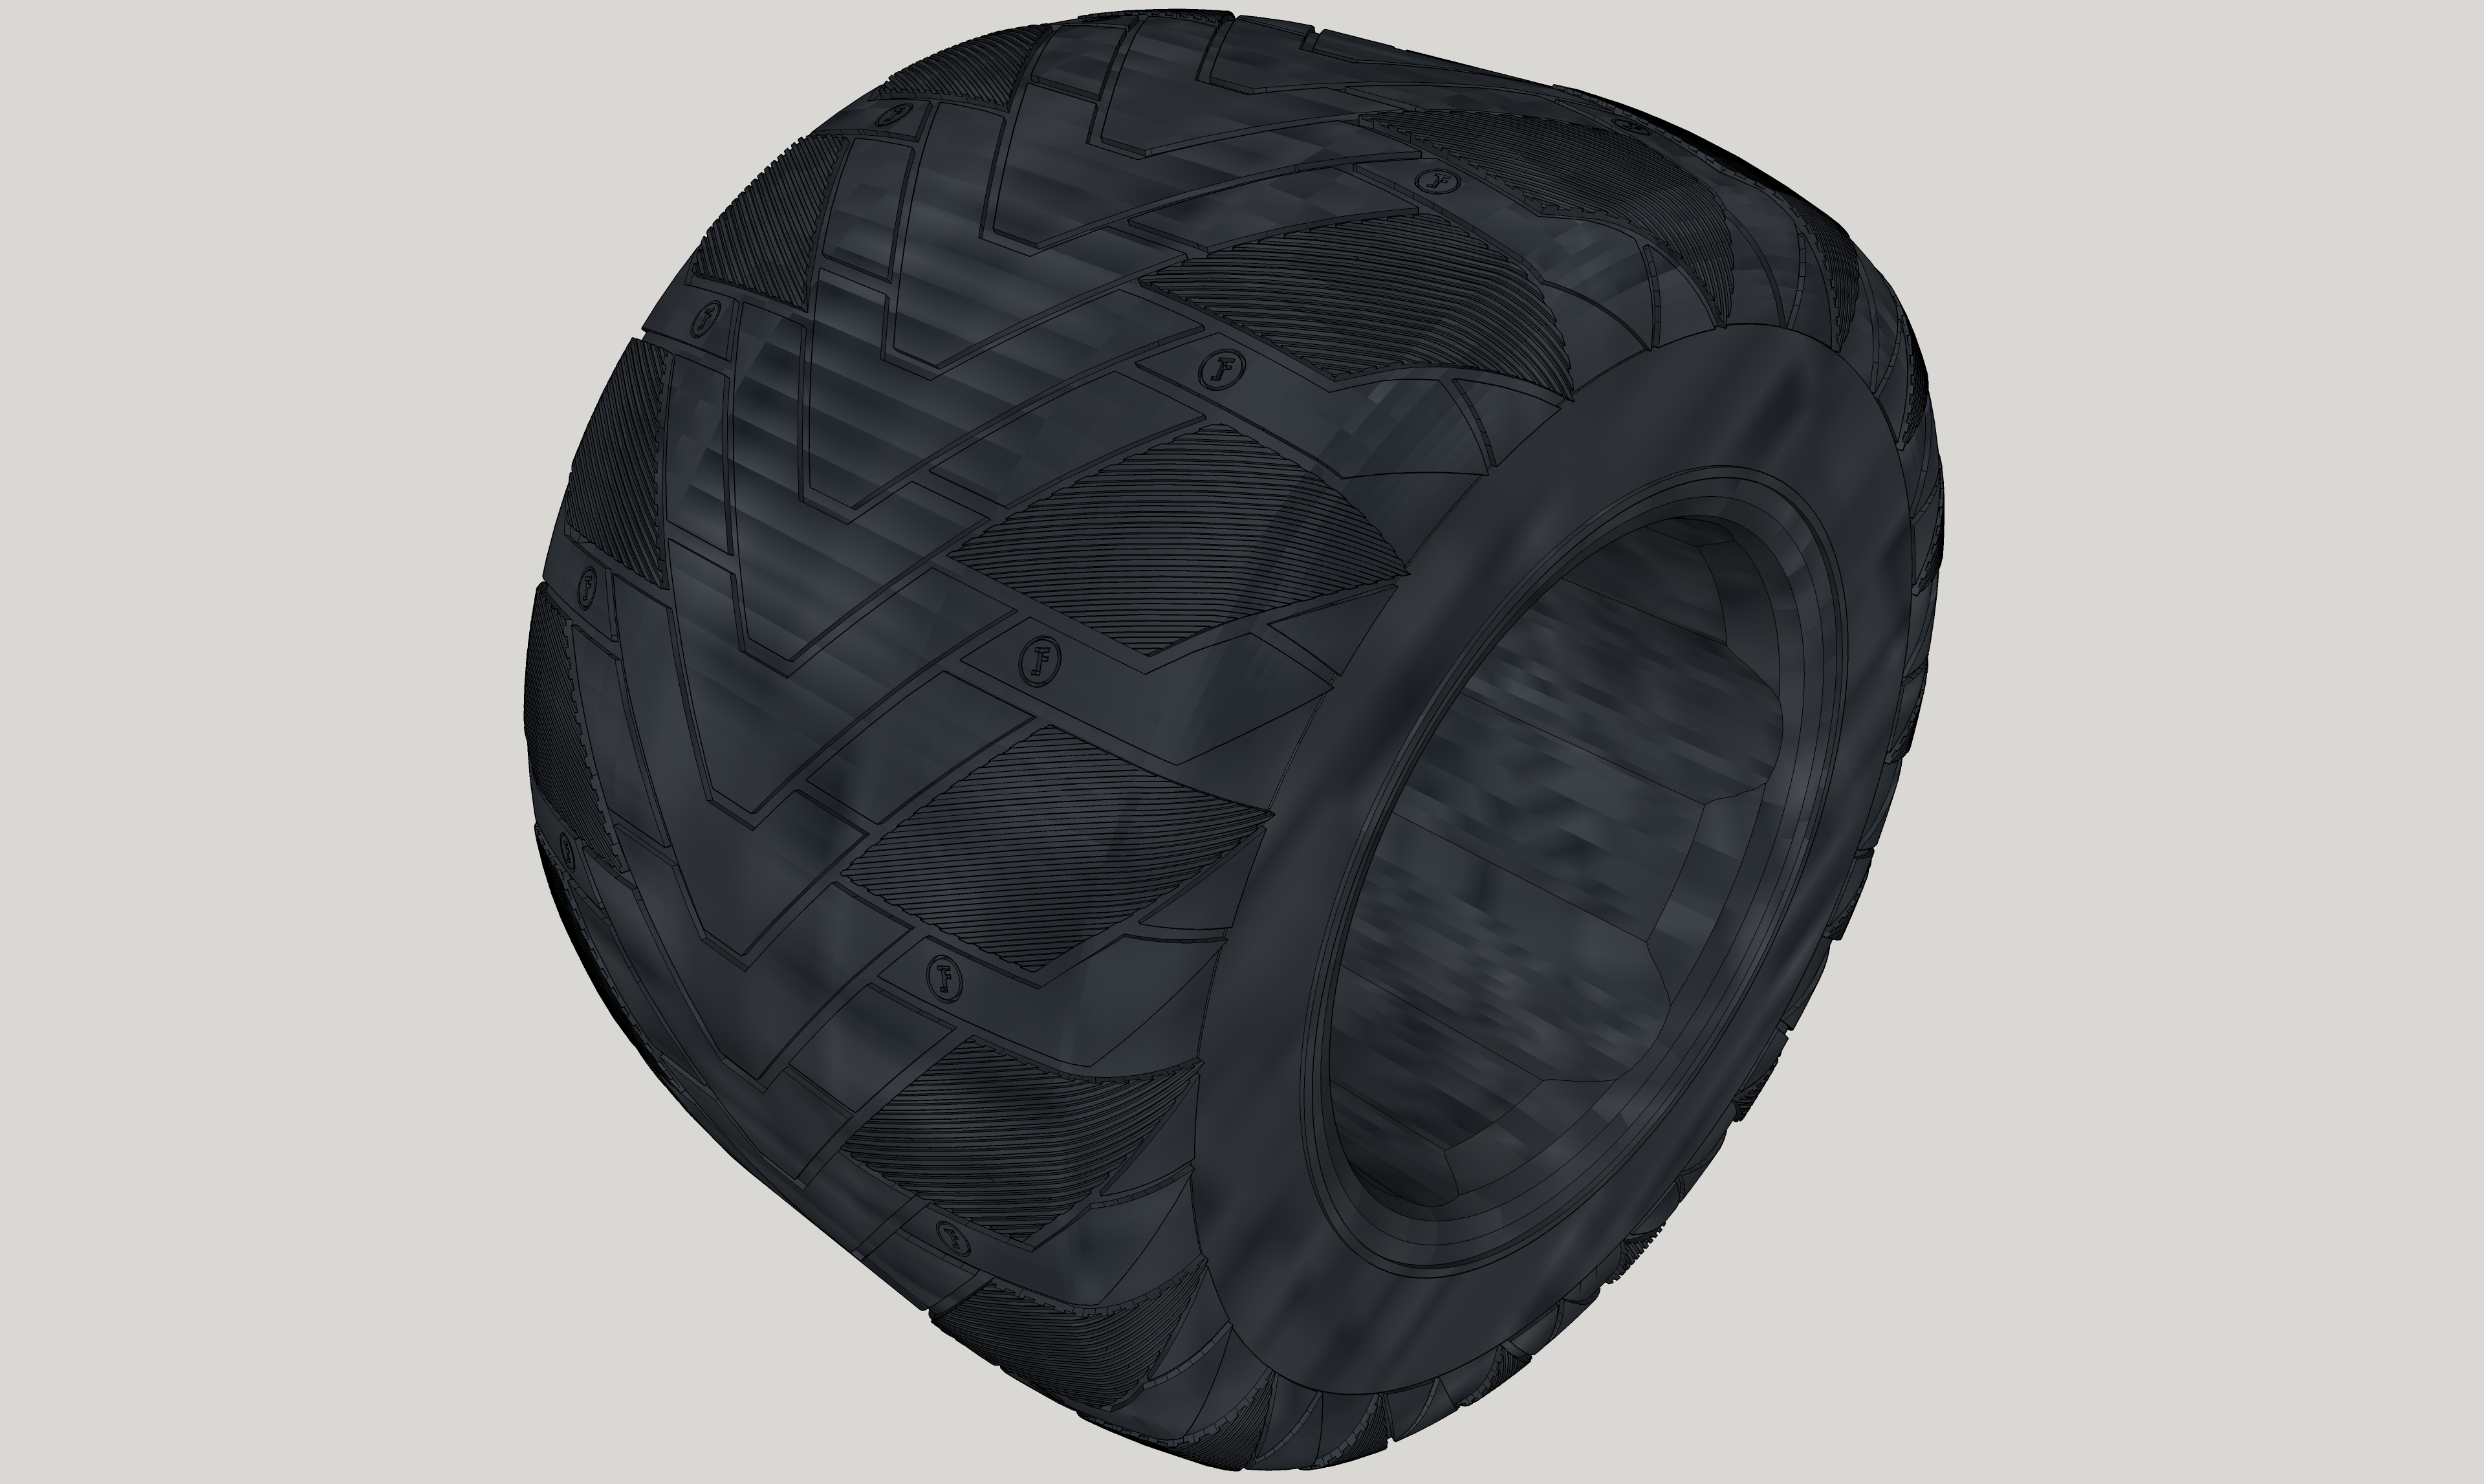
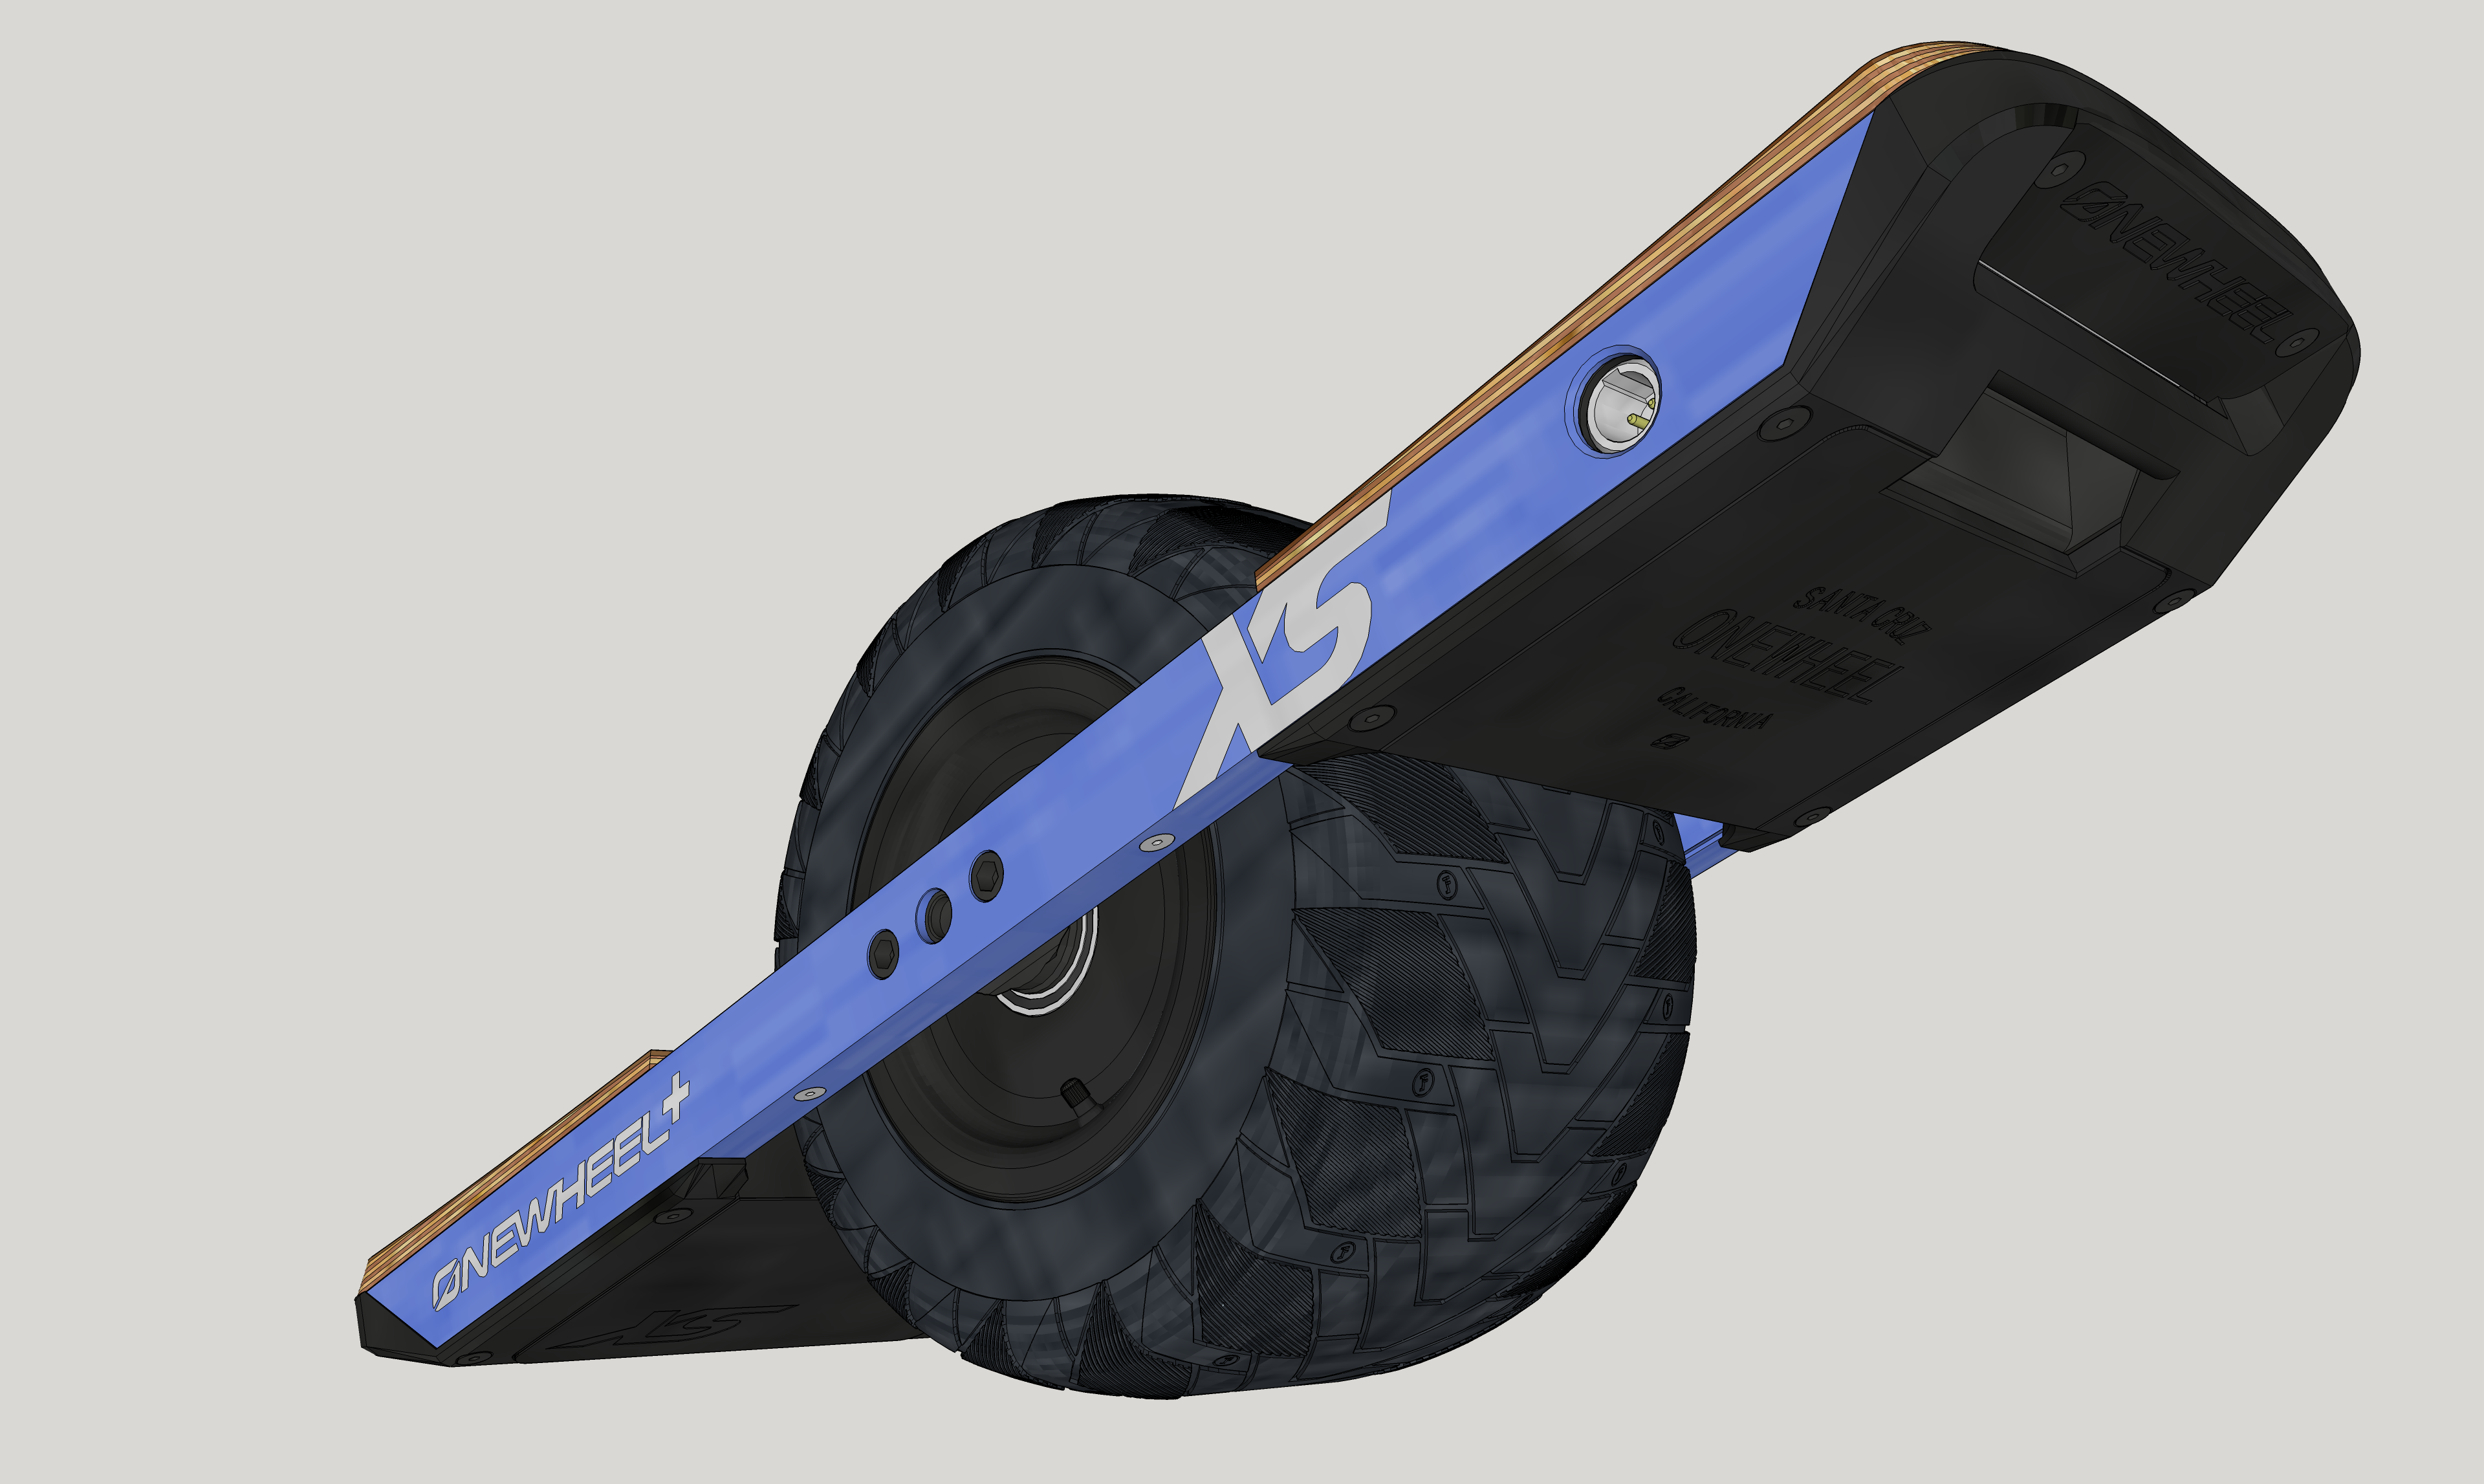
My poor computer is suffering with this one. I might have to remove the tire when doing anything else just so I can go back to having more than like 10 frames when panning around.
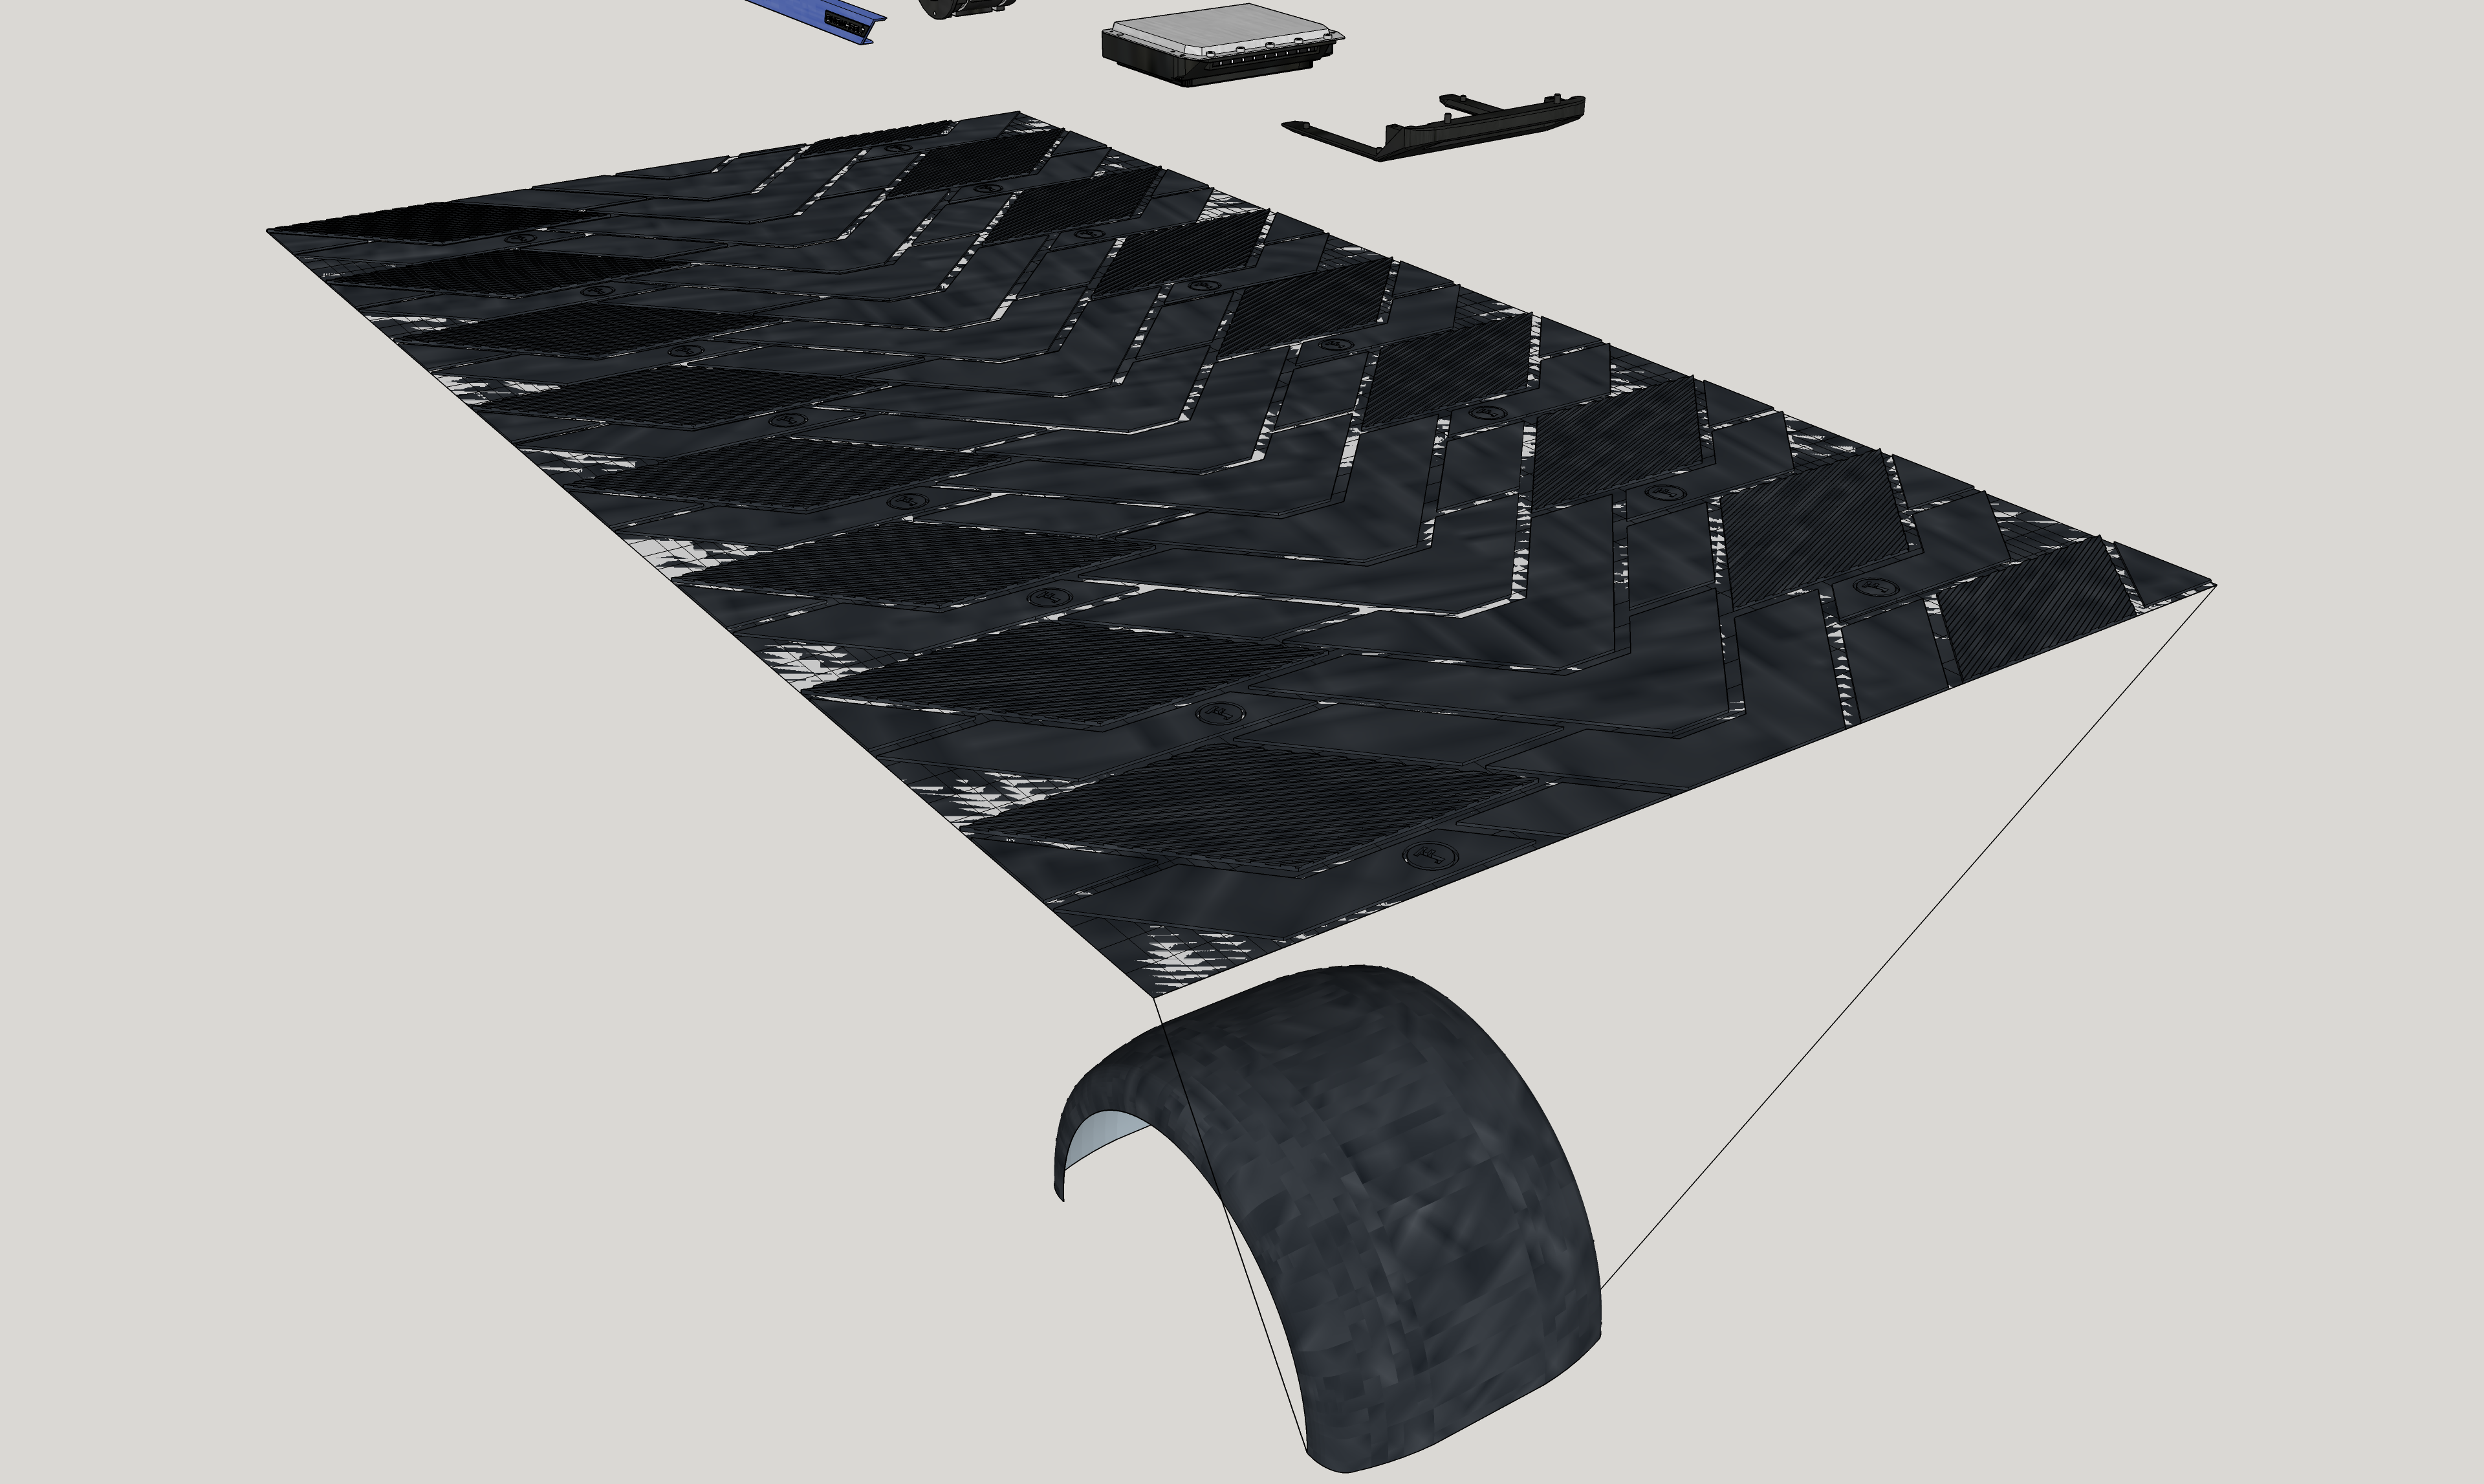
I also have to figure a way to print it since like... well...
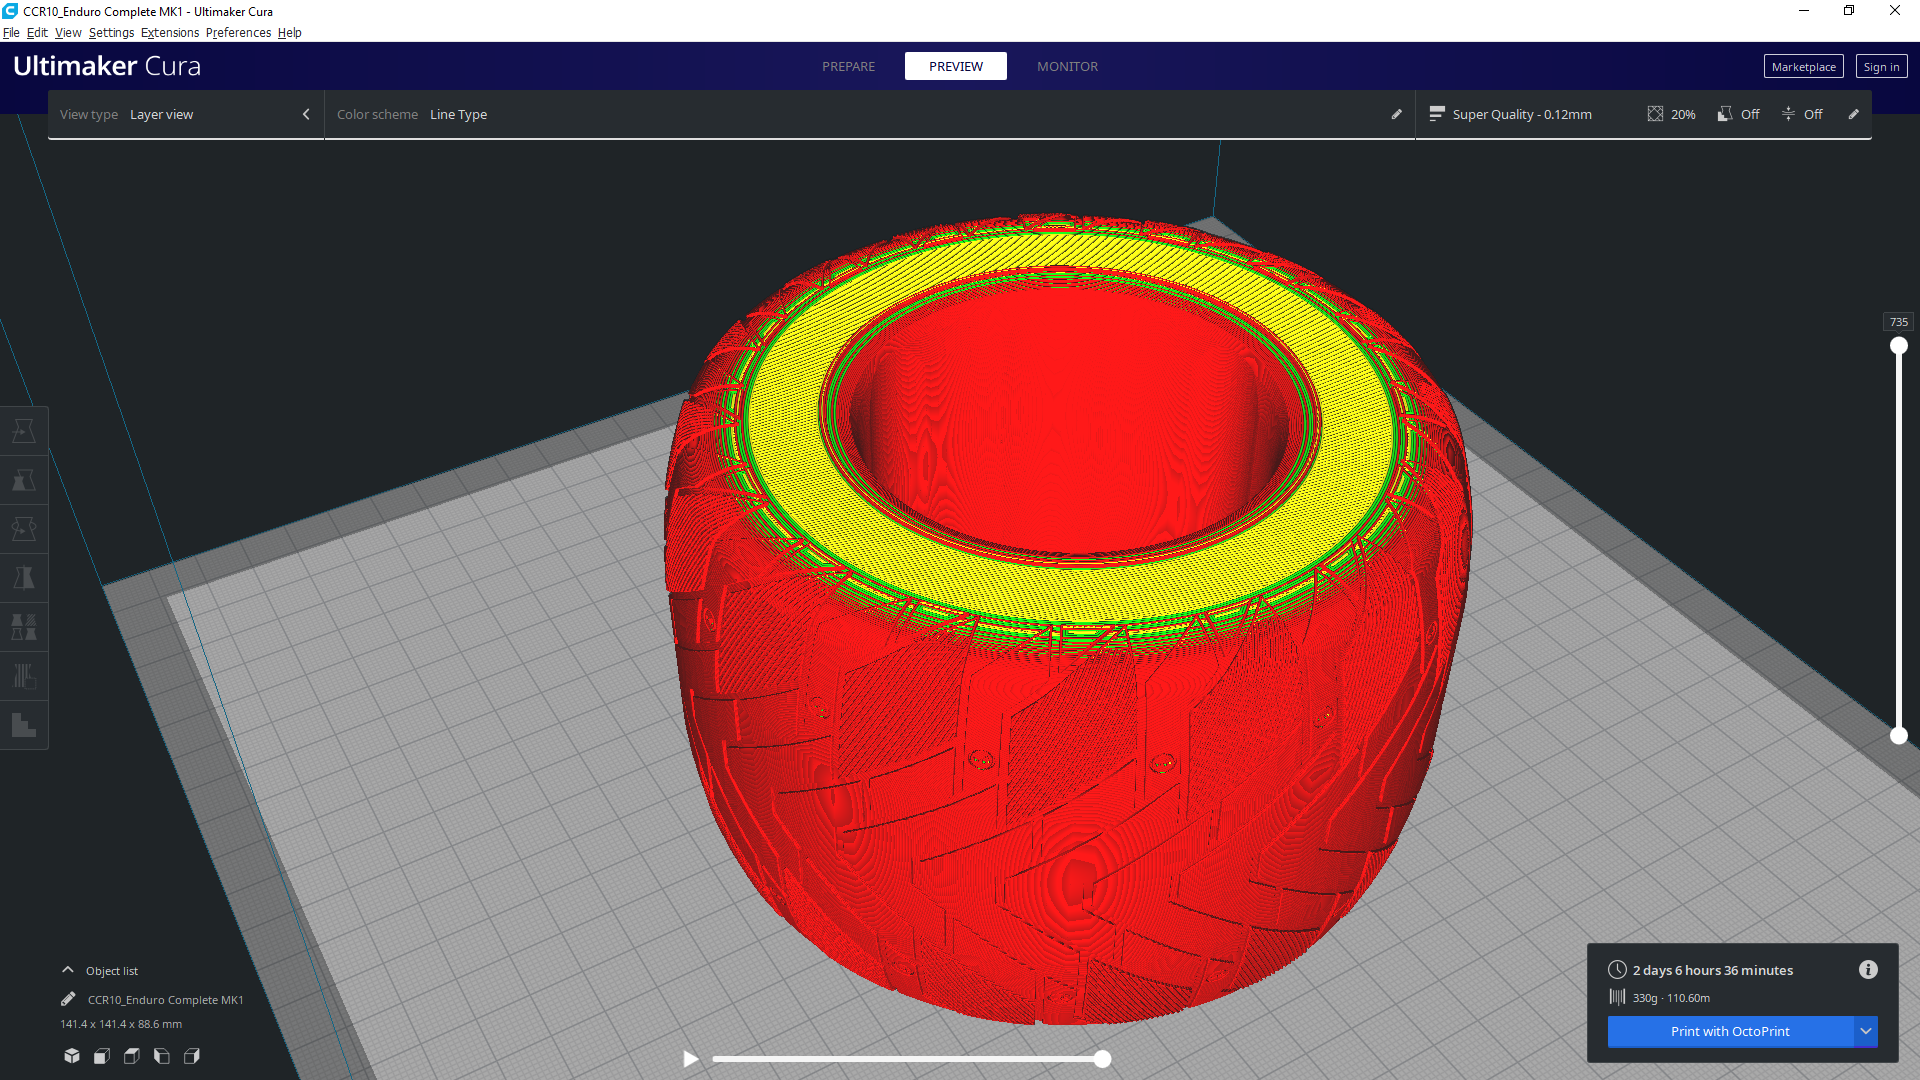
The resin printer would be ideal but the support would get in the tread. If I halve it the model won't lay flat on the bed so it'll be hard to get it looking nice post processed.
I'll figure something out :3
-
So I've been a bit busy... scratch that extremely busy so I haven't had time or funds to pour into this recently as much as I'd love too.
However earlier this month me and @cheppy44 went to OpenSauce. It's an event for makers by makers. Nick thought it would be a good idea to bring the XS. Unfortunately we didn't have time to get a booth but we walked around carrying the lil bebe.
Honestly it was an amazing idea because the dinky little guy got a lot of attention from a number of other event goers especially Wren, James and Ian from the Hacksmith and Cody Hovland.
If you have instagram then here's some of it, otherwise below are some bits.
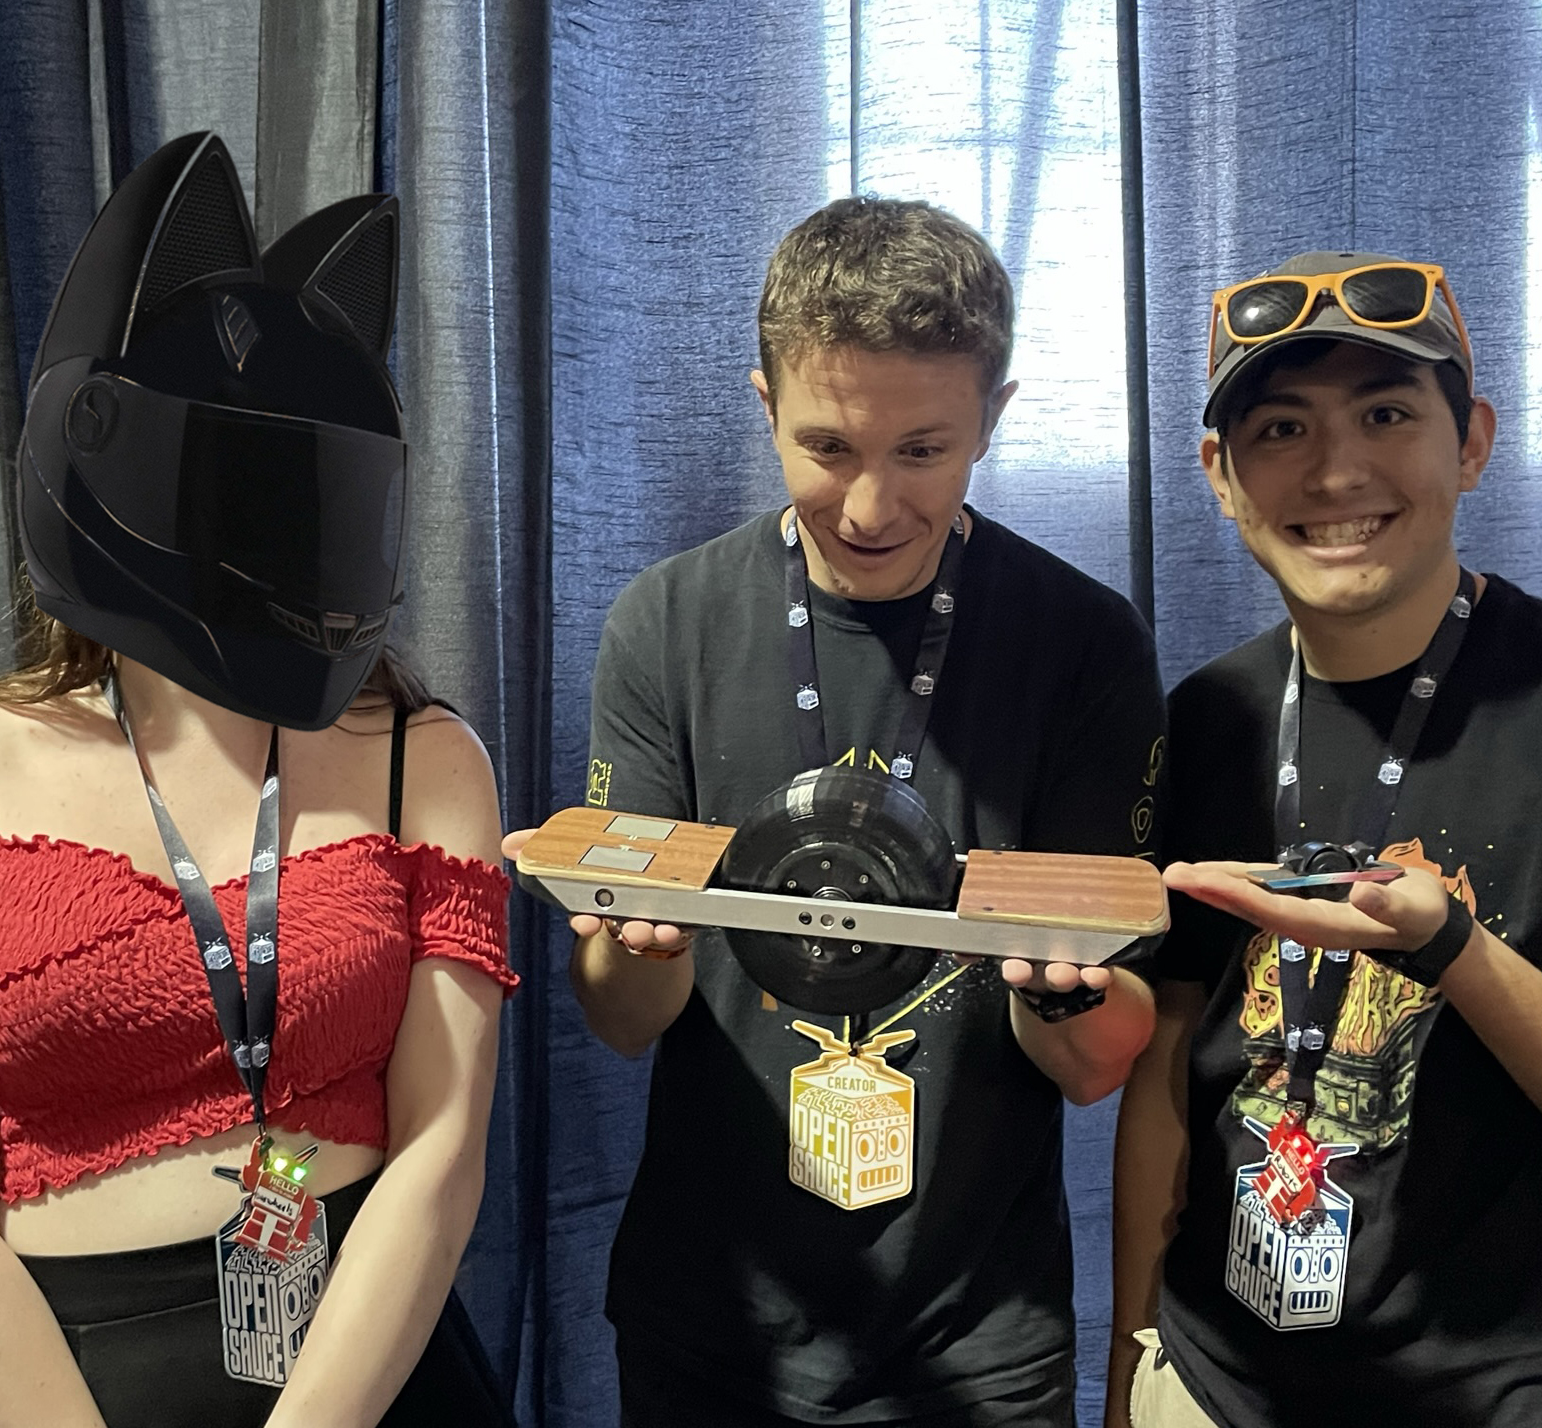
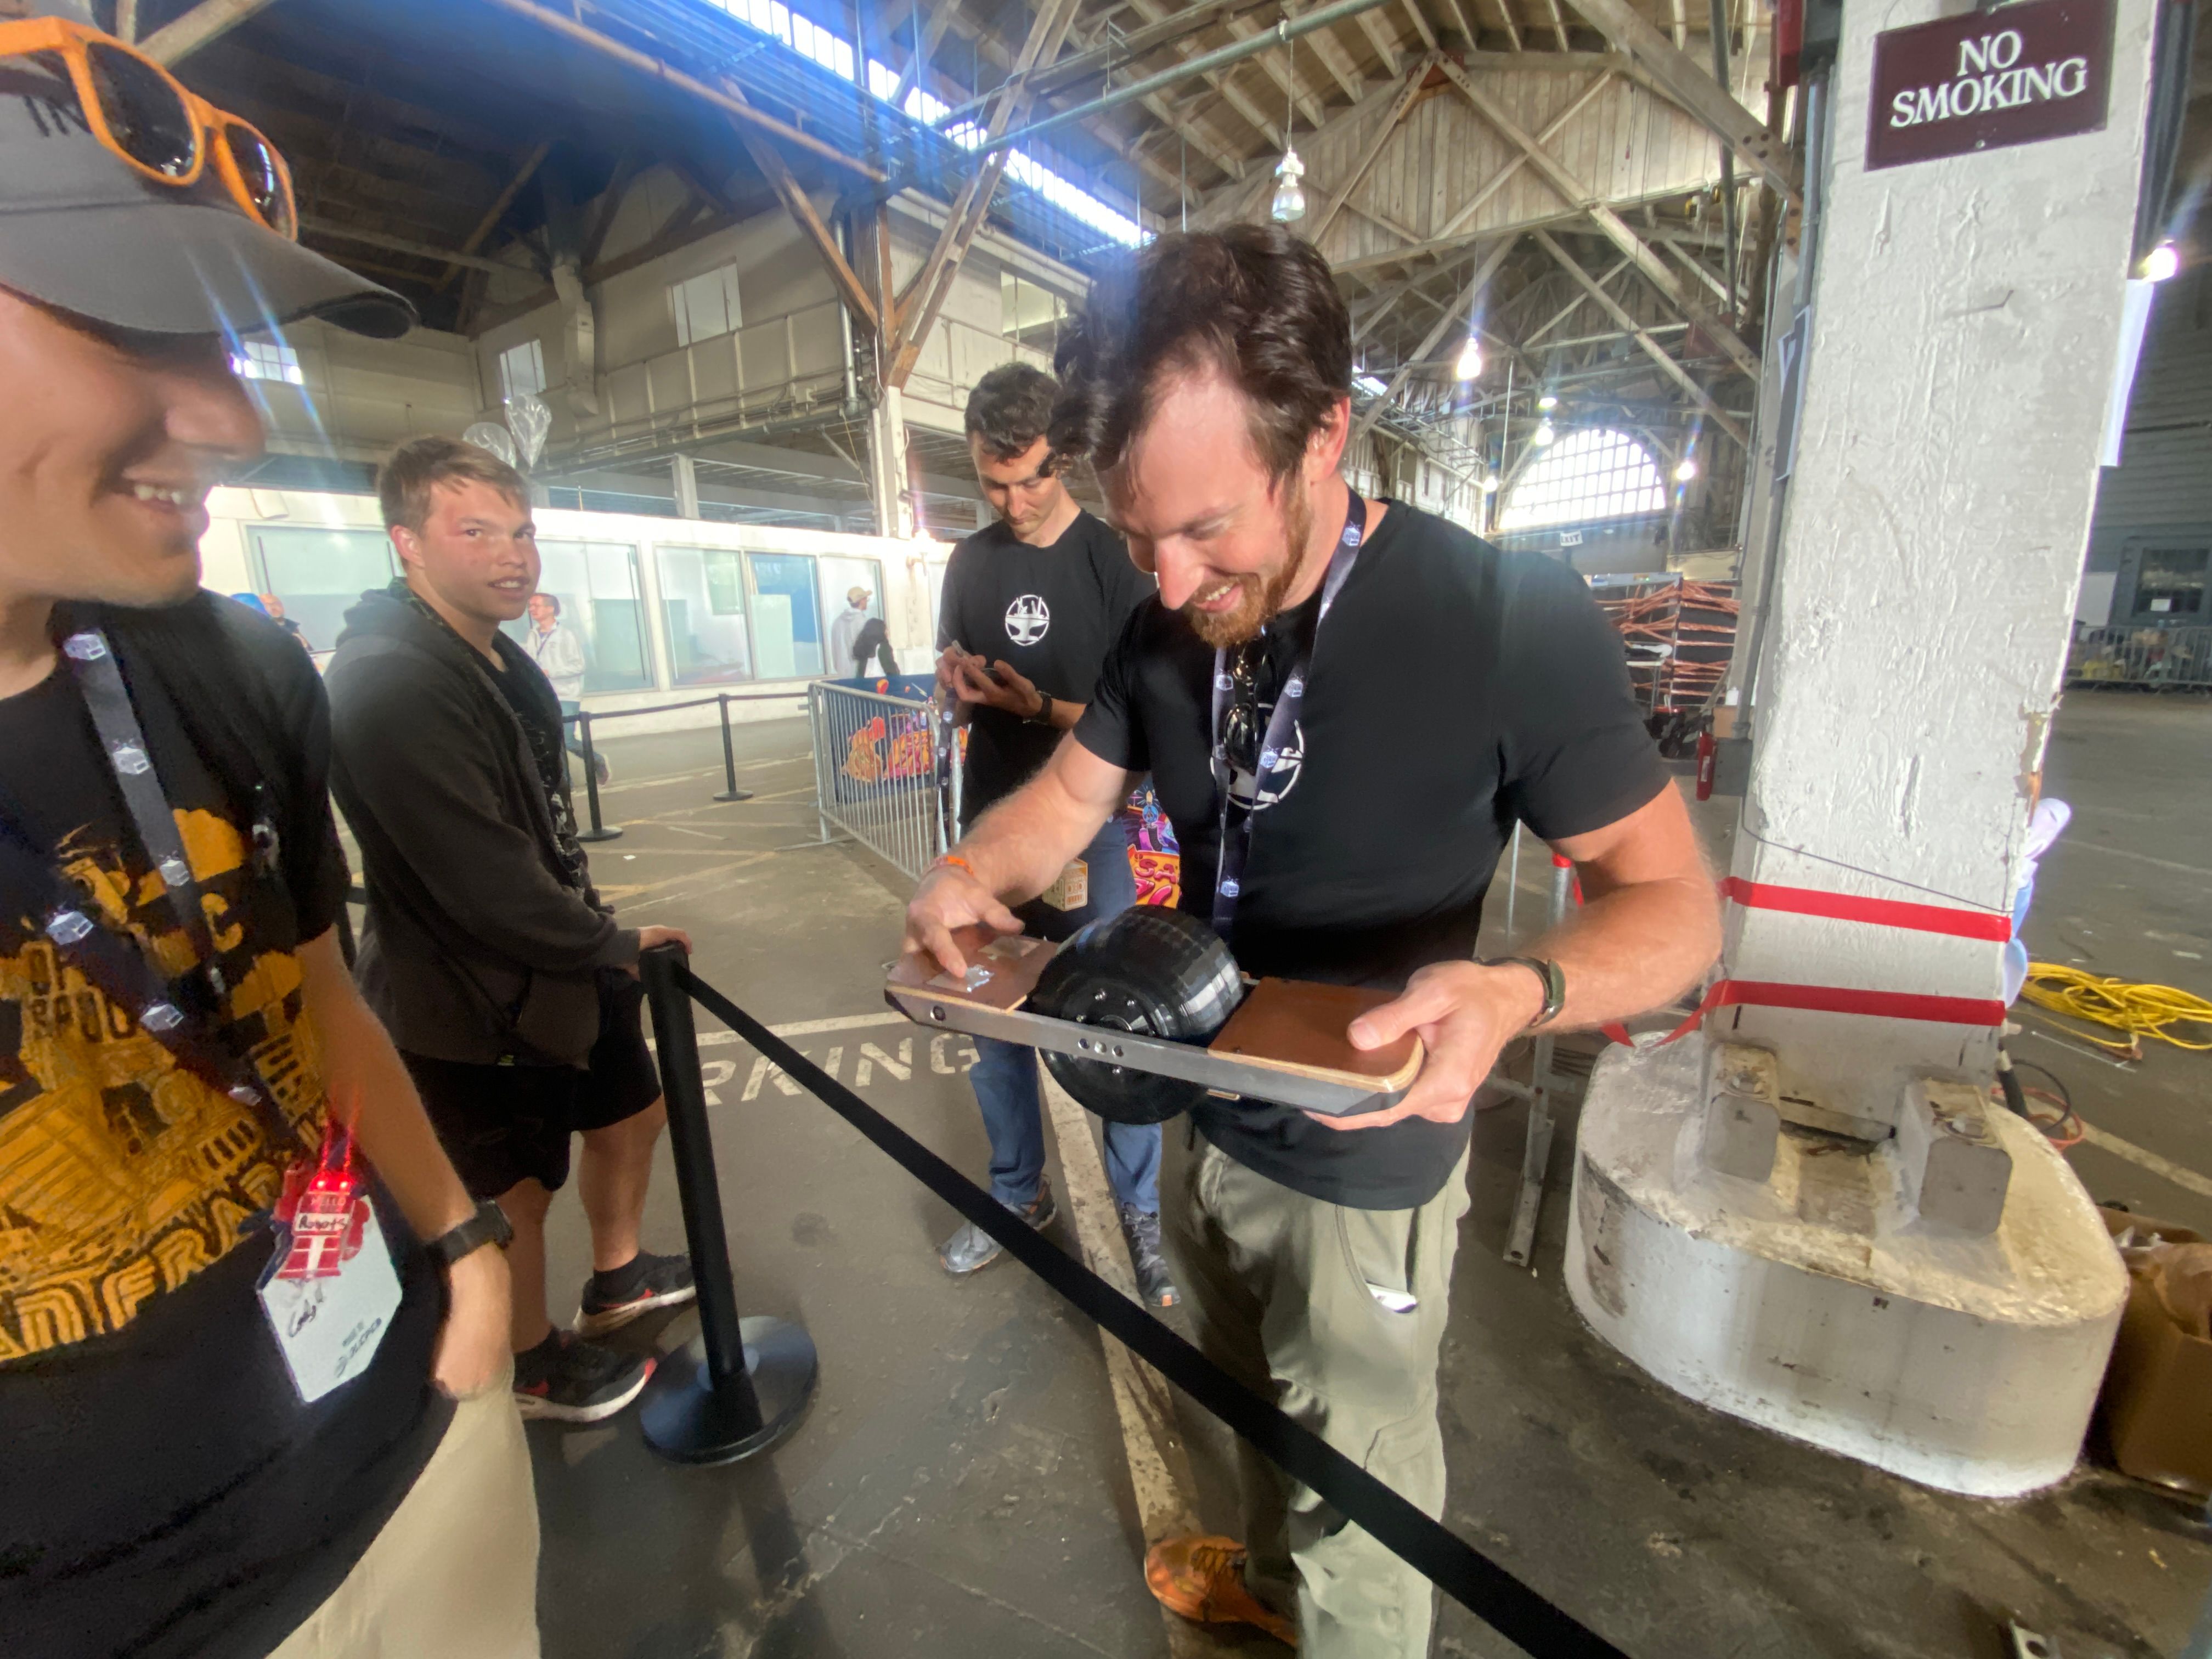
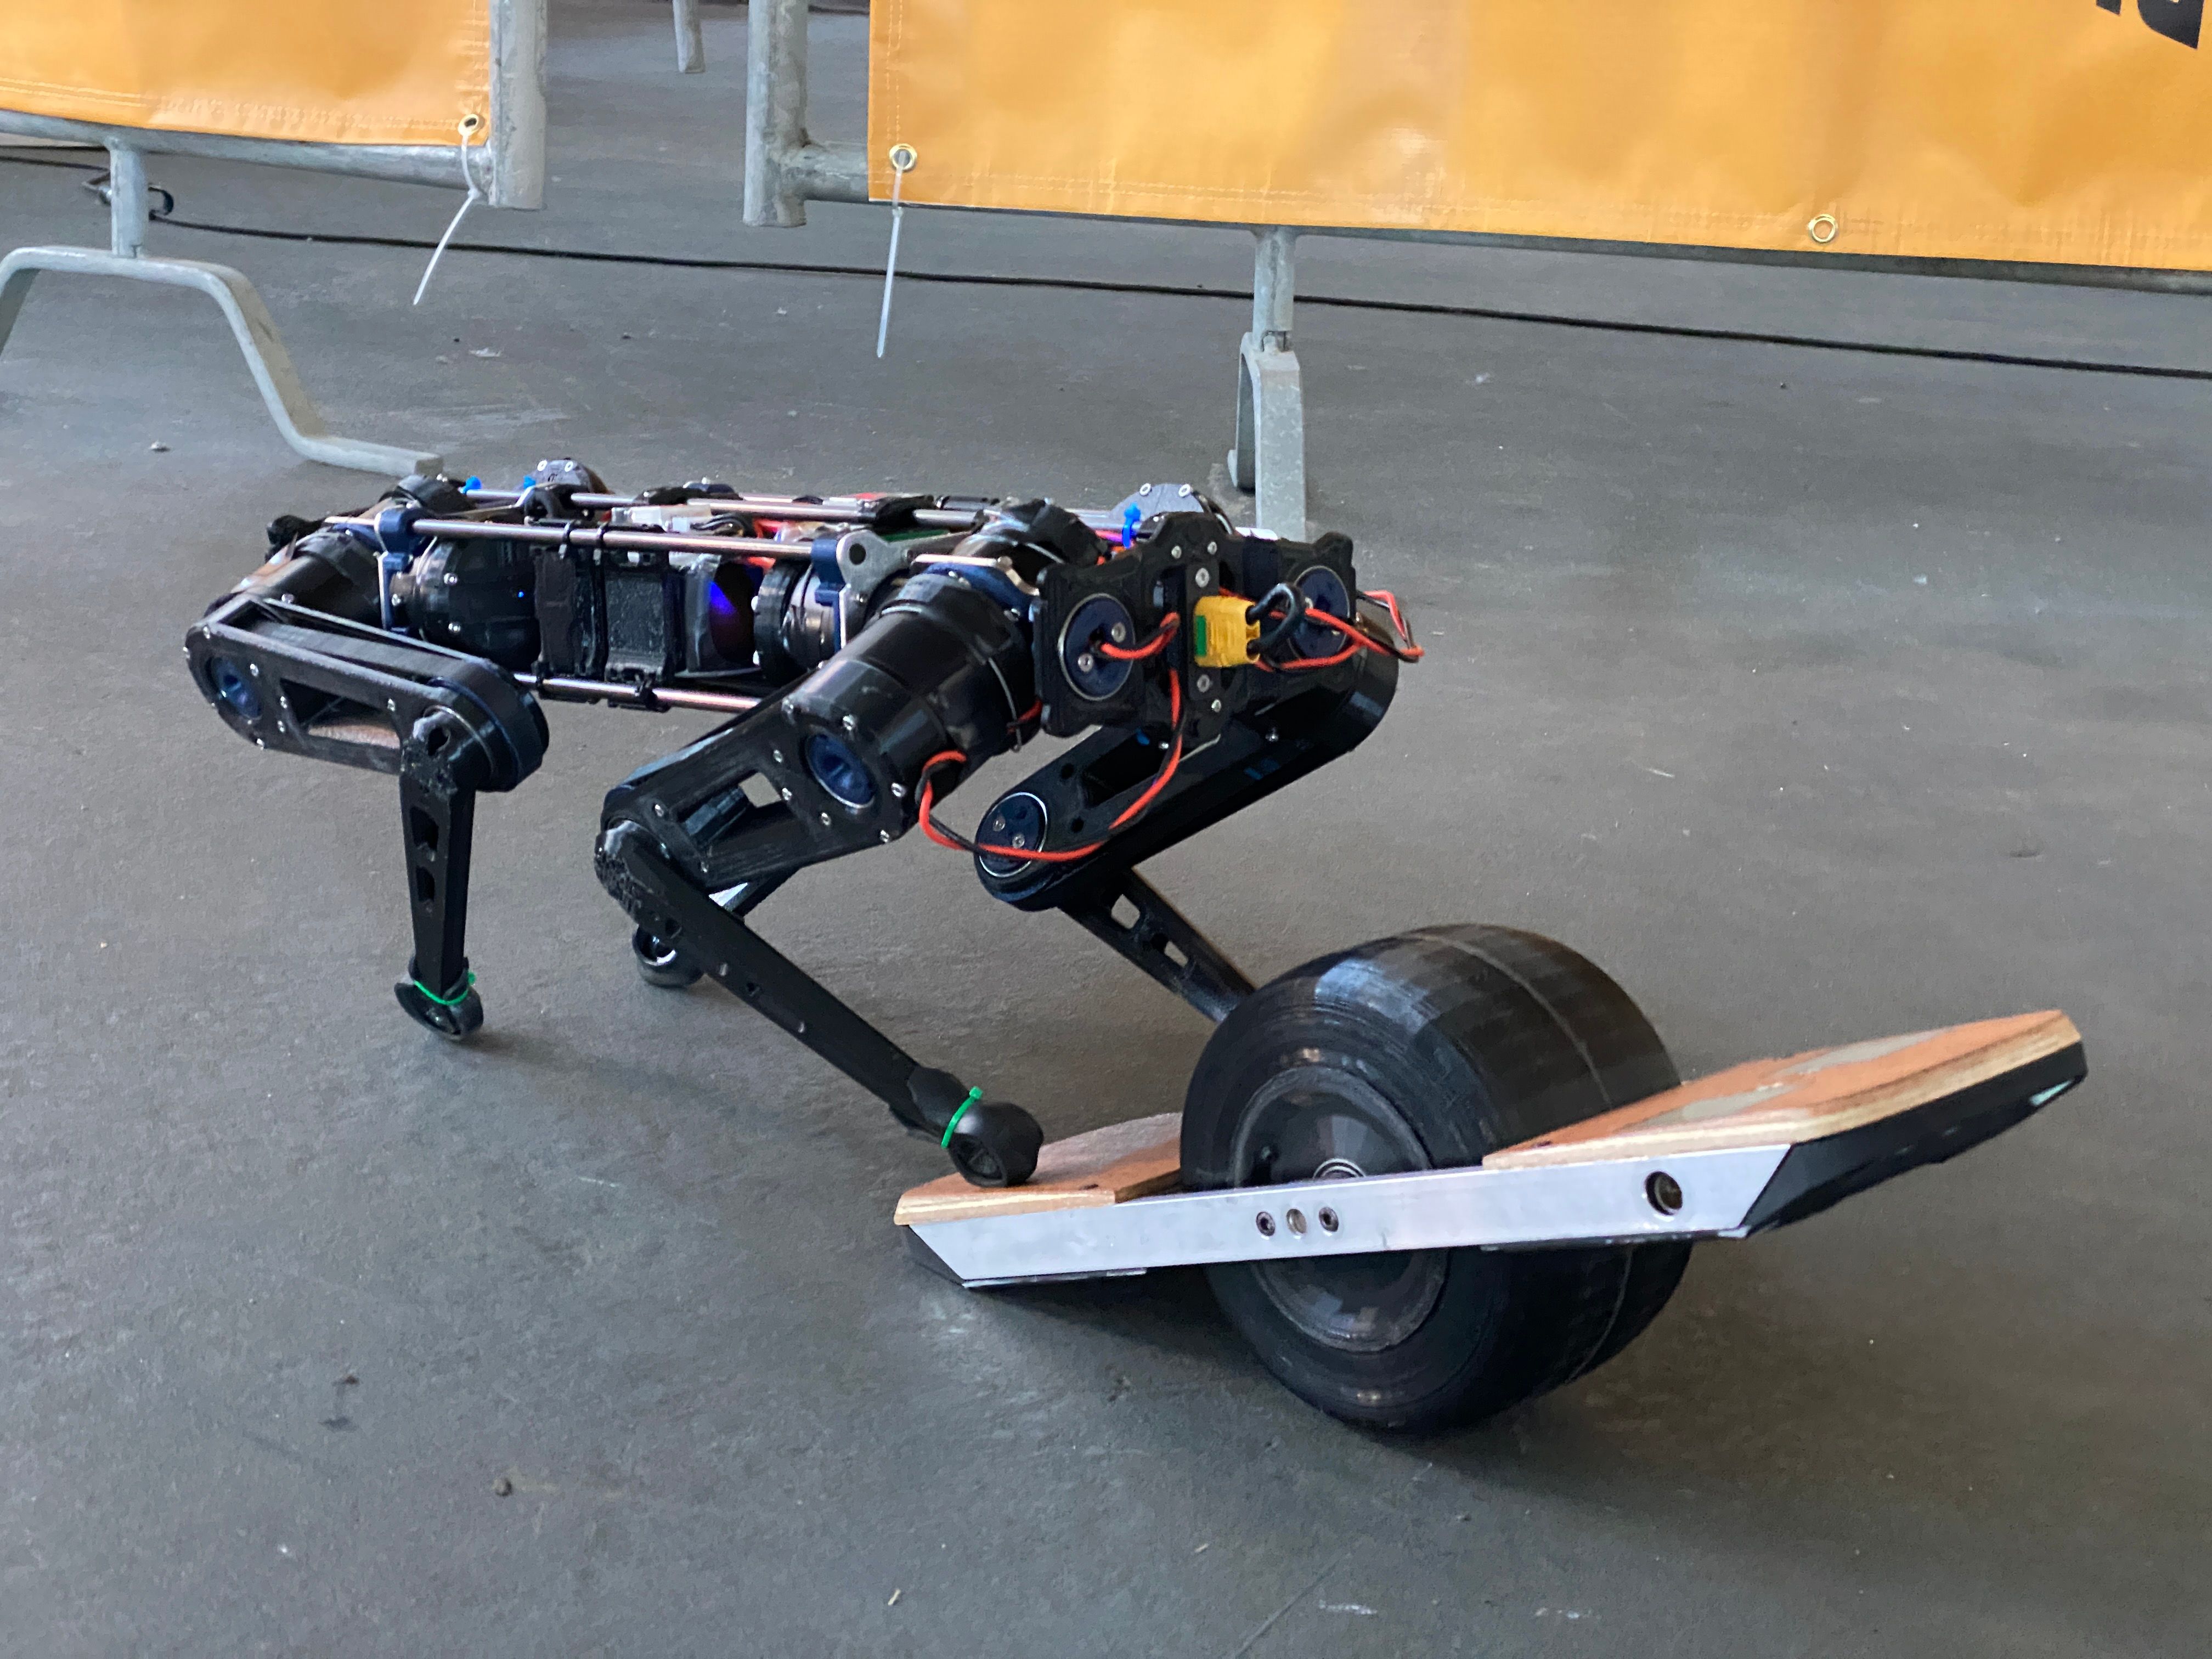
We had a robot dog try ride it... somewhat successfully. About as good as most people's first time.
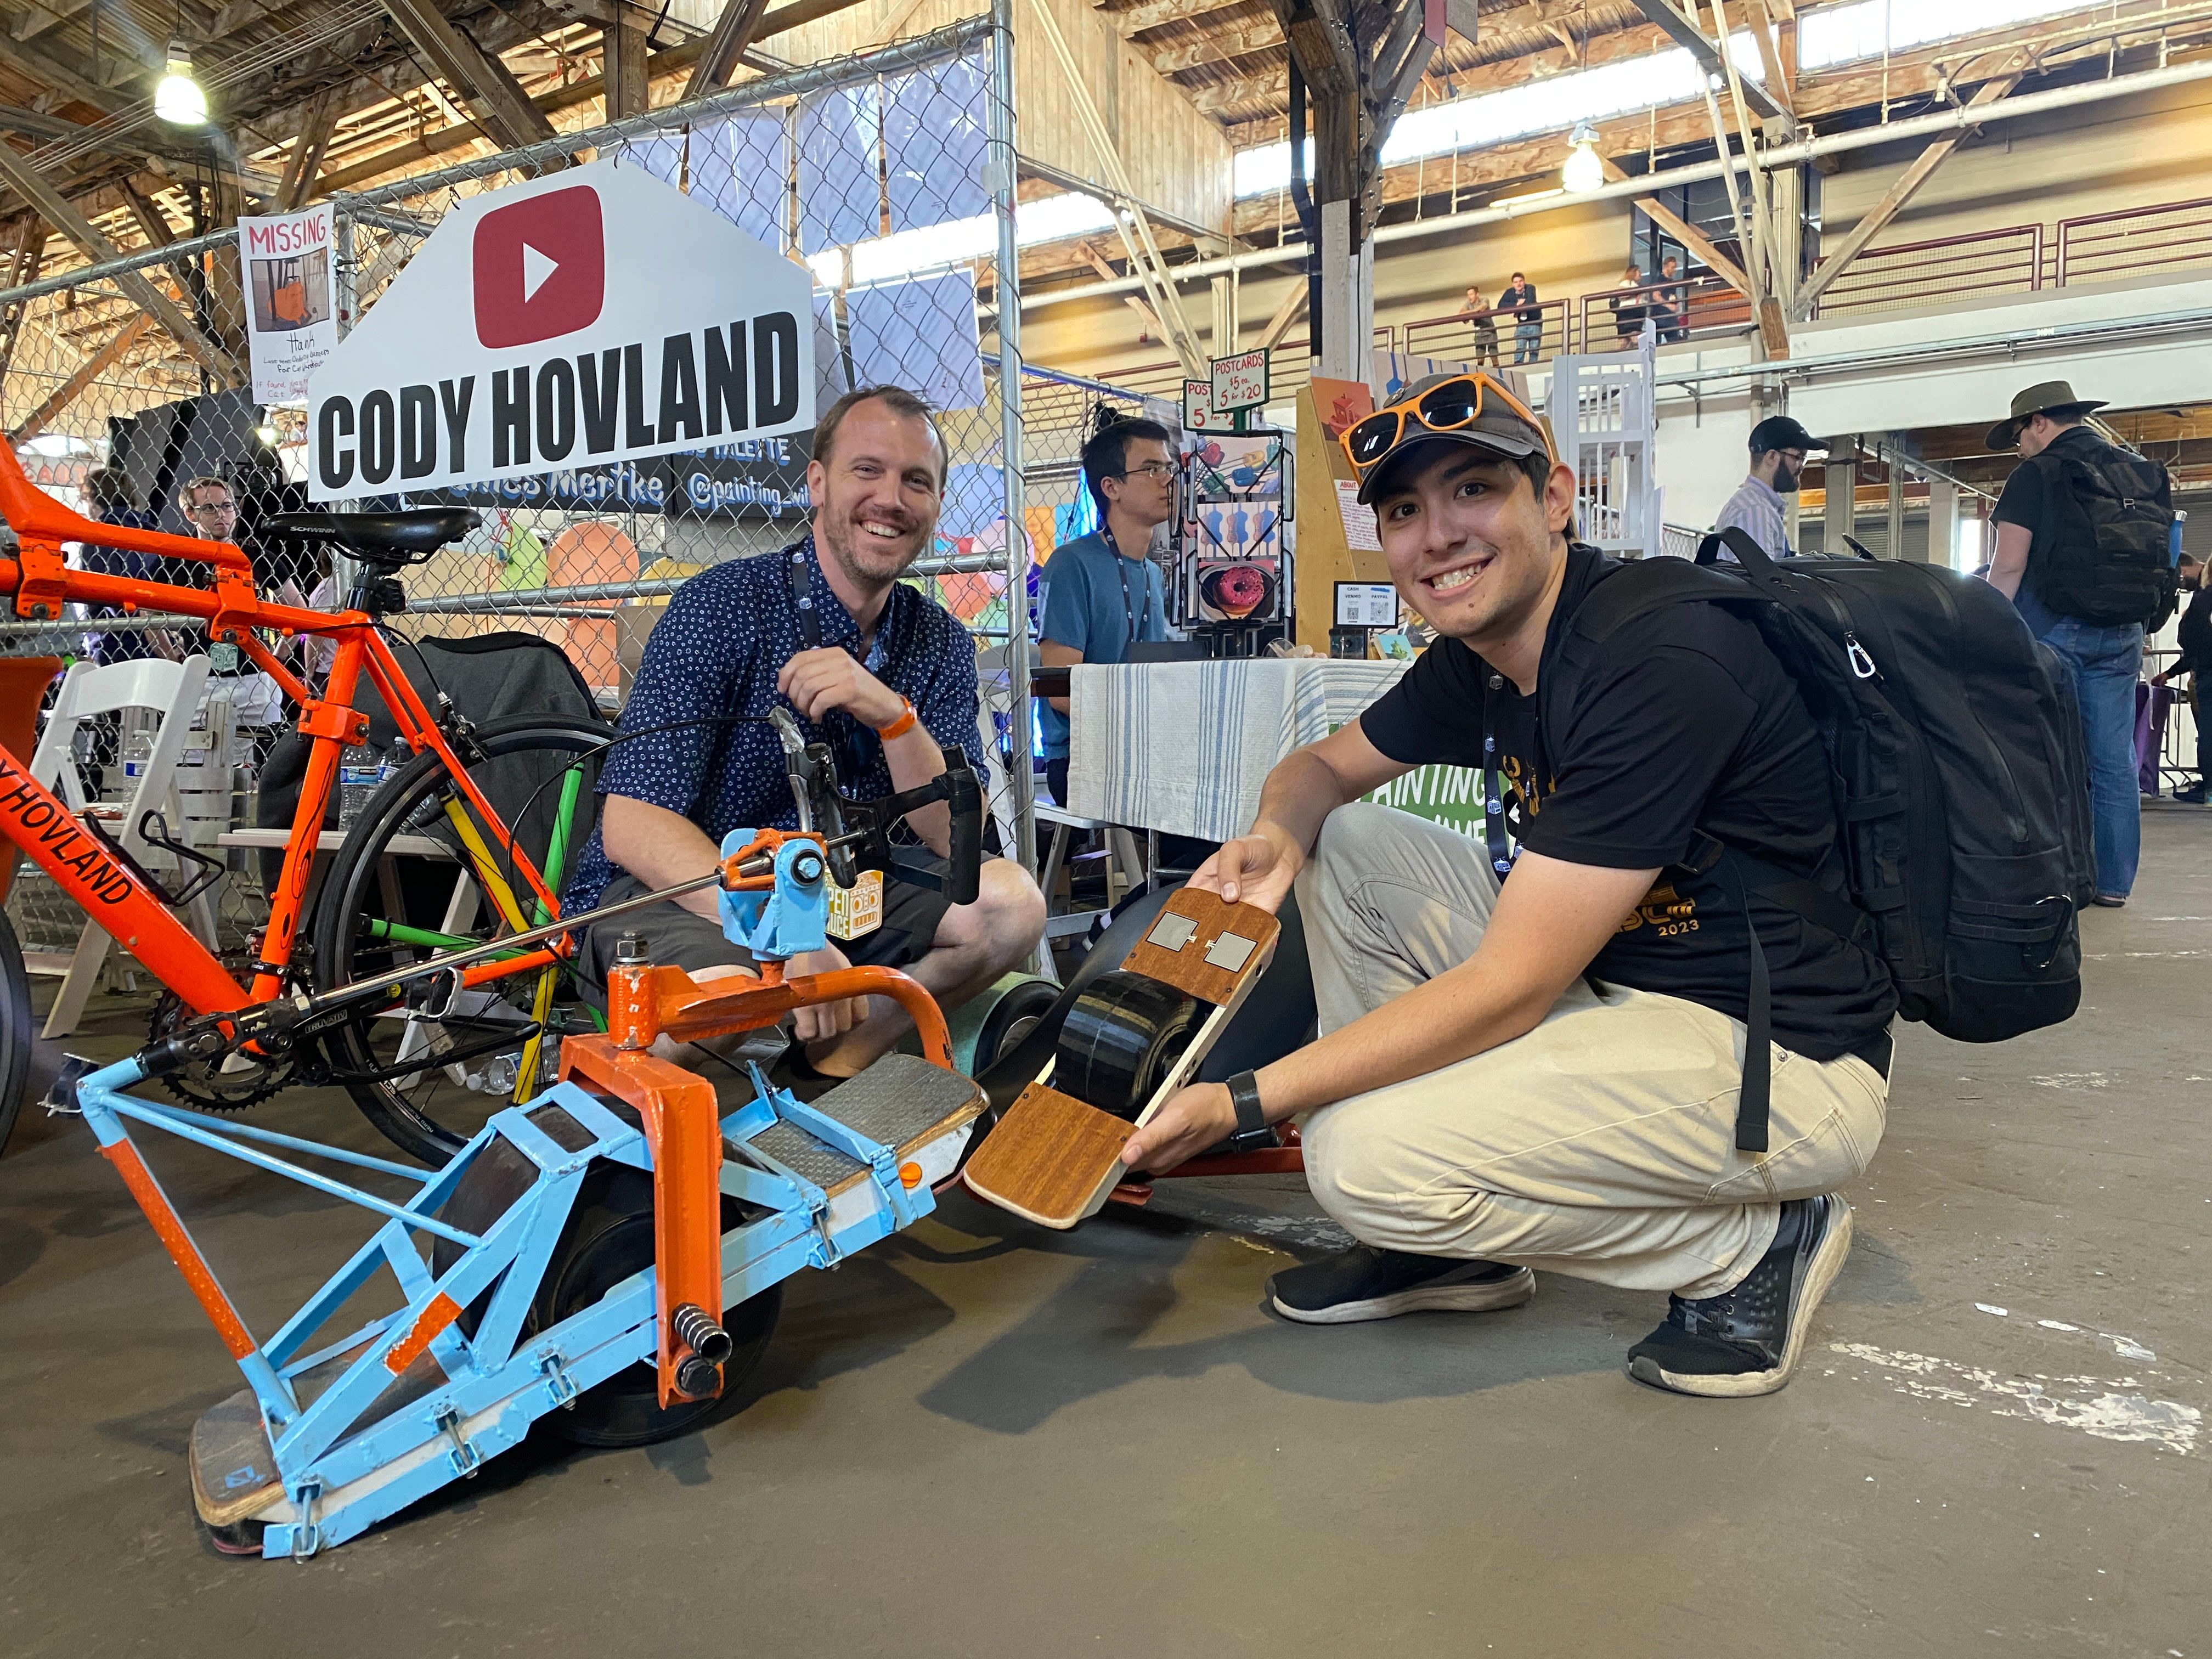
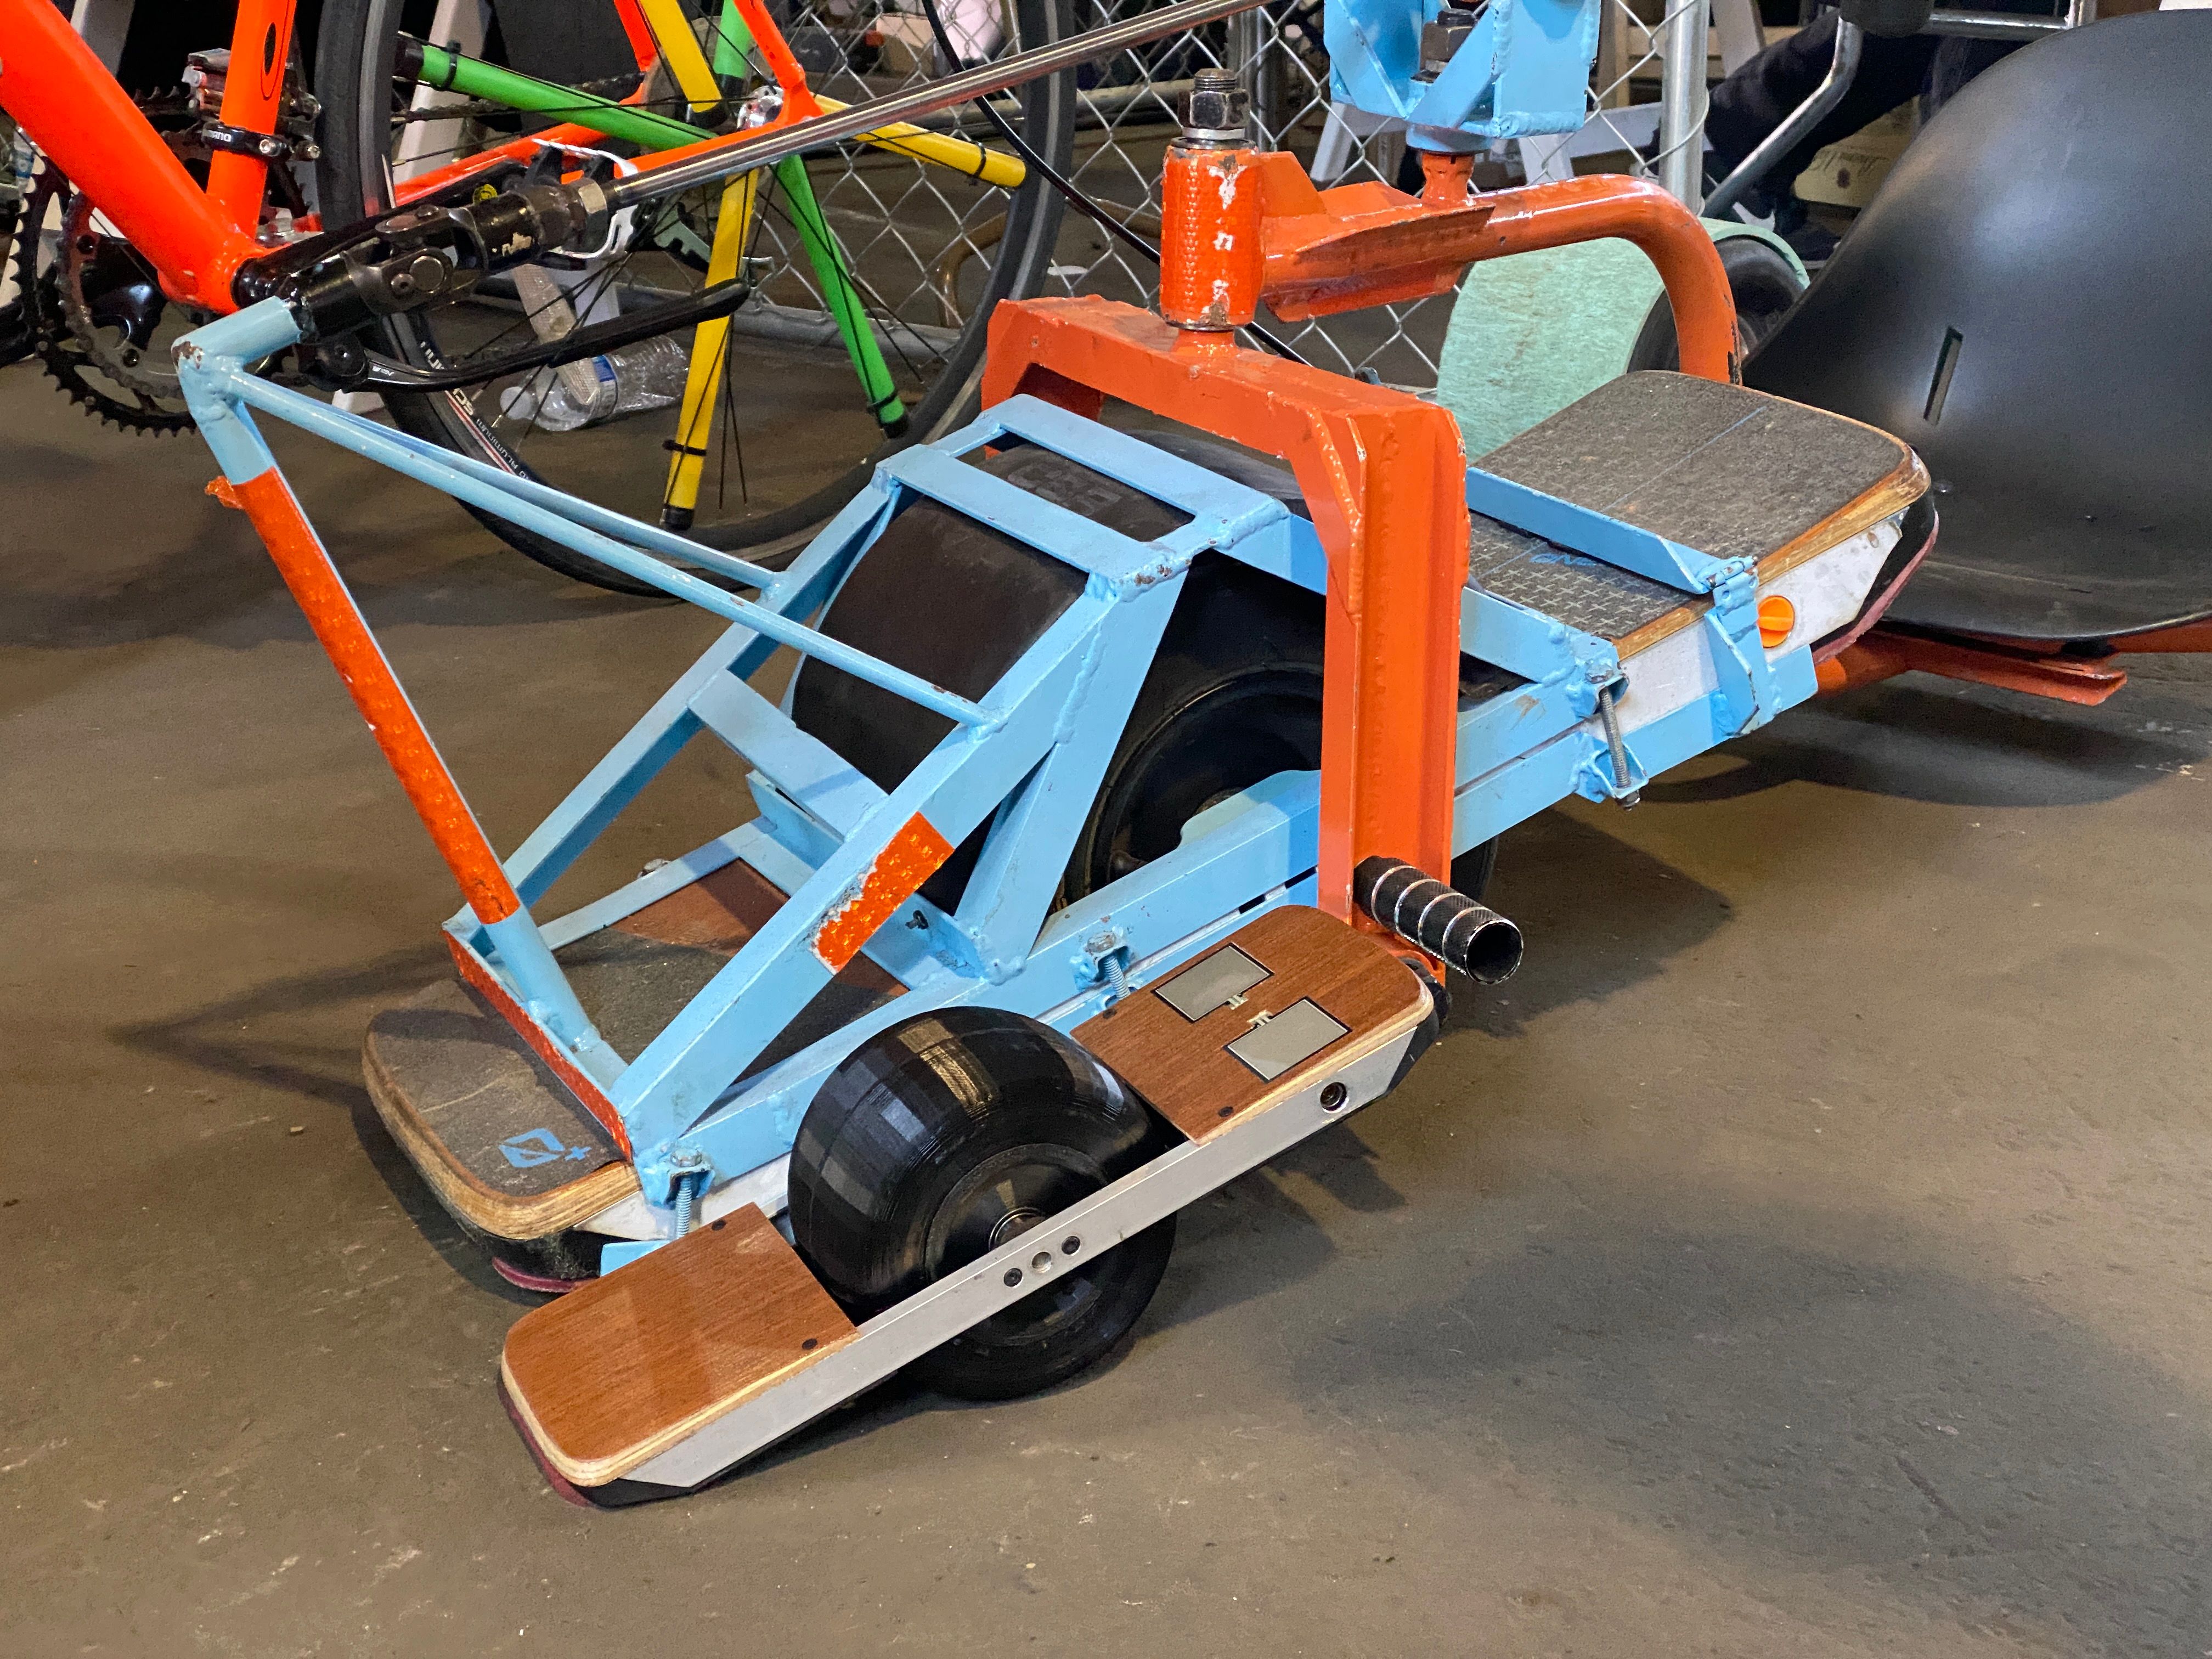
This caught the eye of Ian Davis who I at the time didn't even realise was recording us till after the fact.

https://www.youtube.com/watch?v=el1jDh9jaUg&list=LL&t=167sofc we finished up the second night with pizza.
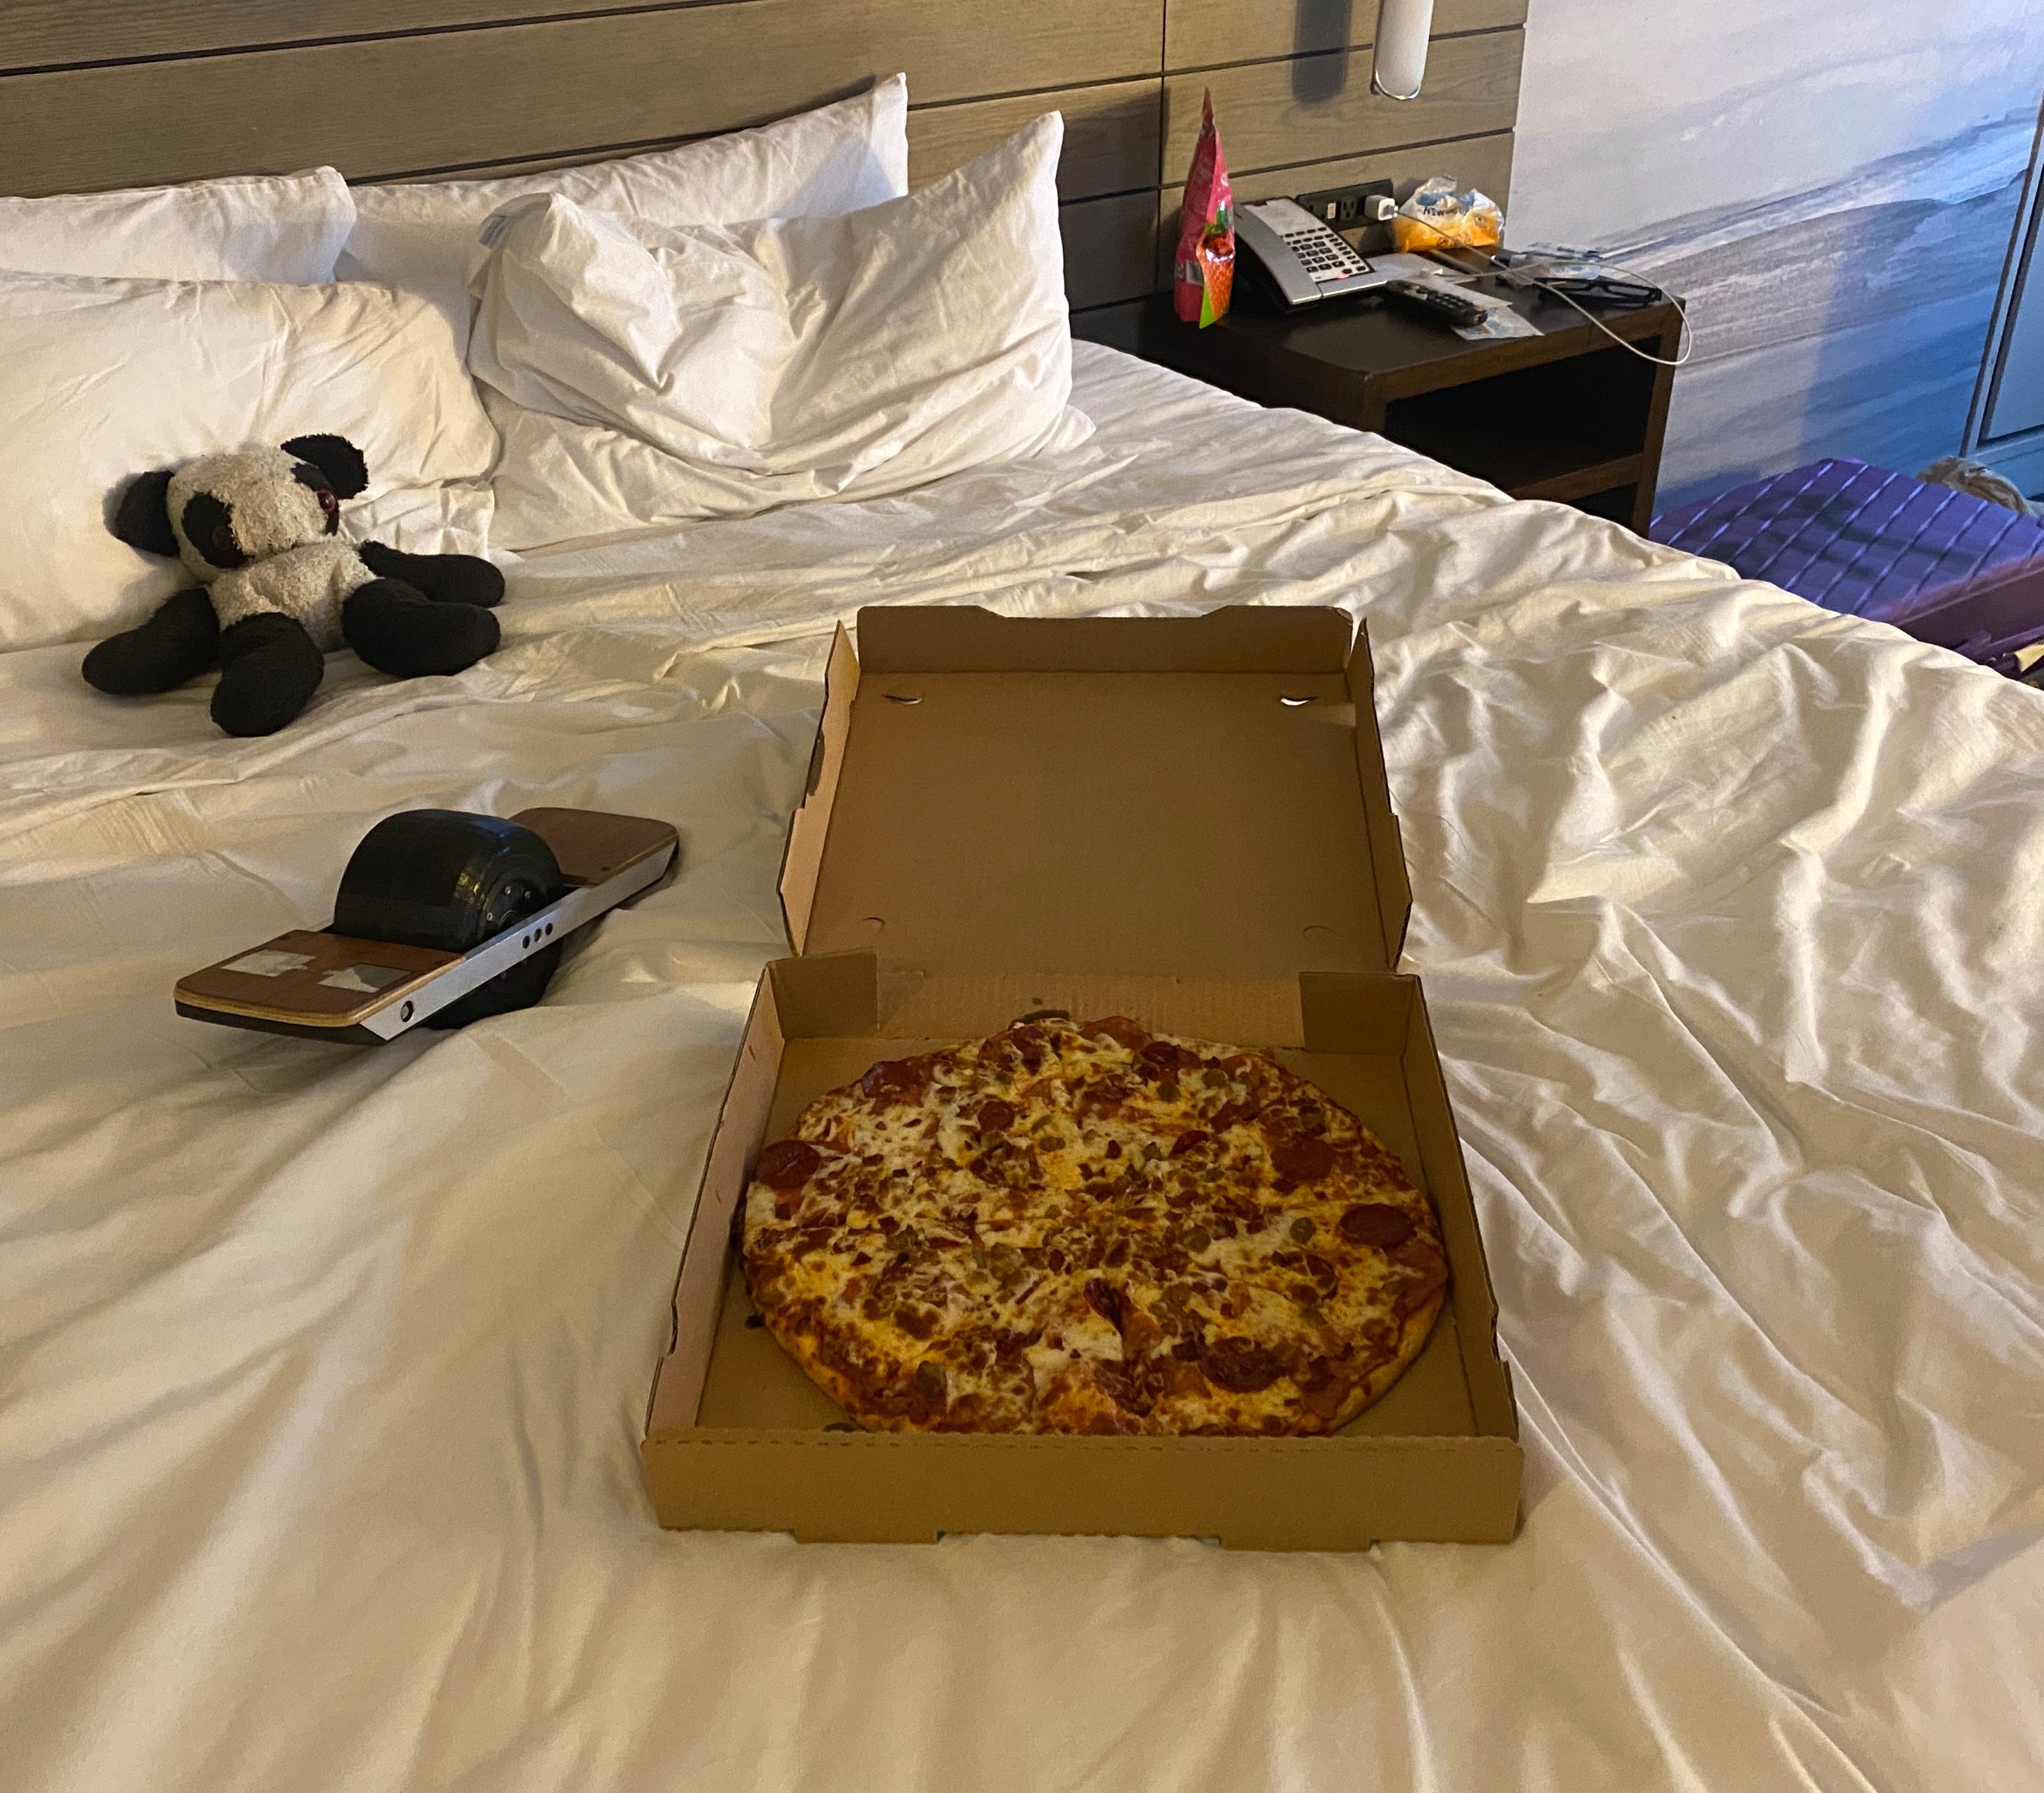
It was a very fun event and extremely fun to meet dozens of people that wanted to ask questions about the board. After all of this I'm itching (again) to carry on. After the headlights and xr controller pcb swap I will likely begin this again ^-^ Especially since me and Nick might actually have a booth next year and will try to show off a few more finished versions among other things we've both worked on.
-
@lia You really should have posted these as separate items in the thread, so we could give it all the upvotes it deserves. It looks like you had fun at the convention!
-
@biell I did consider it but I personally like to keep things all together ^-^
We had lots of fun, hoping to attend and be a "creator" at the next one. -
Long time no update huh?
For the past few weeks between doing stuff for Fungineers I've been working on the XS but this time in Fusion360. It's not been as easy as I first thought since I wanted to make it all parametric.
So far I've nearly redone everything (from scratch, easier that converting it).
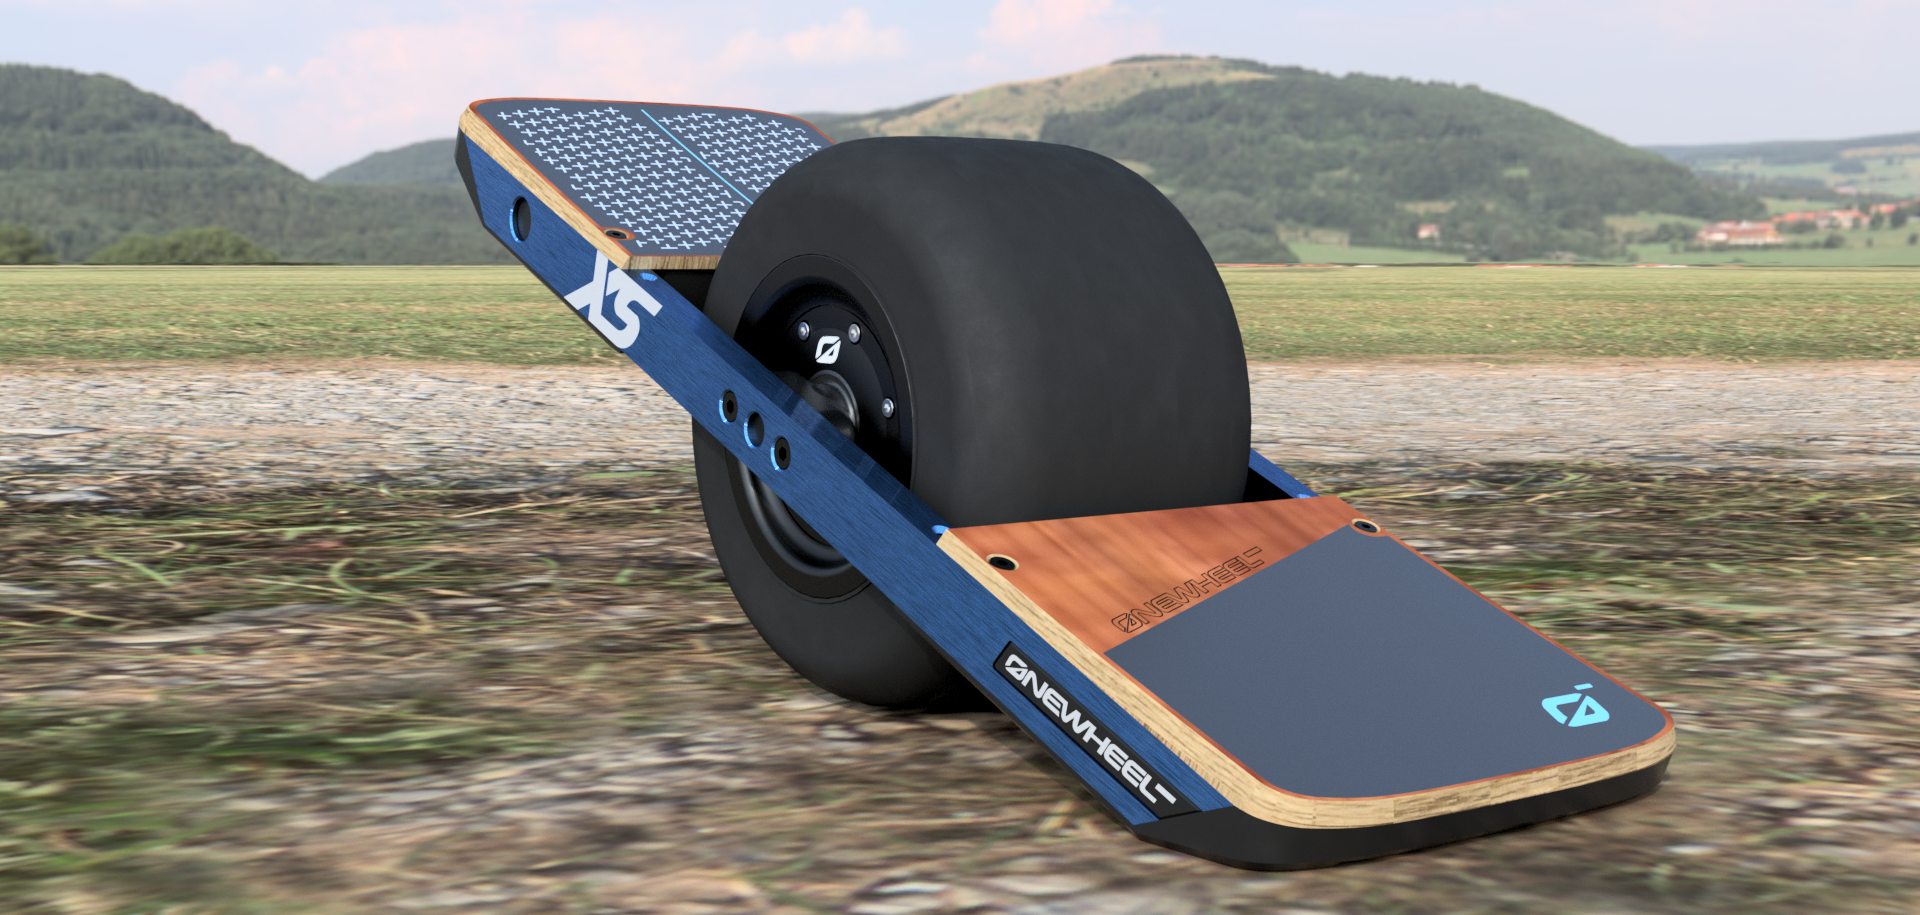
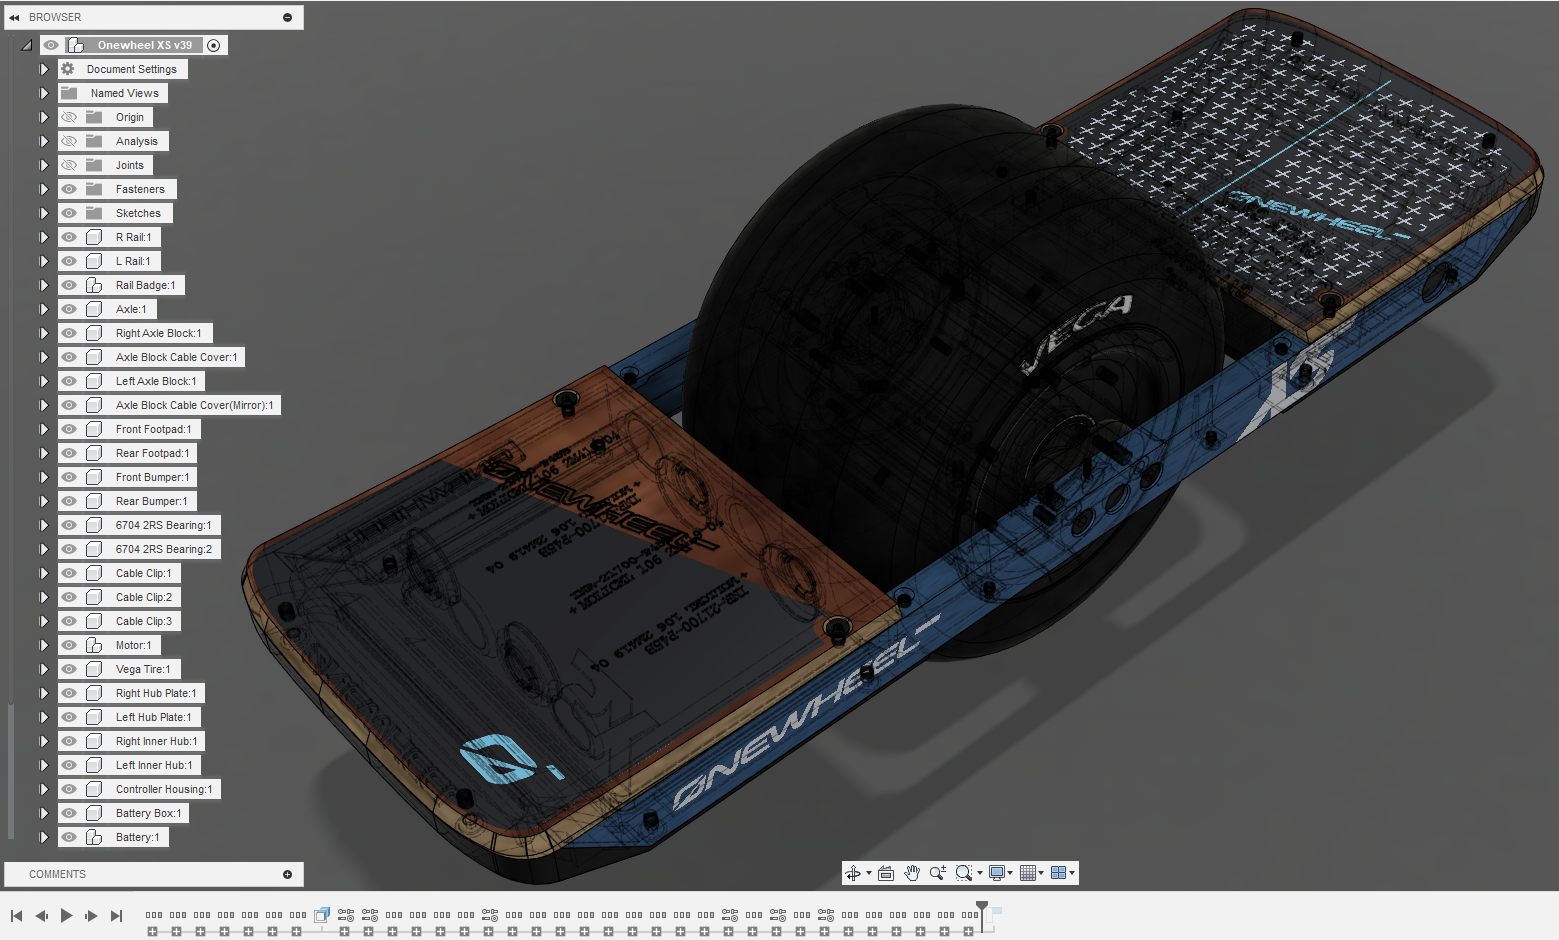
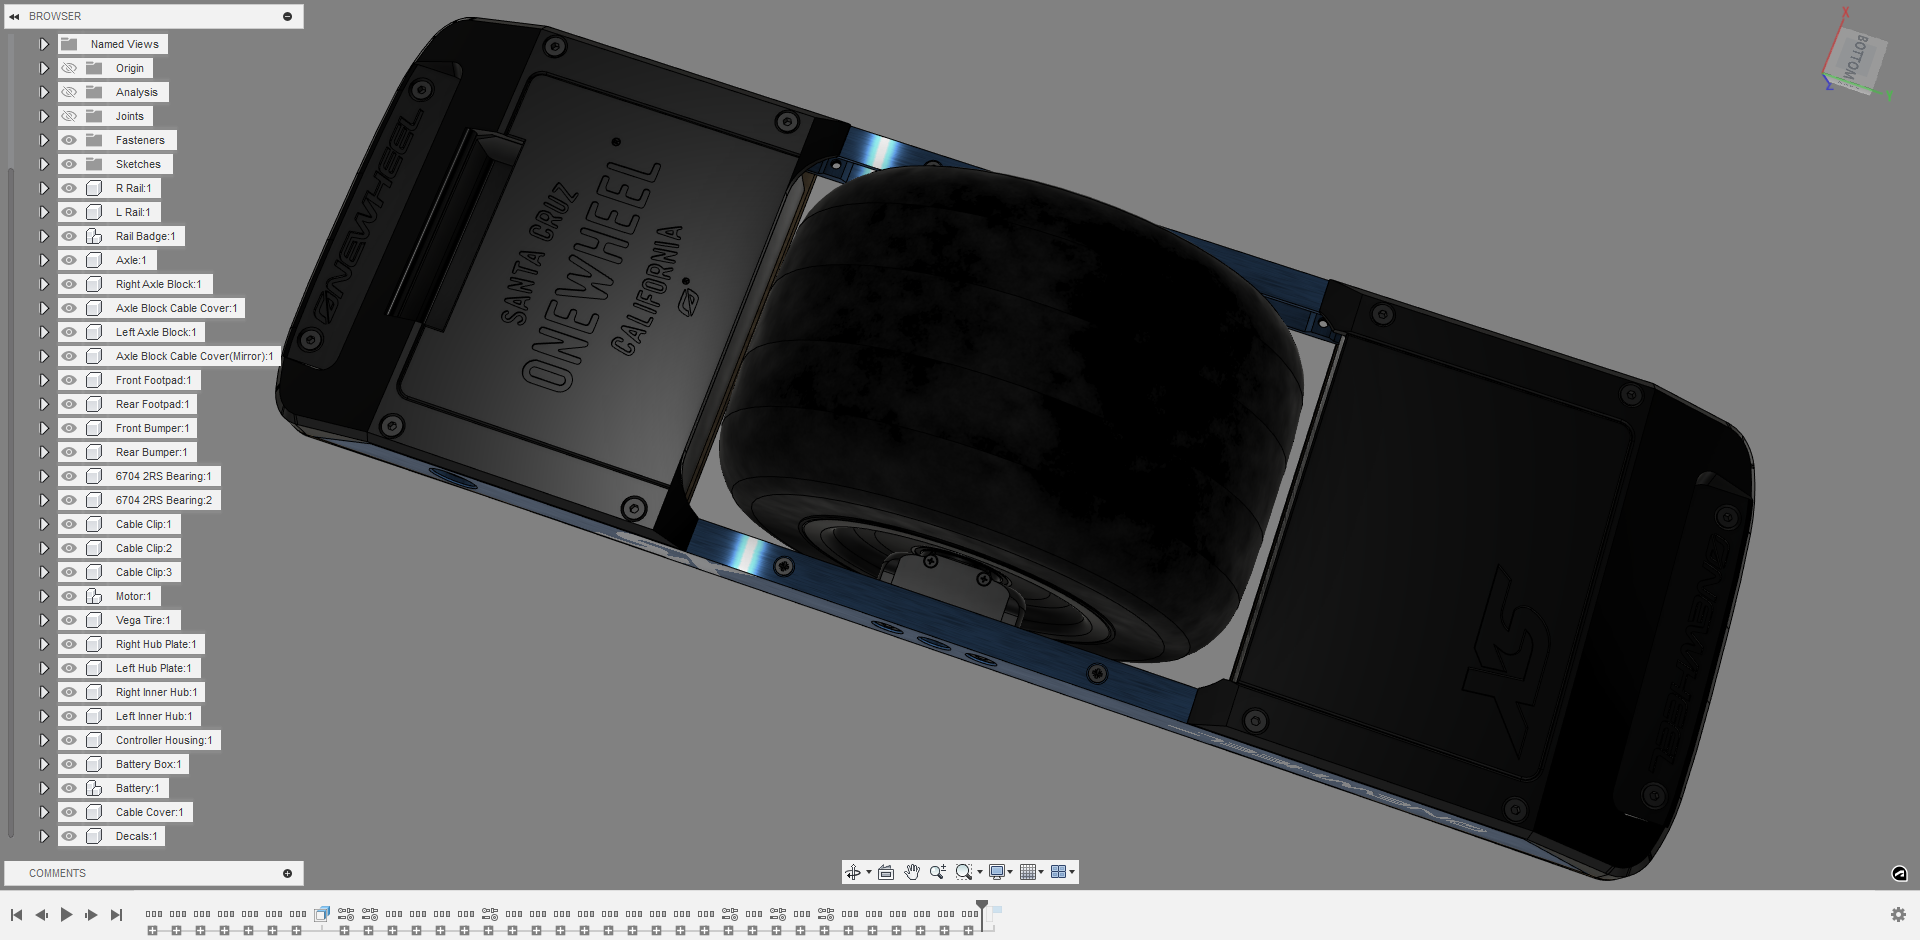
Probably going to alter the front bumper engravings but for now I just made dxf's of the current ones.
I'm preparing 2x MK2 to be brought to this years OpenSauce in San Francisco.
As some of the earlier posts mentioned, me and @cheppy44 attended last year as attendees but this year we've applied to hopefully have a lil stall to show it off and let people hold and use it. If not we'll bring it anyway and let other attendees enjoy it as we wander the event.
At the moment because I've rebuilt it from the ground up in parametric design I've had to re-prototype parts including the rails because those shall be CNC'd this time.
I've also redone how the motor housing and hub covers will work. The outer covers will be CNC'd too along with the axle blocks.
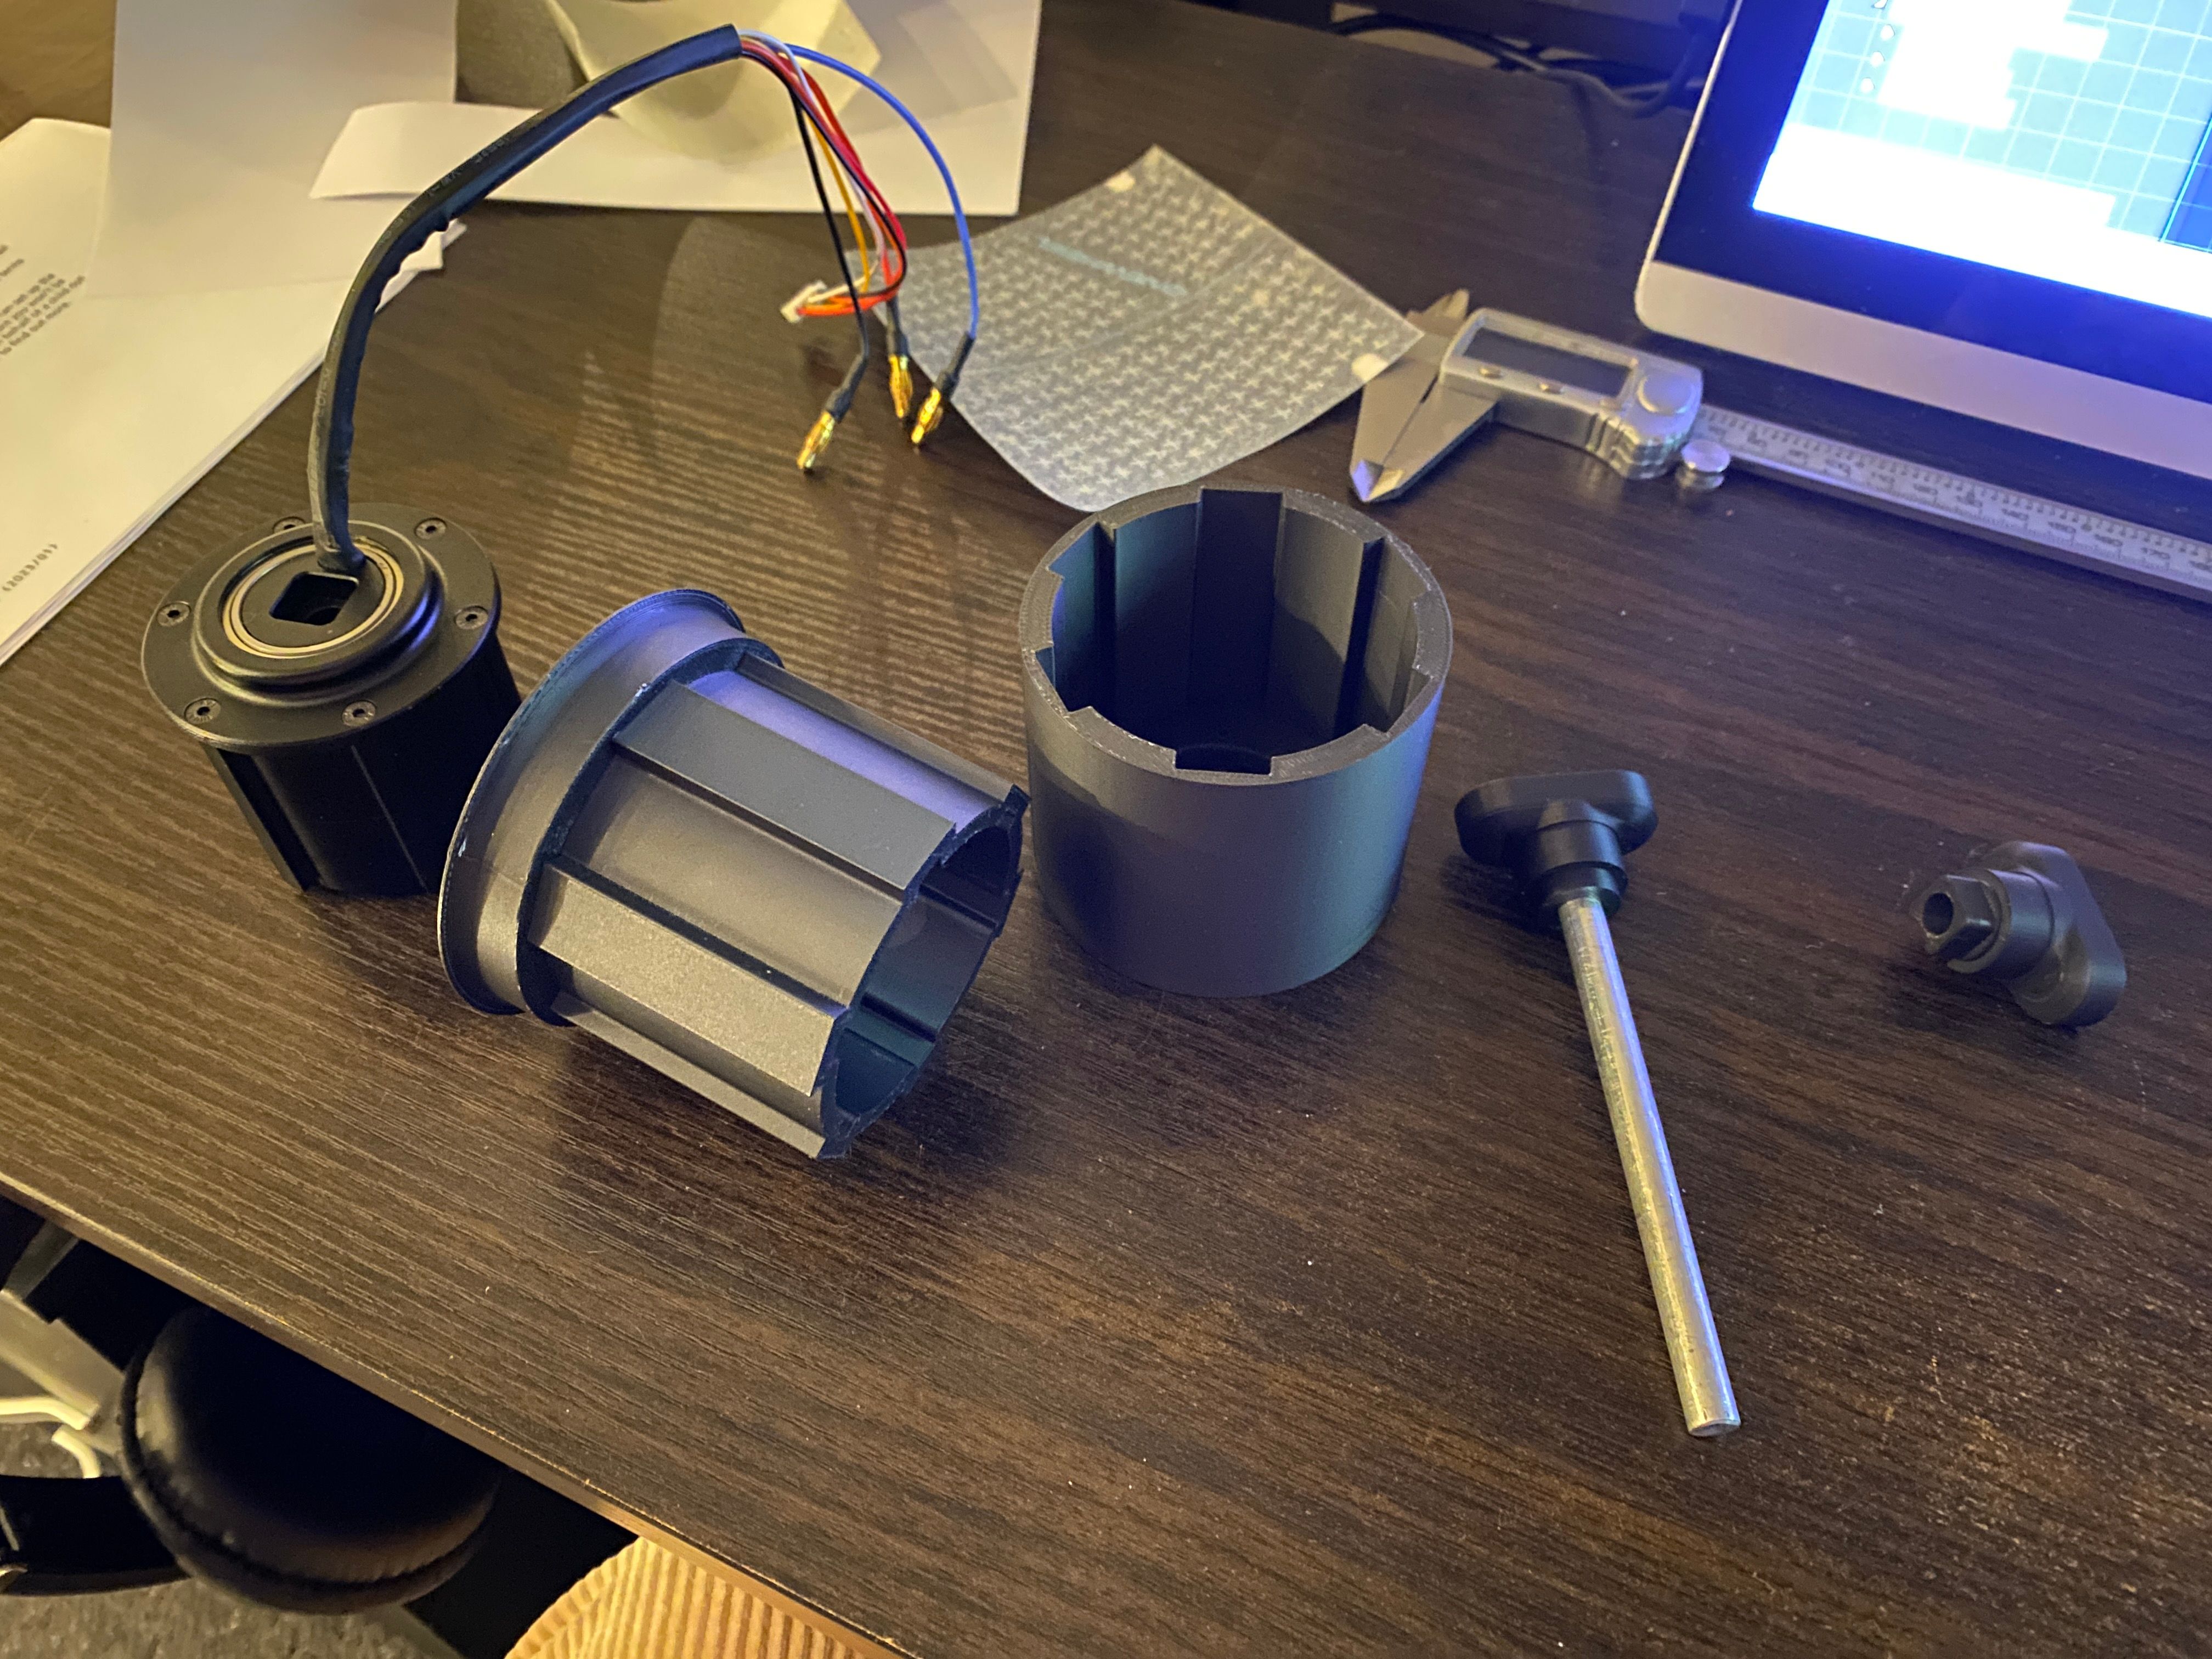
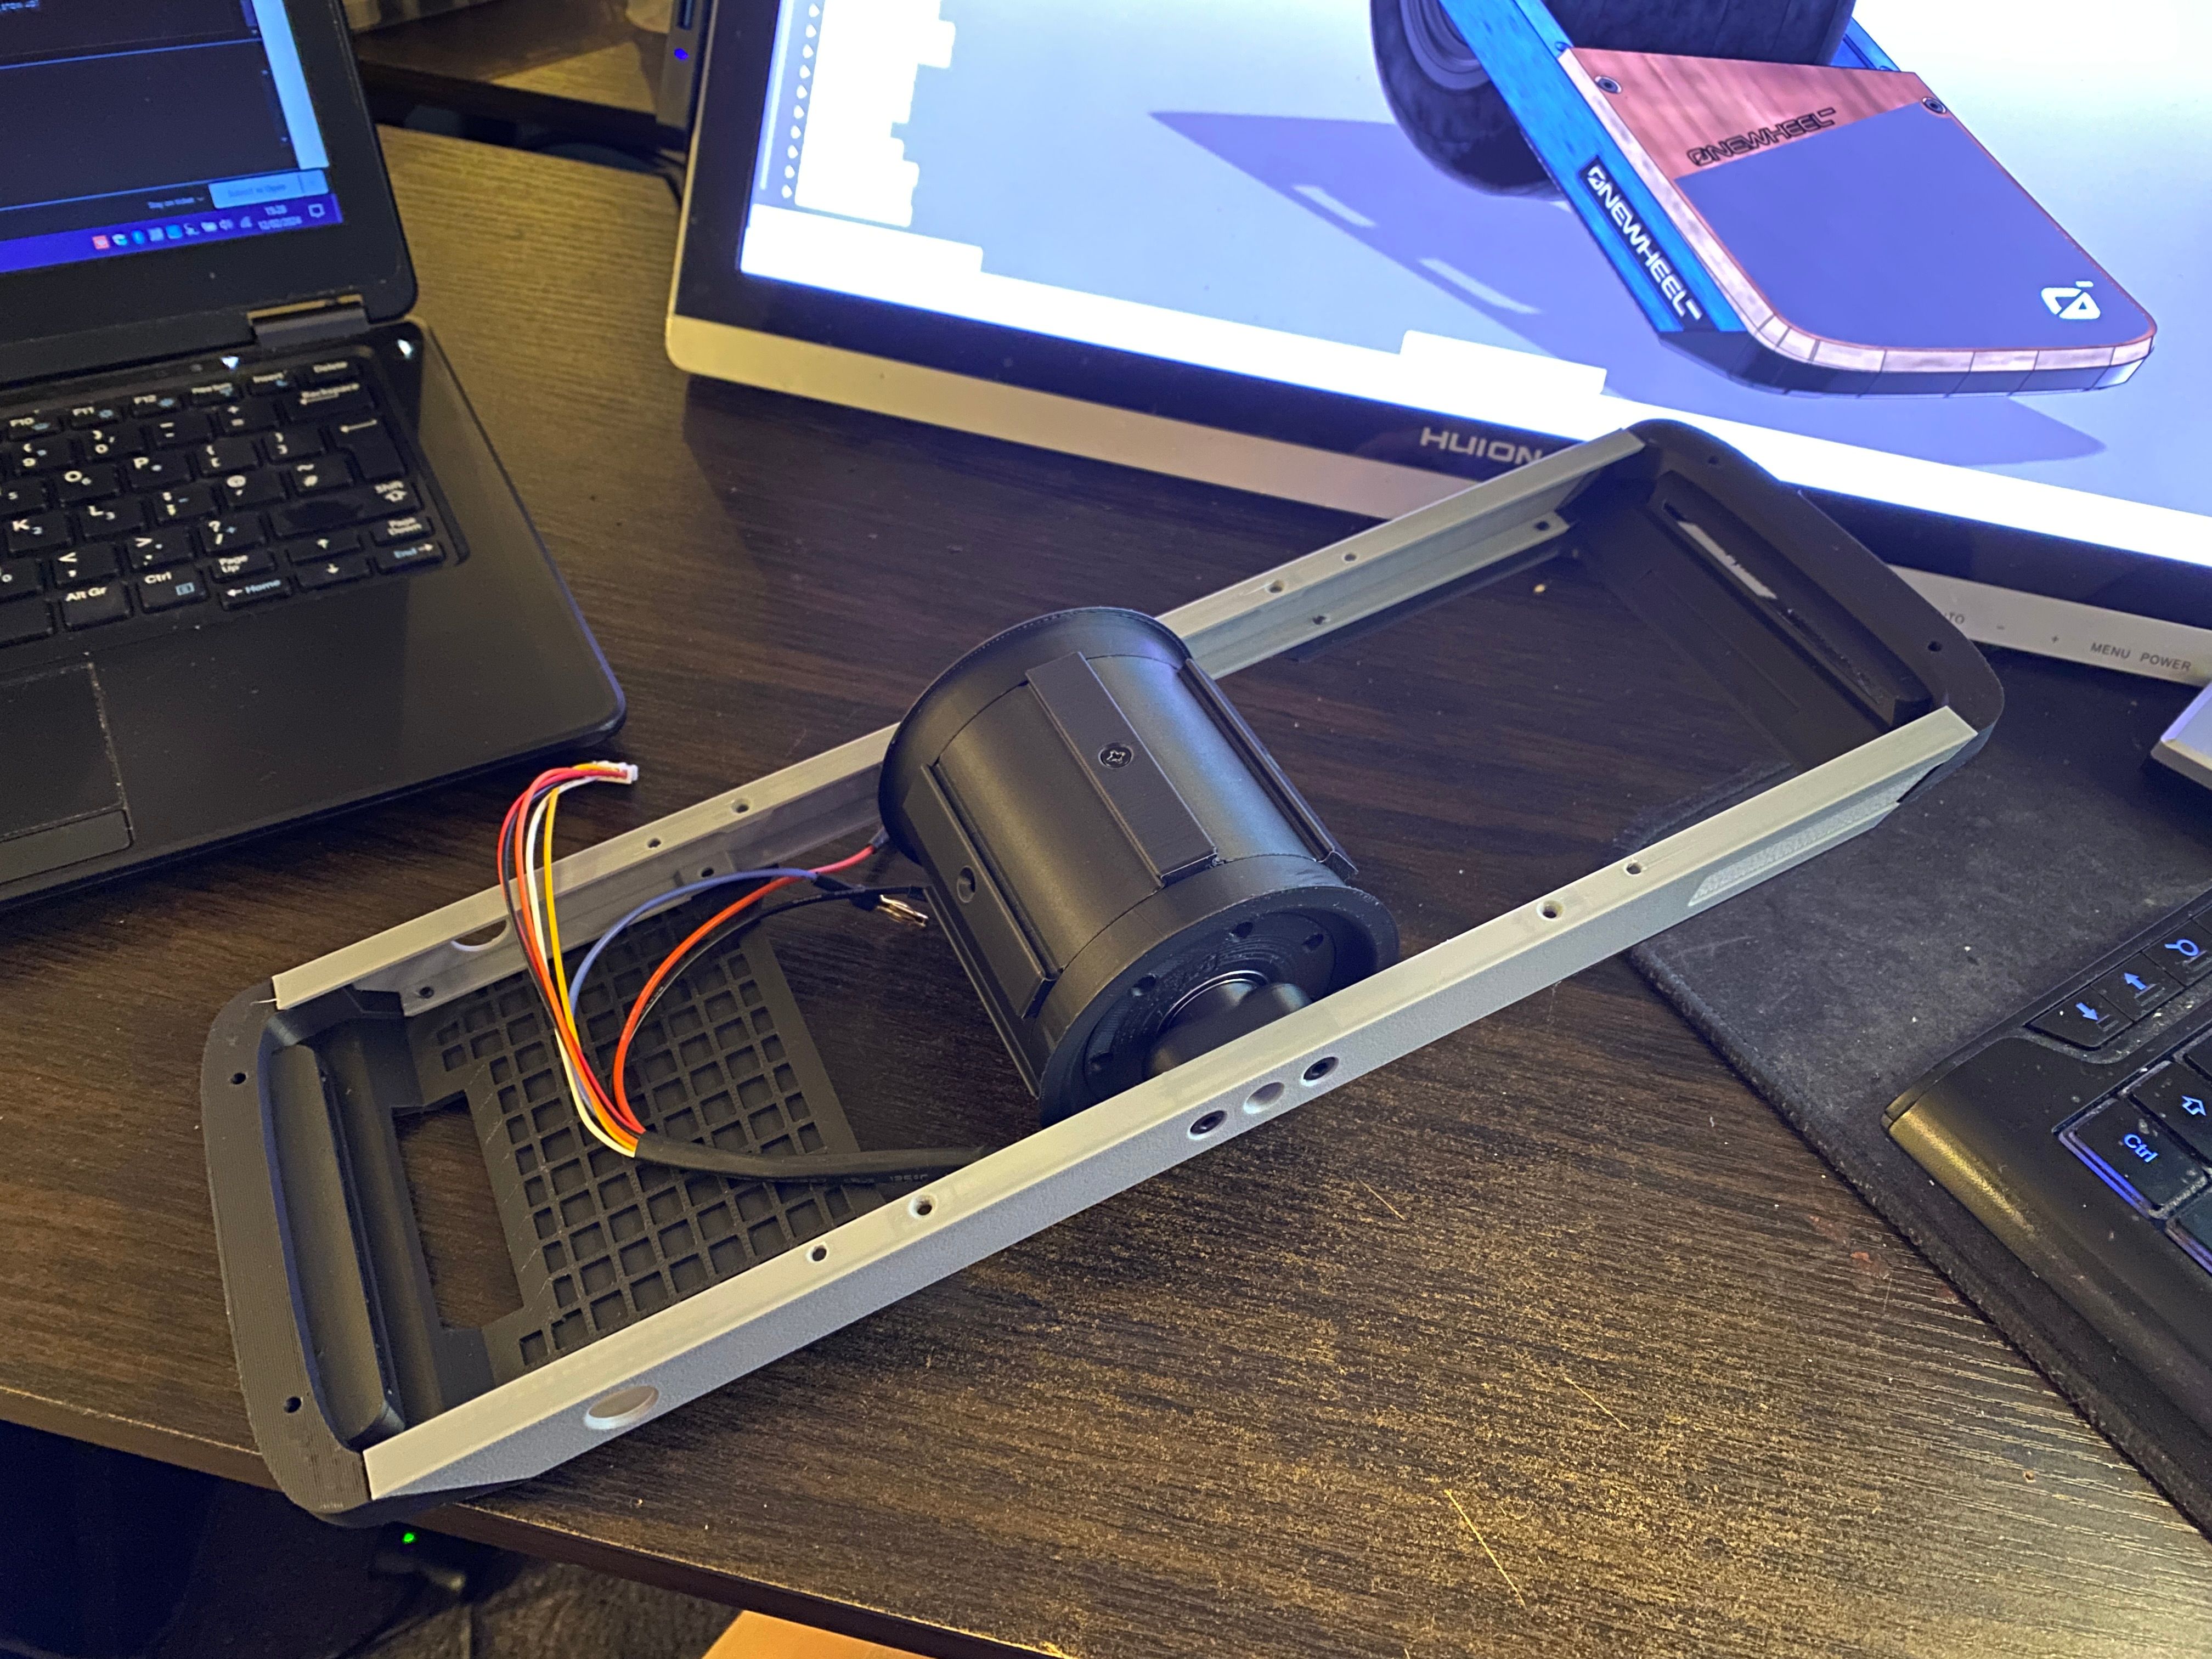
I'm redoing how the ESC works and include some new features. For one an actual way to power it on and off as the BMS mods didn't work on the MK1. Once those show up I can do some tests.
-
@lia That looks fantastic!
-
@lemur Thank you :)
-
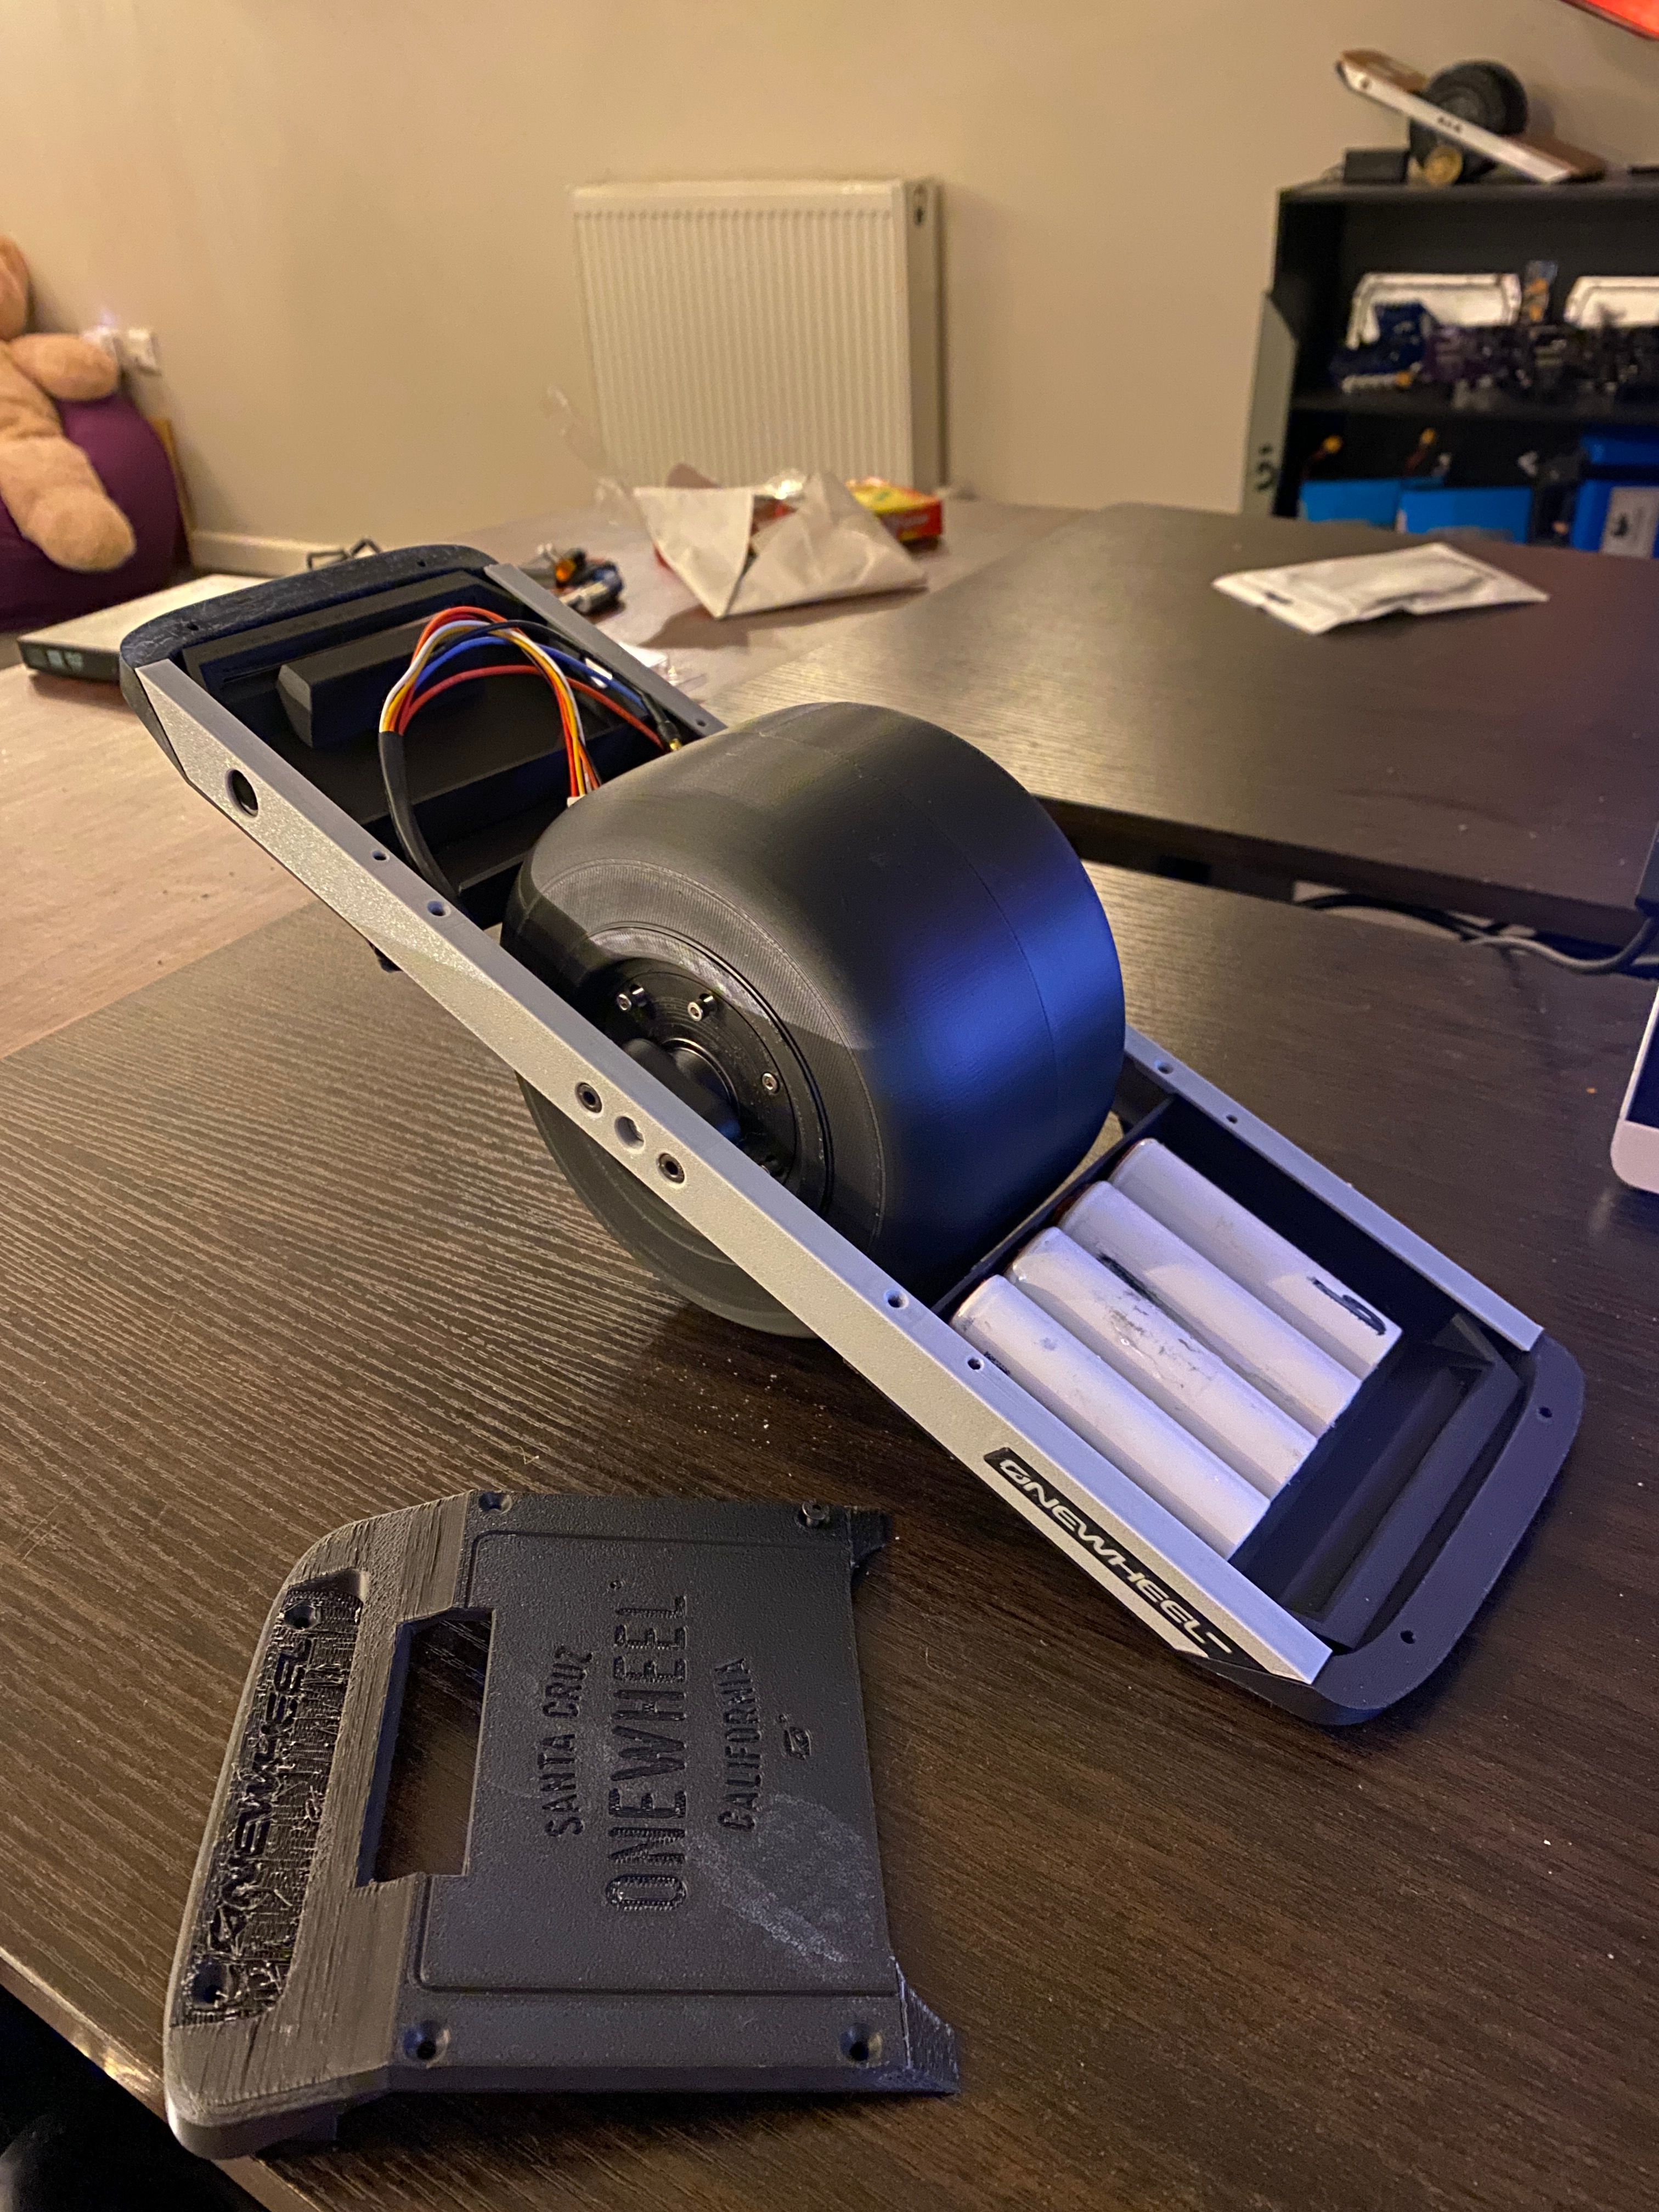
Ancient resin that I need to replace didn't do great making a bumper but the new model with the HD lettering looks great. Even the absolutely tiny Registered ® came out.
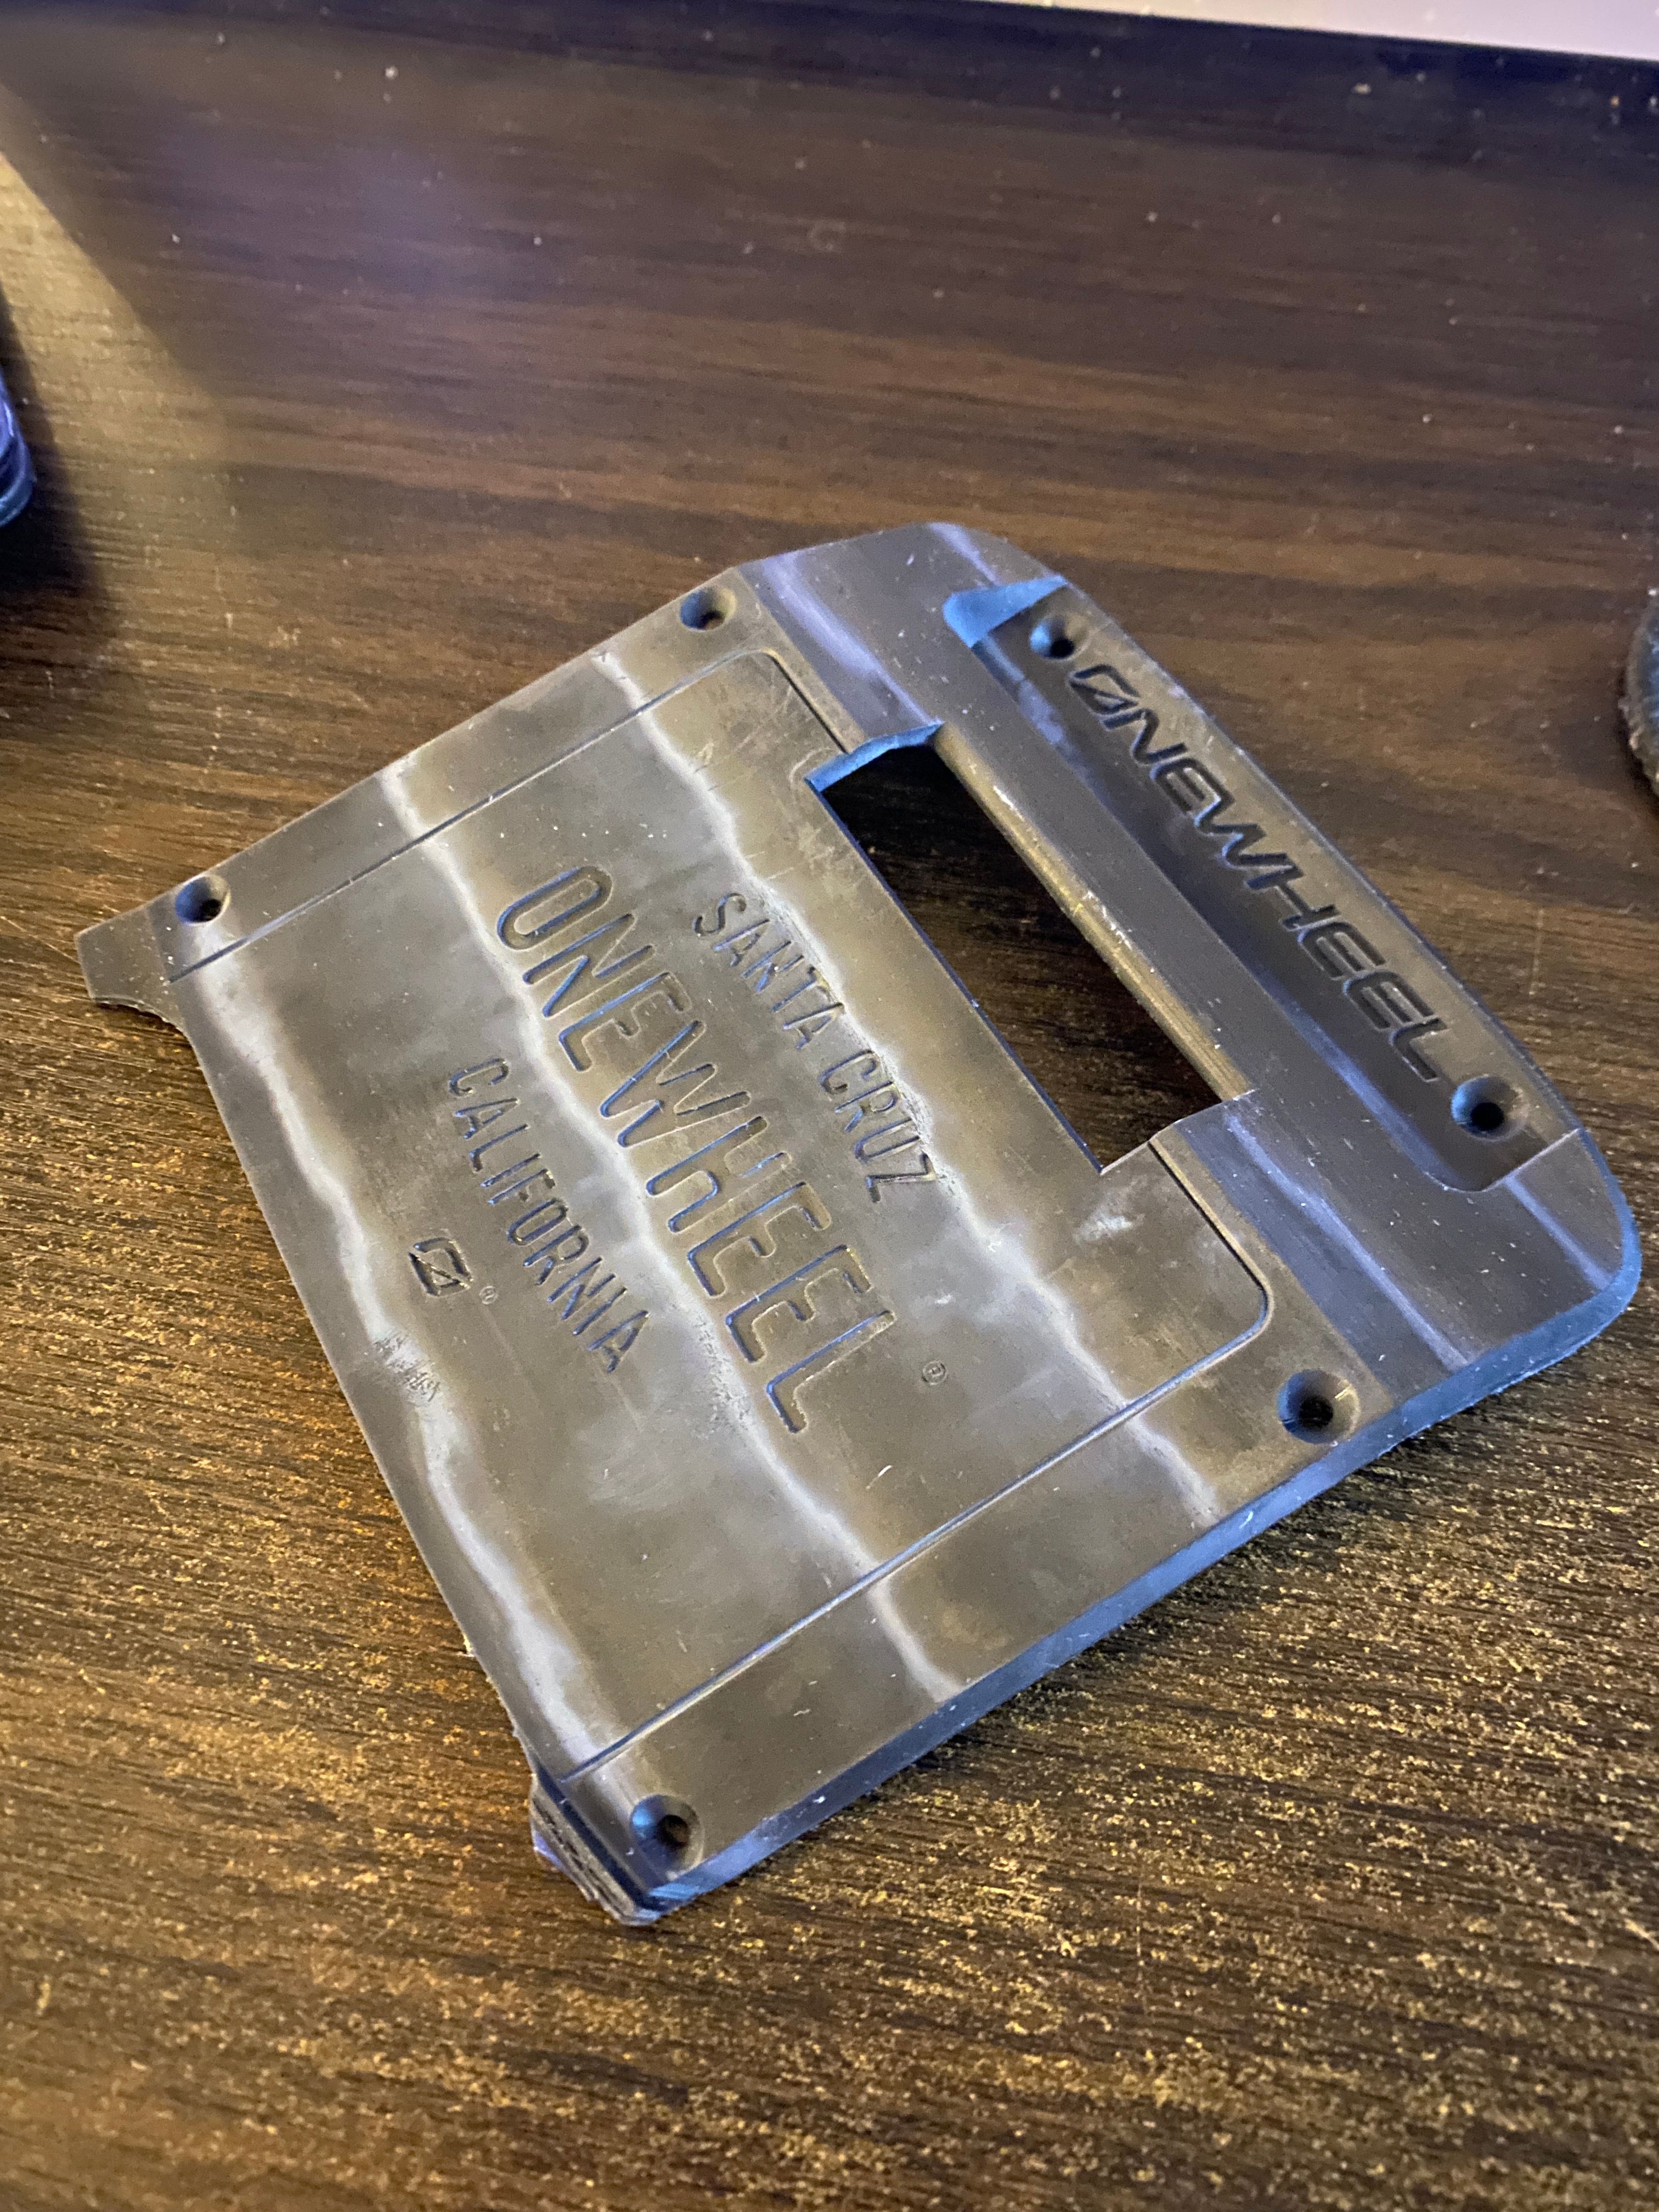
The weird white stains are still a thing but they showed up really bad only once I did the water bath to clean and dissolve the resin after an initial ISO bath. I think that resin is defo bad.Working on a really well done positive for the tire so I can later make a silicon negative and finally a final silicone rubber tire. I still need to resin print the lettering for the tire but since I'm waiting for the new resin I can't yet 😭
In the meantime here's a sneaky pic.
-
Bulk update tiiiime ^-^
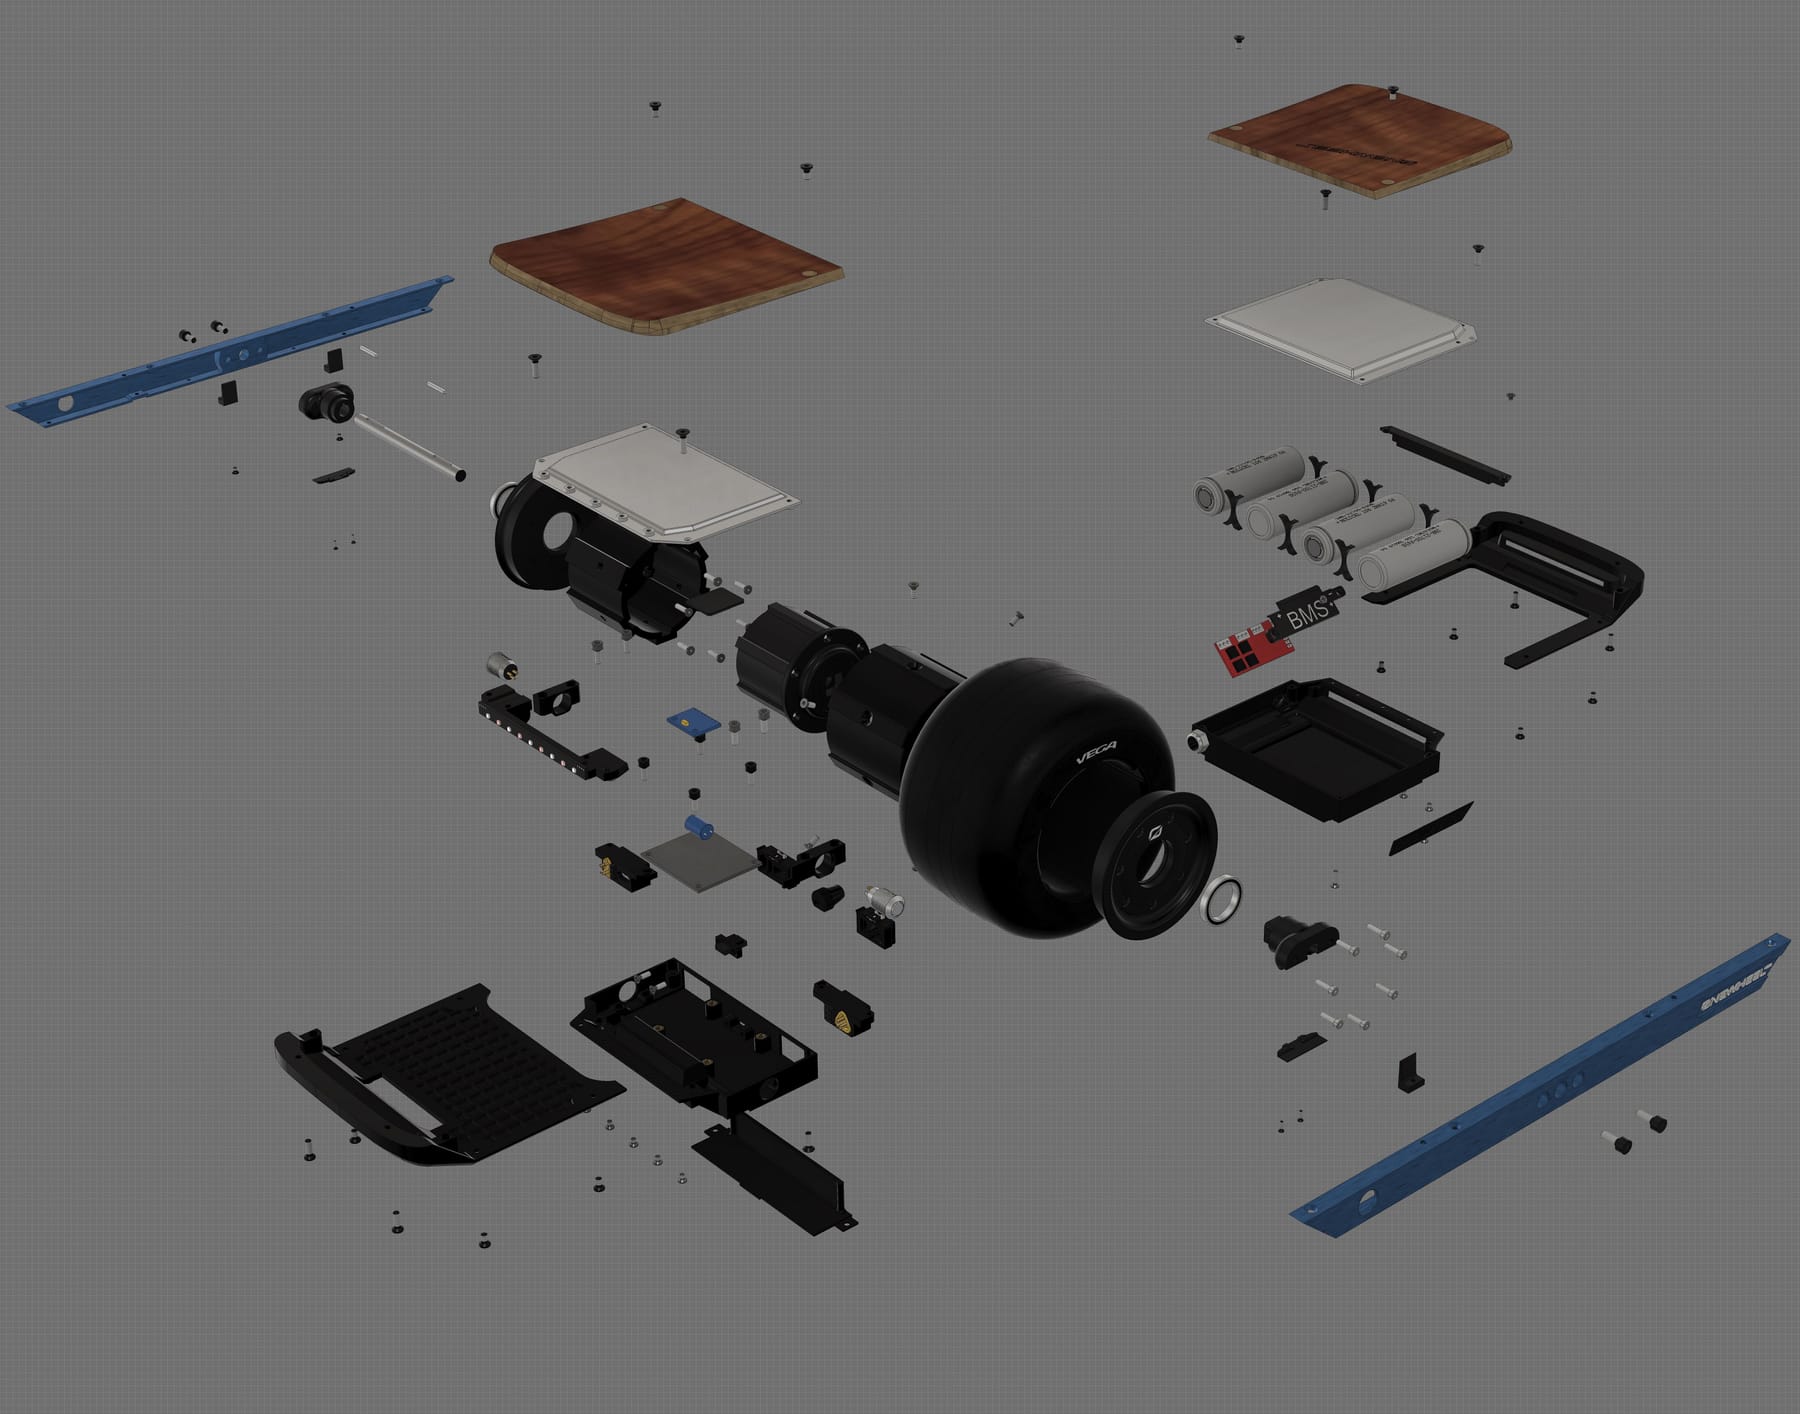
First some CAD images because they look cool but also try to show how complex this thing is.
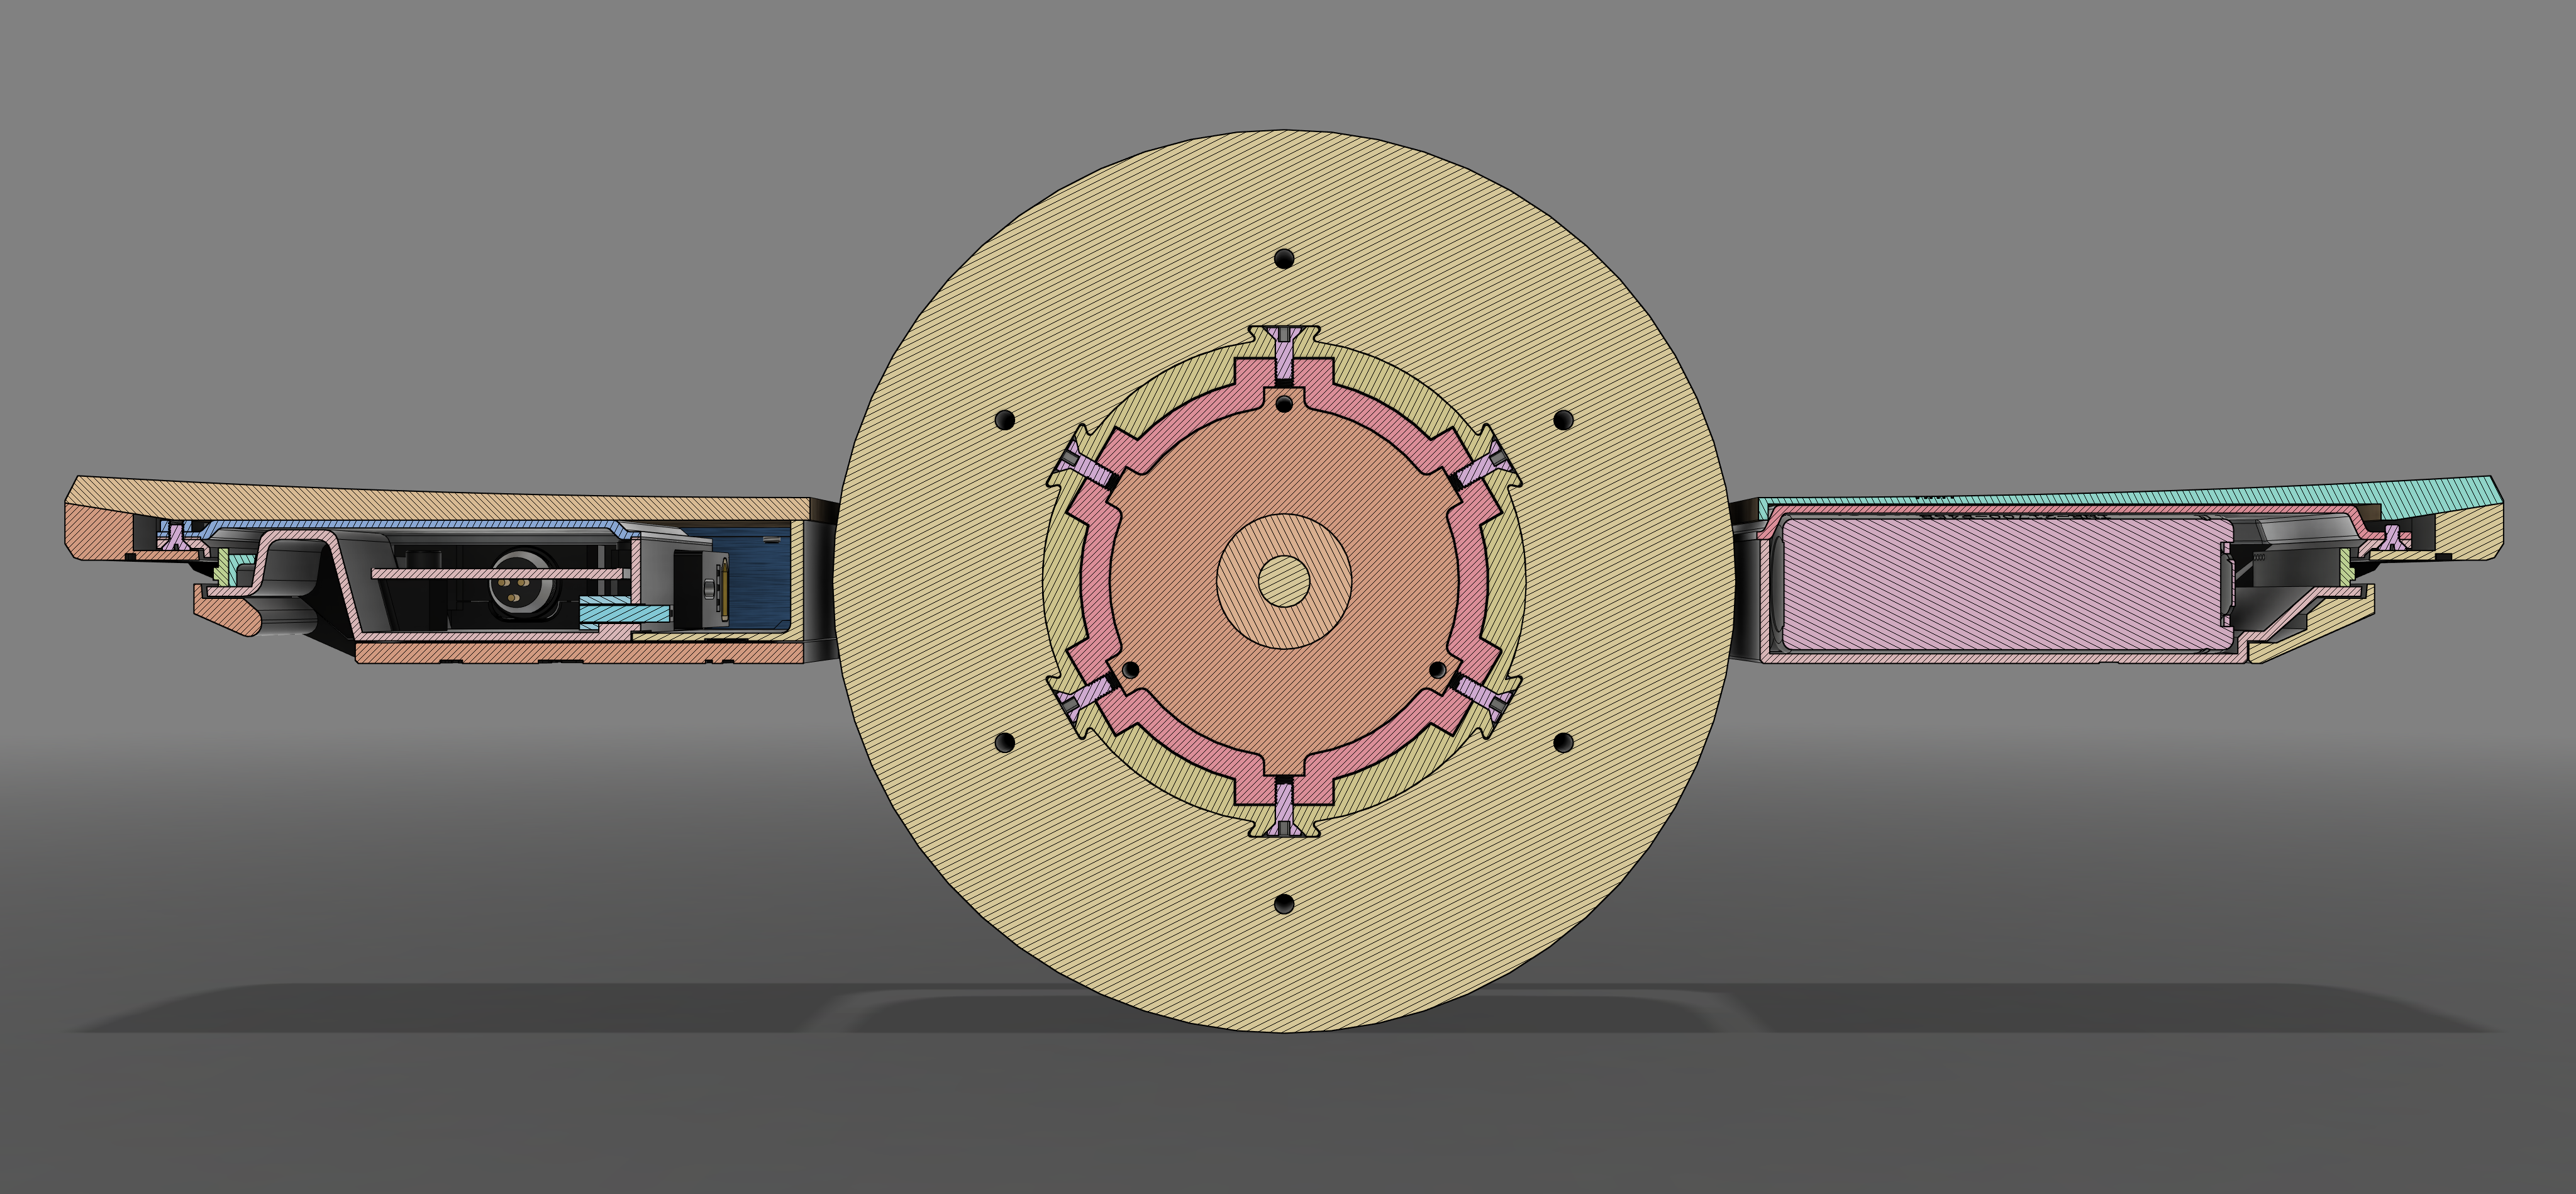

Nearly finished work on the controller side. Mostly been redoing where stuff goes now that I've changed how it actually works. Power button won't need any fancy circuitry now that I can get the controller to actually do it.
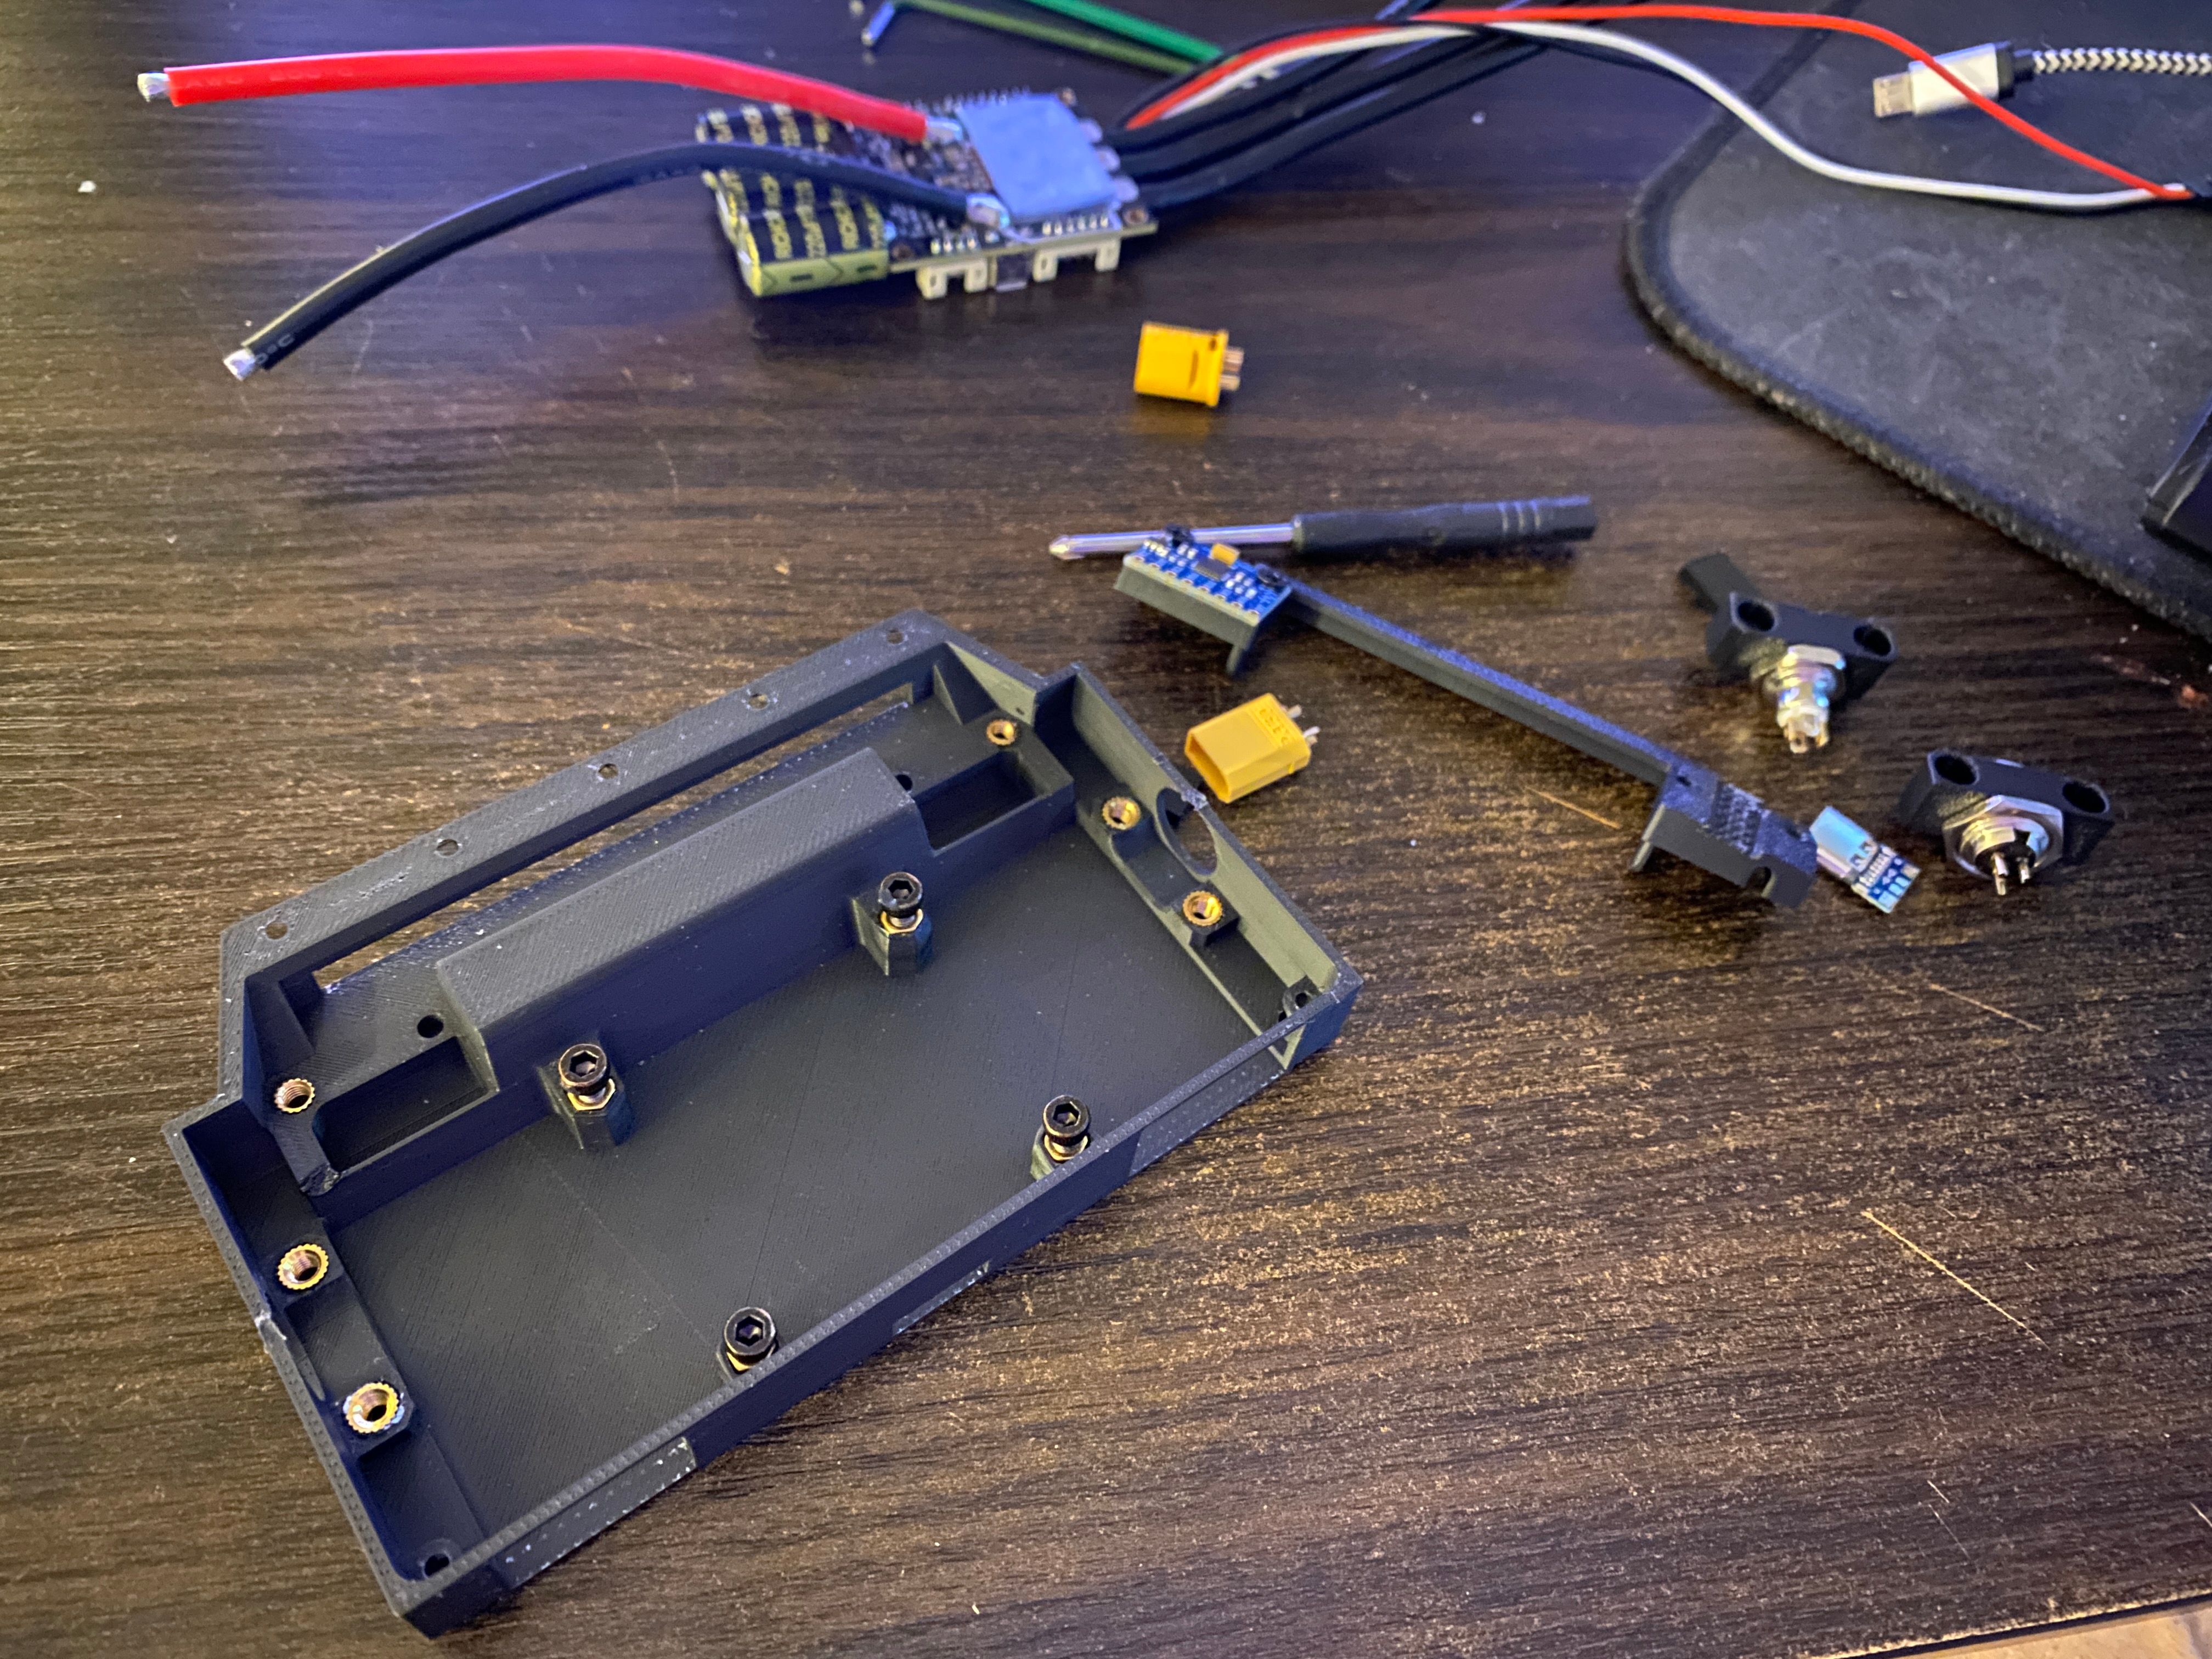
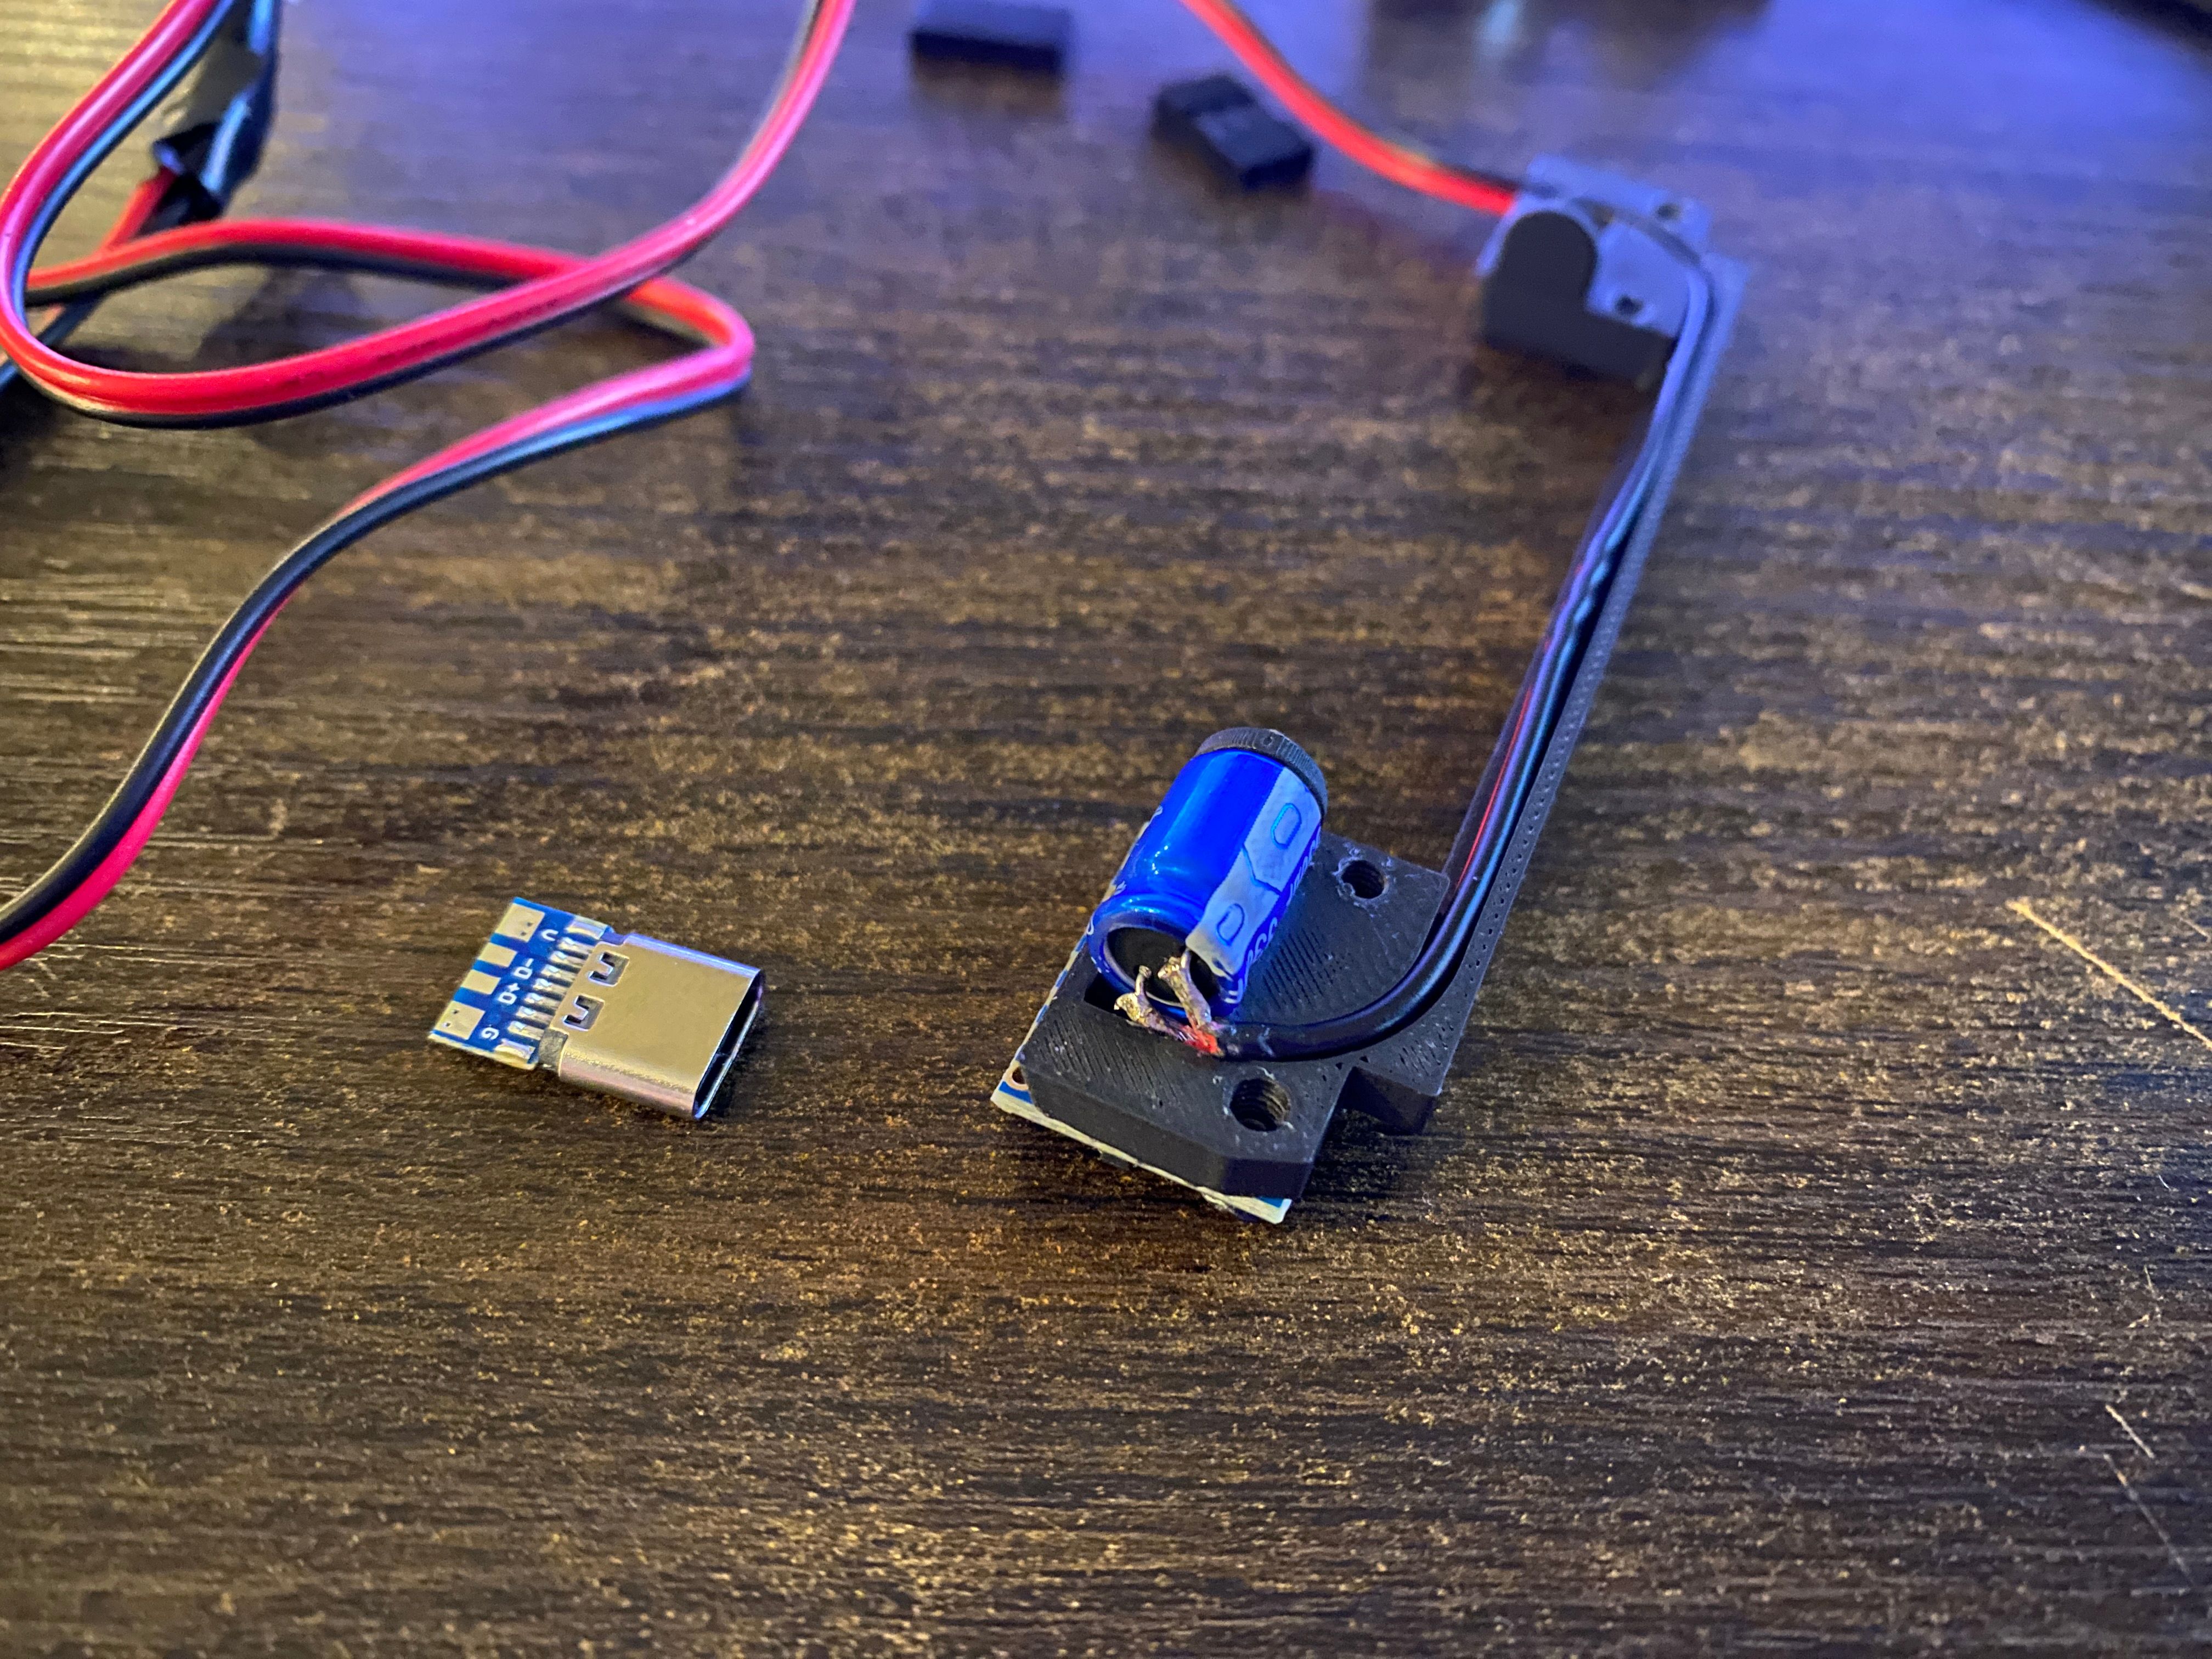
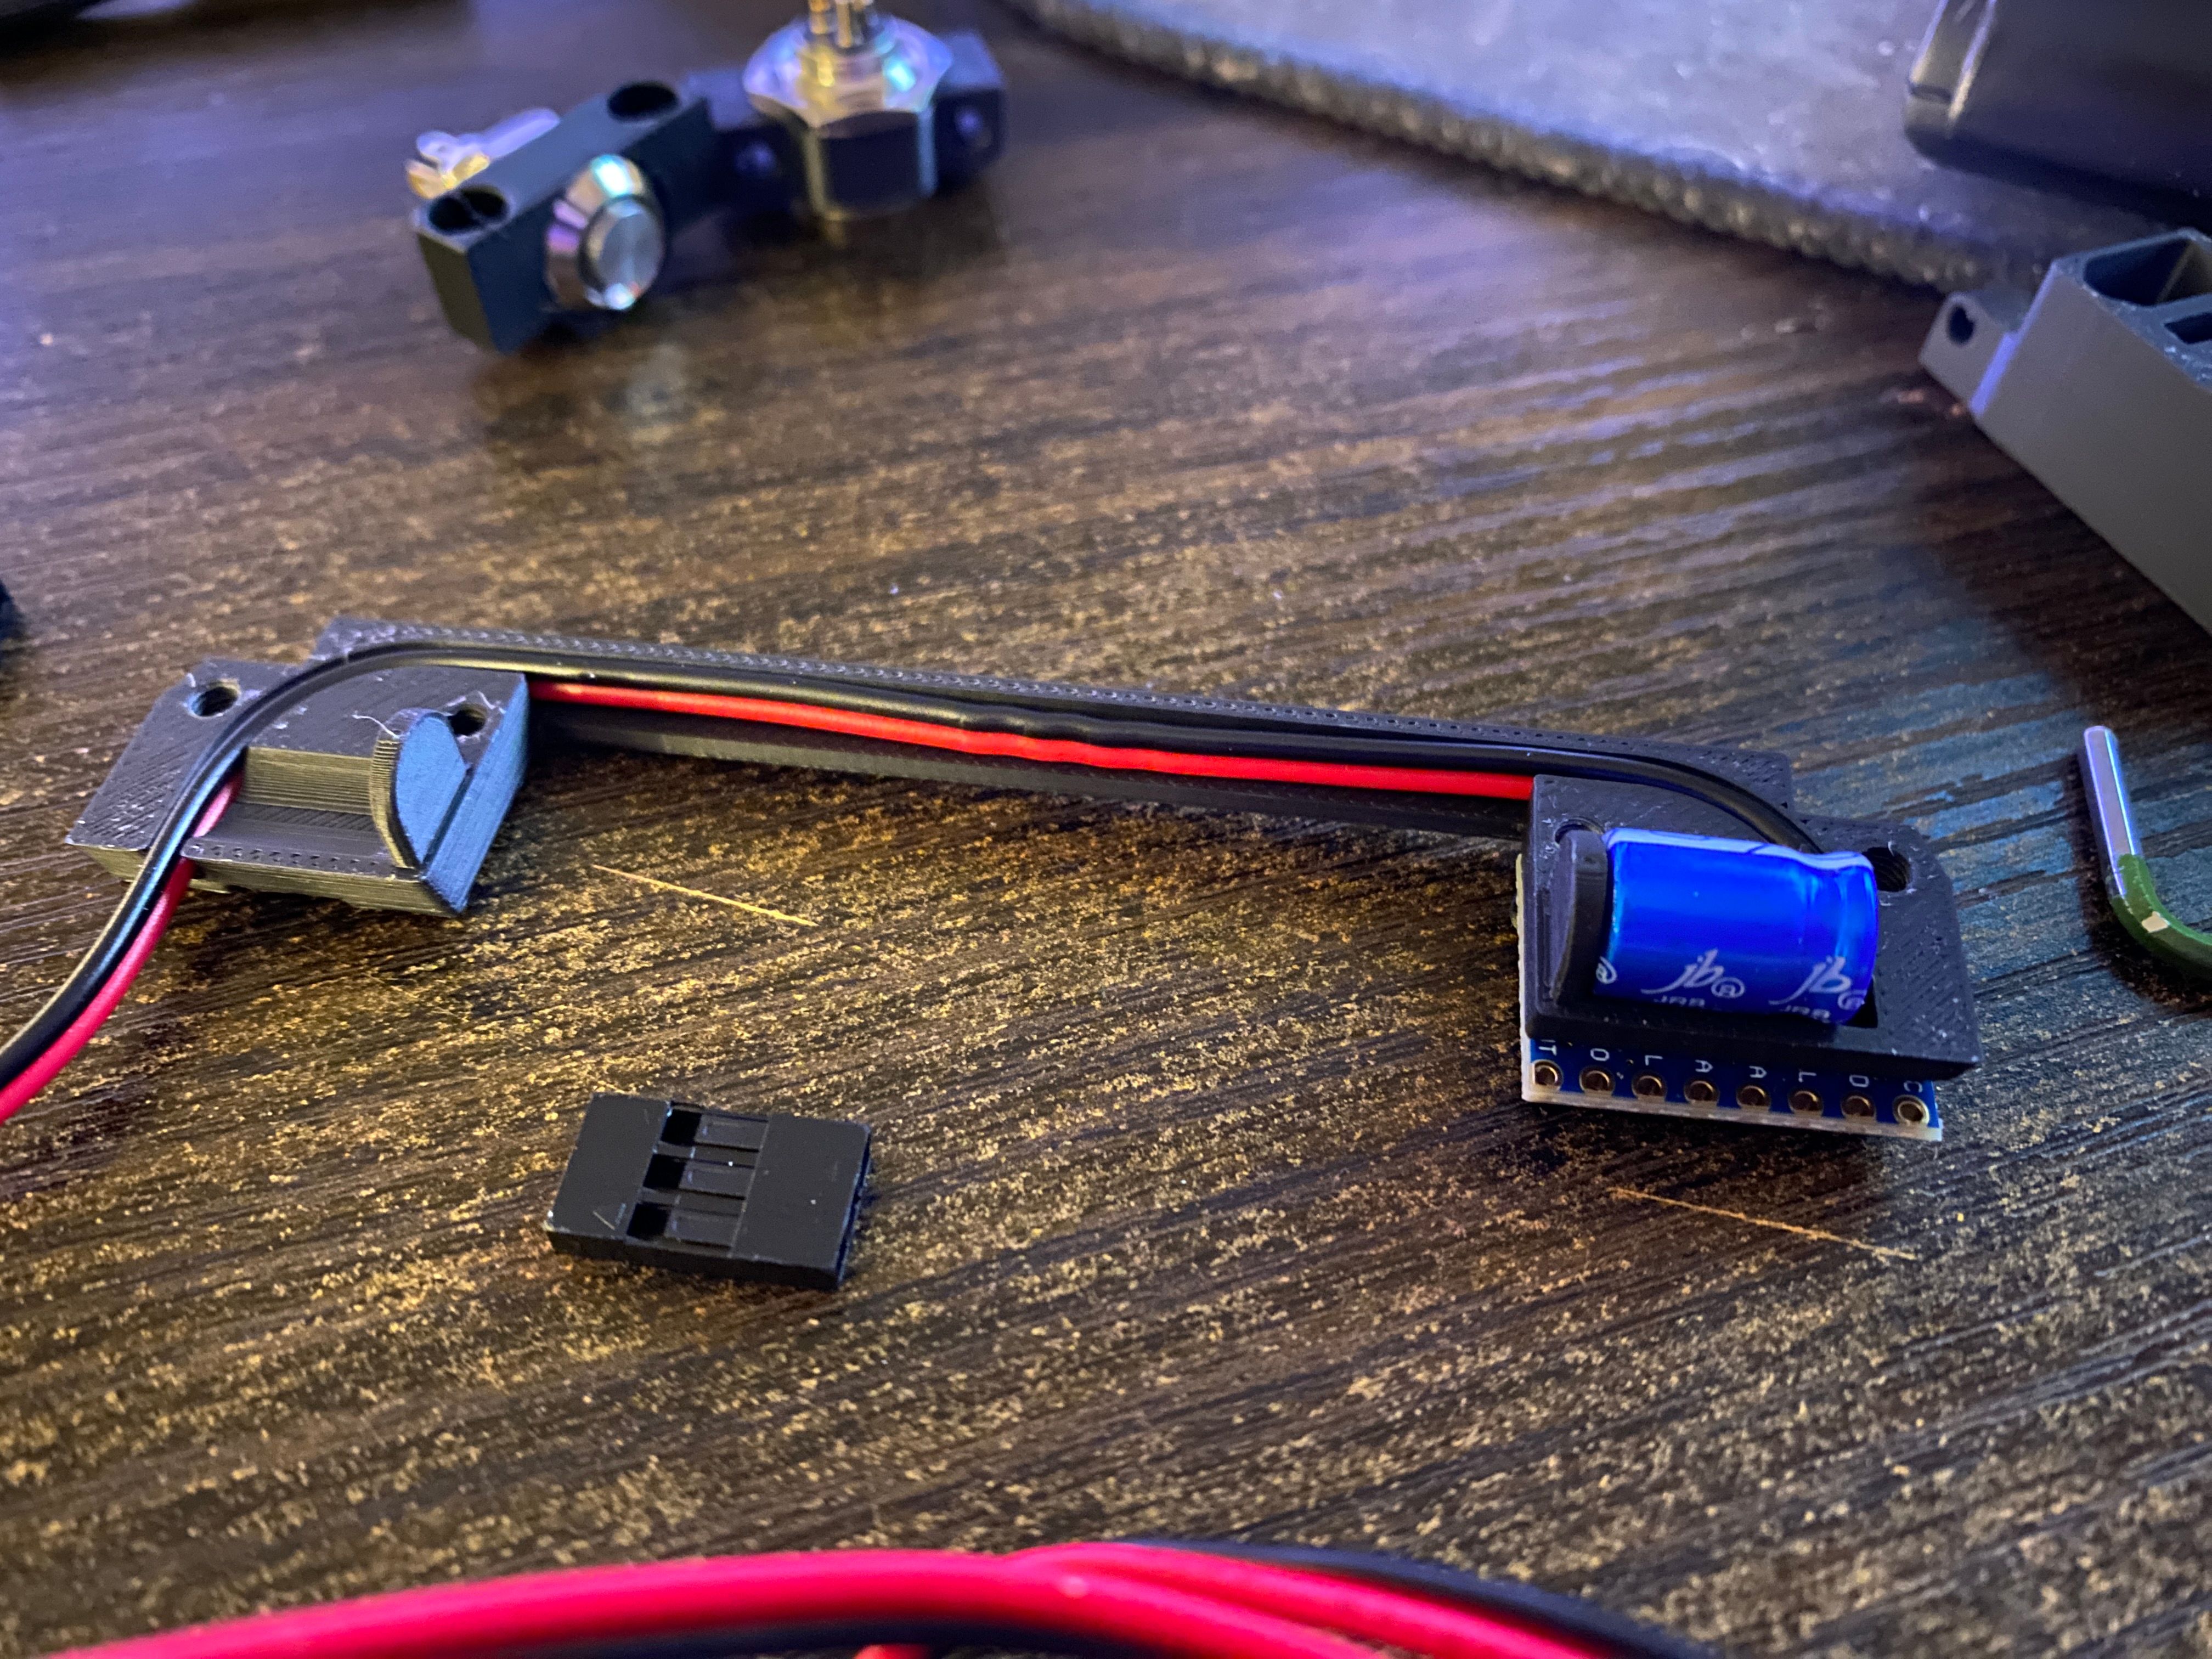
Headlight bracket triples as the power cap holder and the IMU mount. USB C for scale (and not because I couldn't be bothered to move it out the shot).
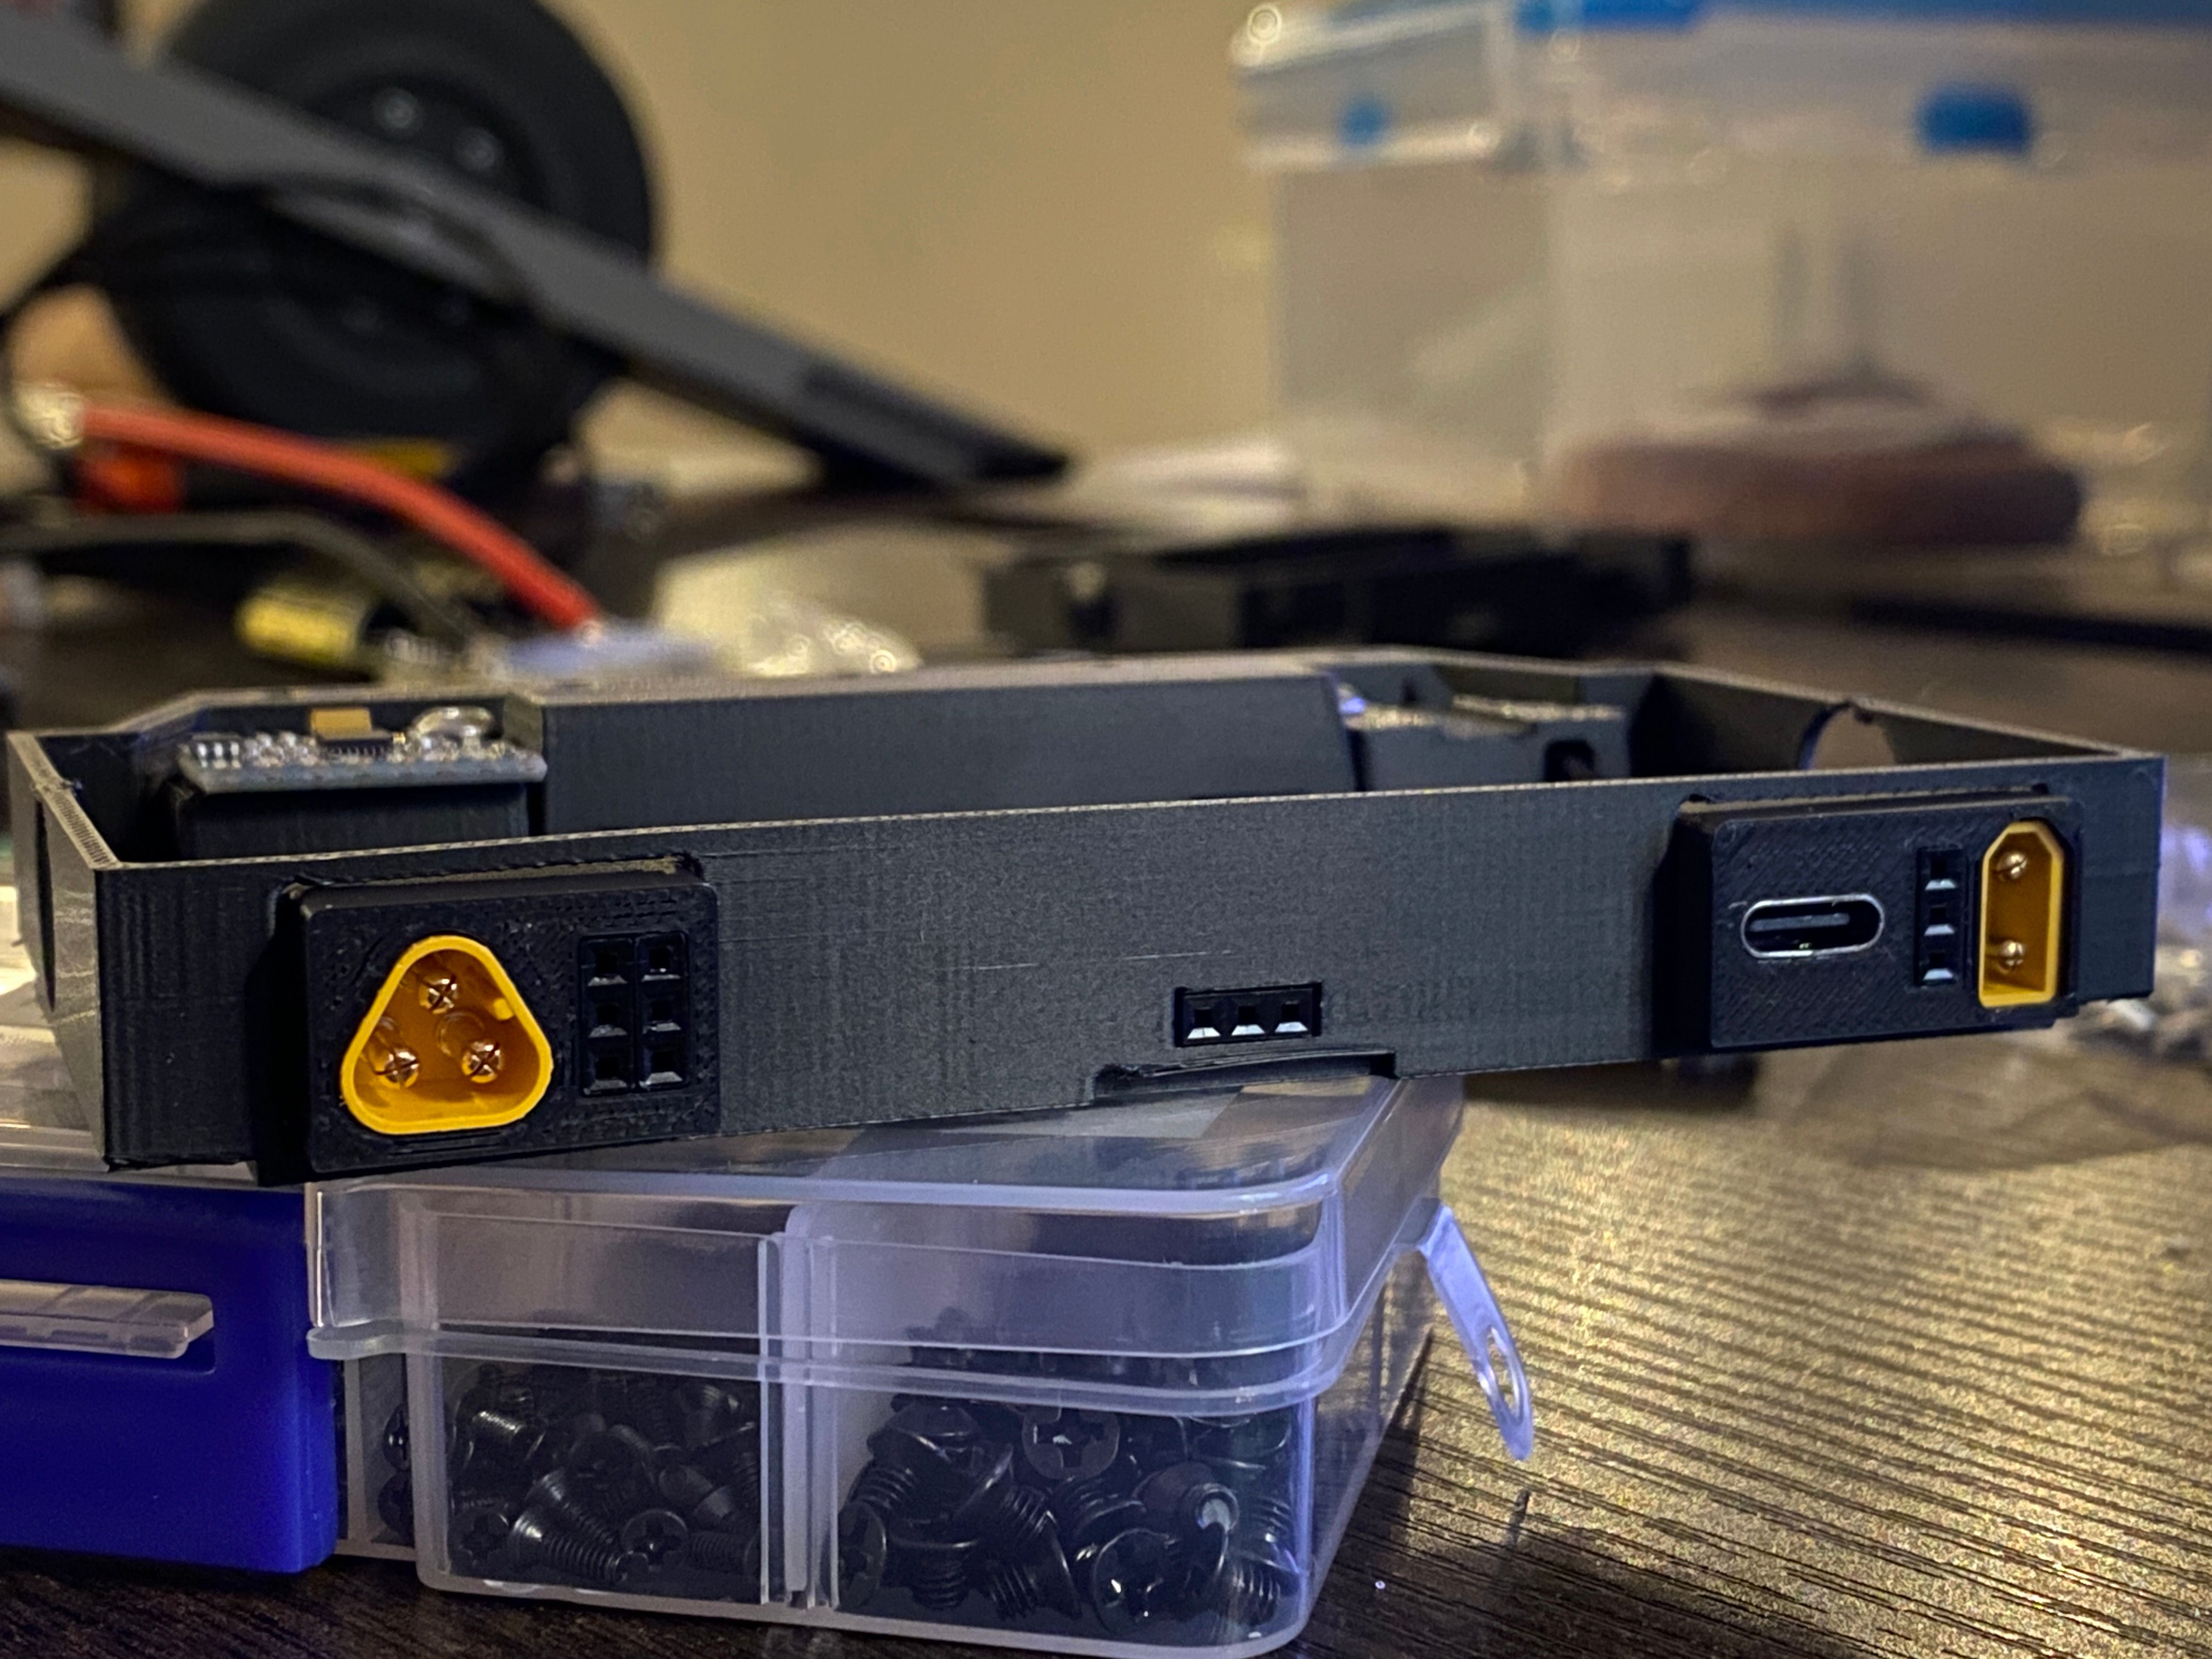
Rear IO is a little different too. USB C for programming/monitoring the VESC but I need to wire that in to replace the USB micro port 🤮
Stinky desk utterly cluttered in parts and it's currently even worse😭

Press forming the lids using some 3d printed forms then crushing the 2 halves together with a sheet of 0.8mm aluminium in the middle. The controller one was easy enough but the battery one which I made a bit taller is not closing completely before bending the screw in my bench vice.
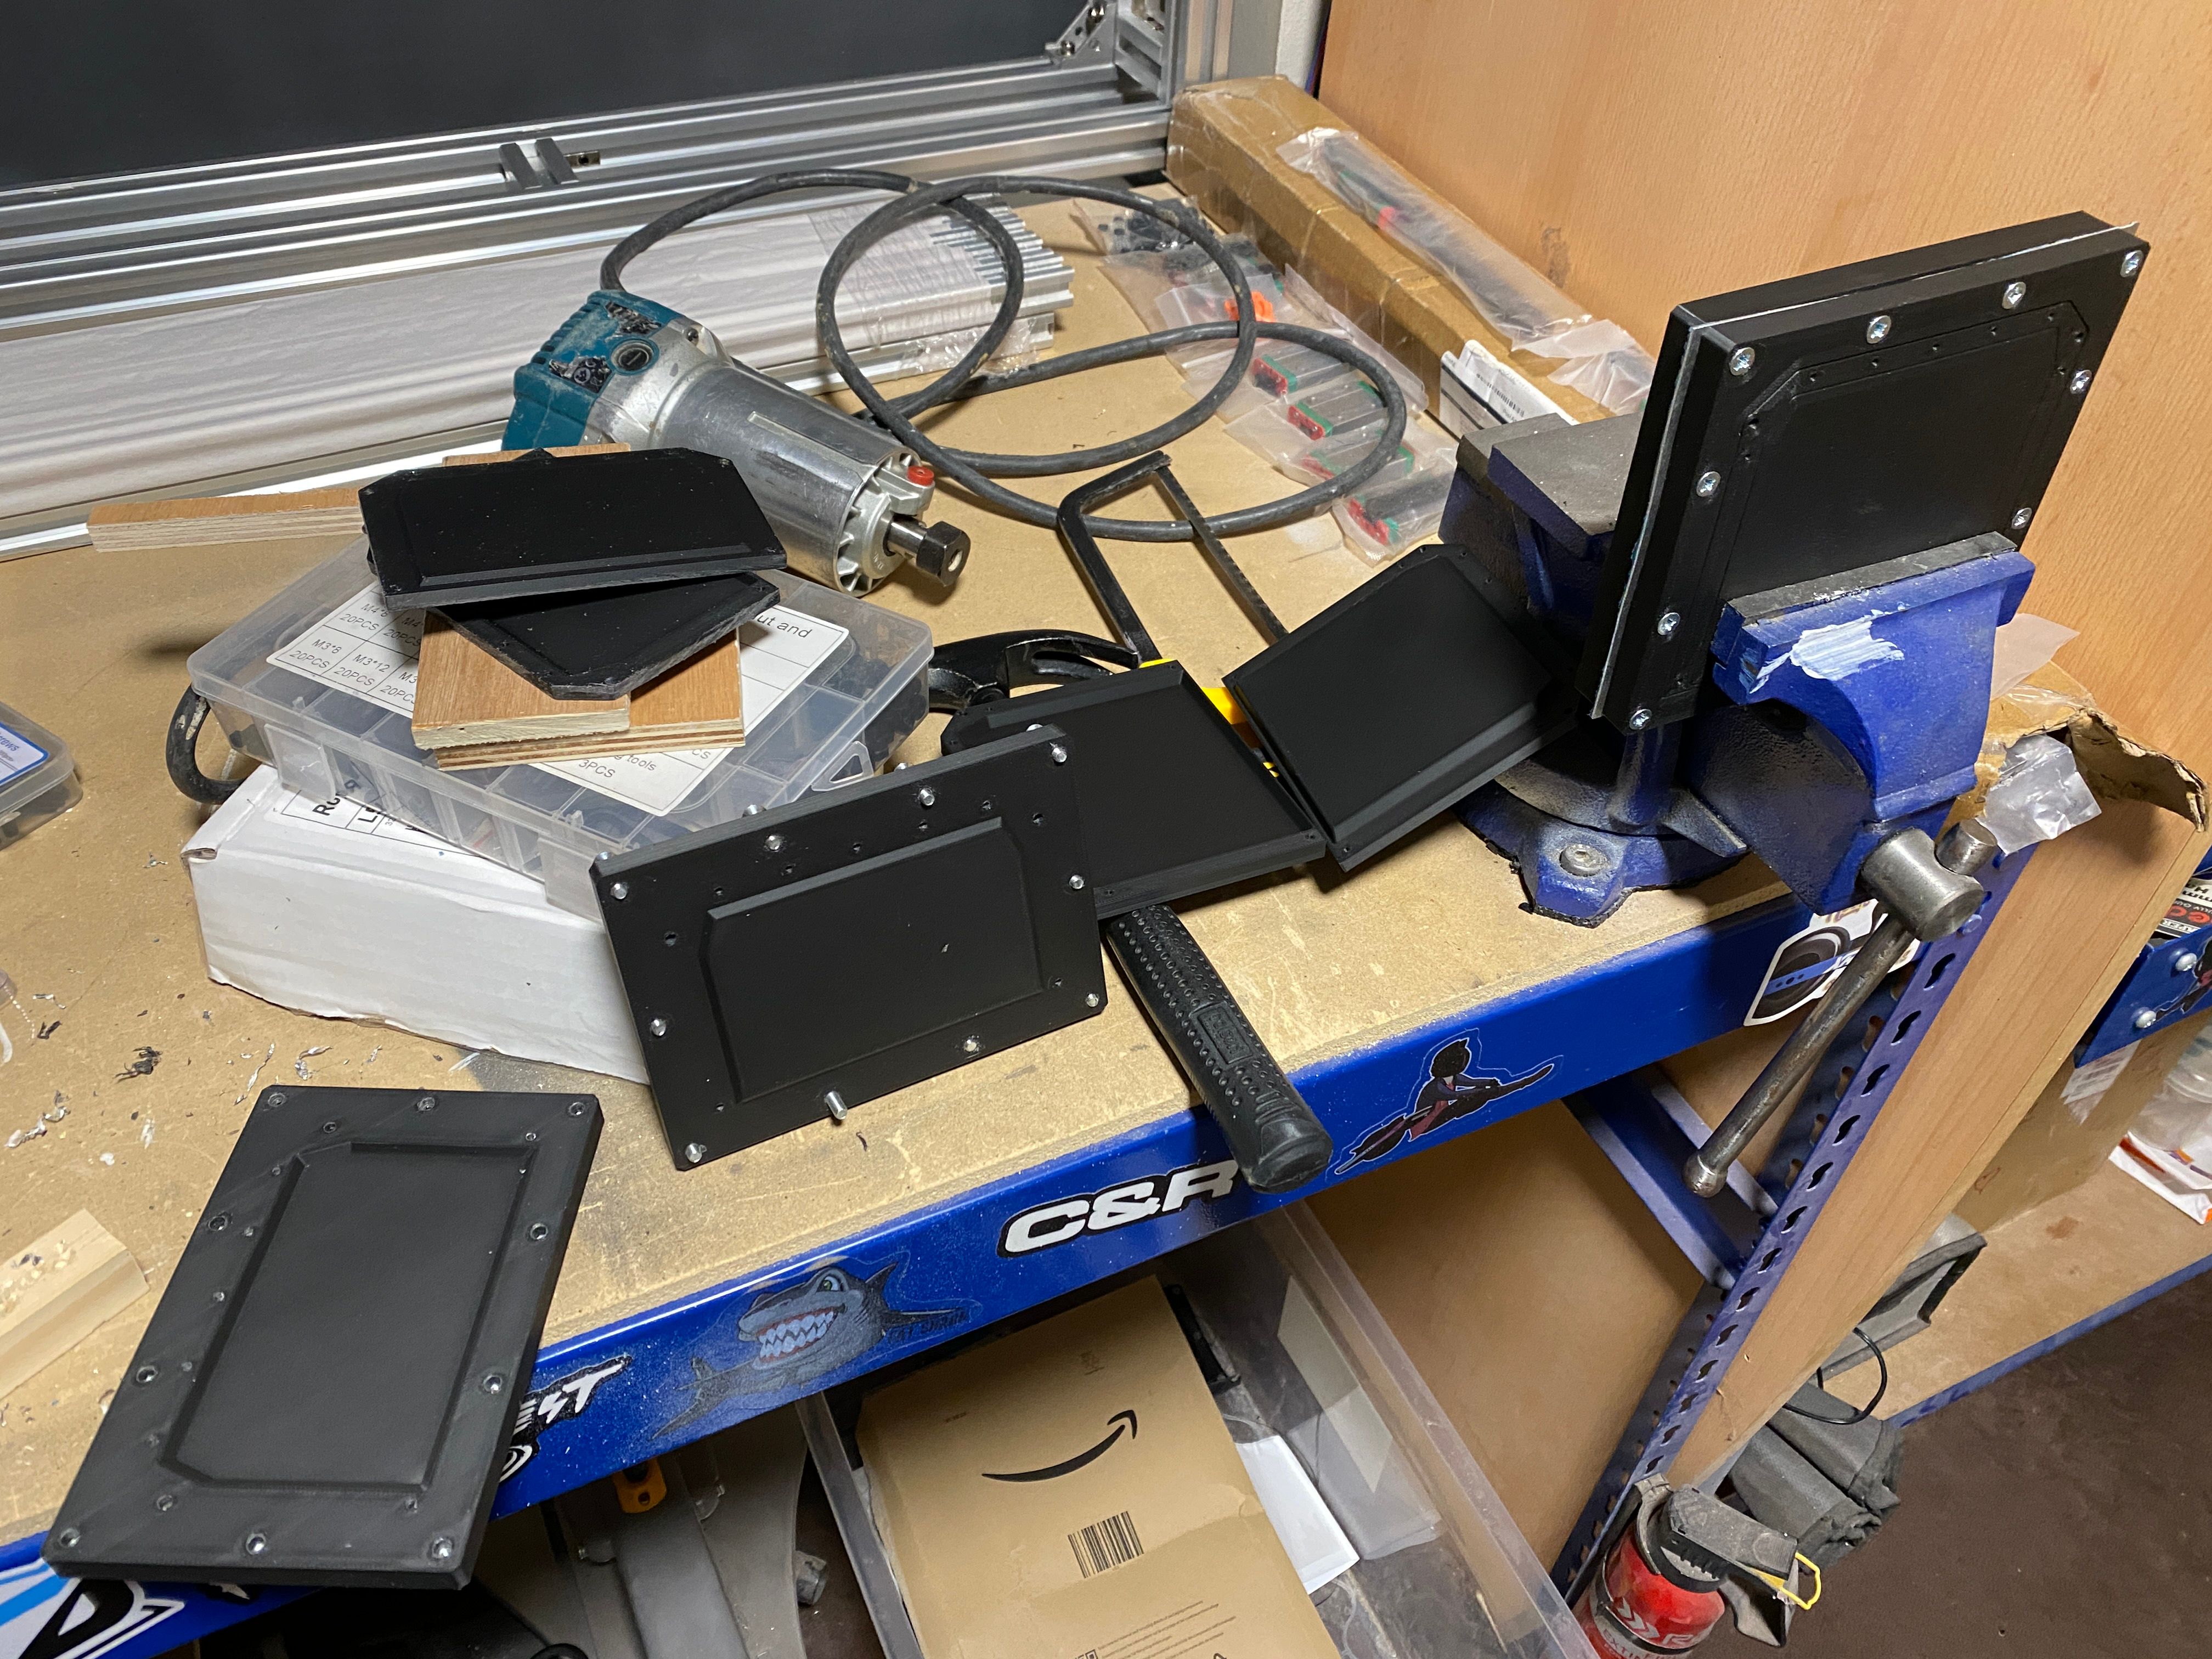
I have a 6 ton hydraulic press on the way to do the job. I'm working on my Finnish accent while I wait for it to arrive.On da benchy prepping for some temporary bodge wires and cable repinning to test it for the first time.
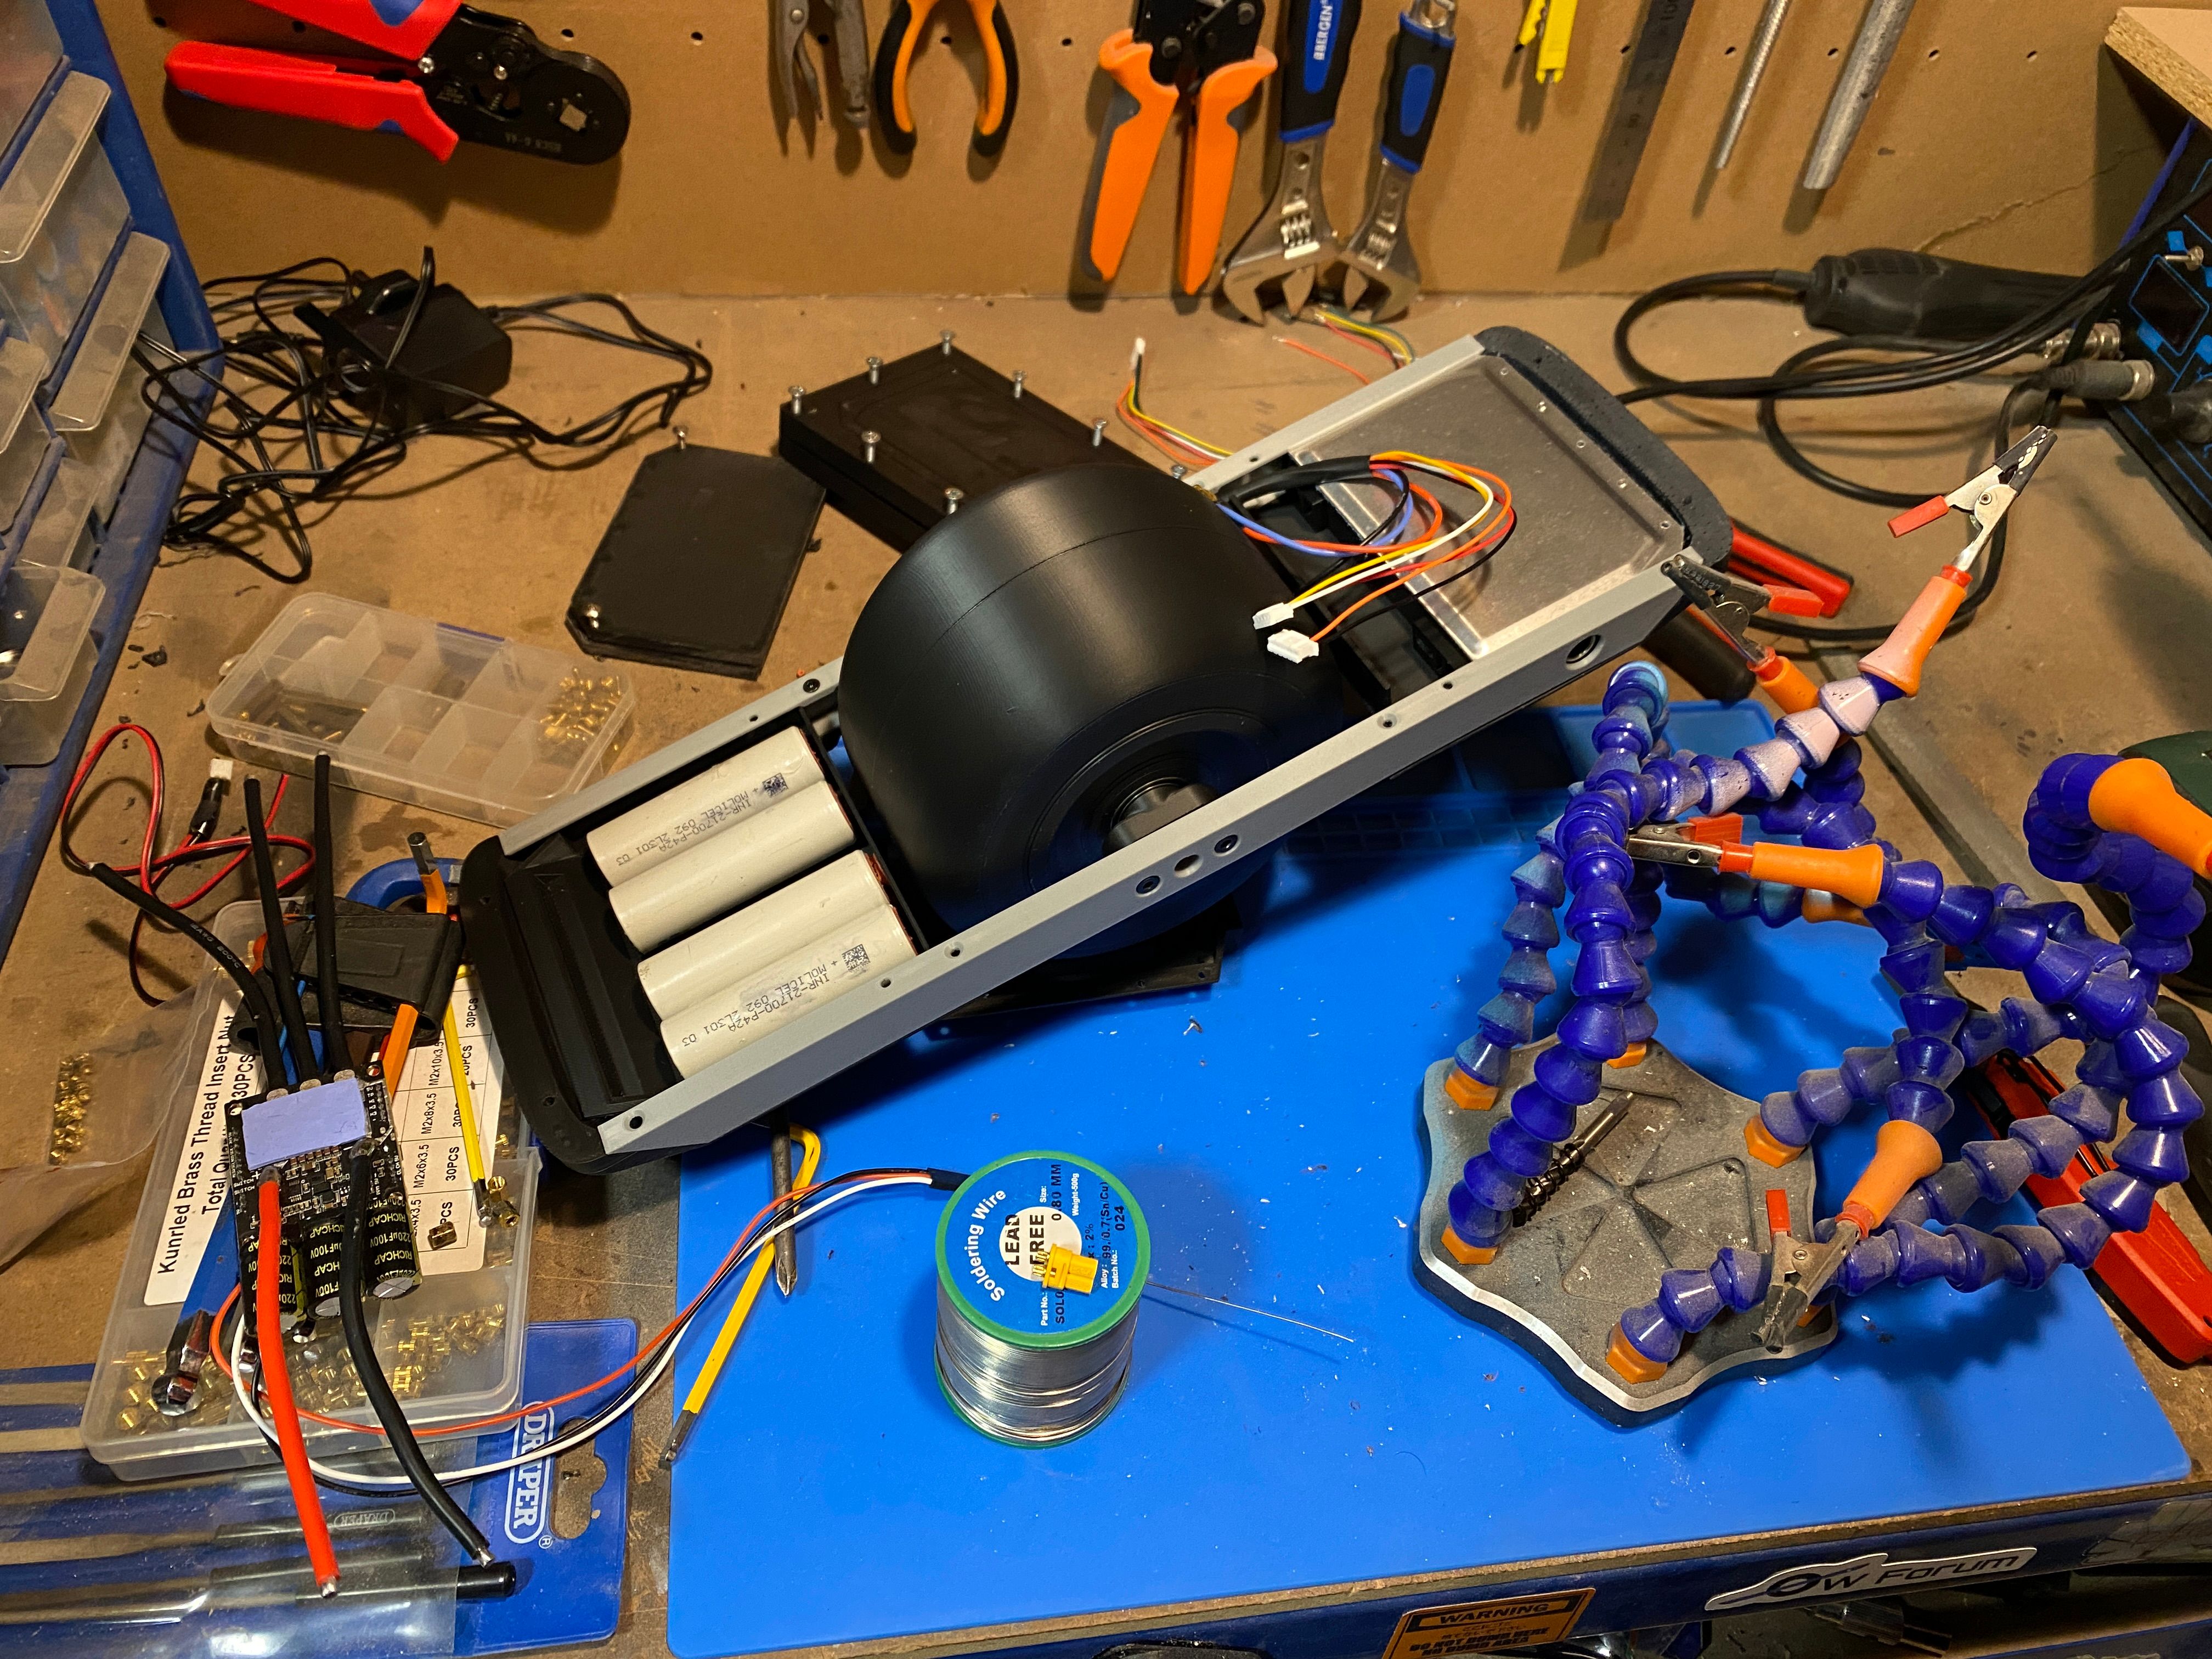
Excuse the crude testing setup. I'm here for results not an award in cable arranging :3 Better than the bucket I used last time I guess.
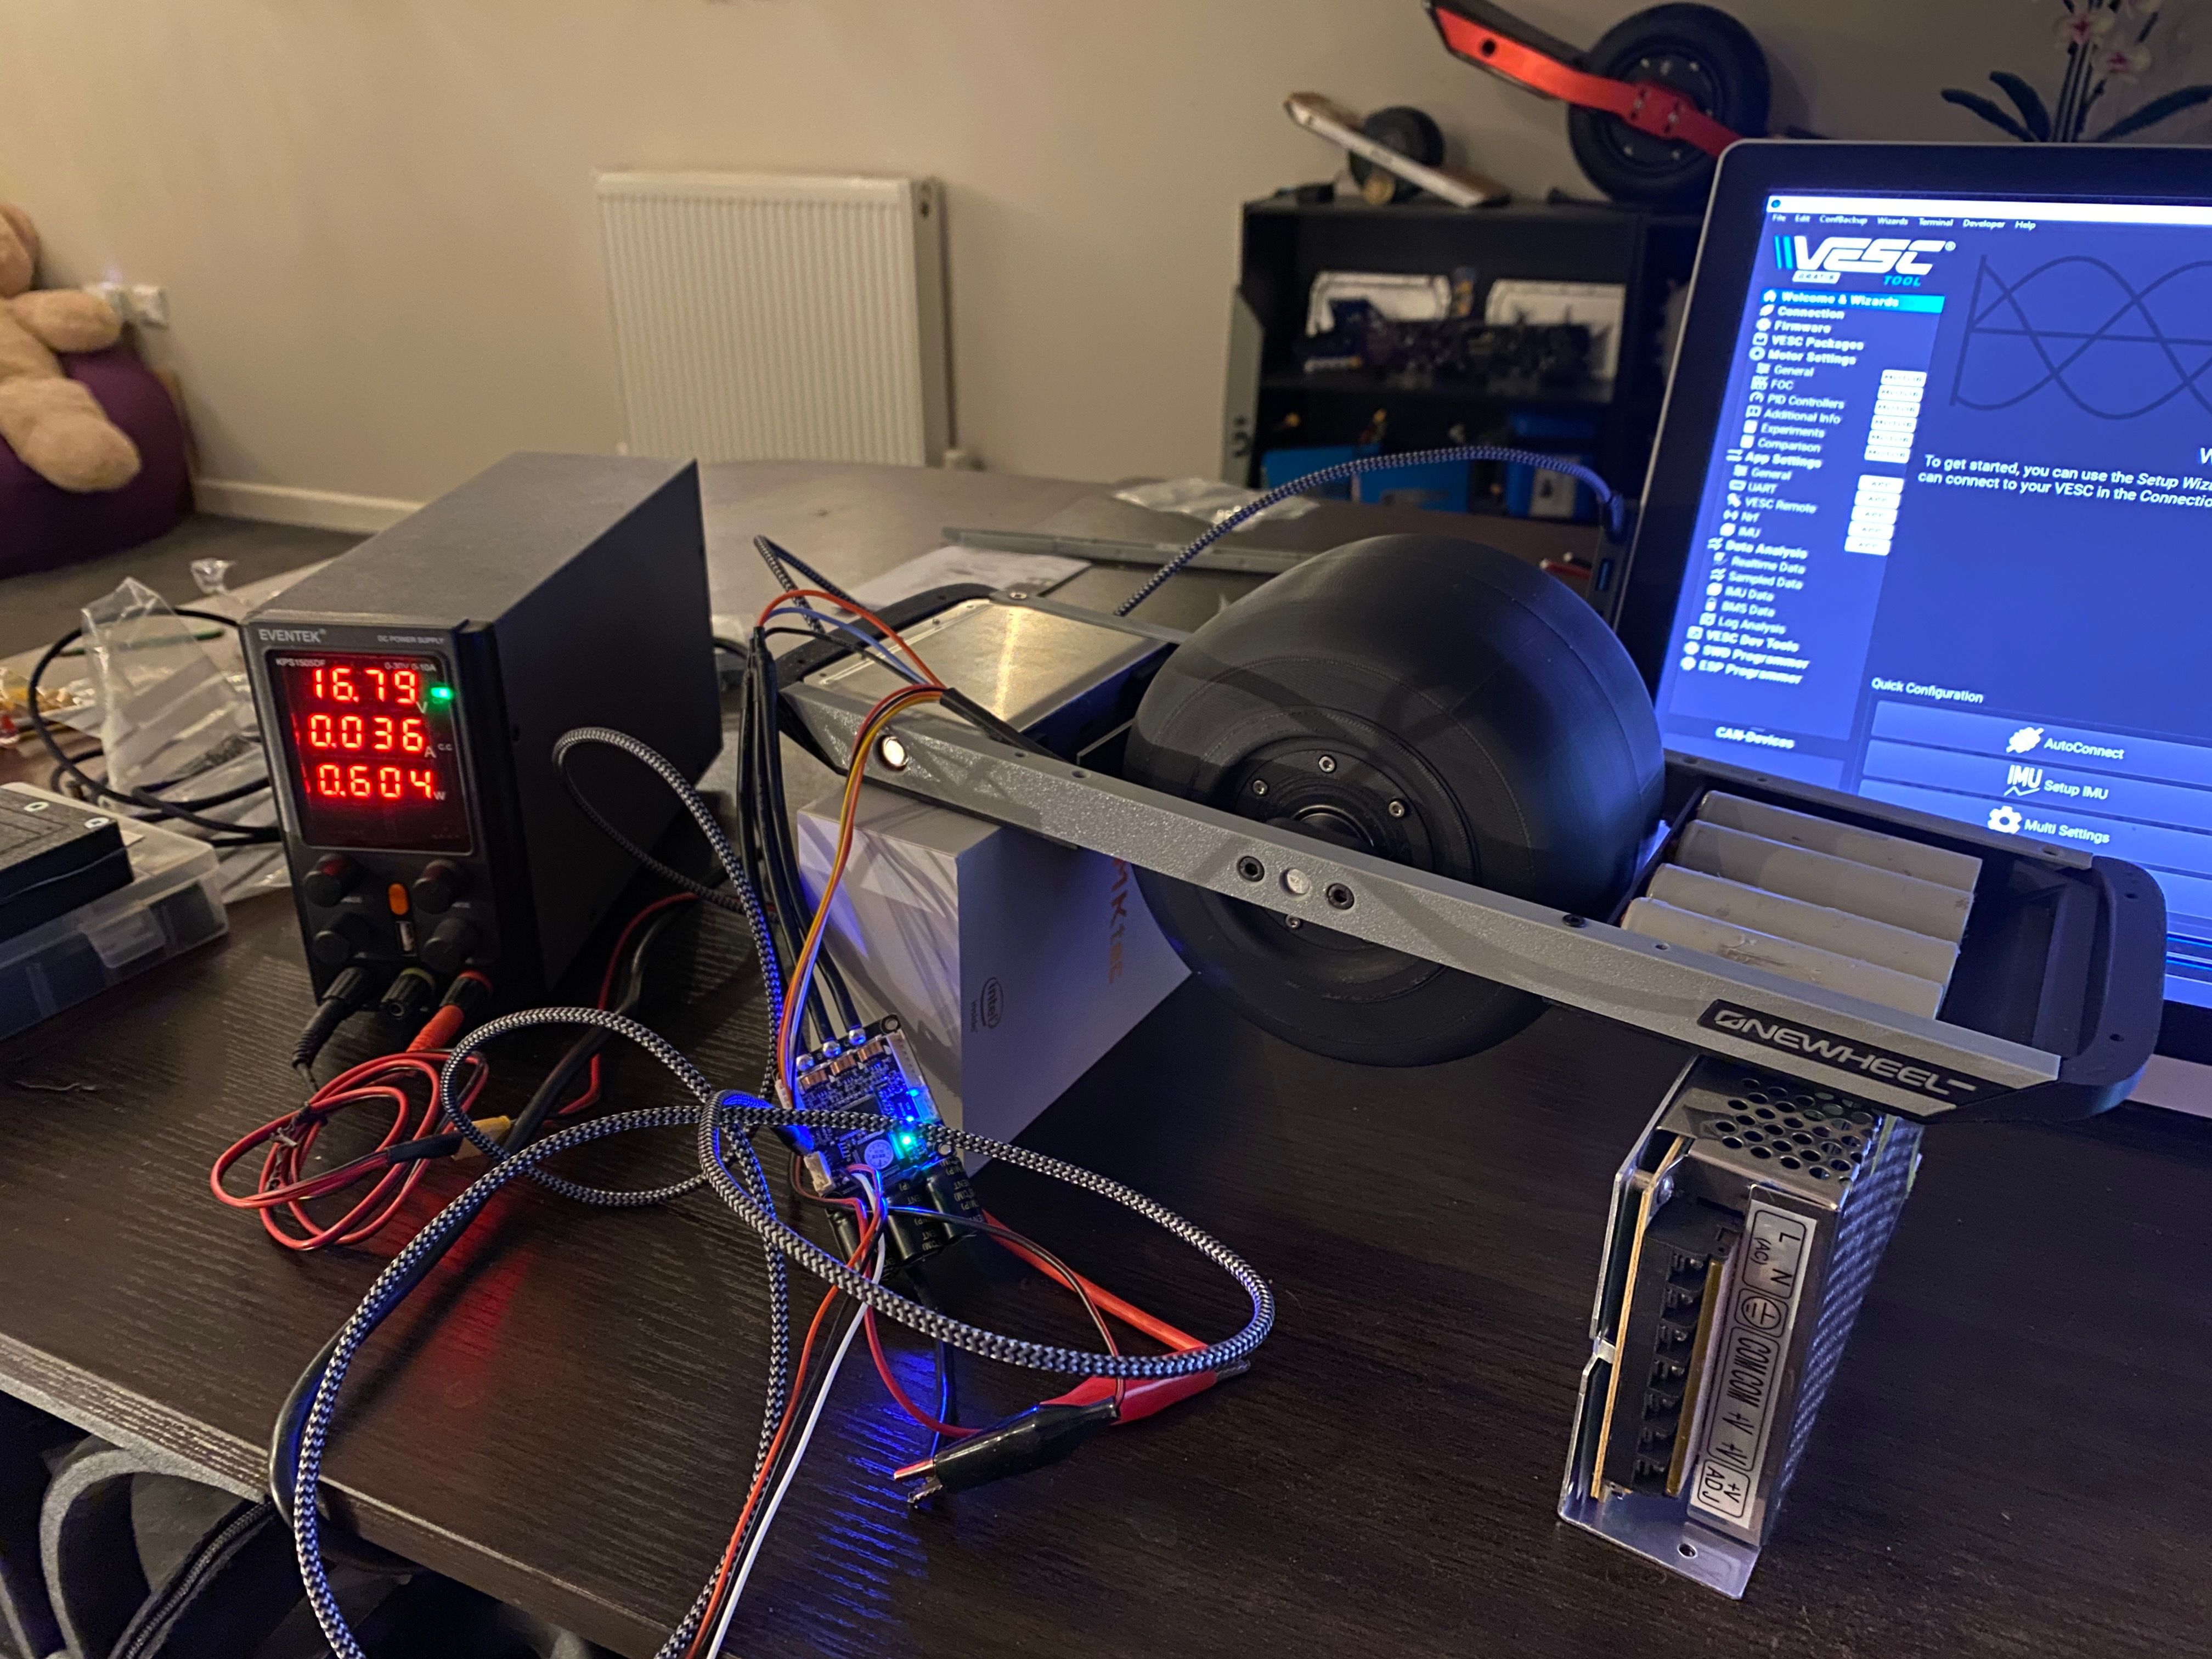
Aaaaand it lives ^-^ Now I can get removing connectors and the stock caps to mount it properly and wire up the IMU.
-
@lia Amazing work!
-
I got a new toy!
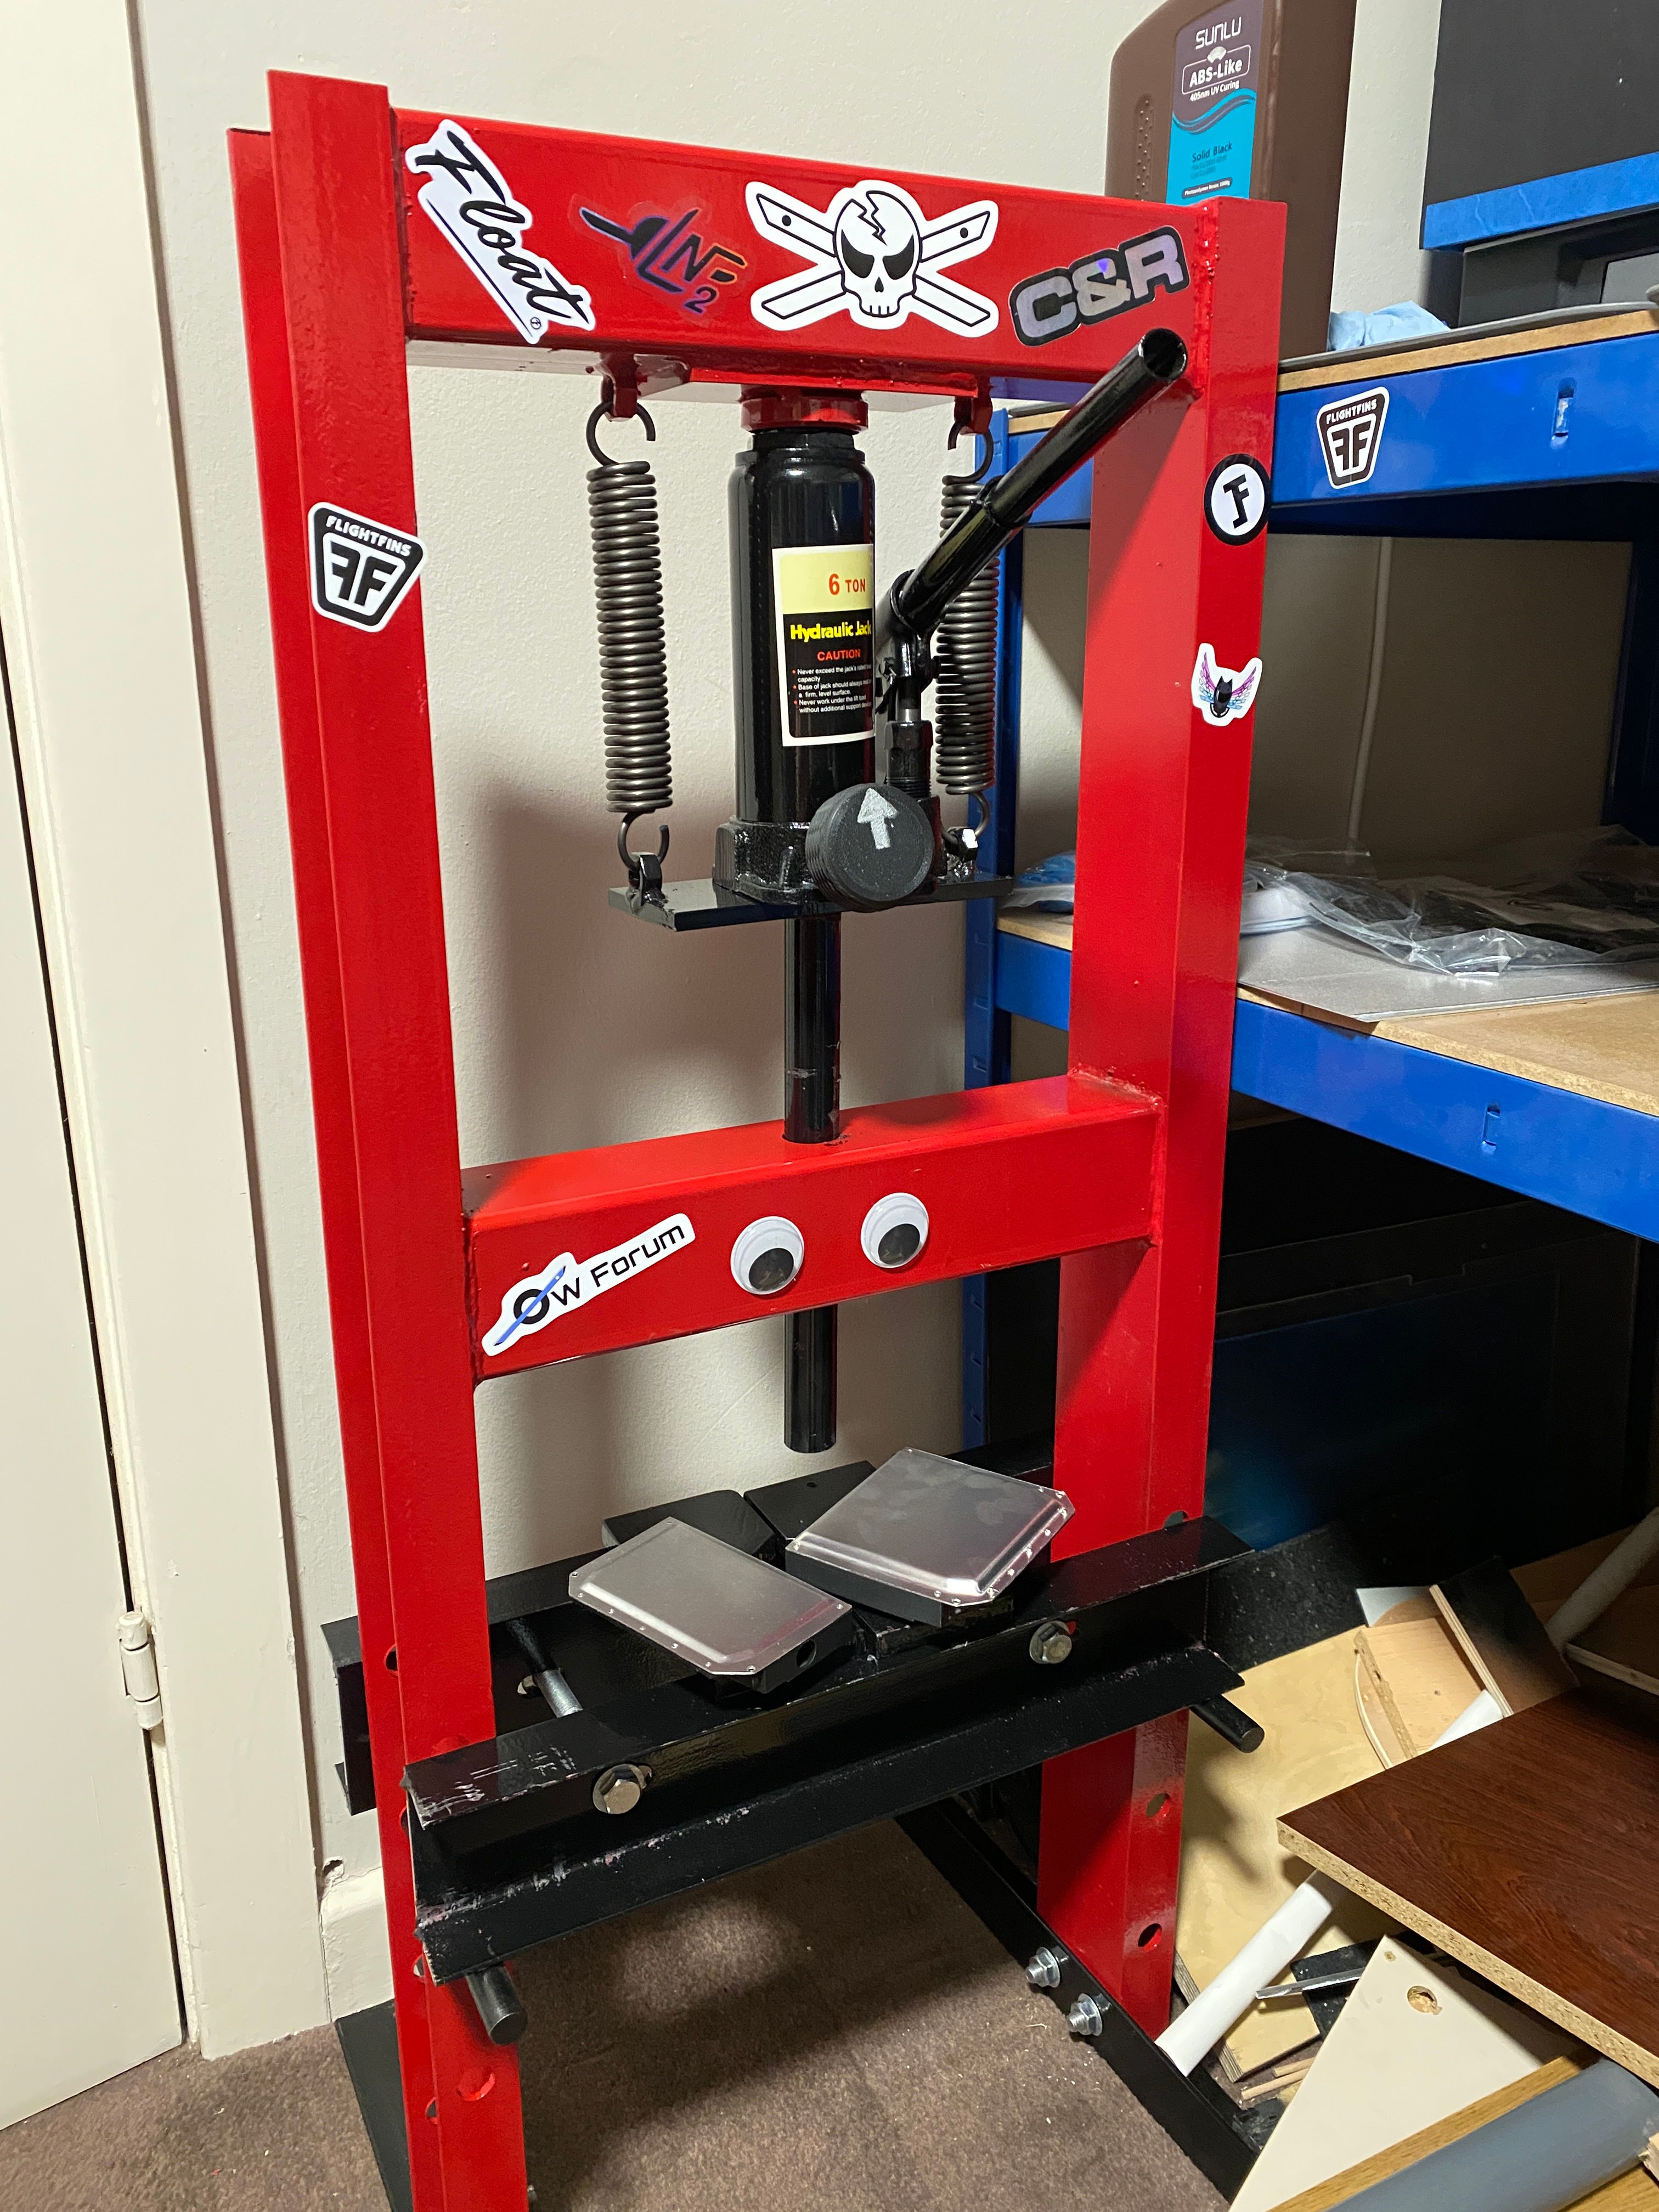
6 Tons of squishy squish so I don't have to keep bending the screw in my bench vice 😫
An arbor press would have been more suitable but getting one that'd fit and be cost effective made no sense while one of these have more power albeit with less feel for the pressure you're putting in.And it's made forming these lids so much easier!
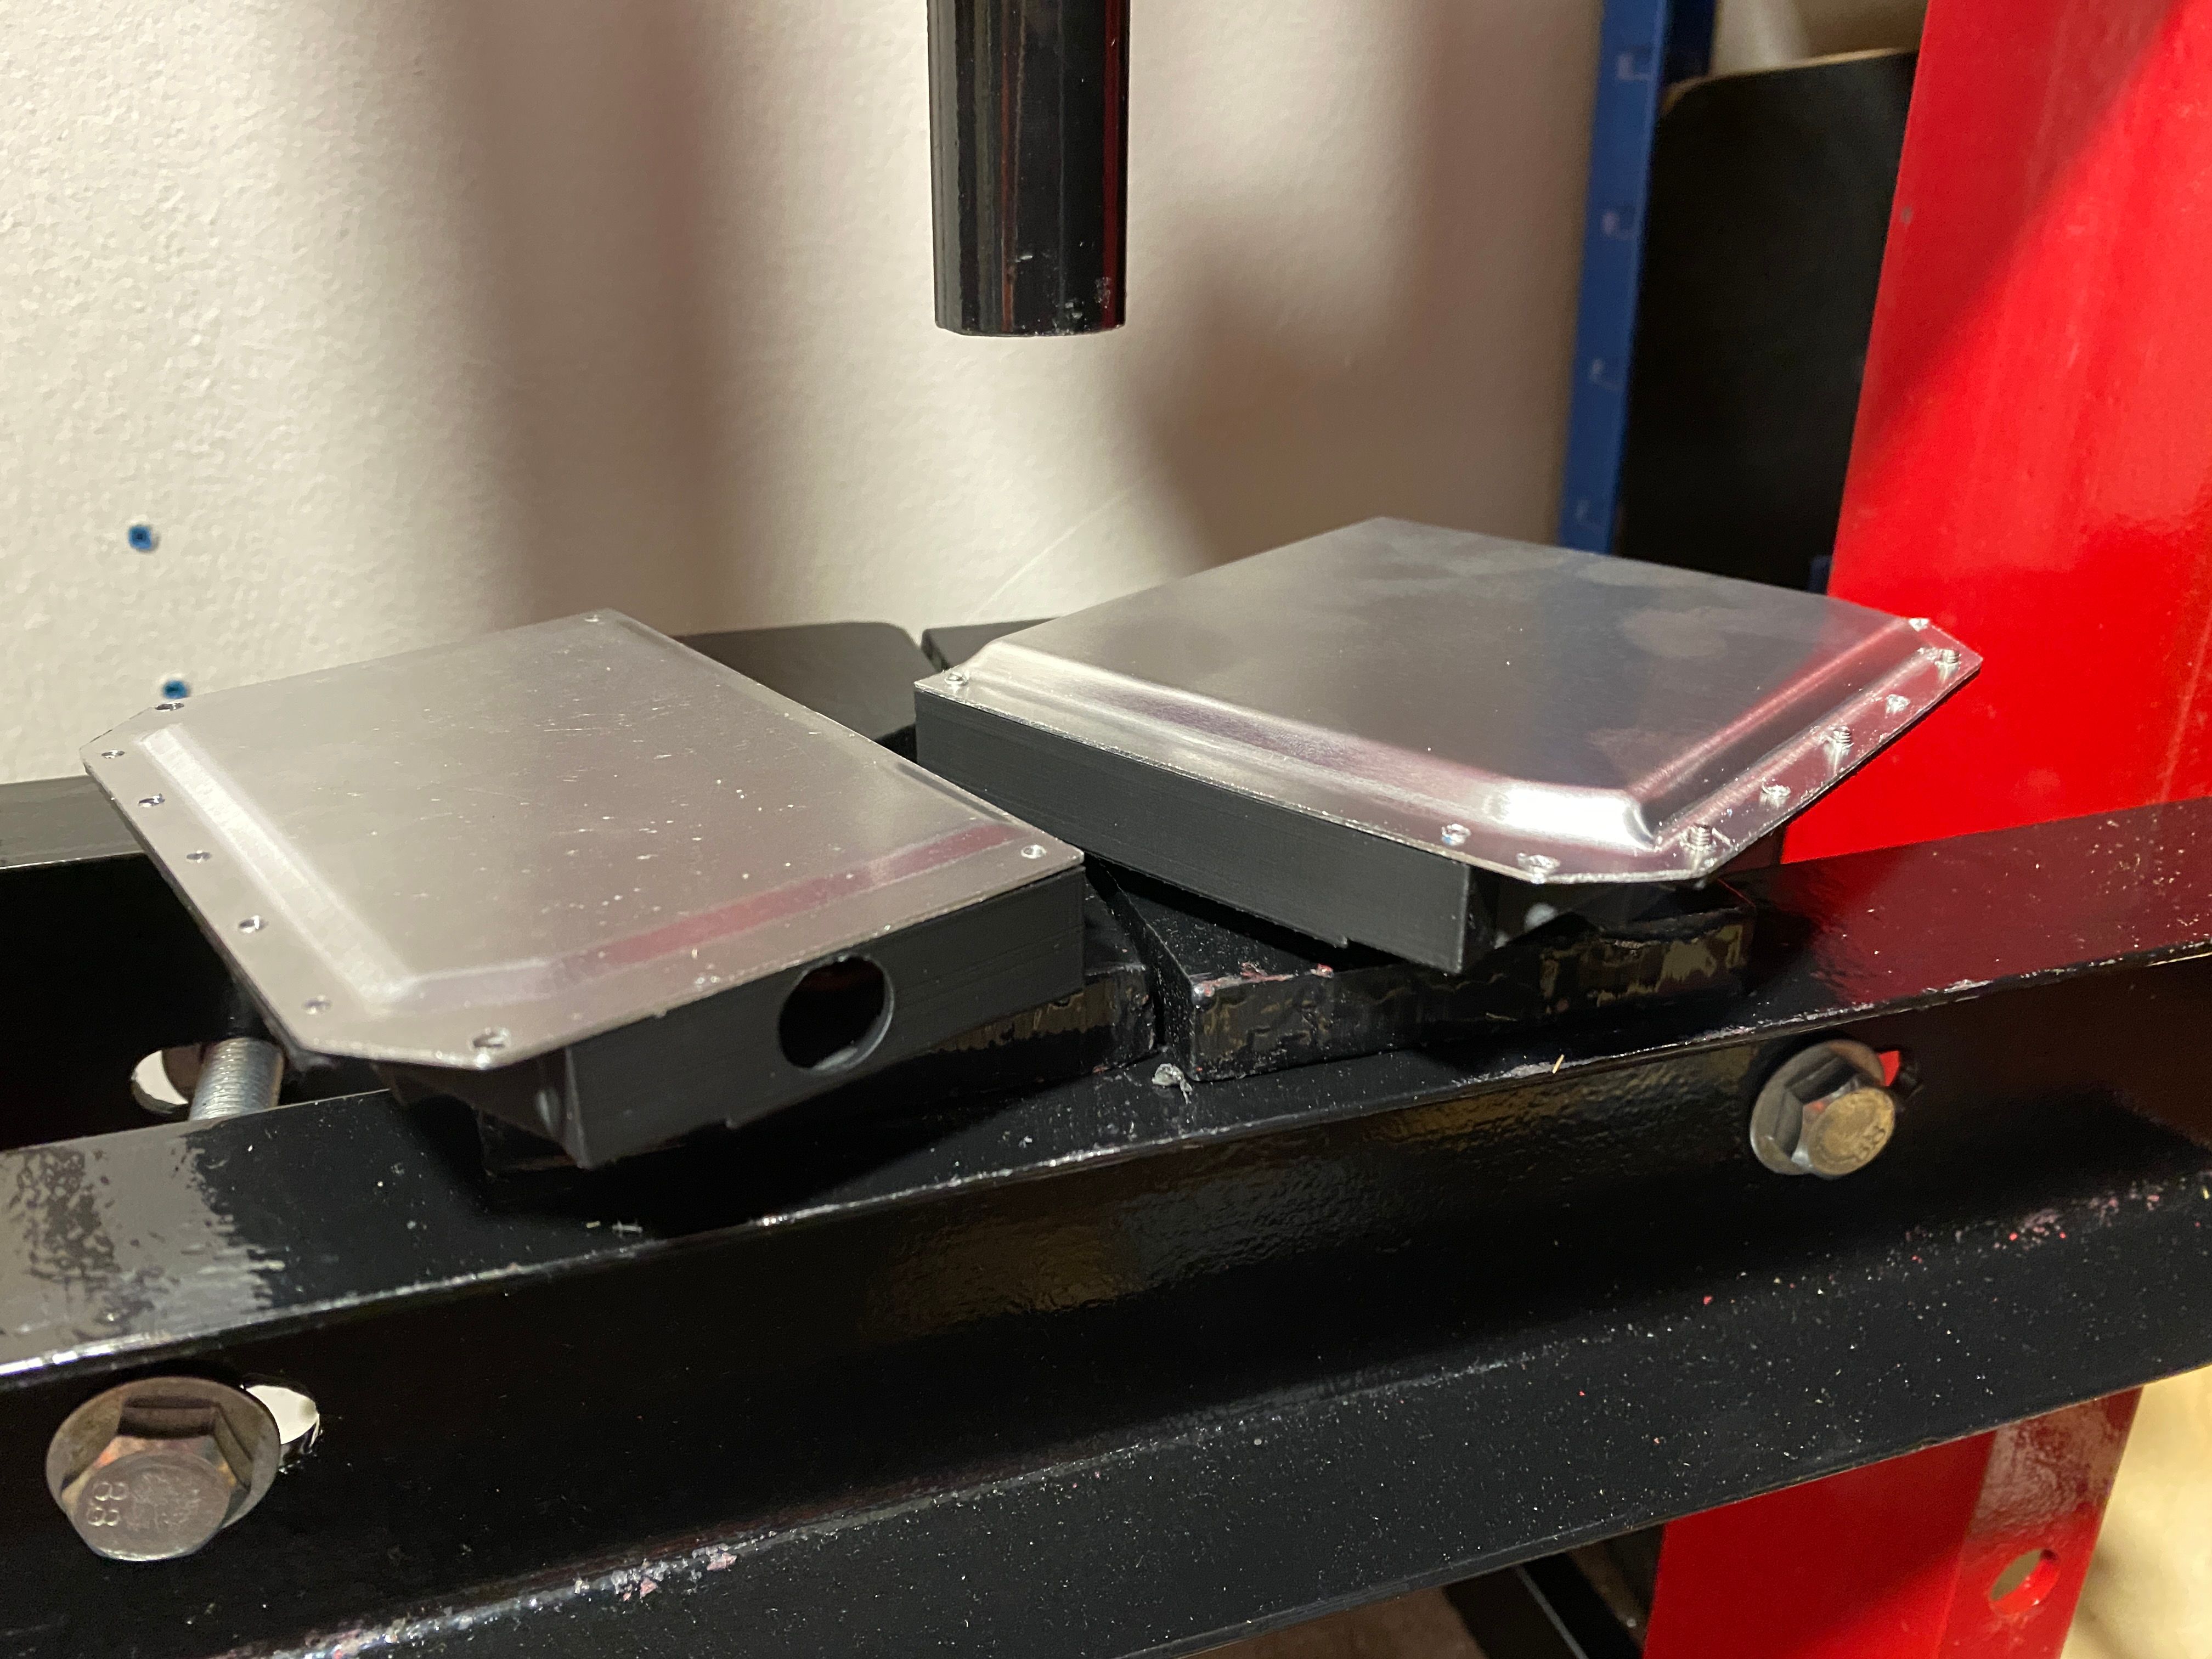
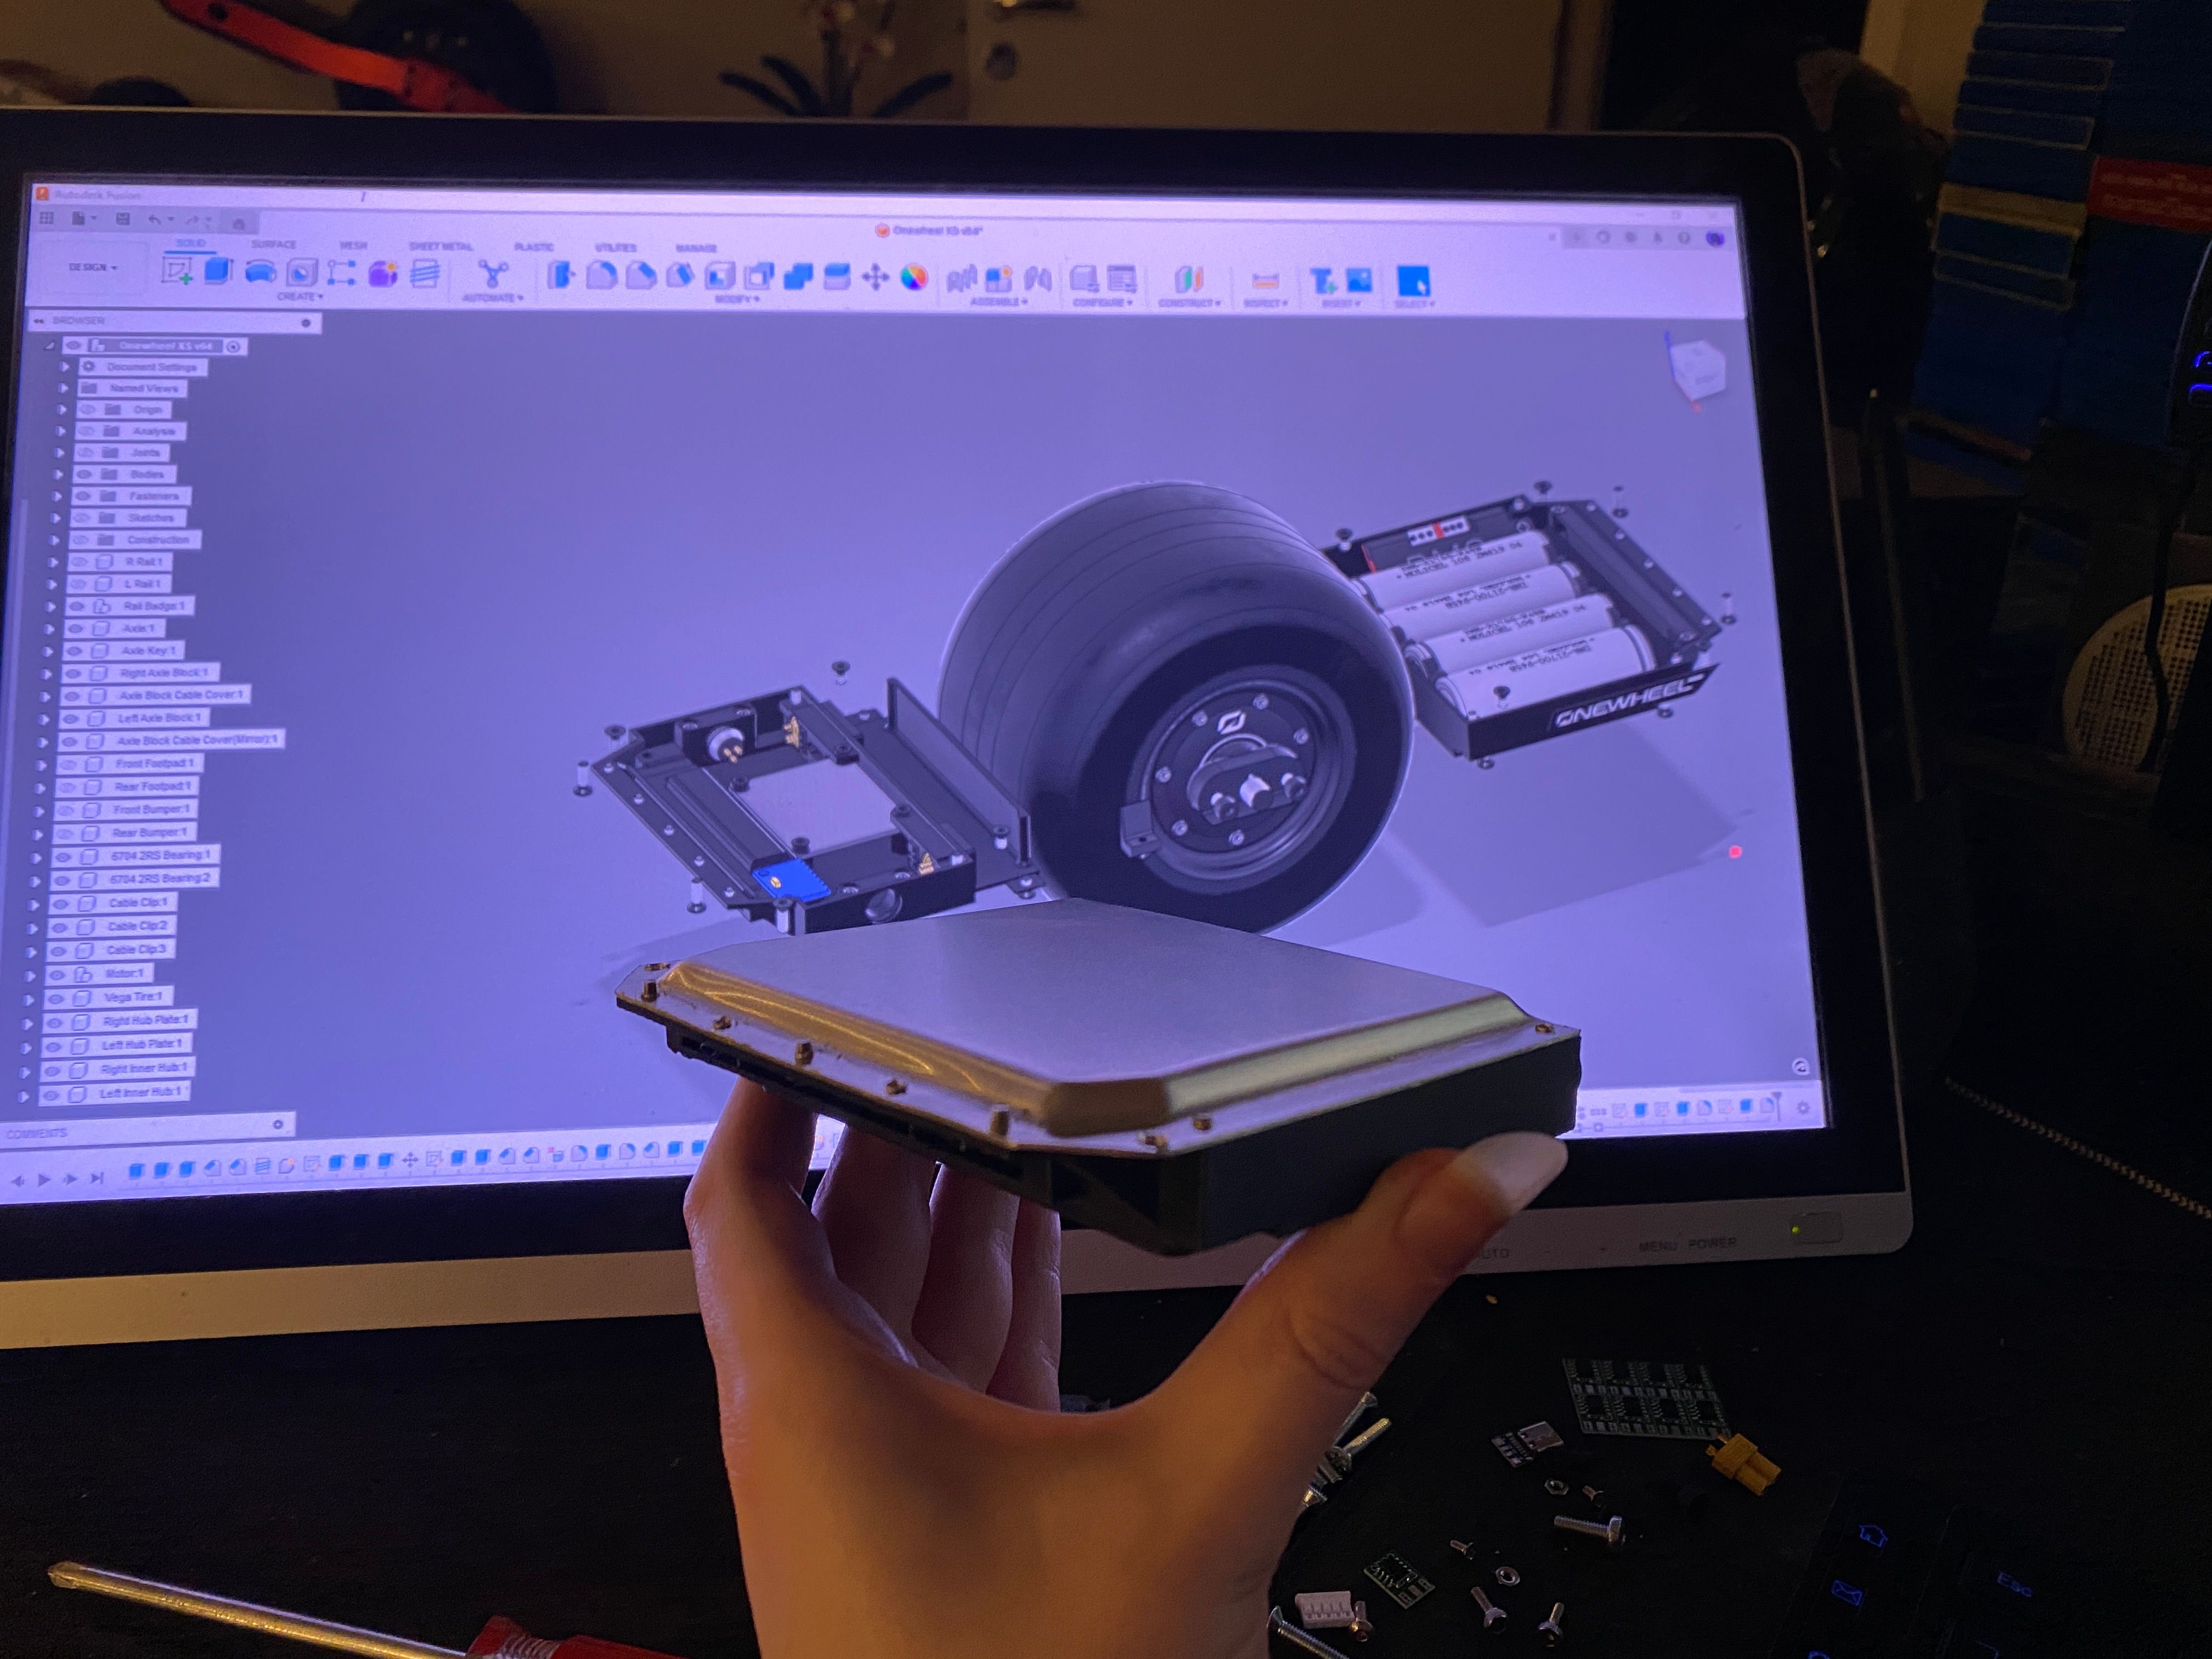
Got the pesky USB C wired up after demolishing the USB Micro port that was facing a bad direction for usability in this design.
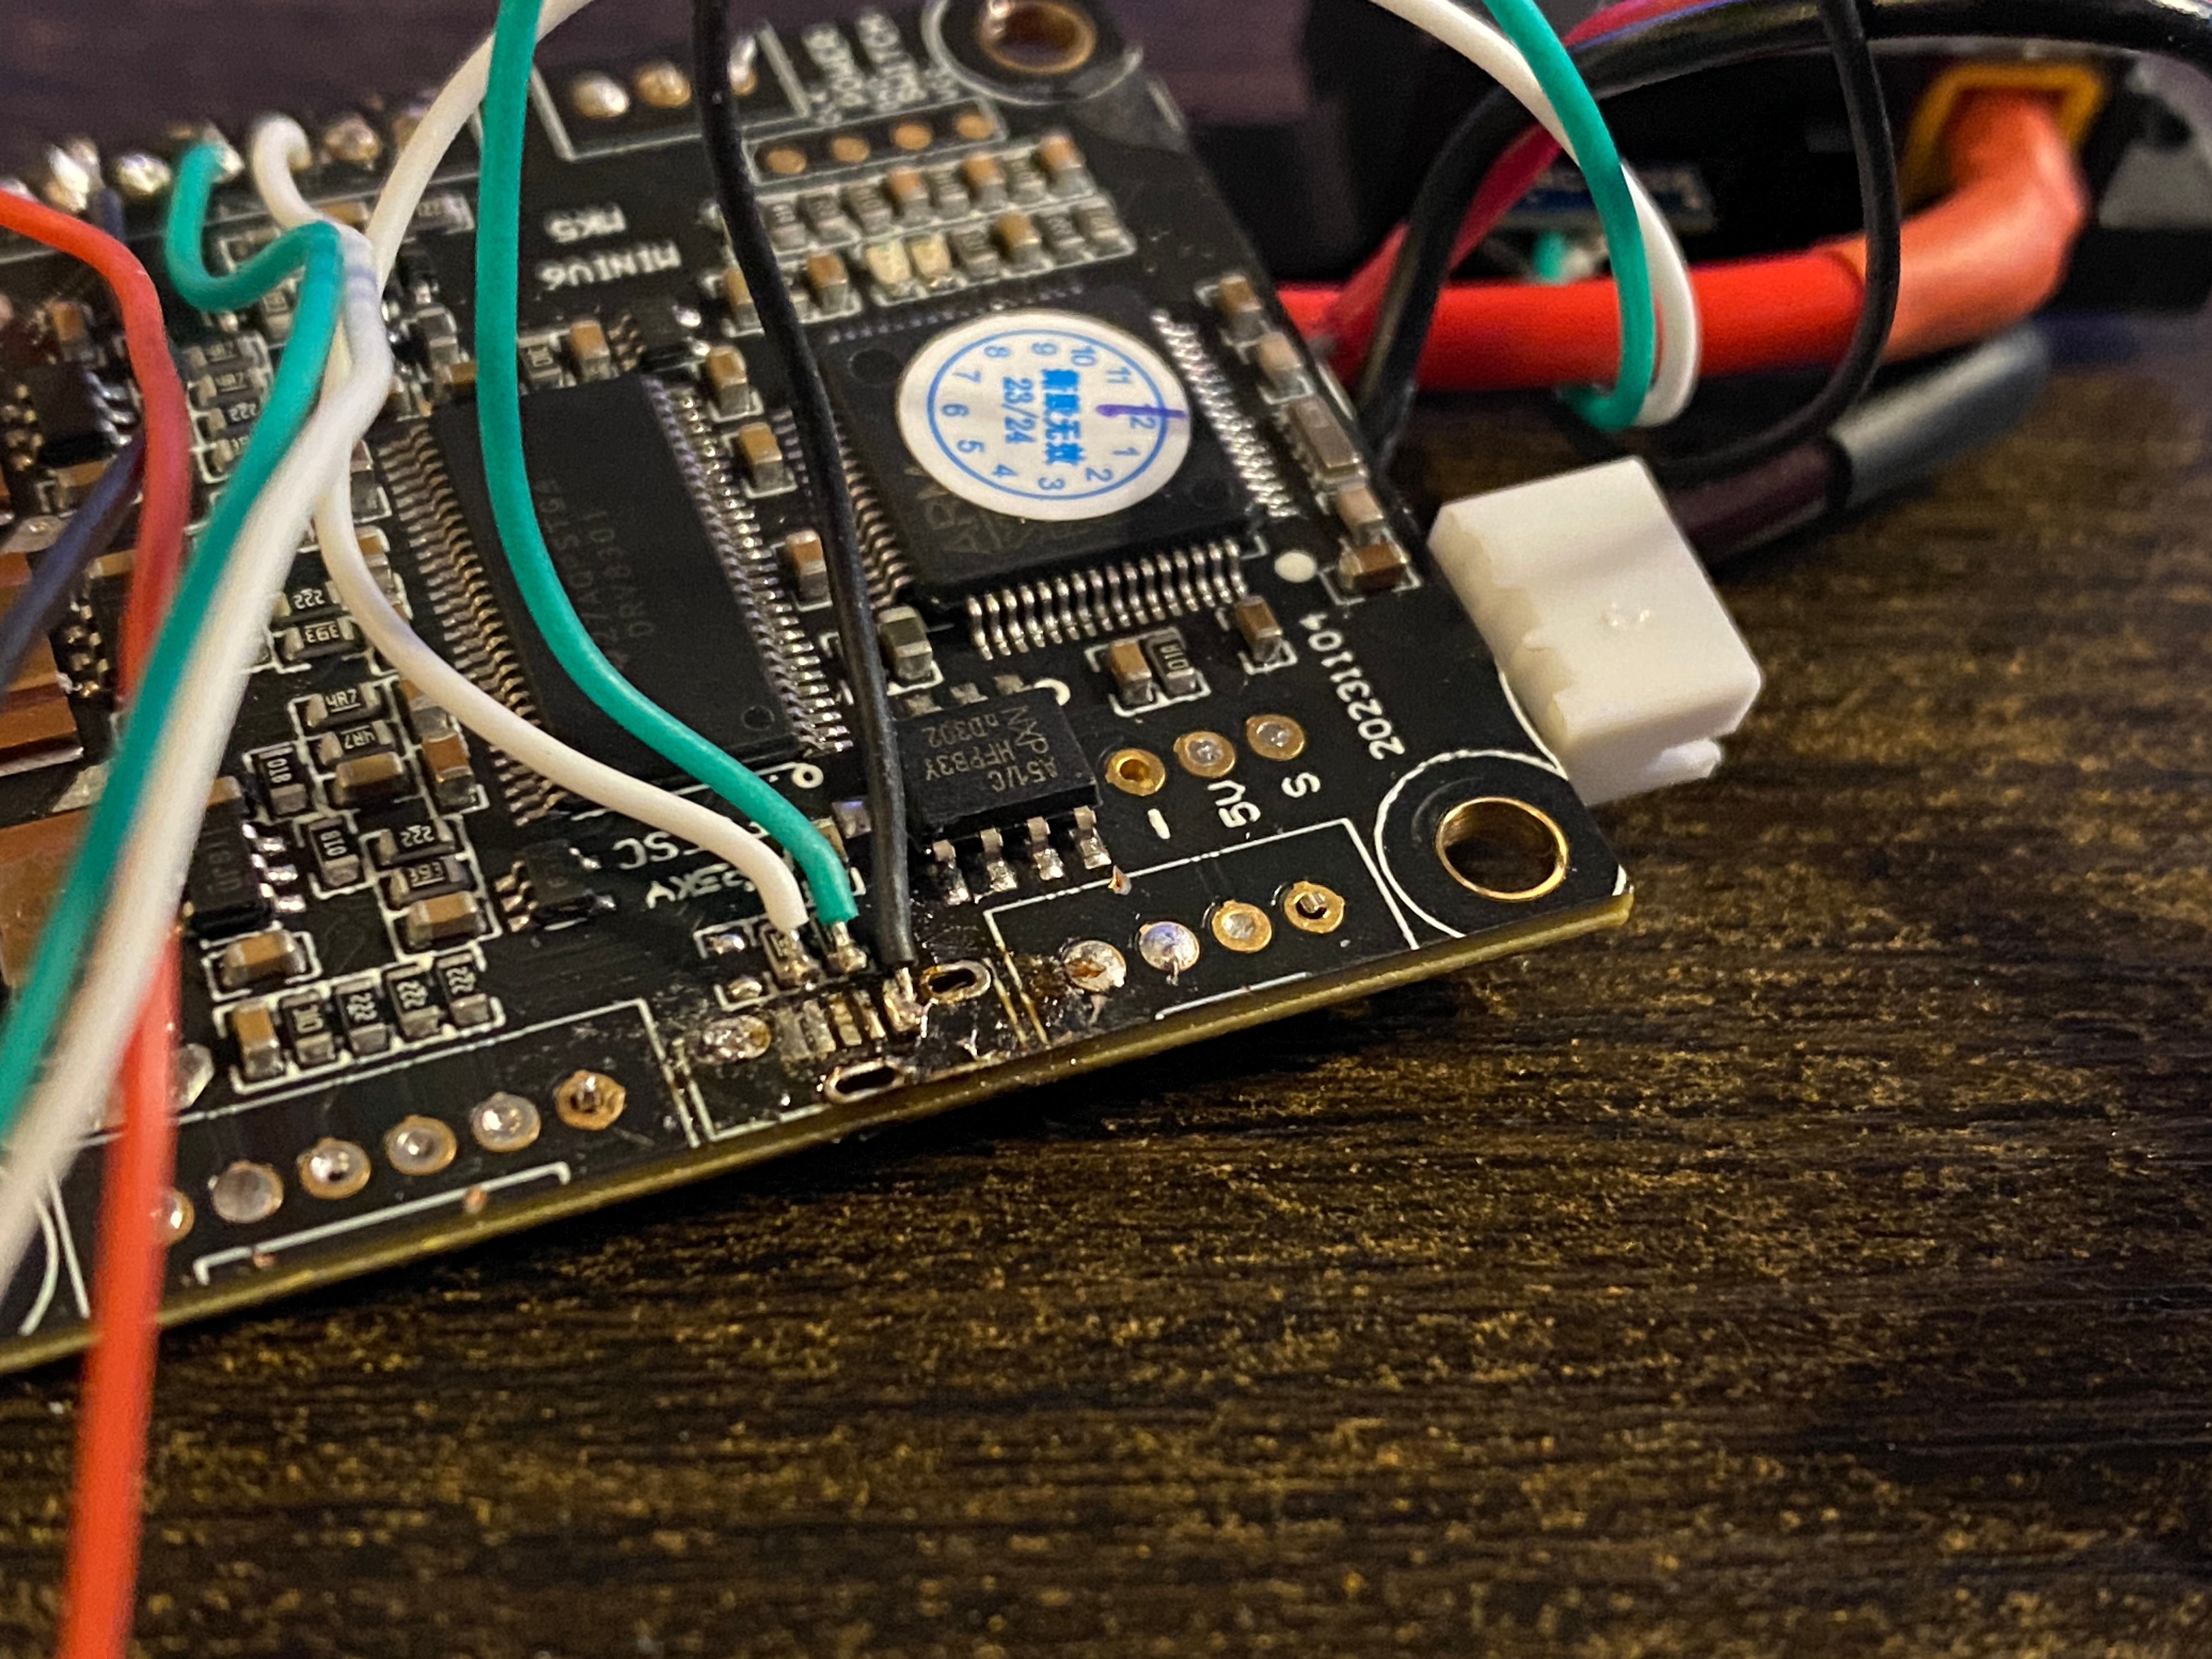
Gyro works too :3
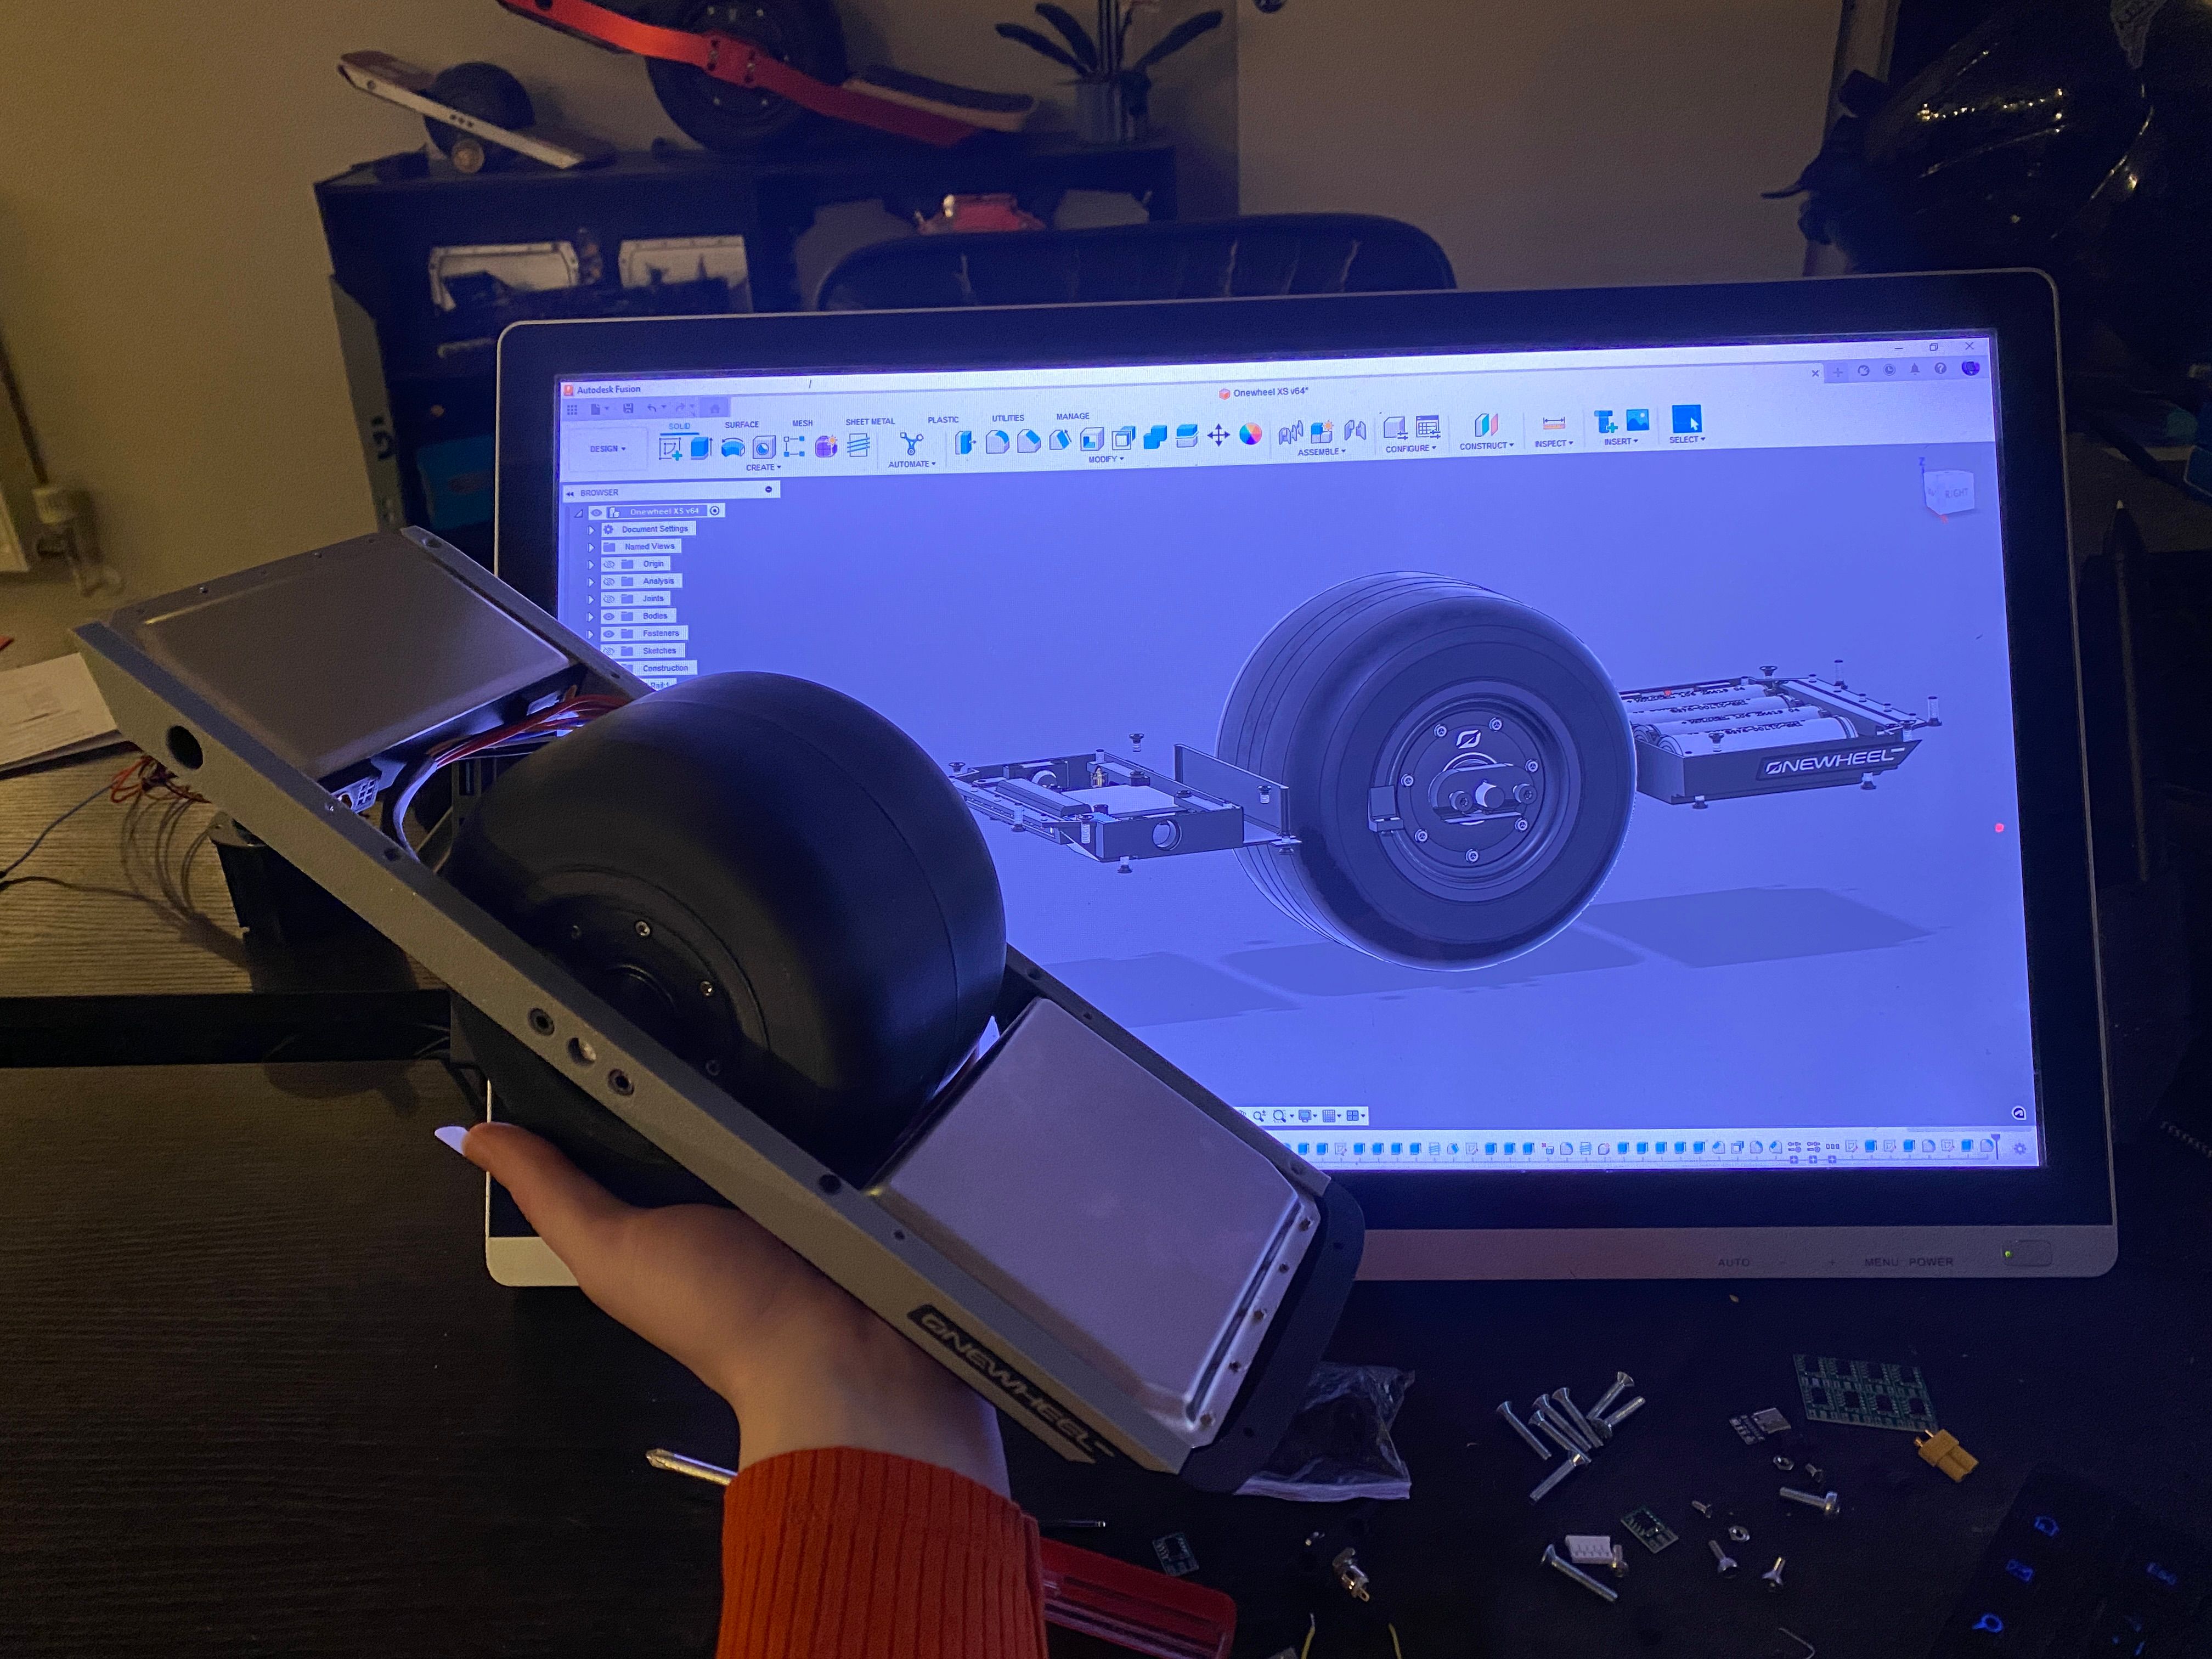
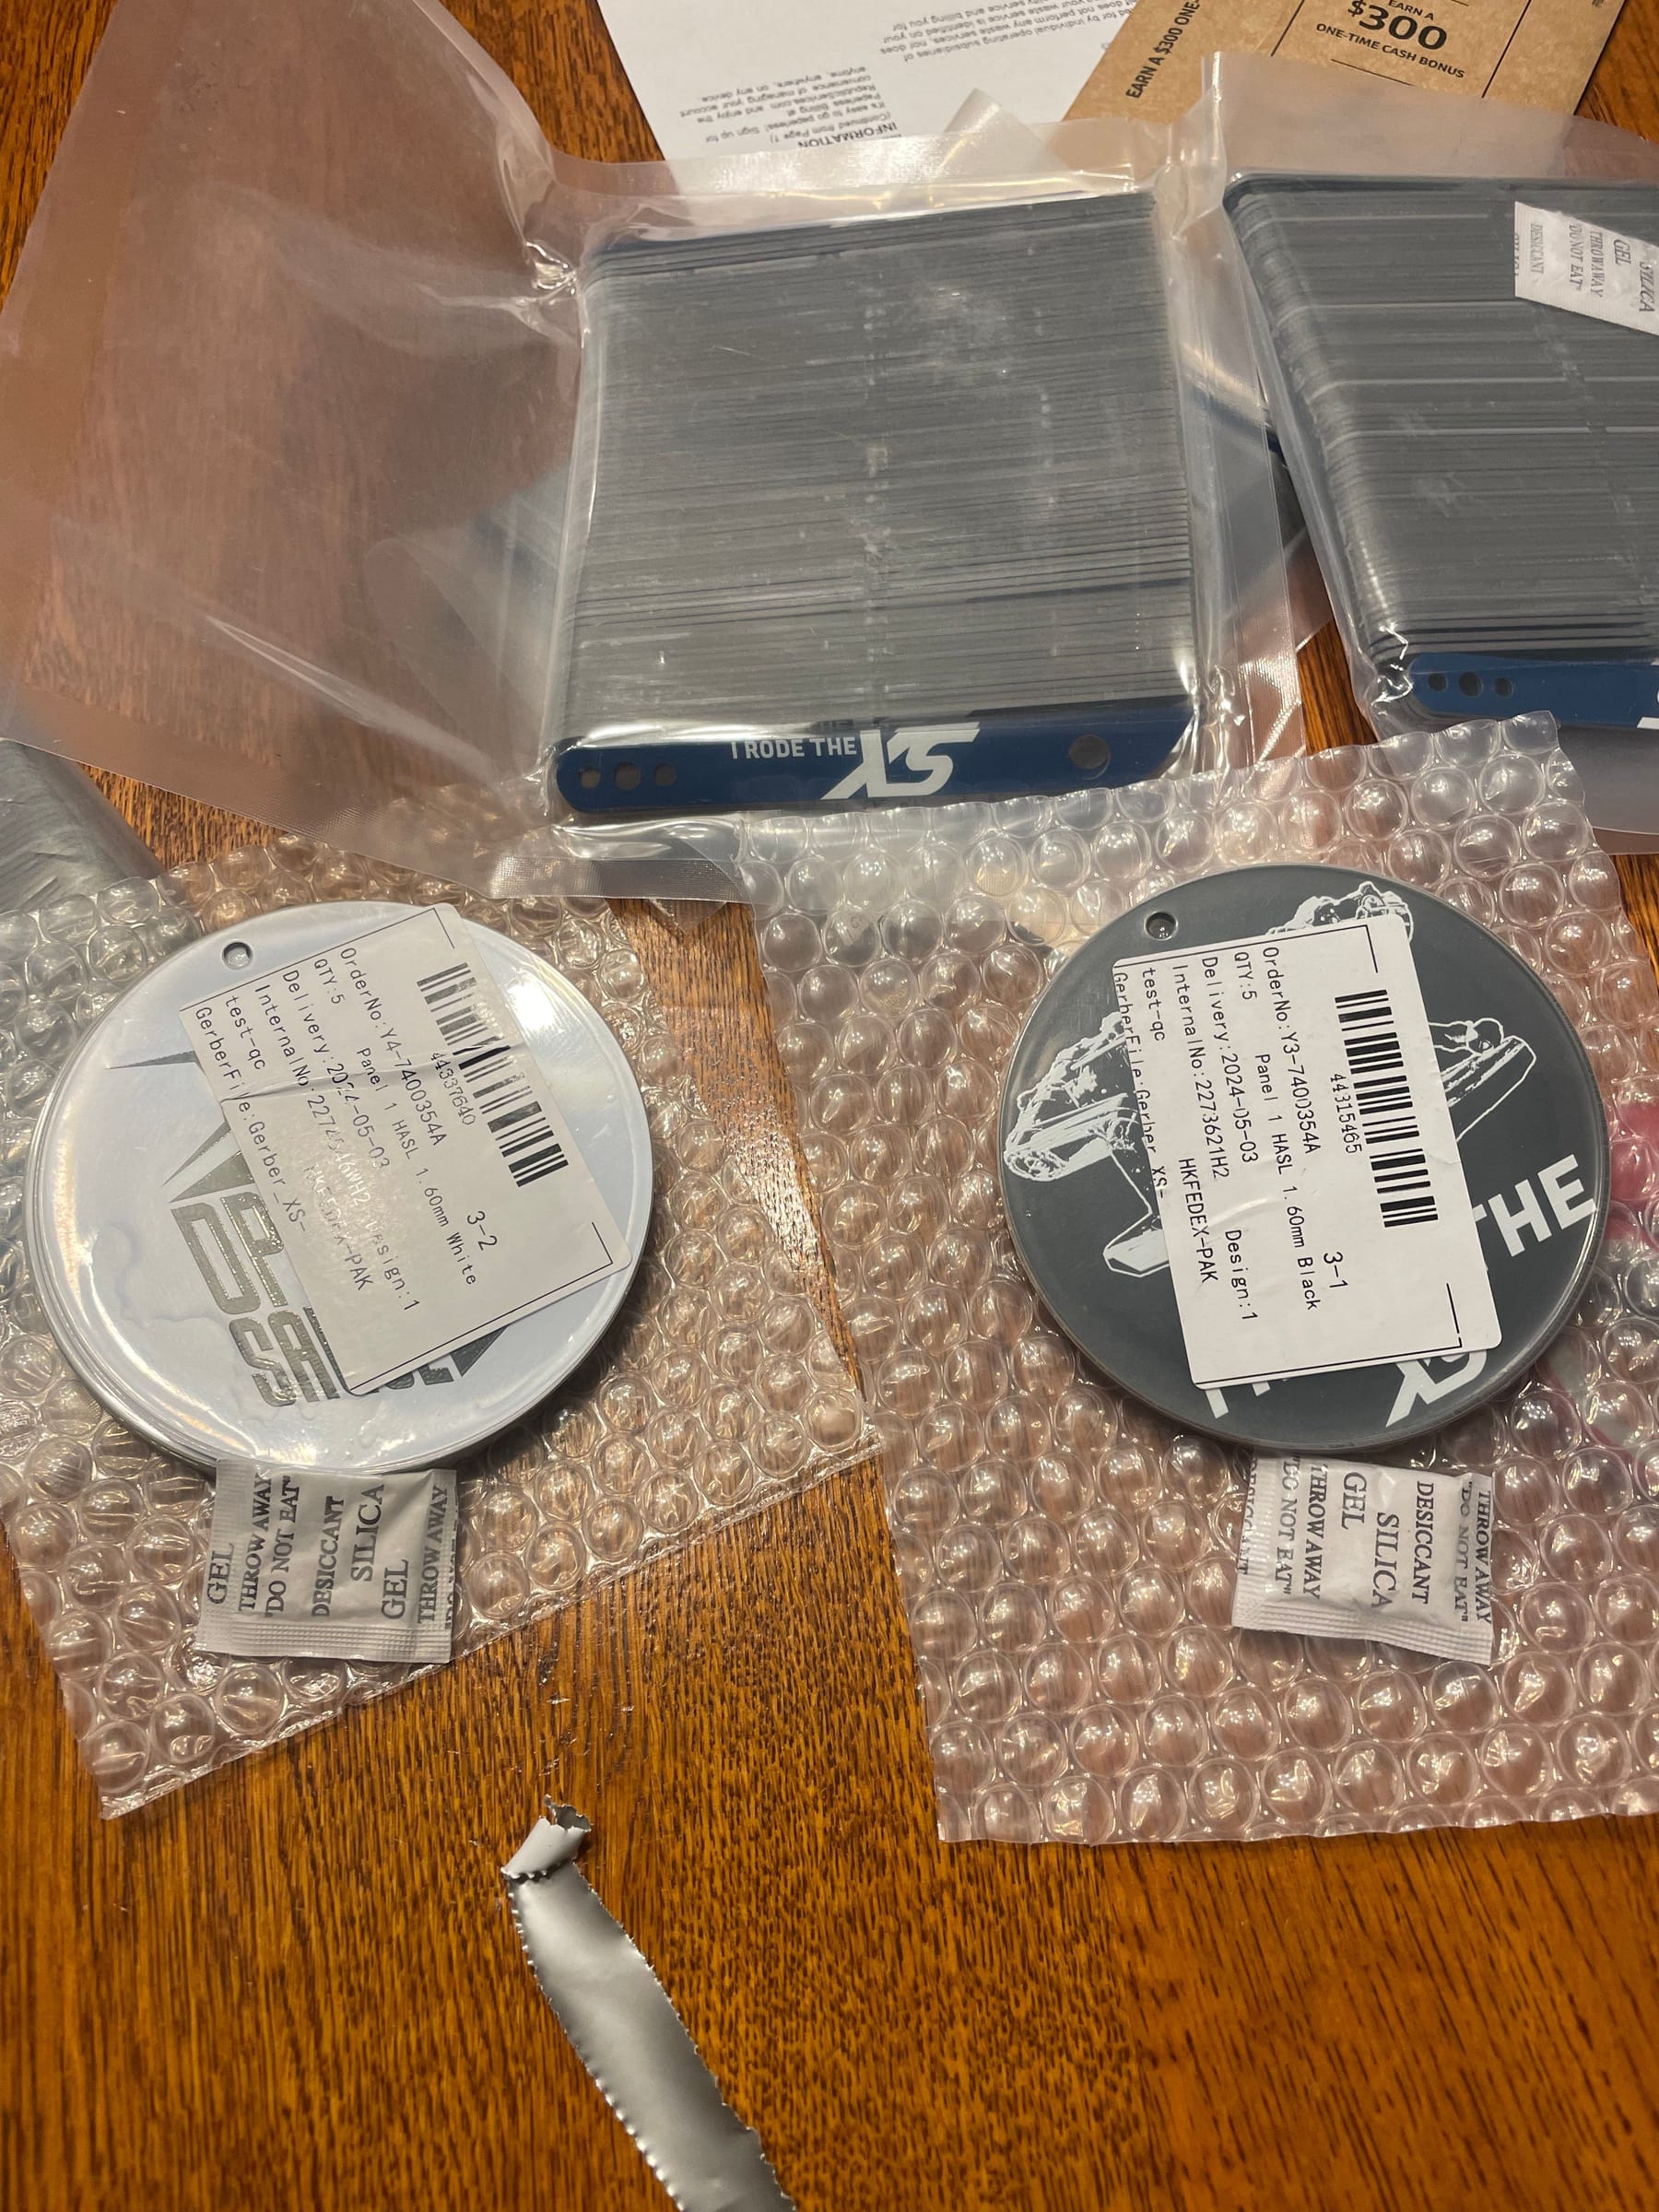
To save on time and finishing the CNC in time too I will get JLCPCB to fabricate and anodise the rails, axle blocks and hub plates. In the meantime a partial assembly is looking clean and familiar! ^-^
-
Been buuuuuuuuuuuusy ^-^
You know those pics of a human nervous system laid bare (if not don't look it's nightmare fuel). This sorta reminds me of it.

Didn't want to carve out space for pulldown resistors on the footpad so I managed to bake them onto the pins right off the VESC.
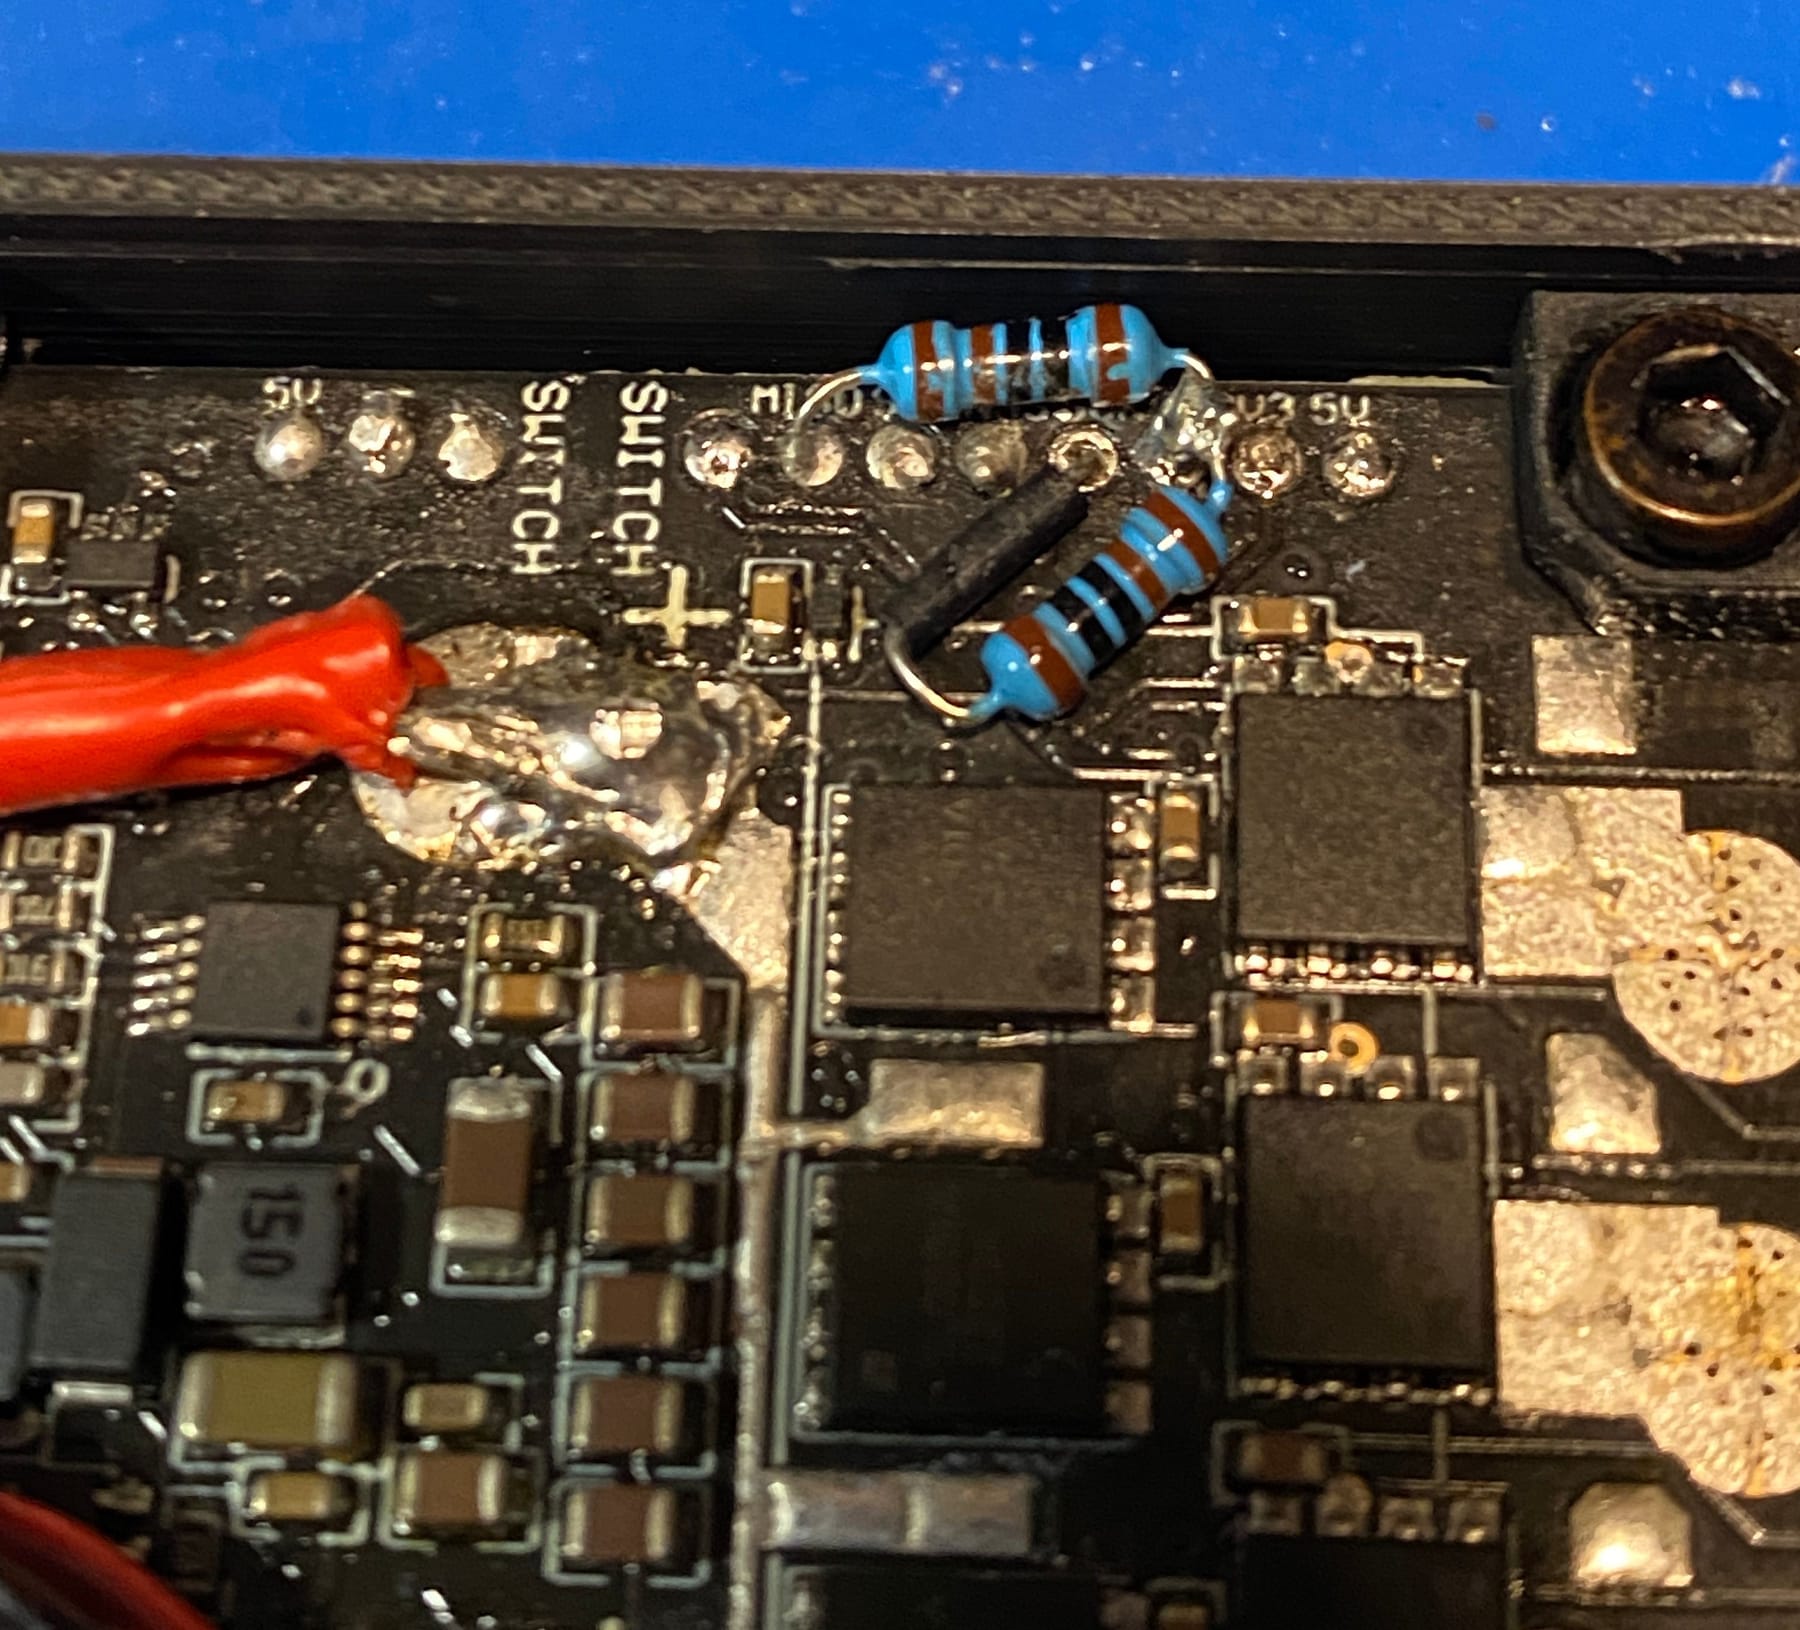
Defo not going over the top with detailing things you won't see. I just had to even if it's not 100% accurate. It's hard to appreciate how tiny this thing is. I had to use the macro zoom.

Was testing griptape and a printed footpad which worked great! Decided to tease it in this pic I put up on Insta the other day.
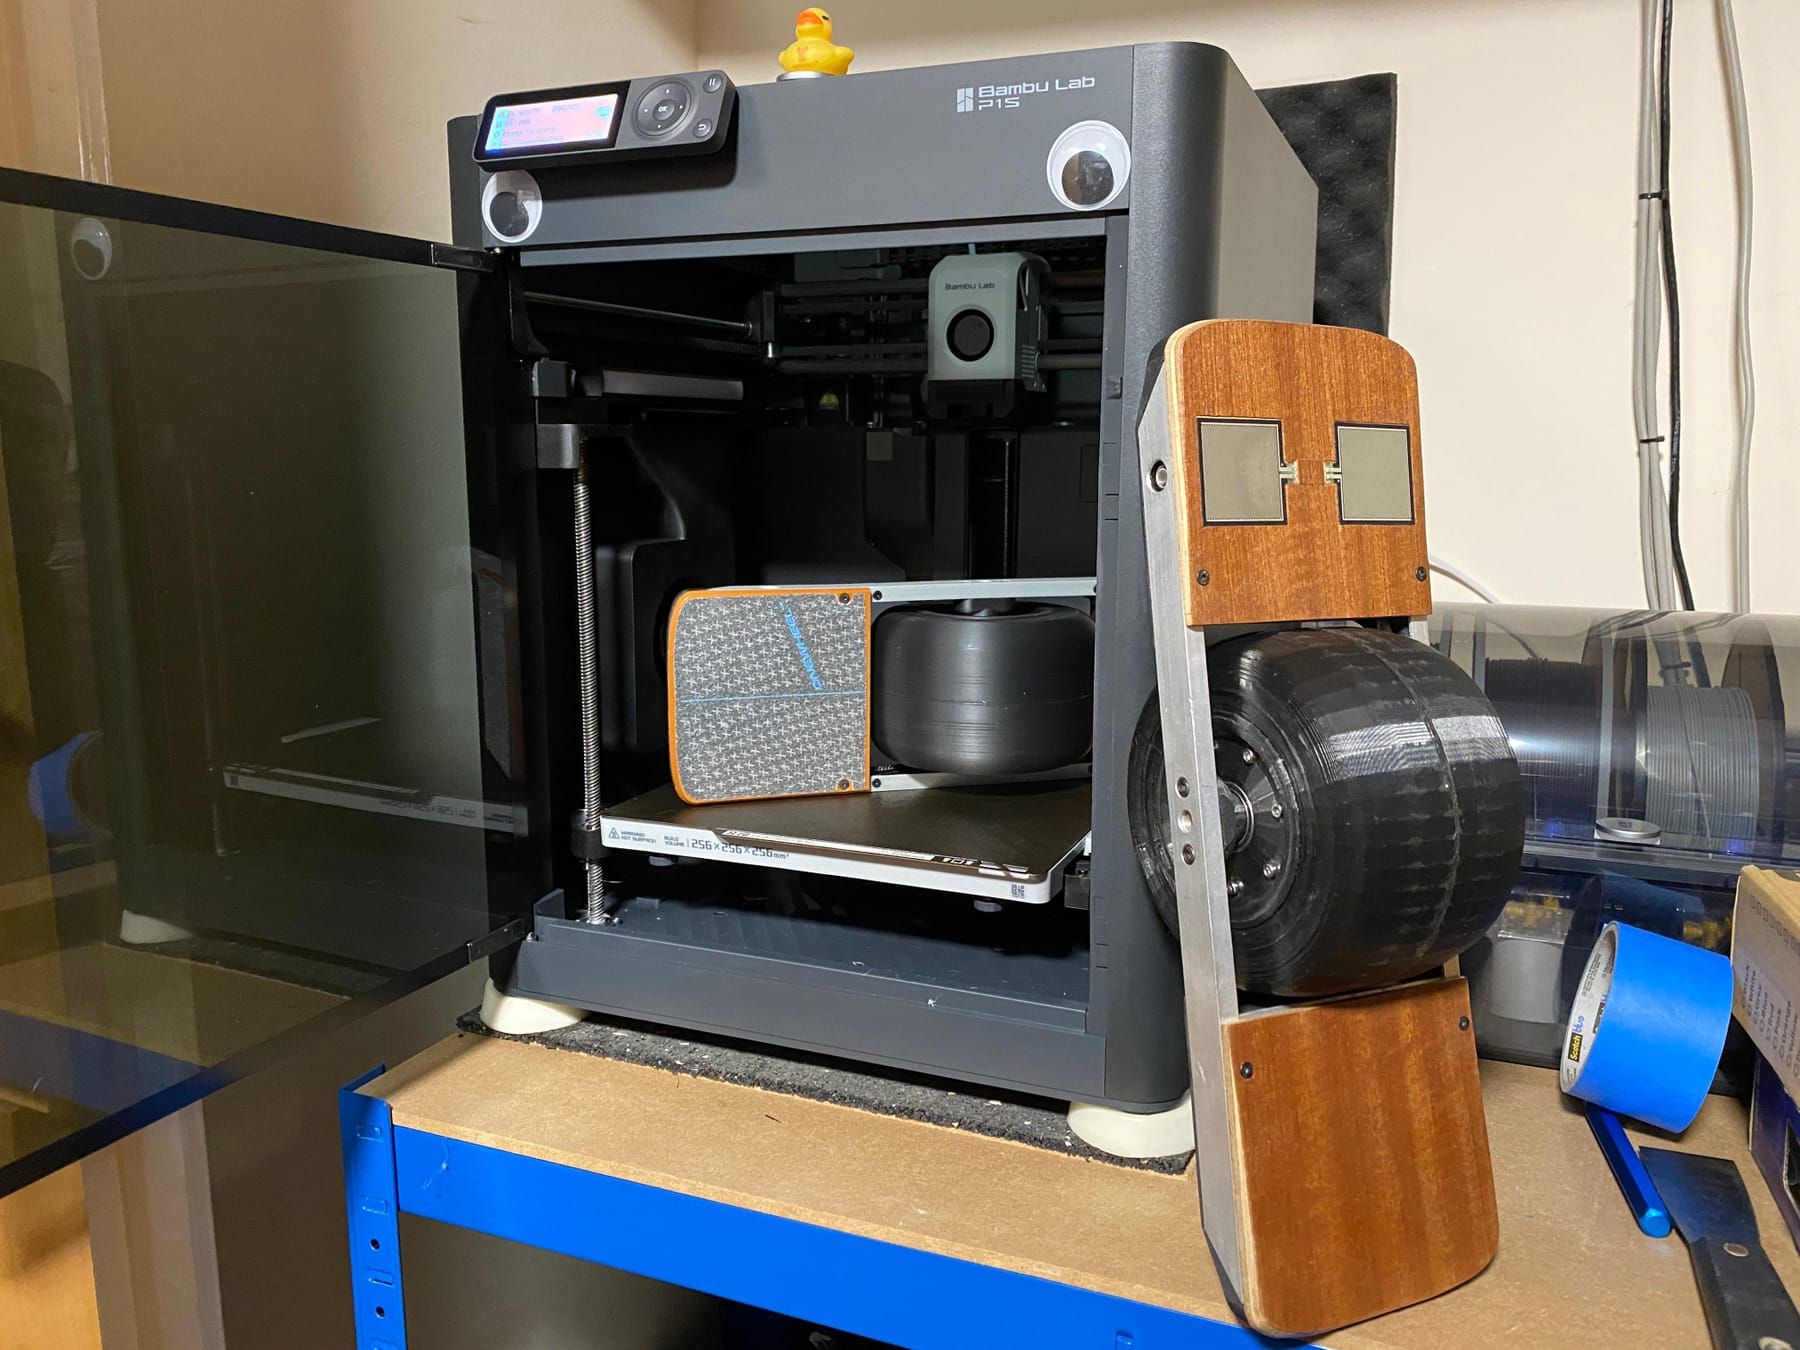
In preparation for casting some parts I got a vacuum chamber and pump. Managed to get the pair separate real cheap on eBay second hand ^-^

Also making some progress on the footpads. There are more jigs to make these than anything else on this iteration of the XS.
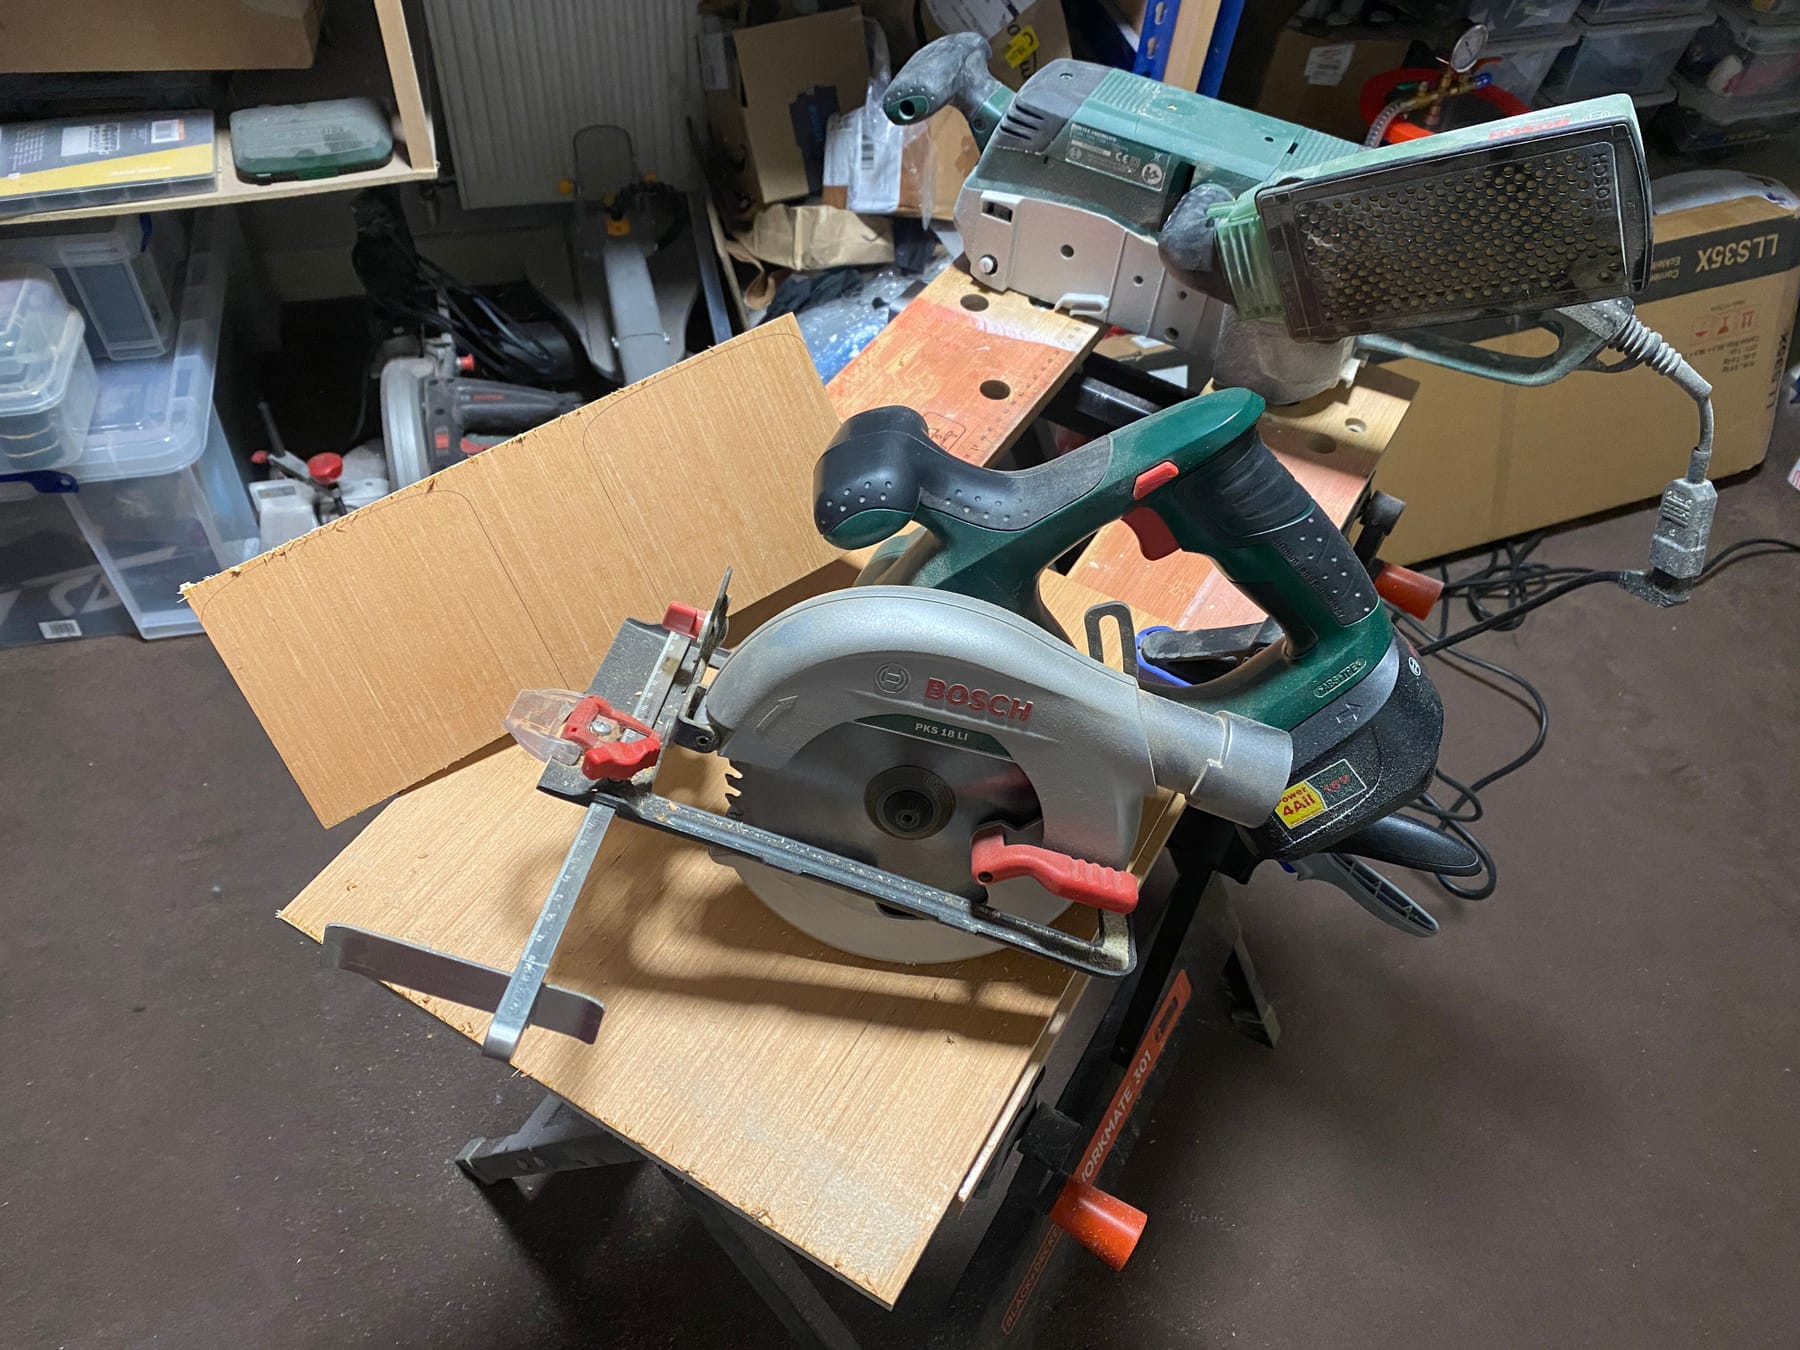

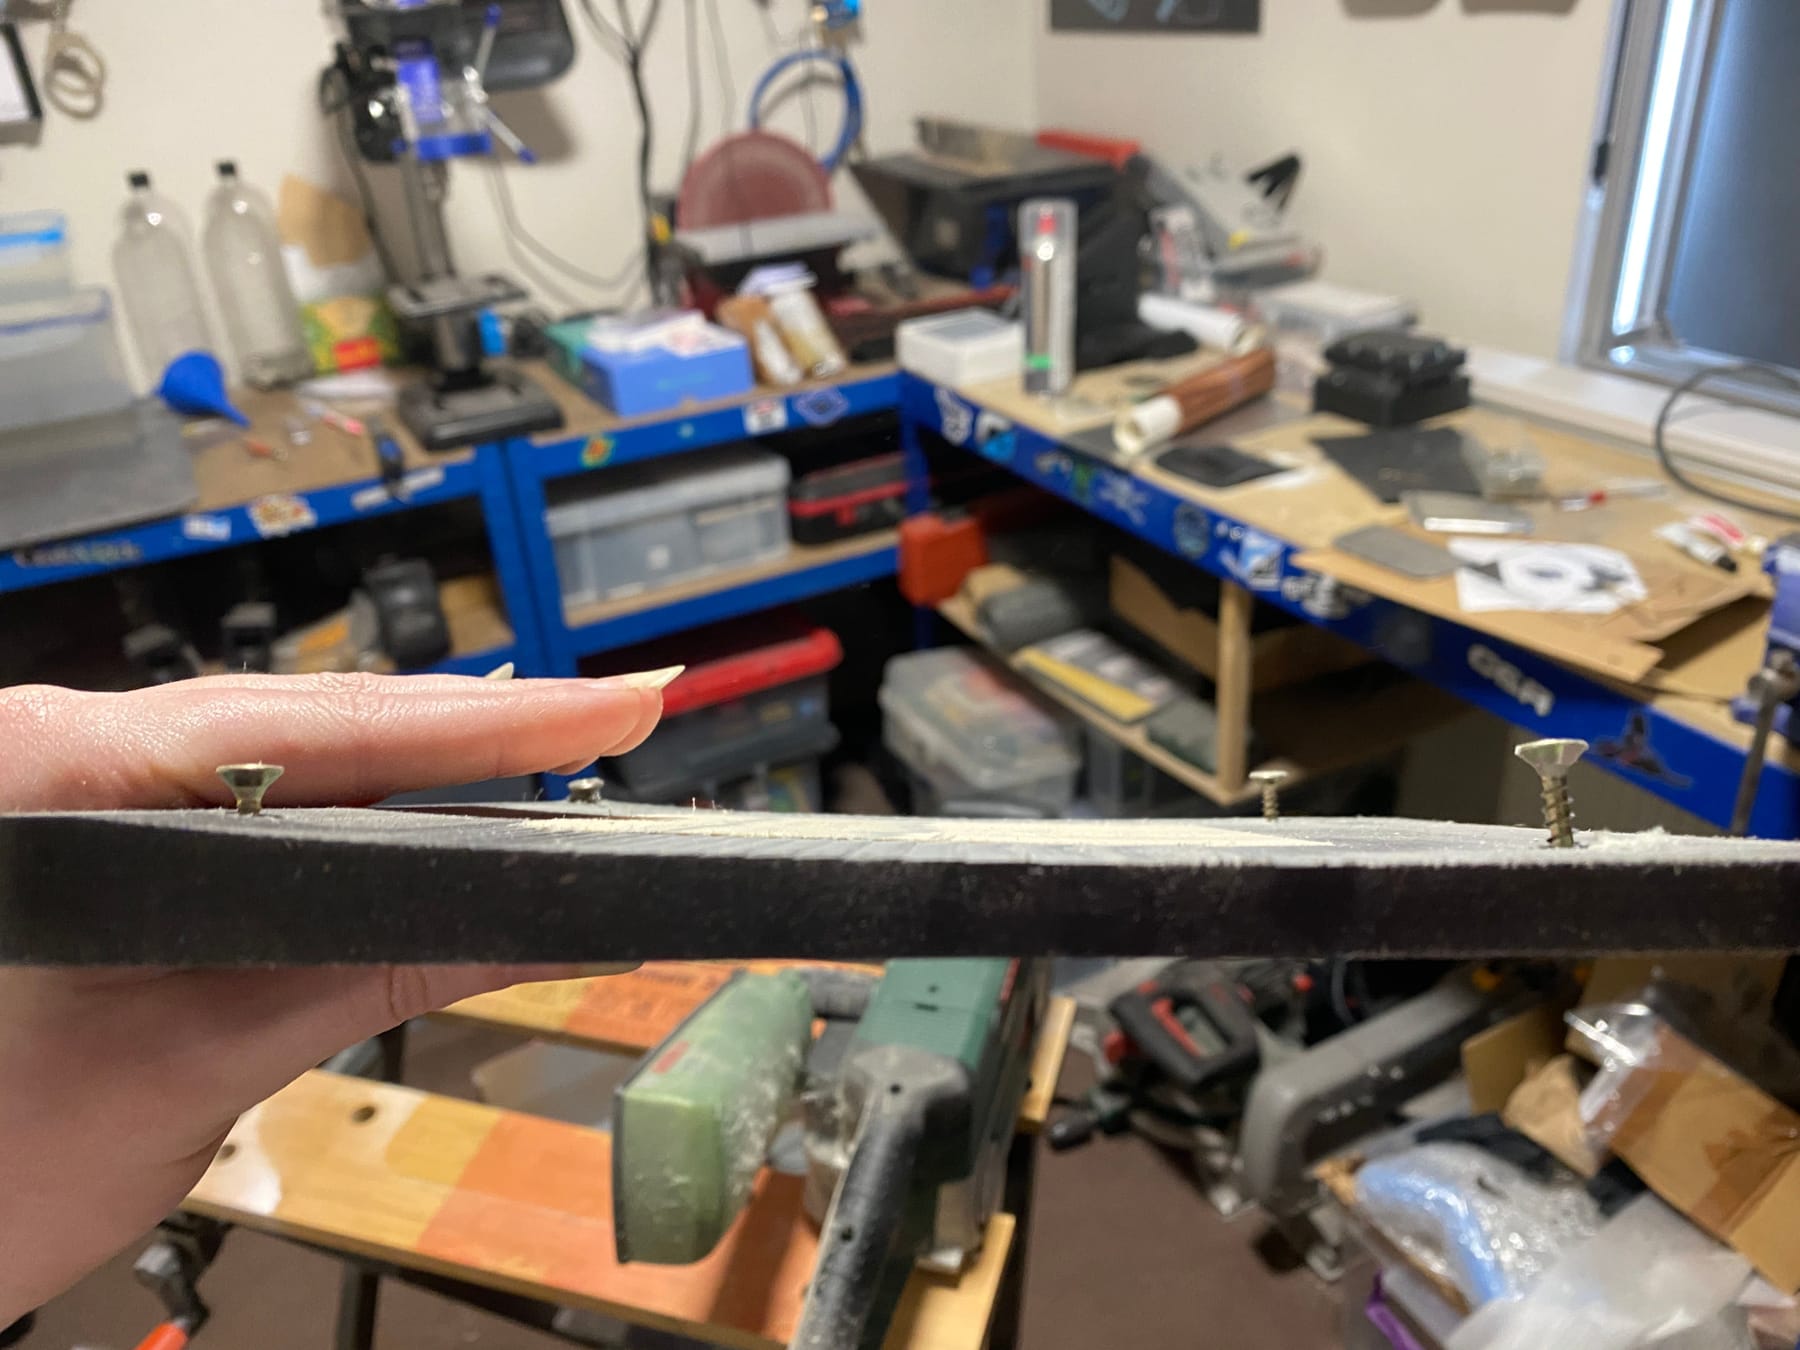
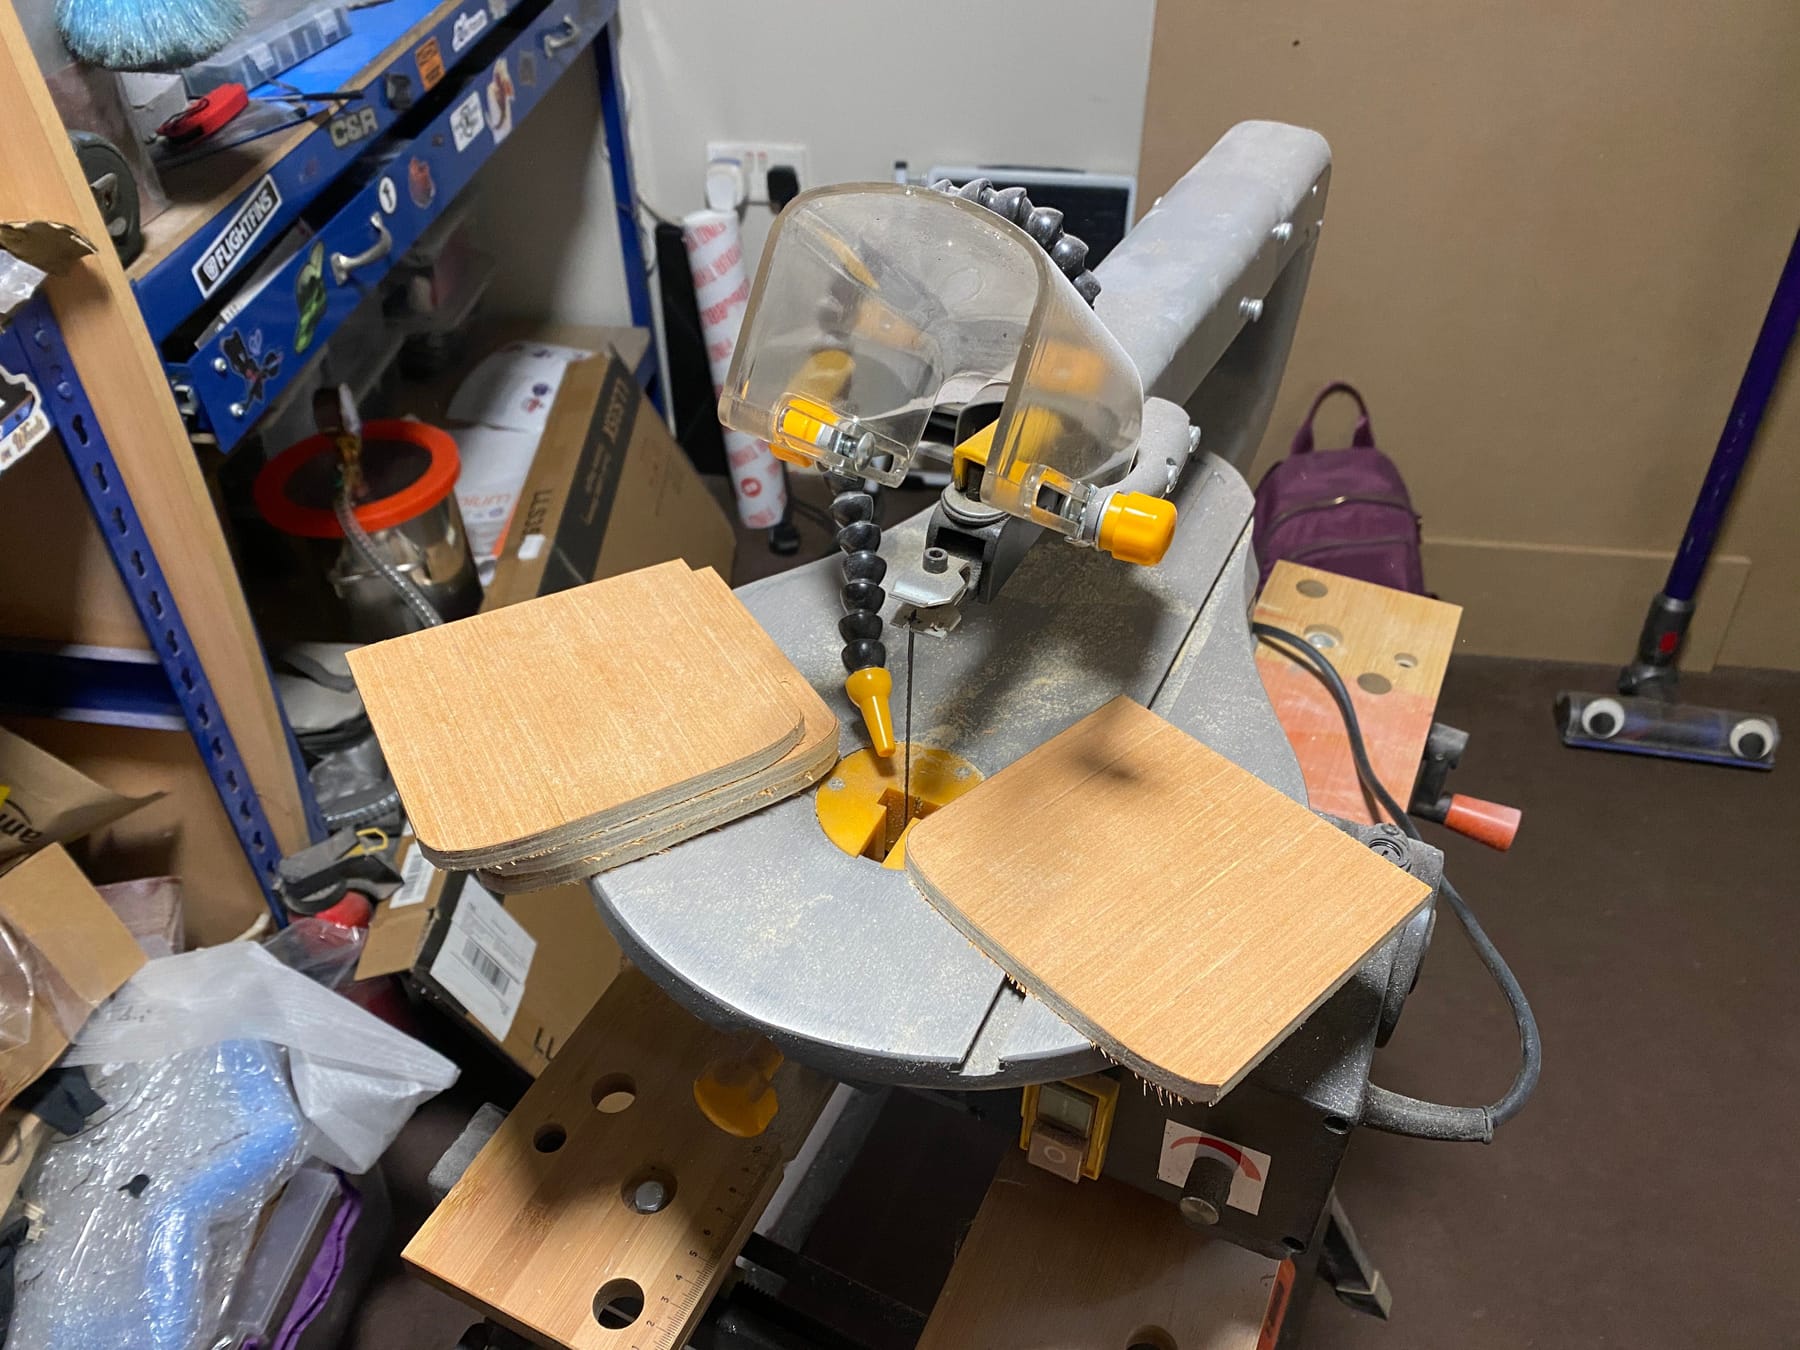
You must ruin a lot of material to get even a tiny bit of experience and skill using a scroll saw. Honestly these things are evil but a band saw is scary and I'm running out of space/money 😅There are a bunch more processes needed to finish these so I made some spare in case something went wrong and I had to redo some. Learnt from last time :3
This morning though things really ramped up. I got my CNC parts delivered. These.... cost quite a bit but honestly they were worth it. Let it be known a board half the size is not half the price even at cost.

-
Me and @cheppy44 will be exhibiting the XS's at Opensauce 2024 in San Francisco June 15-16 🥰
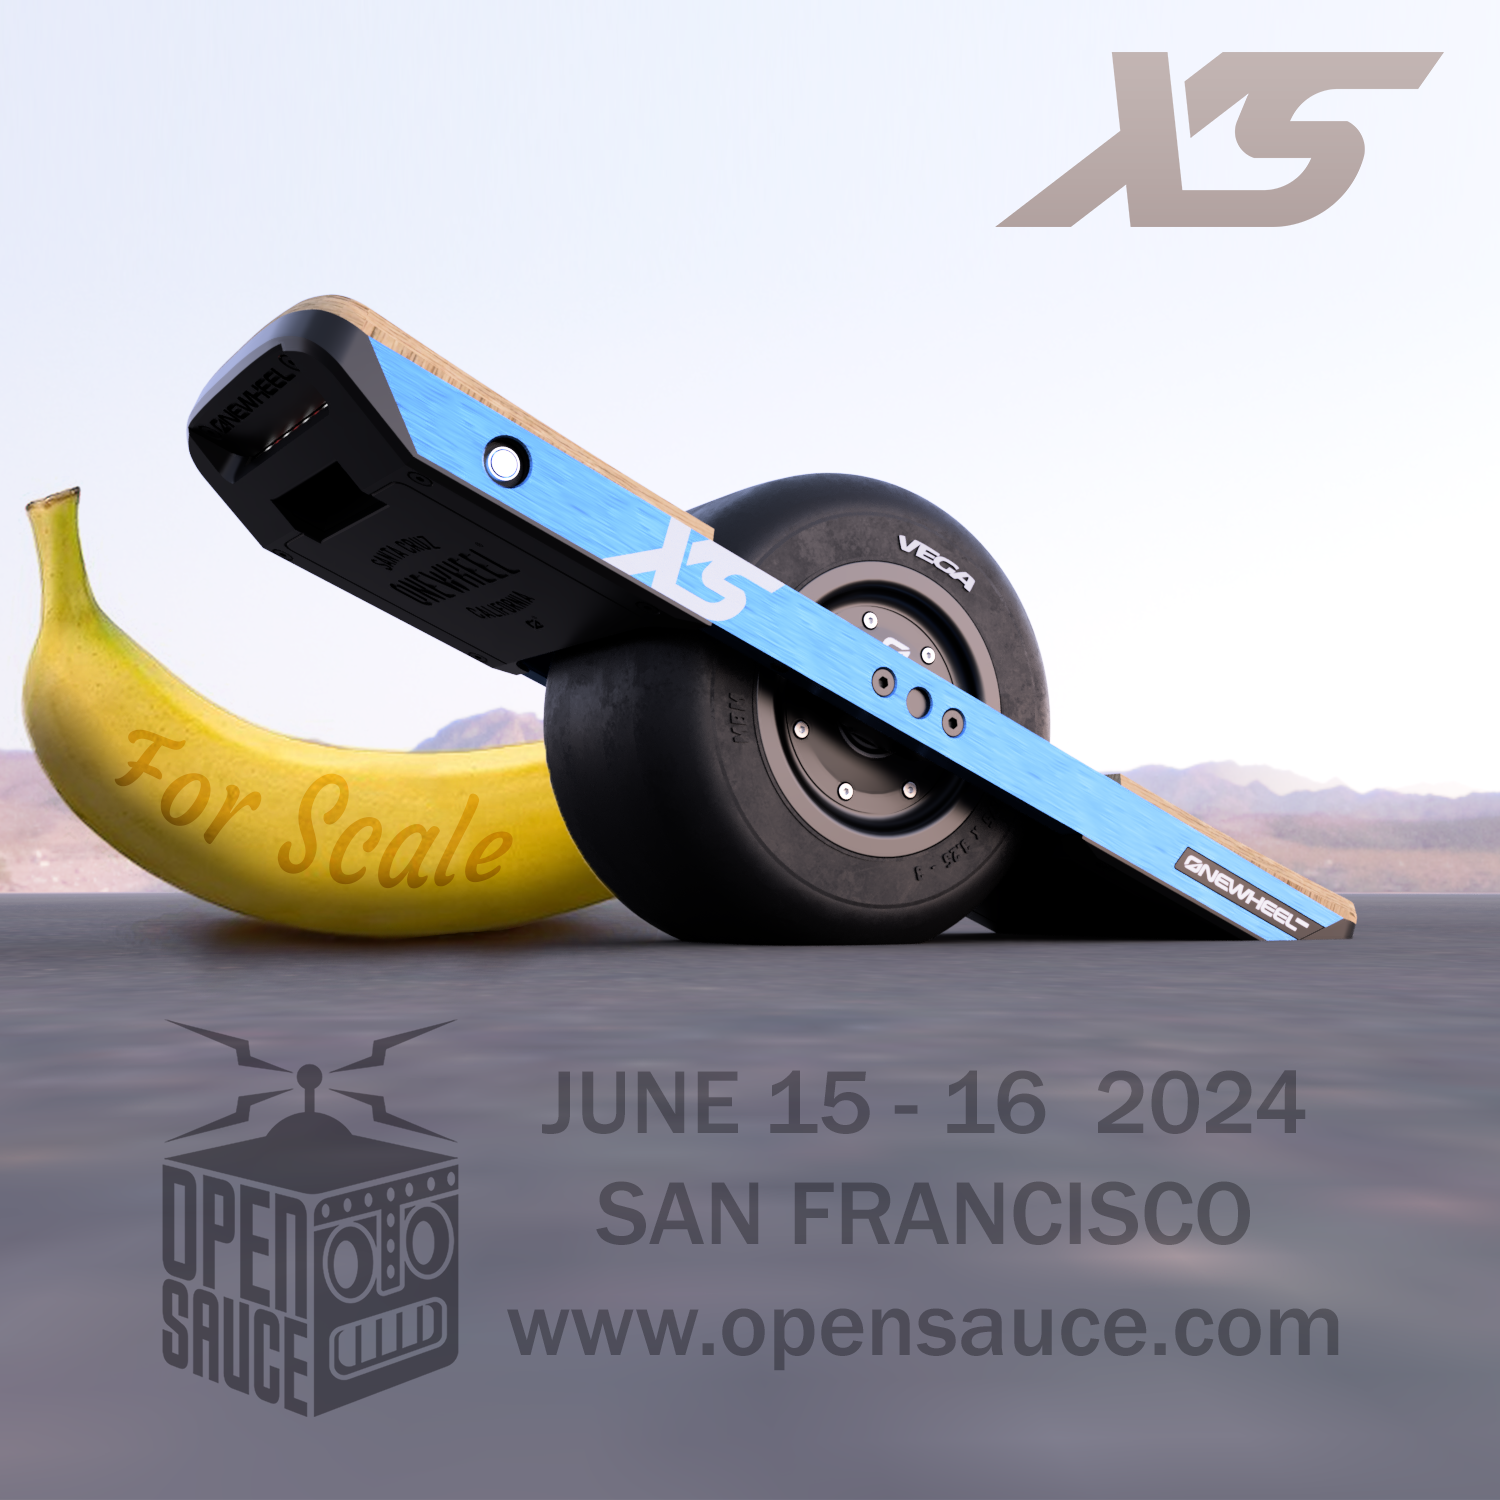
I have a few build log pics and stuff to upload but wanted to get a bit more done before sharing. In the meantime I wanted to share this as we've been accepted to have a booth ^-^
Not sure how many of you are into the whole DIY sorta thing but if you are go check out https://opensauce.com/ for tickets and what to expect. Last years was great and this one is gonna be even bigger.
-
@lia So much fine detail! Fantastic!
-
@lemur Thank yoooou ^-^
-
I'm really bad for updating y'all on this >.> I like wanna share something but I'll think "no after this". Rinse and repeat 😅 Gonna split this into a few posts so I don't melt your device loading it all in one go.
So a lot has happened. Lets play catch up!
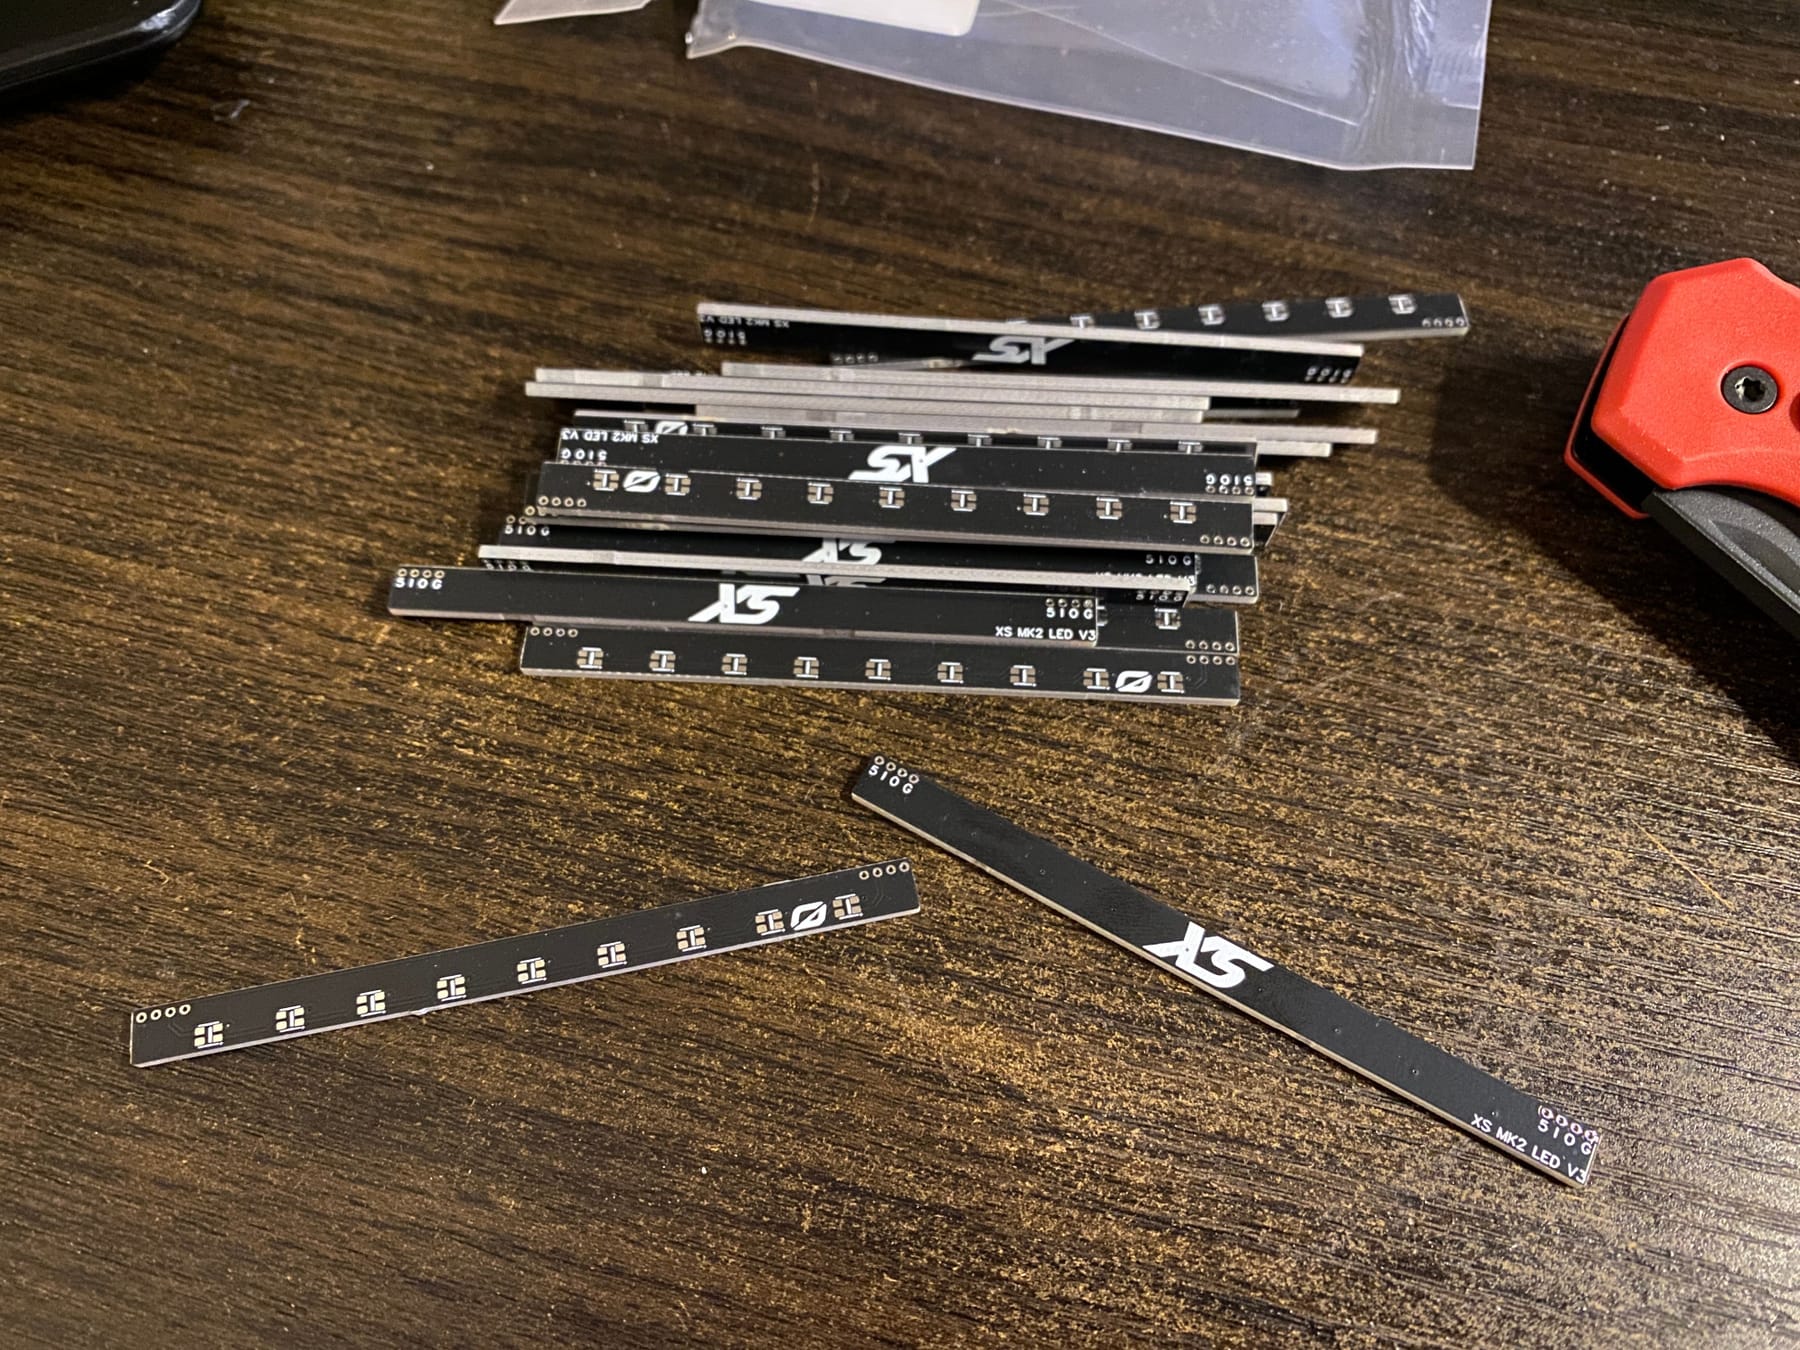
First up the LED strips for the XS came. I bought a bunch of PCBs since they were dirt cheap. Still needed 2020leds added but that was future (now past) Lia's job.
Fast forward a bit and I've got them soldered and with @cheppy44 's help some test code running. It pulses the blue LED and lights up the others at like 10% brightness or something. They're really bright n full whack.
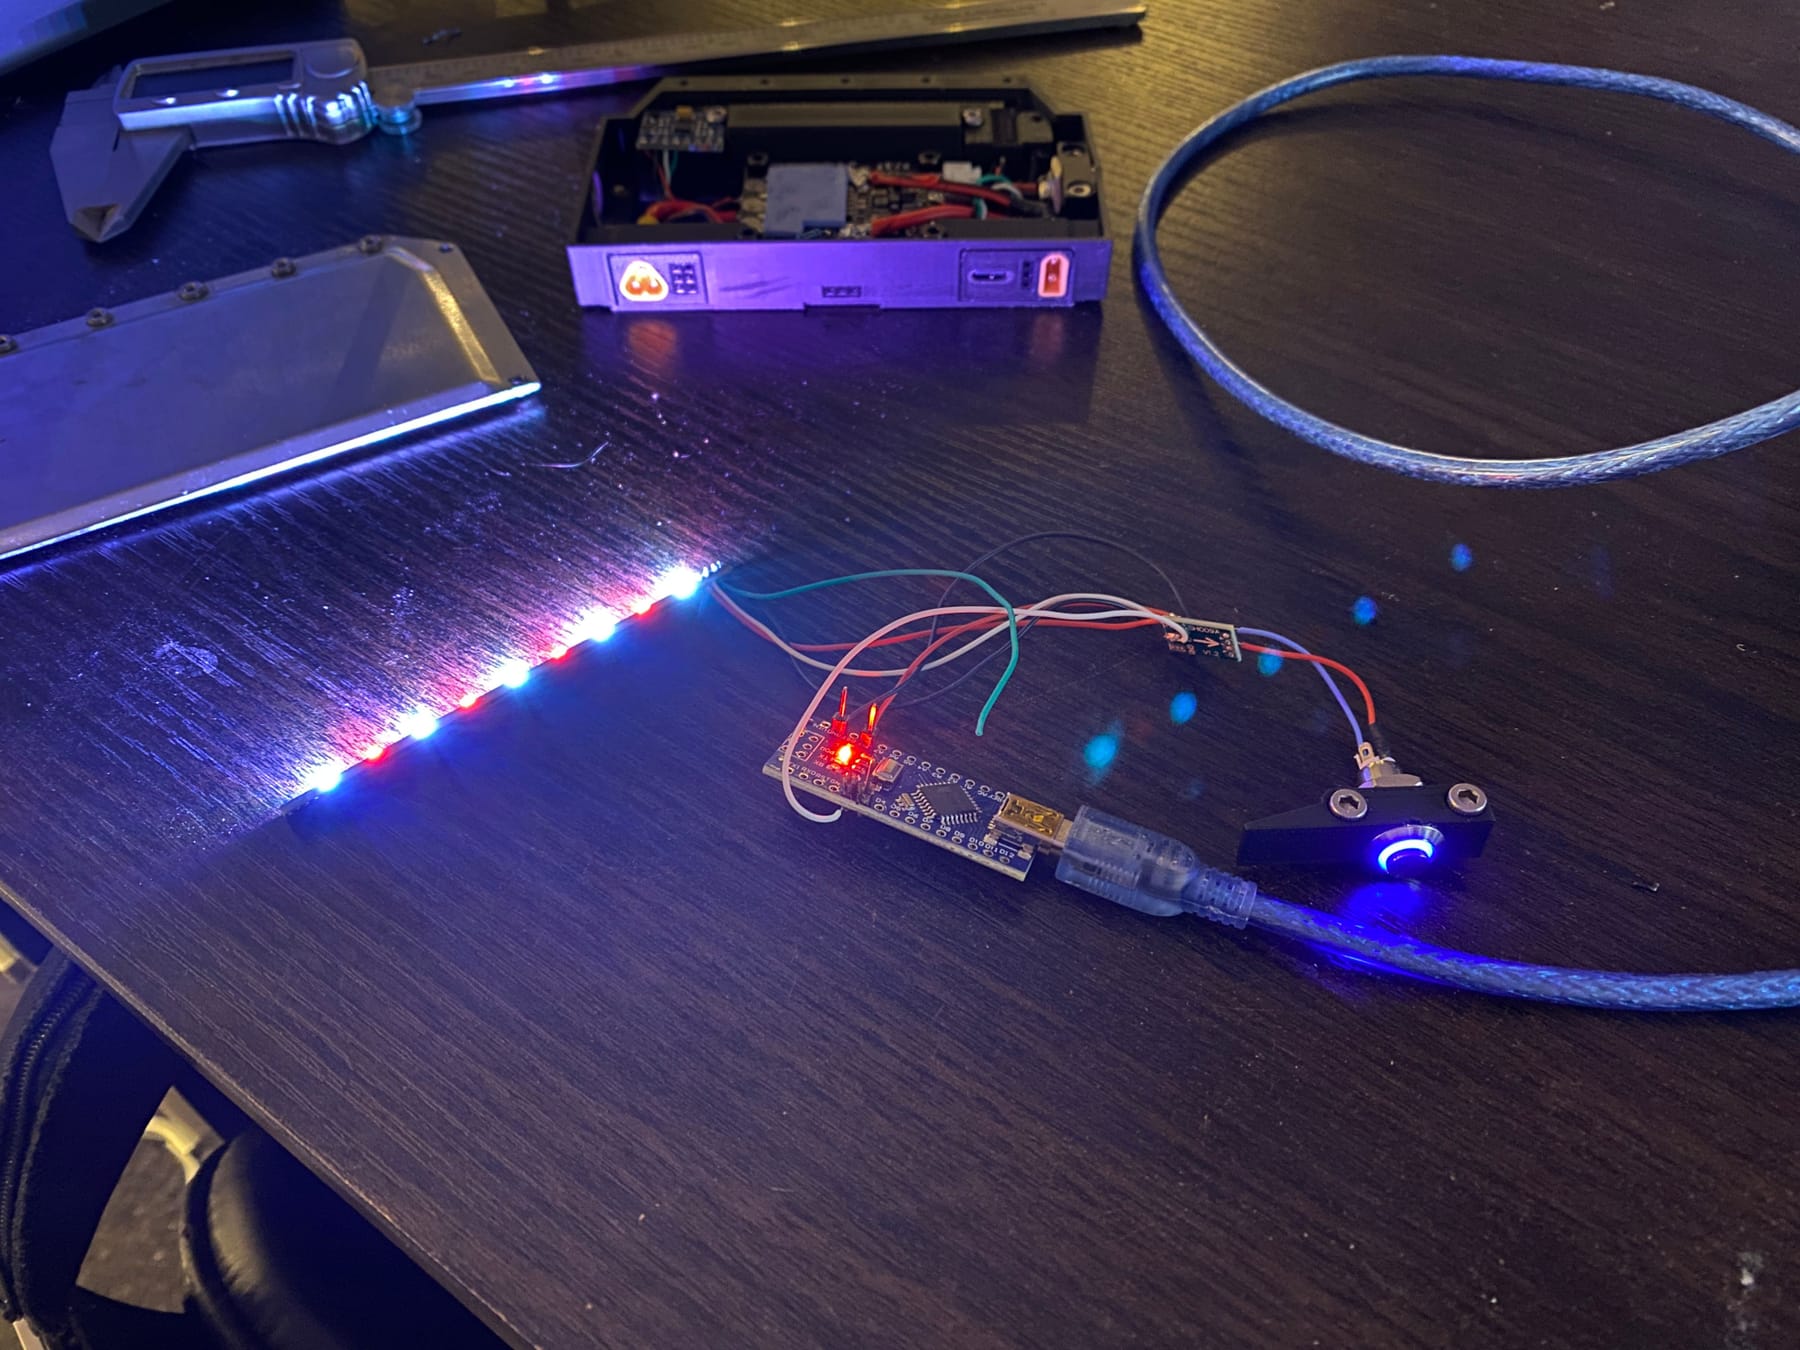
Mounted inside it looks sooooo good especially with the little FM logo.

Disappointingly at this point the USB port that I bodged on stopped working. Turned out the lil resistors that sit near data lines had died so I ended up piggybacking off some traces further back to add some test resistors.
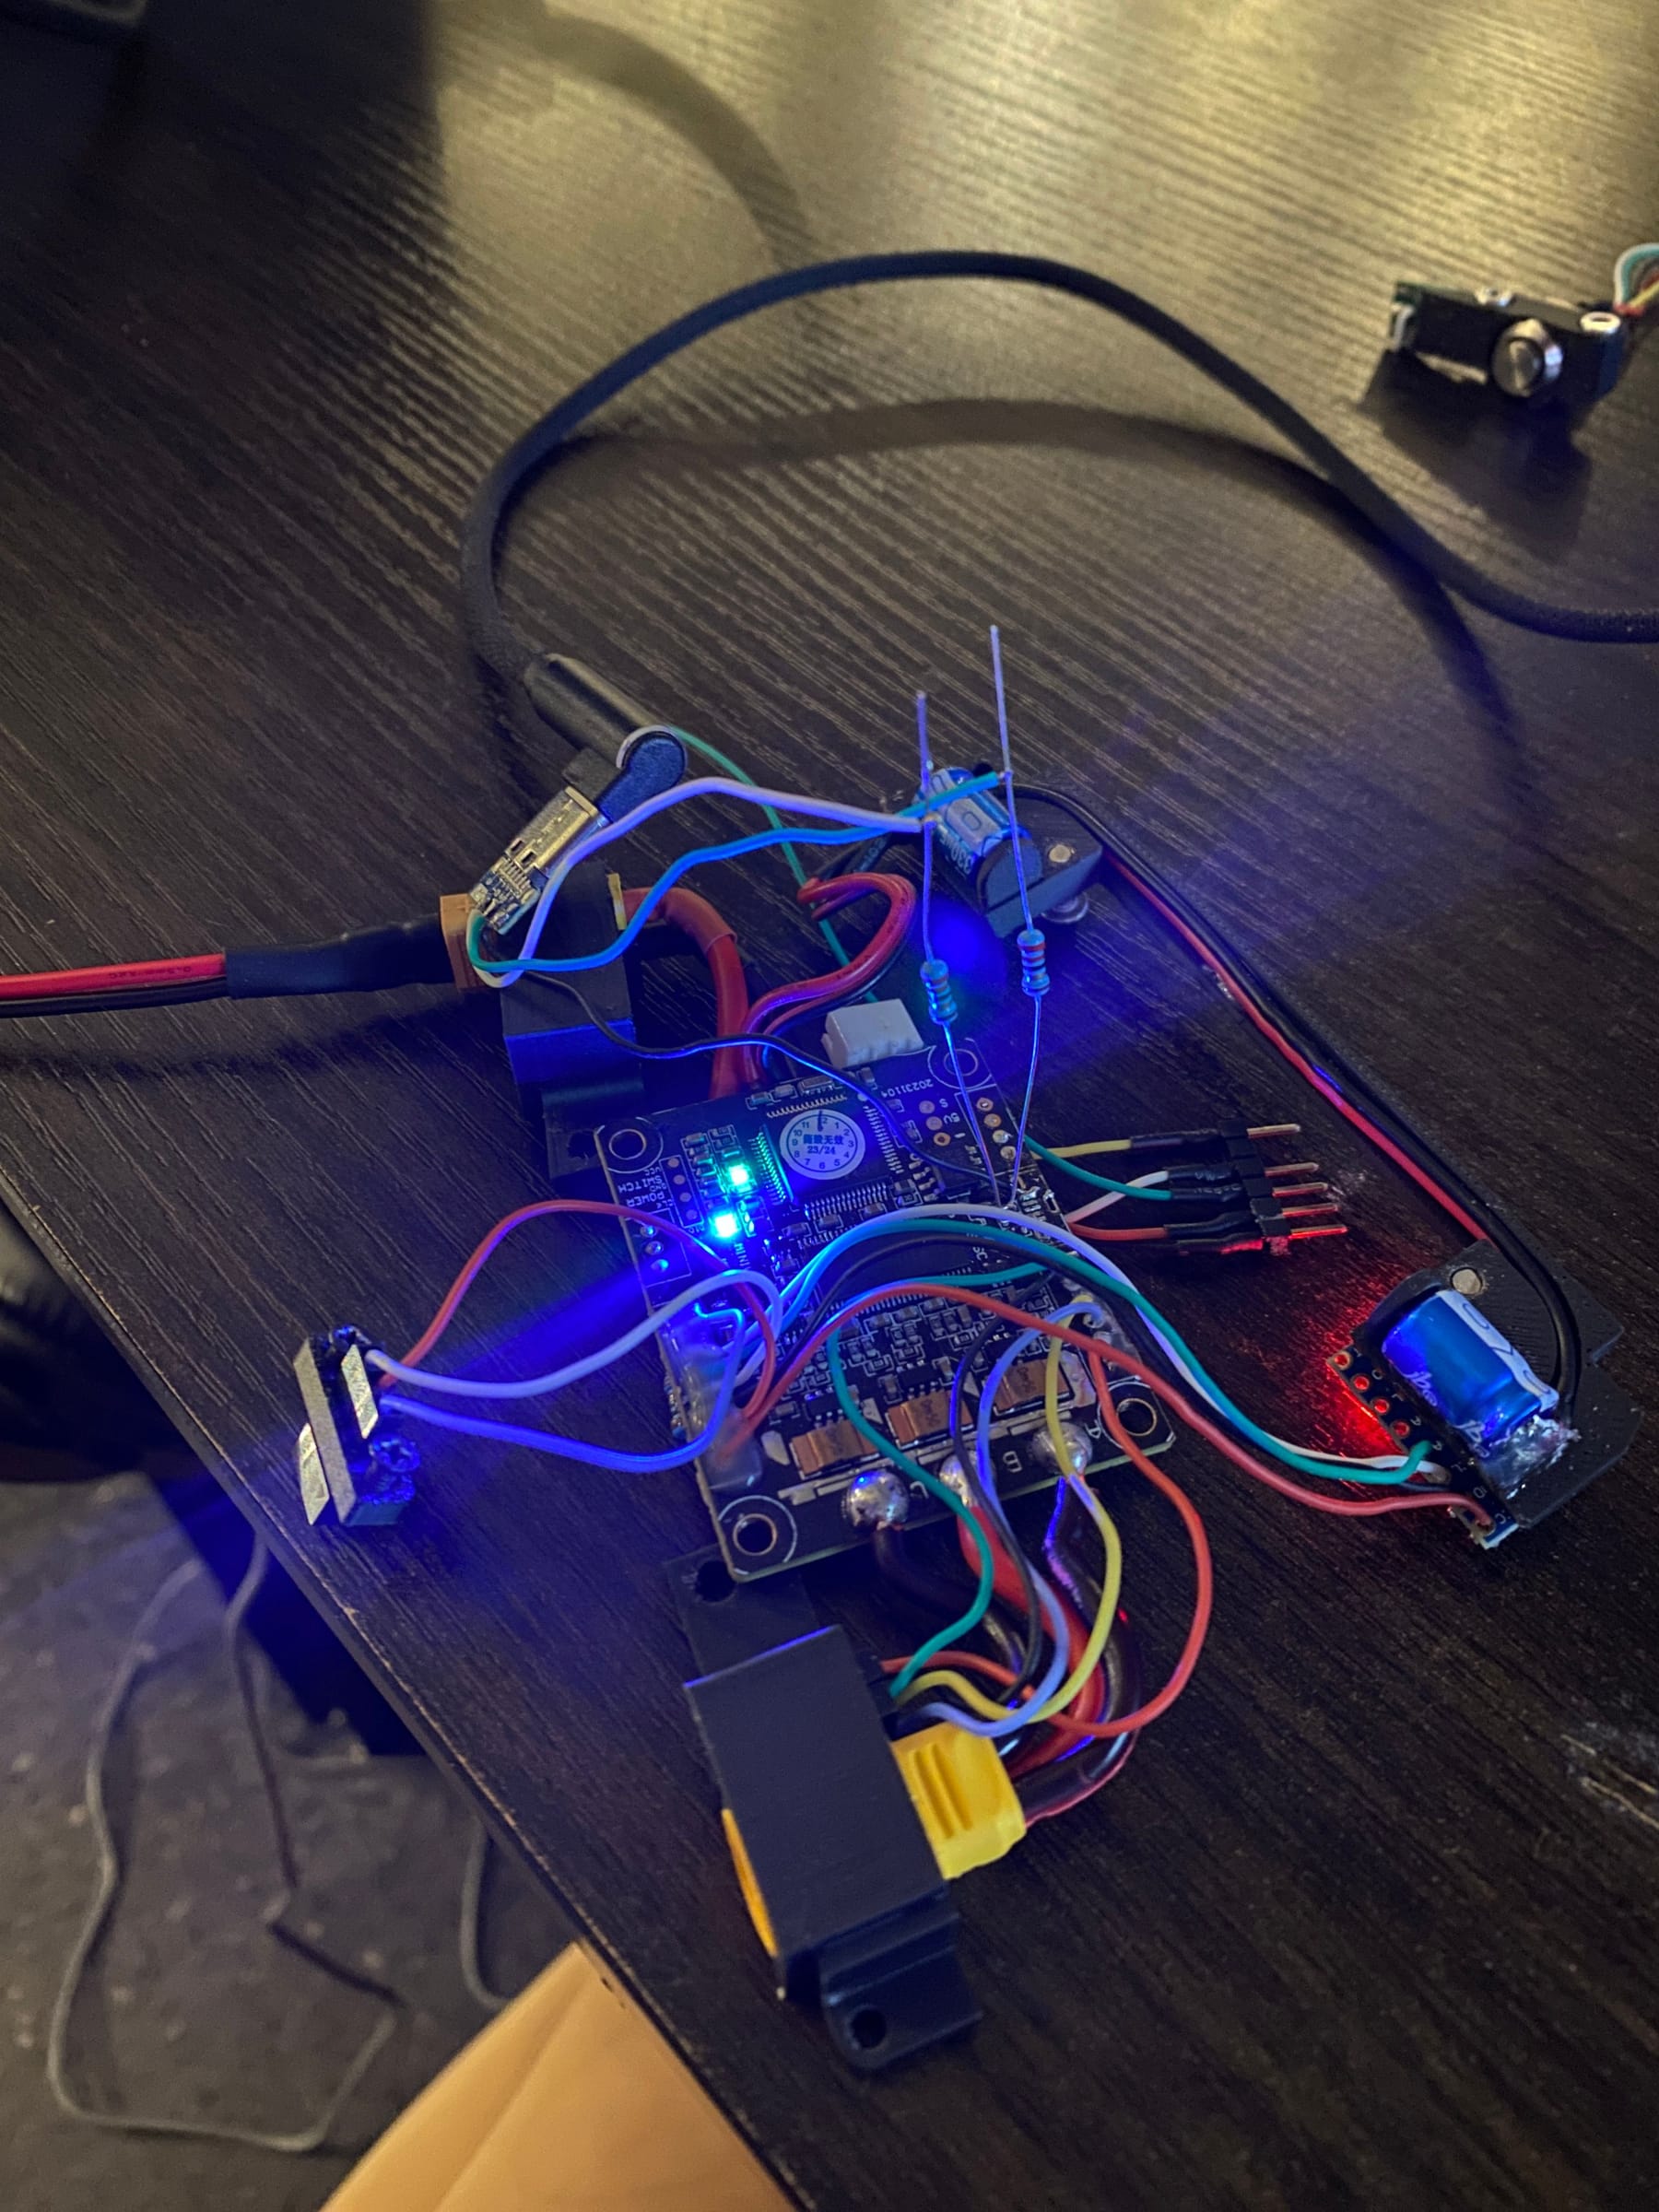
All together again for a test and it looks fab!
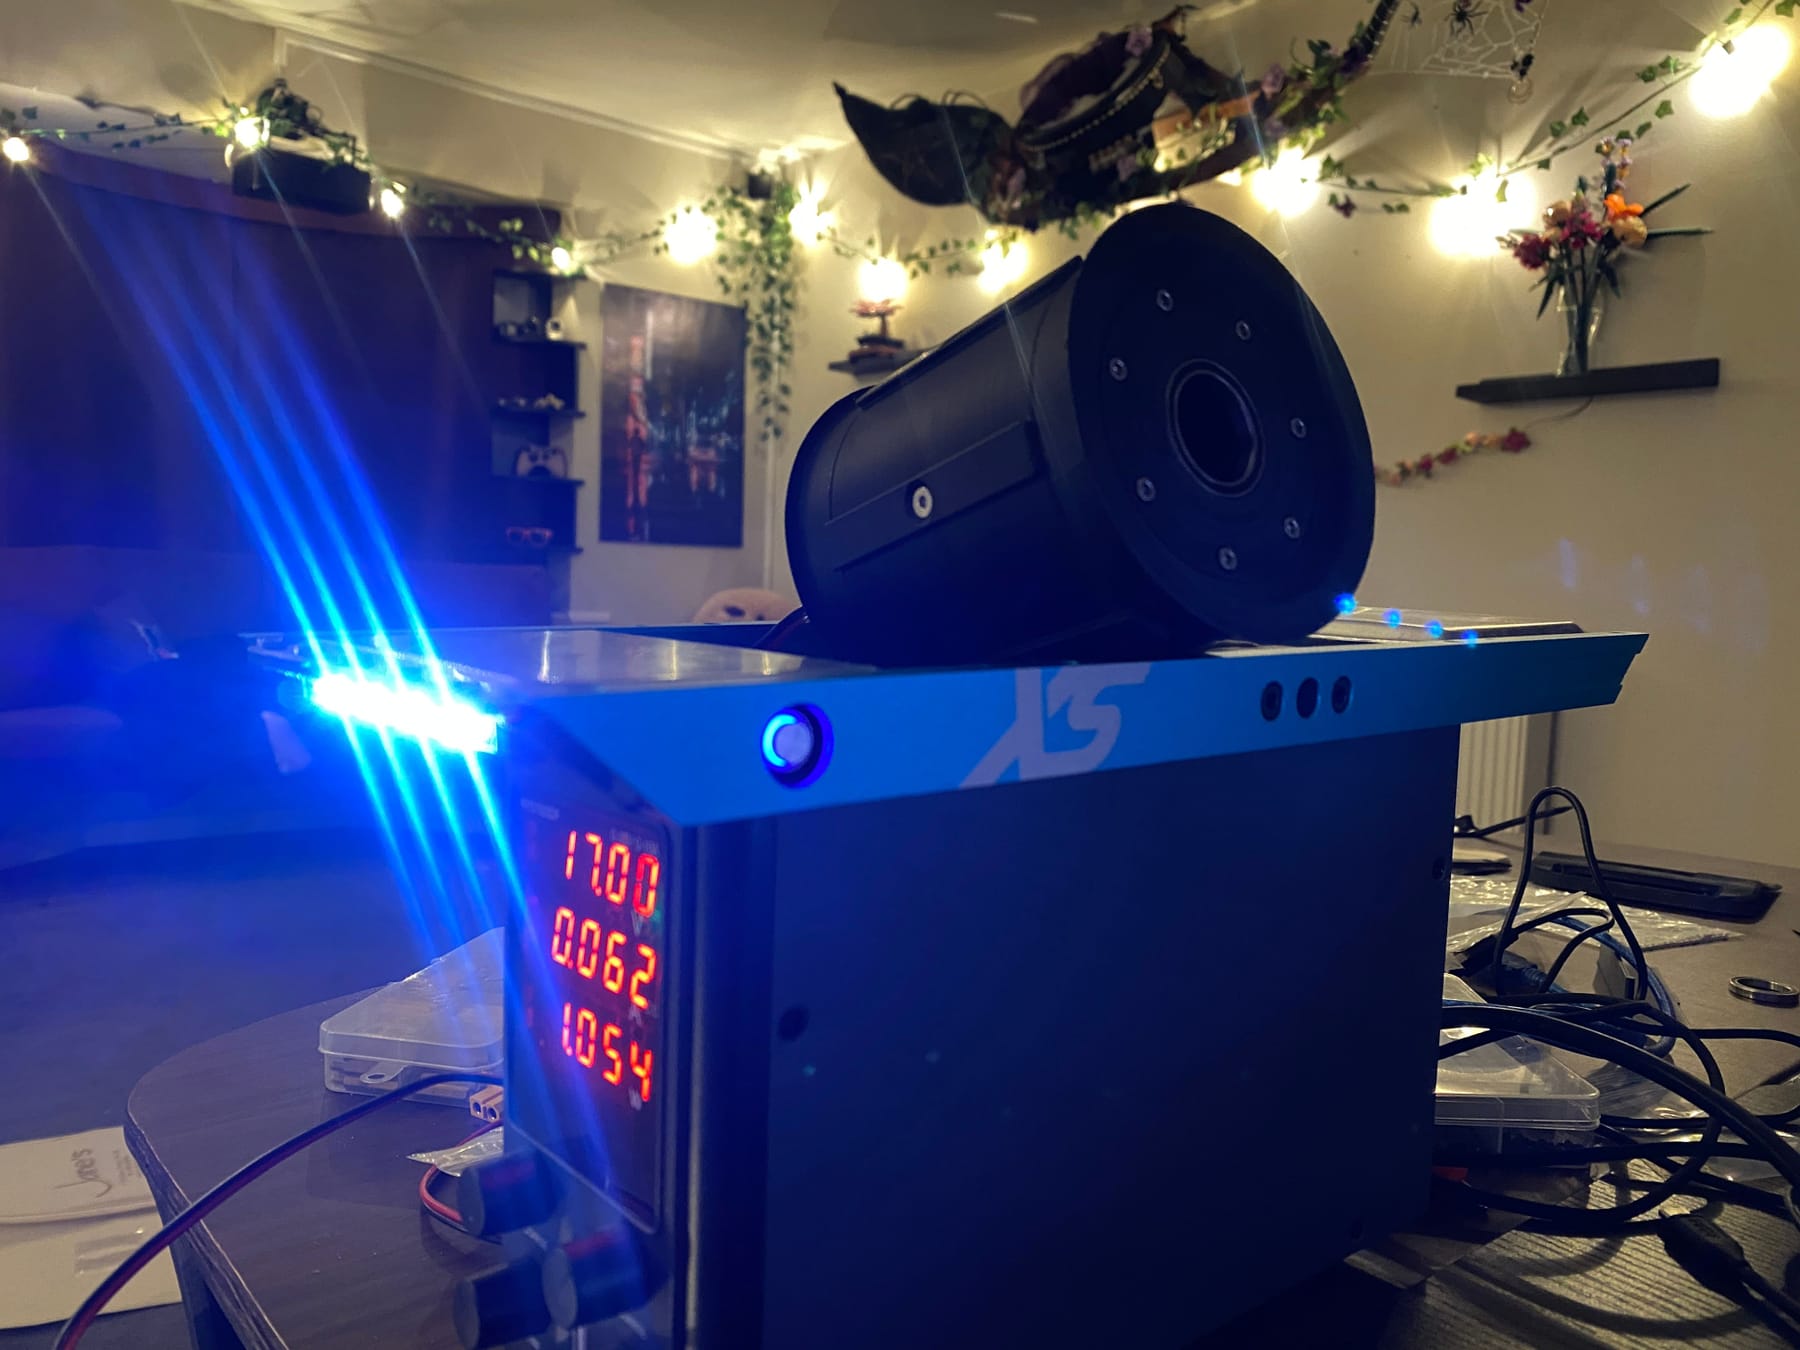
In the meantime I made the battery again. Identical to the first one since it worked great so why change it.
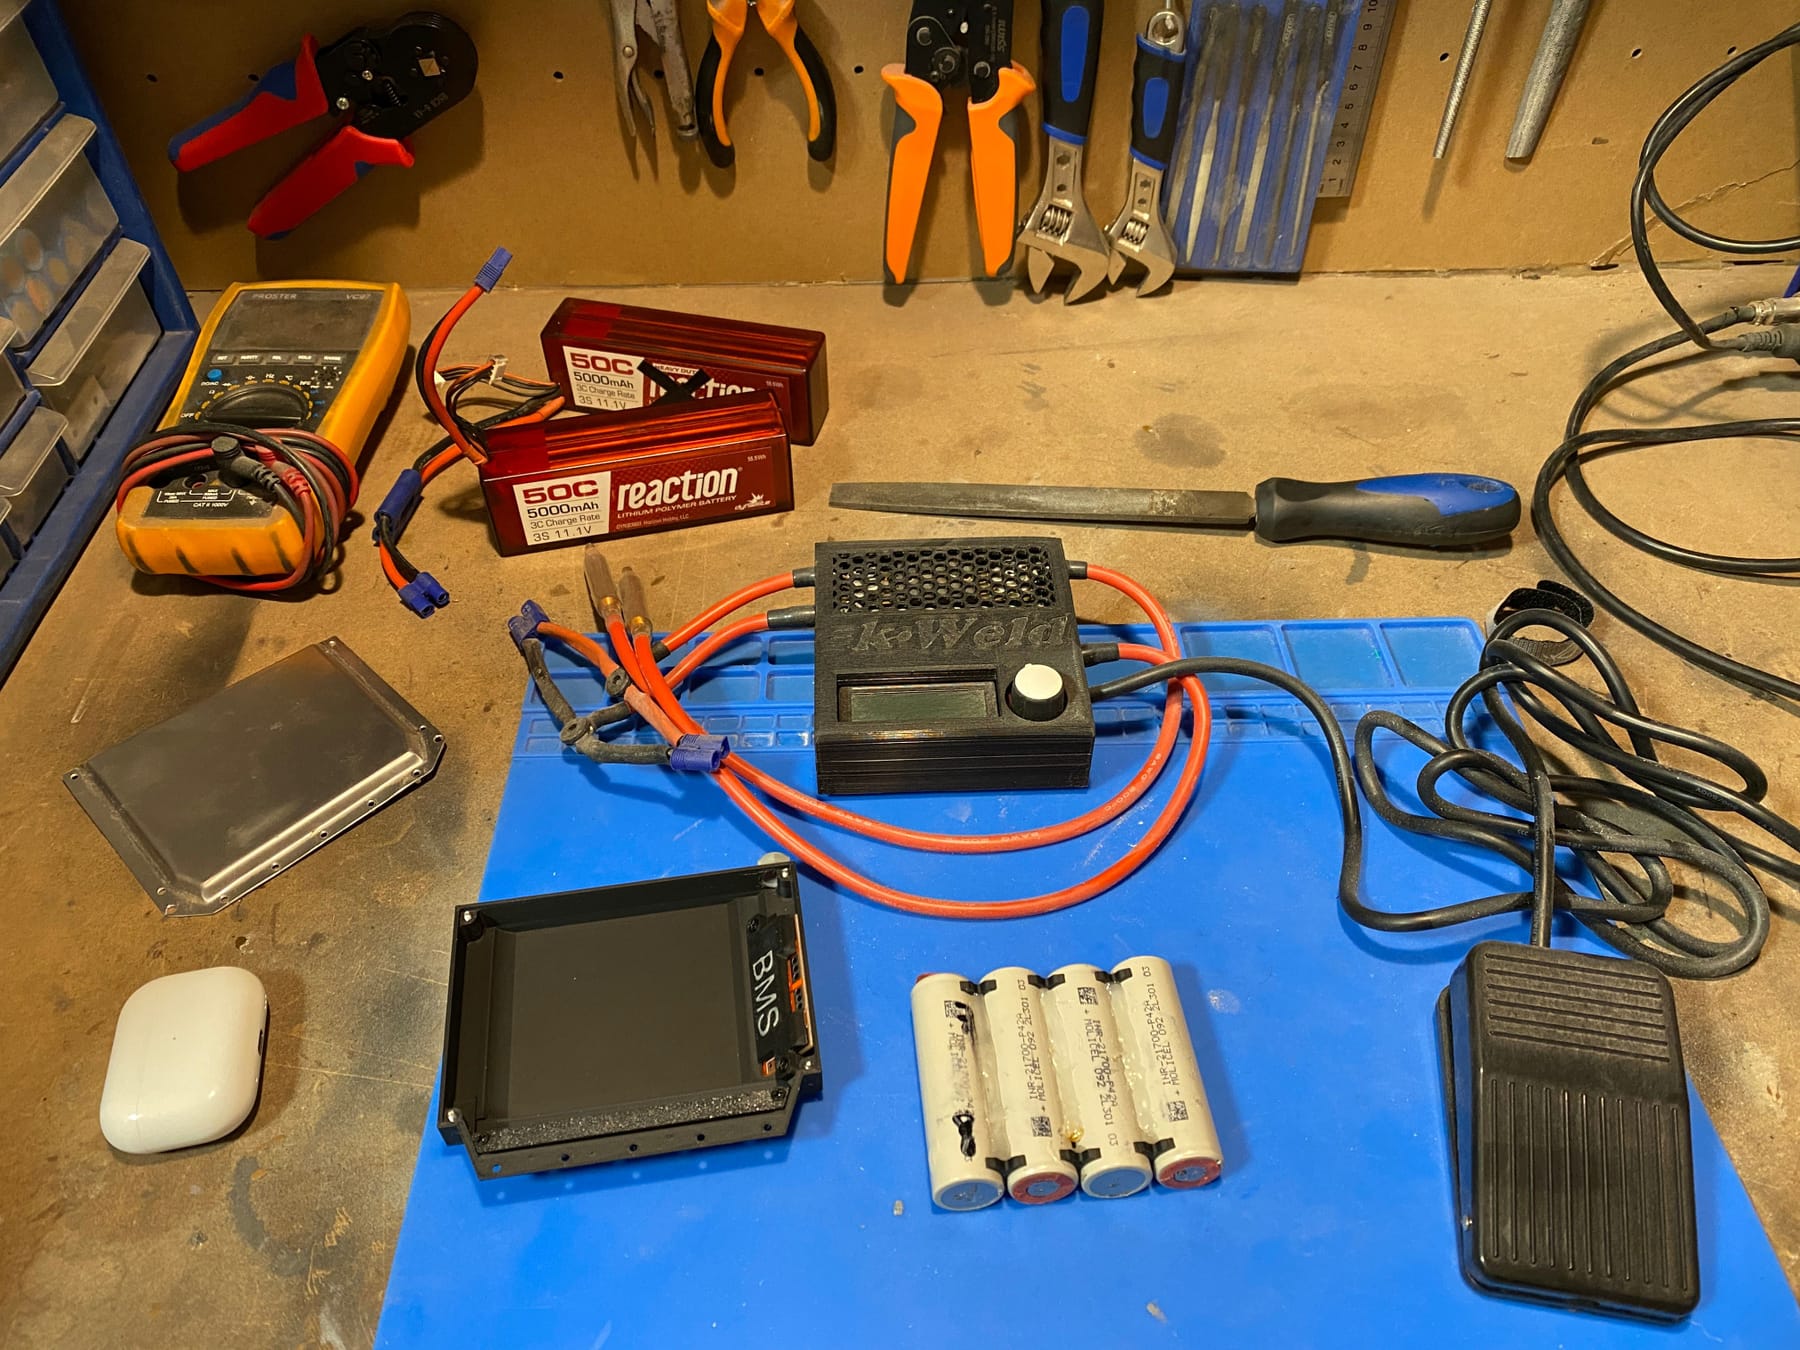
To be honest this is one of my least favourite parts of the build. I hate working with lithium batteries. Even though I made that monster 60 cell 15s4p VnR pack I always get nervoud working on them. Regardless I got it done, taped and shrink wrapped.
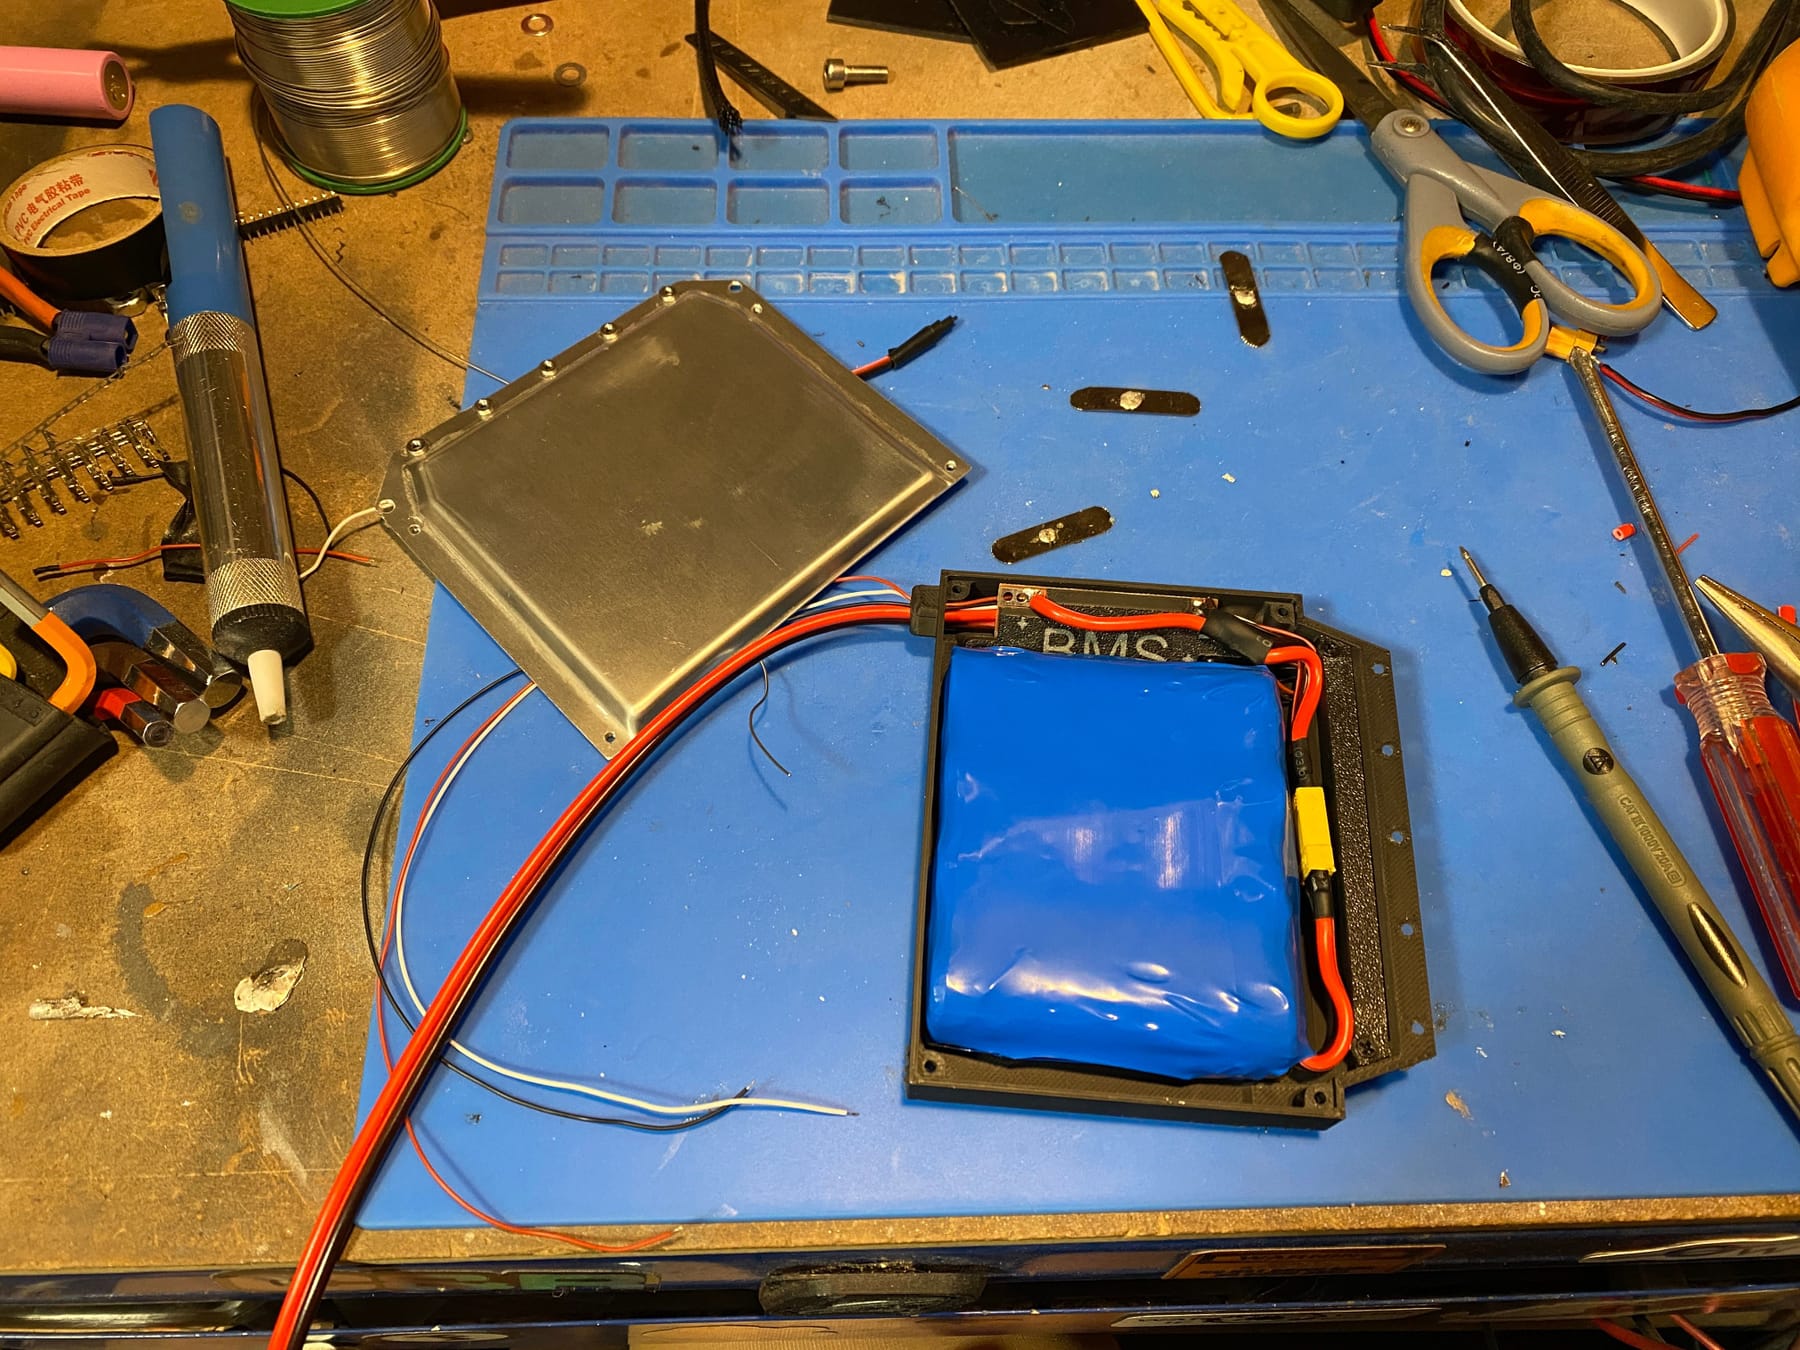
Complimentary label for style points.

-
Anyway back to the LEDs. I also ran into another issue. This VESC hates the float package. Like not just it doesn't work. It freaks out and reports all sorts of junk. As such I had to ditch using the servo pins to drive the LEDs and instead mount a Seeeduino with a gyro/accelerometer built in that we could use to calculate direction of travel and change the lights. @cheppy44 handled the code as I frankly suck at it.

Something I've been putting off for a while is the tire. PU rubber sets in a minute with a pot life of barely 5 minutes. Pouring the viscous gloop into a mould is daunting but I made some progress today. However we're not there yet so have some pics of the process getting there. First up taking the positive and a mould shell to create the first half.
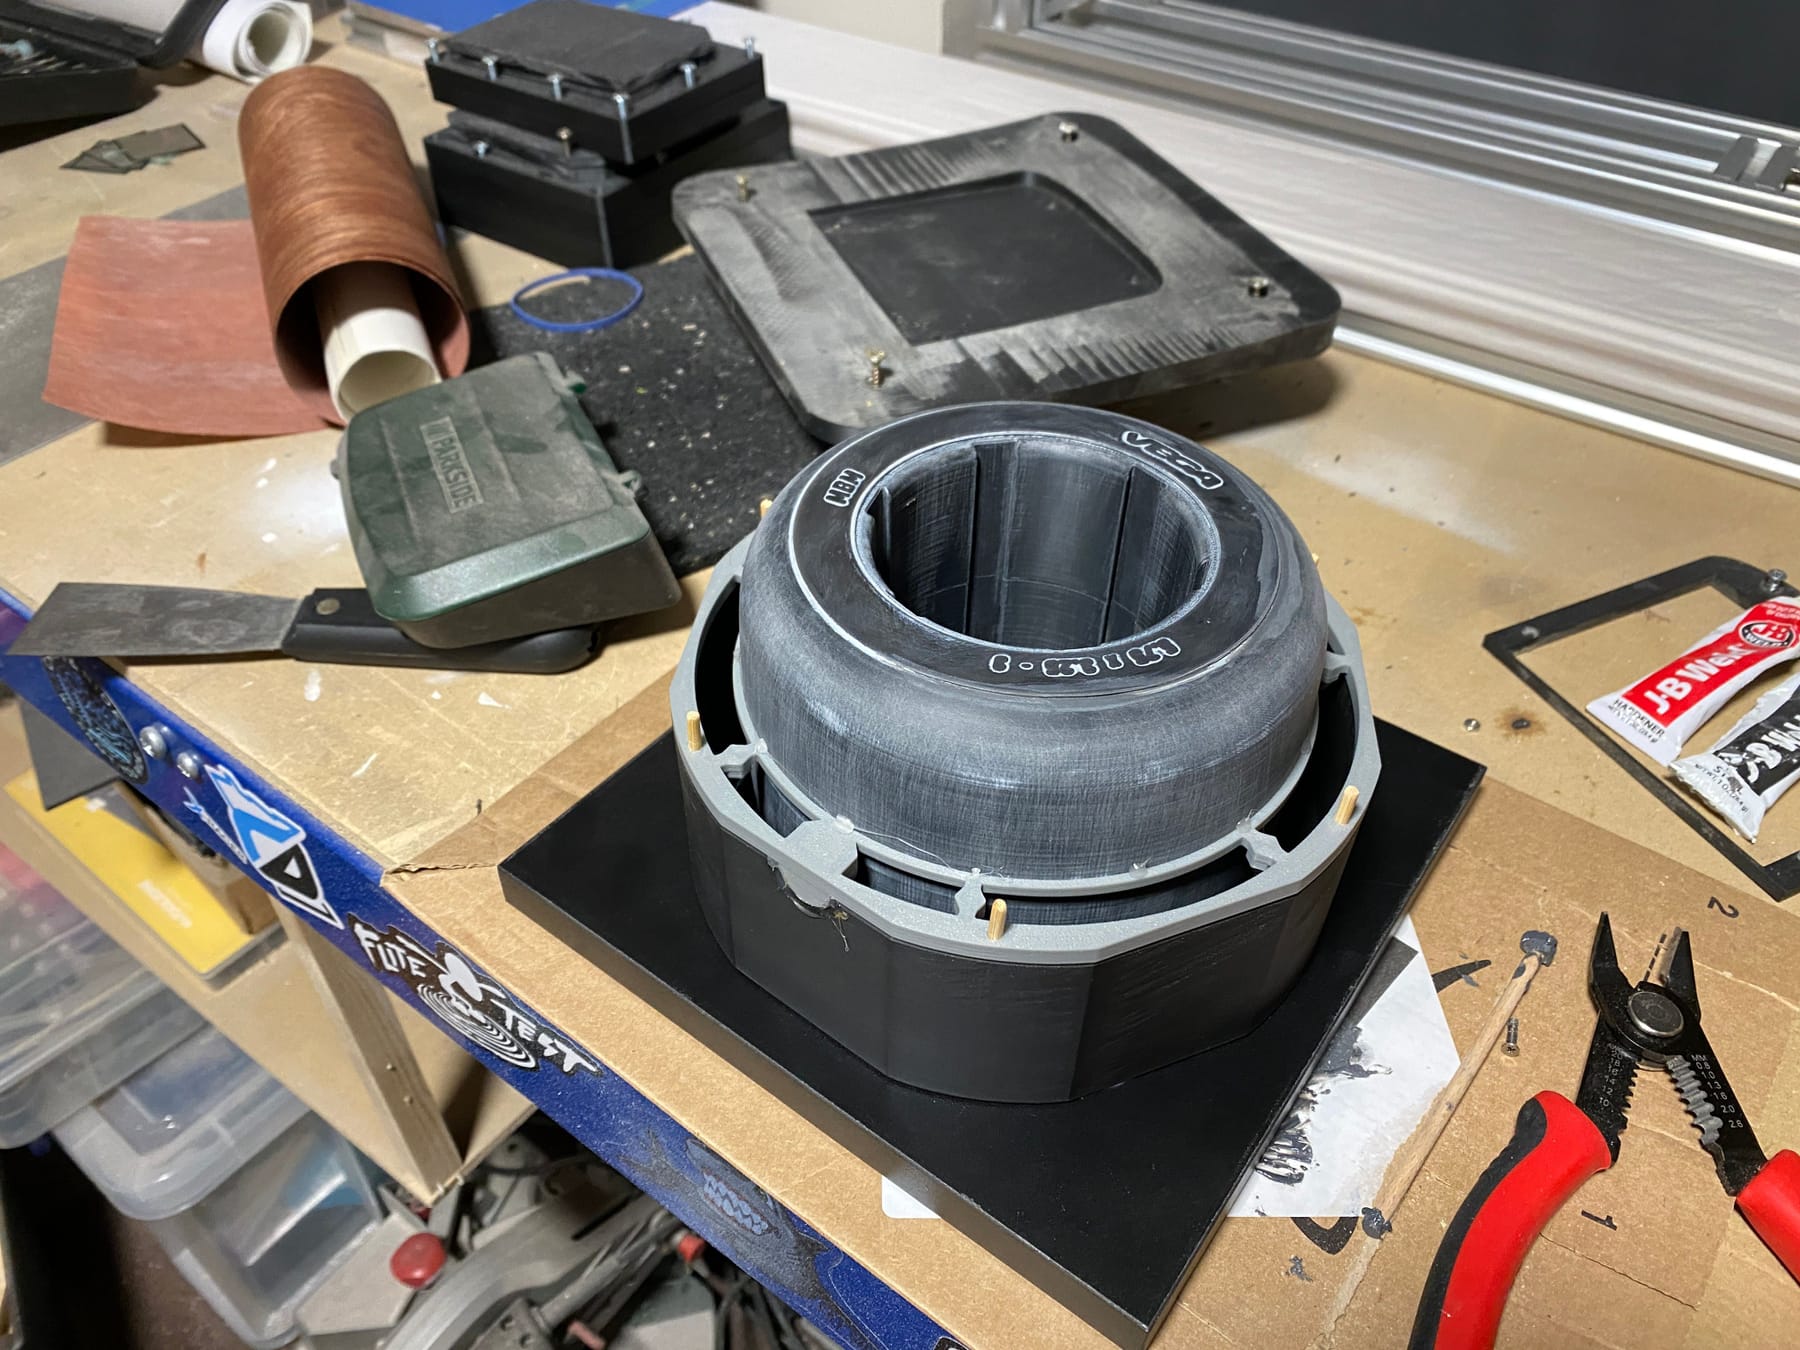
The ring is to keep the positive floating so some silicone can go underneath. It also has some printed location pins so once cast the silicone will have some way of locating with the other half if the shell is removed.
The first batch of silicone got mixed, degassed and then poured in one spot to avoid bubbles forming during the pour.

To make the mould a bit easier to separate I dusted it in baby powder, glued the 2 shells together and prepped the second batch.
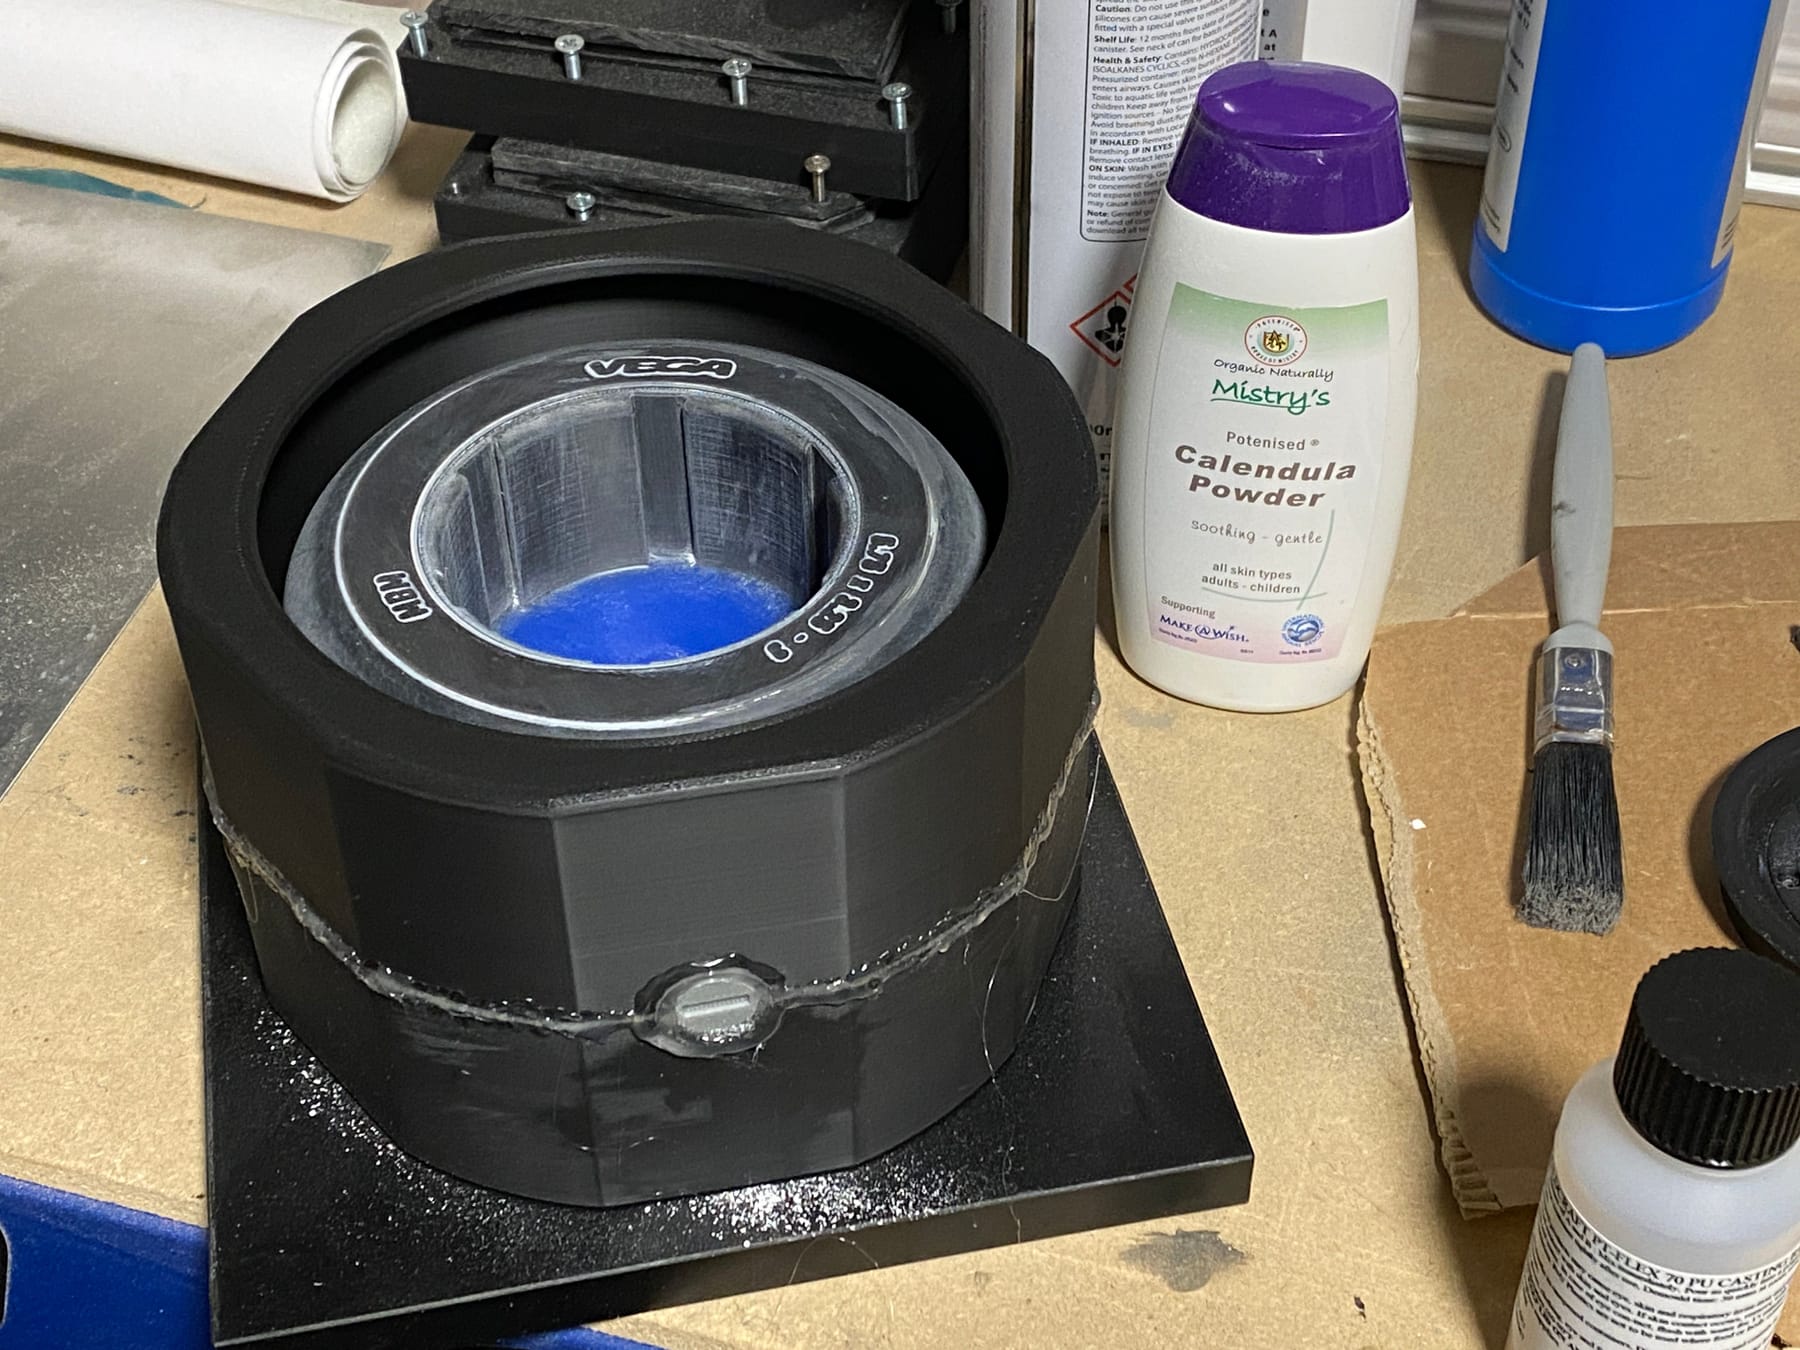
If you care for it I tried to film the last degassing and pour. It's 5 minutes so skip around if you want.
Forbidden cake.
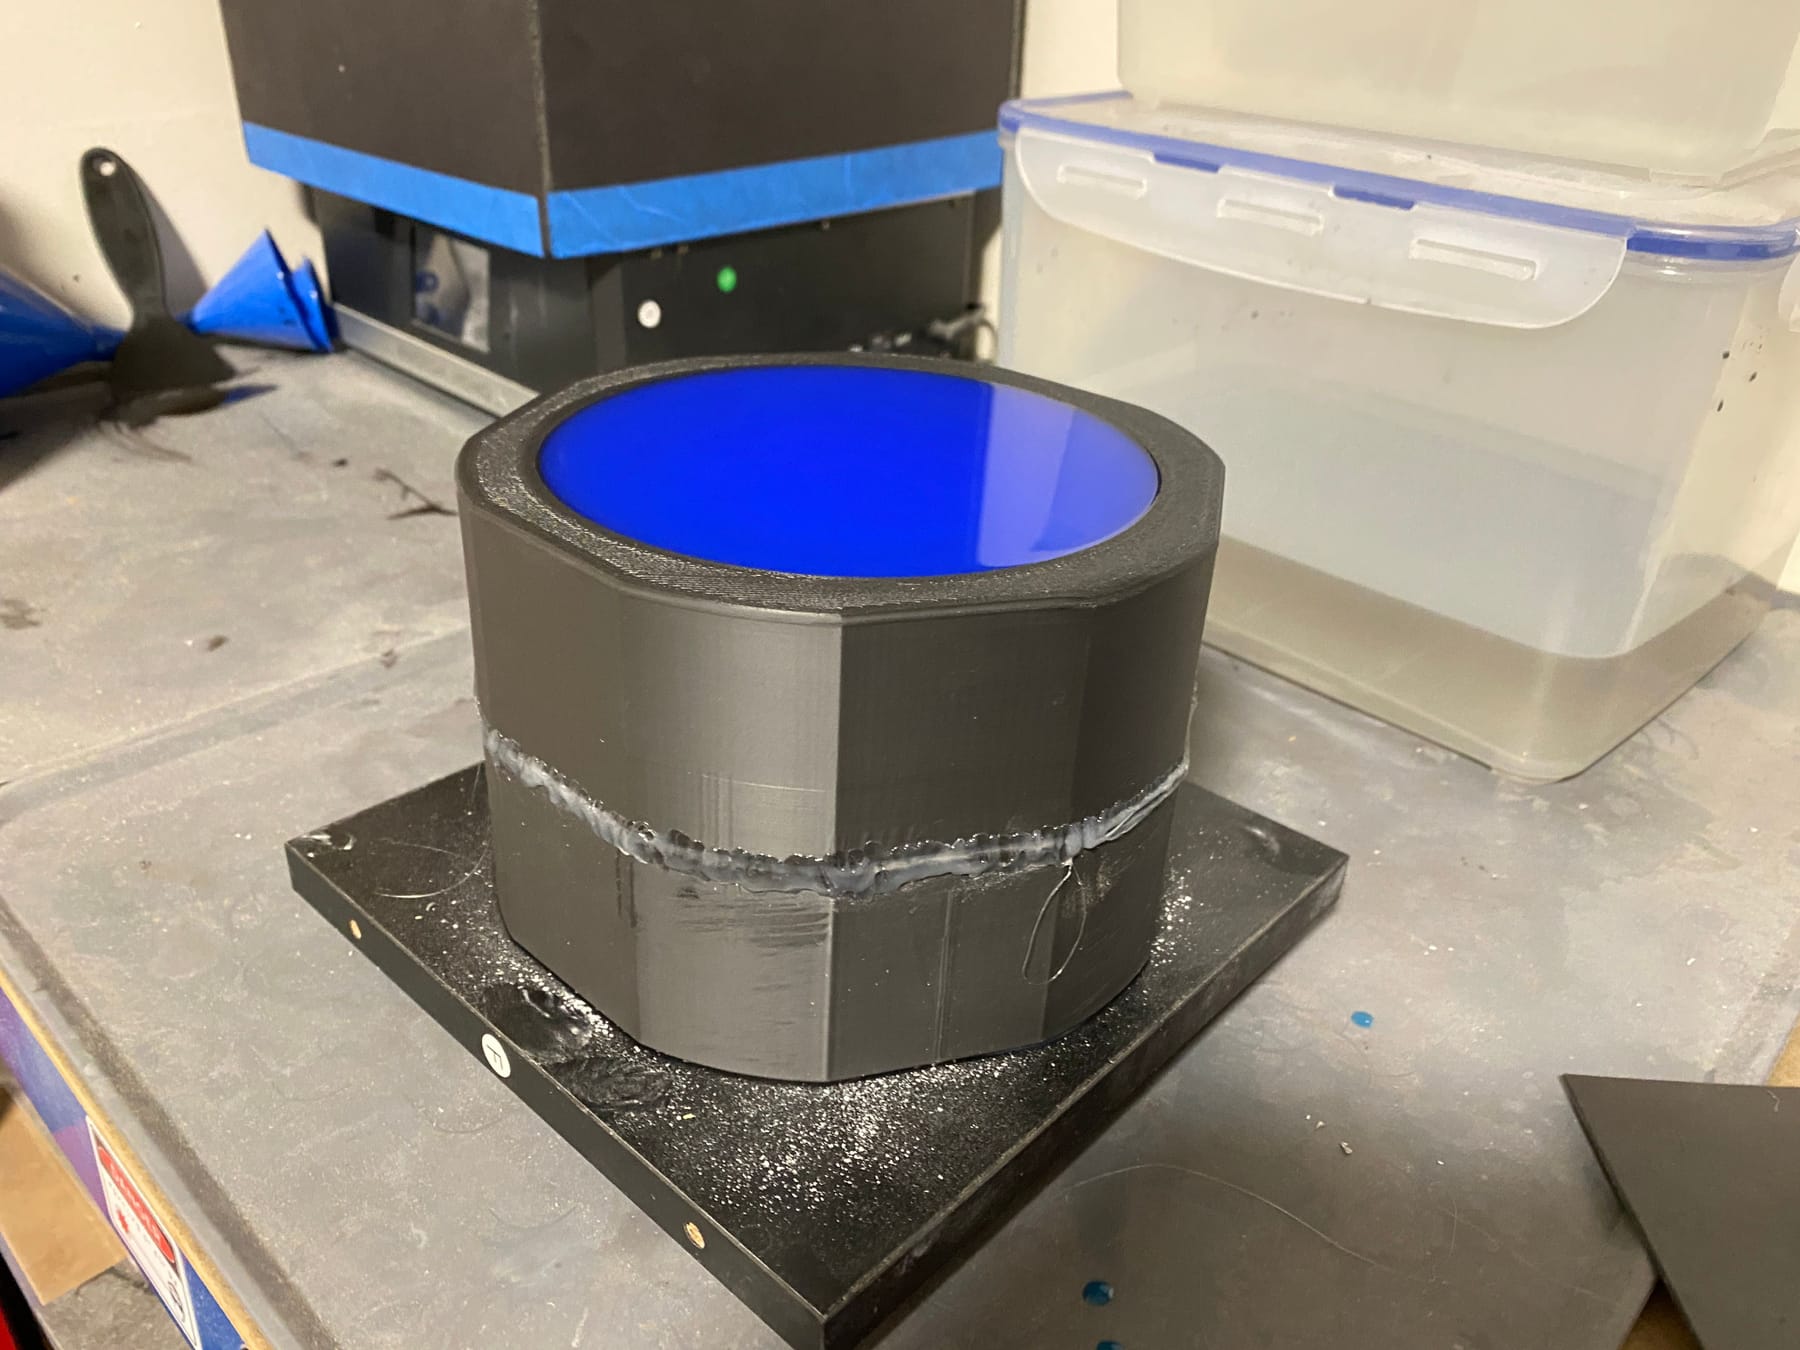
One thing not obvious is the shells had internal geometry to help me locate them with the silicone mould after. Actually really useful. However pulling this all apart was an actual nightmare!
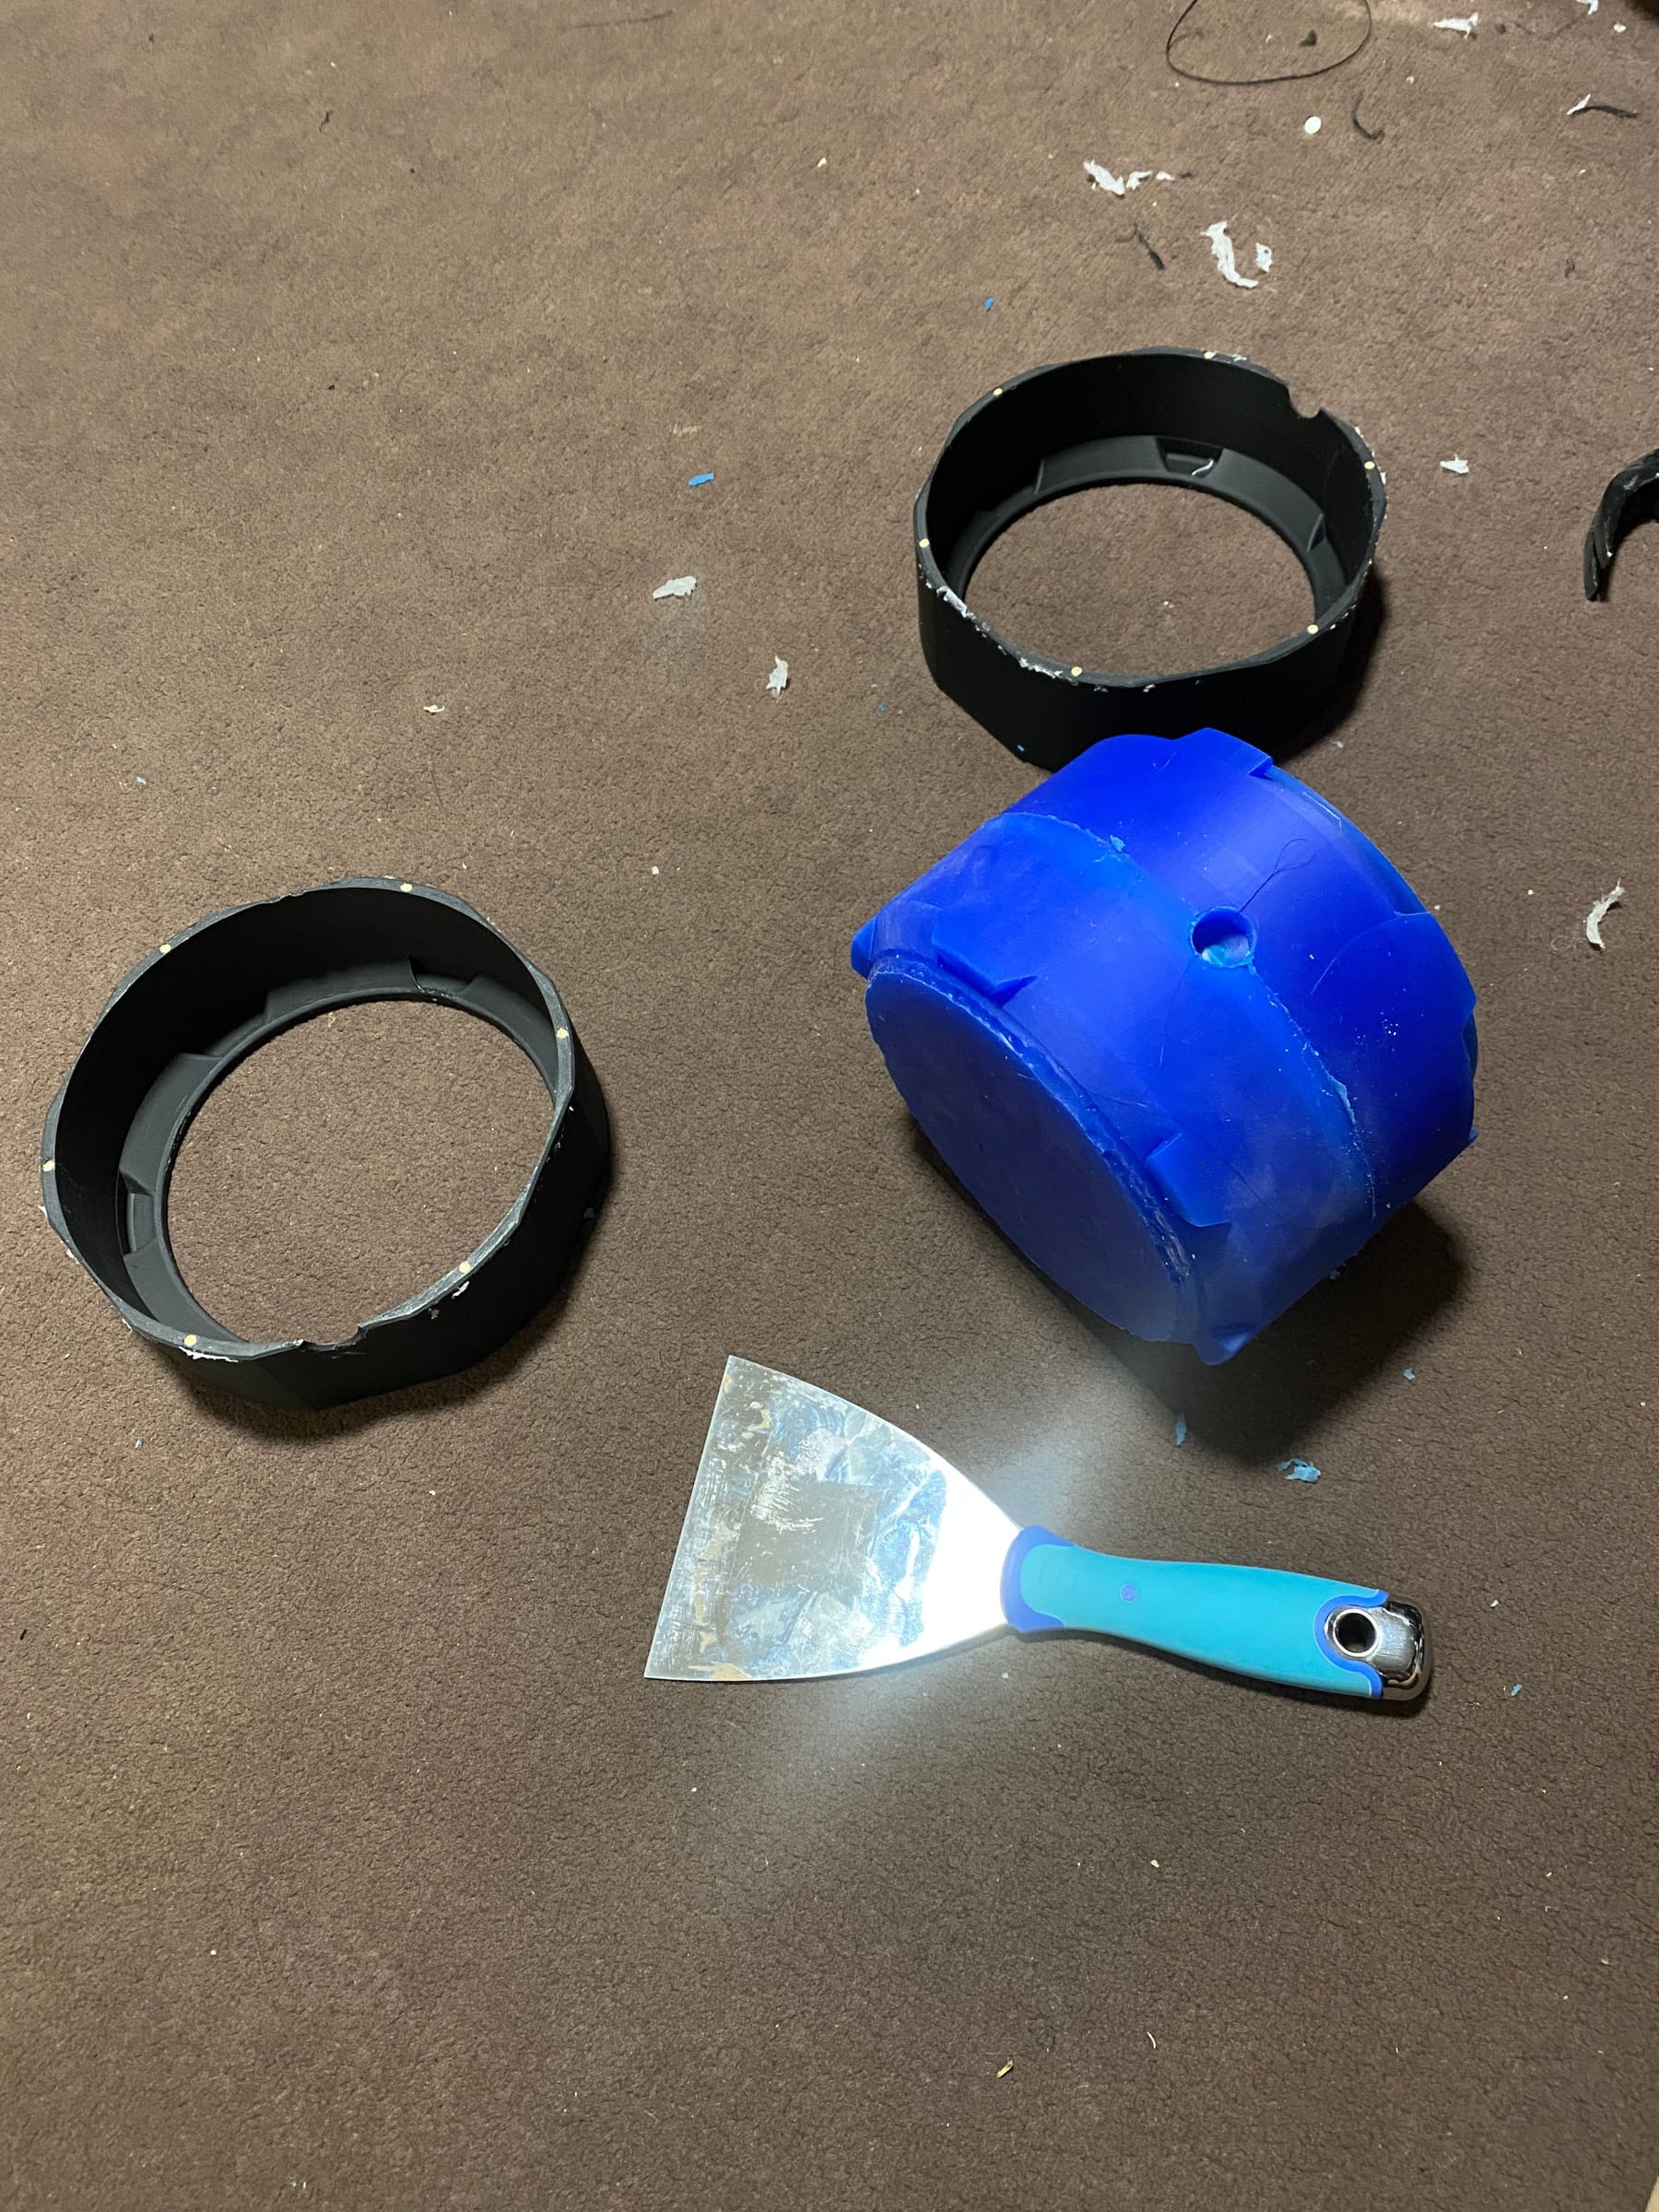
However after a lot of swearing and trying to replicate those videos of women bursting watermelons between their thighs; I got the sod open.

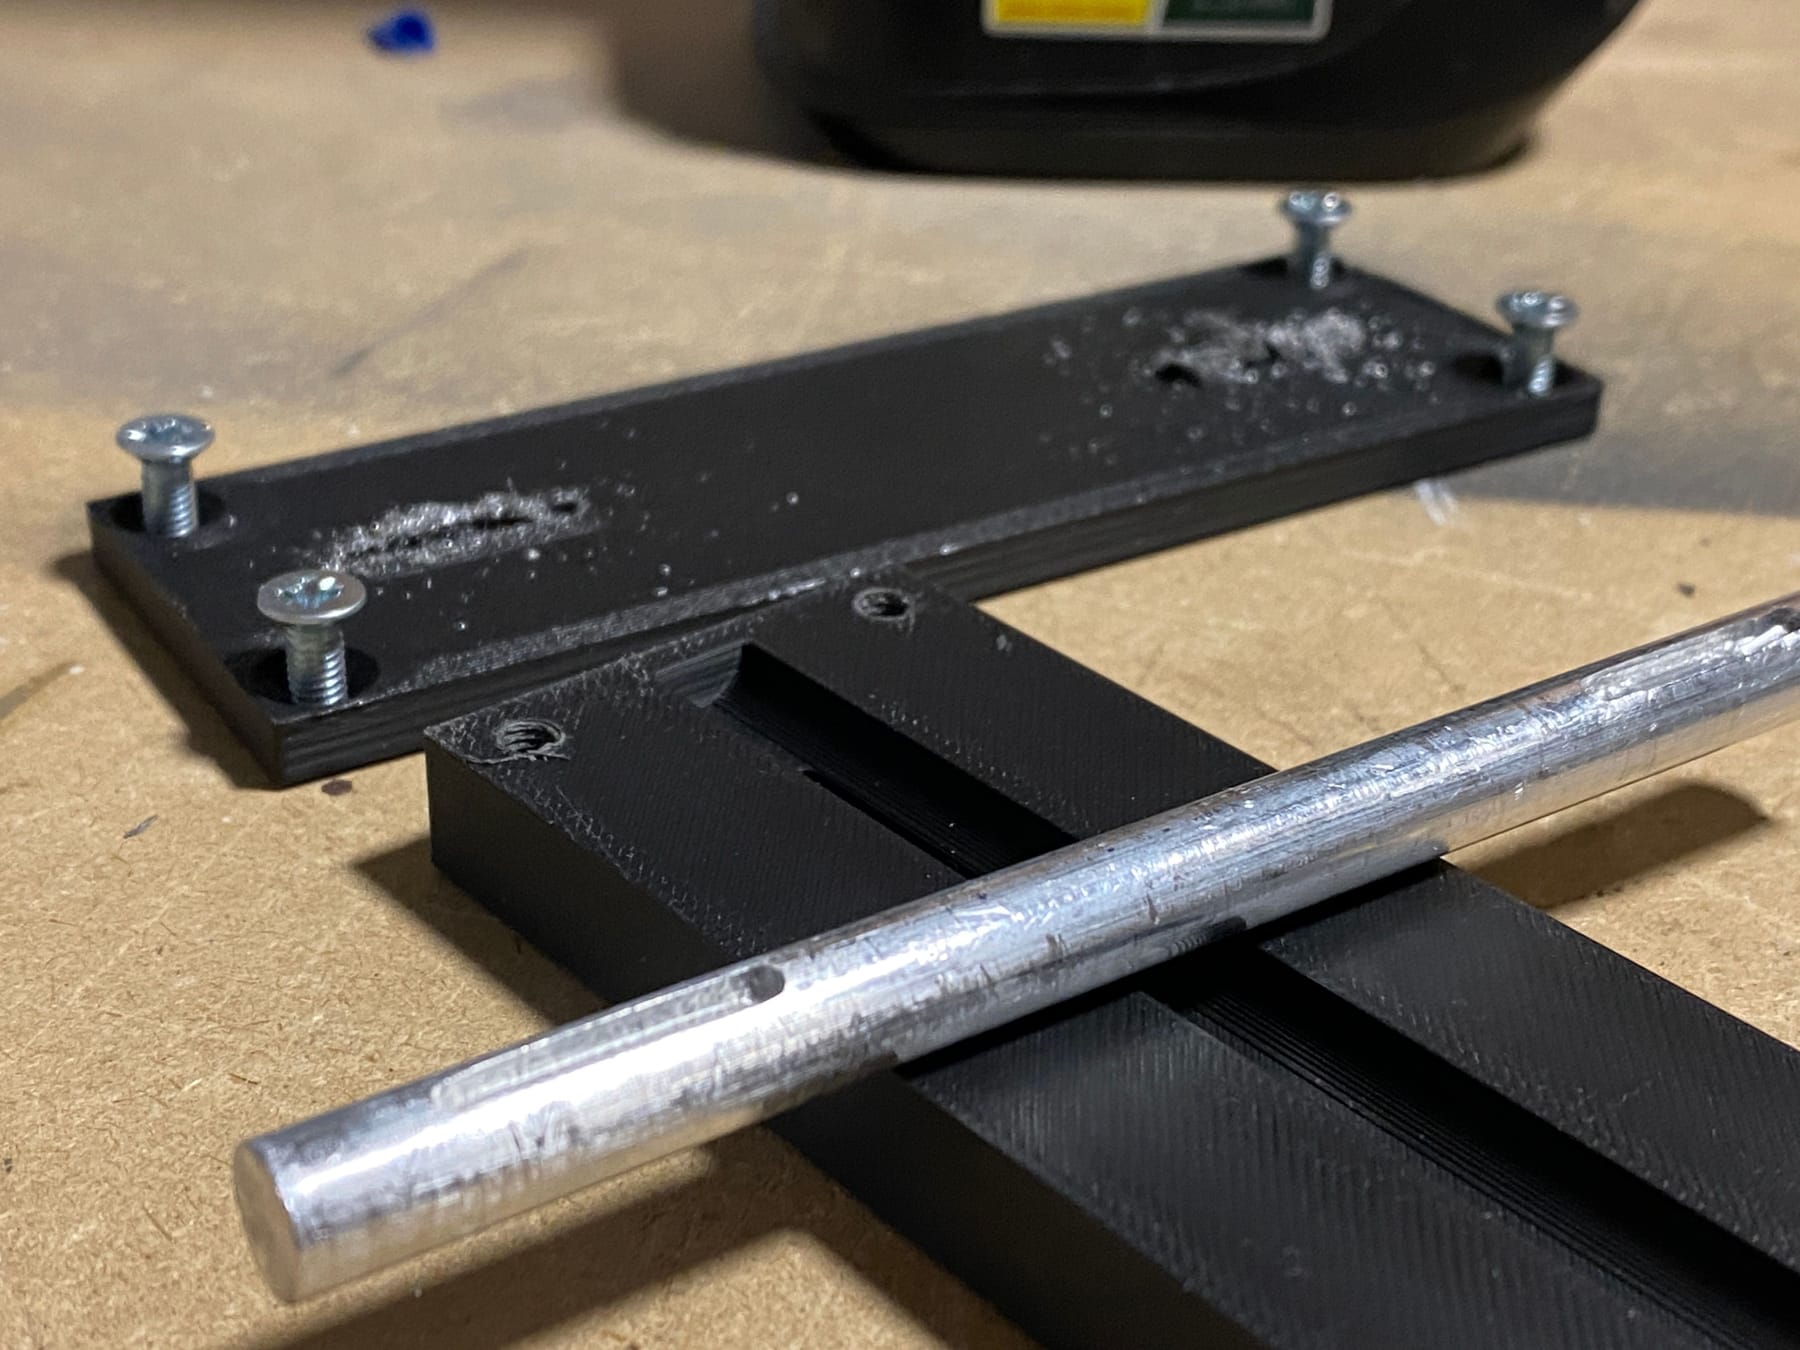
To help take the twisty force... um... torsion from the battery box and controller I wanted to add keys to the axle so it would resist rotating. I made a lil jig to clamp the axle and a guide to slide it back and forth so I could mill out the keyway with a 2mm endmill in my drill press. Paper aided in getting a smooth and tight fit between the guide.
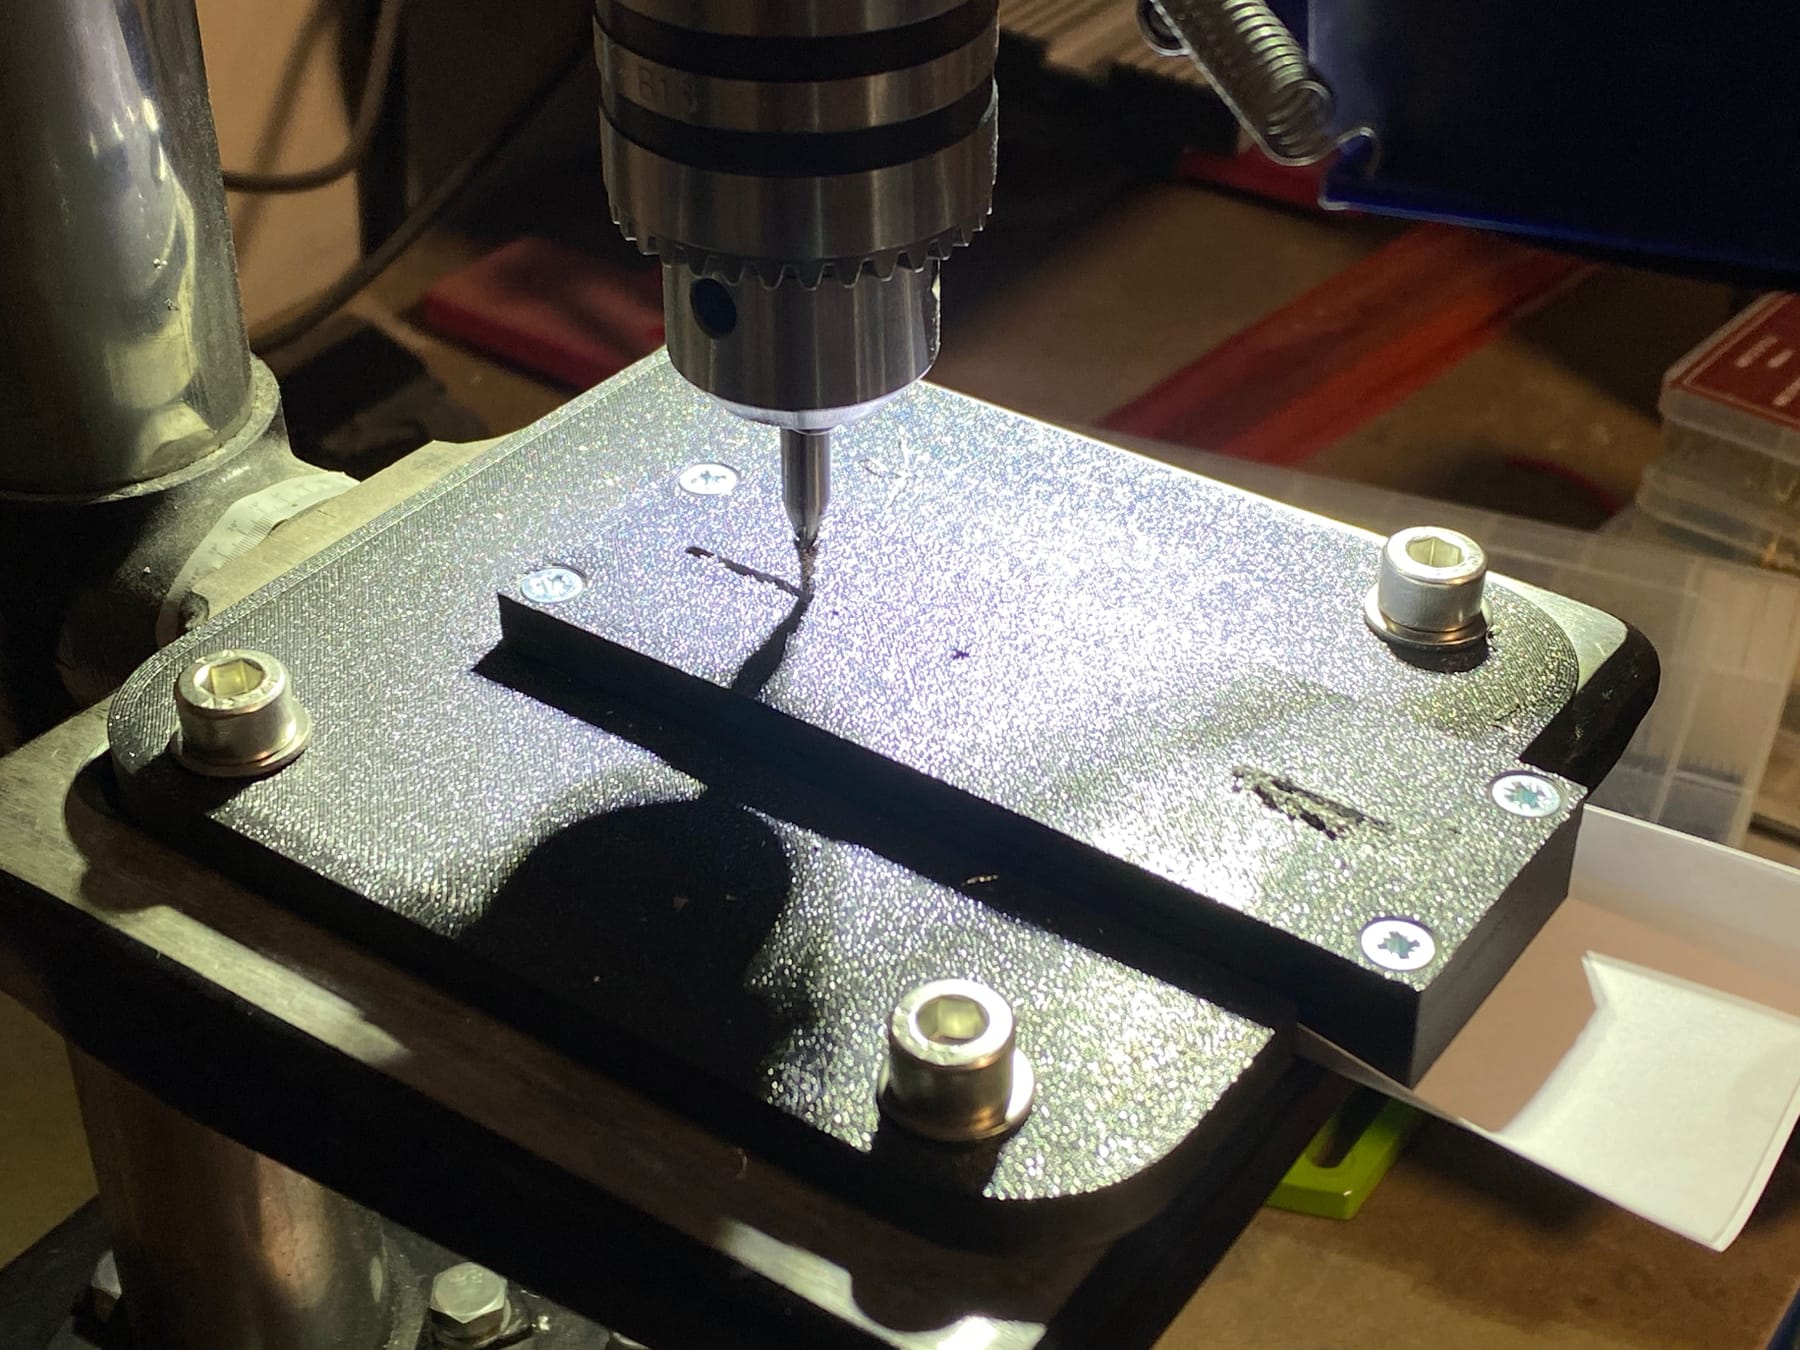
Janky AF yes but work it did.
-
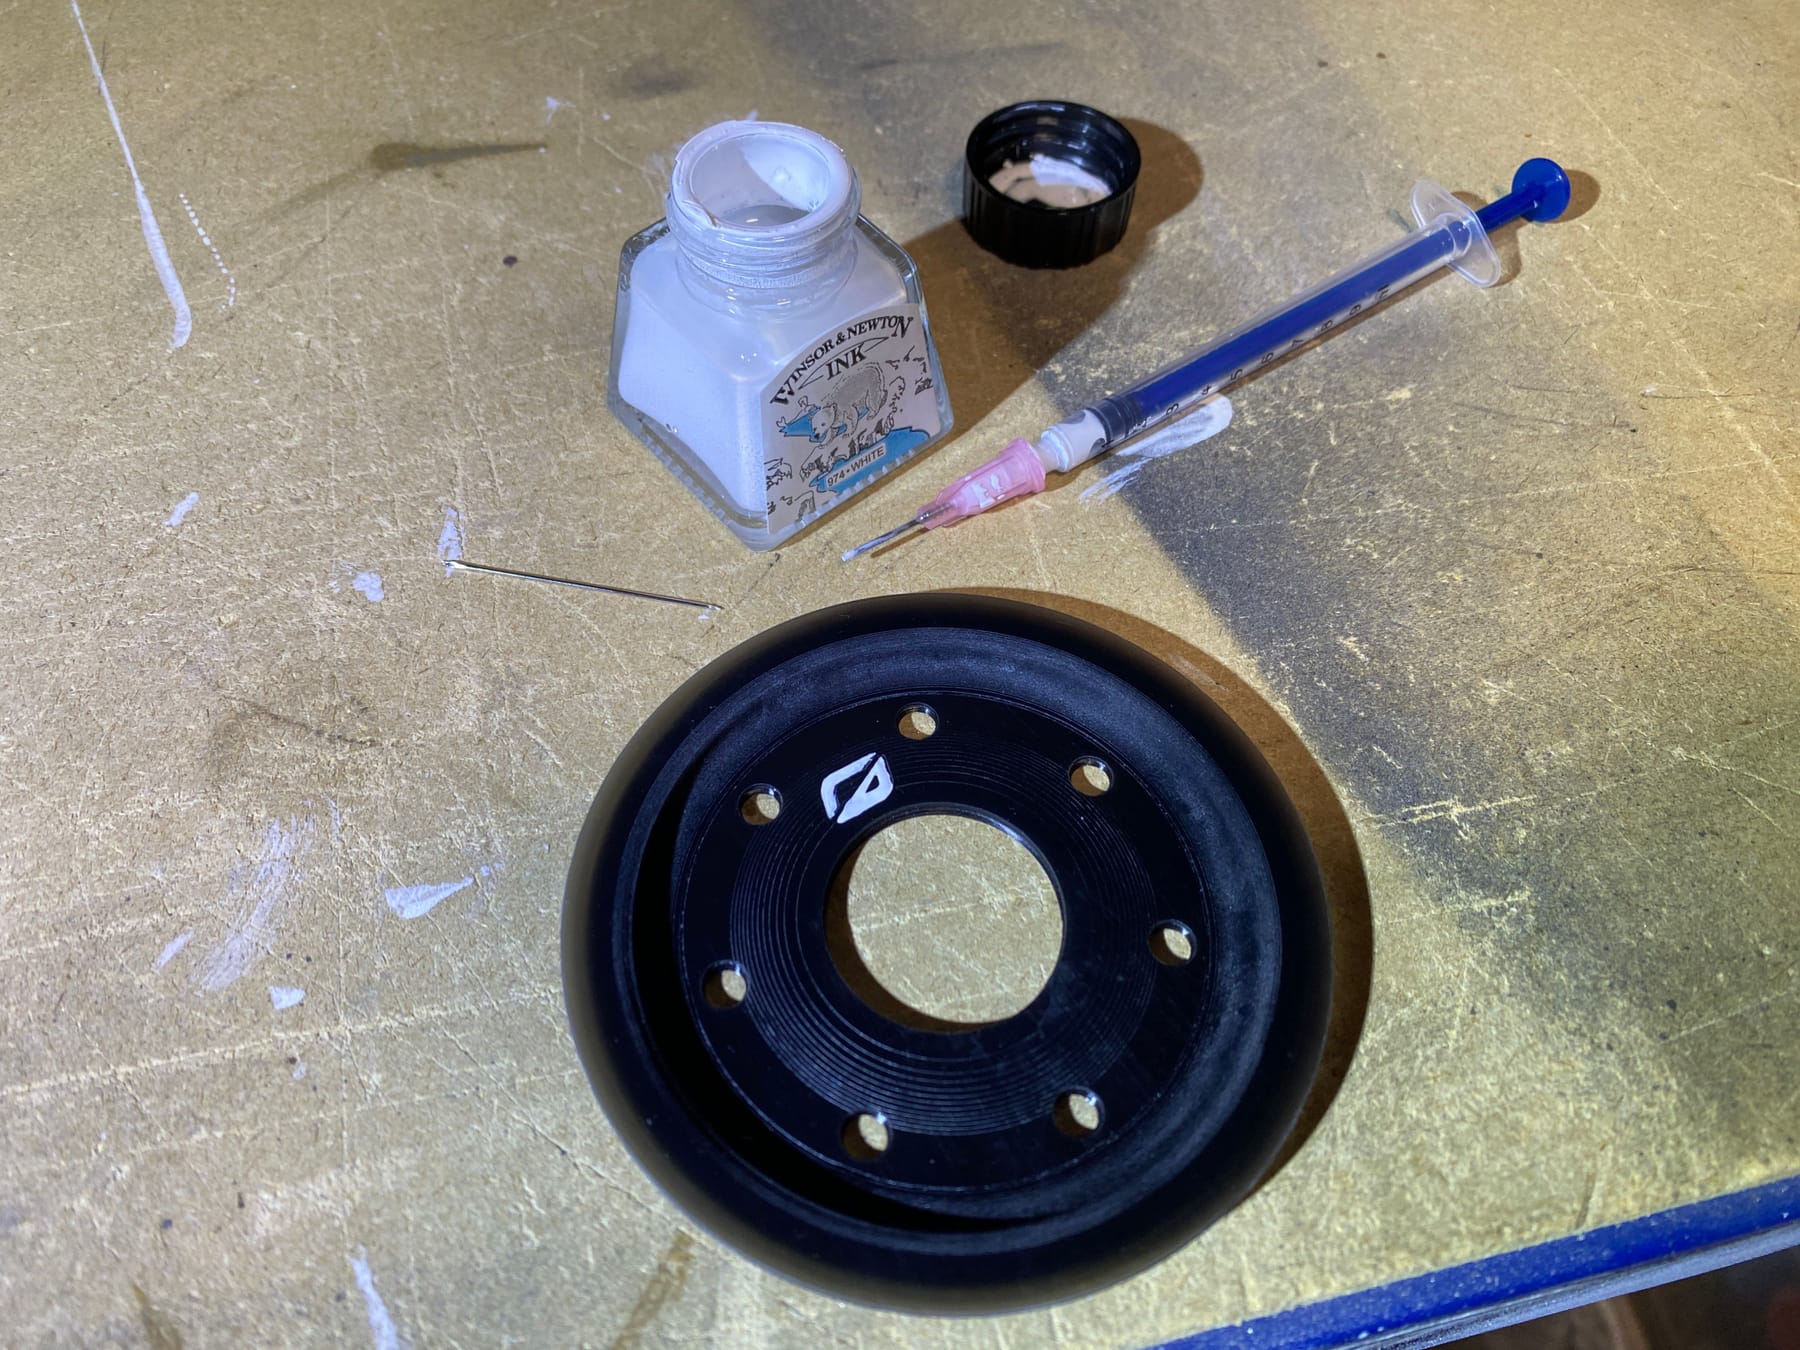
Another thing that's been giving me trouble is the small white detailing like the rail badges and the motor. But after some trial and error, some syringes from
the local dealerAmazon I got it to work. And daaaaamn does it look good!
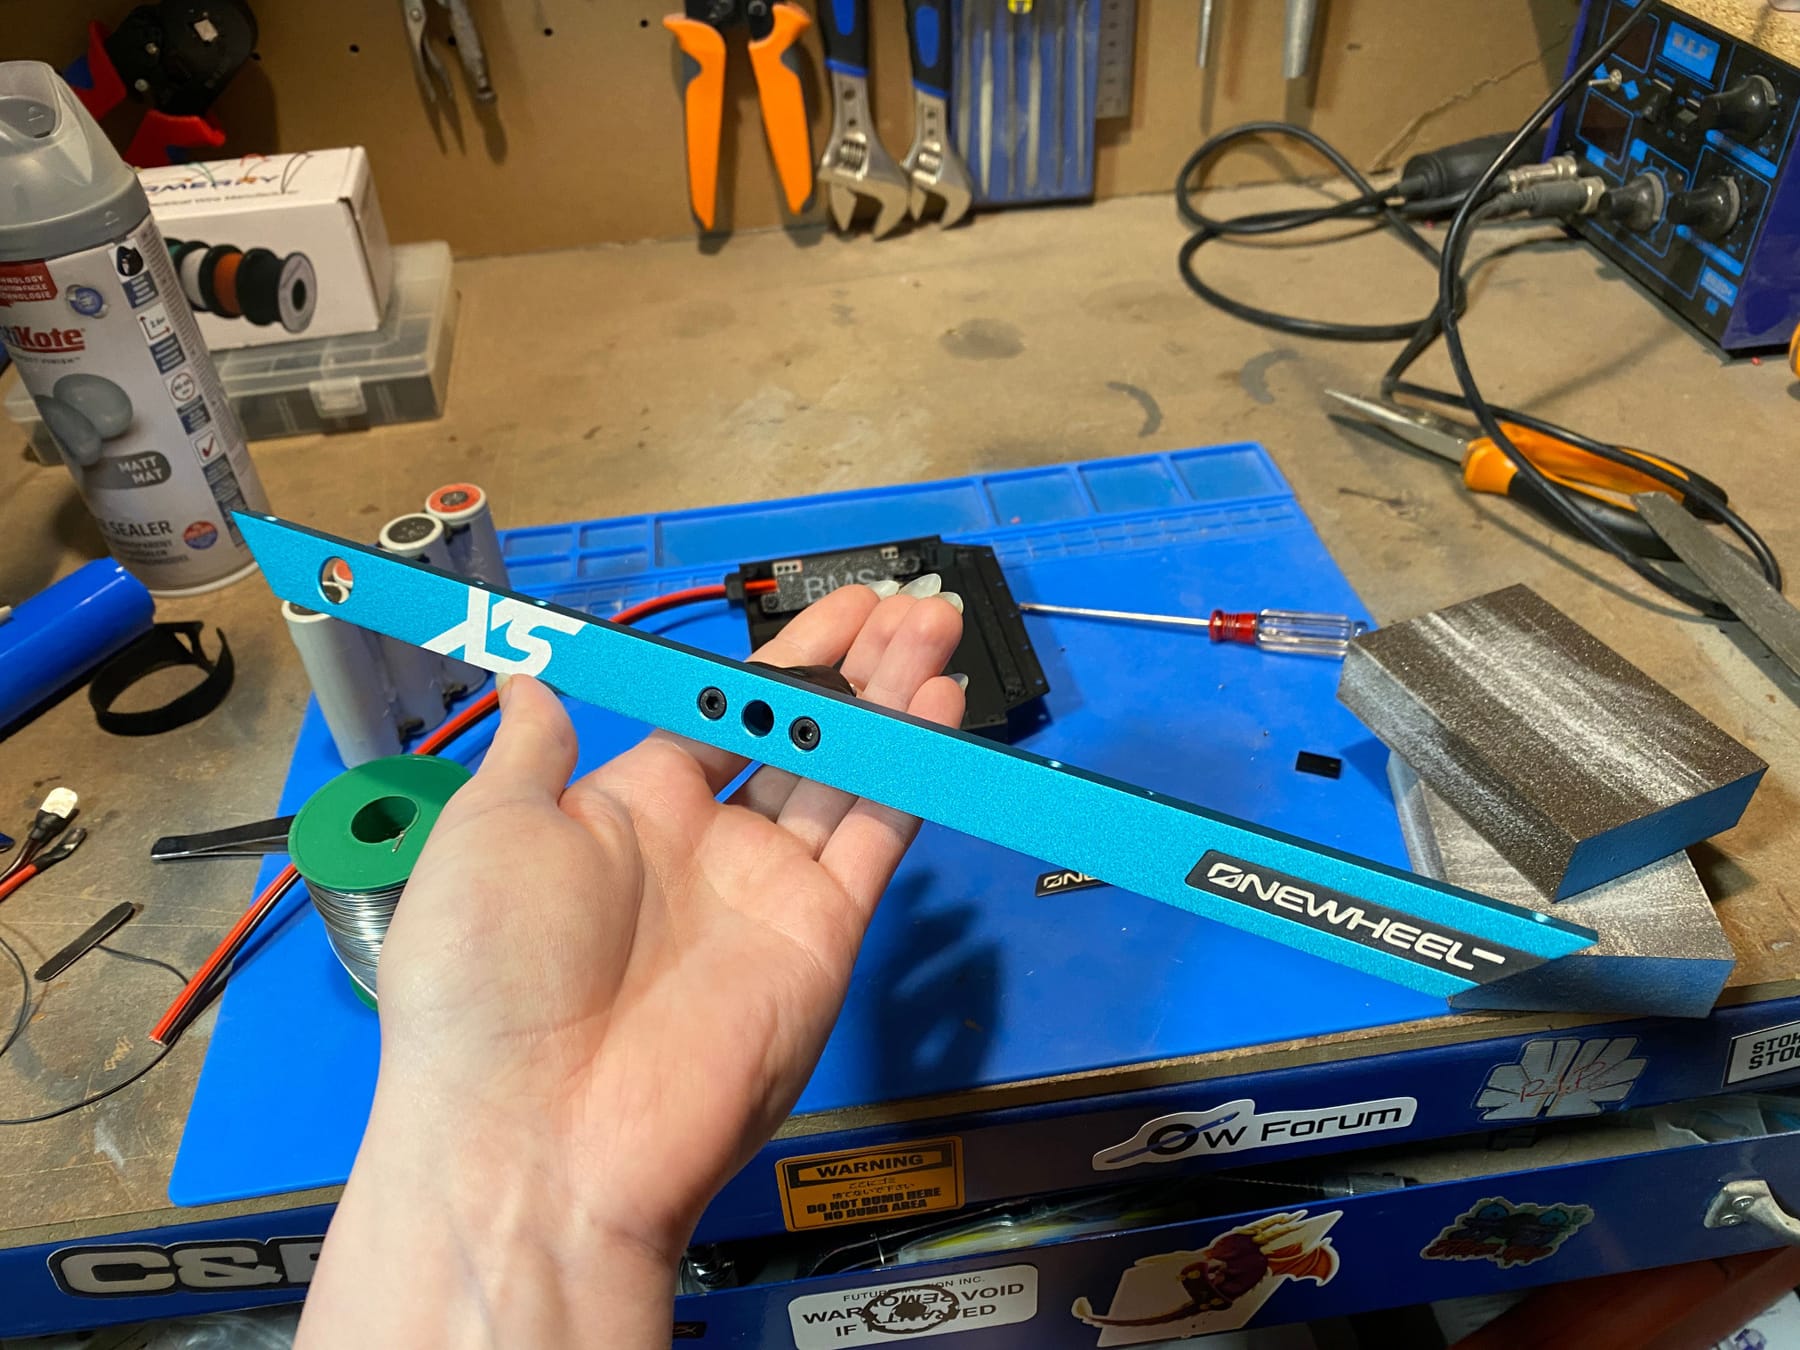
This was a test on a resin
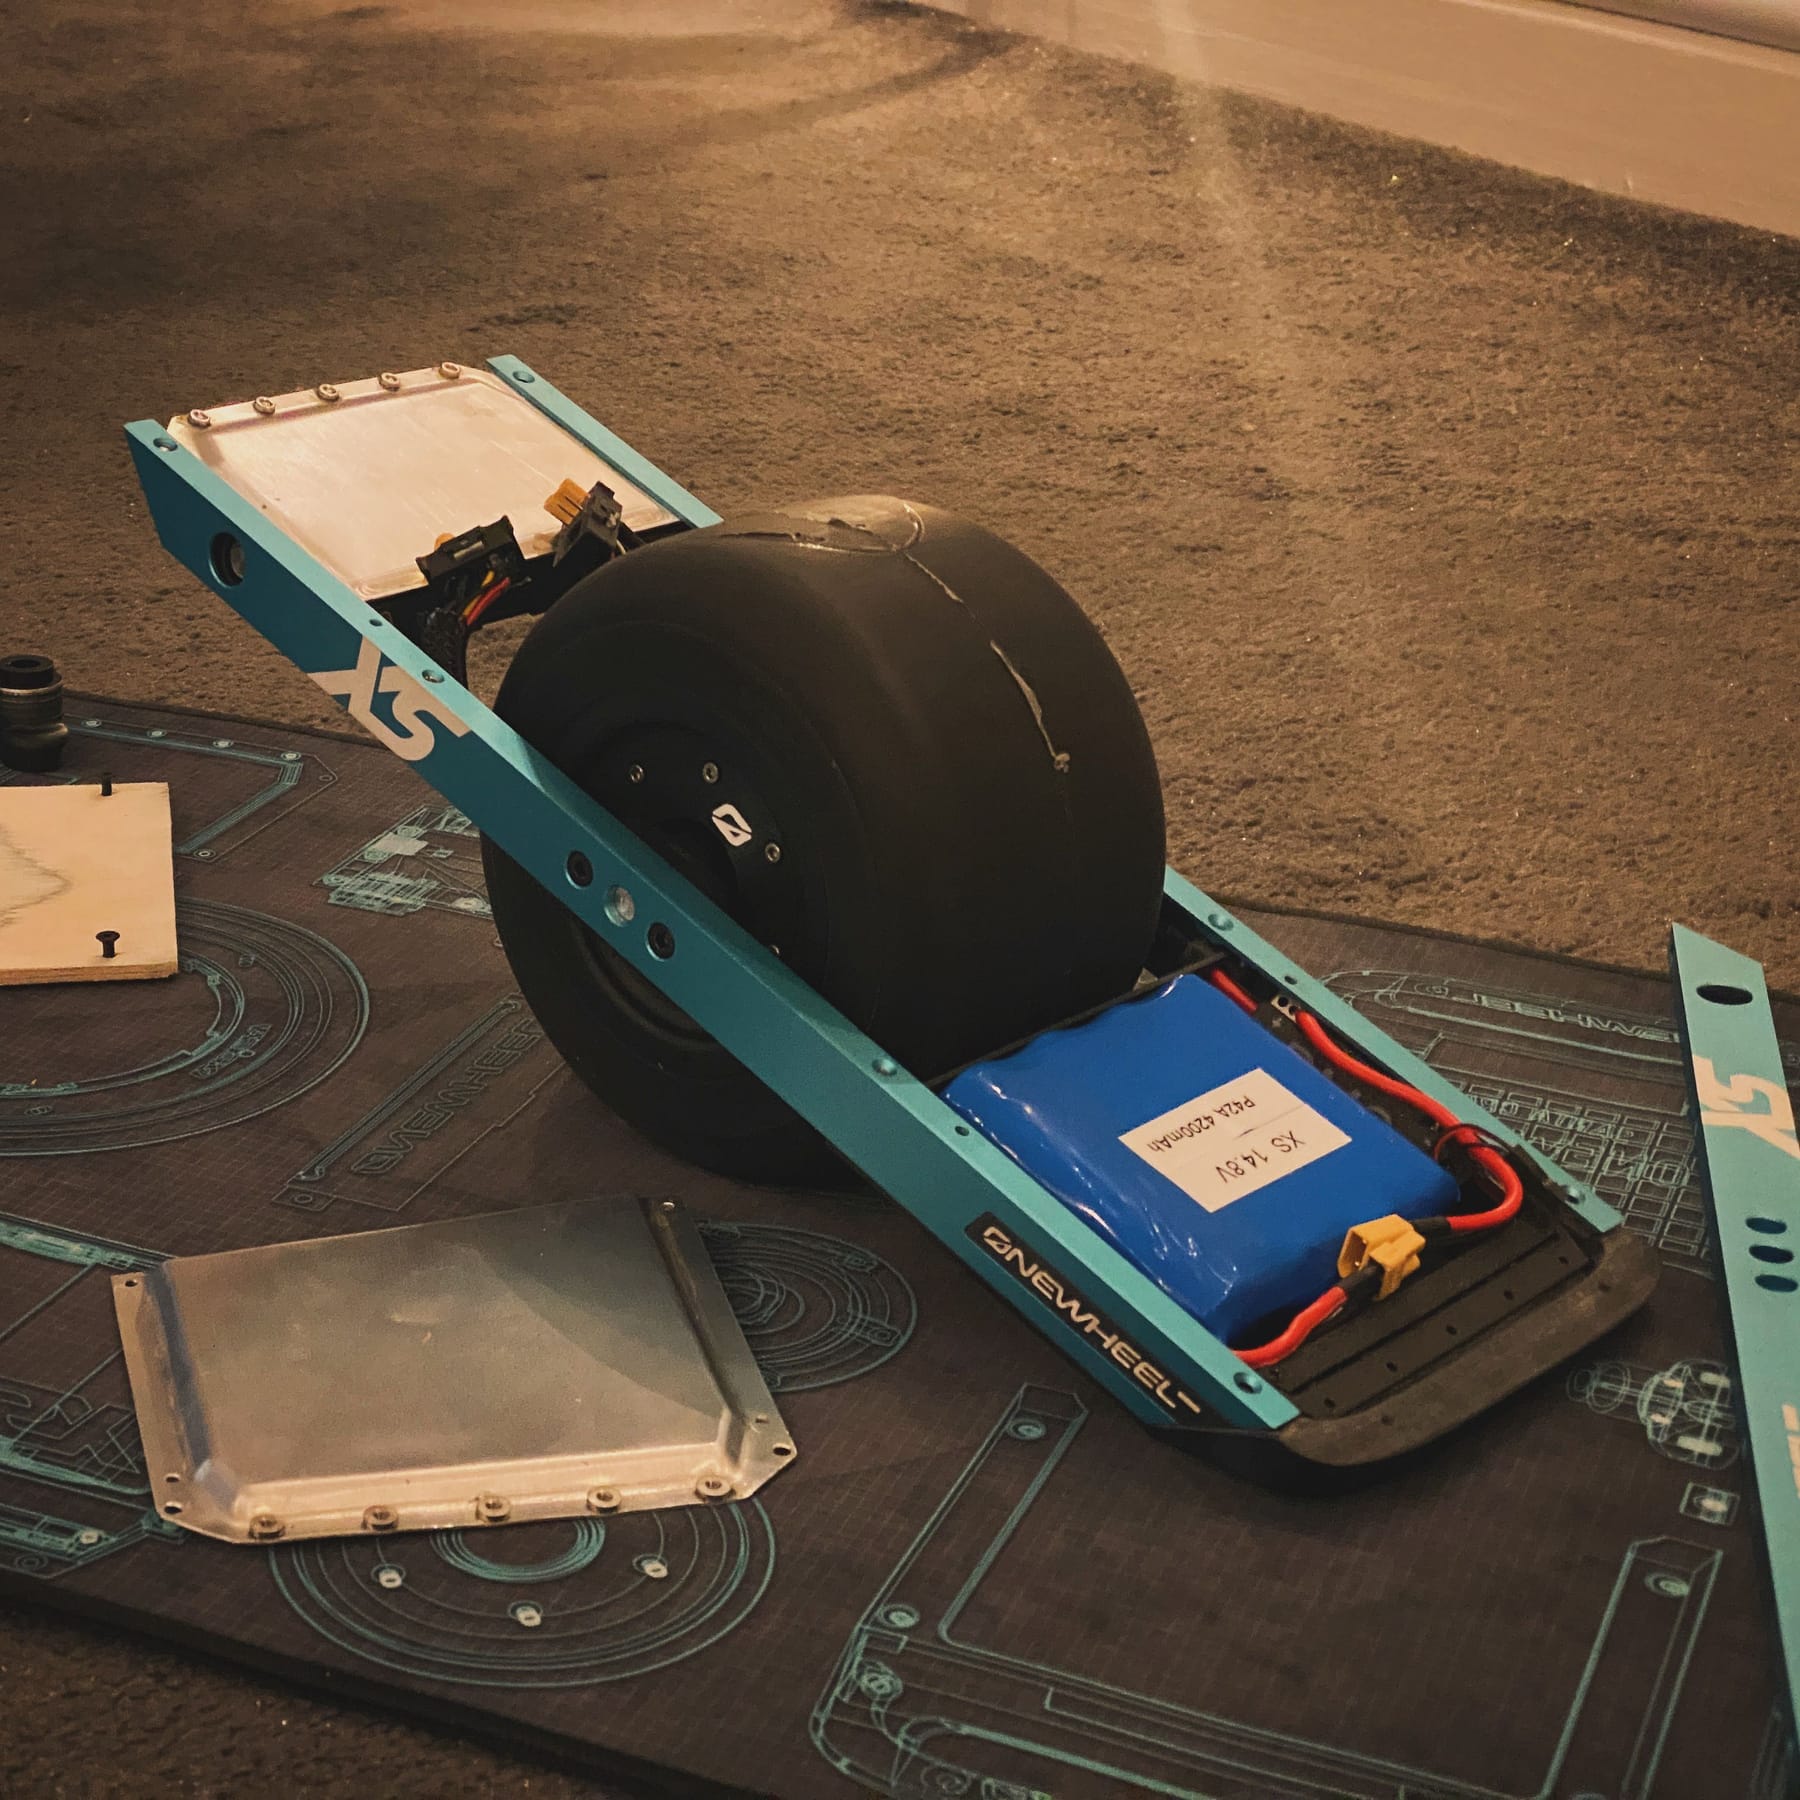
For display purposes I made a deskmat in the same wireframe style I did the XR Xray art a few years back. Laid out in major components it helps show the build and gives me a way to display the pieces easily.

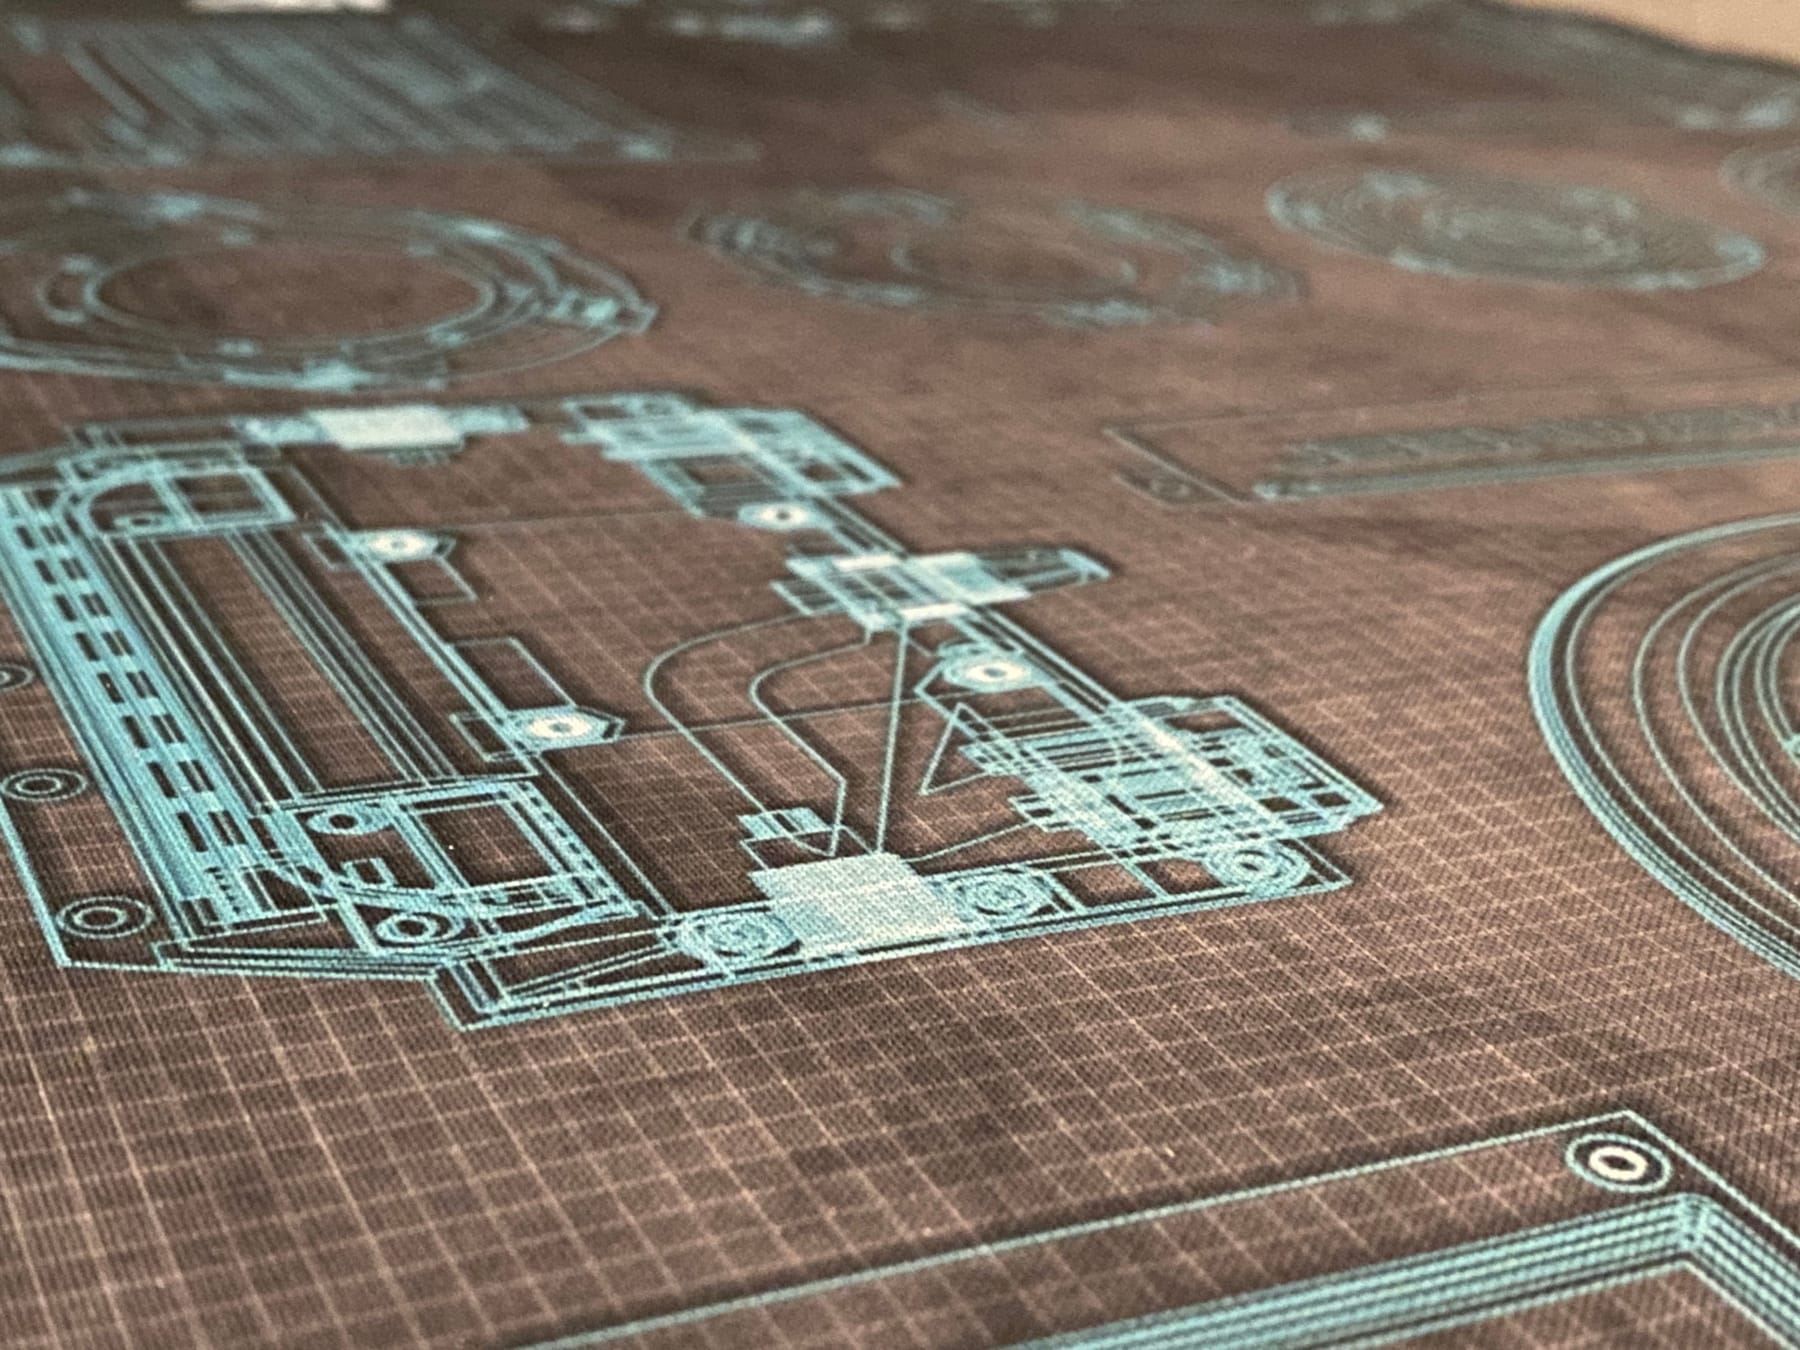
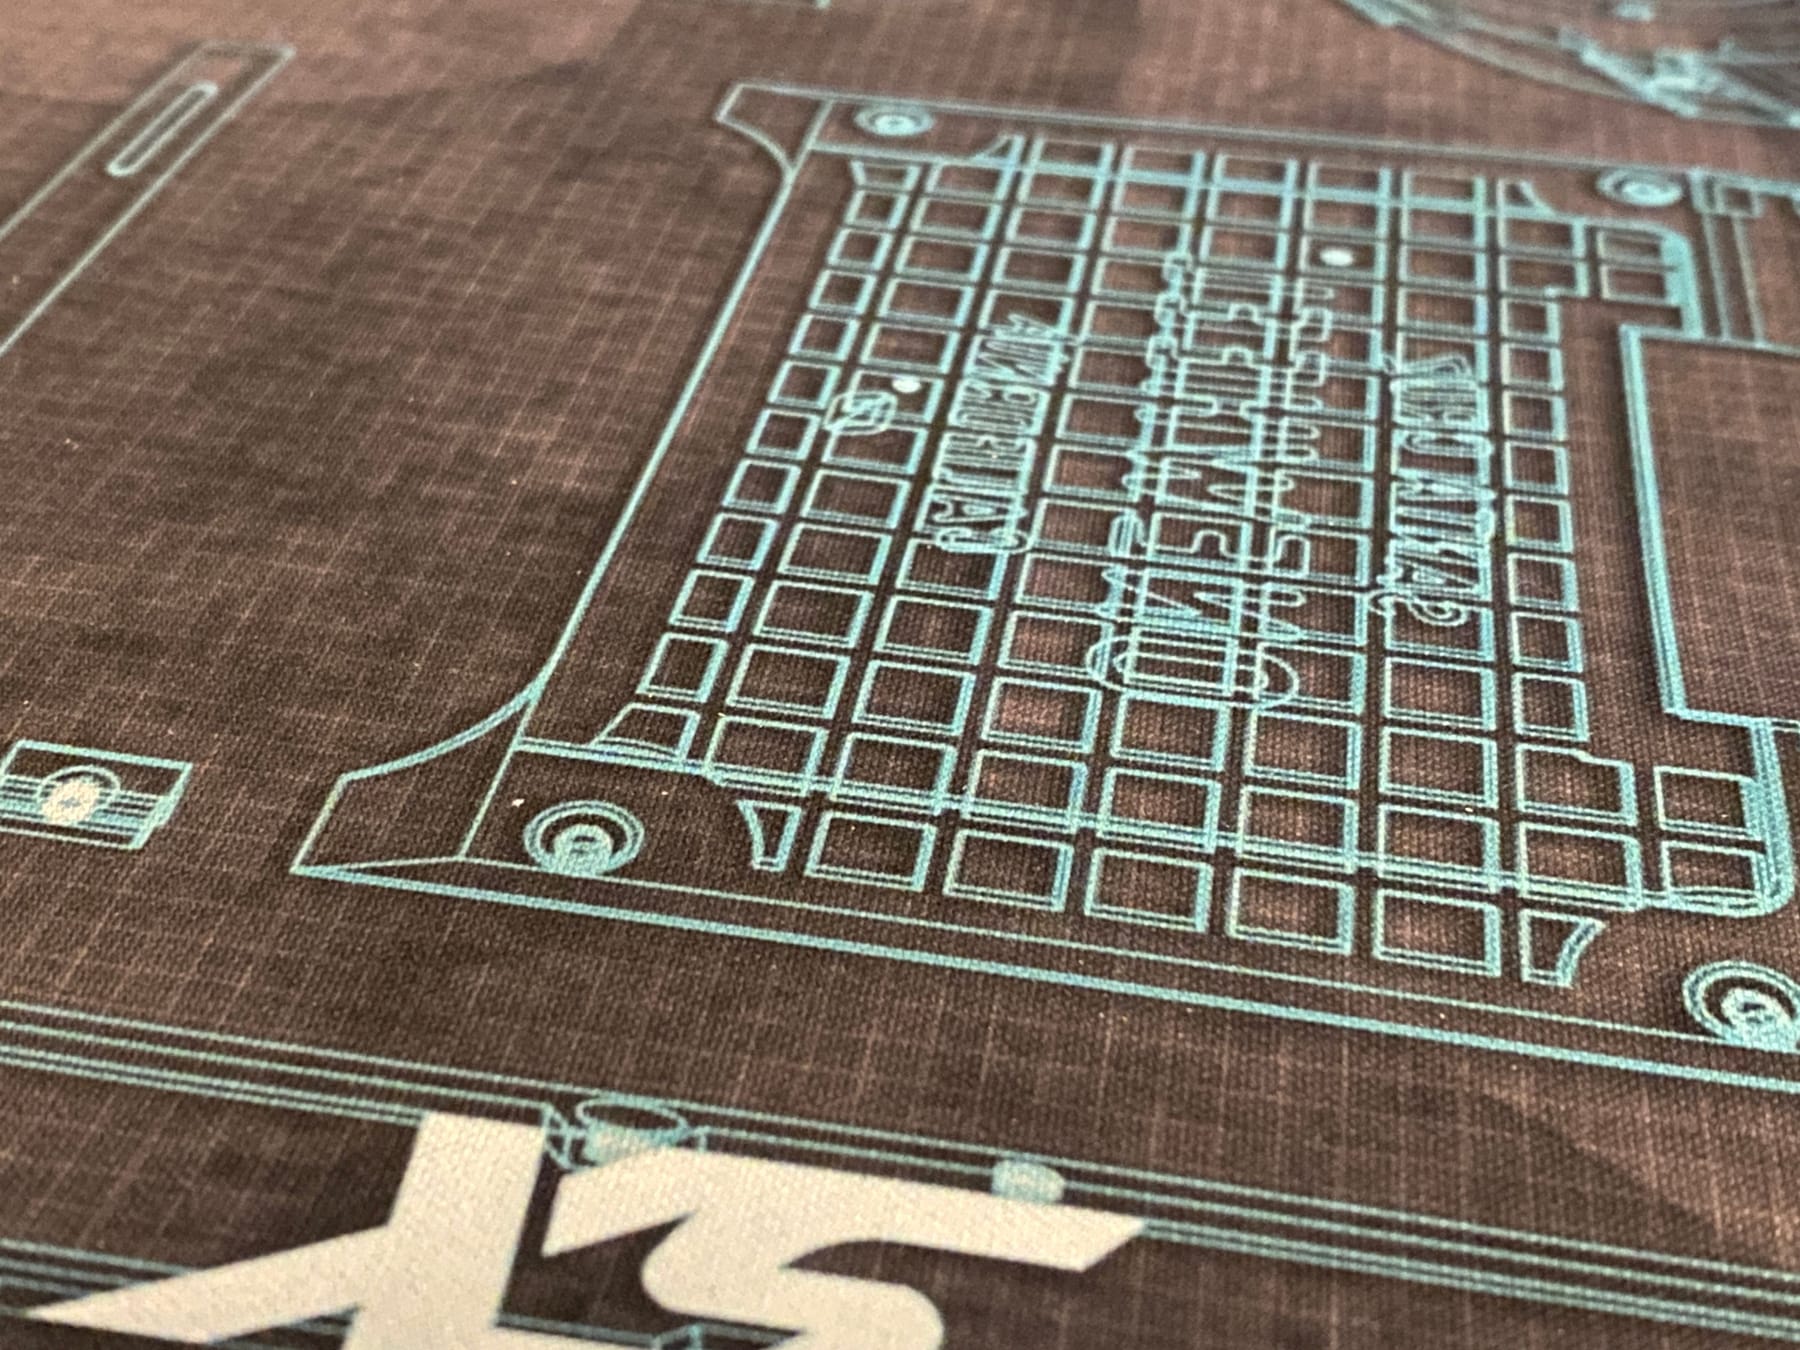
I did consider doing something exploded but.... well just look at it all. I can't fit this all on a deskmat 😅
Also sneak peak at things we'll be handing out to people that come to our booth and give the board a go :3
No it's finally come time to cast the tire. My first attempt was a successful failure. Basically it came out great... accept I cast it of resin and not PU rubber. Anyway after buying the right stuff I found out this stuff is too viscous to do a normal pour so although I got a tire it has a huge cavity inside a thin membrane 😣 Looks great though!!! It's the right squish, has insane grip, good colour and definition and has a bit of bounce to it.

So here we are. This is where I'm at. Not much to do but also not much time left 😅
-
@lia This is just amazing! All this and you didn't even break a nail!!!