Followup to the Onewheel XS
-
I've wanted to work on this so much but a lot of things have gotten in the way.
Also haven't felt like combing through the pics that me and @cheppy44 took since I kinda get sad looking through them (I miss yooooooou). However I figured I should probably share something as I will probably pick this back up again. These are all back from January.
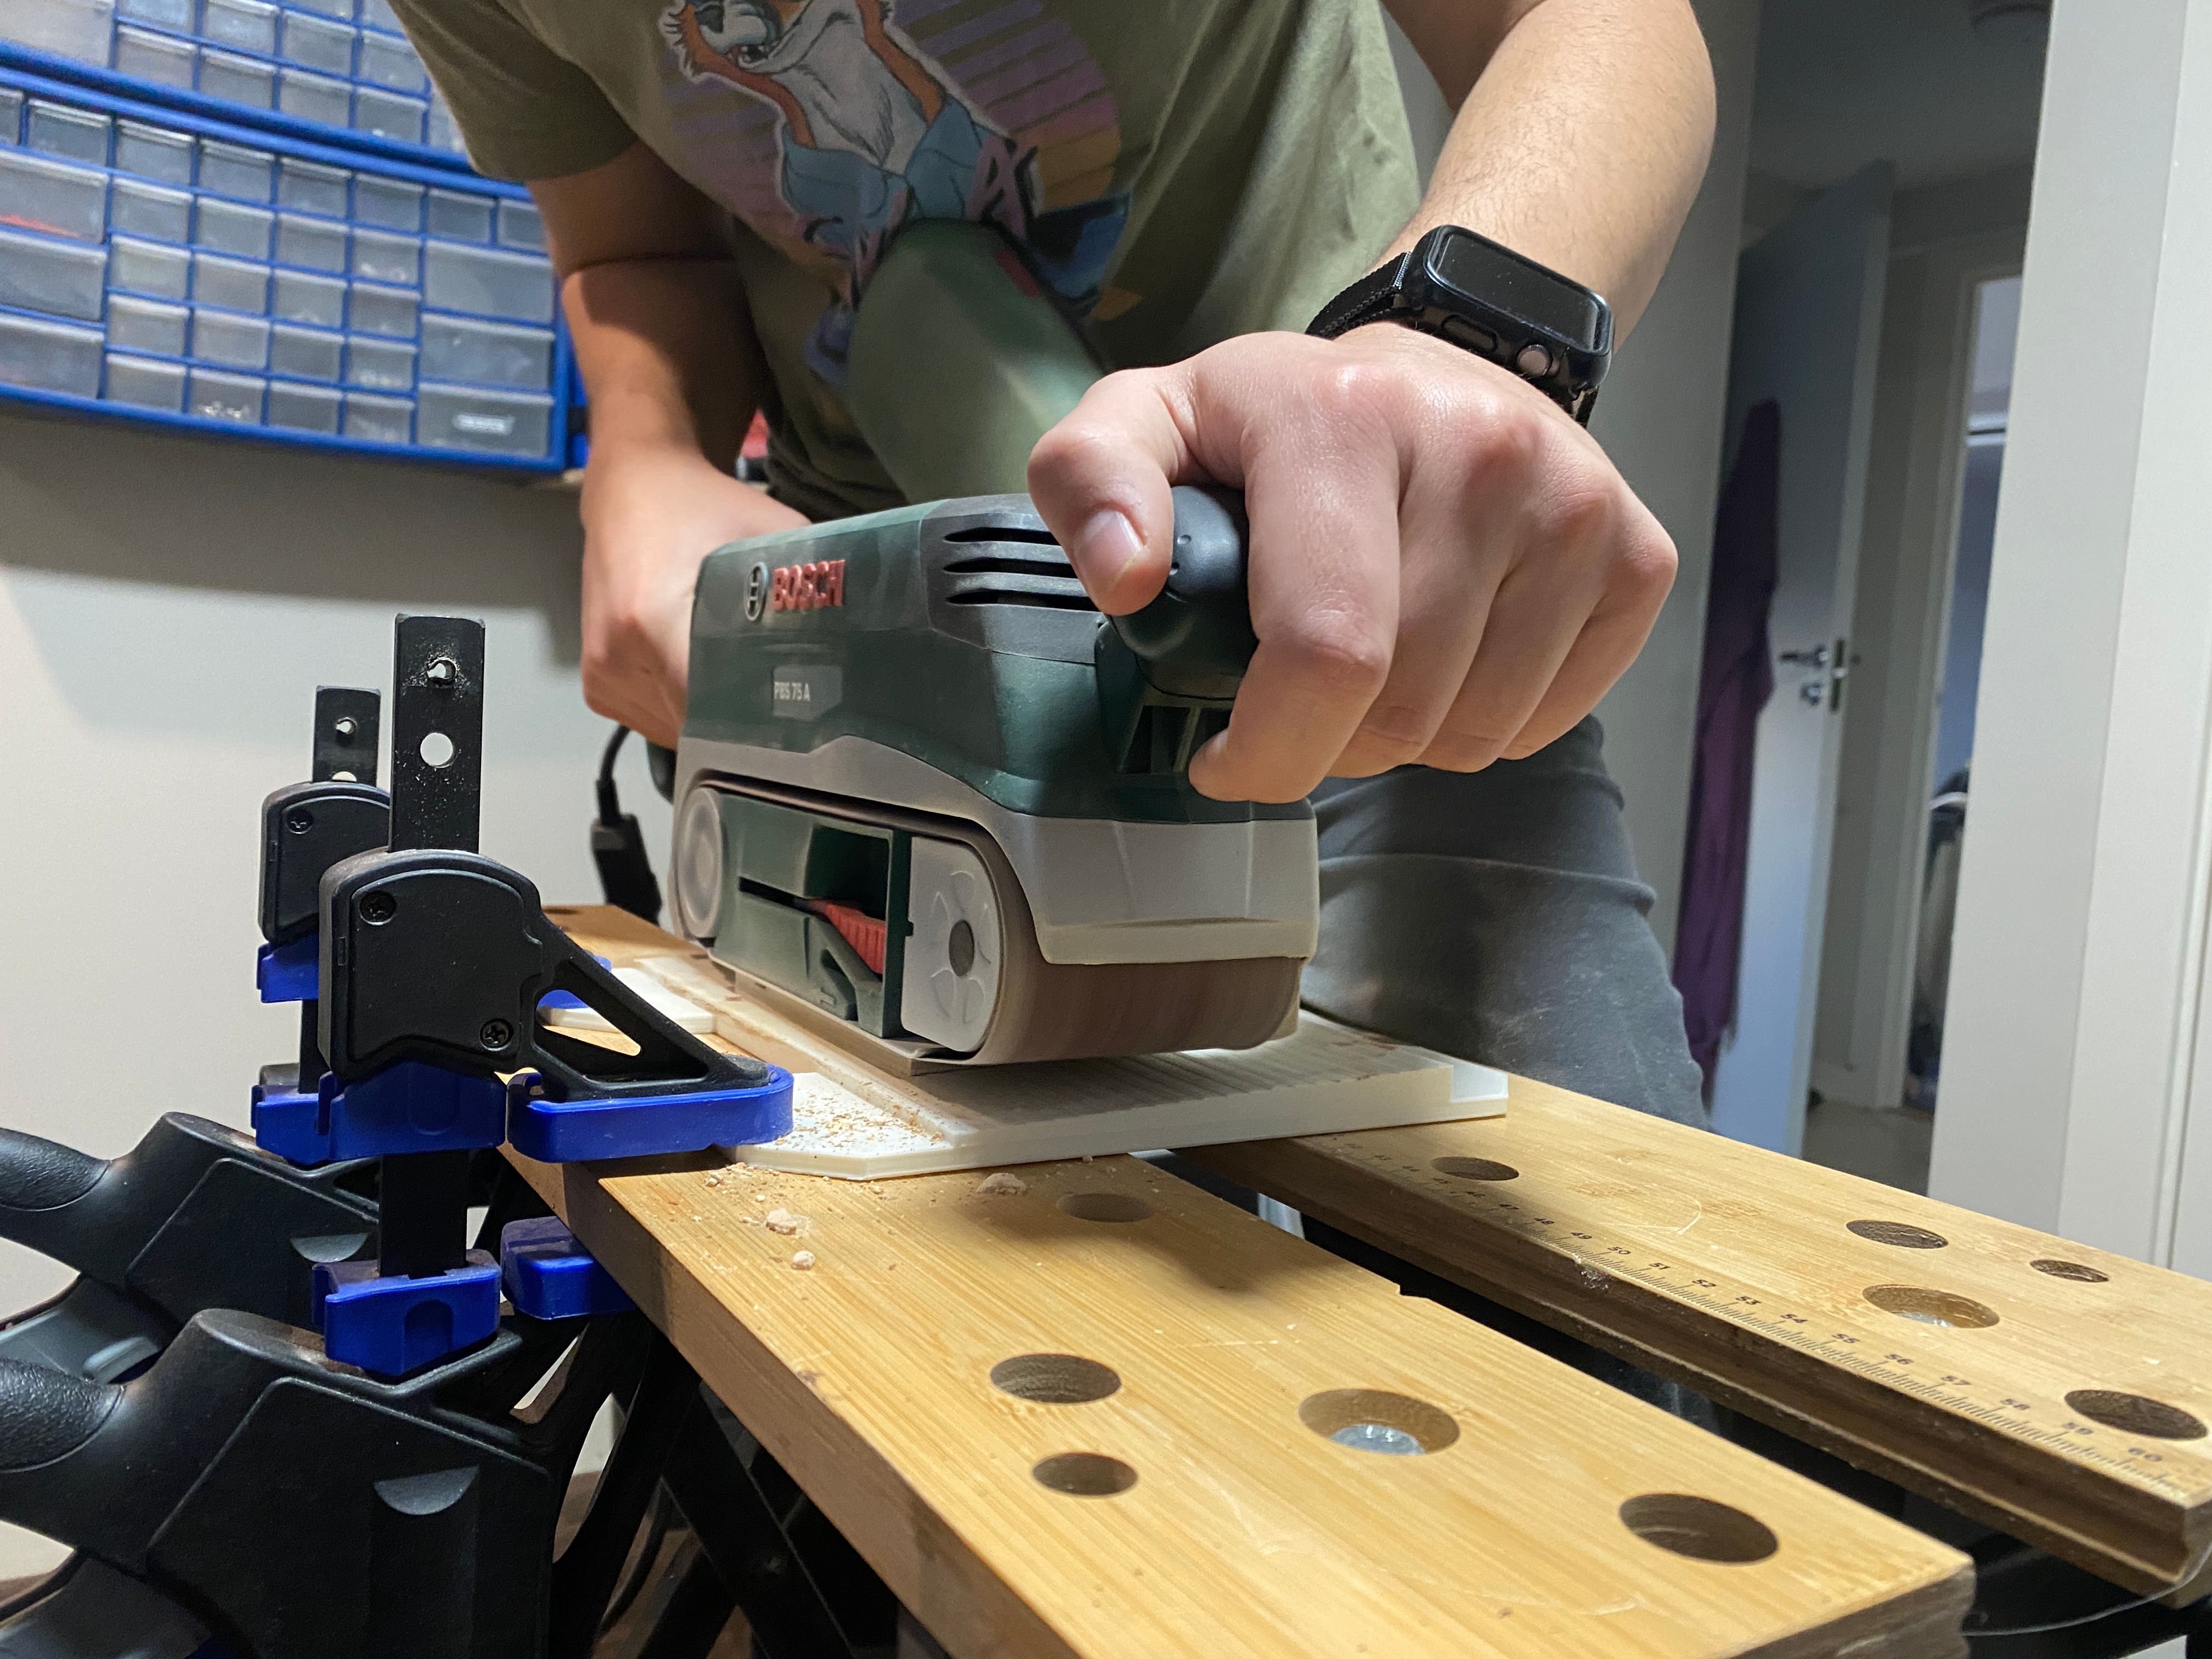
Below are some pics of Nick setting up some headlights for using the reflow iron to solder them up :) We added a bit too much paste but that's my bad lol.
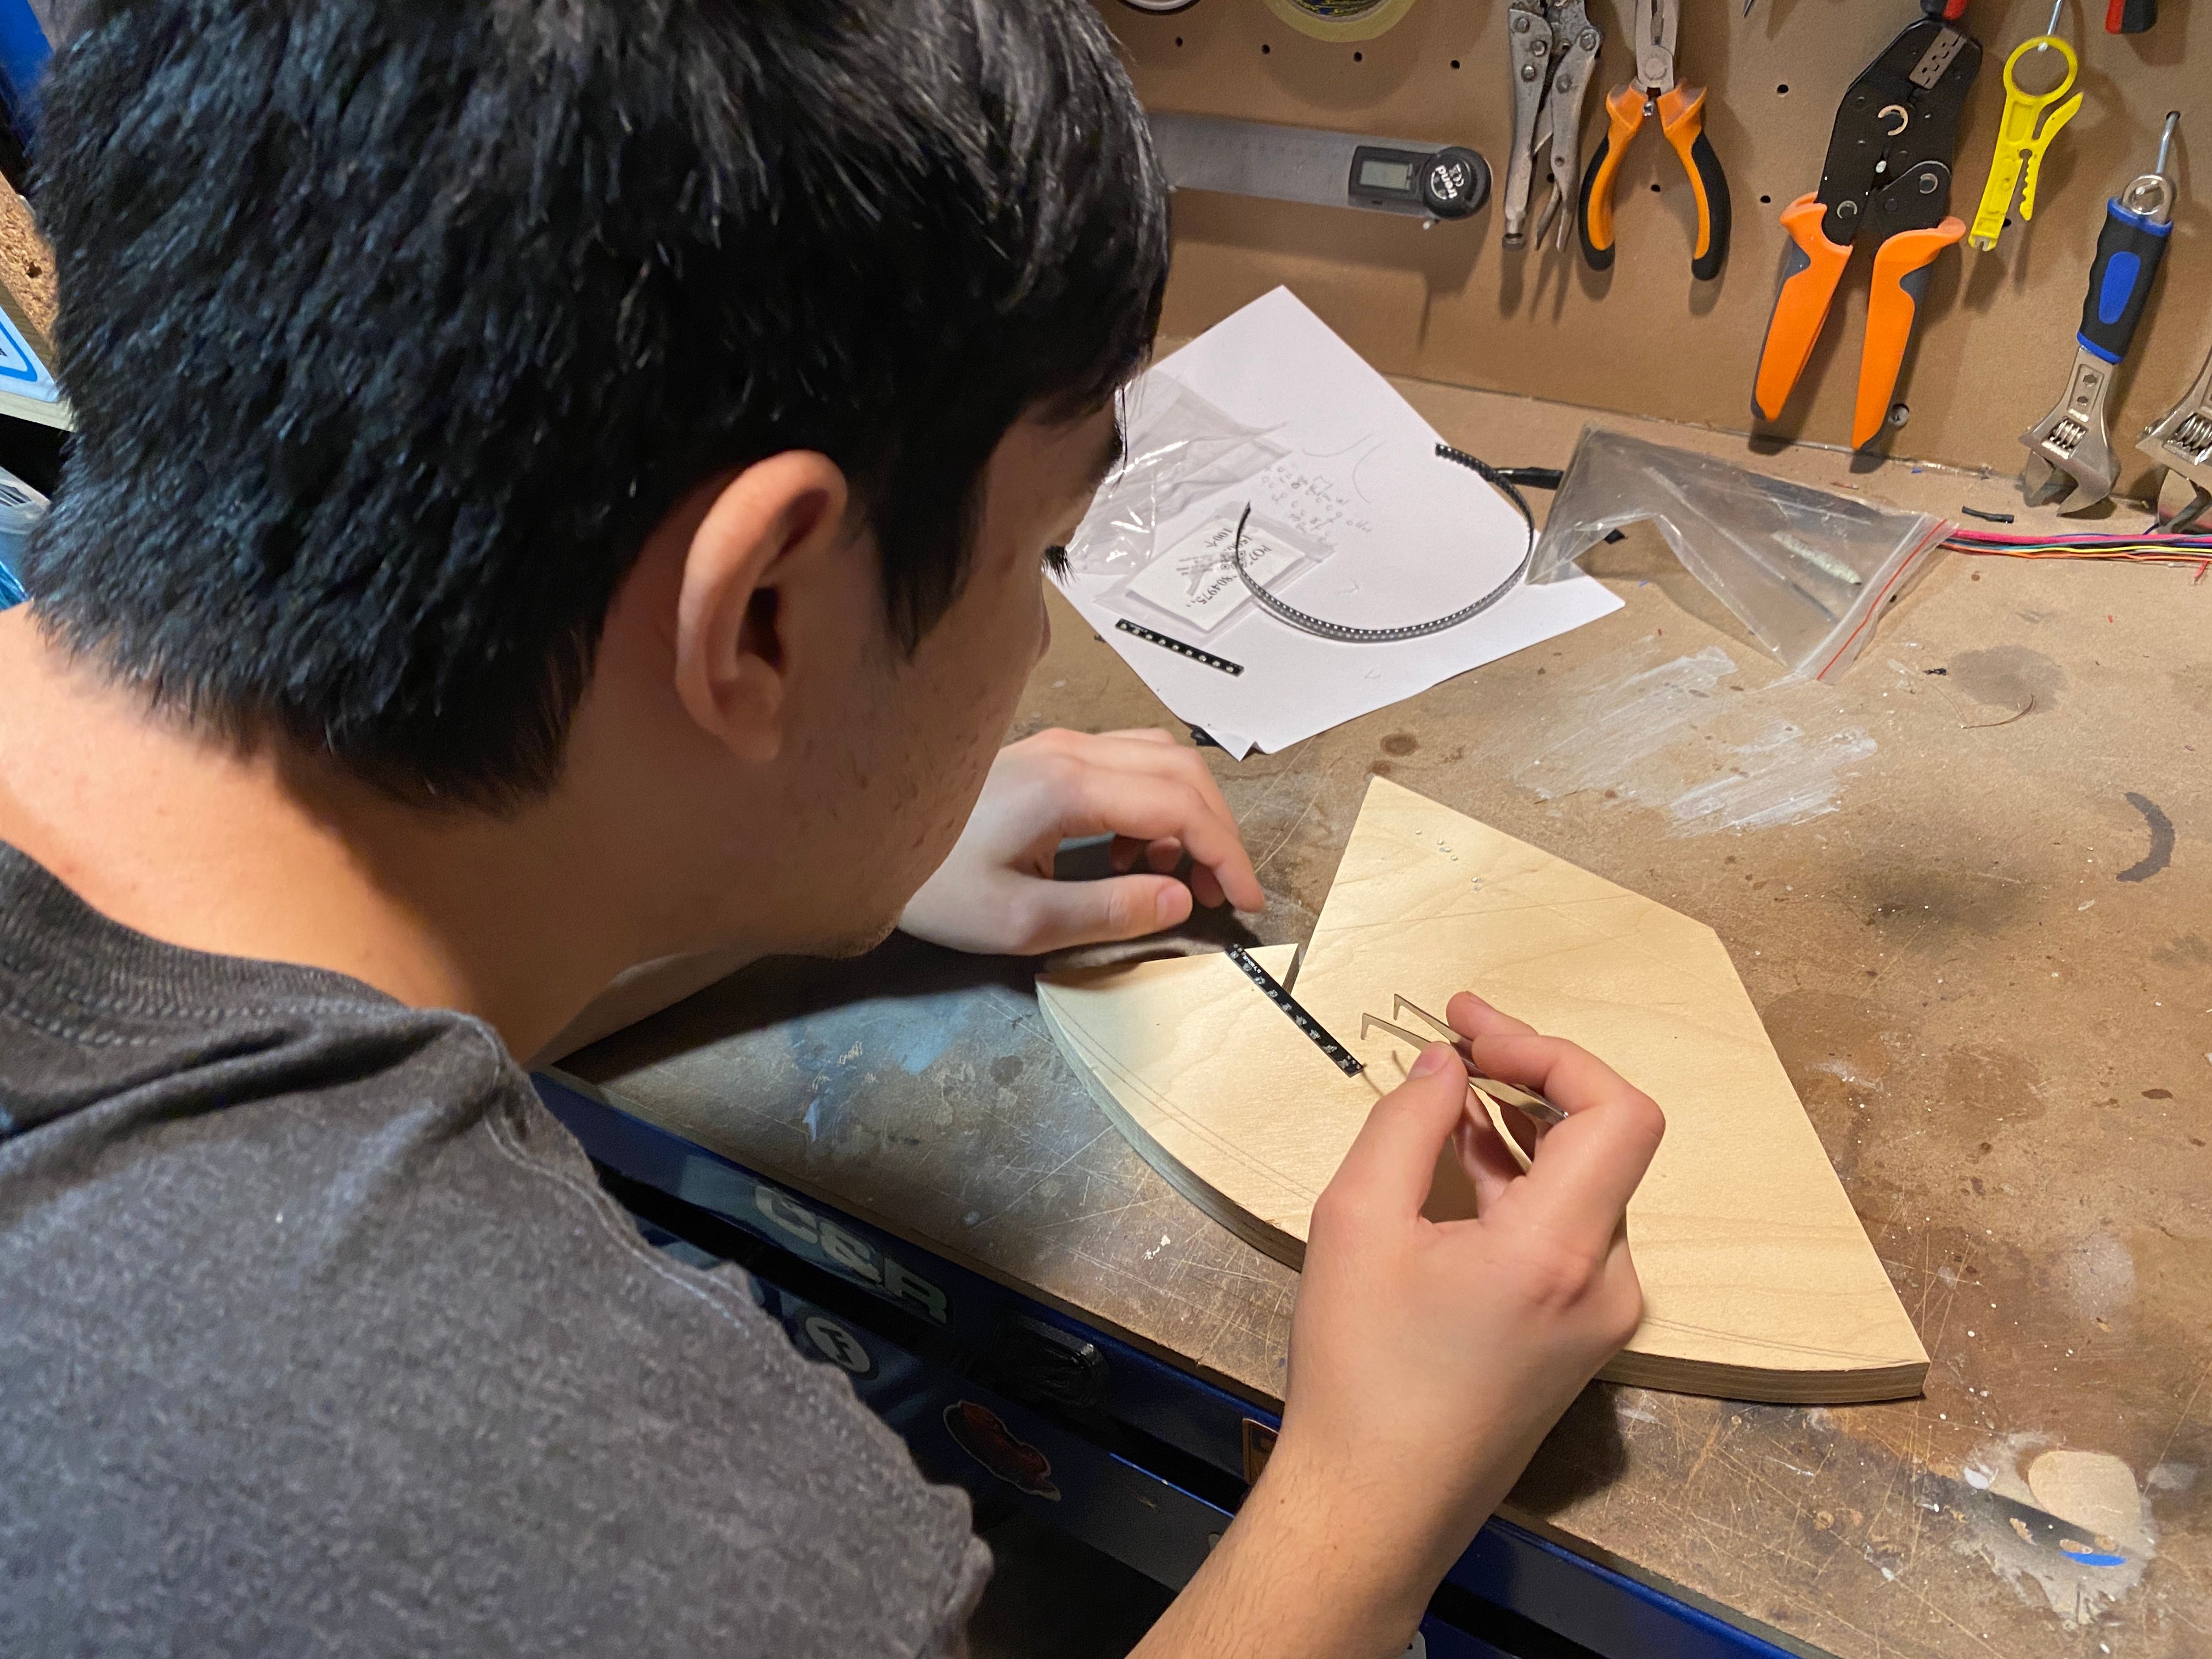
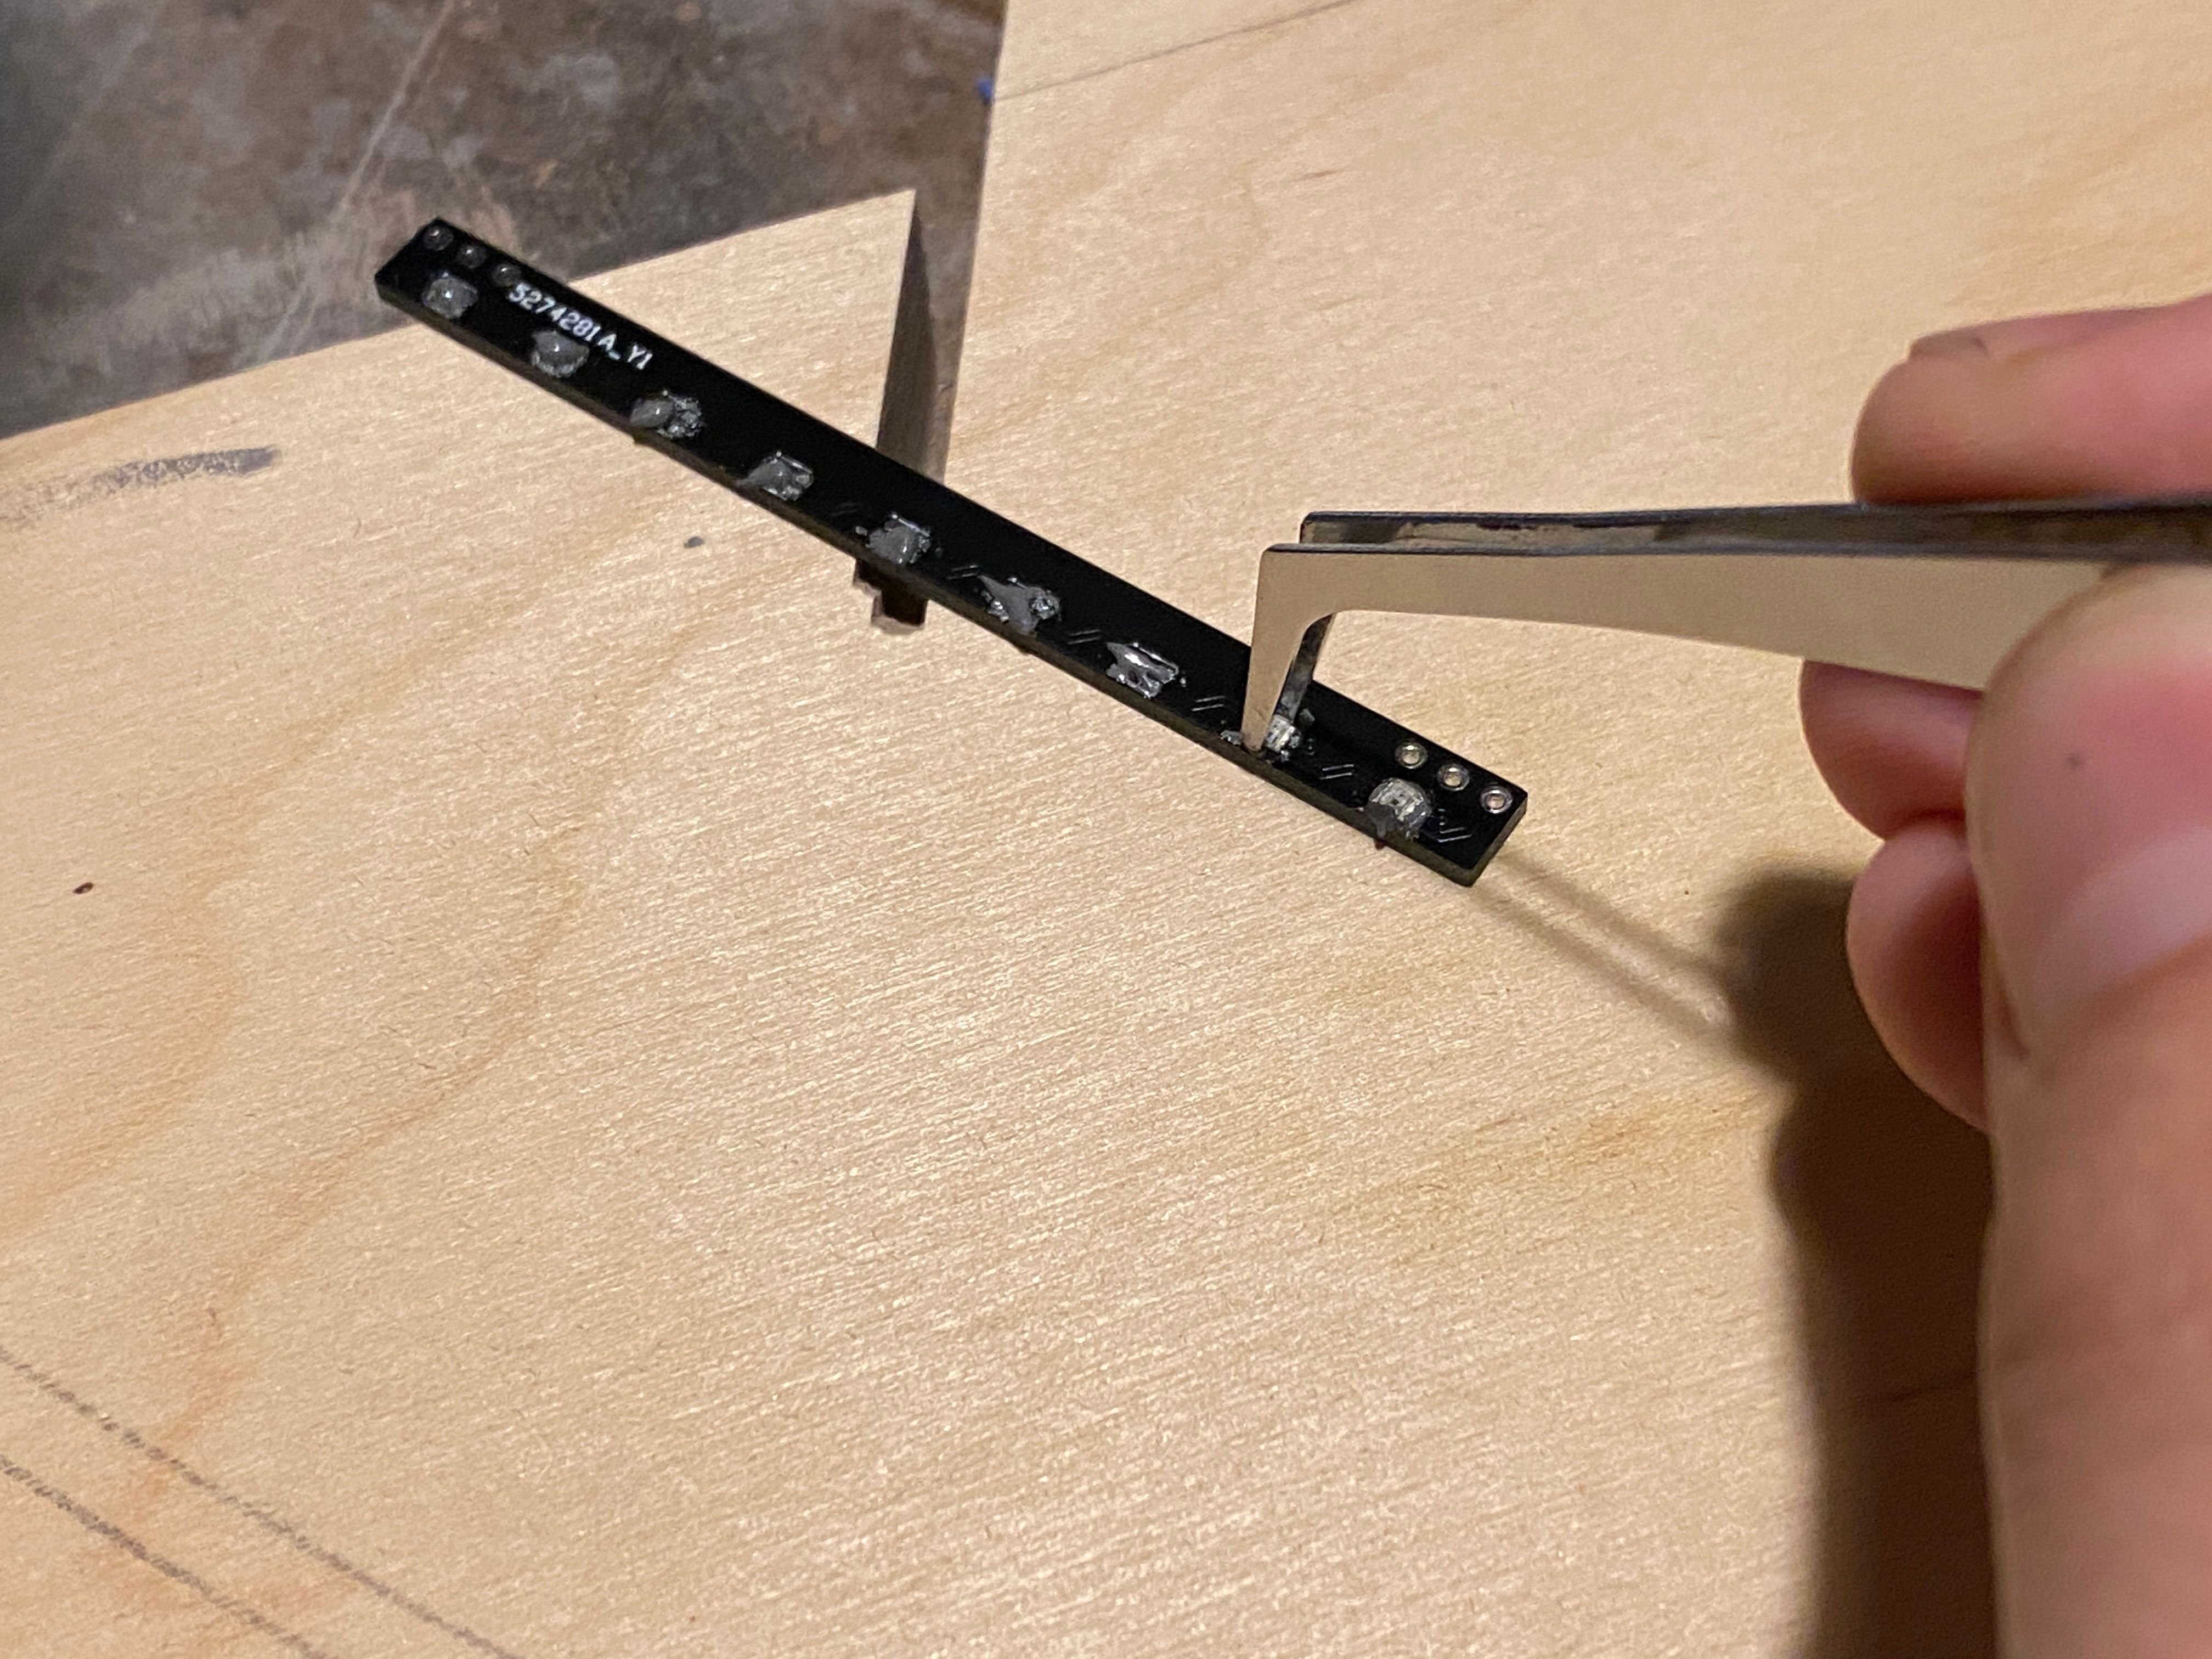
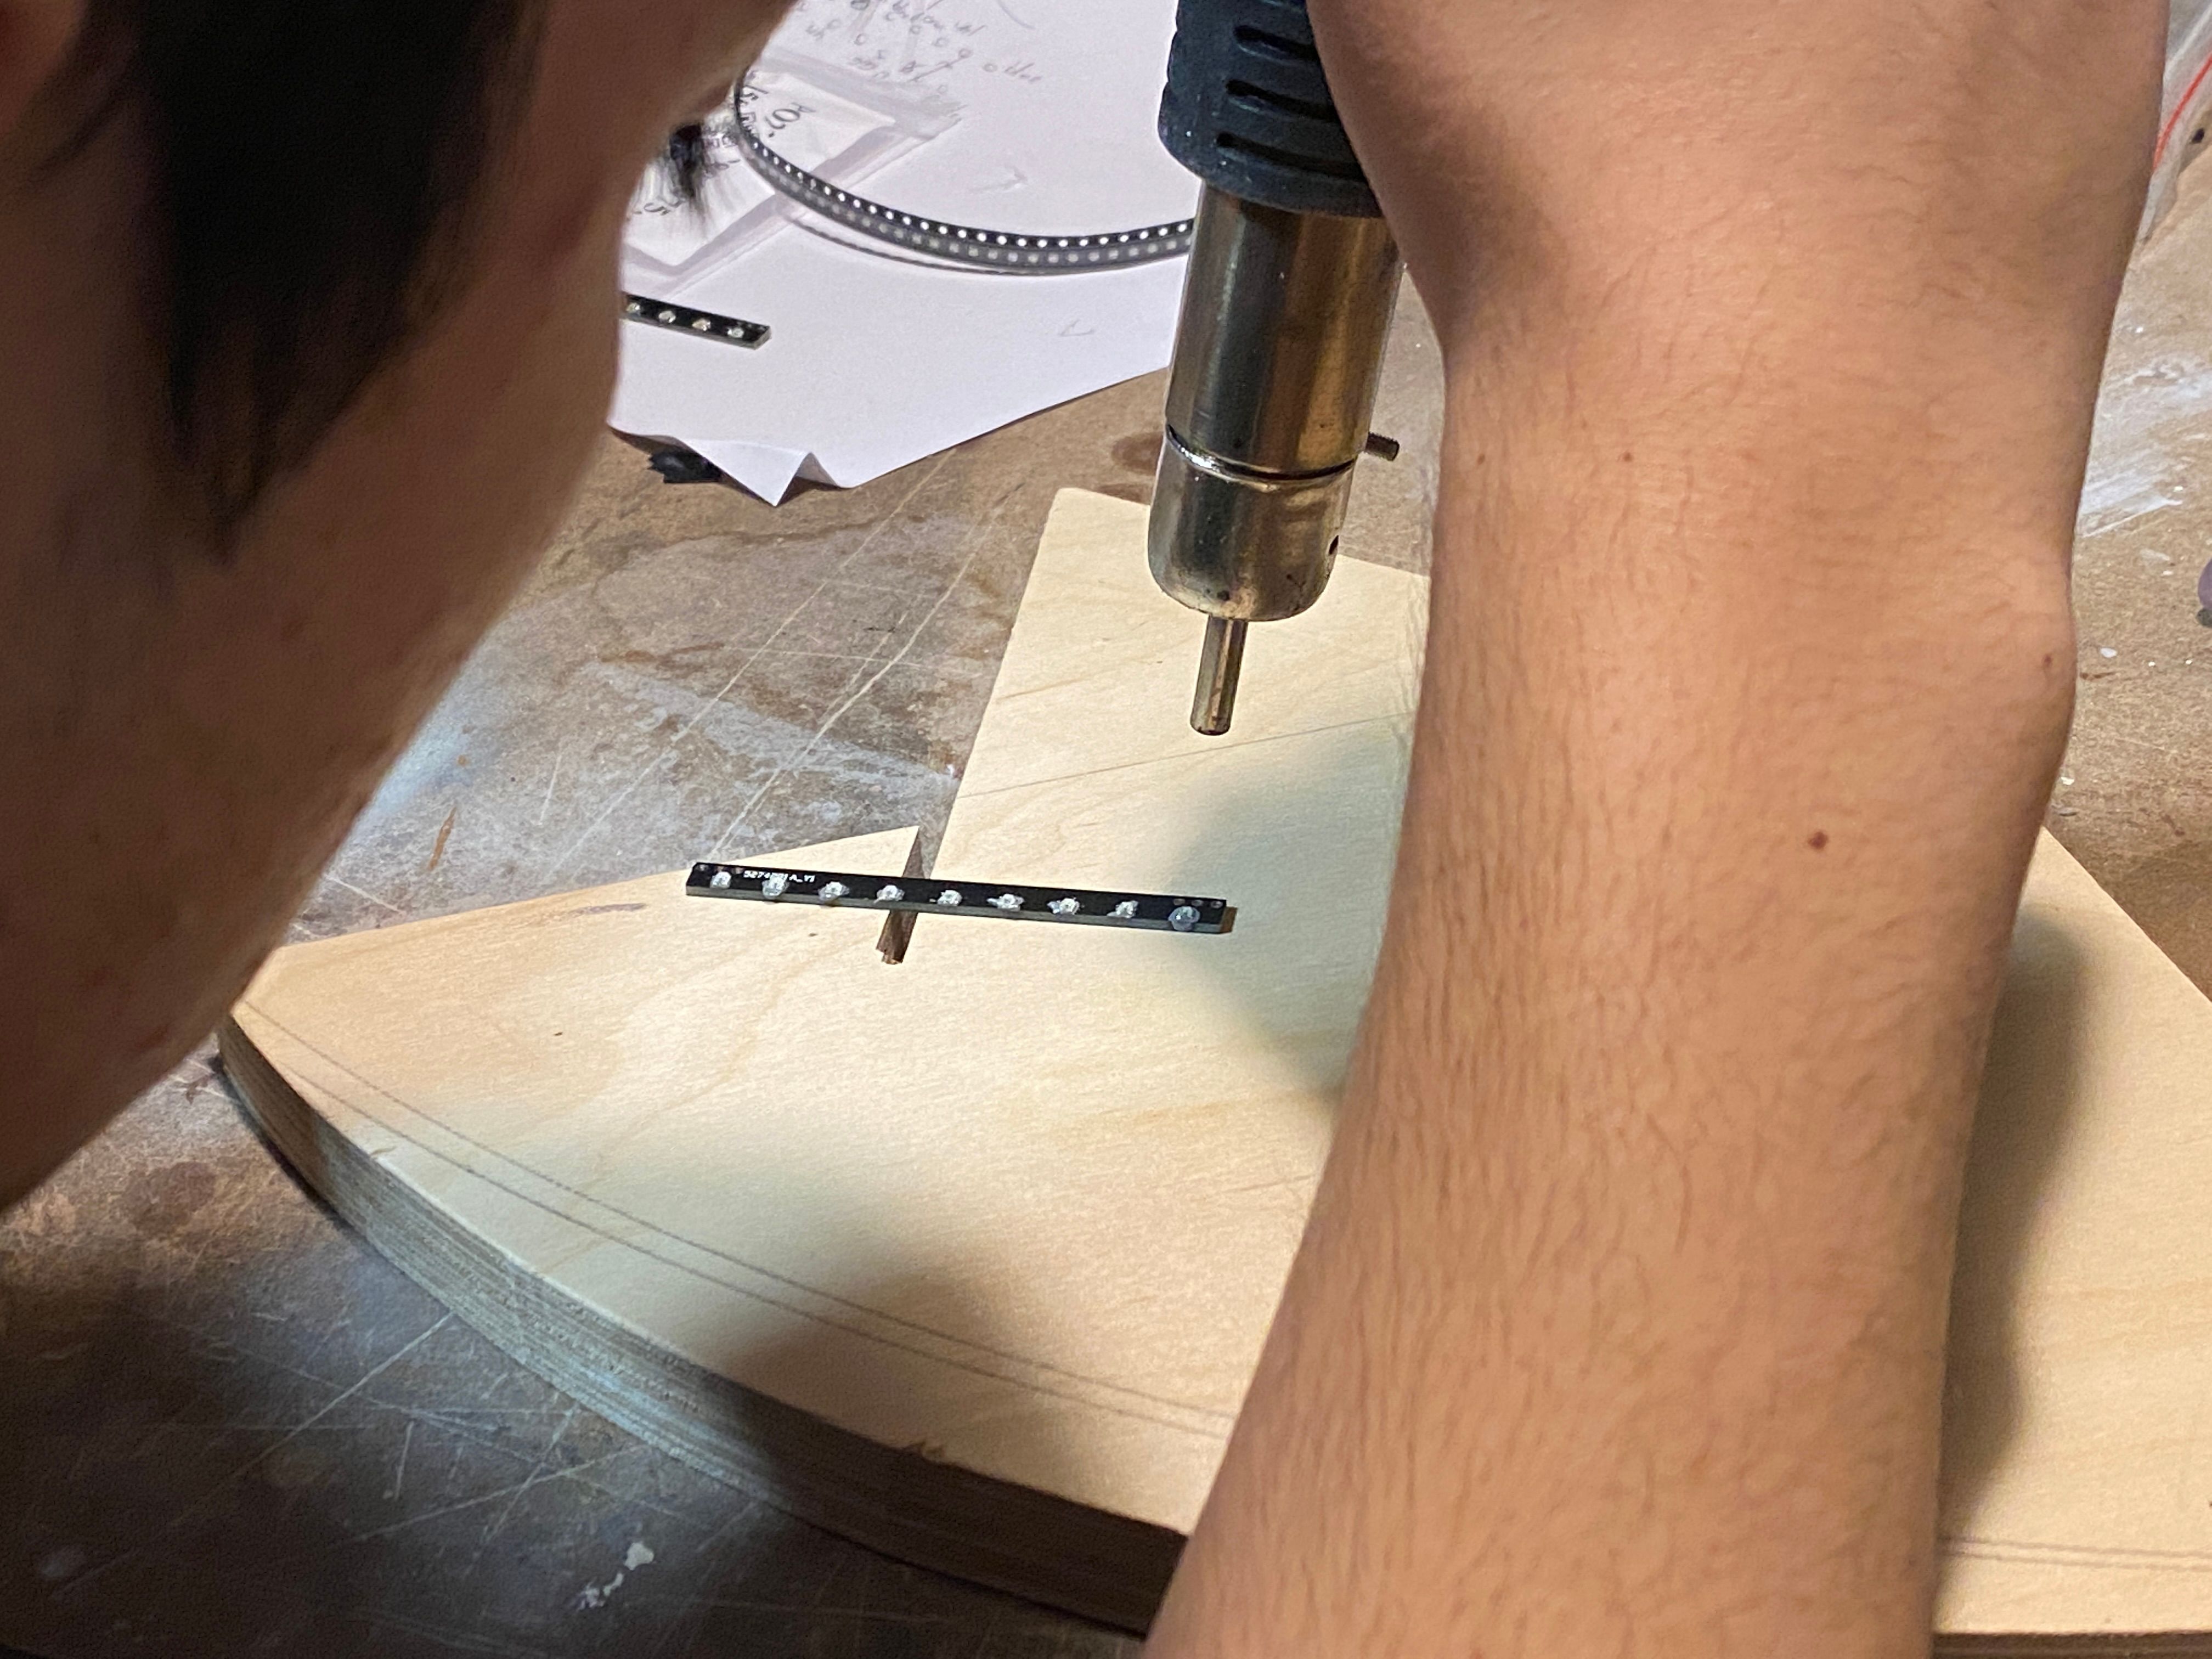
We used a block of ply as a mat to work on since my workbench is covered in all sorts of paint, oil, solvent and other nasties that get in the air when you heat them up.The old jig to make the axle blocks was fine so we printed 4 more since they get destroyed once used.
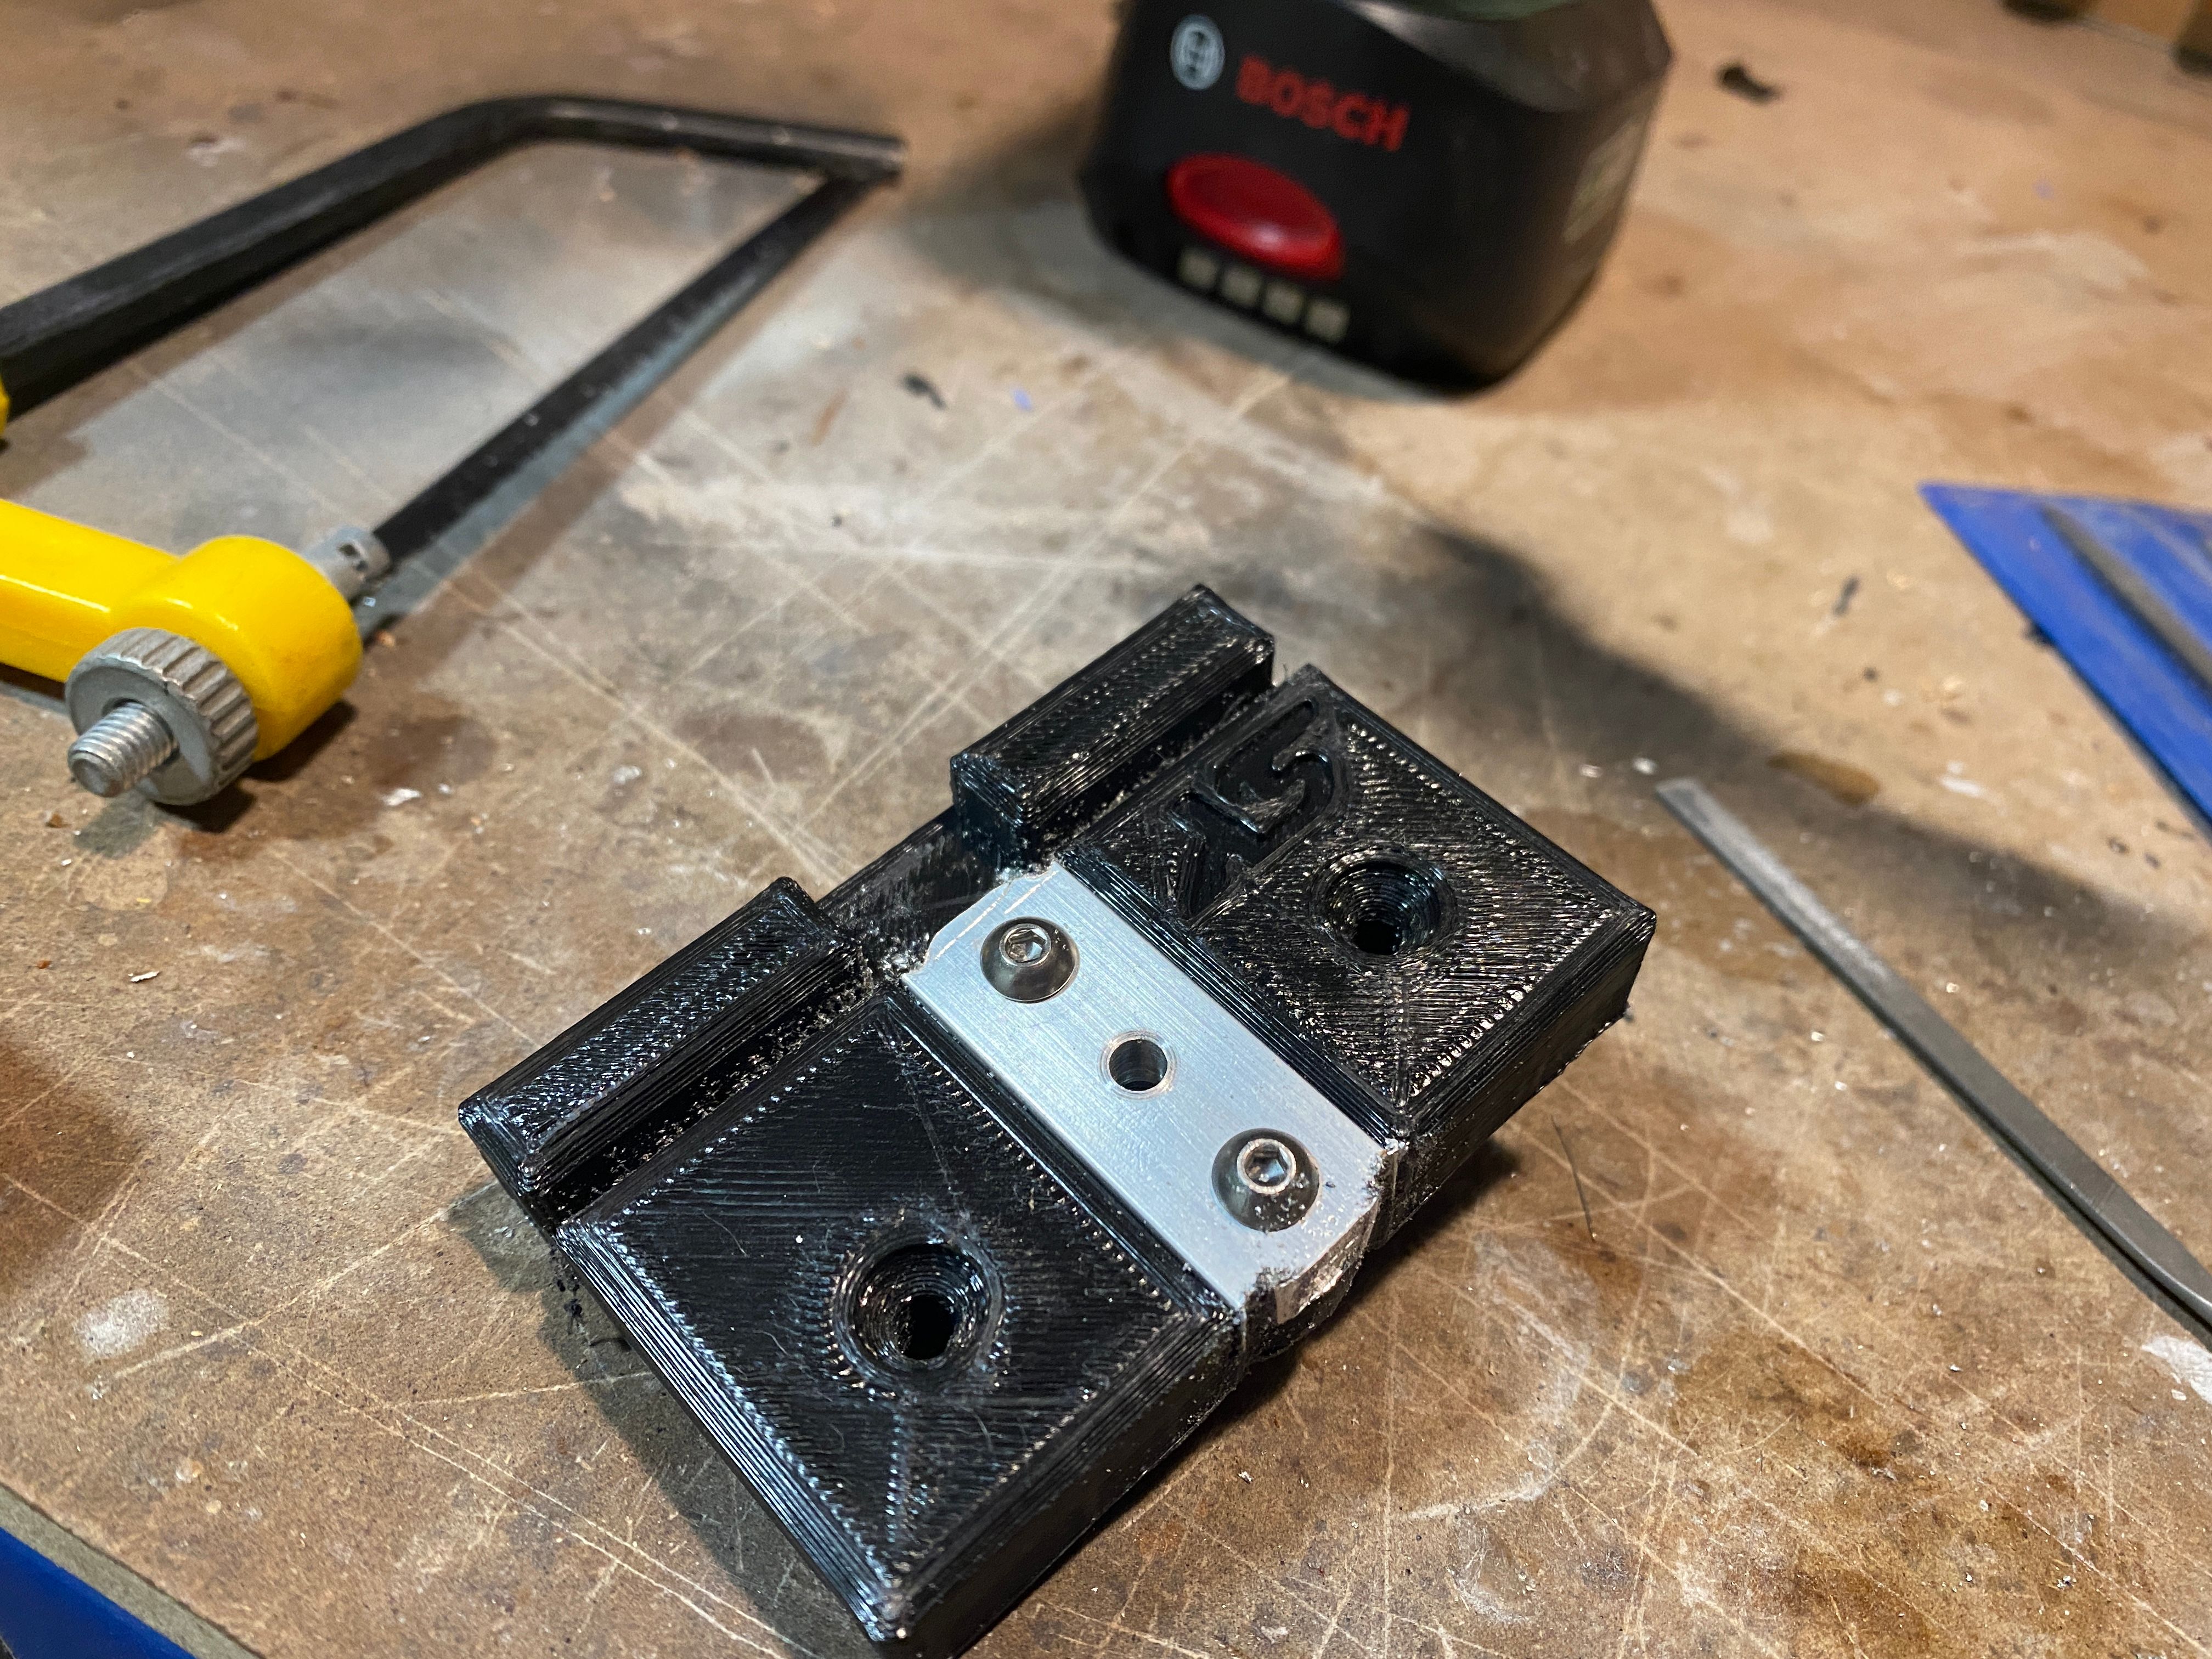
And as usual they come out looking amazing.
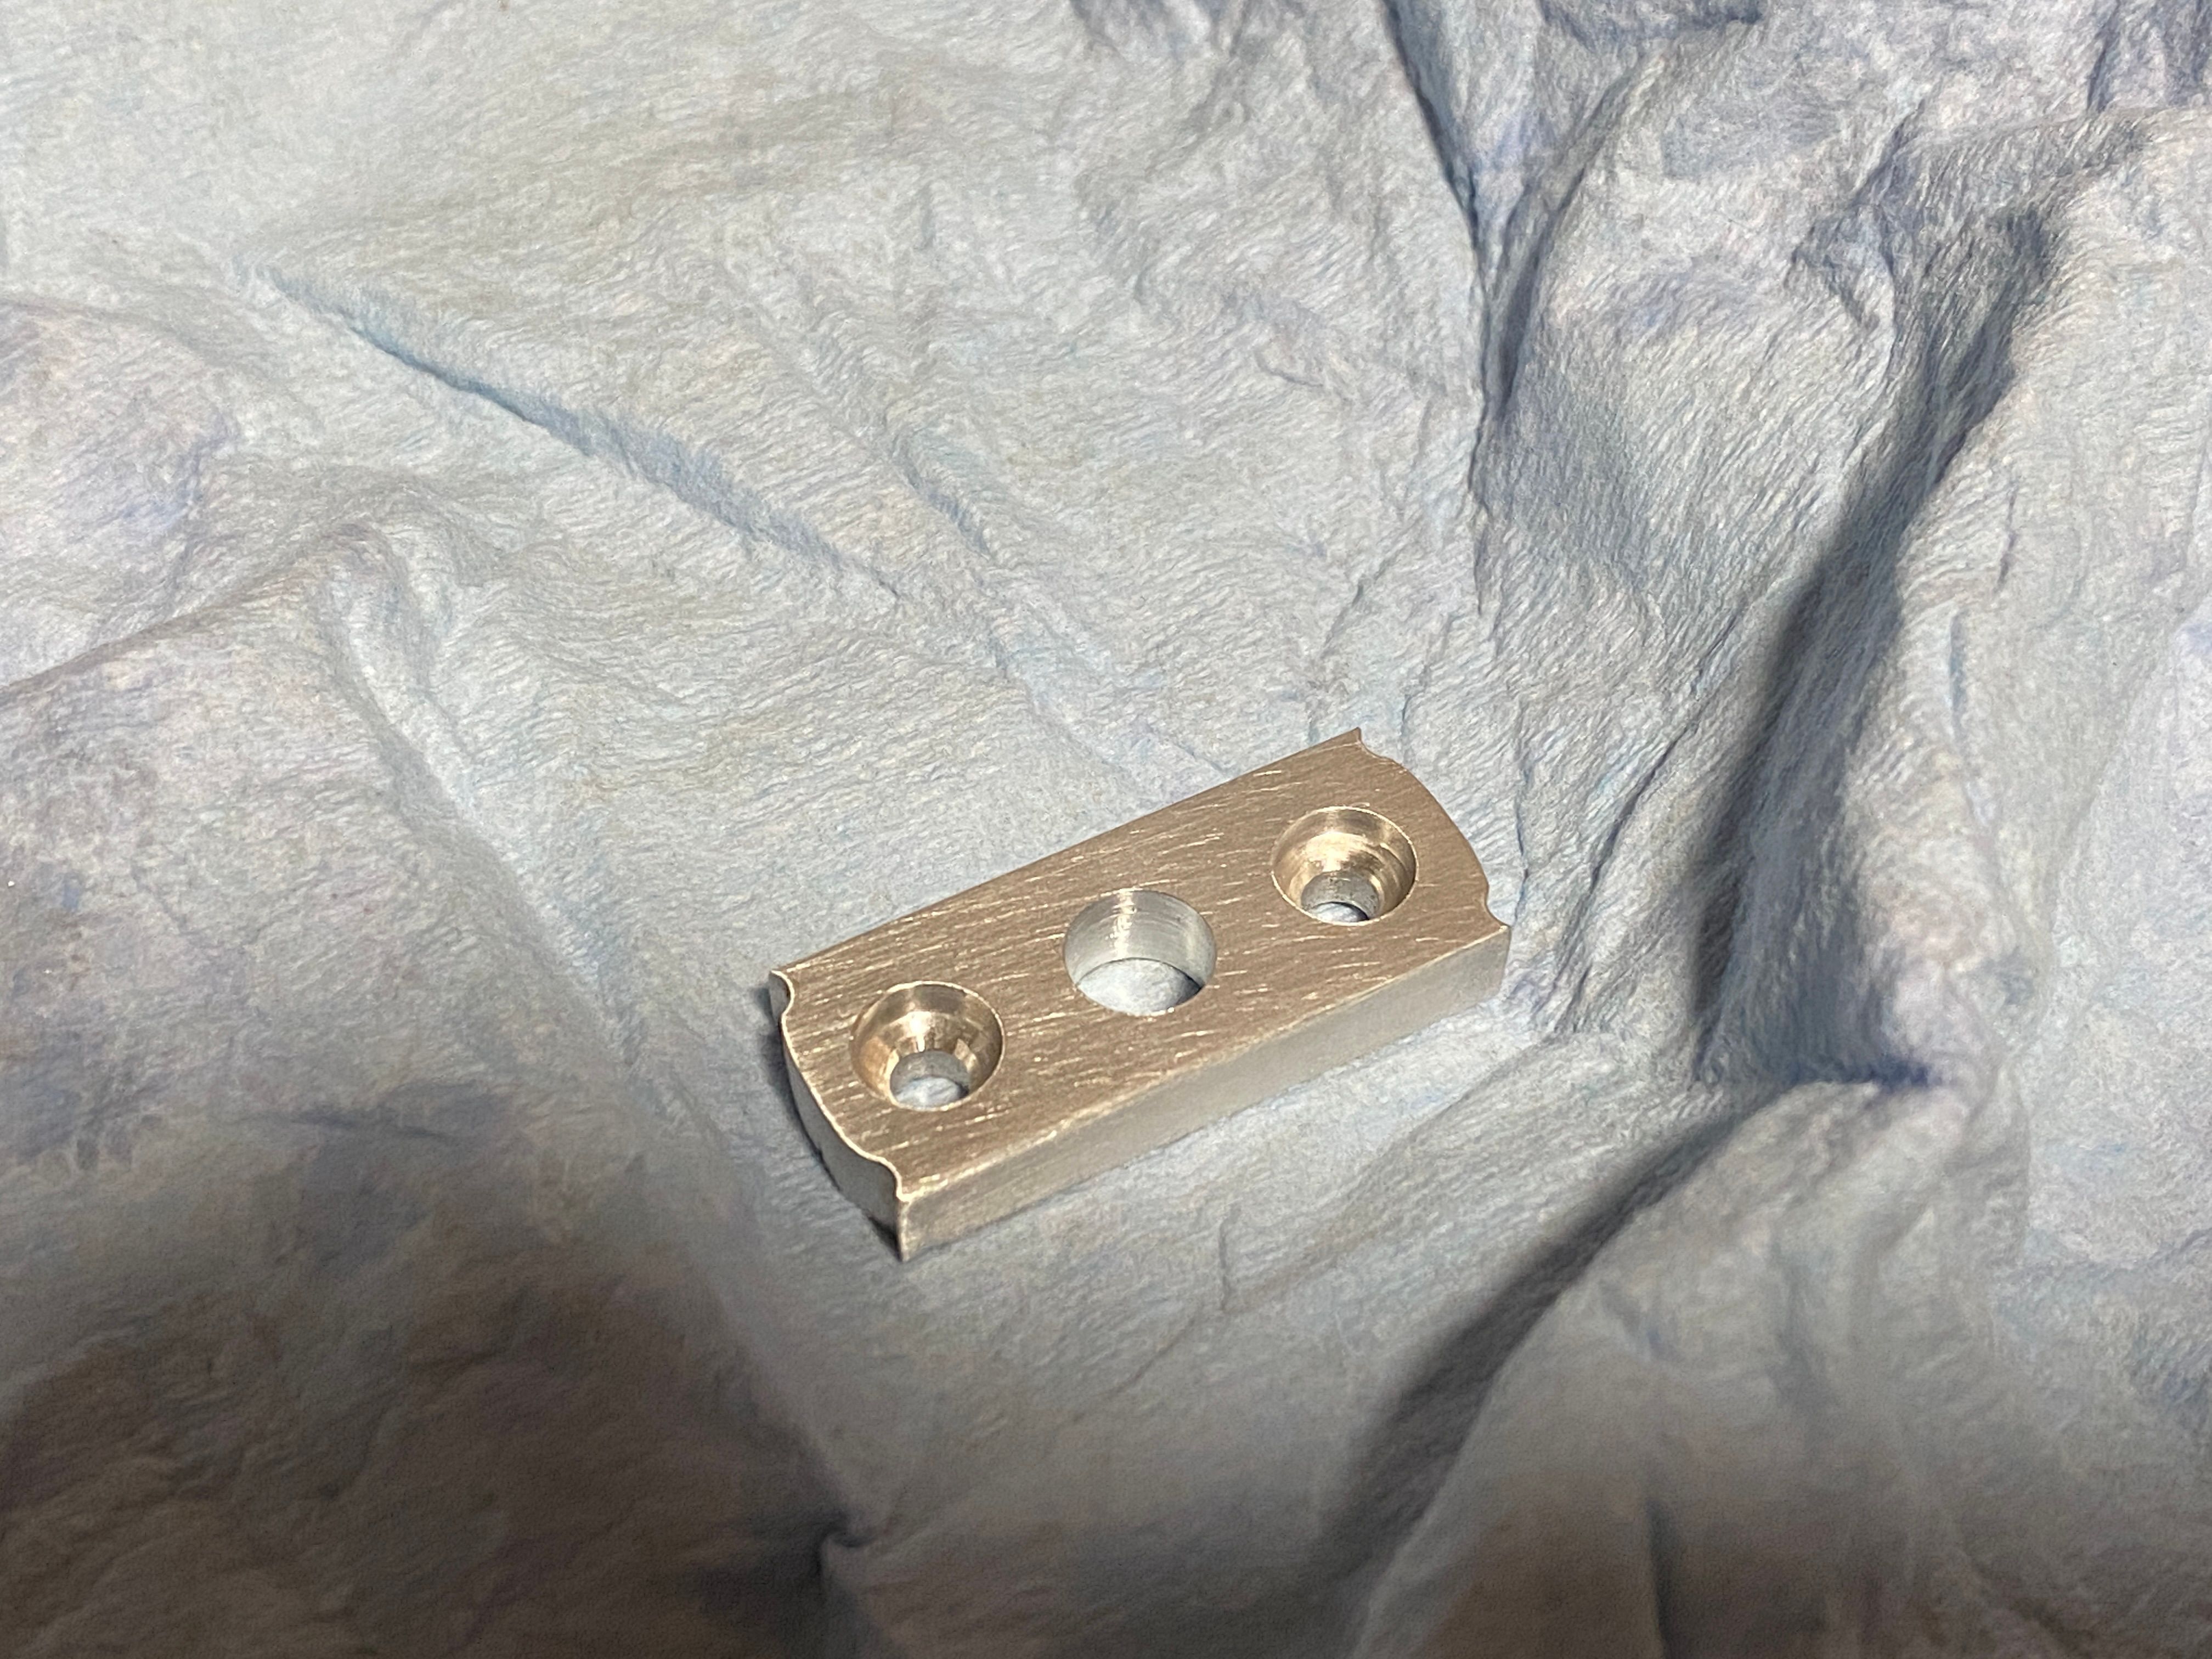
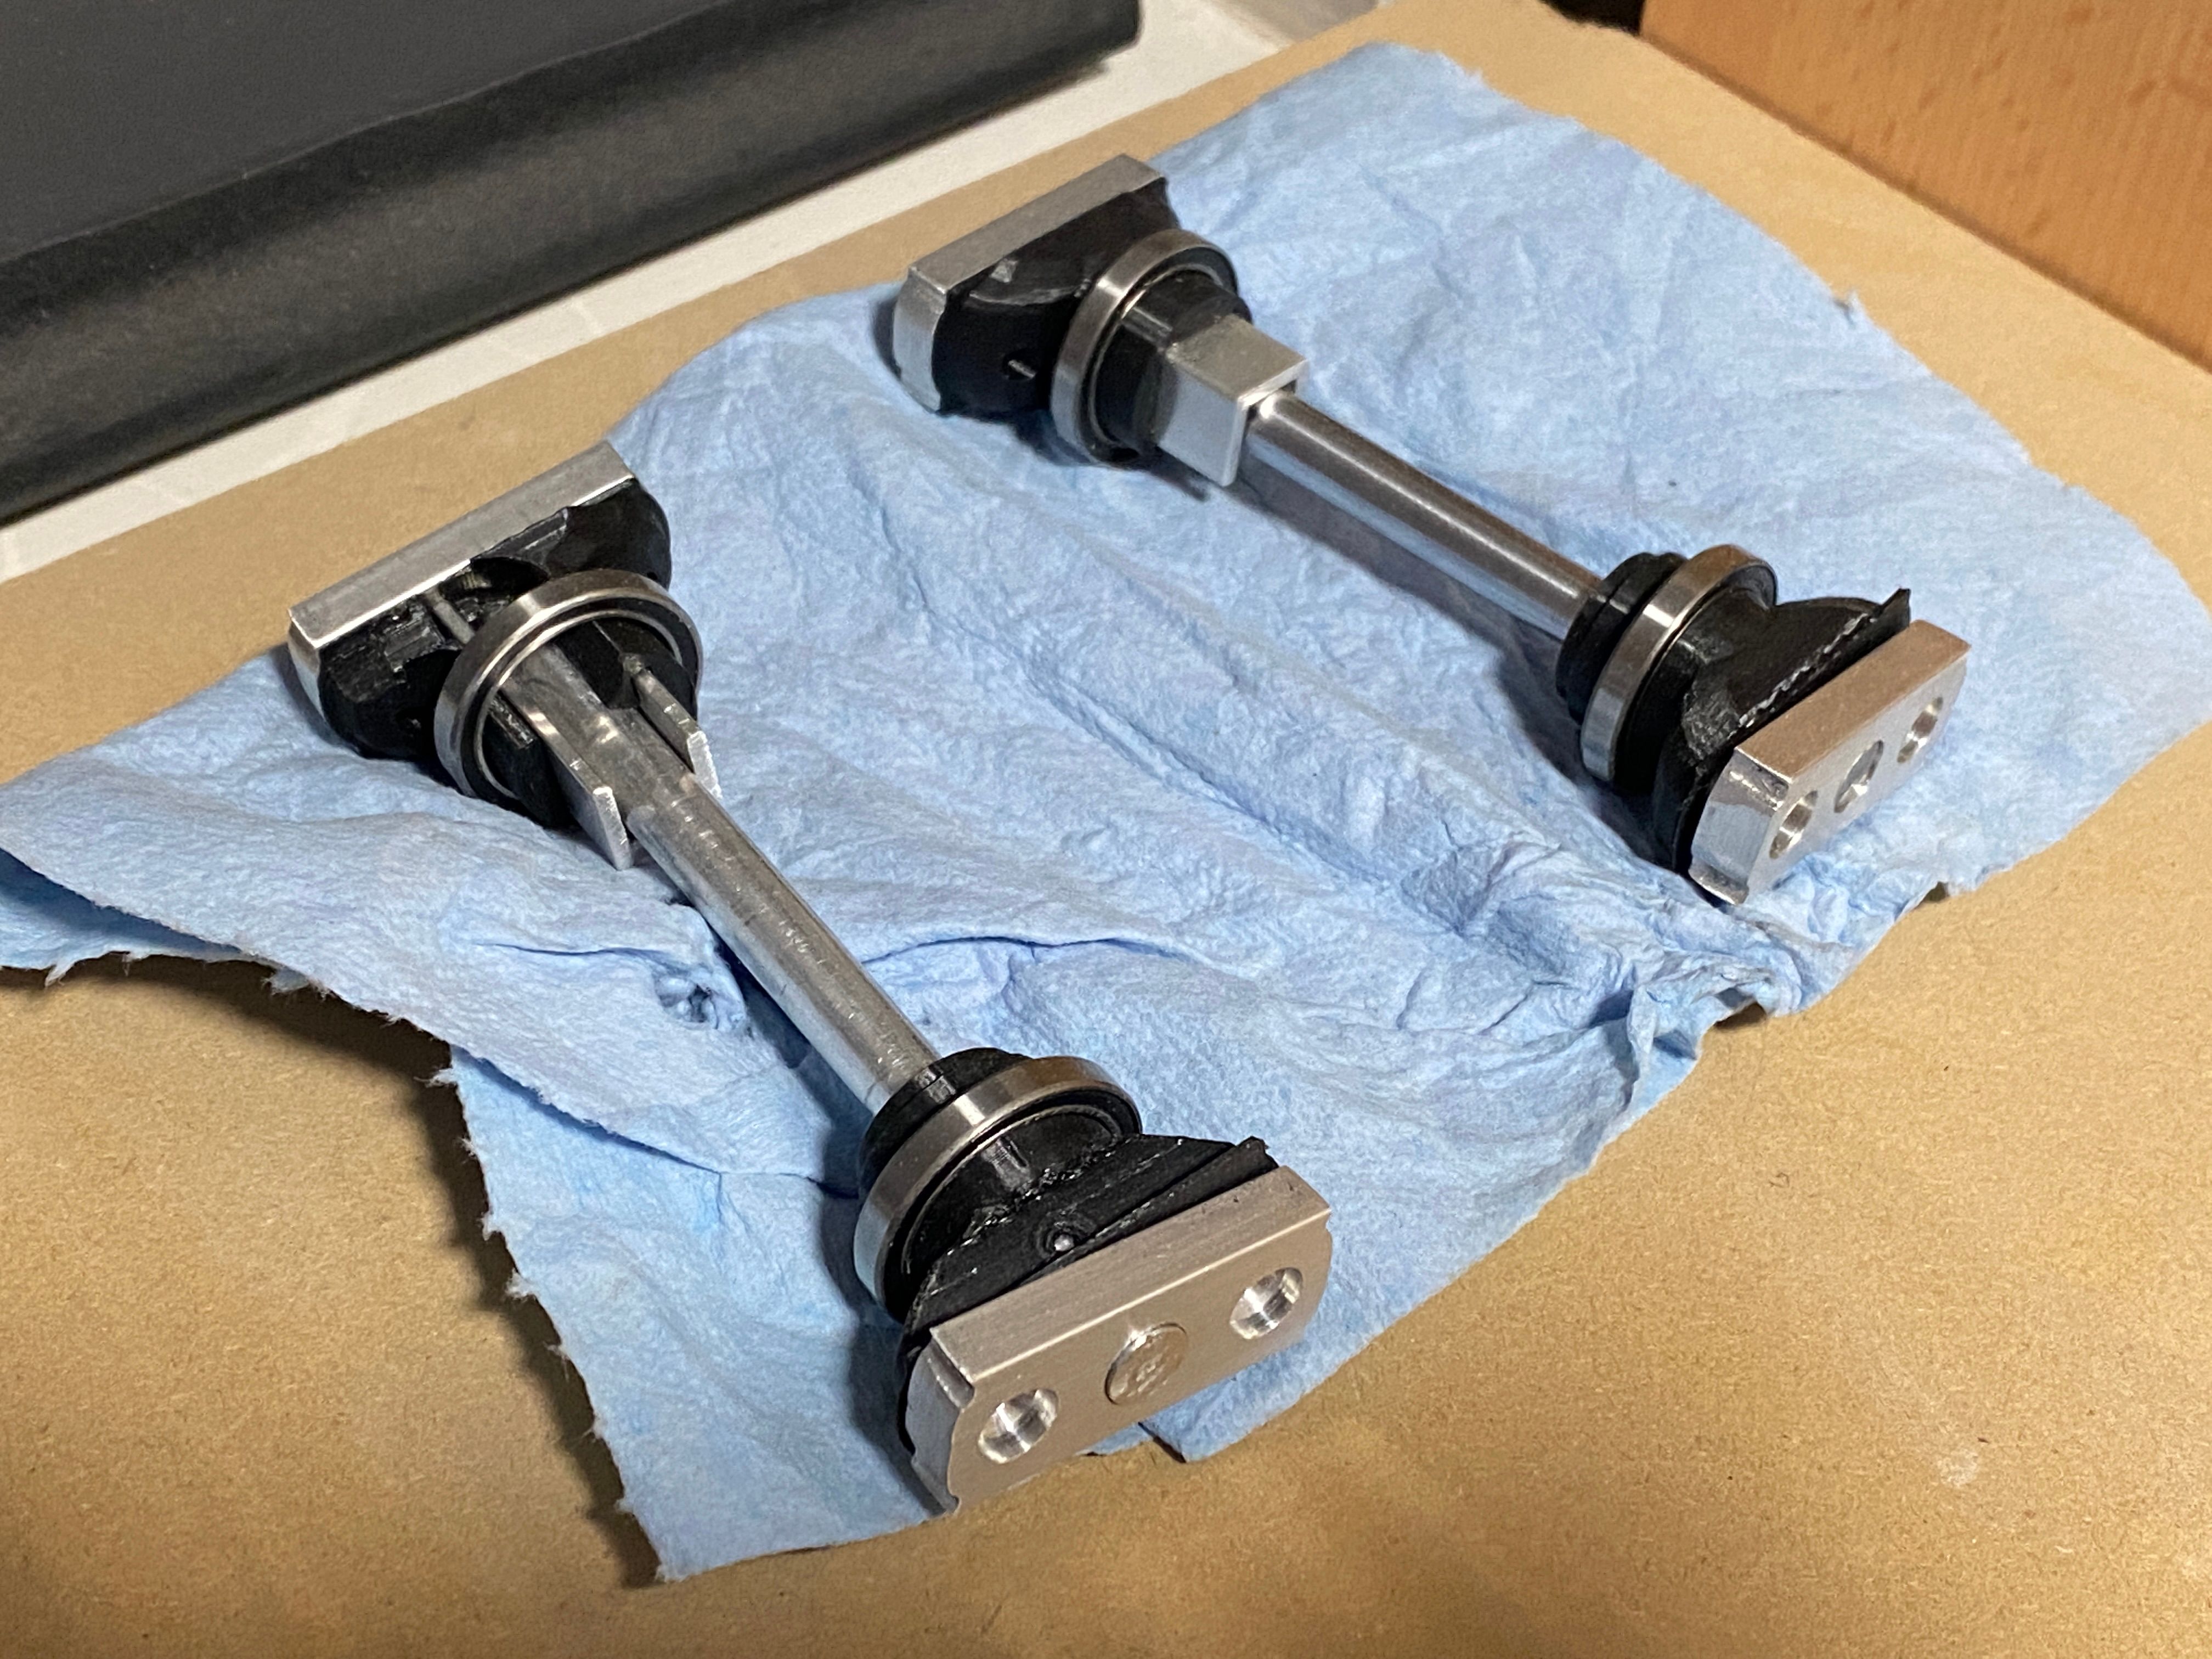
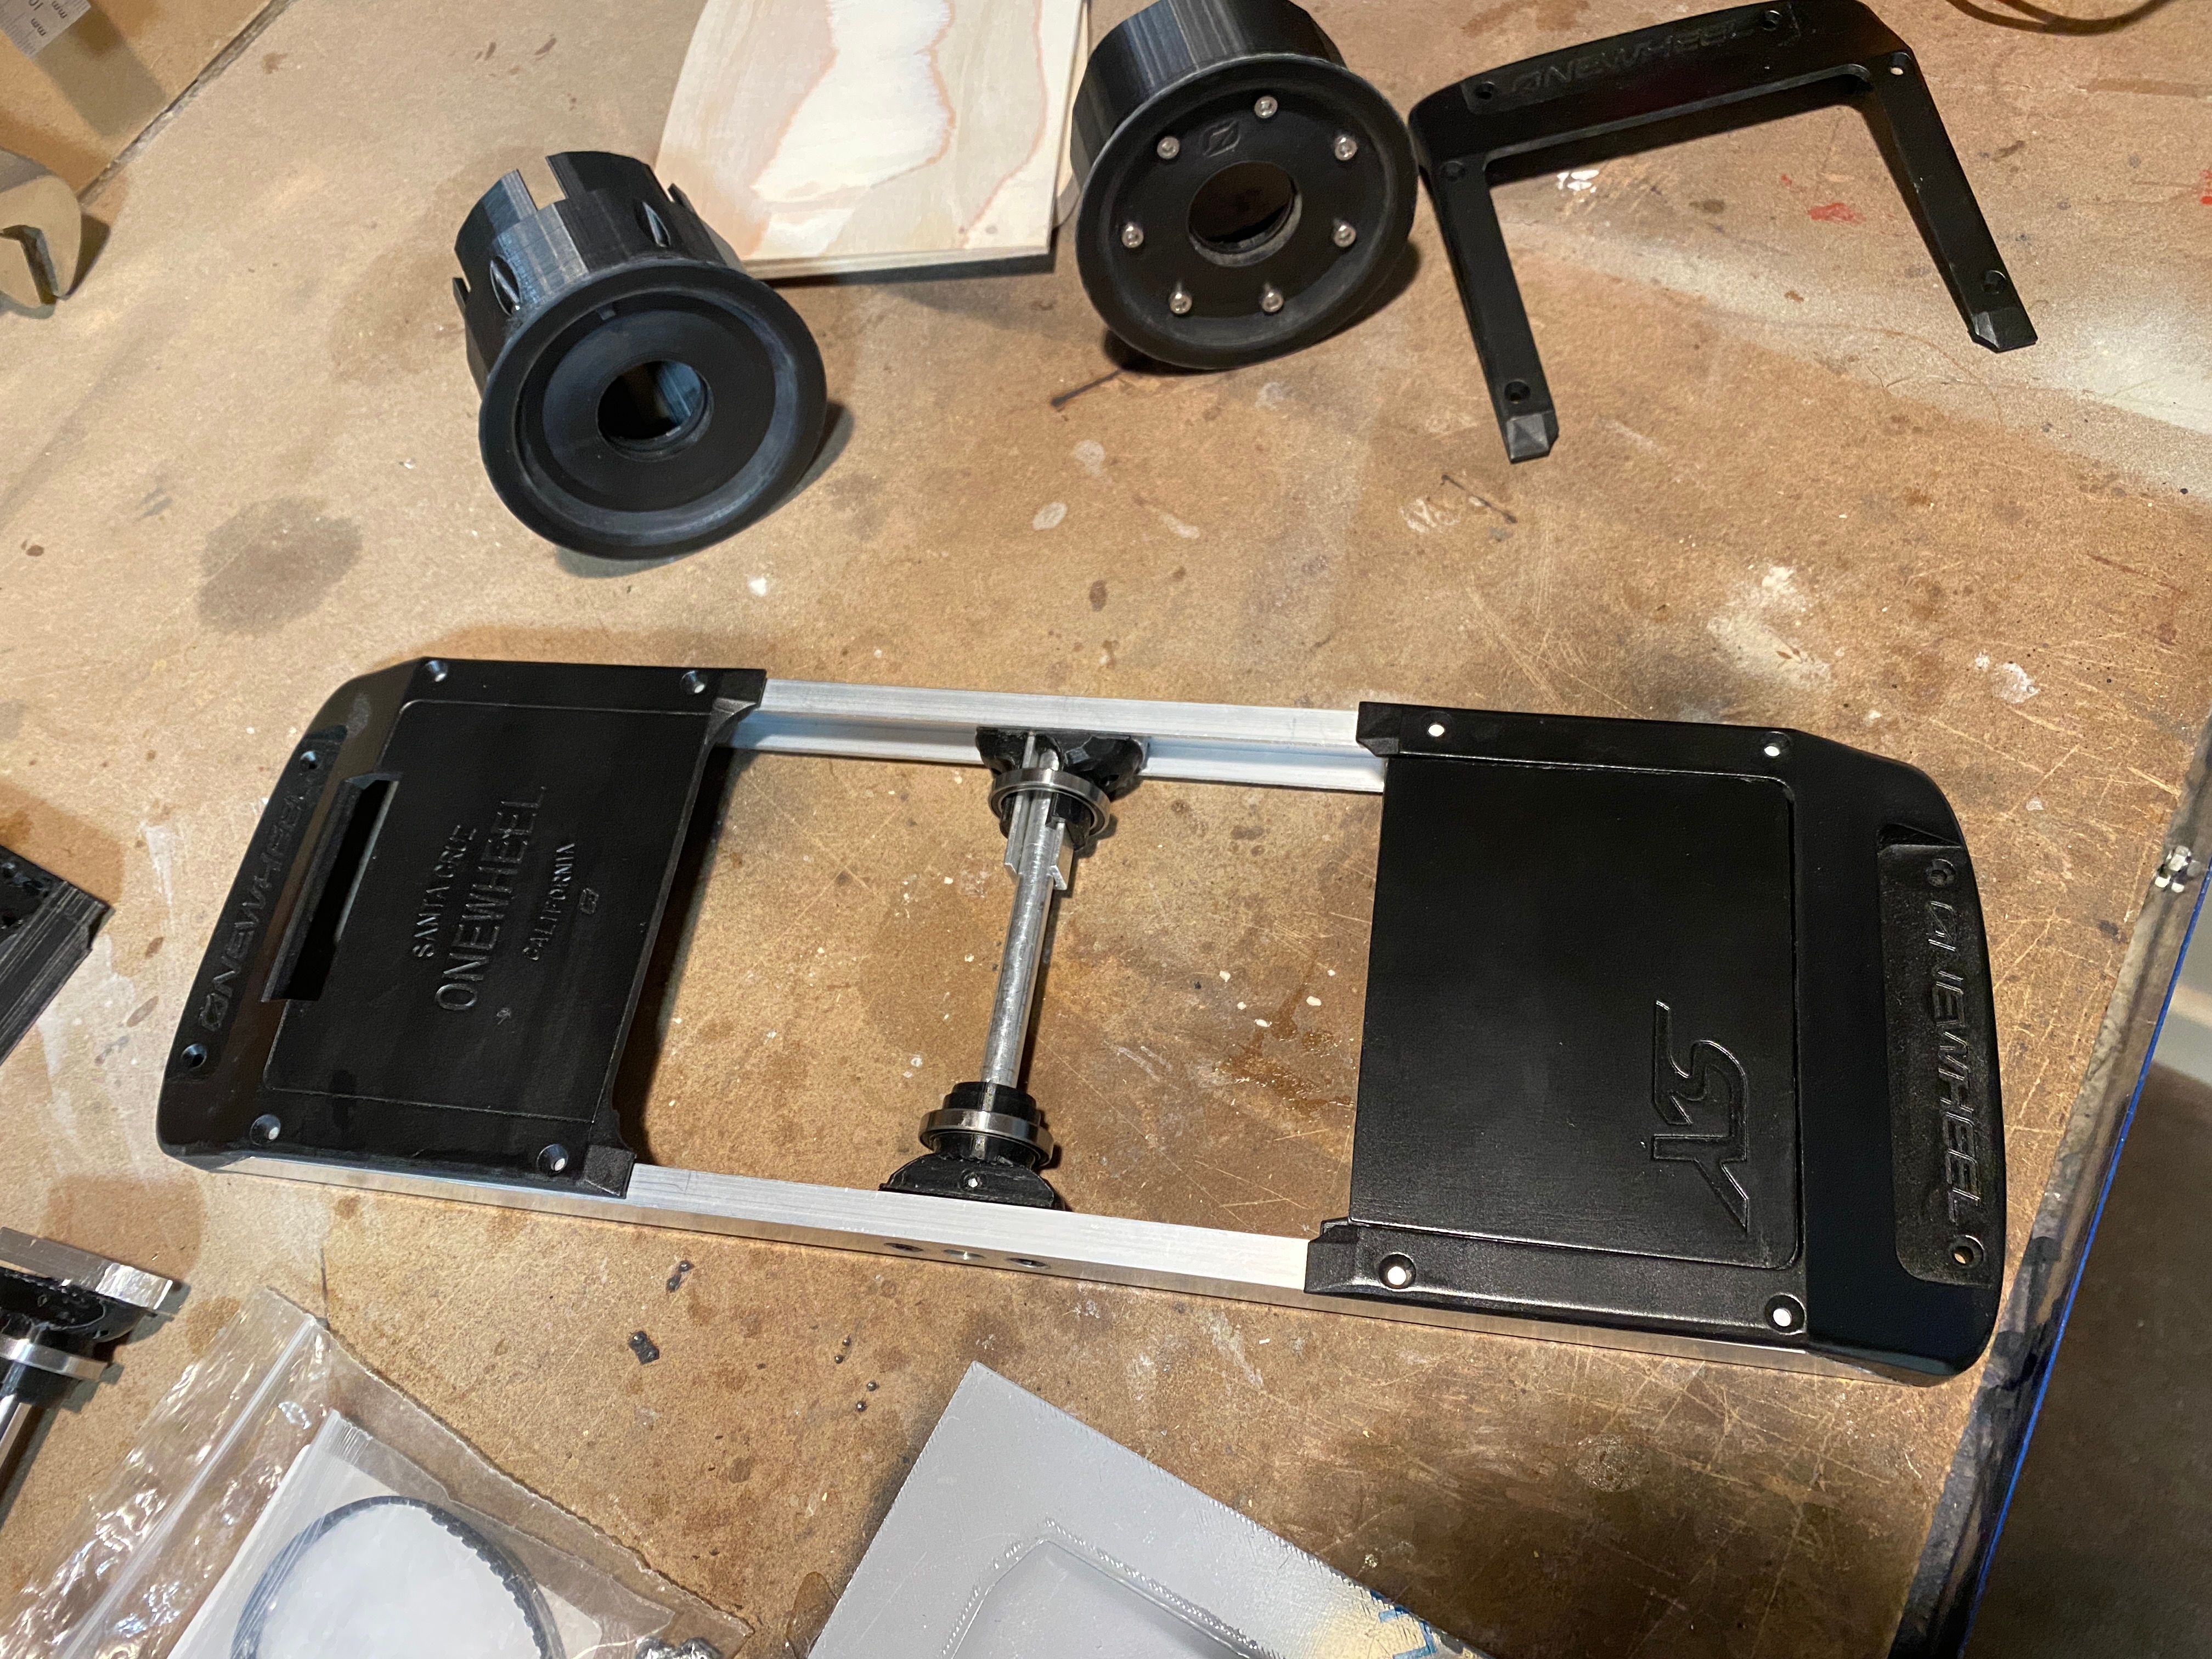
Put with some printed blocks, bearings, the U channel keys and stainless steel axle (one is still the alu test piece since we only did one axle at the time)
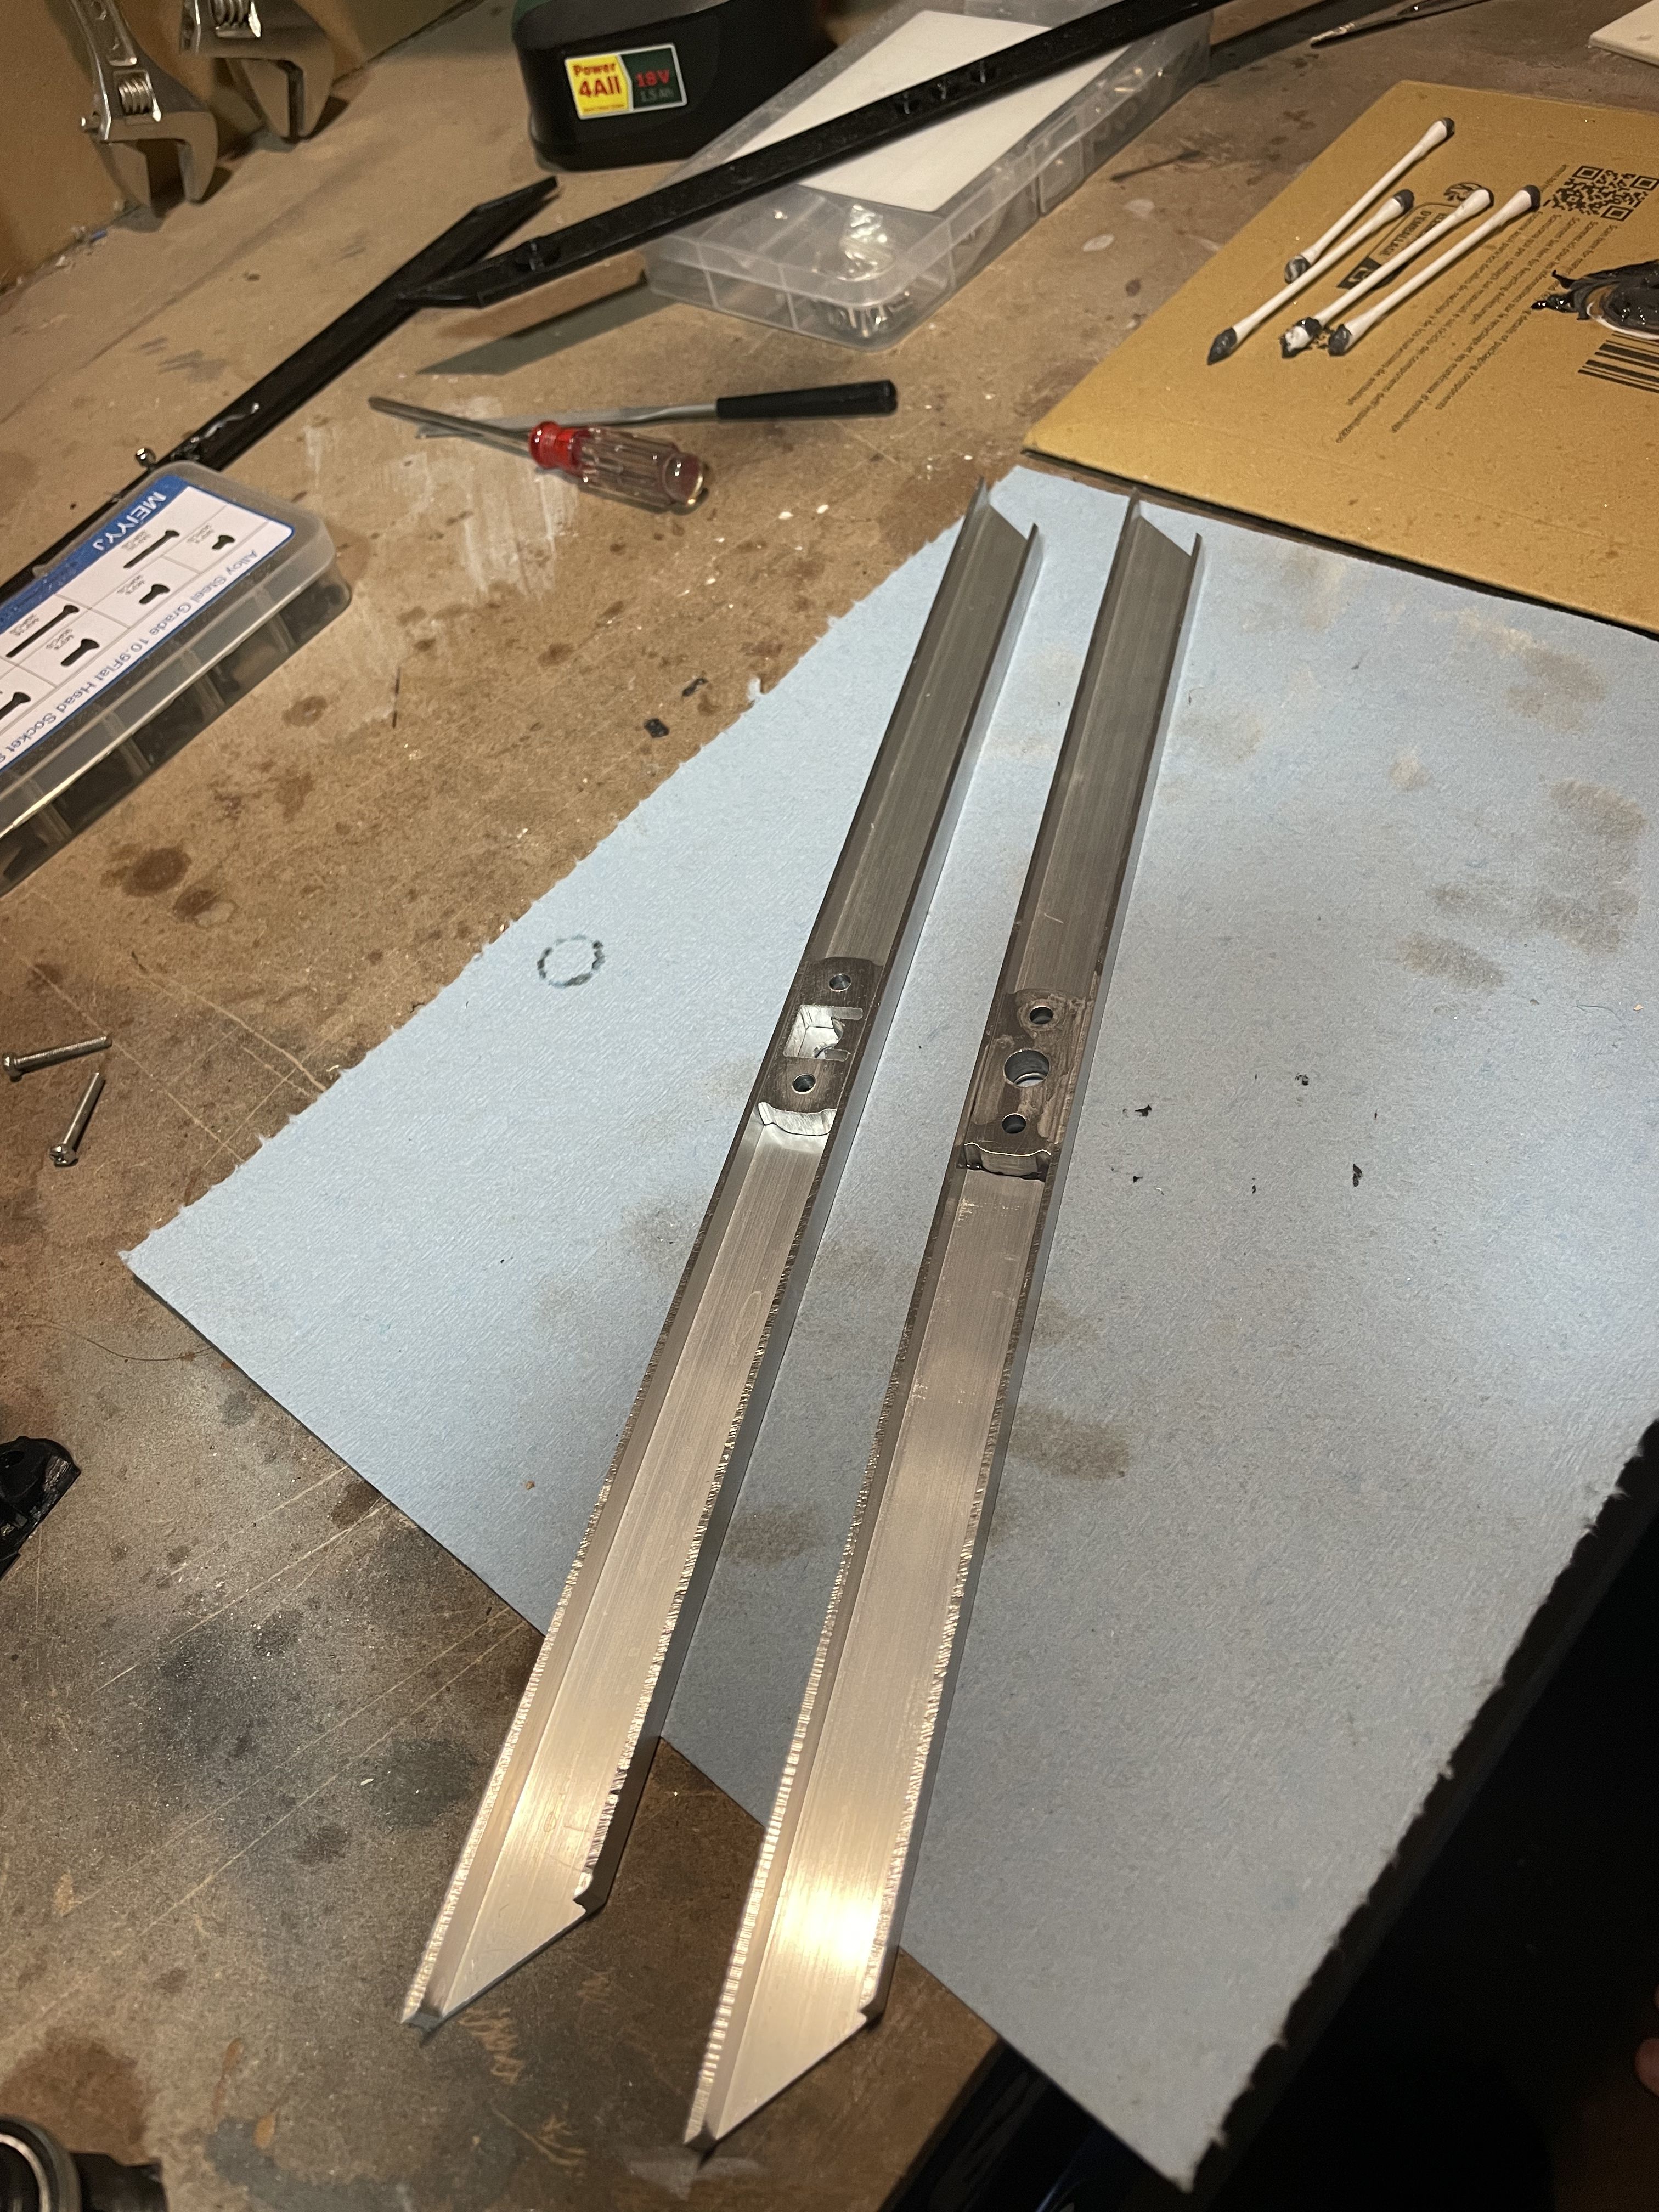
4 more rail were cut on the litre saw and then routed to the right depth with the same jig as before however I will be updating this as there is a 0.5mm variance in depth from one end to the other.

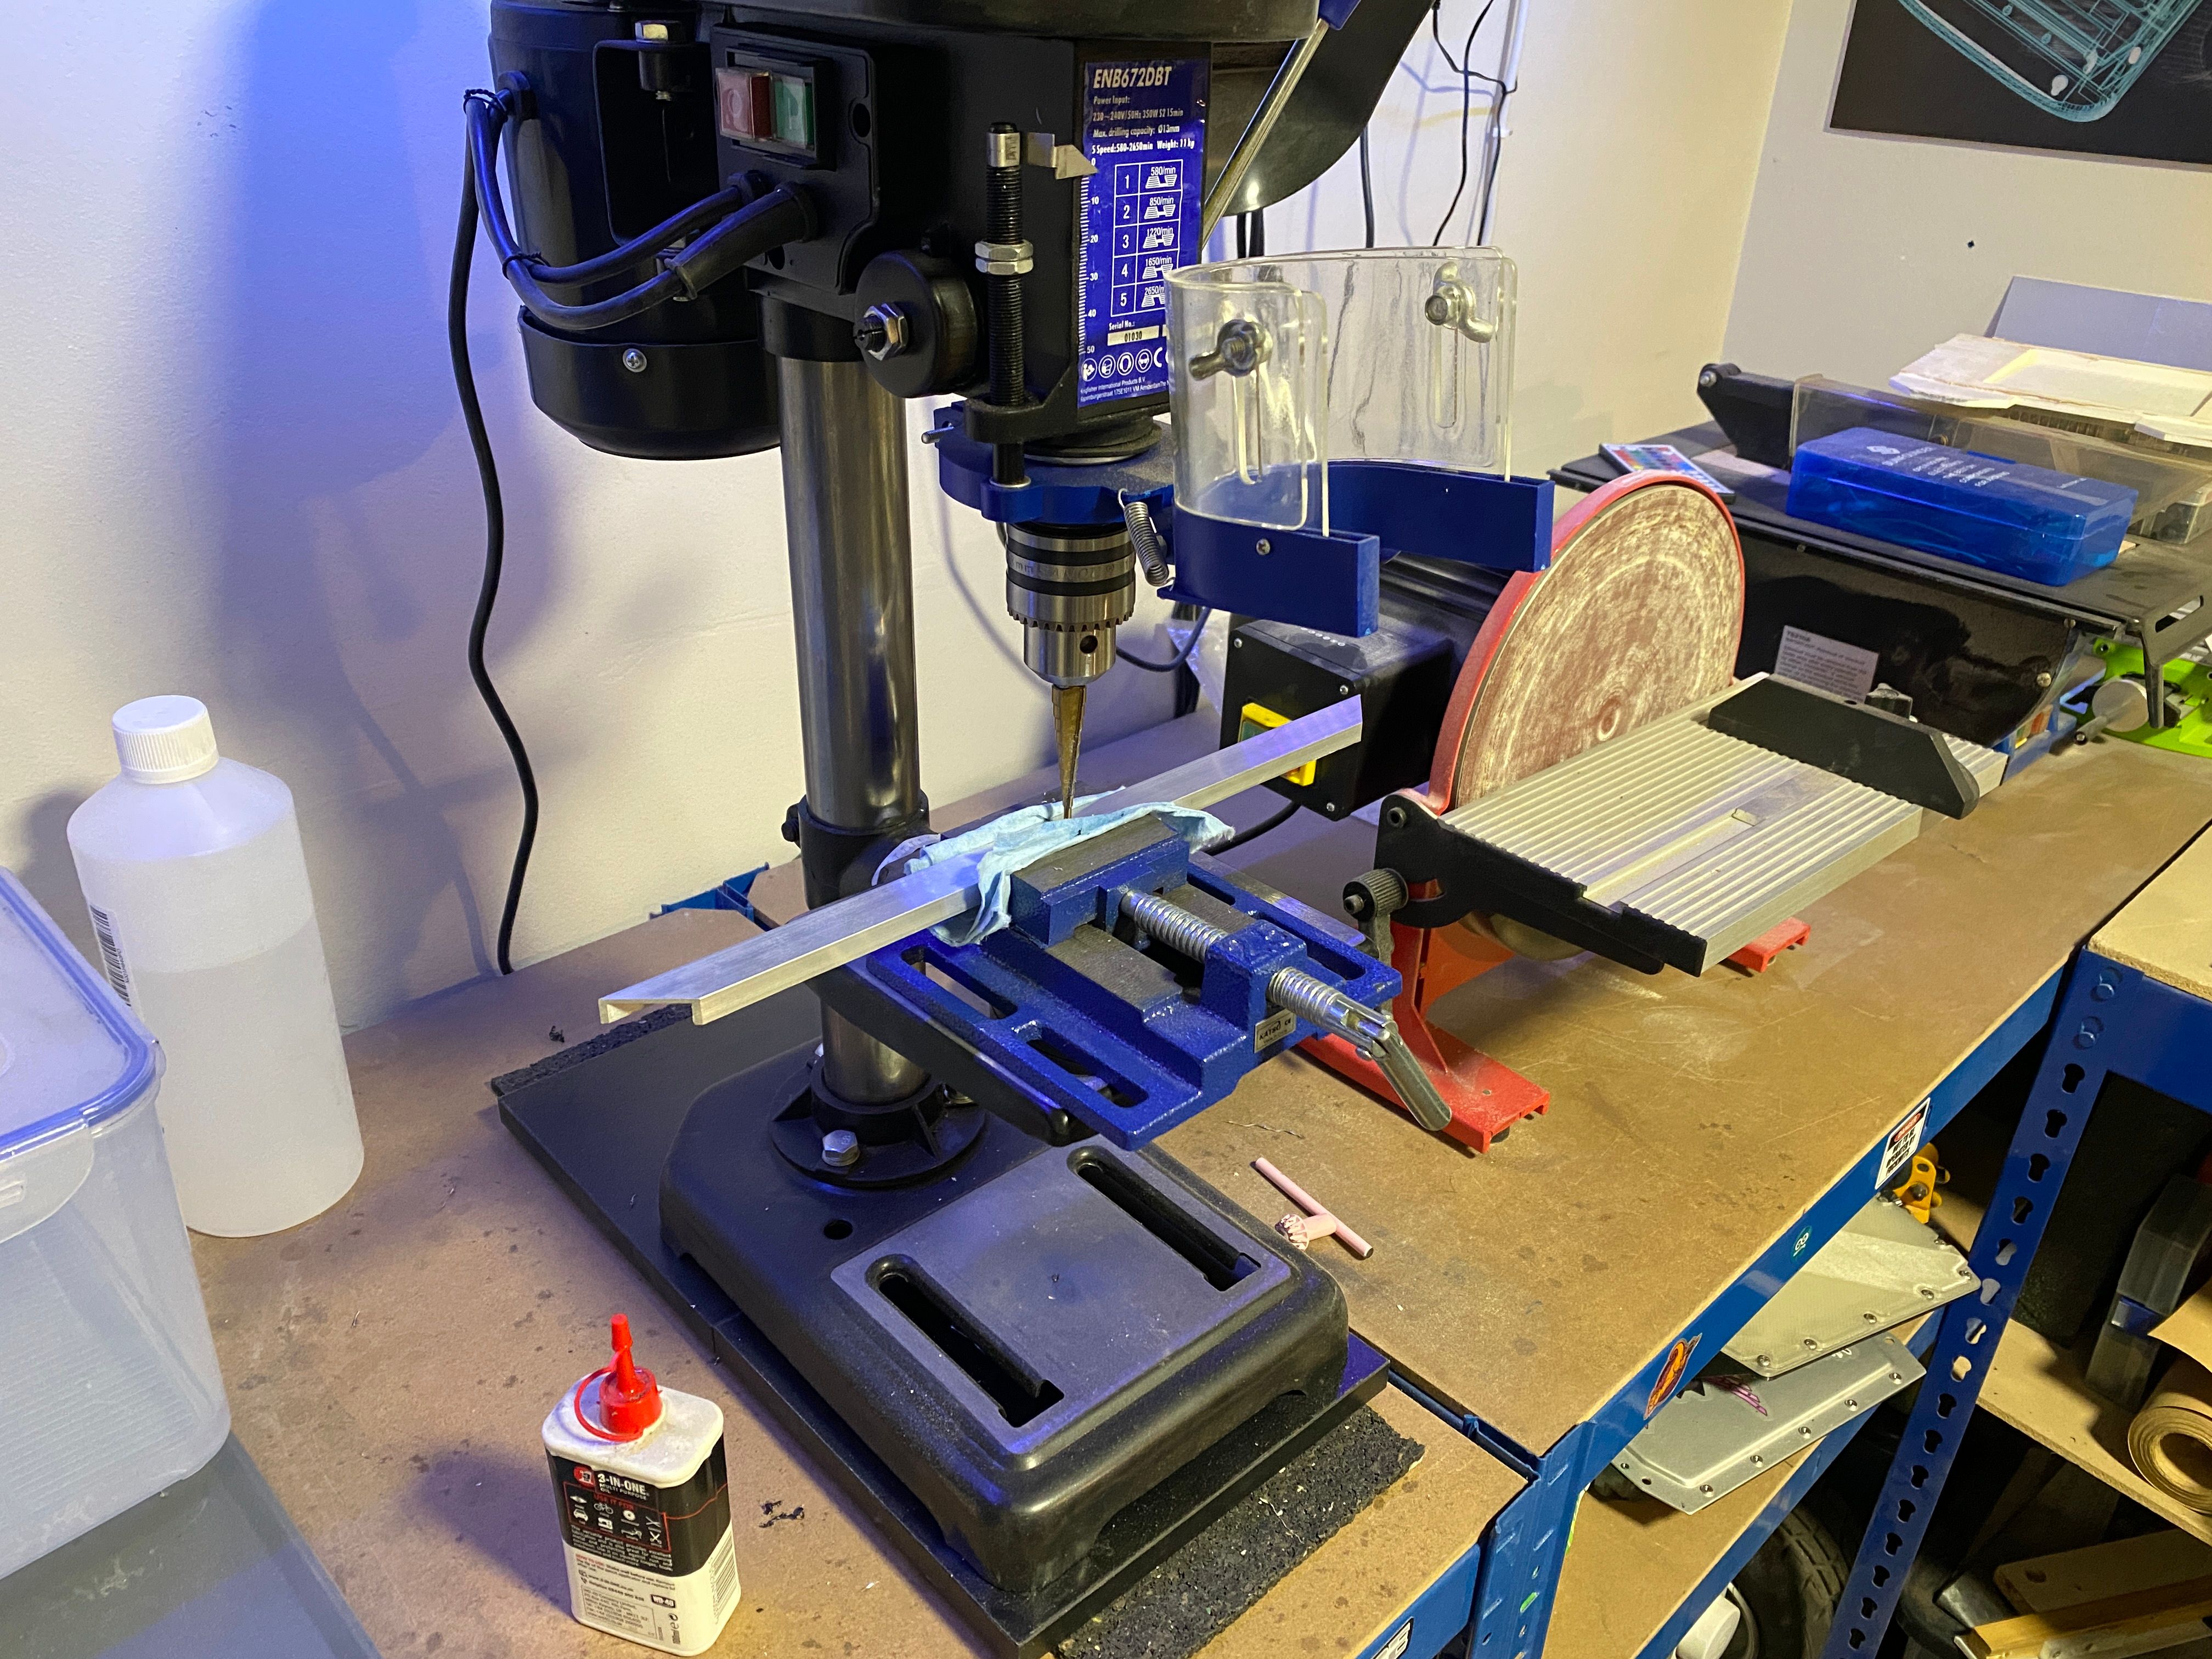
The rails of course need their bolt holes so off to the pillar drill and step drill they went, his time with some shop rag to stop the vice marring the rails like on my first XS.
With the holes in place the axle blocks could be JB-welded into place and left to dry making them extremely tough.
Of course the footpads needed work so those got cut to size, slapped on the same jig as before and belt sanded to the right angle then later disk sanded to shape.
Before Nick had to leave this was where we got. A week of working on and off (between doing other stuff ofc) these take a long time since a lot of manual work is needed. But the results are nice :) We began forming the lids but ran out of time and these take aaaaaages to slowly form in my puny bench vice.
The new hubs look really nice and I added the waffle pattern to the front bumper... totally to save on resin and not because I like silly details.

Looks so clean and nice. Really proud of what we managed to achieve with these.
Then just earlier when tidying up my bench I added some mounting holes in the rails for the bumpers since it's all loose. I really want to finish these 😭
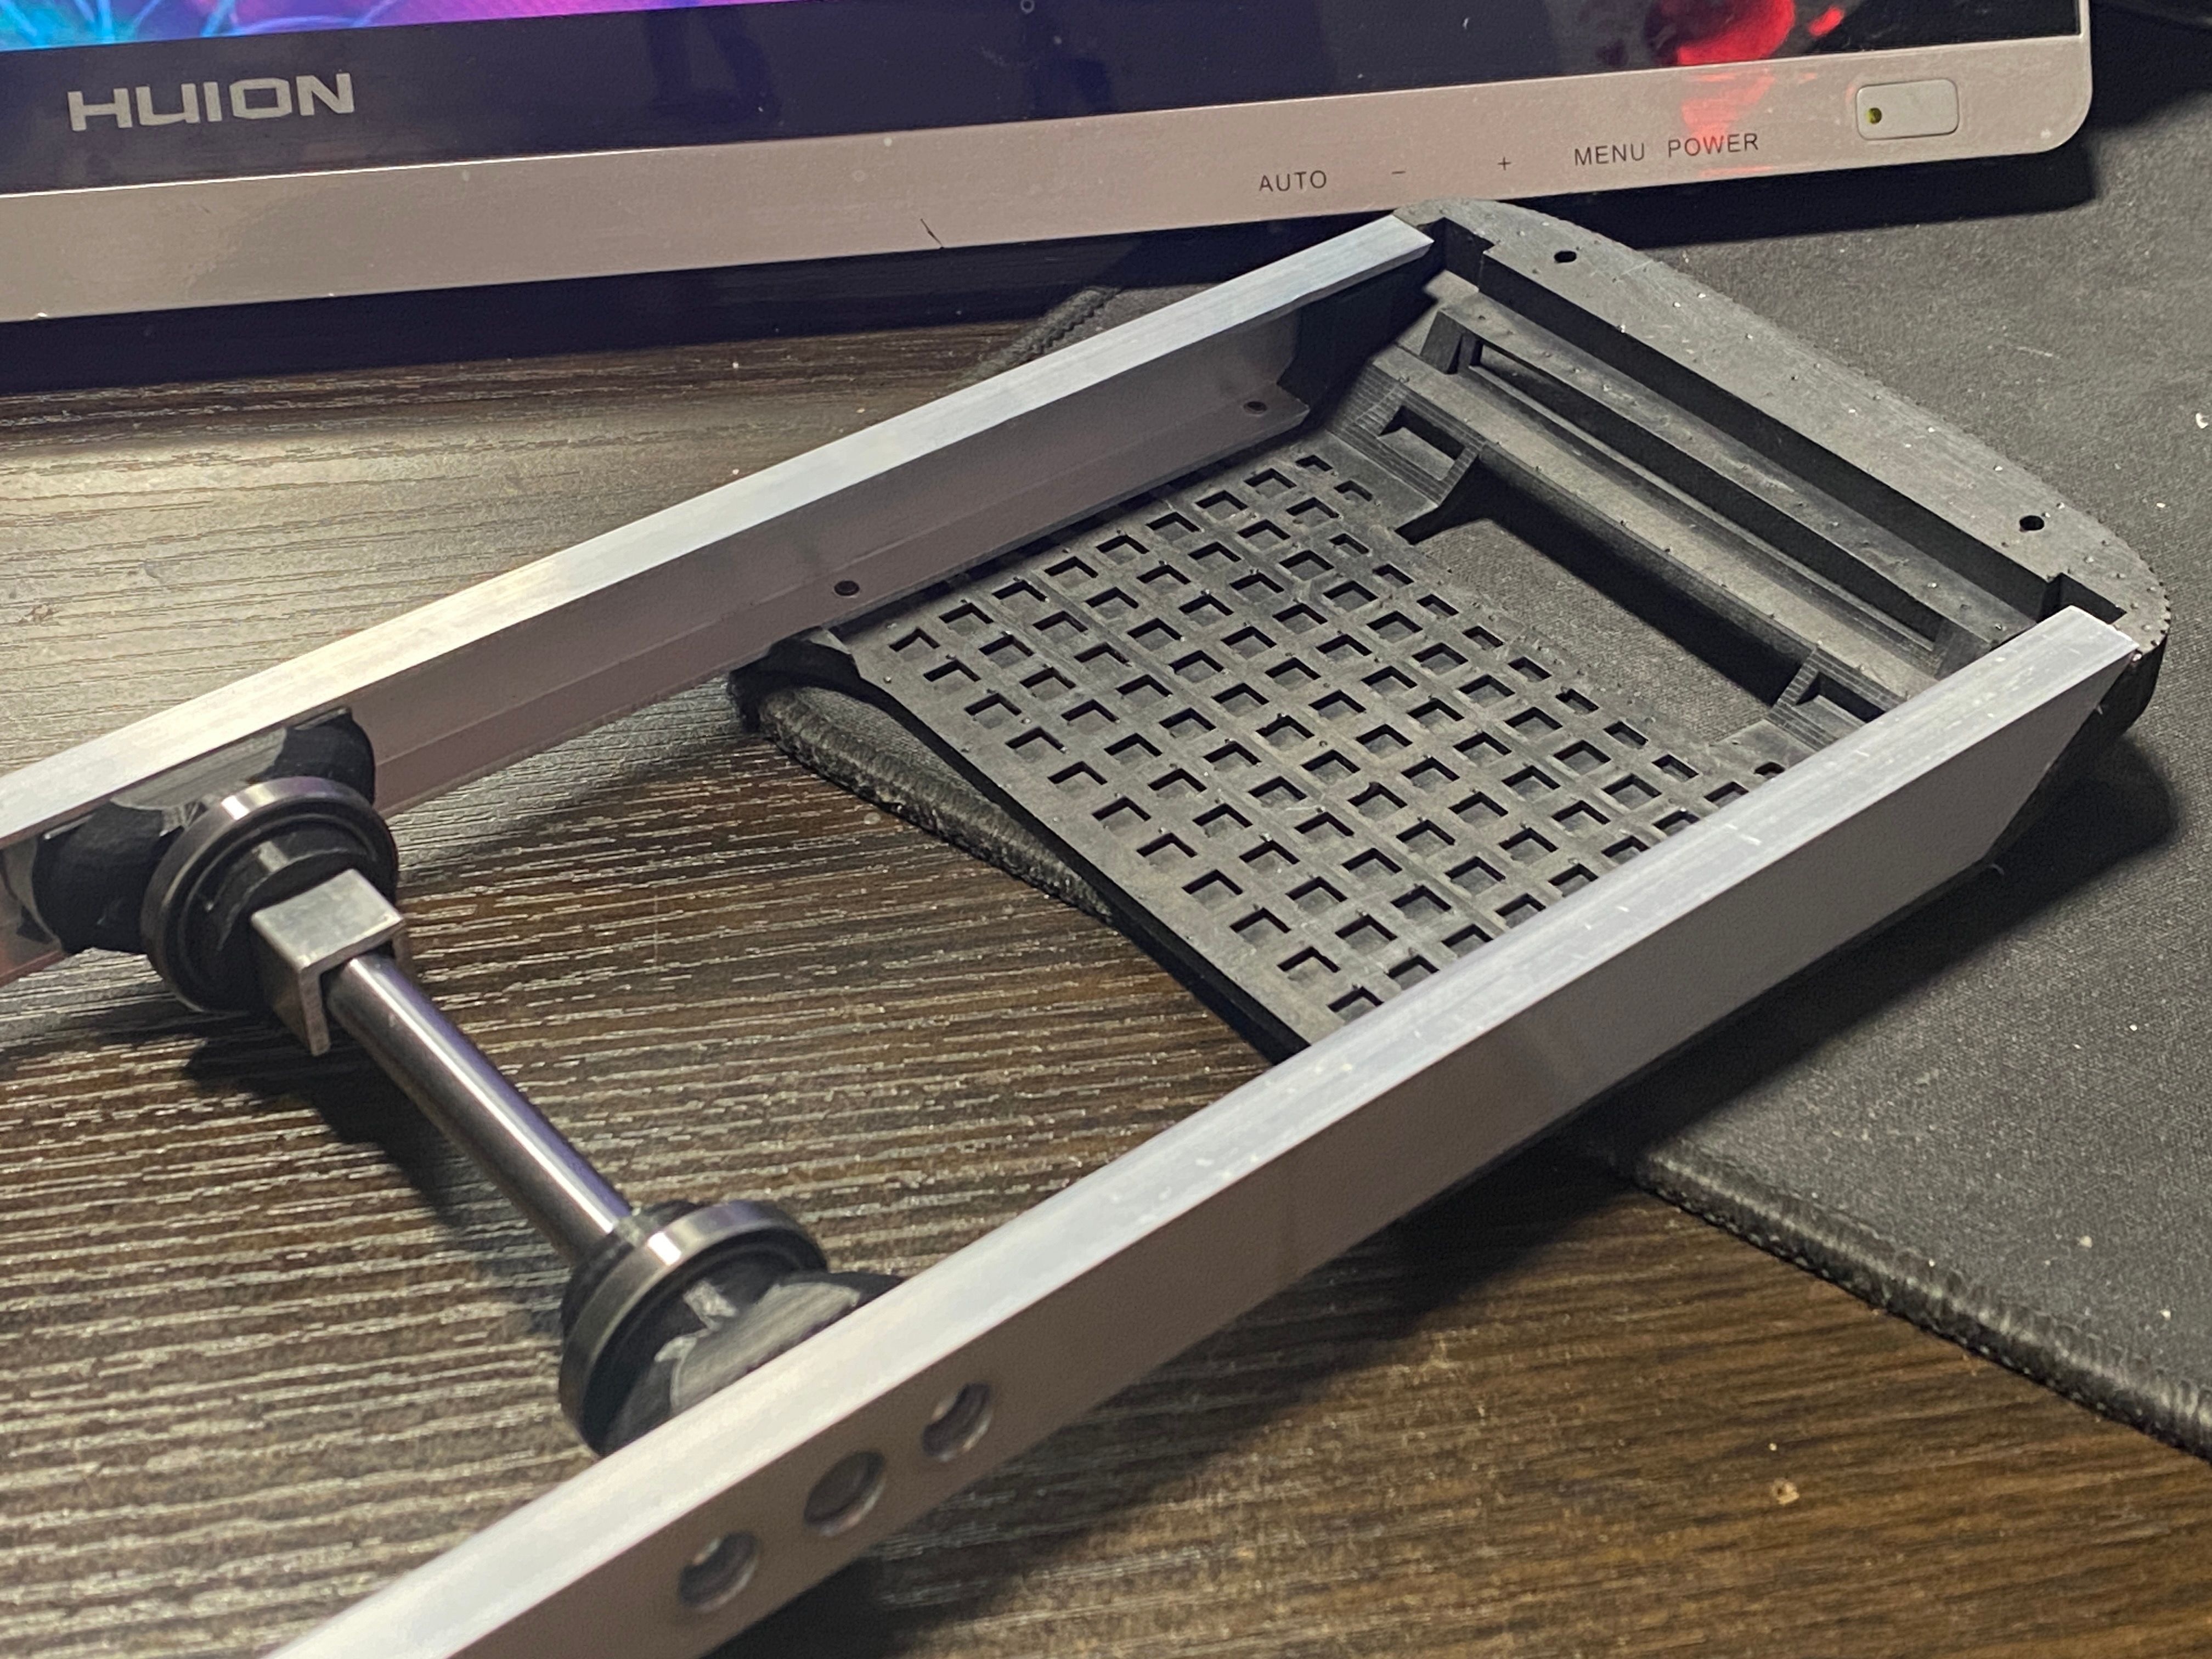
I have on the side been working on a CNC router/mill to hopefully take some of the tedious tasks on and make them way more accurate but that's taking a long time in itself sooooo I'll probably finish these 2 manually with Nick.
Some stuff about the CNC router/mill below.
Bear in mind the CAD is still WIP since I'm designing it as I build it up.
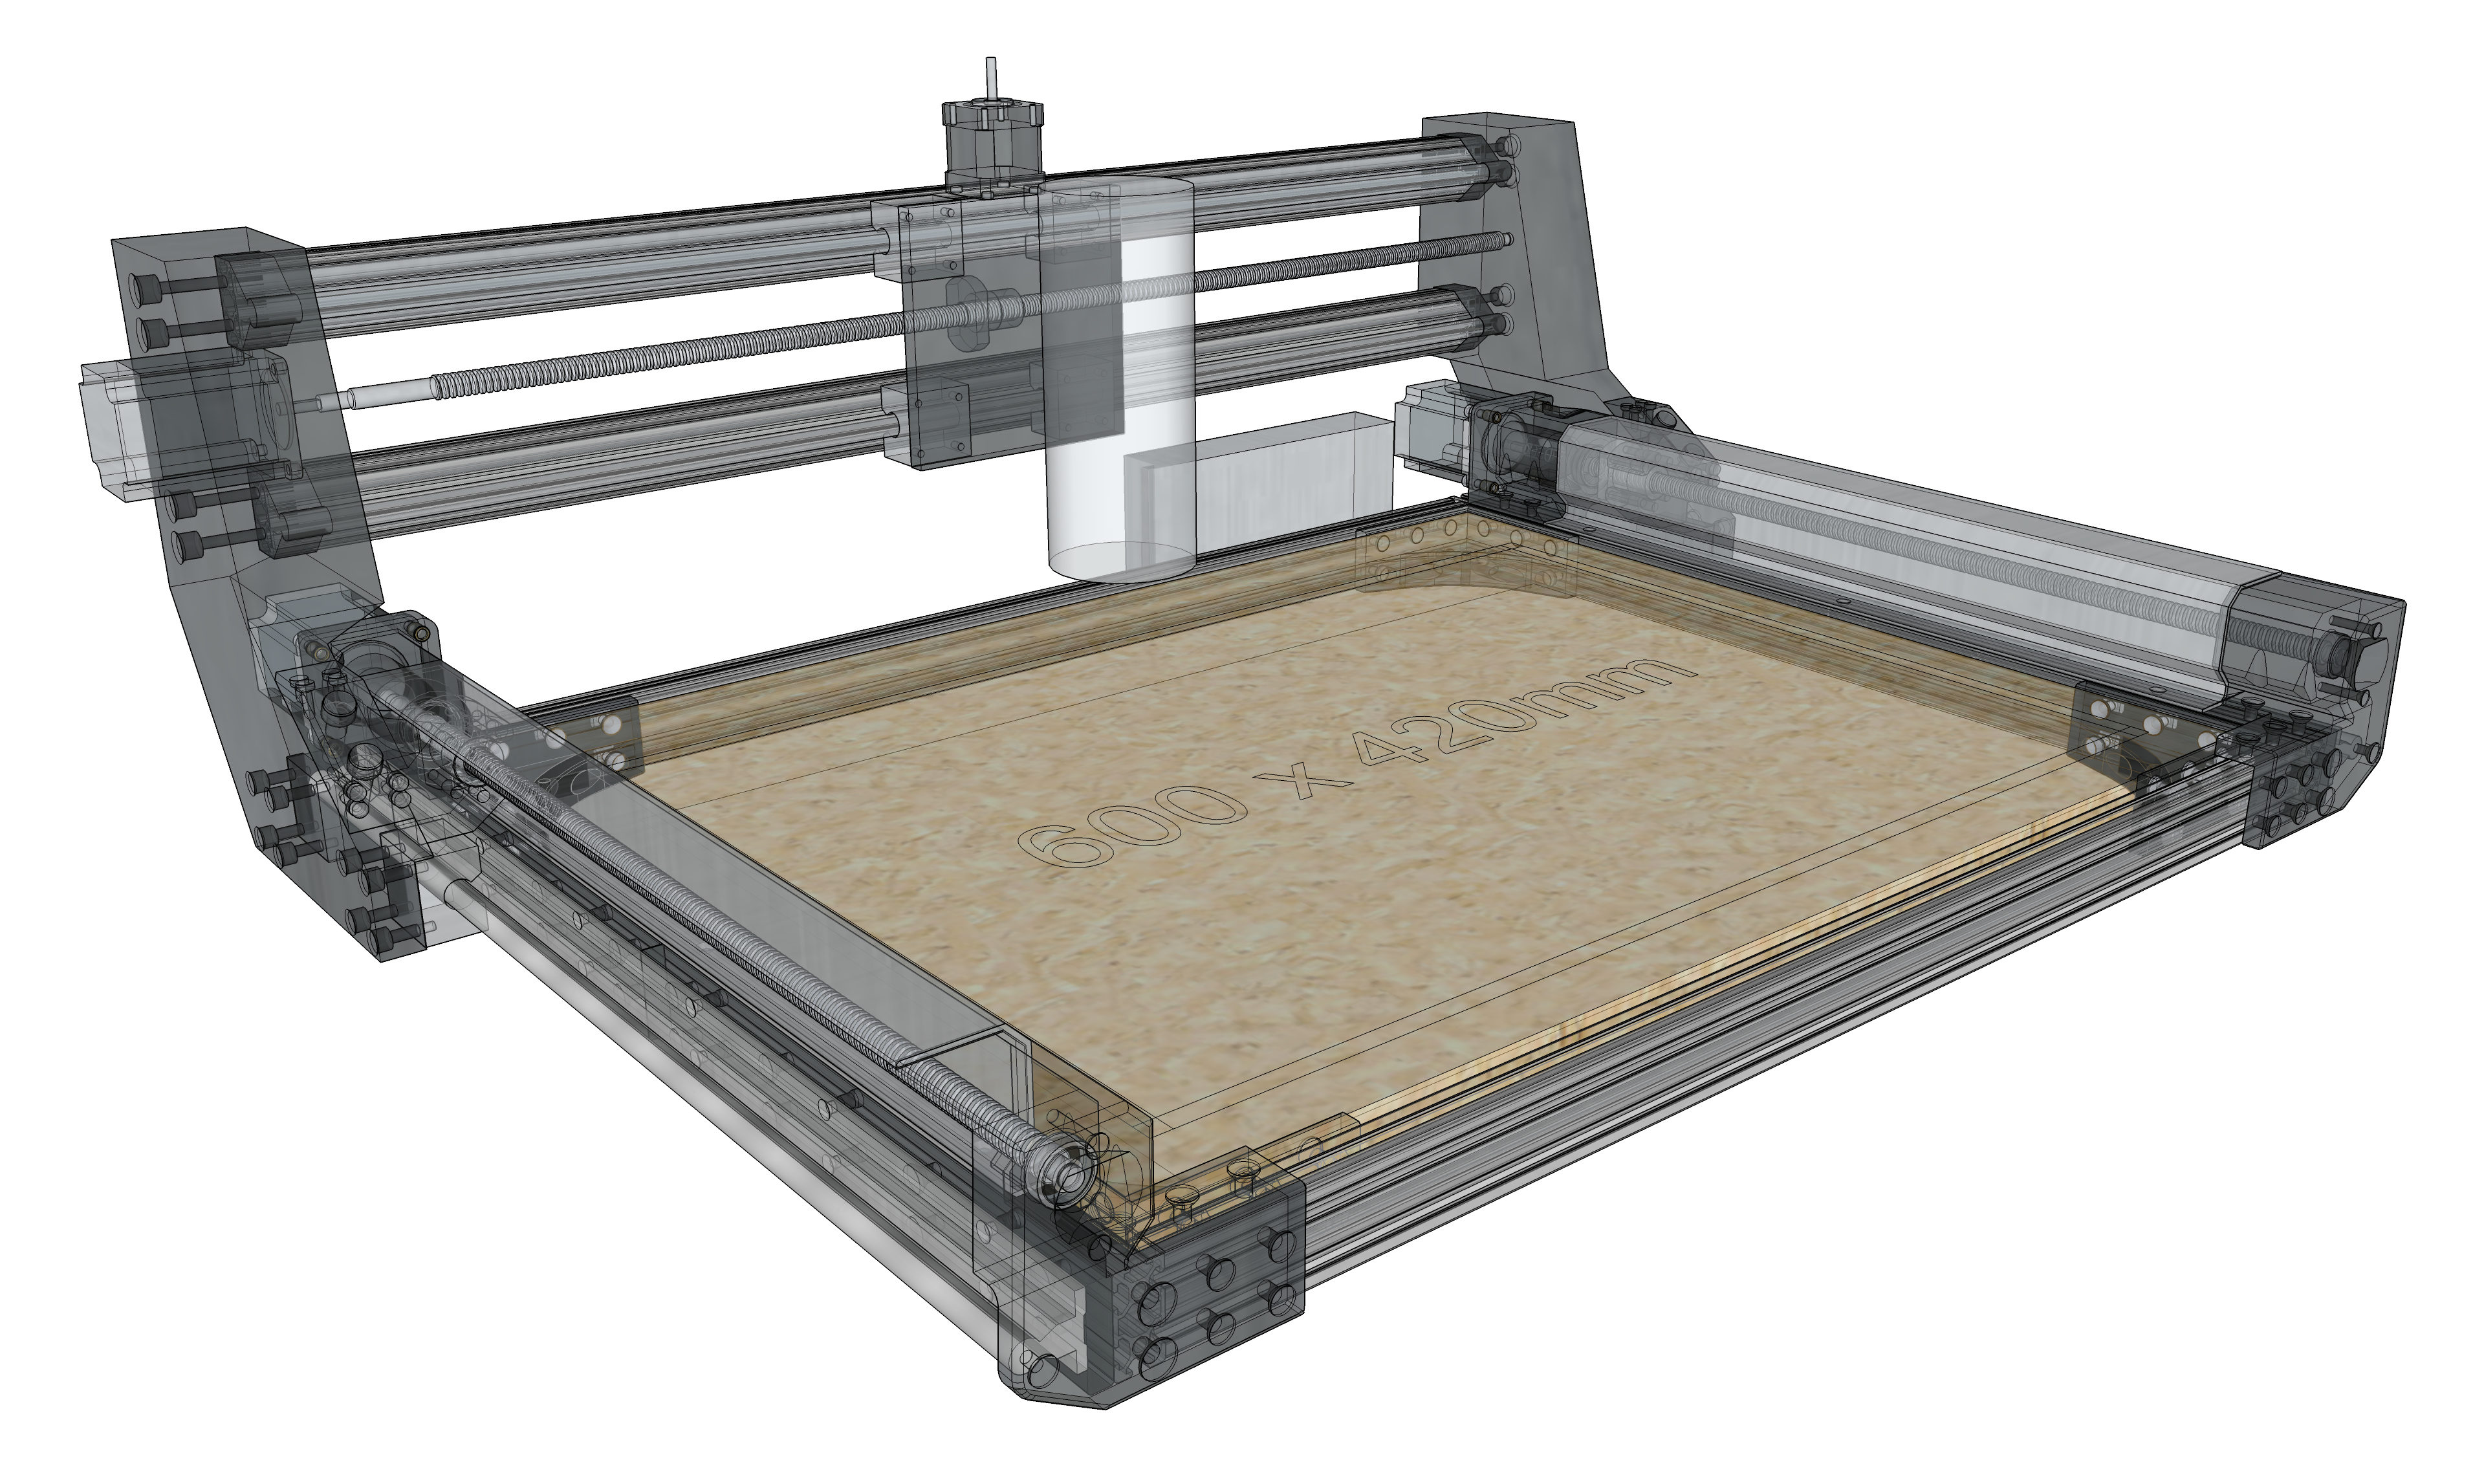
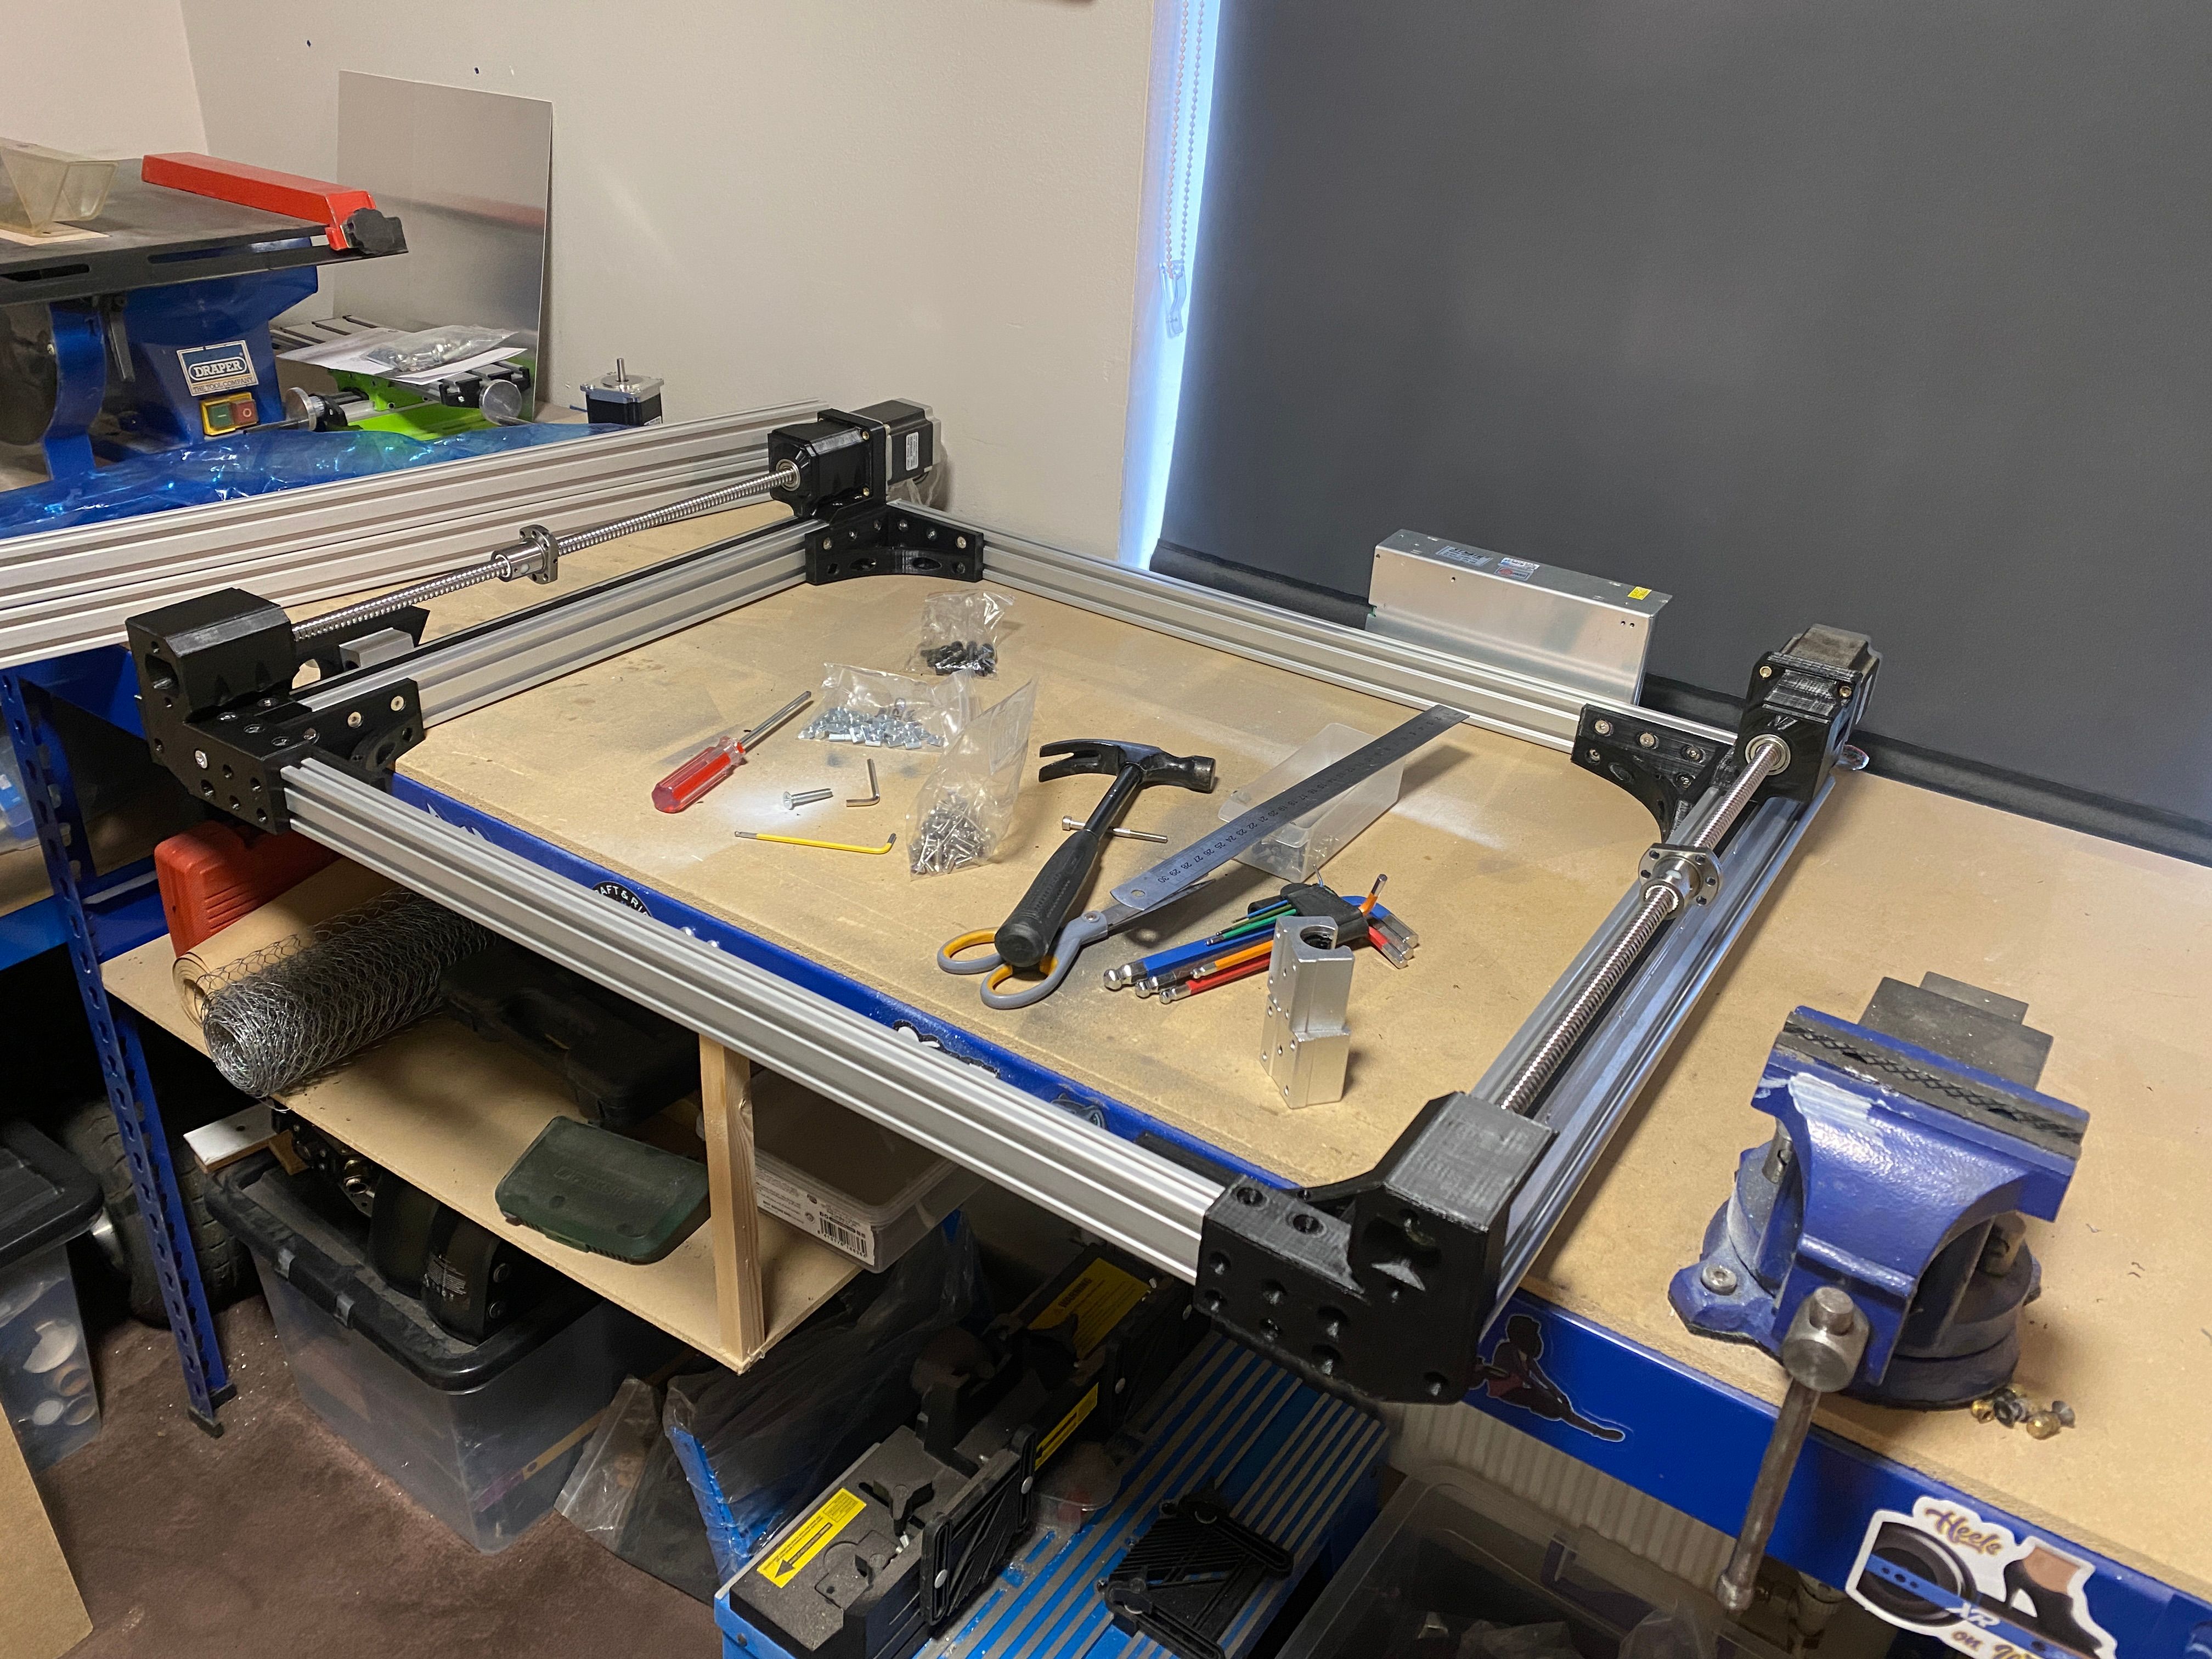
600x420mm work area isn't totally just so I can possibly machine a full scale Onewheel rail if done diagonally.So if anything Nick can now also confirm how hard, fiddly and time consuming making one of these is with all the manual work. Even with jigs there are a lot of things that need to be done right else it all goes wrong anyway D:
-
XR's got what plants crave!
-
@notsure I know, about time lol.
-
watching this project makes me want to jump into making a complete CAD model of my Onewheel for the hell of it
This is amazing, and I'm beyond impressed!
-
I am painfully falling behind on things >.>
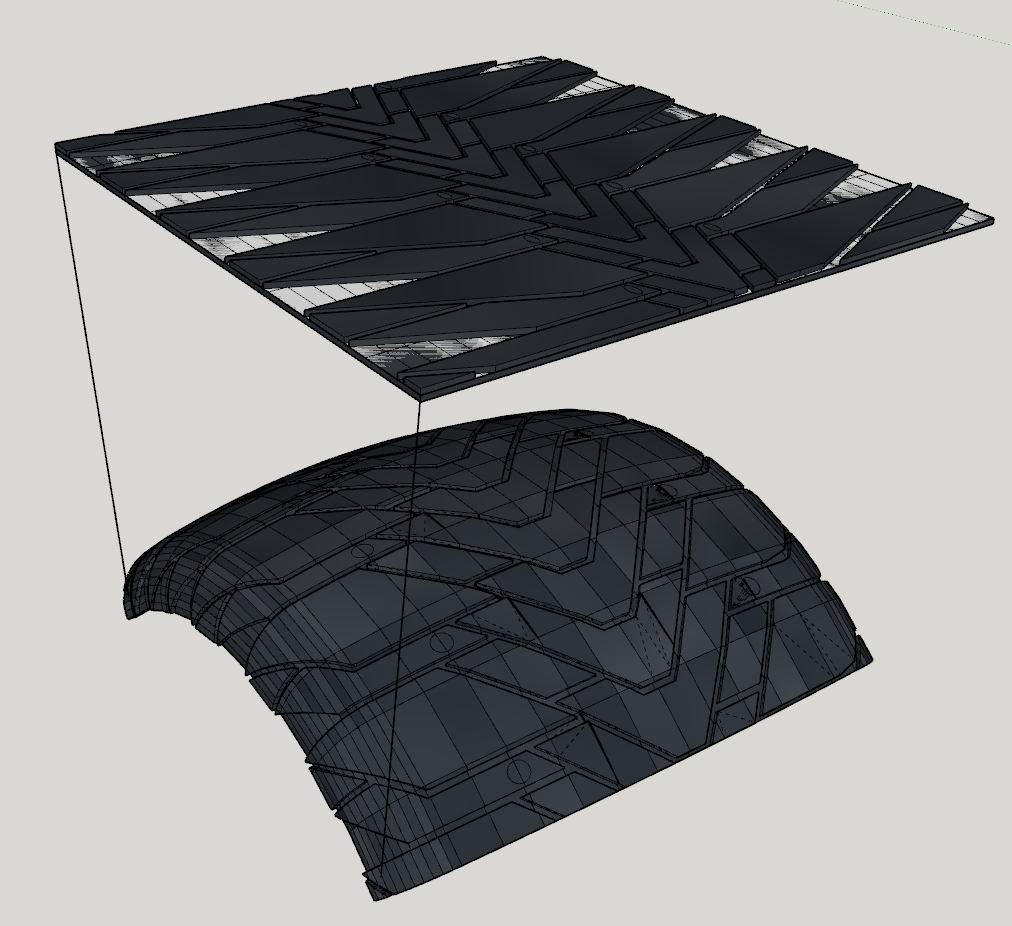
Was experimenting and I think I found a way to translate 2D geometry onto 3D planes... then also 3D geometry onto other 3D planes.
What I'm trying to say is I have roughly re-created the Enduro for a little XS version when I get time and cash to experiment with casting.
It's really dirty but I discovered the Flowify plugin for Sketchup (Yes the XS is still being done in Sketchup). It needs a lot of tiding up and maybe doing at a larger scale to remove the geometry errors but I am very proud of this :3
Below is what it looks like when creating the geometry. Don't ask me how tf it works, it's just magic.
Edit
Okay it's messy and I'm figuring out how Flowify does the deforming BUT... it's looking cleaner!
Edit 2
I fixed the warping!!!!!!!

-
Out of curiosity. How did you got to this point deciding making XS Enduro as only aftermarket part? (Electronics aside) I thought you intended to re-create solely originals resized.
-
-
this is amazing!
I'm excited to see what comes of this project!
-
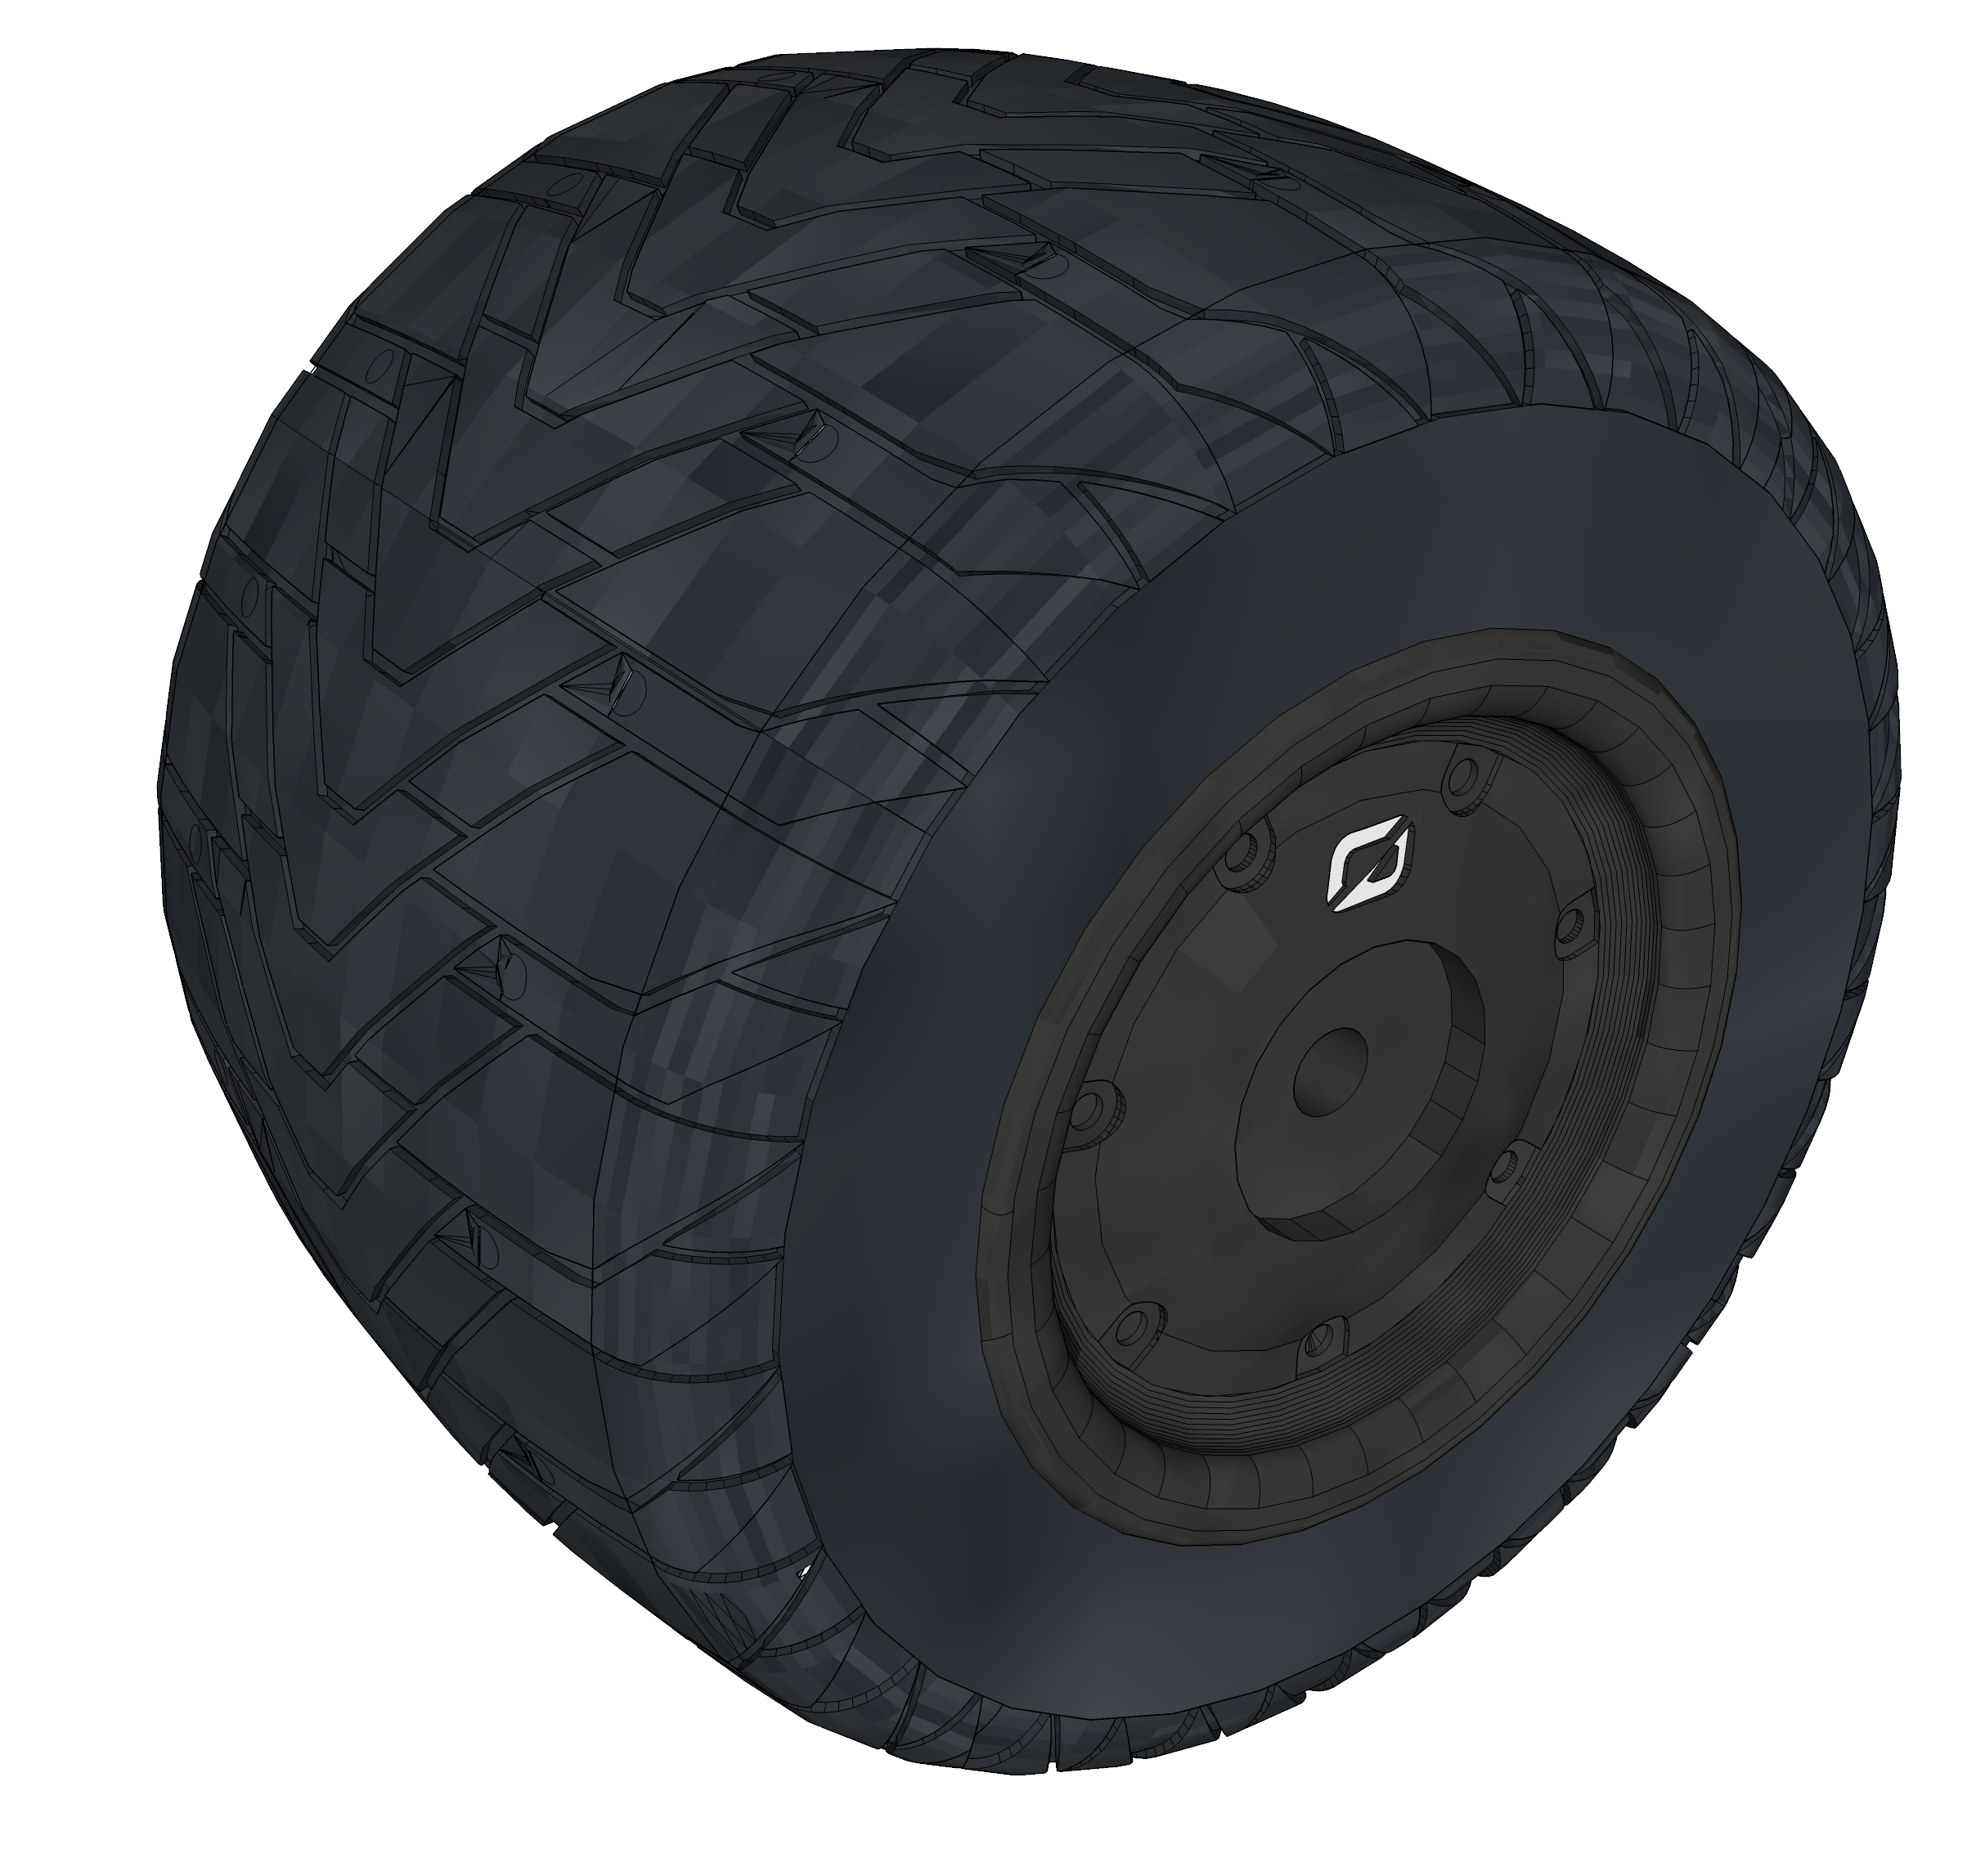
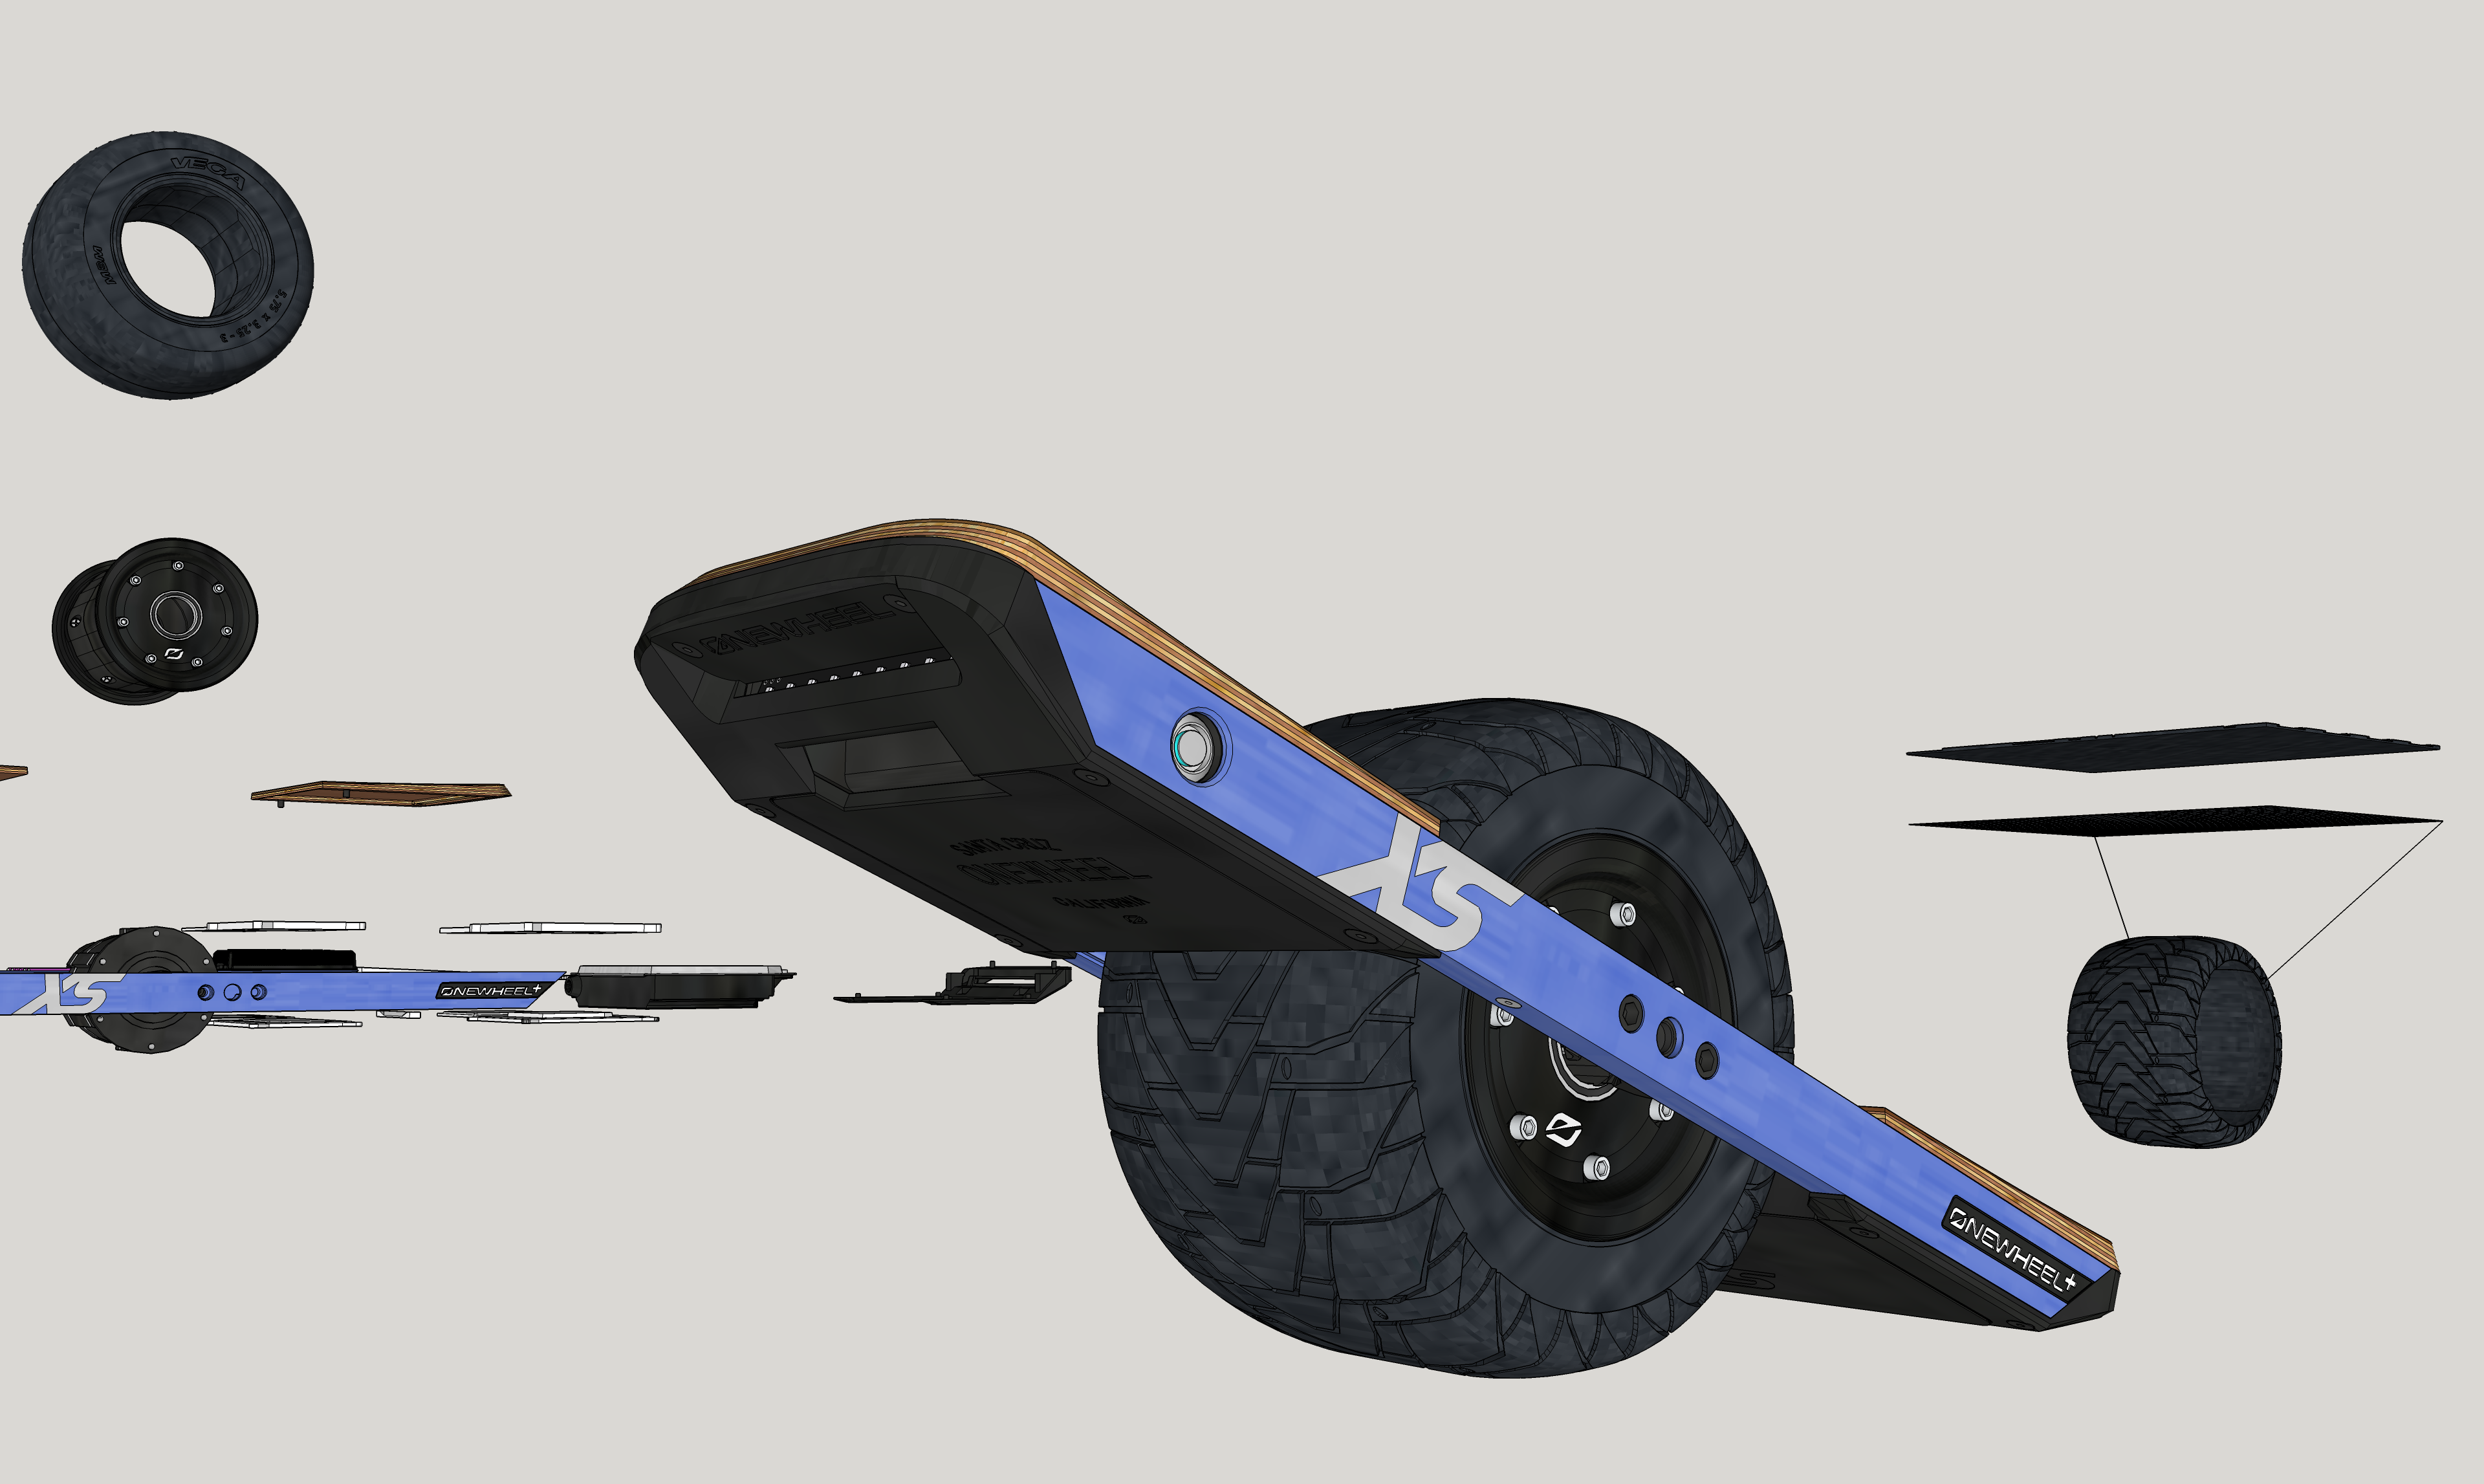
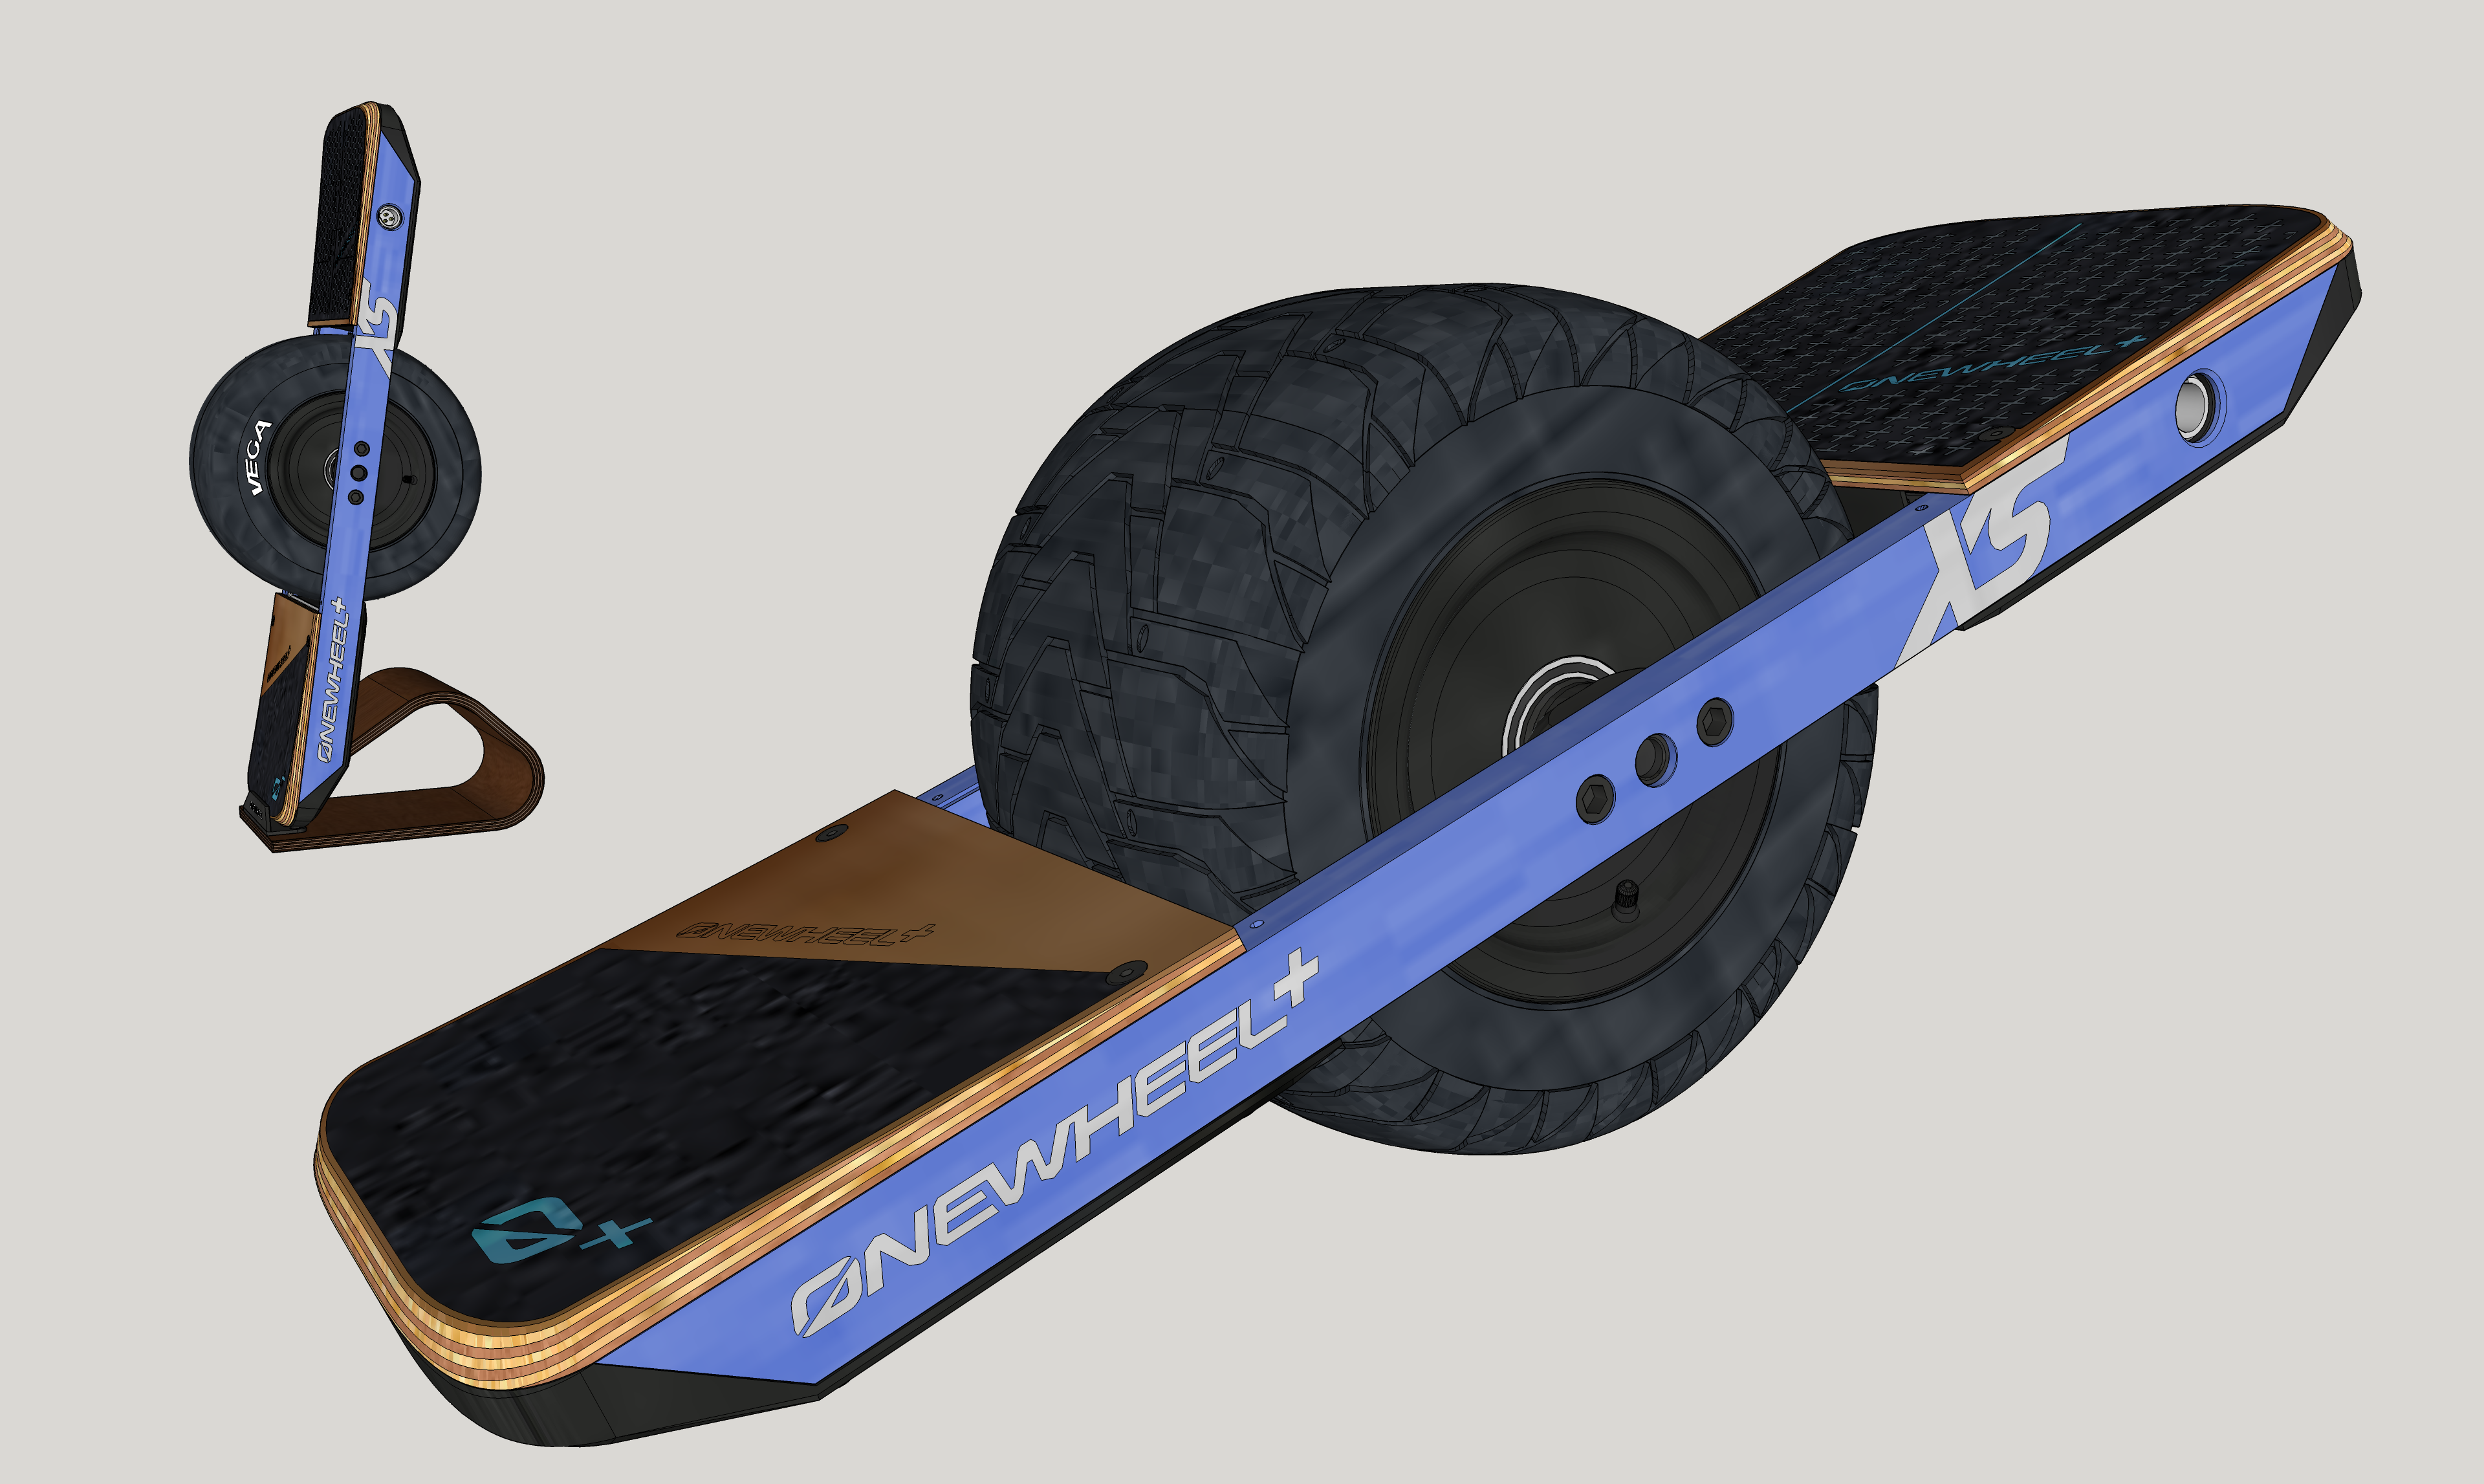
You wouldn't download a tire?

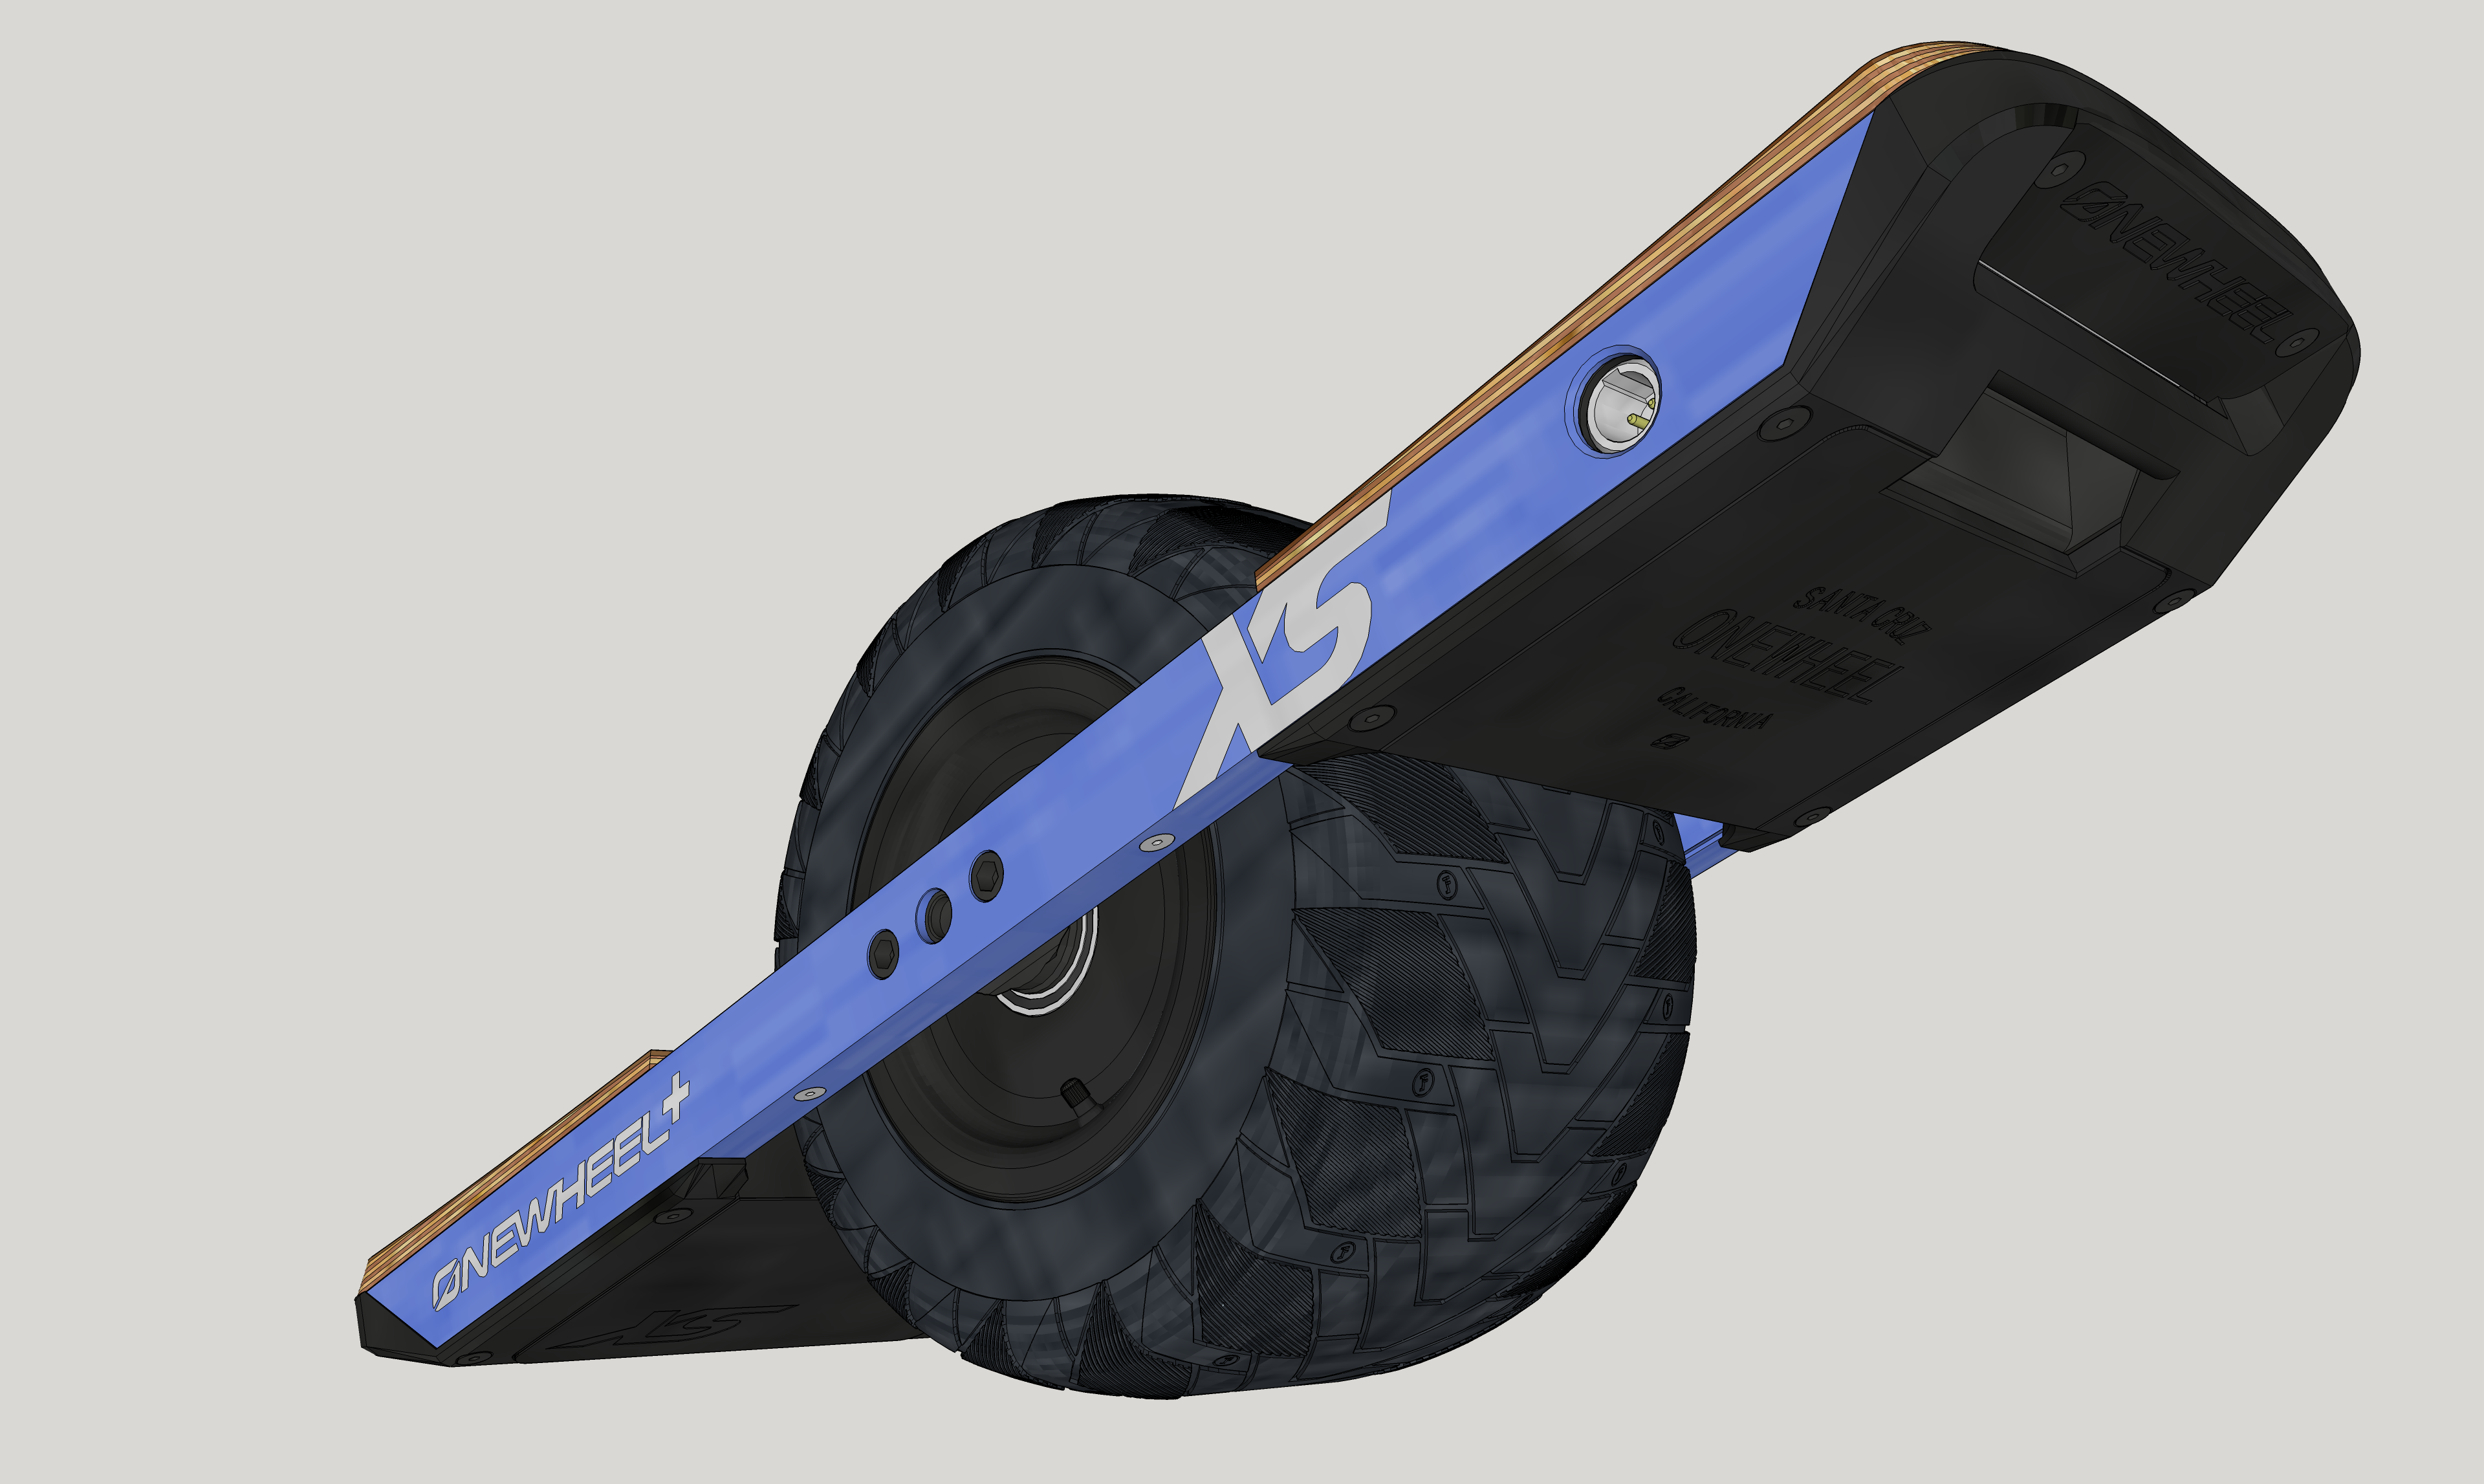
My poor computer is suffering with this one. I might have to remove the tire when doing anything else just so I can go back to having more than like 10 frames when panning around.
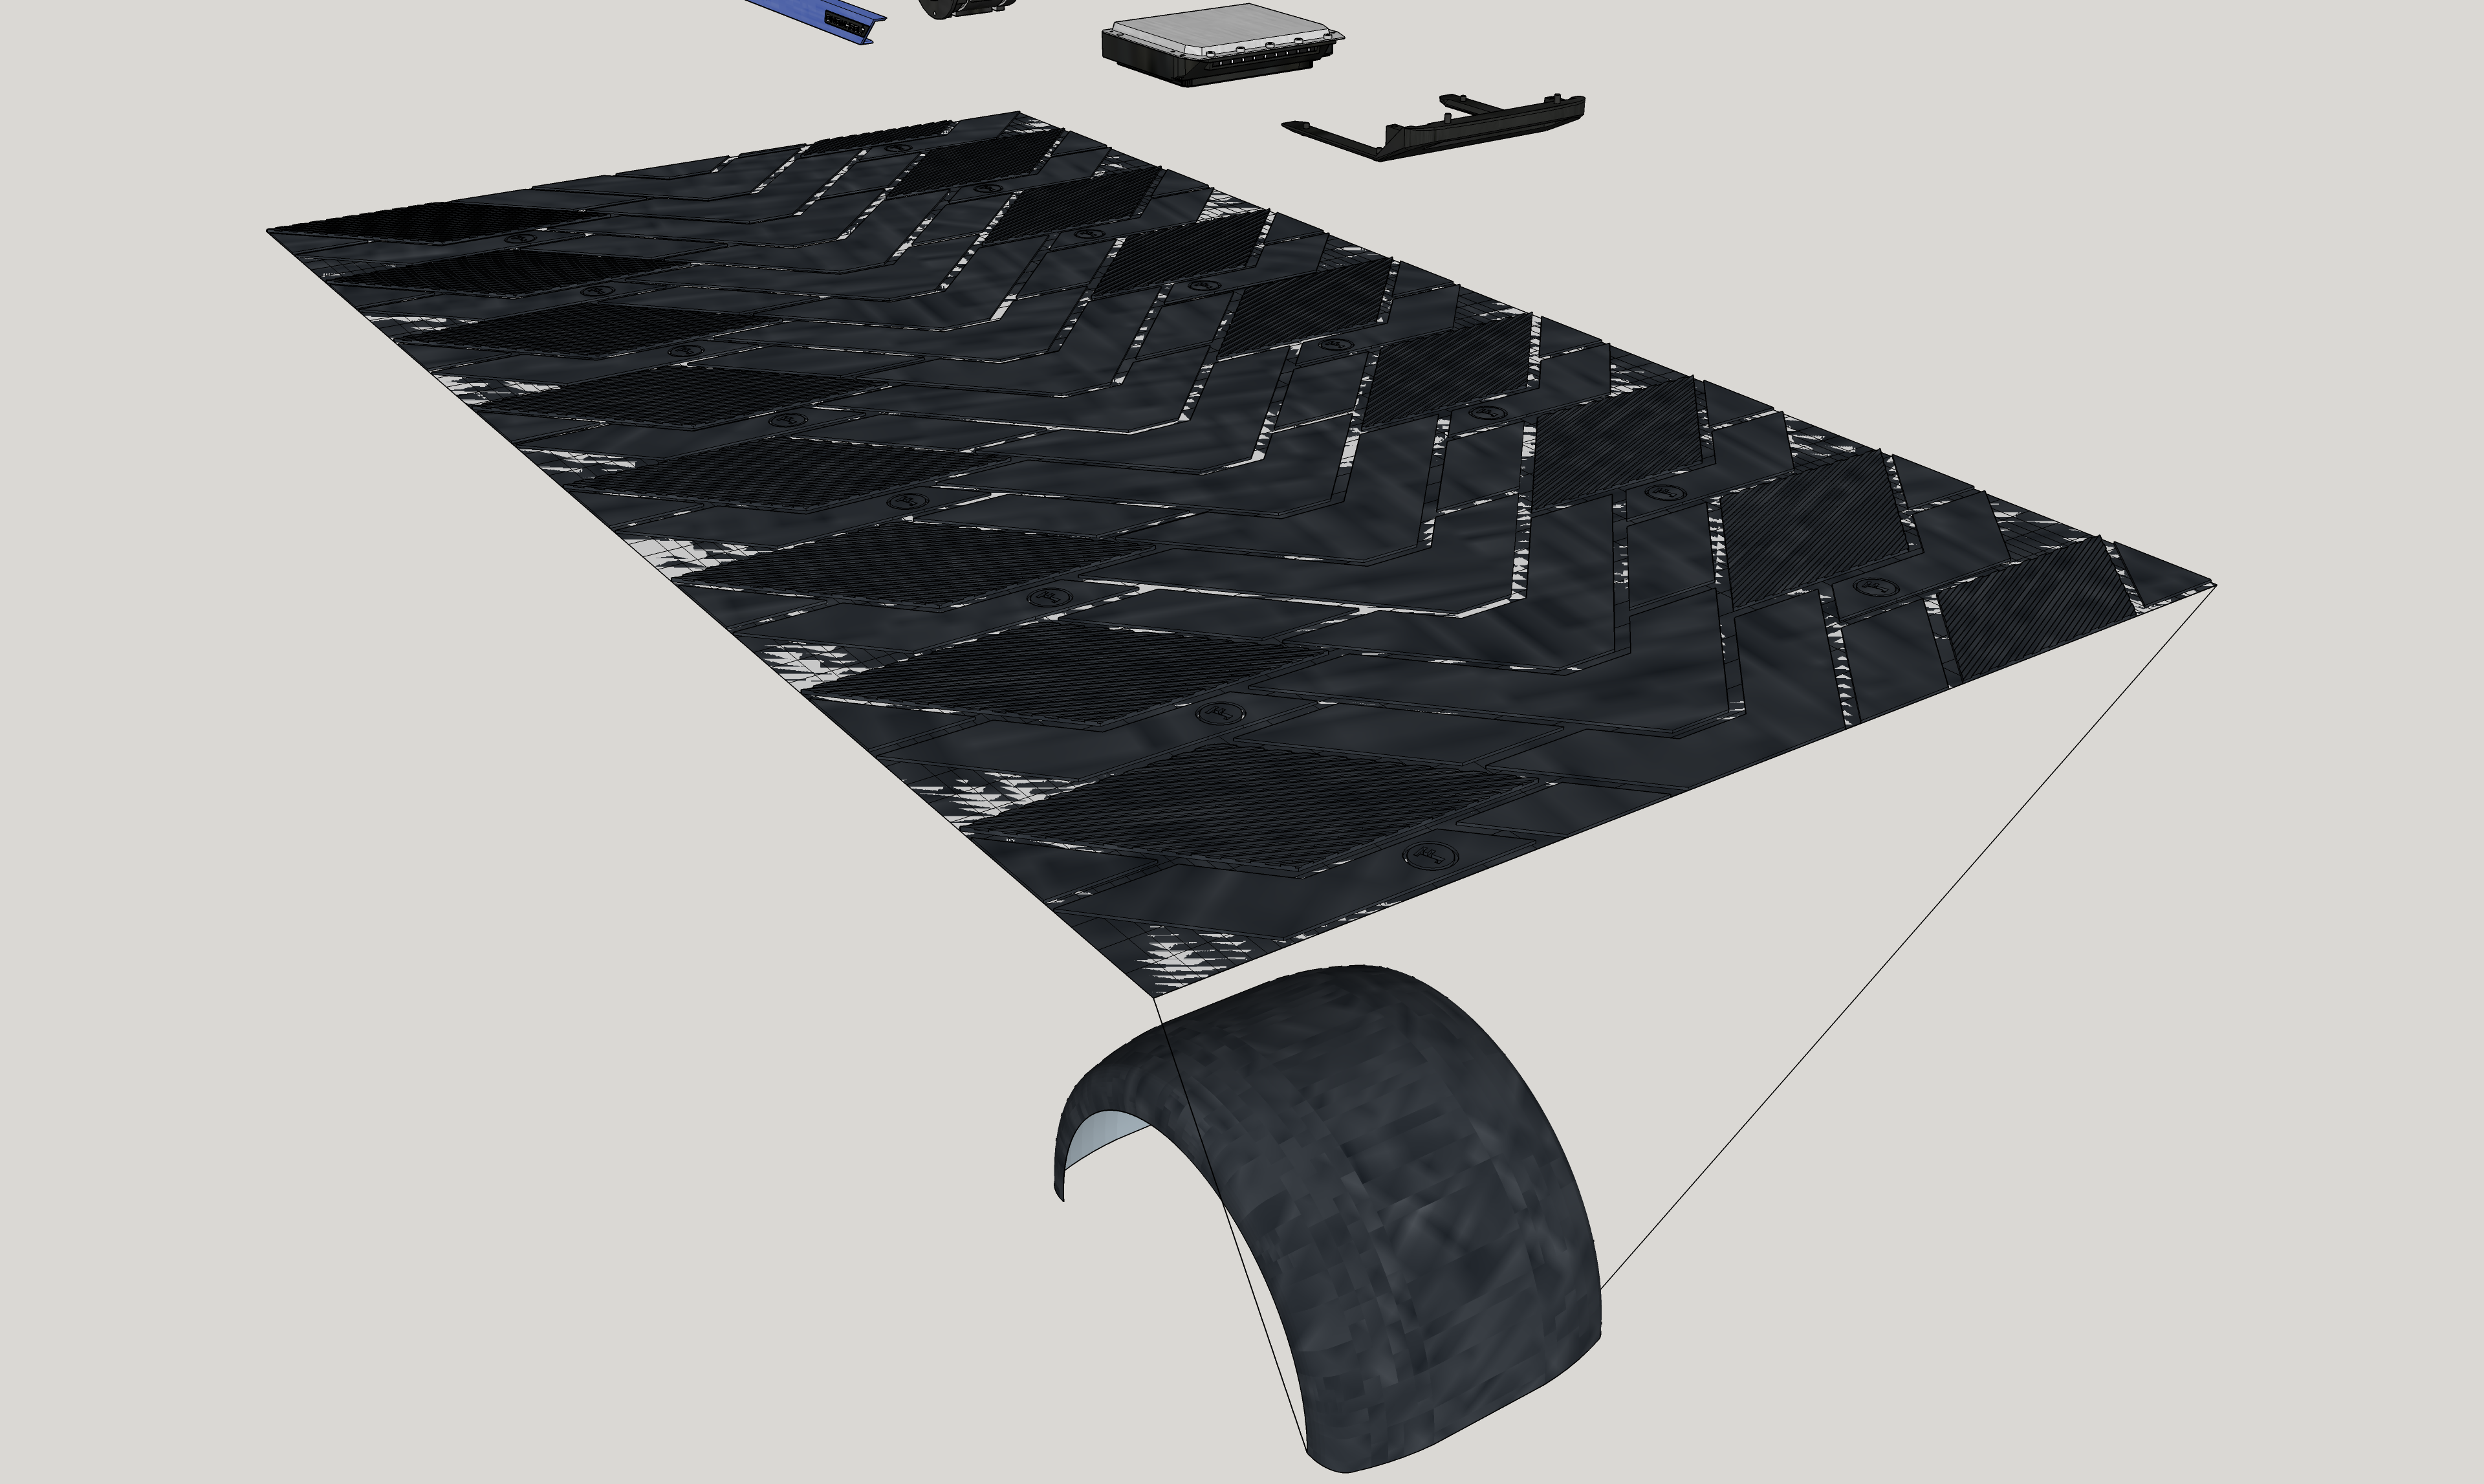
I also have to figure a way to print it since like... well...
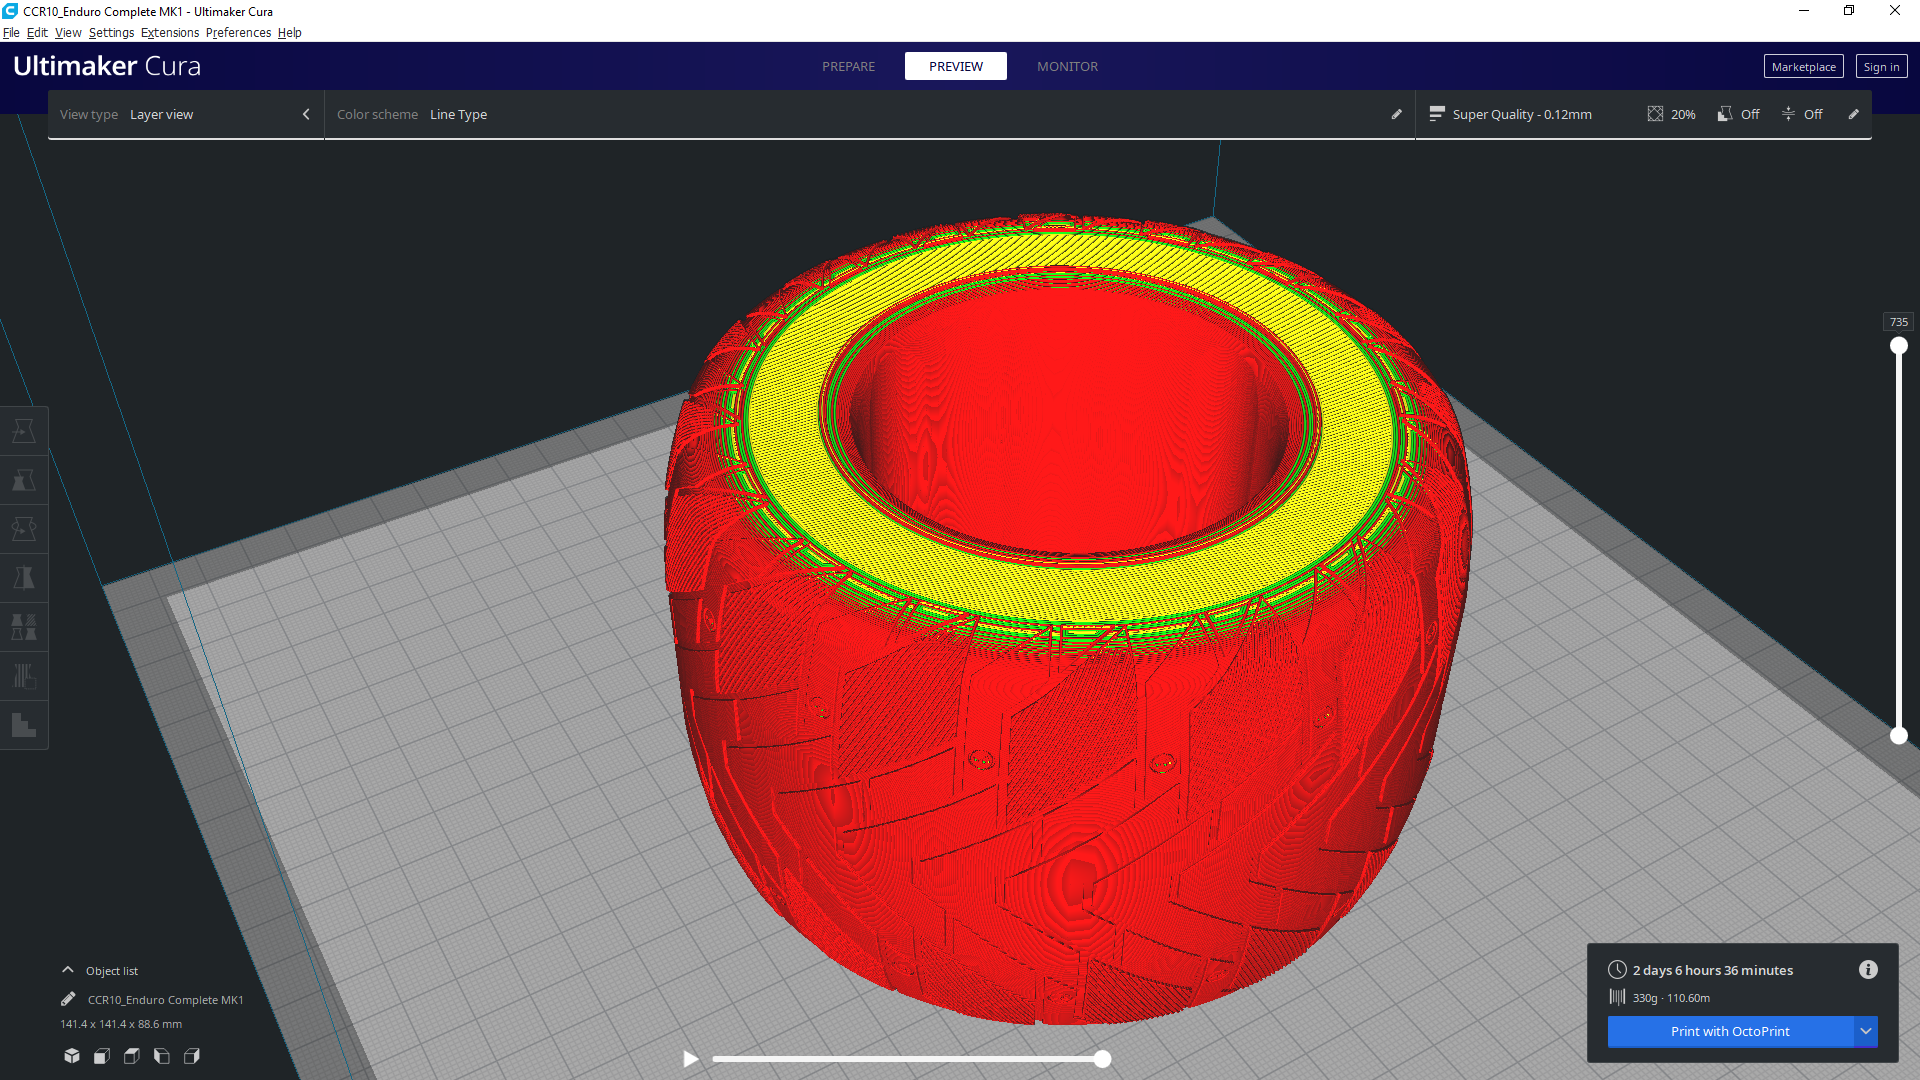
The resin printer would be ideal but the support would get in the tread. If I halve it the model won't lay flat on the bed so it'll be hard to get it looking nice post processed.
I'll figure something out :3
-
So I've been a bit busy... scratch that extremely busy so I haven't had time or funds to pour into this recently as much as I'd love too.
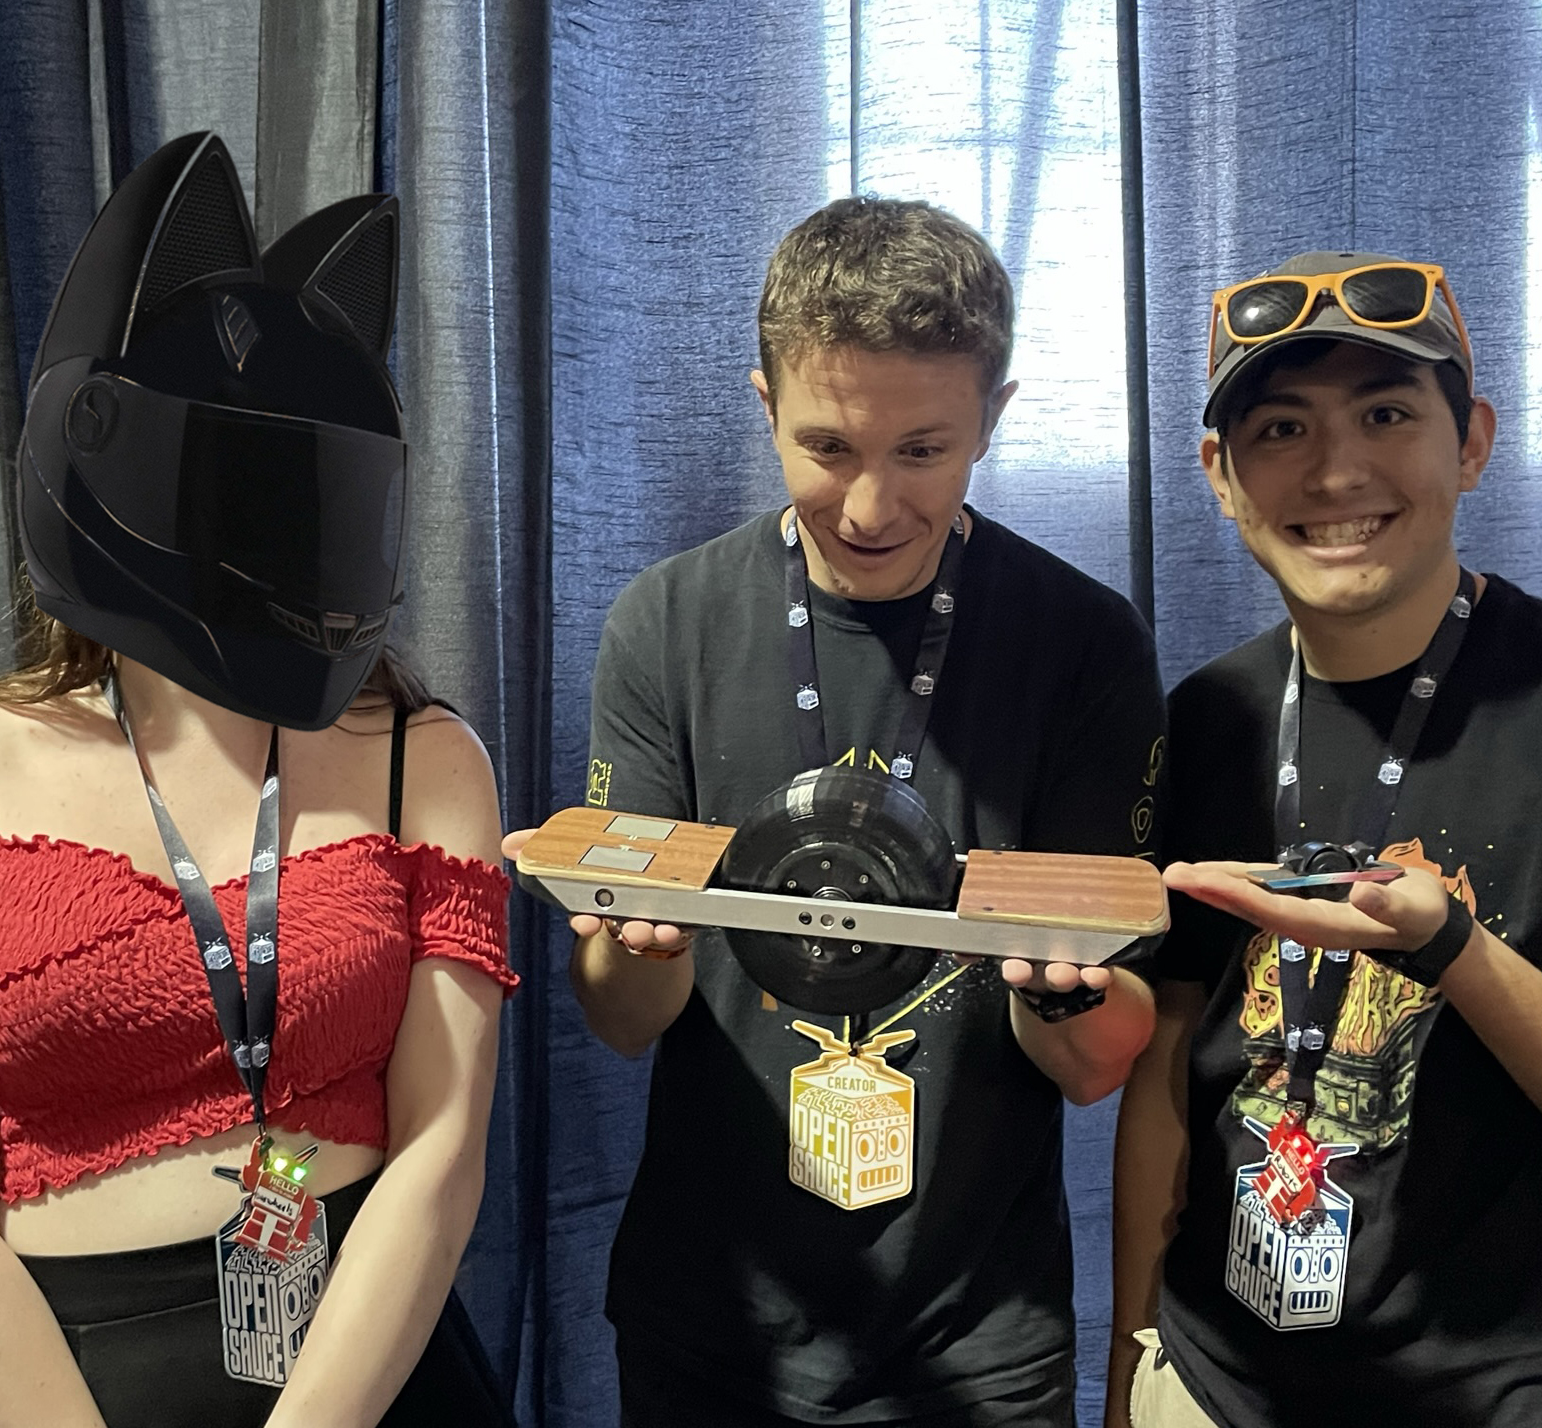
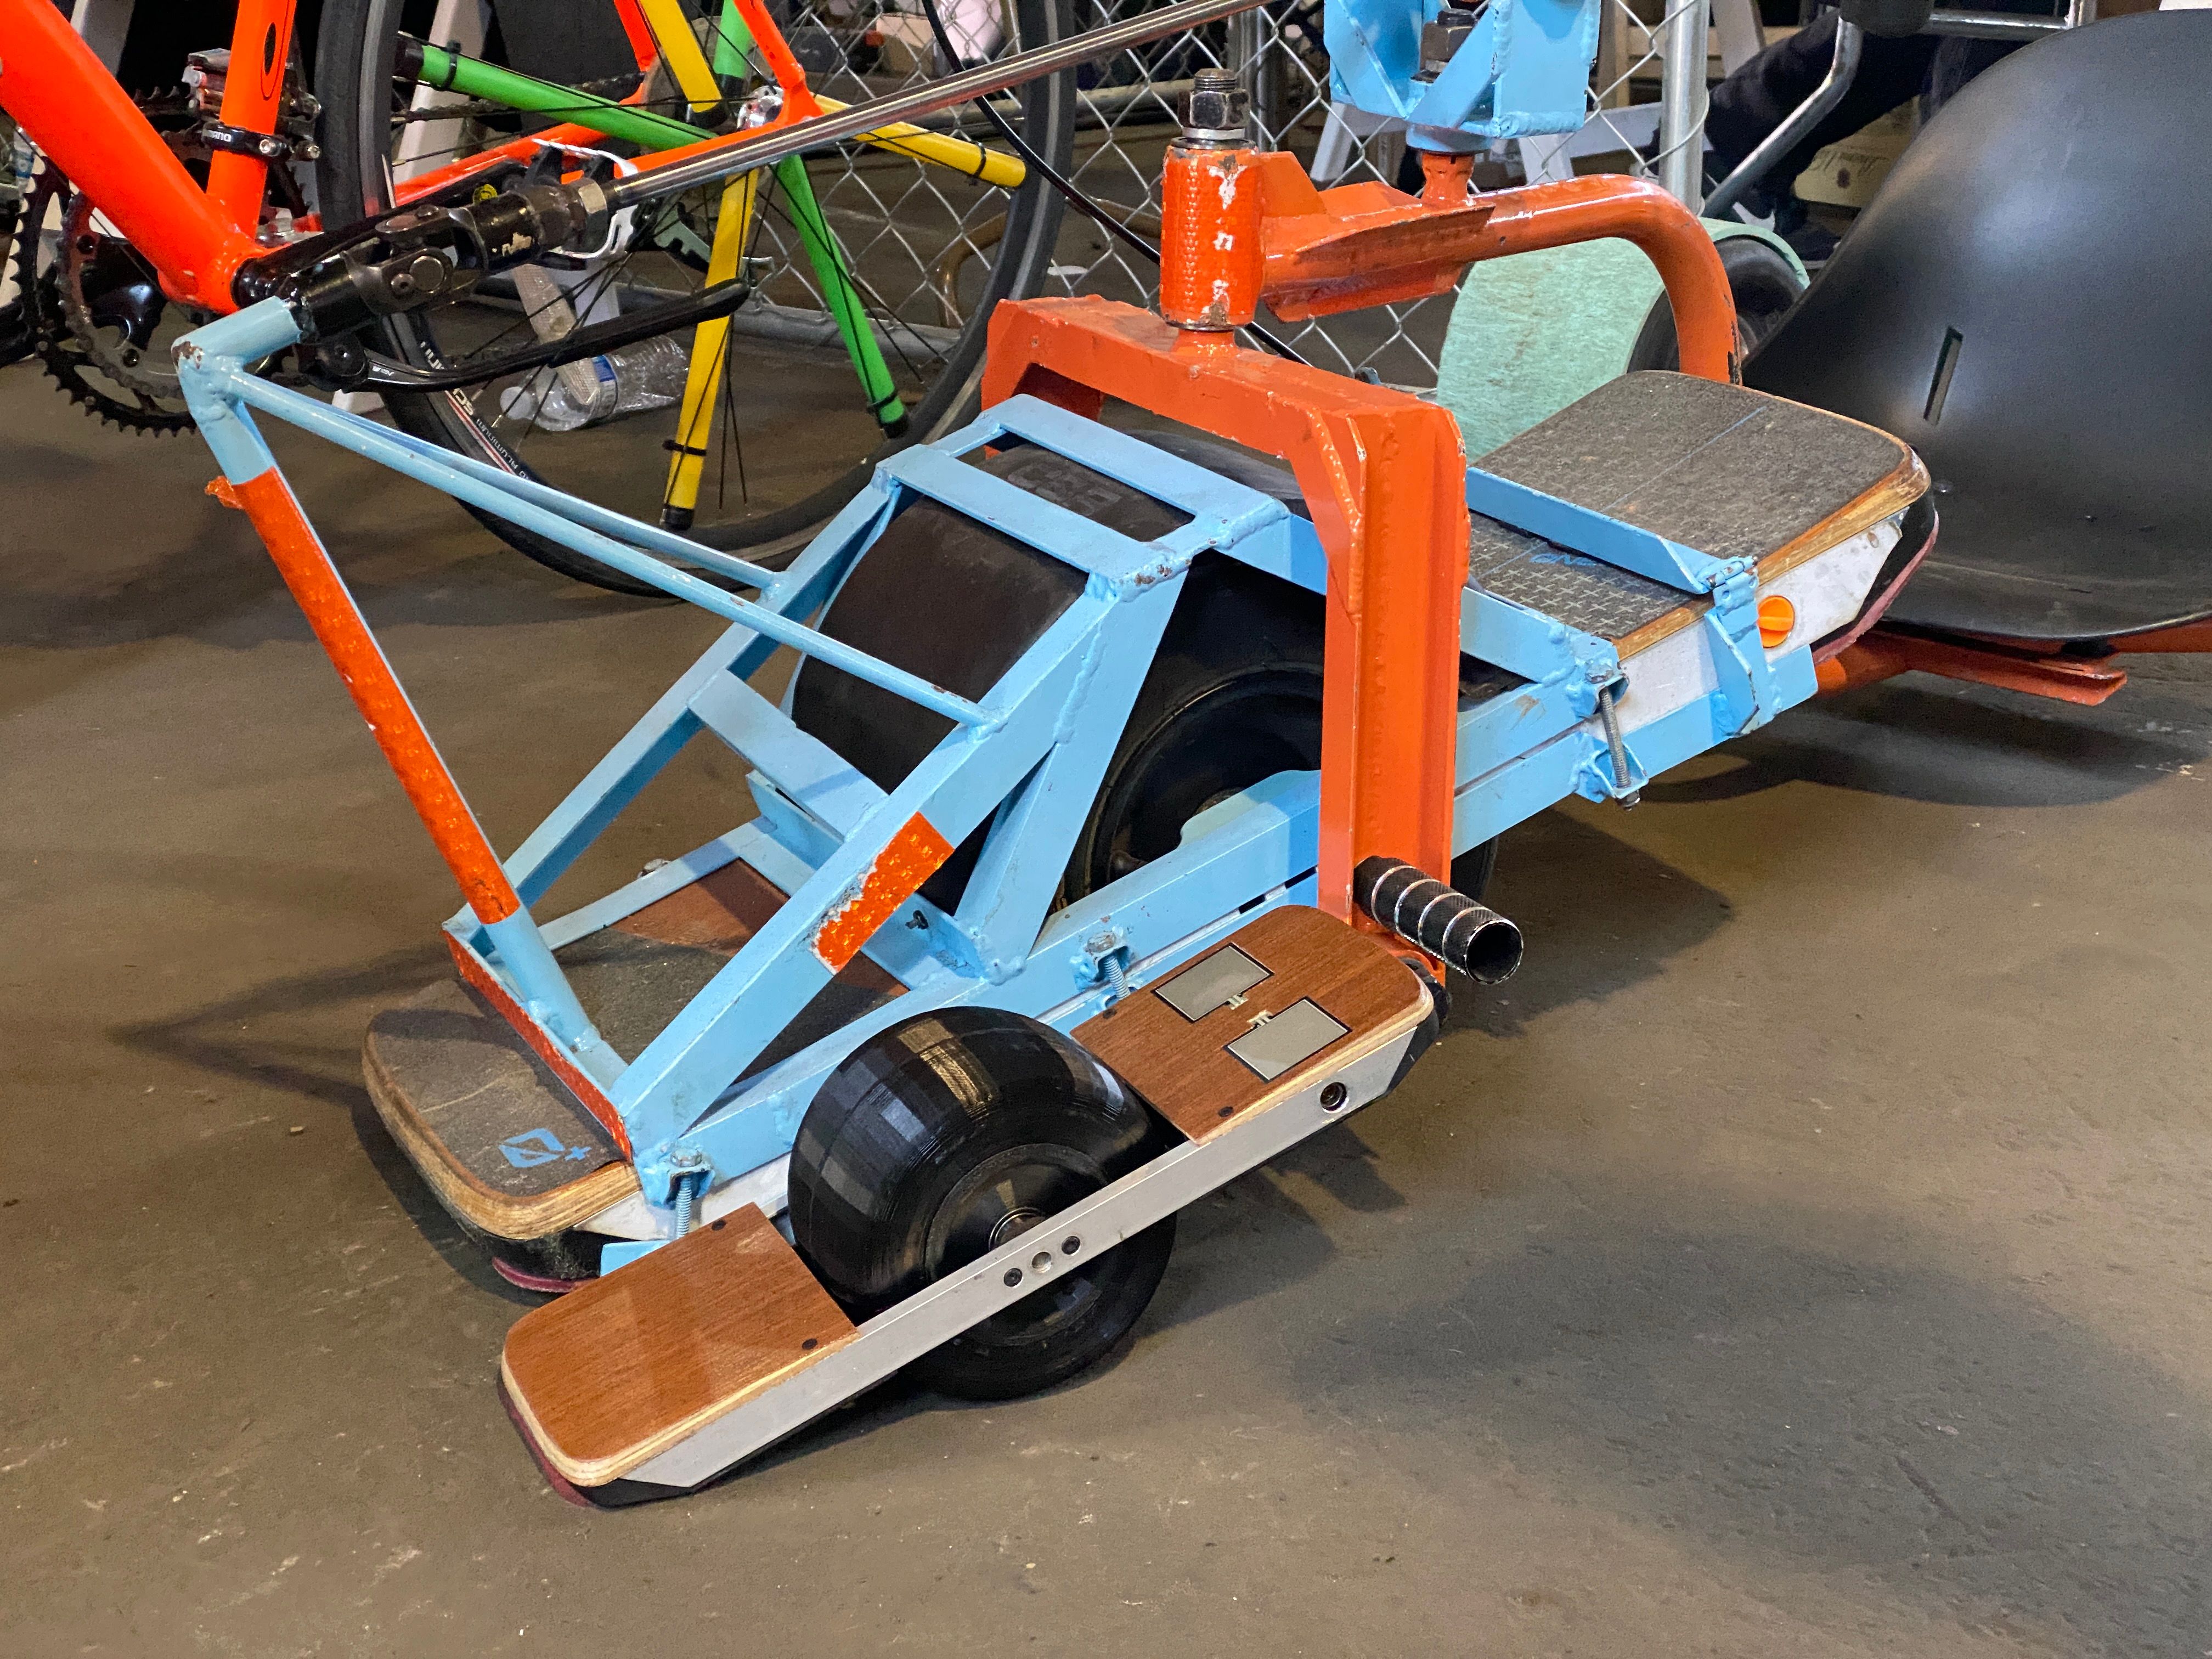
However earlier this month me and @cheppy44 went to OpenSauce. It's an event for makers by makers. Nick thought it would be a good idea to bring the XS. Unfortunately we didn't have time to get a booth but we walked around carrying the lil bebe.
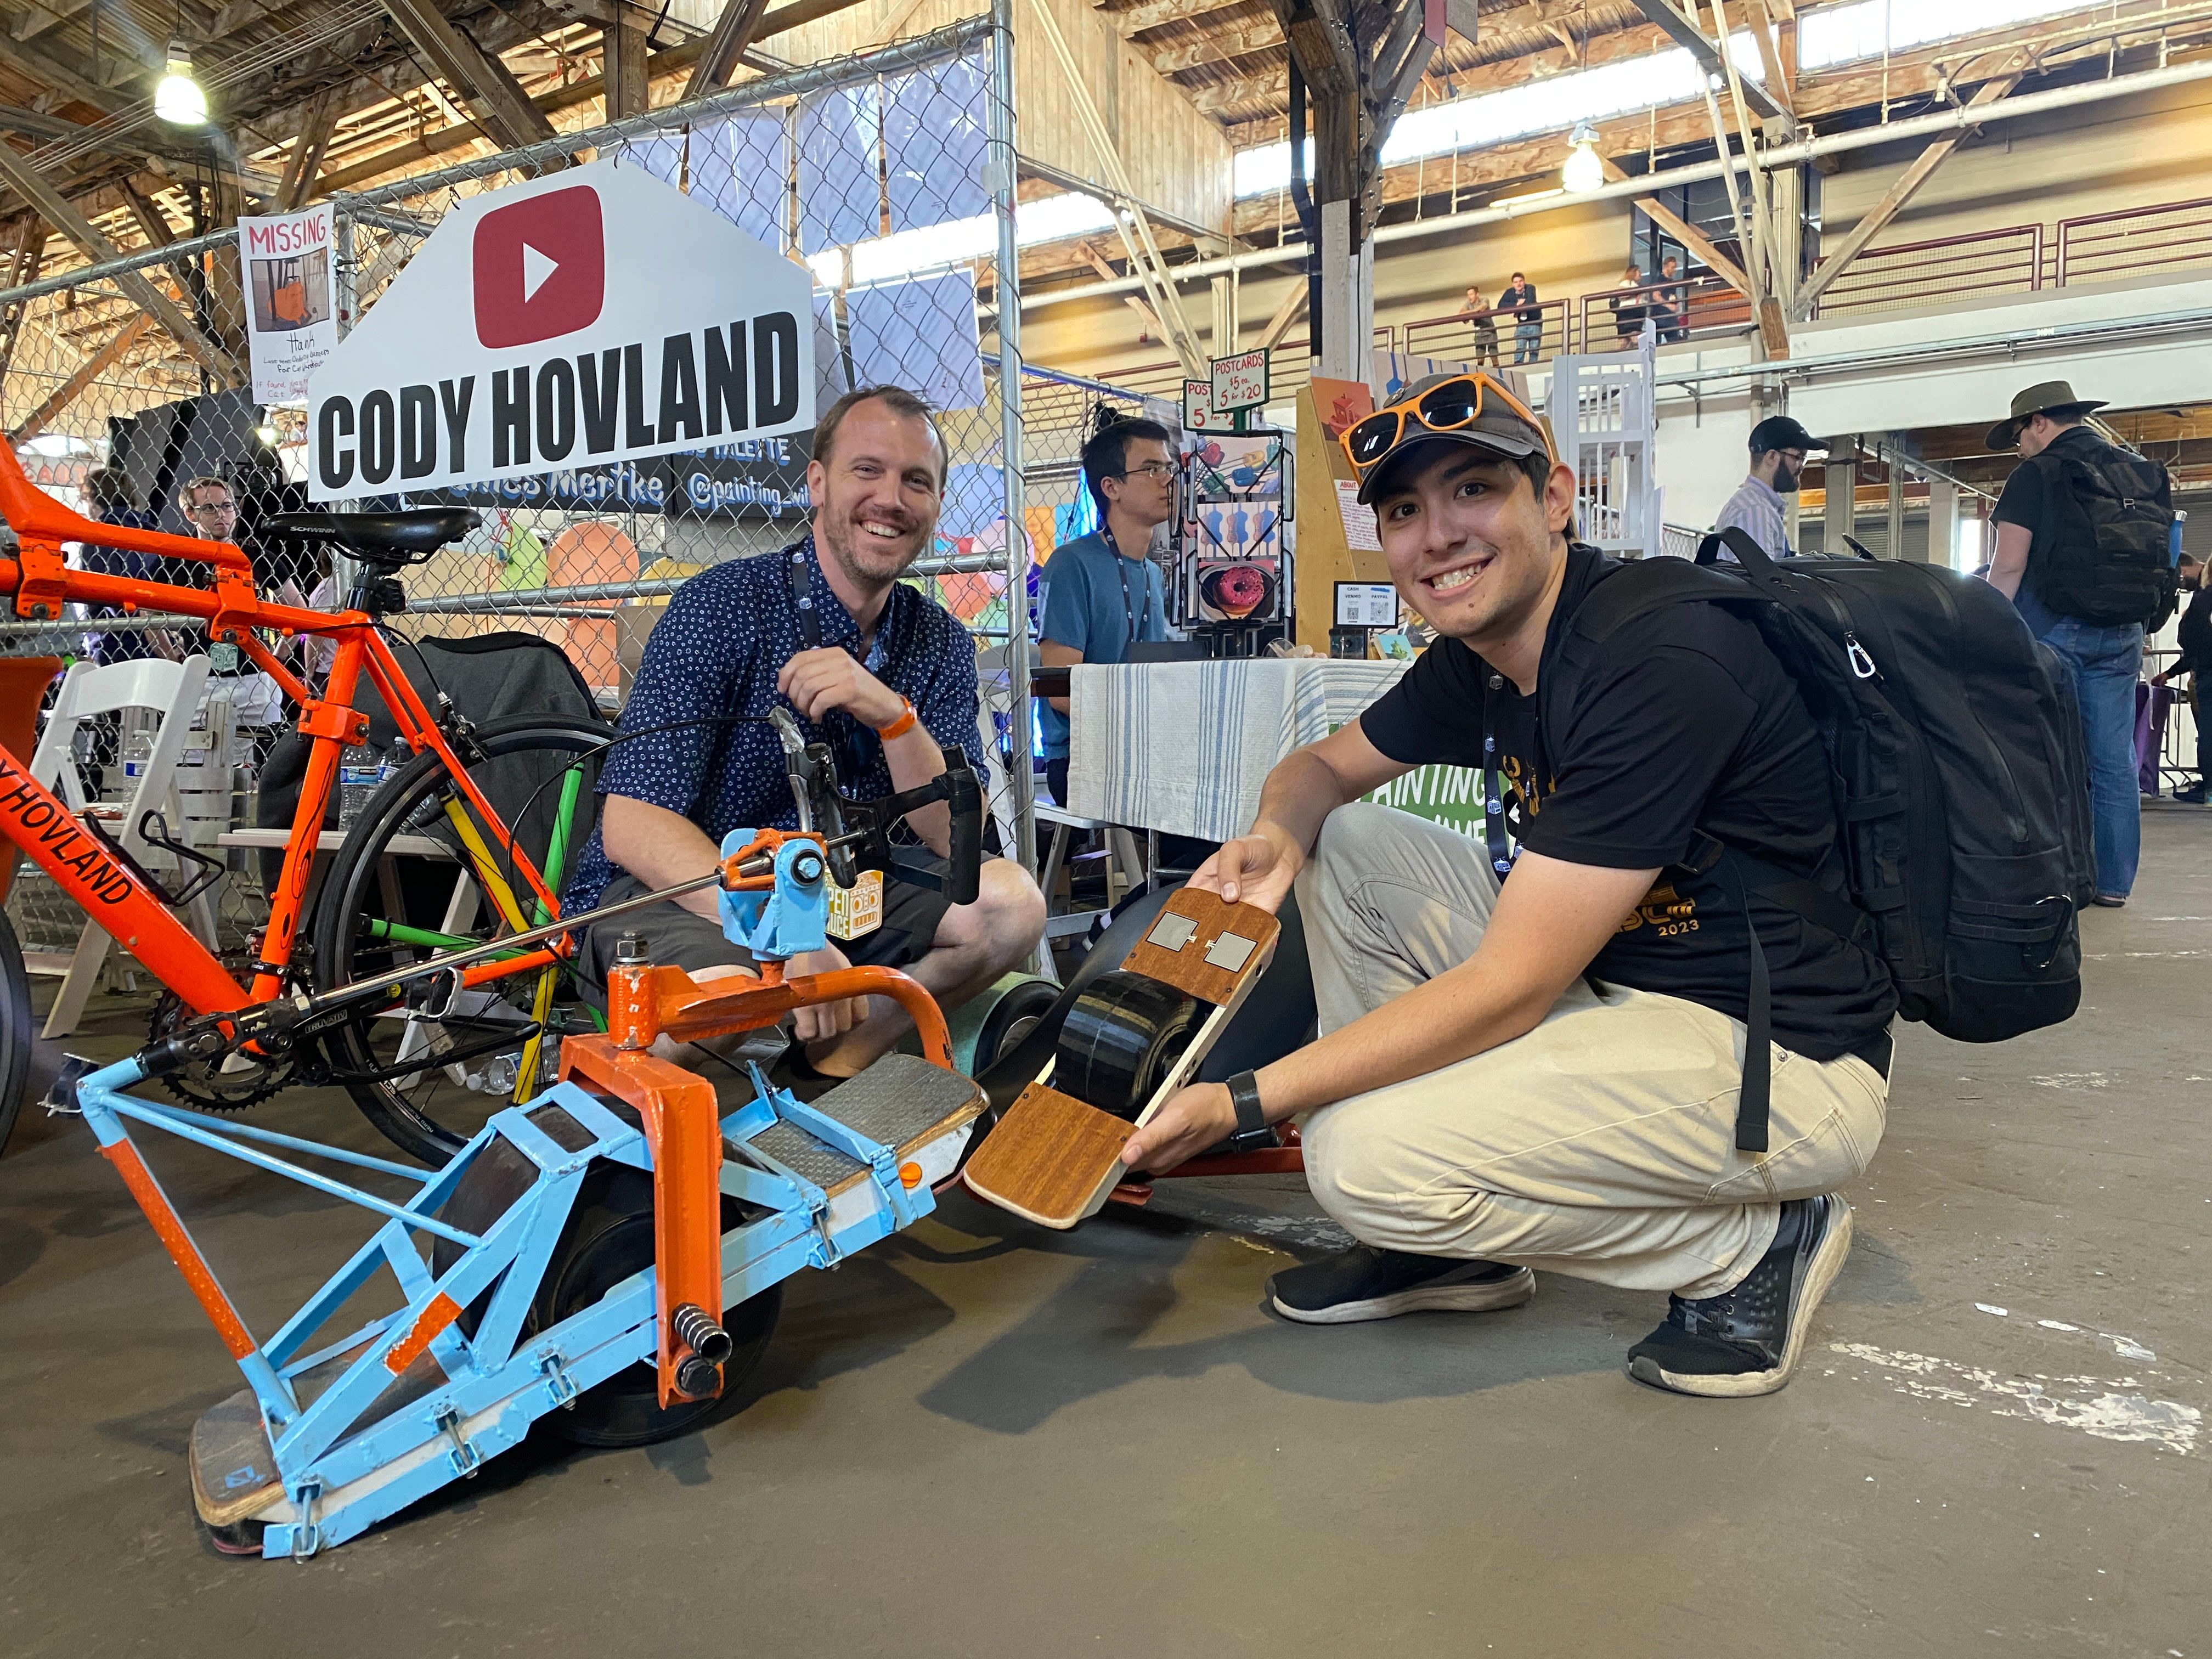
Honestly it was an amazing idea because the dinky little guy got a lot of attention from a number of other event goers especially Wren, James and Ian from the Hacksmith and Cody Hovland.
If you have instagram then here's some of it, otherwise below are some bits.
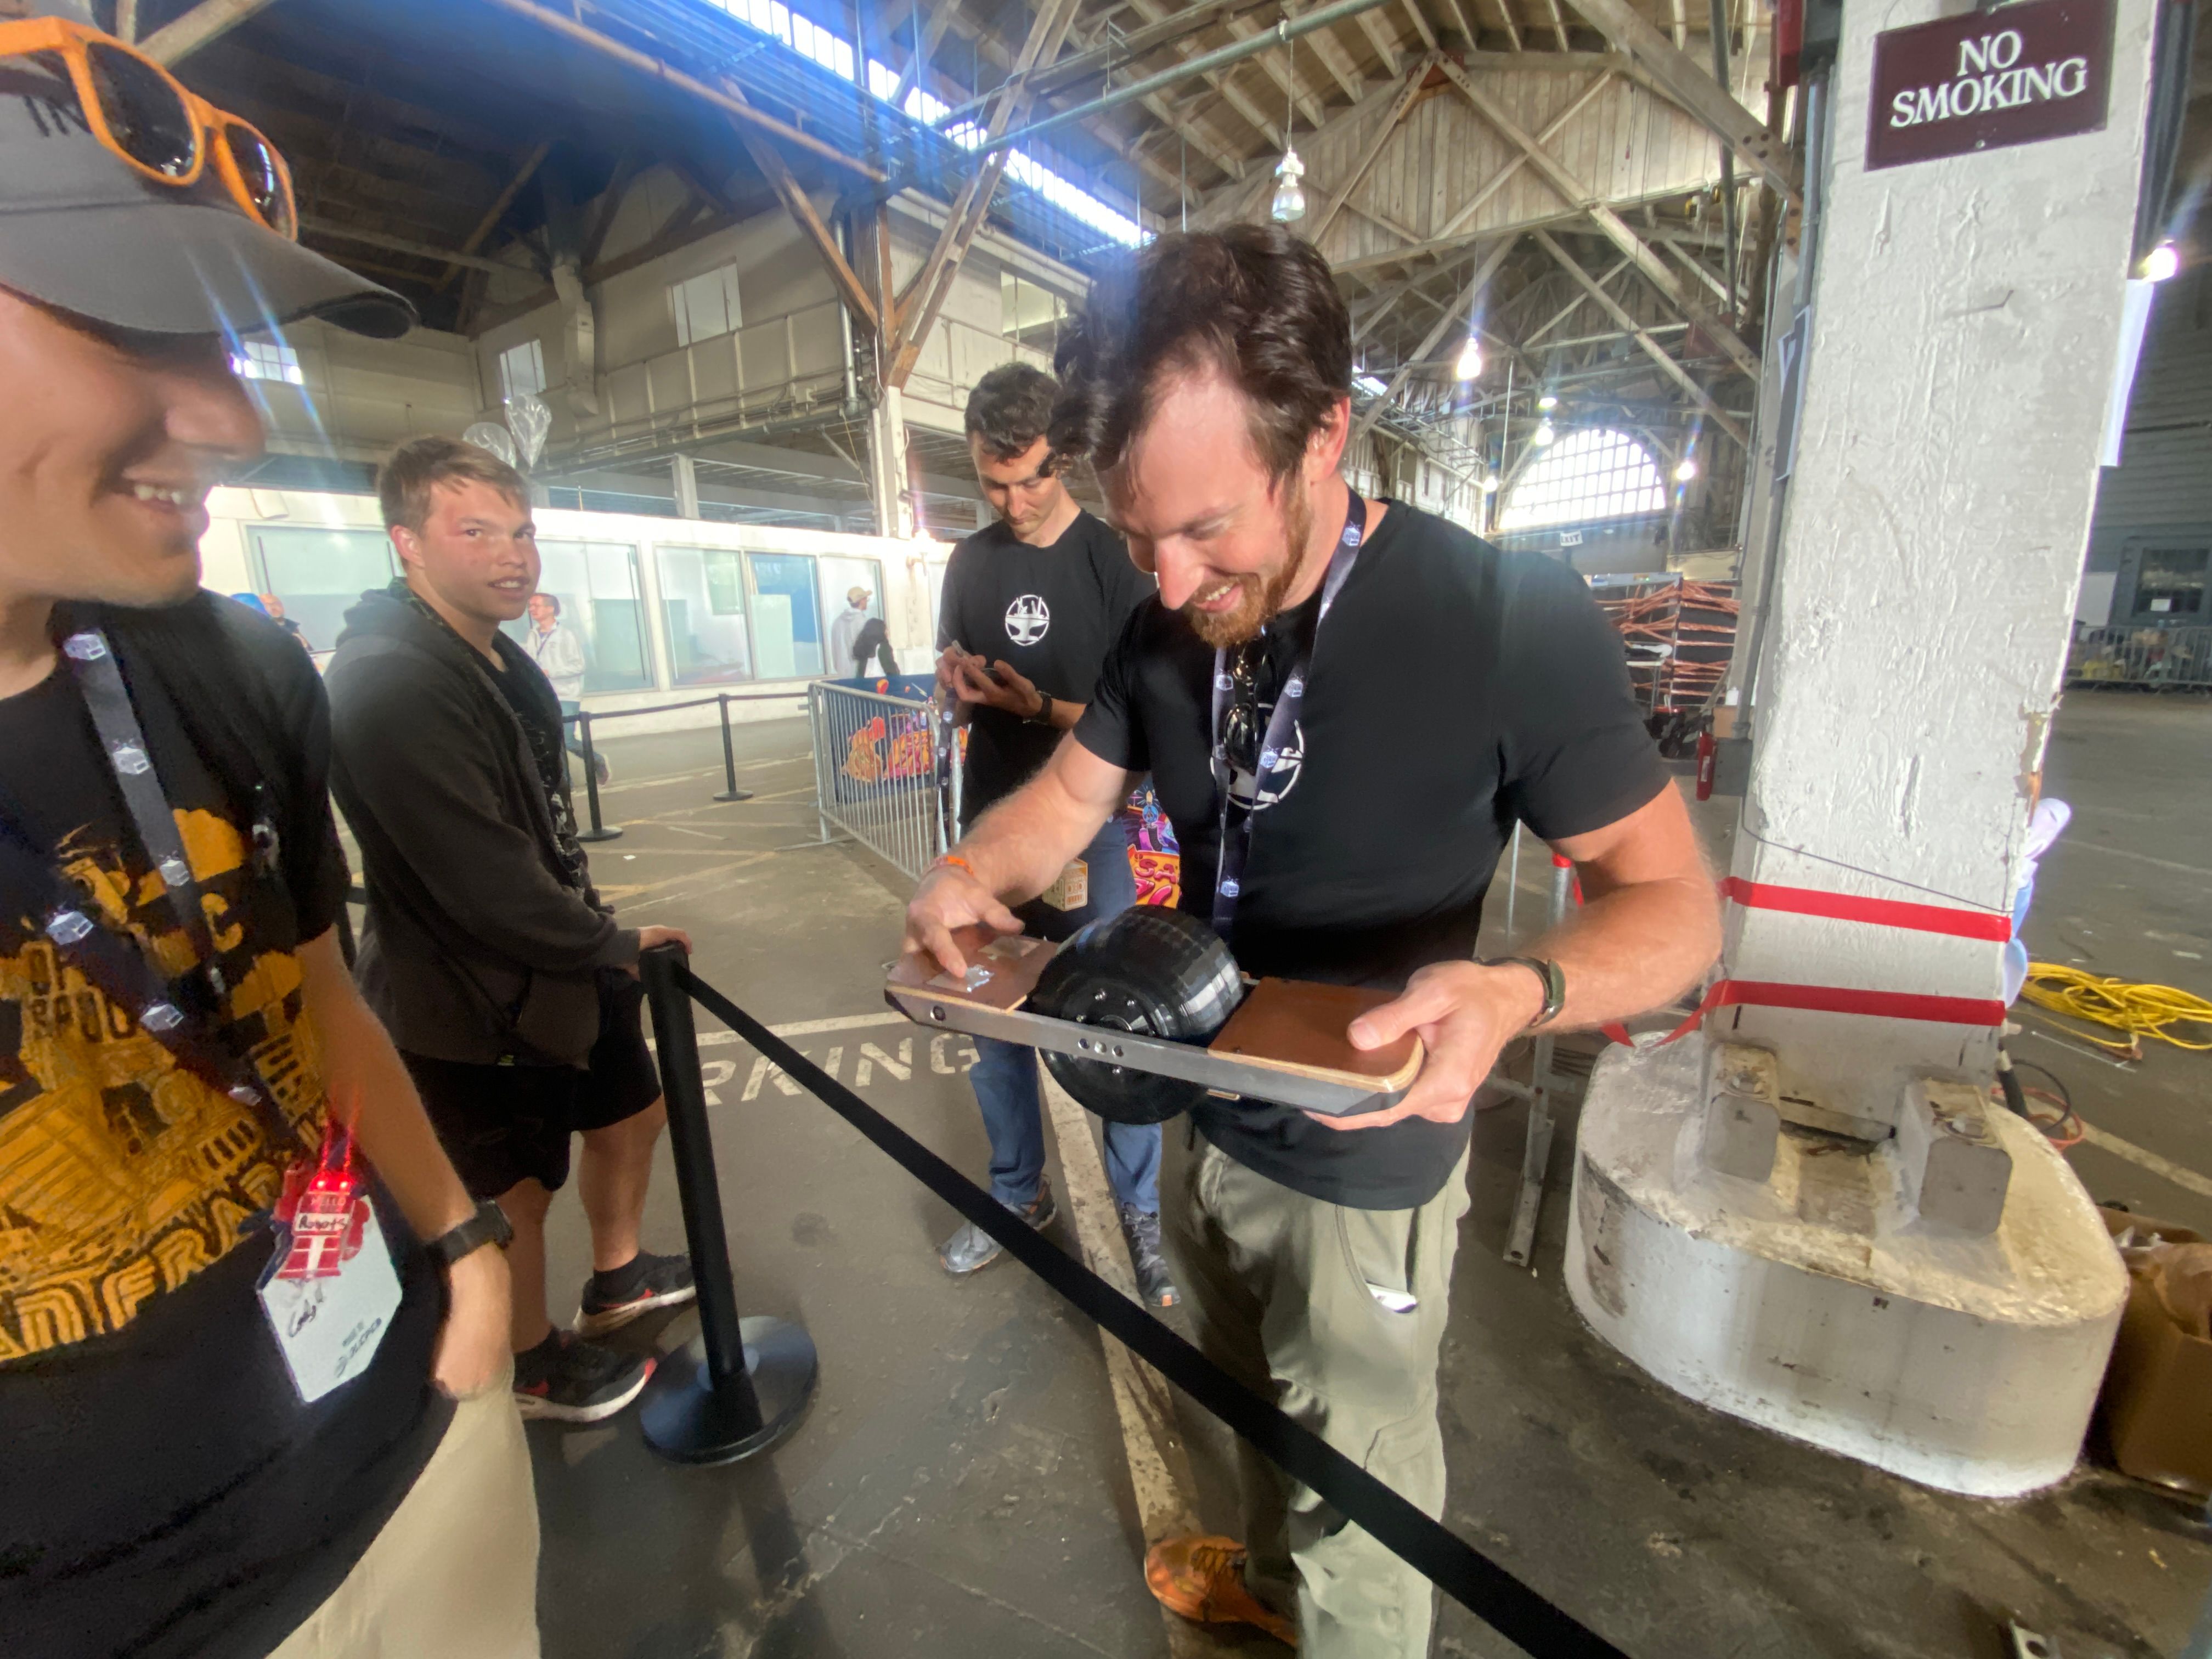
We had a robot dog try ride it... somewhat successfully. About as good as most people's first time.
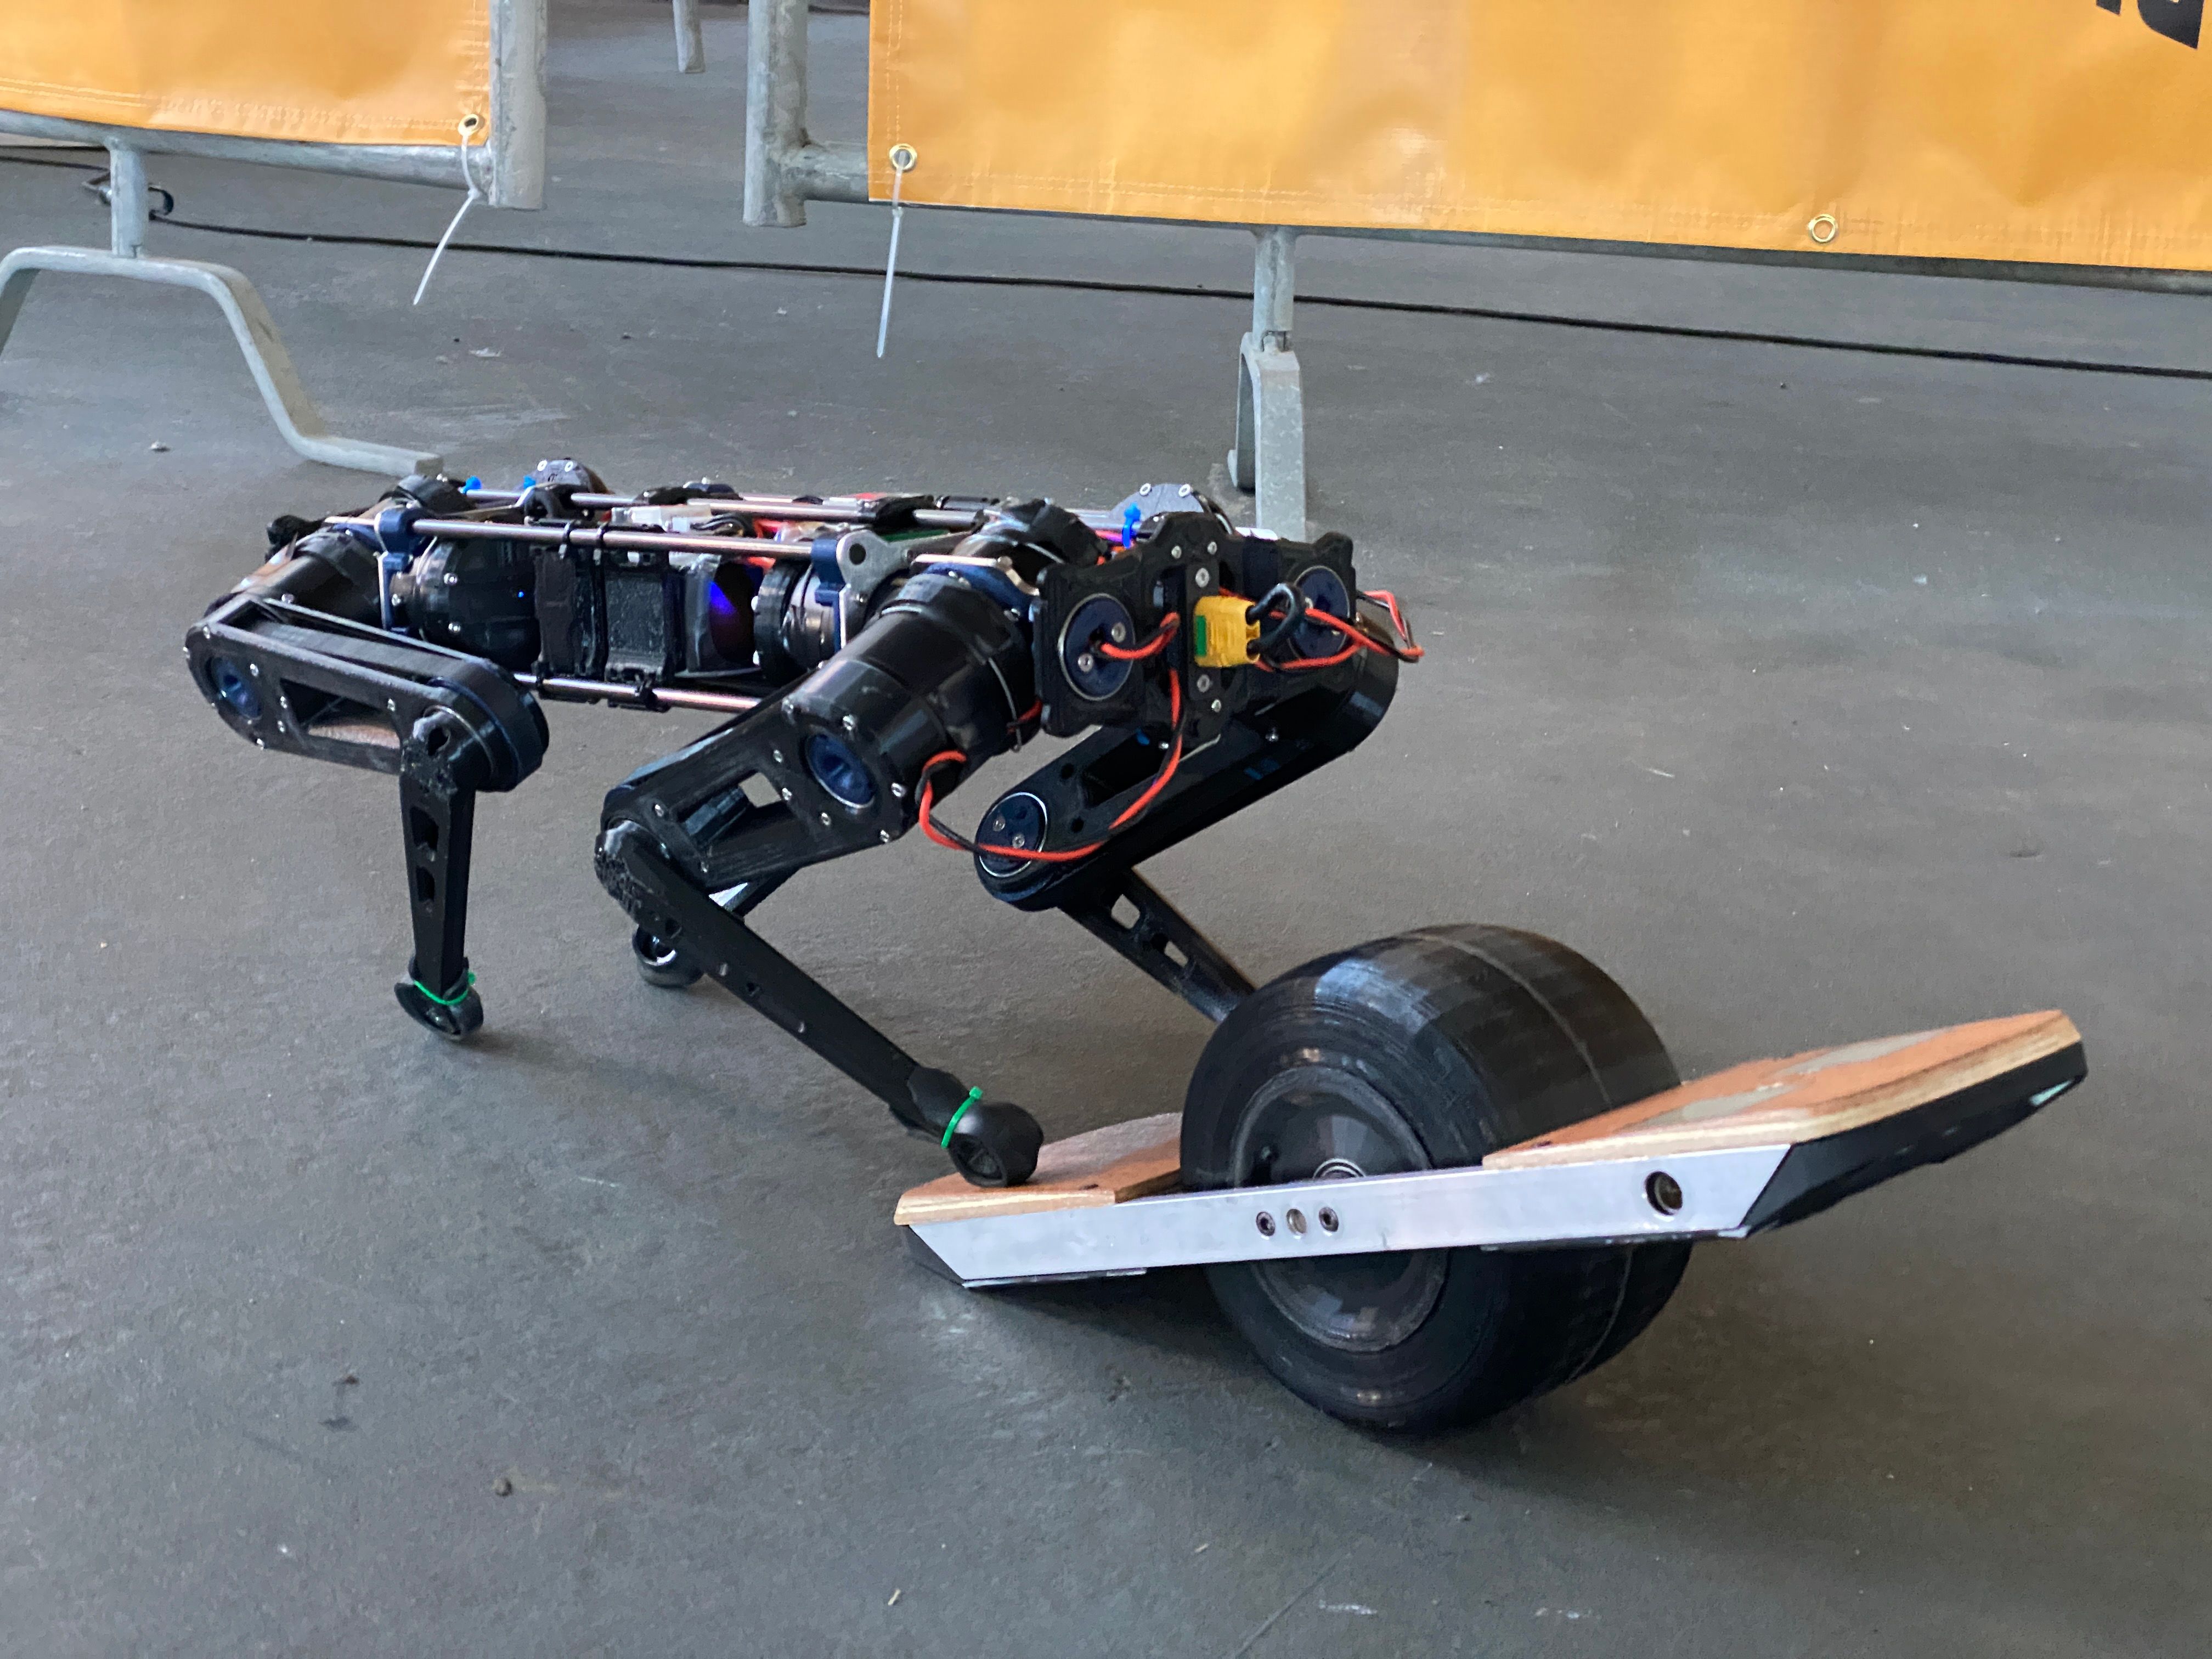
This caught the eye of Ian Davis who I at the time didn't even realise was recording us till after the fact.

https://www.youtube.com/watch?v=el1jDh9jaUg&list=LL&t=167sofc we finished up the second night with pizza.
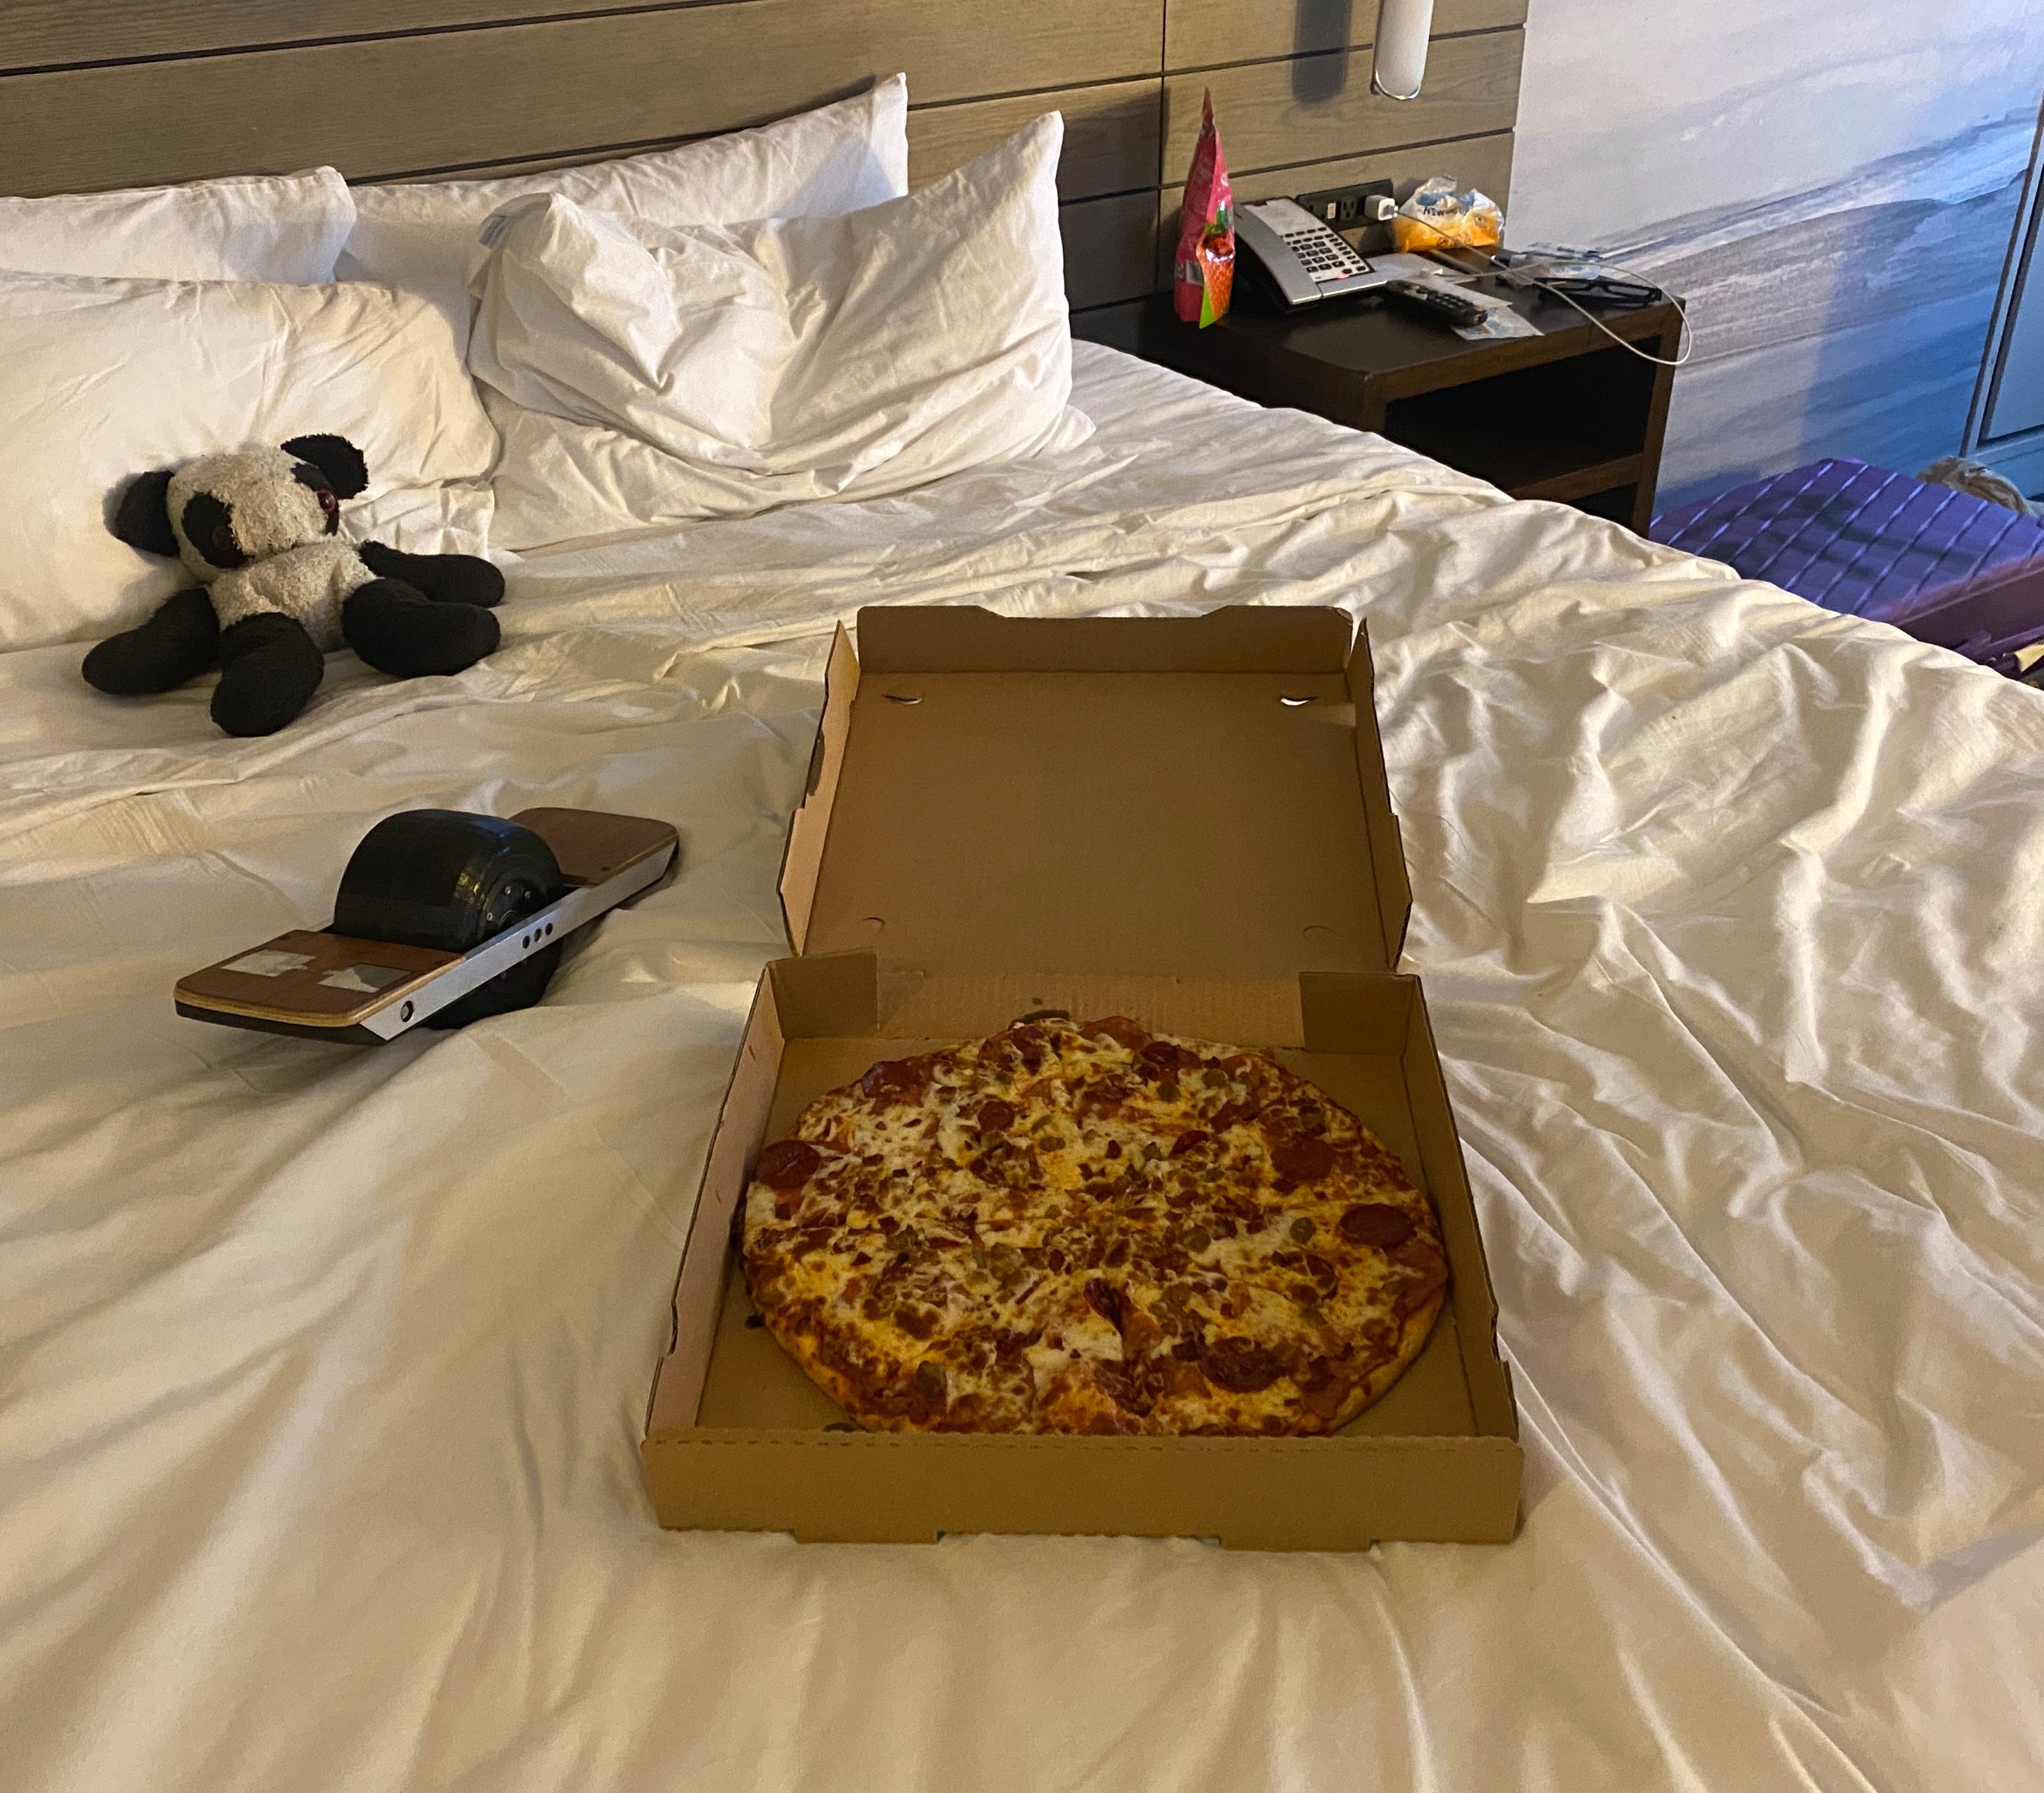
It was a very fun event and extremely fun to meet dozens of people that wanted to ask questions about the board. After all of this I'm itching (again) to carry on. After the headlights and xr controller pcb swap I will likely begin this again ^-^ Especially since me and Nick might actually have a booth next year and will try to show off a few more finished versions among other things we've both worked on.
-
@lia You really should have posted these as separate items in the thread, so we could give it all the upvotes it deserves. It looks like you had fun at the convention!
-
@biell I did consider it but I personally like to keep things all together ^-^
We had lots of fun, hoping to attend and be a "creator" at the next one. -
Long time no update huh?
For the past few weeks between doing stuff for Fungineers I've been working on the XS but this time in Fusion360. It's not been as easy as I first thought since I wanted to make it all parametric.
So far I've nearly redone everything (from scratch, easier that converting it).
Probably going to alter the front bumper engravings but for now I just made dxf's of the current ones.
I'm preparing 2x MK2 to be brought to this years OpenSauce in San Francisco.
As some of the earlier posts mentioned, me and @cheppy44 attended last year as attendees but this year we've applied to hopefully have a lil stall to show it off and let people hold and use it. If not we'll bring it anyway and let other attendees enjoy it as we wander the event.
At the moment because I've rebuilt it from the ground up in parametric design I've had to re-prototype parts including the rails because those shall be CNC'd this time.
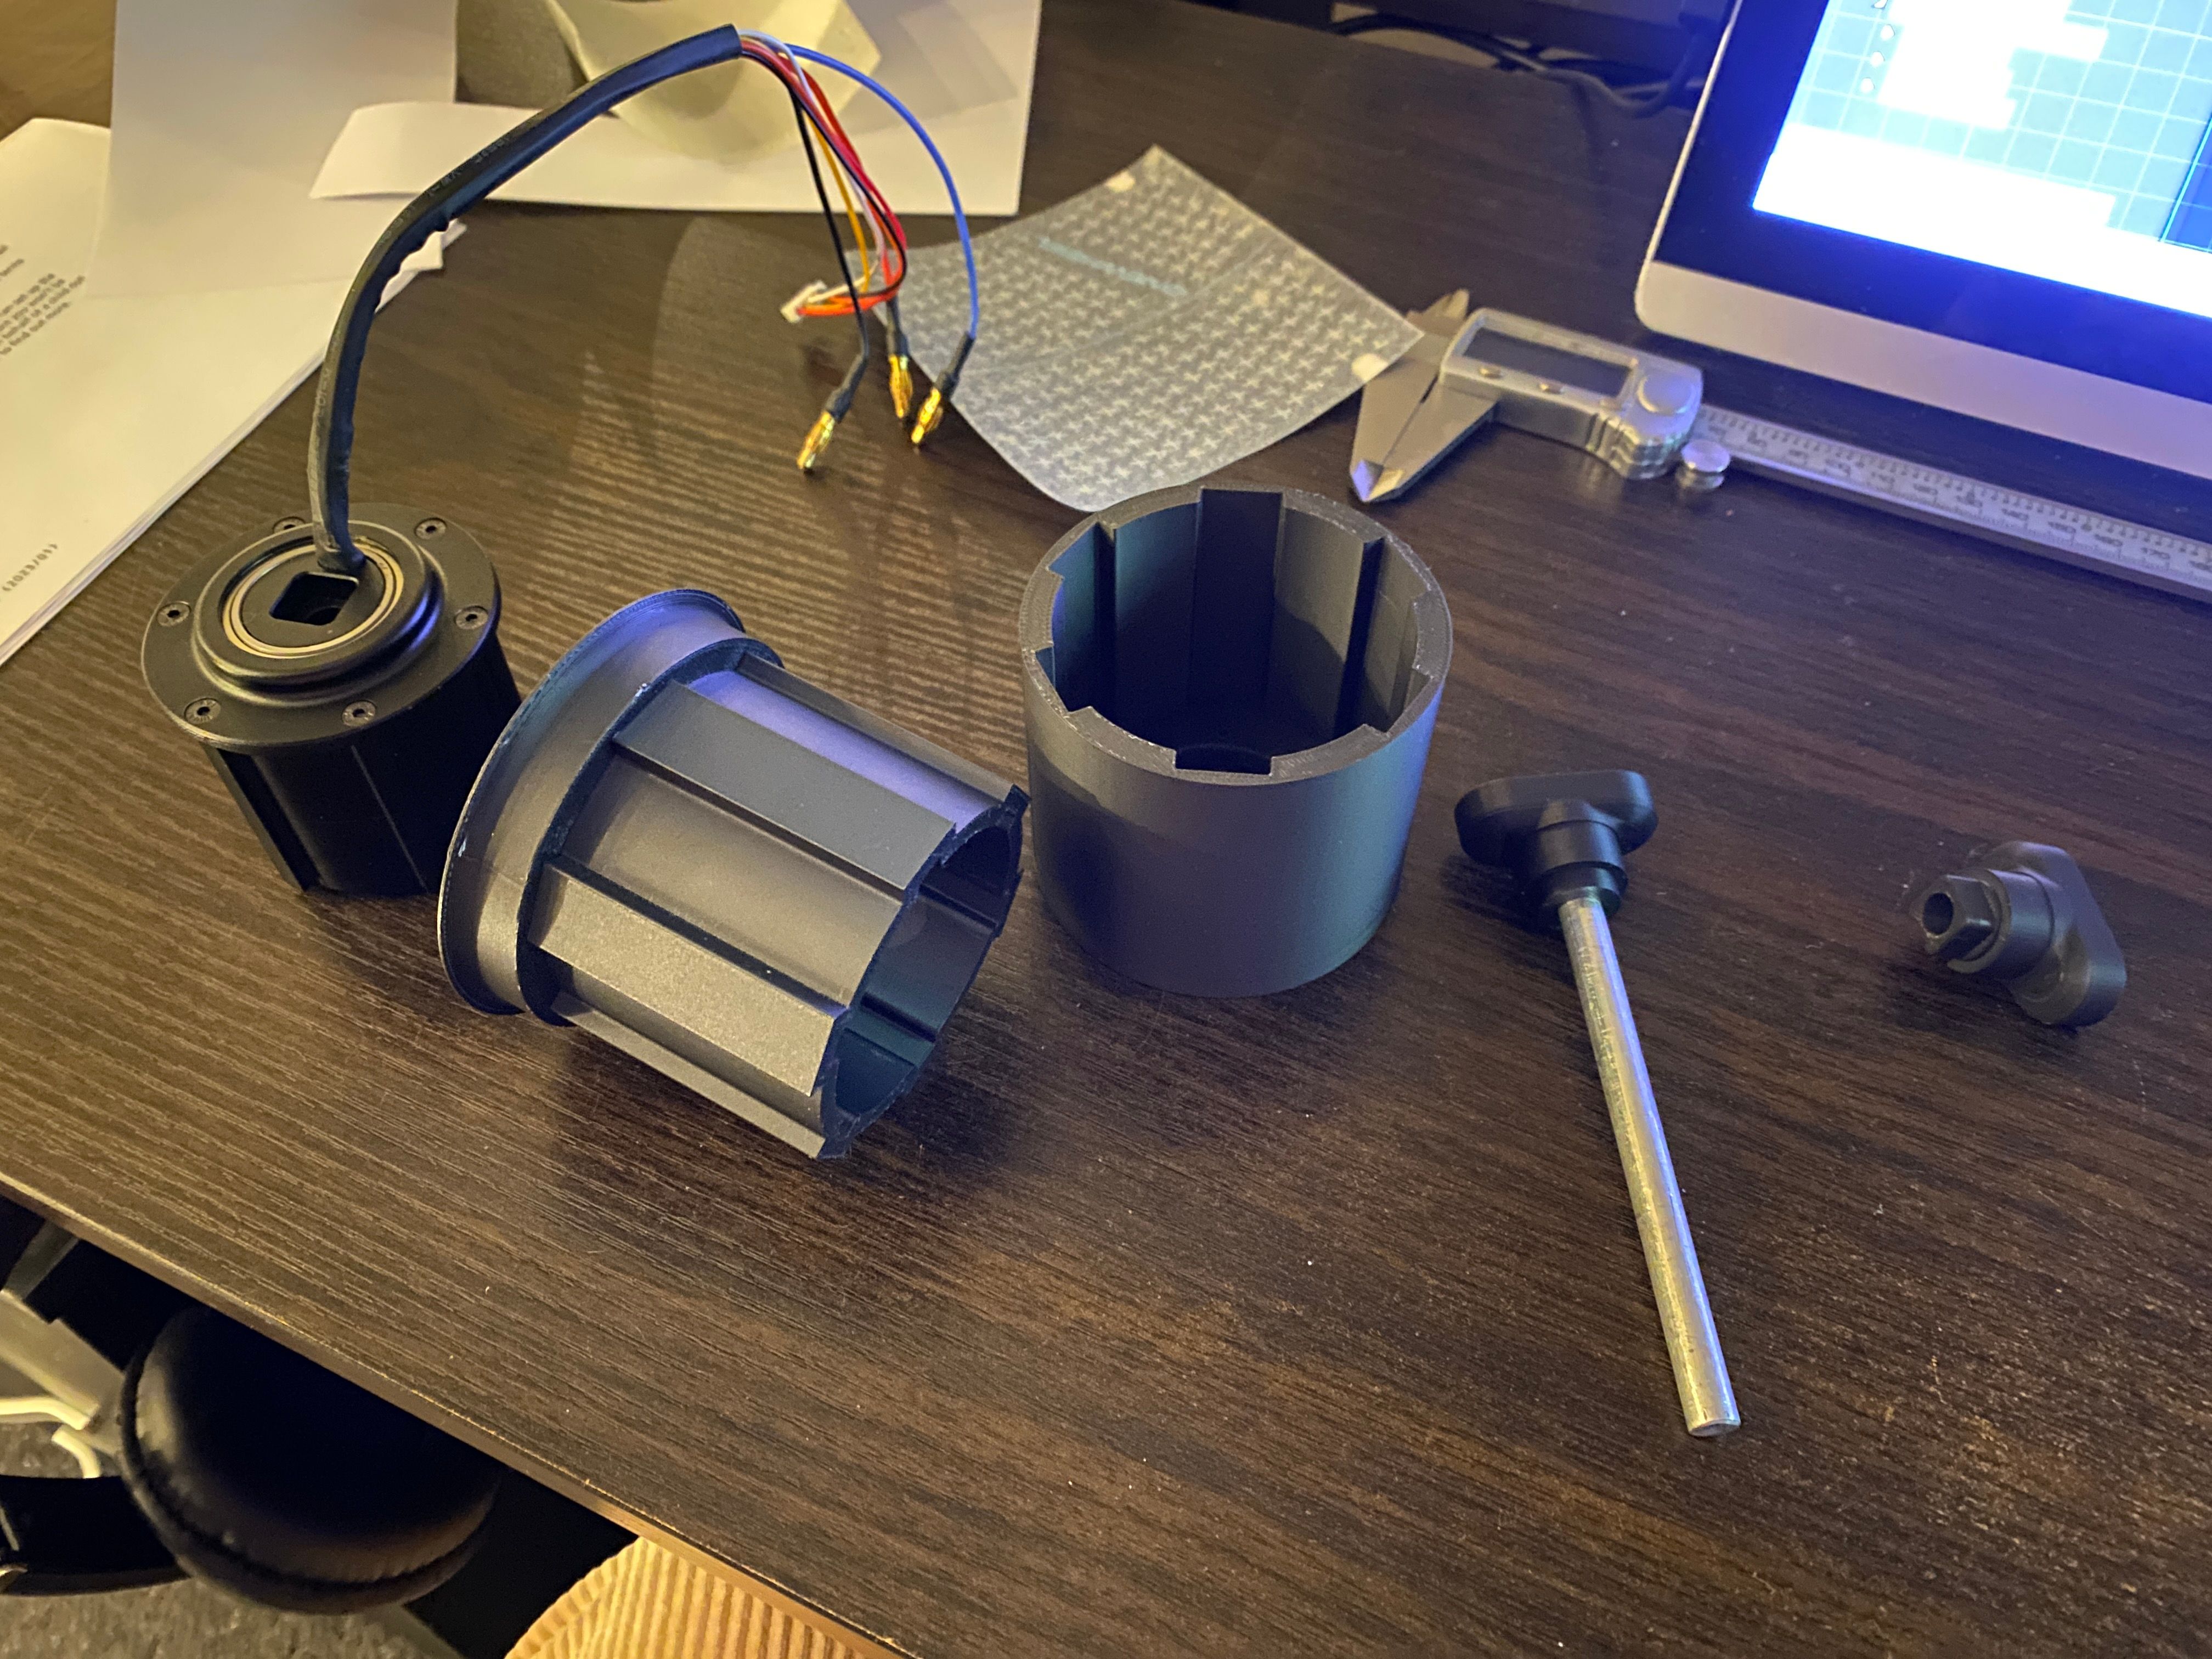
I've also redone how the motor housing and hub covers will work. The outer covers will be CNC'd too along with the axle blocks.
I'm redoing how the ESC works and include some new features. For one an actual way to power it on and off as the BMS mods didn't work on the MK1. Once those show up I can do some tests.
-
@lia That looks fantastic!
-
@lemur Thank you :)
-
Ancient resin that I need to replace didn't do great making a bumper but the new model with the HD lettering looks great. Even the absolutely tiny Registered ® came out.
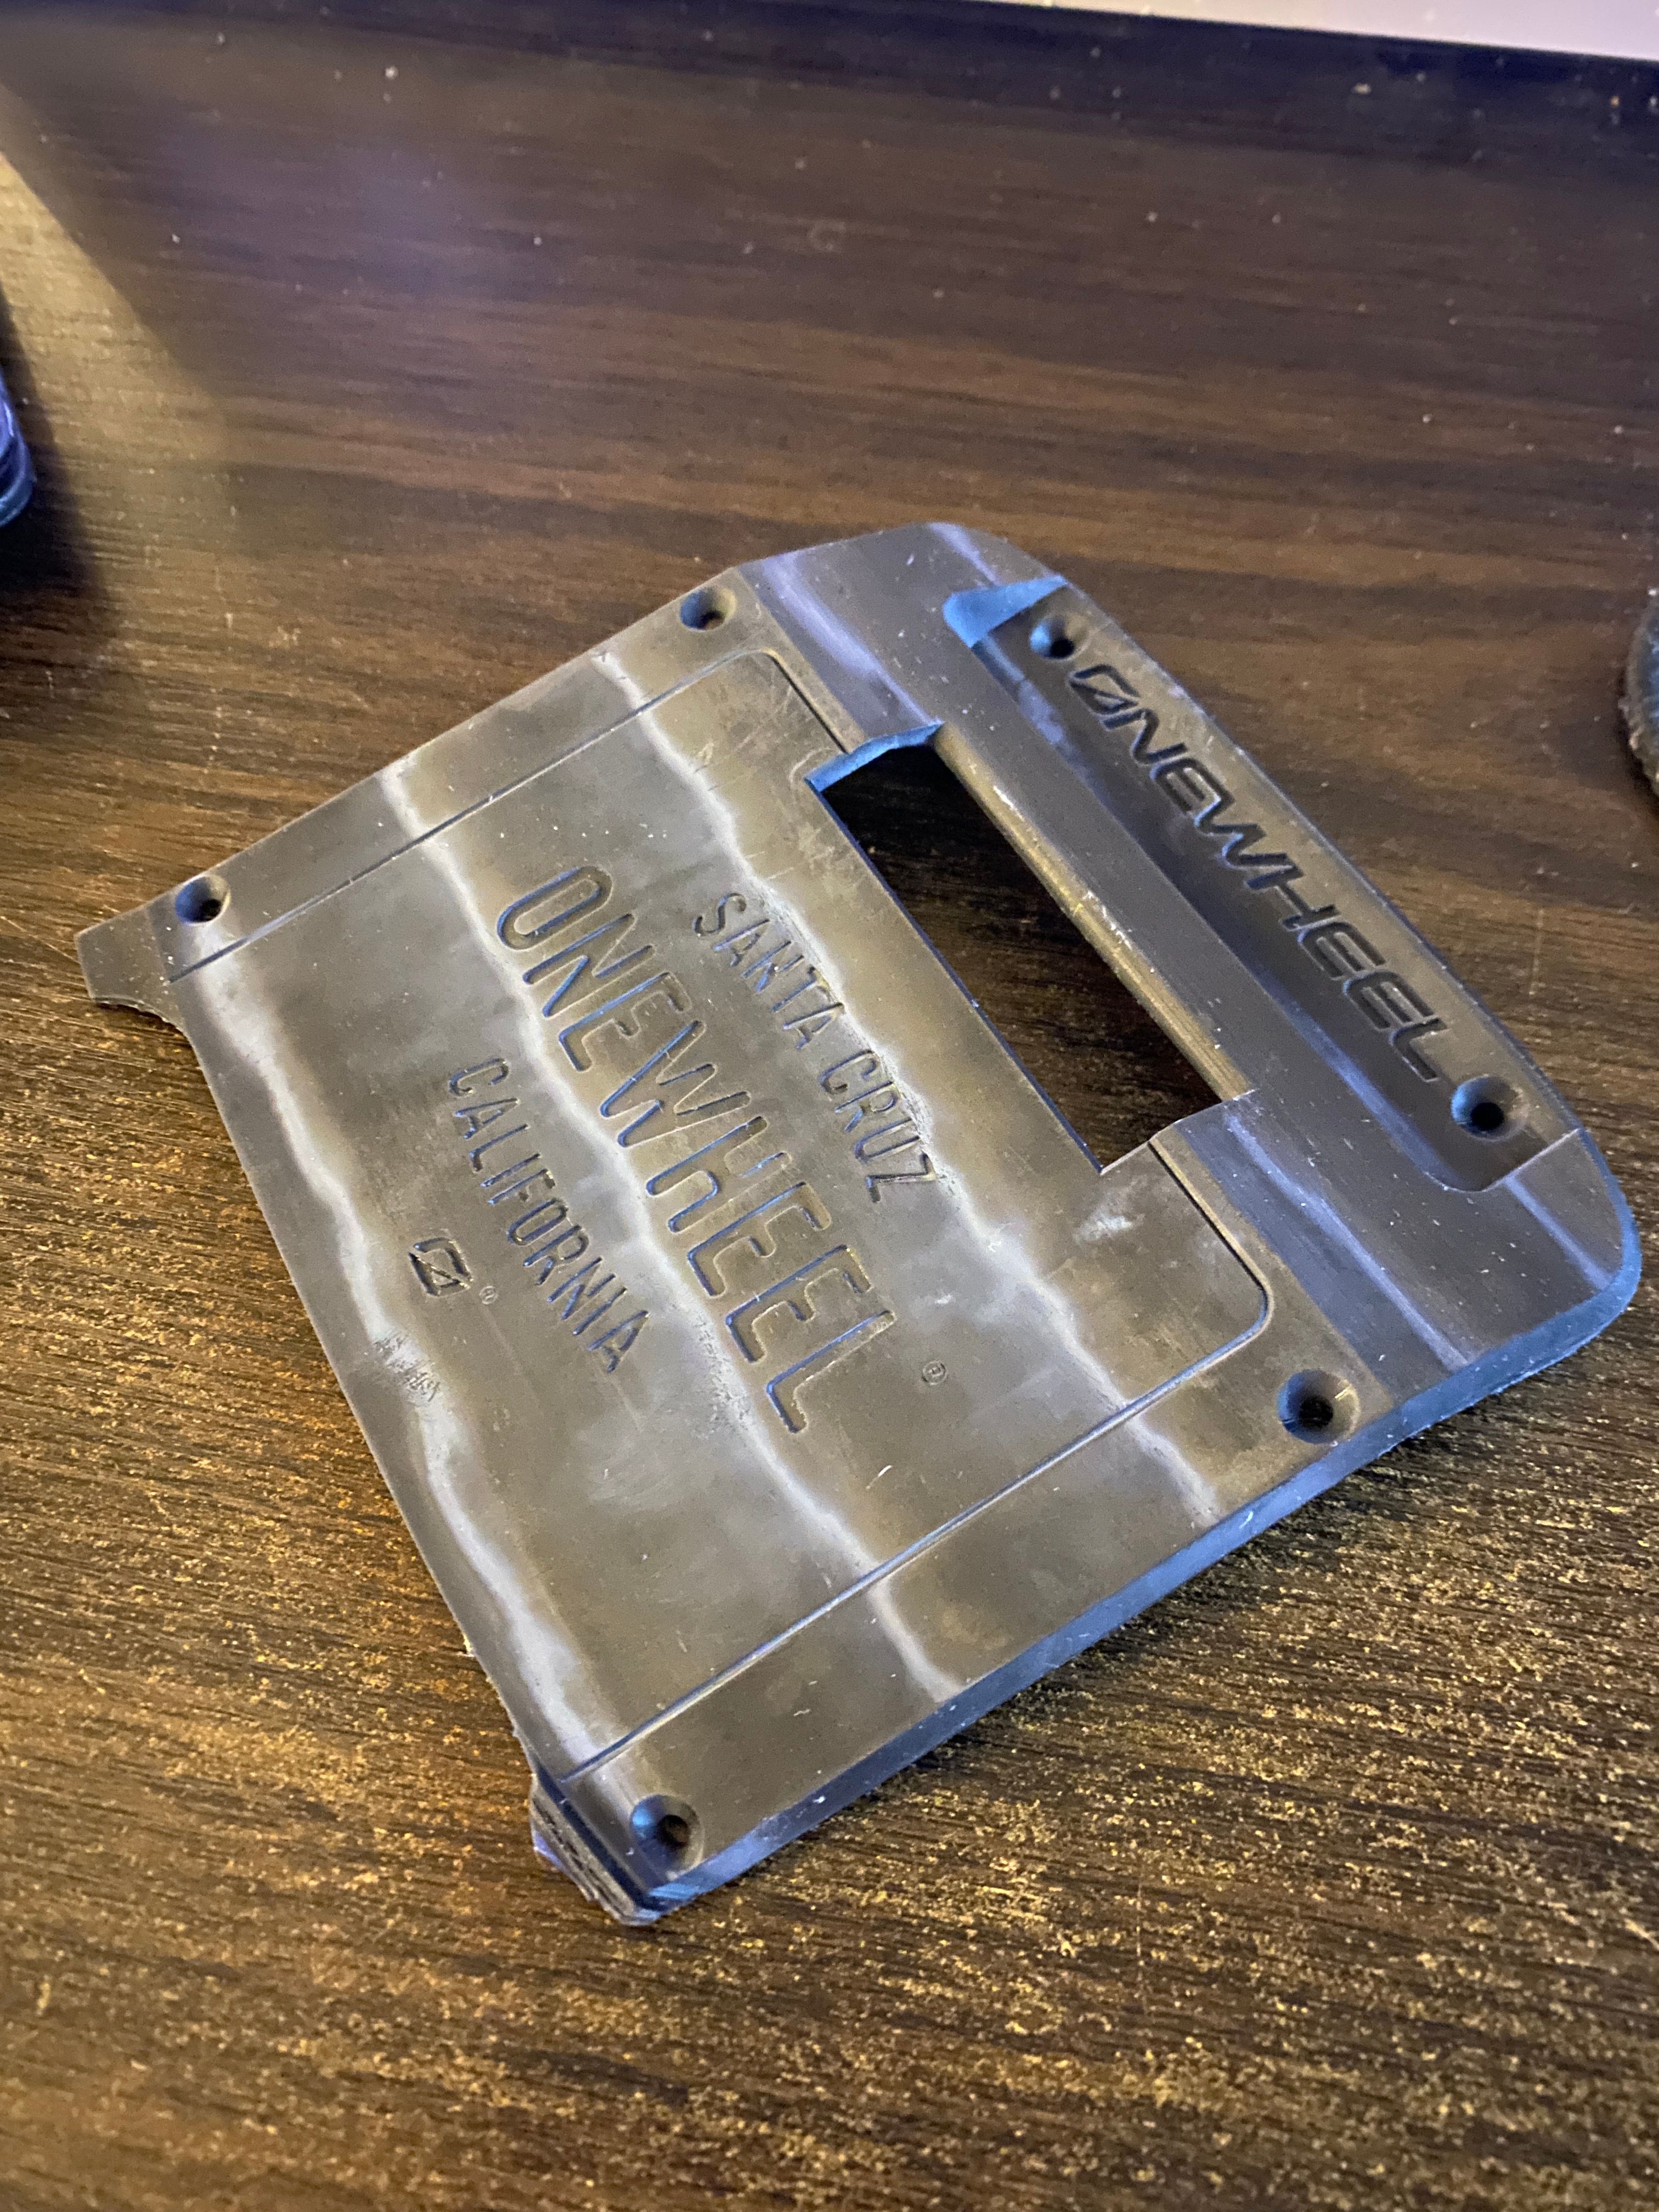
The weird white stains are still a thing but they showed up really bad only once I did the water bath to clean and dissolve the resin after an initial ISO bath. I think that resin is defo bad.Working on a really well done positive for the tire so I can later make a silicon negative and finally a final silicone rubber tire. I still need to resin print the lettering for the tire but since I'm waiting for the new resin I can't yet 😭
In the meantime here's a sneaky pic.
-
Bulk update tiiiime ^-^
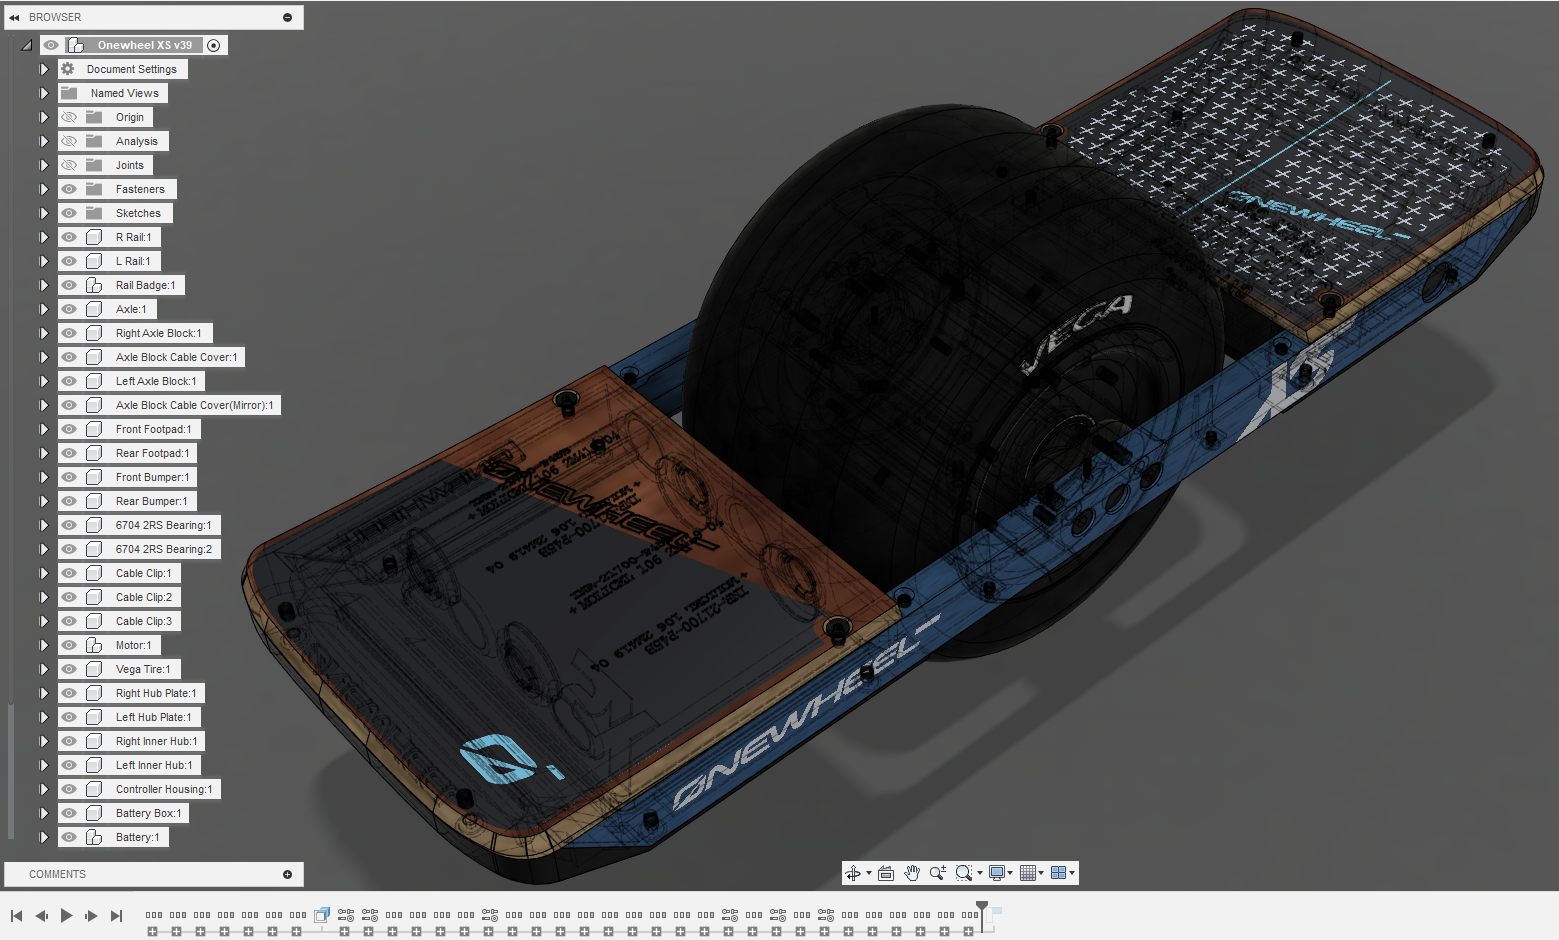
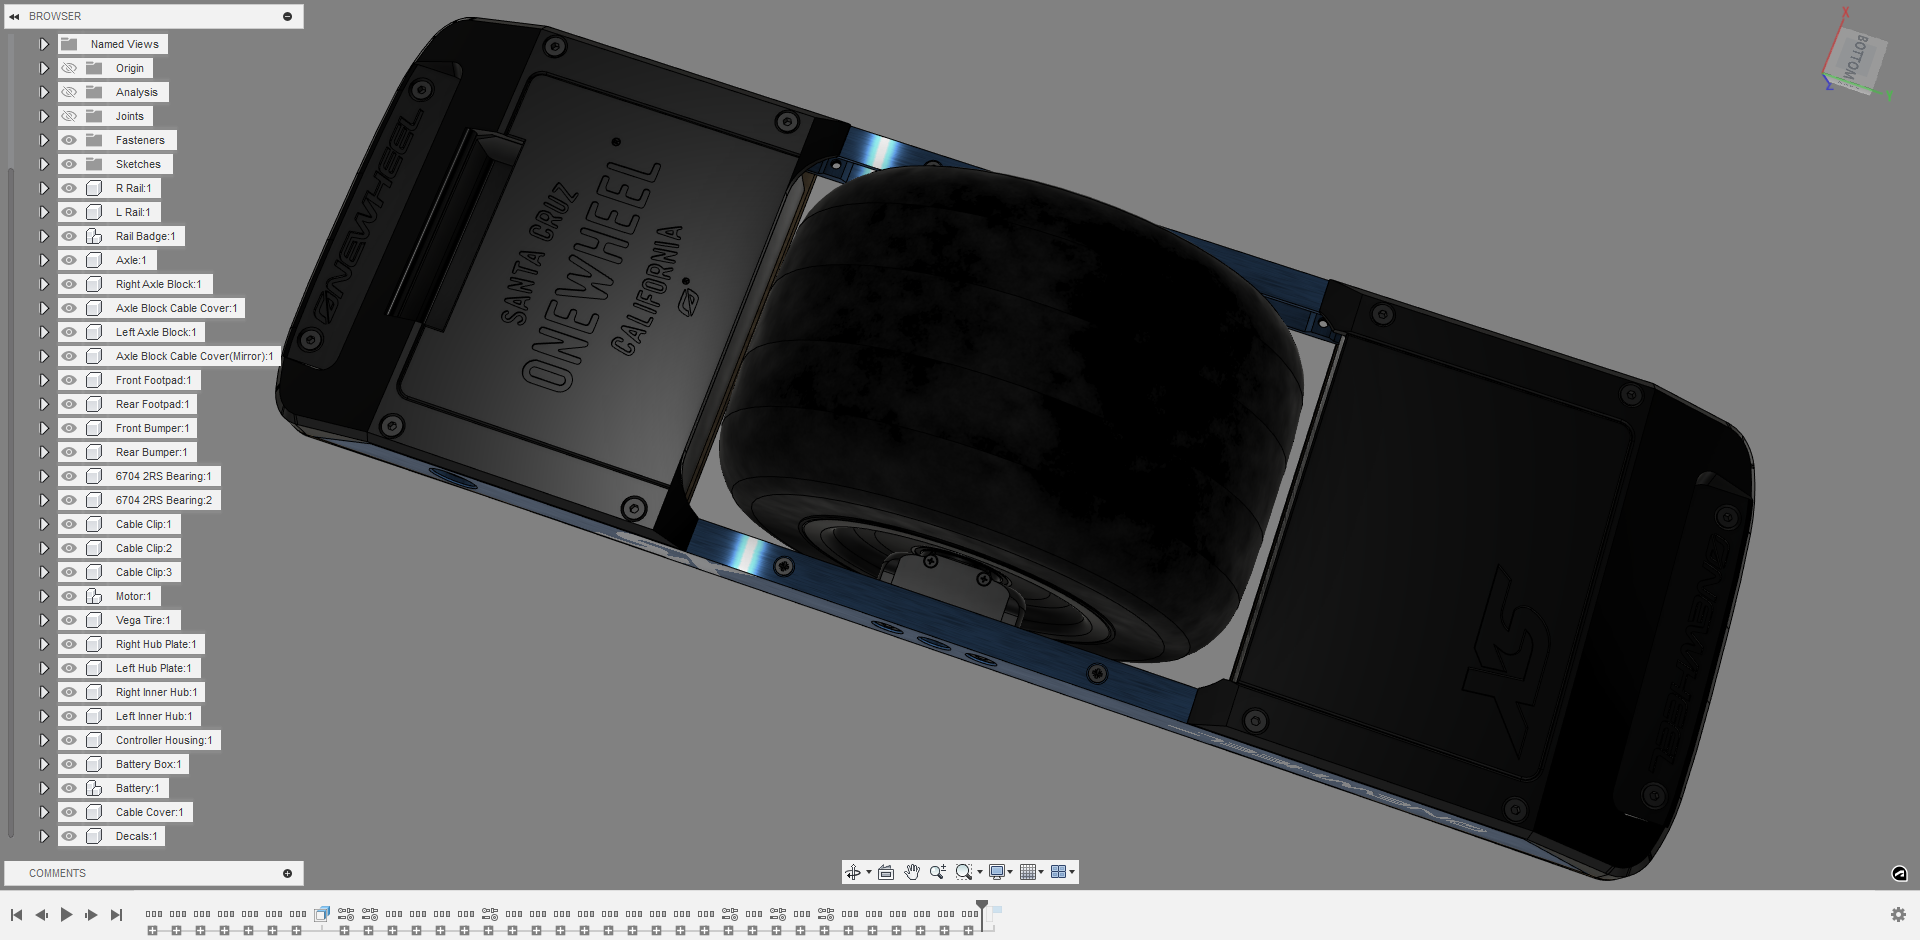
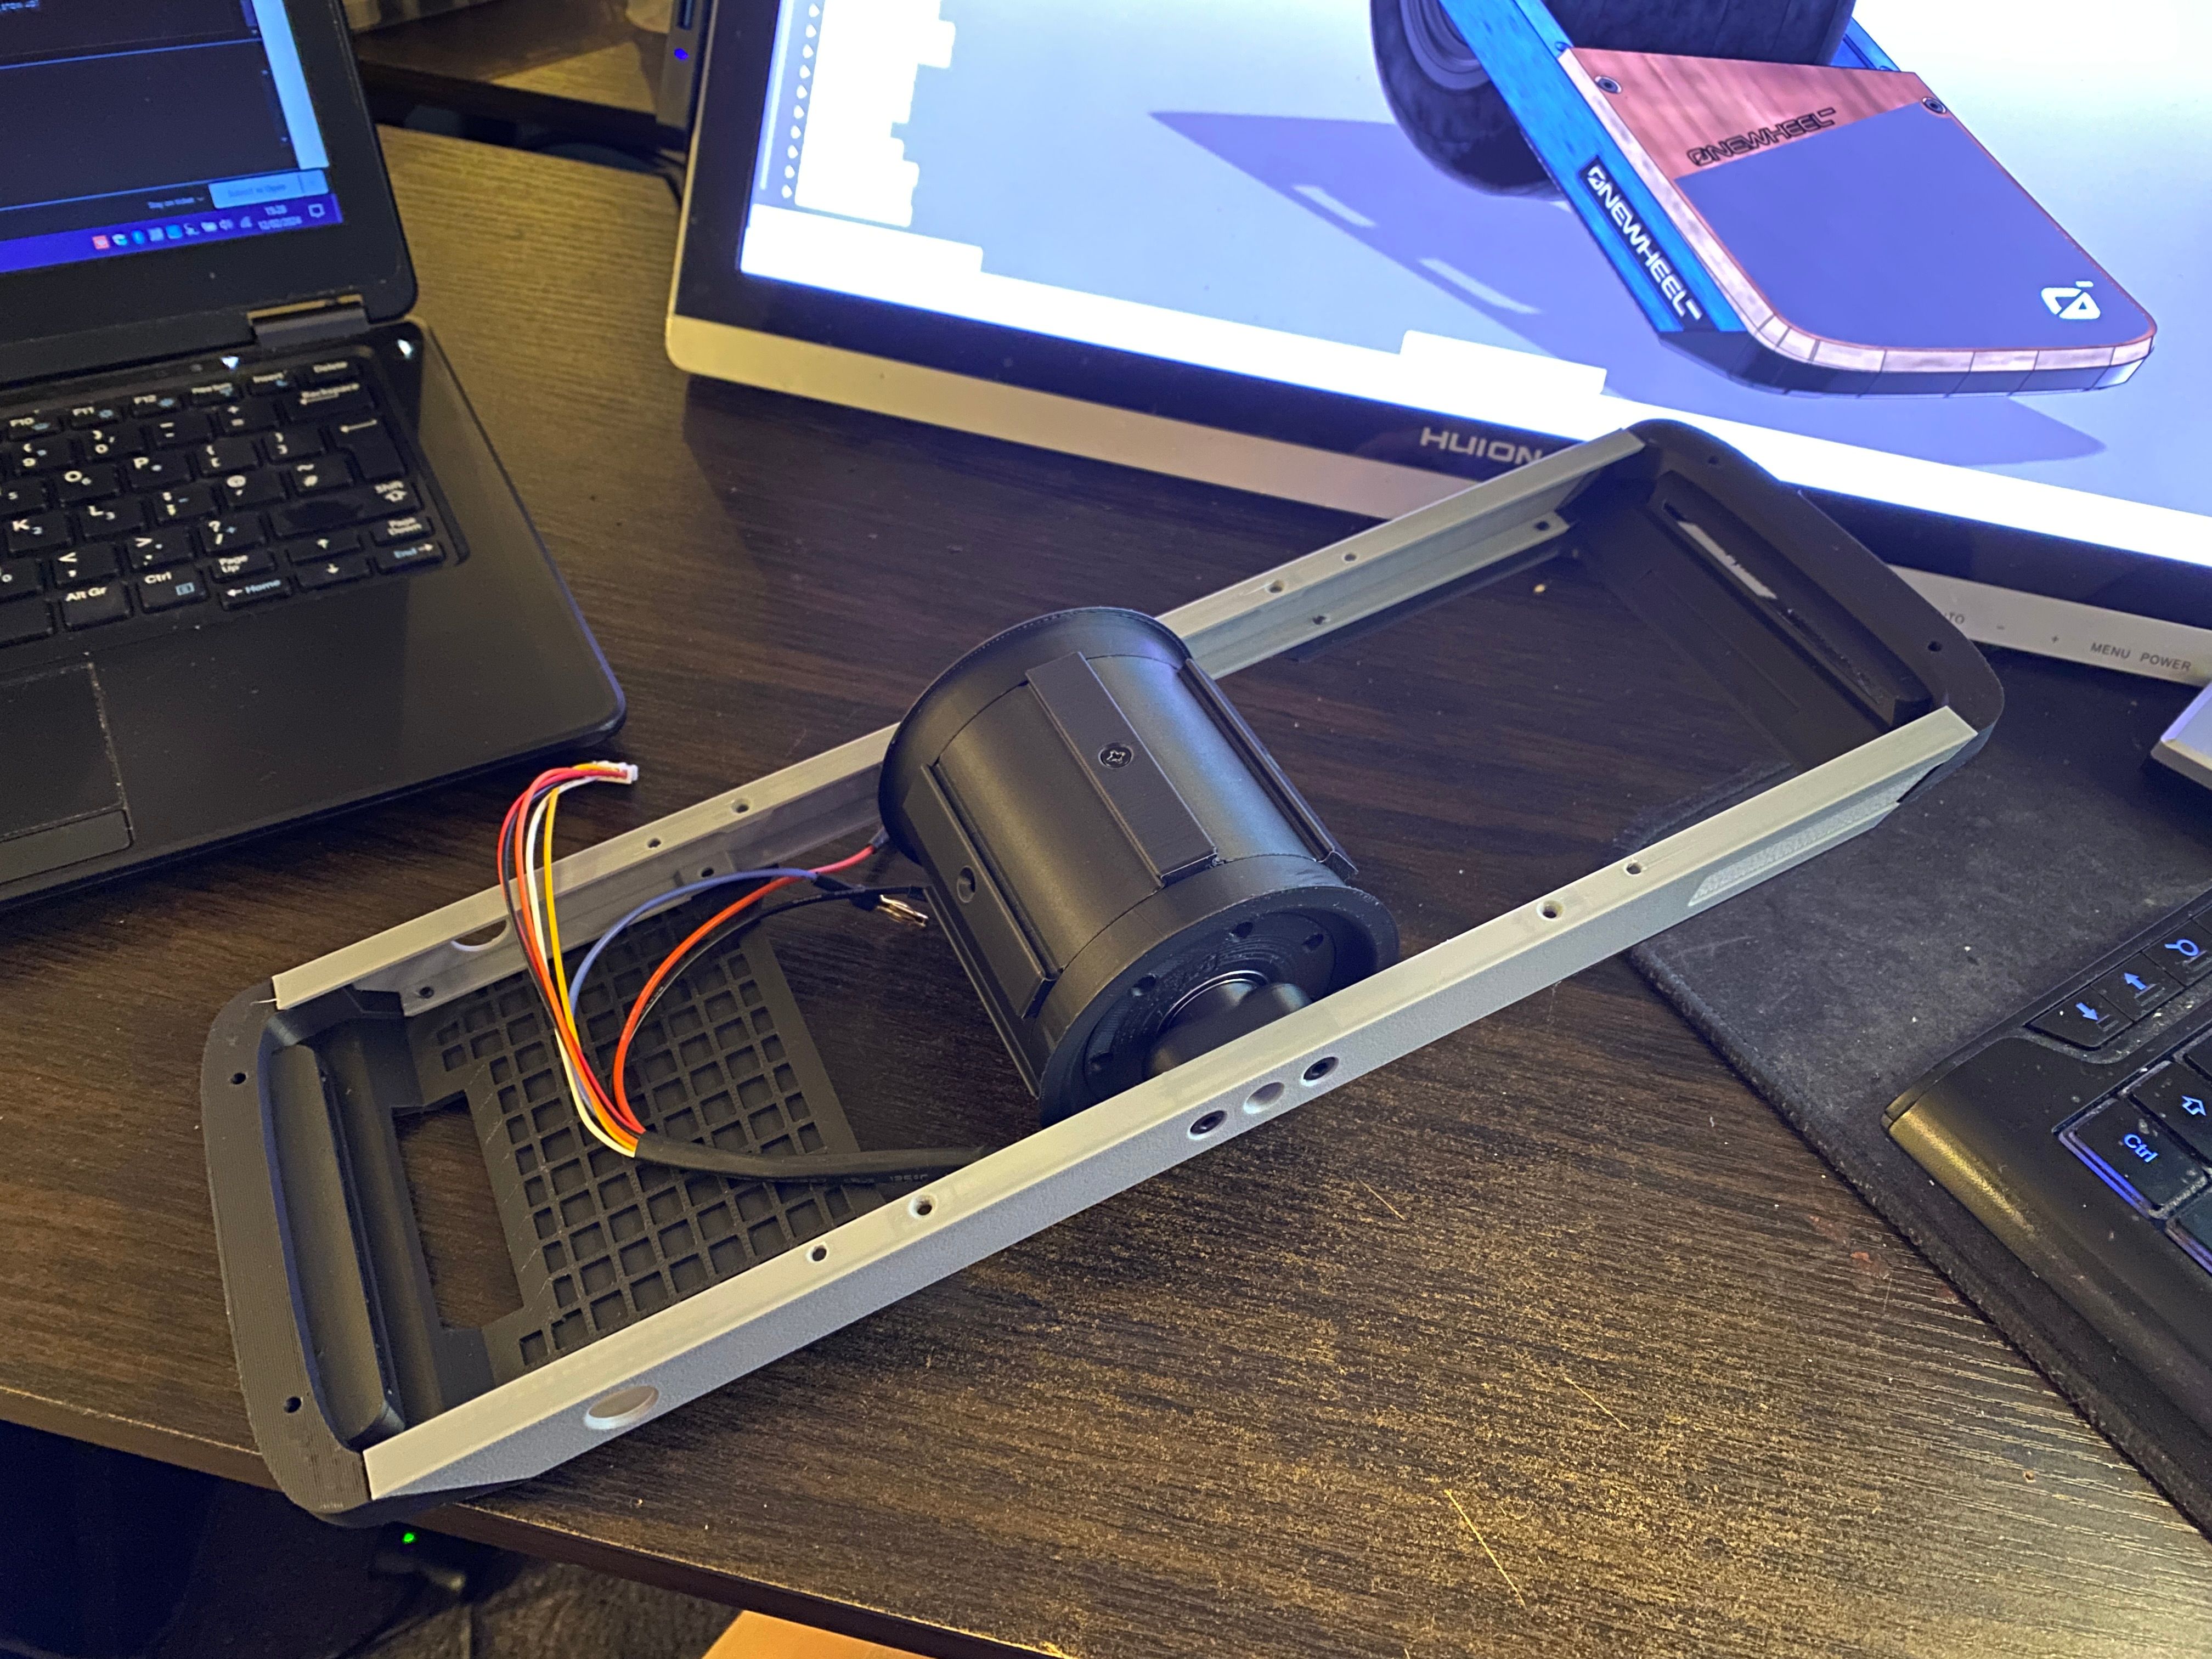
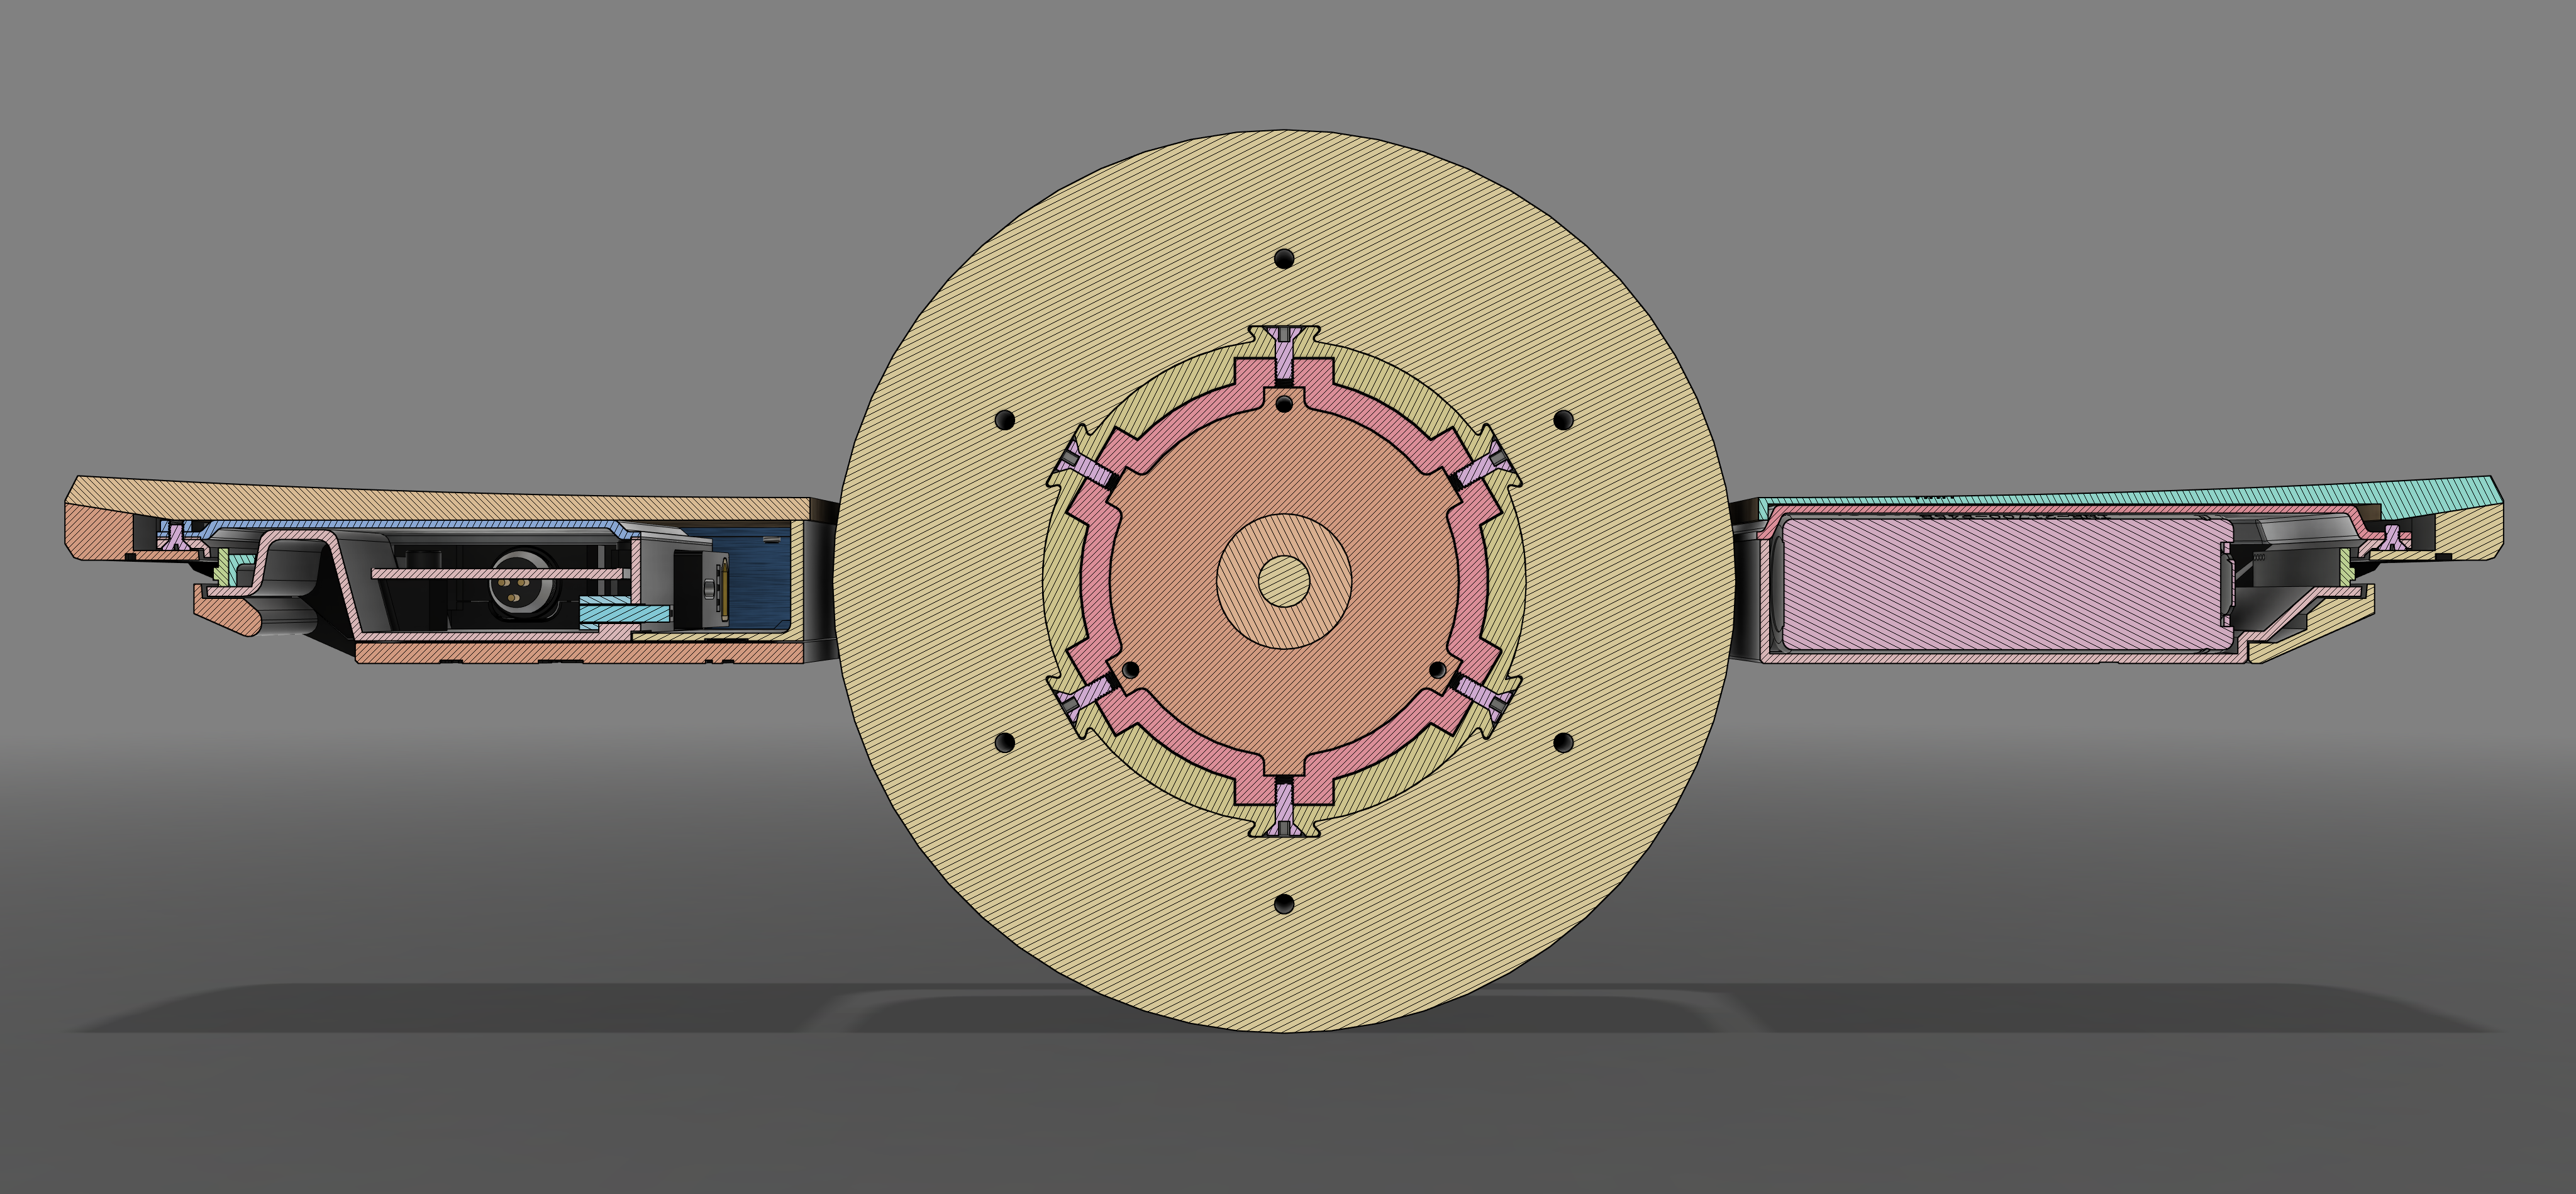
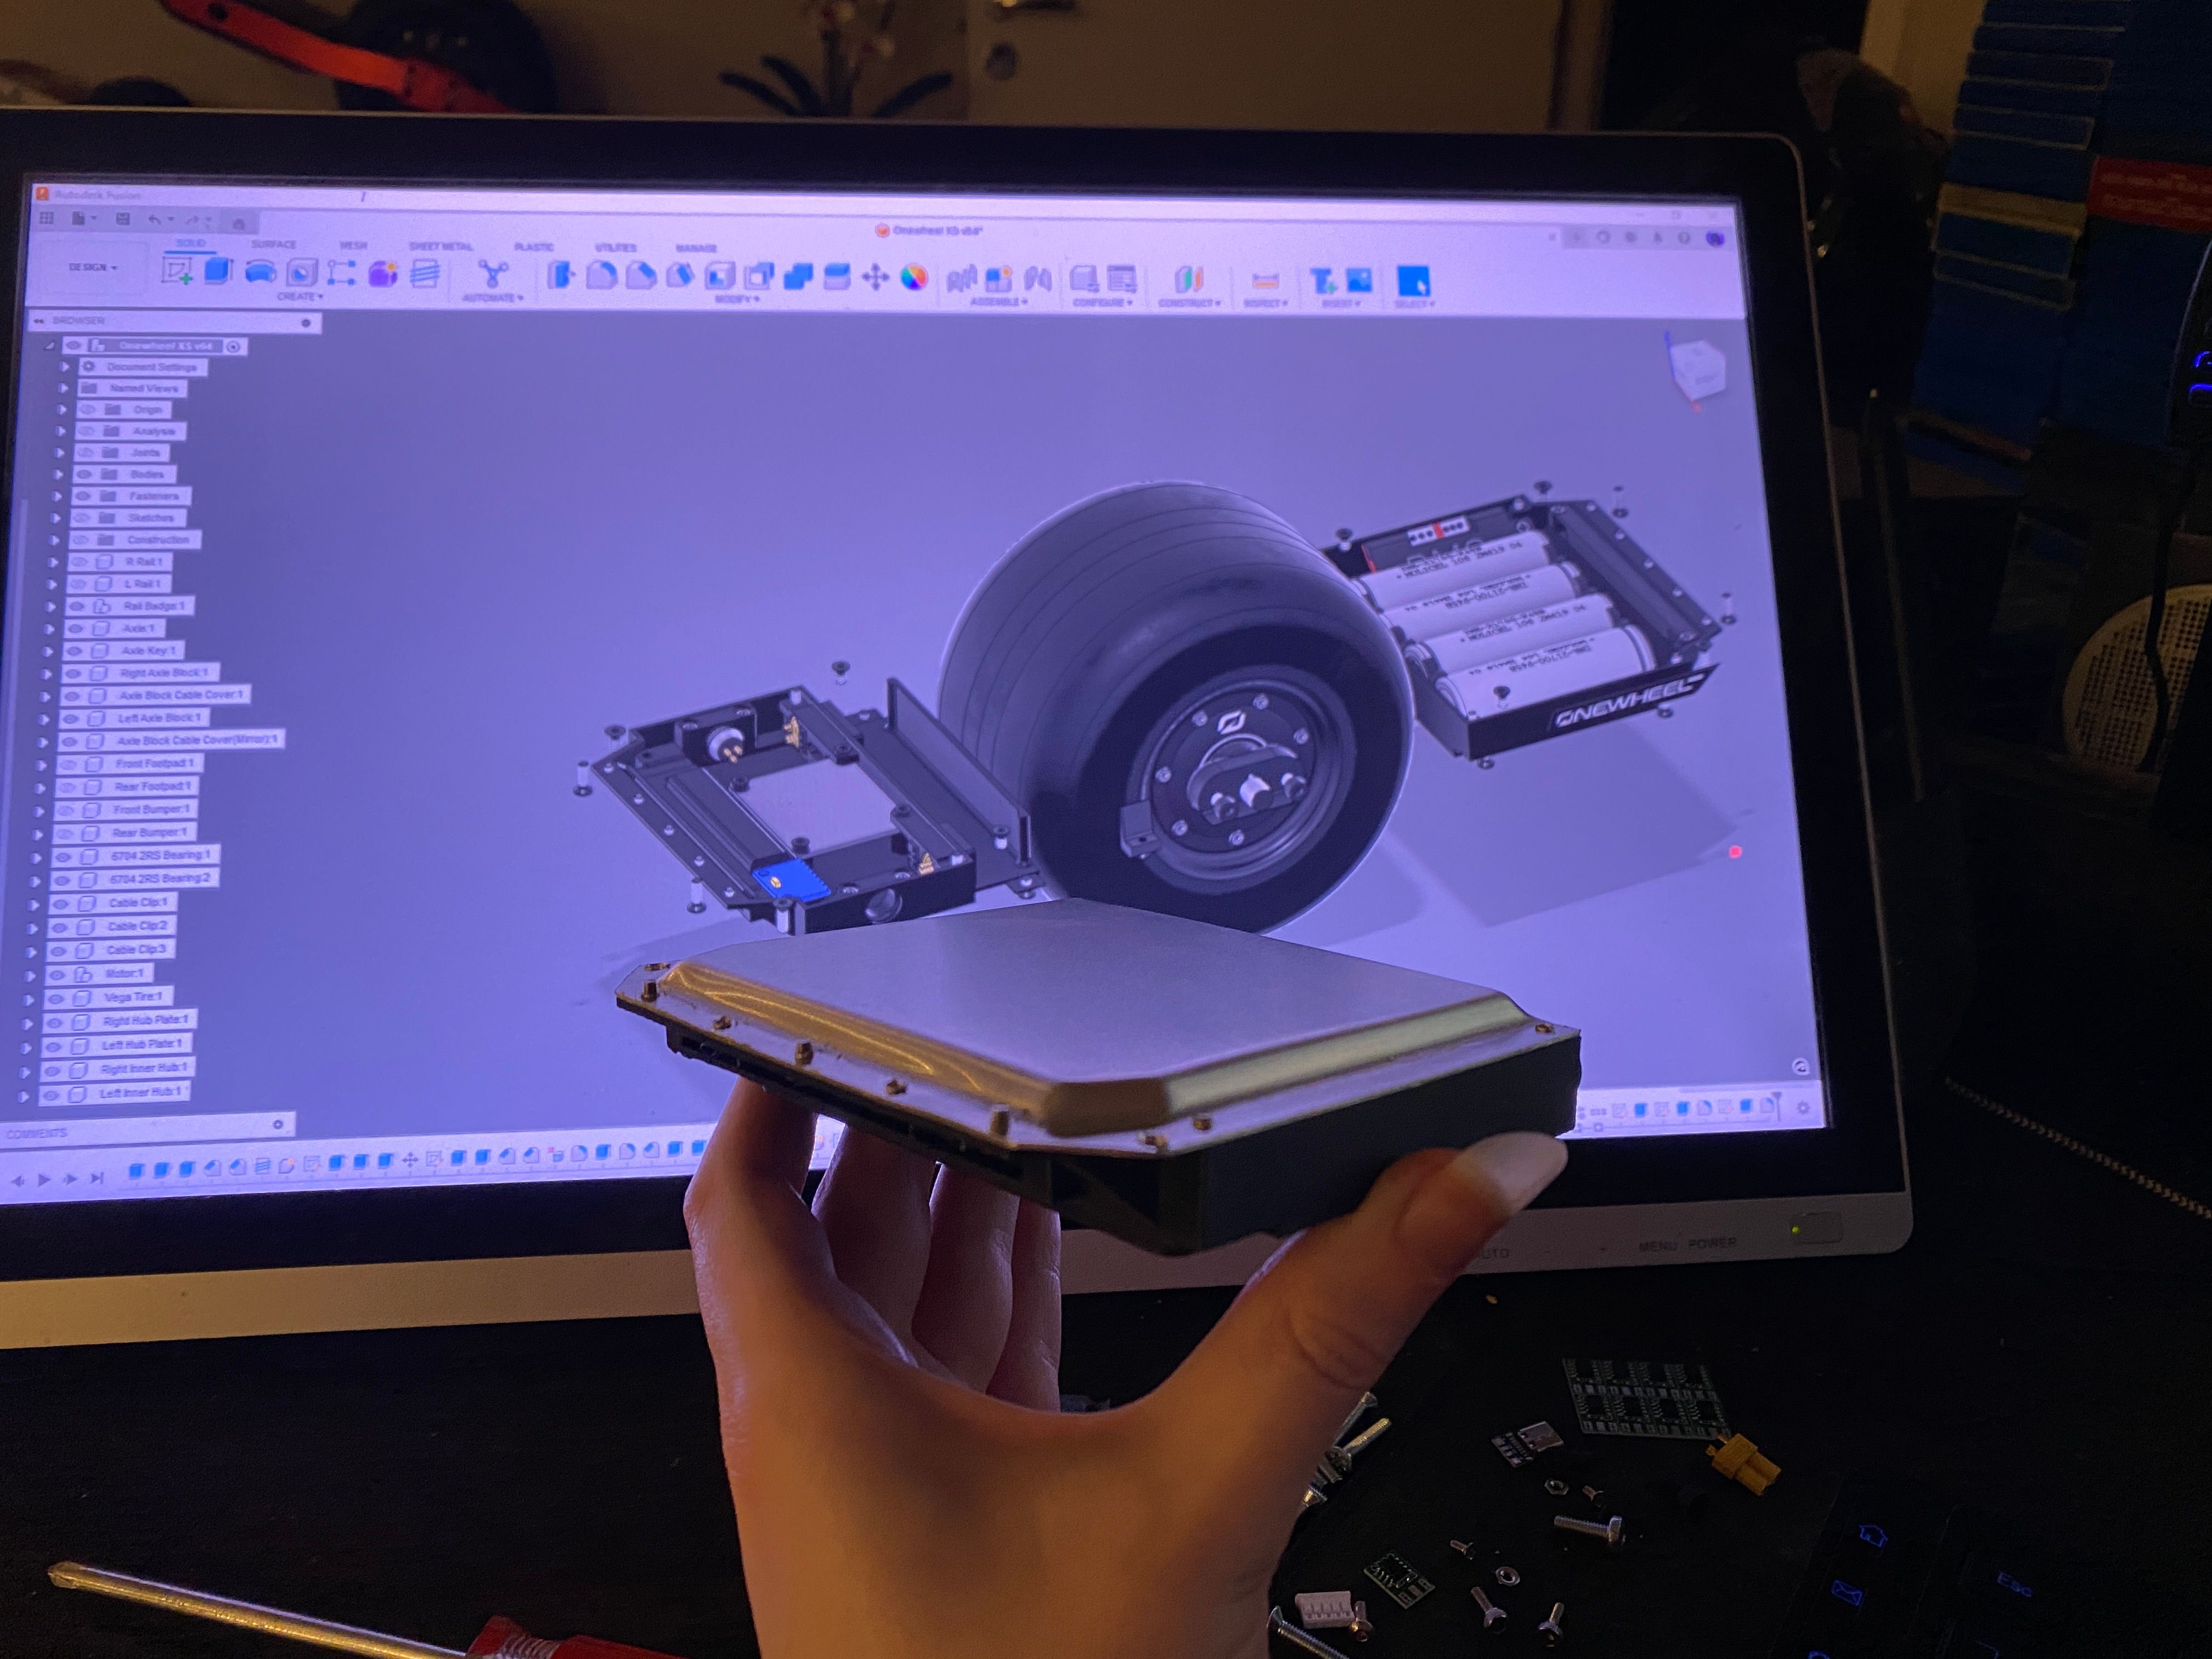
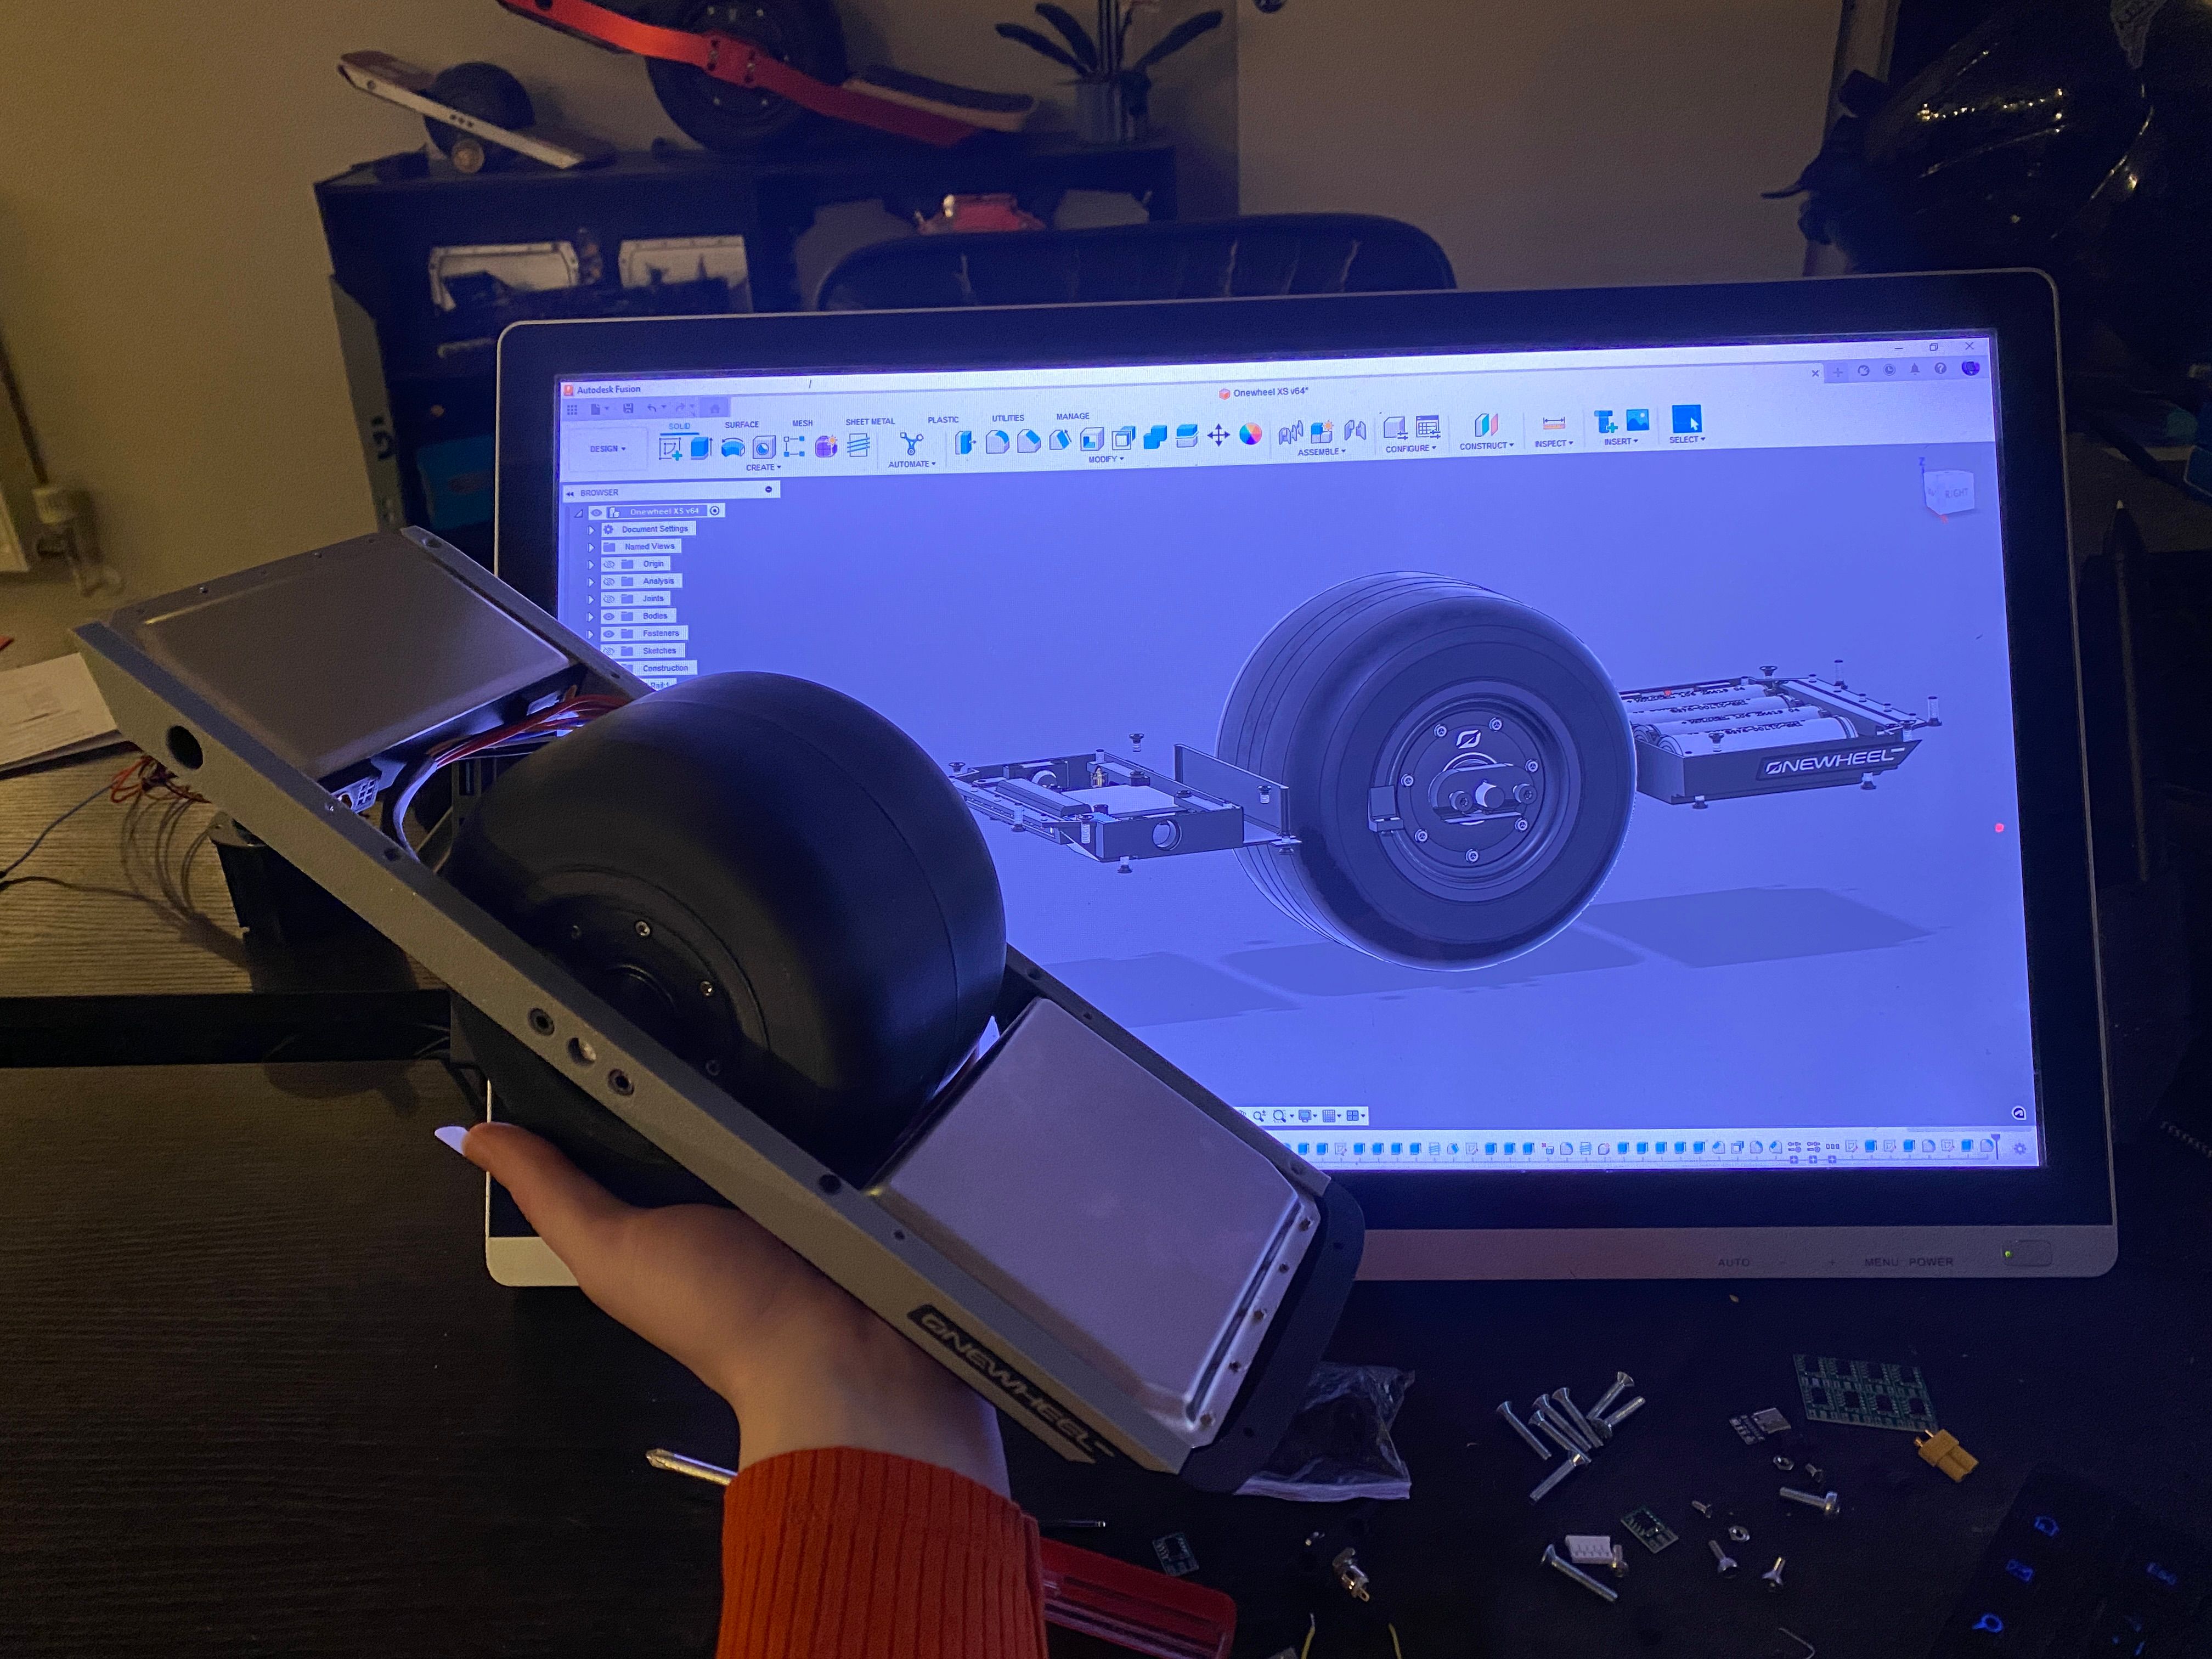
First some CAD images because they look cool but also try to show how complex this thing is.

Nearly finished work on the controller side. Mostly been redoing where stuff goes now that I've changed how it actually works. Power button won't need any fancy circuitry now that I can get the controller to actually do it.
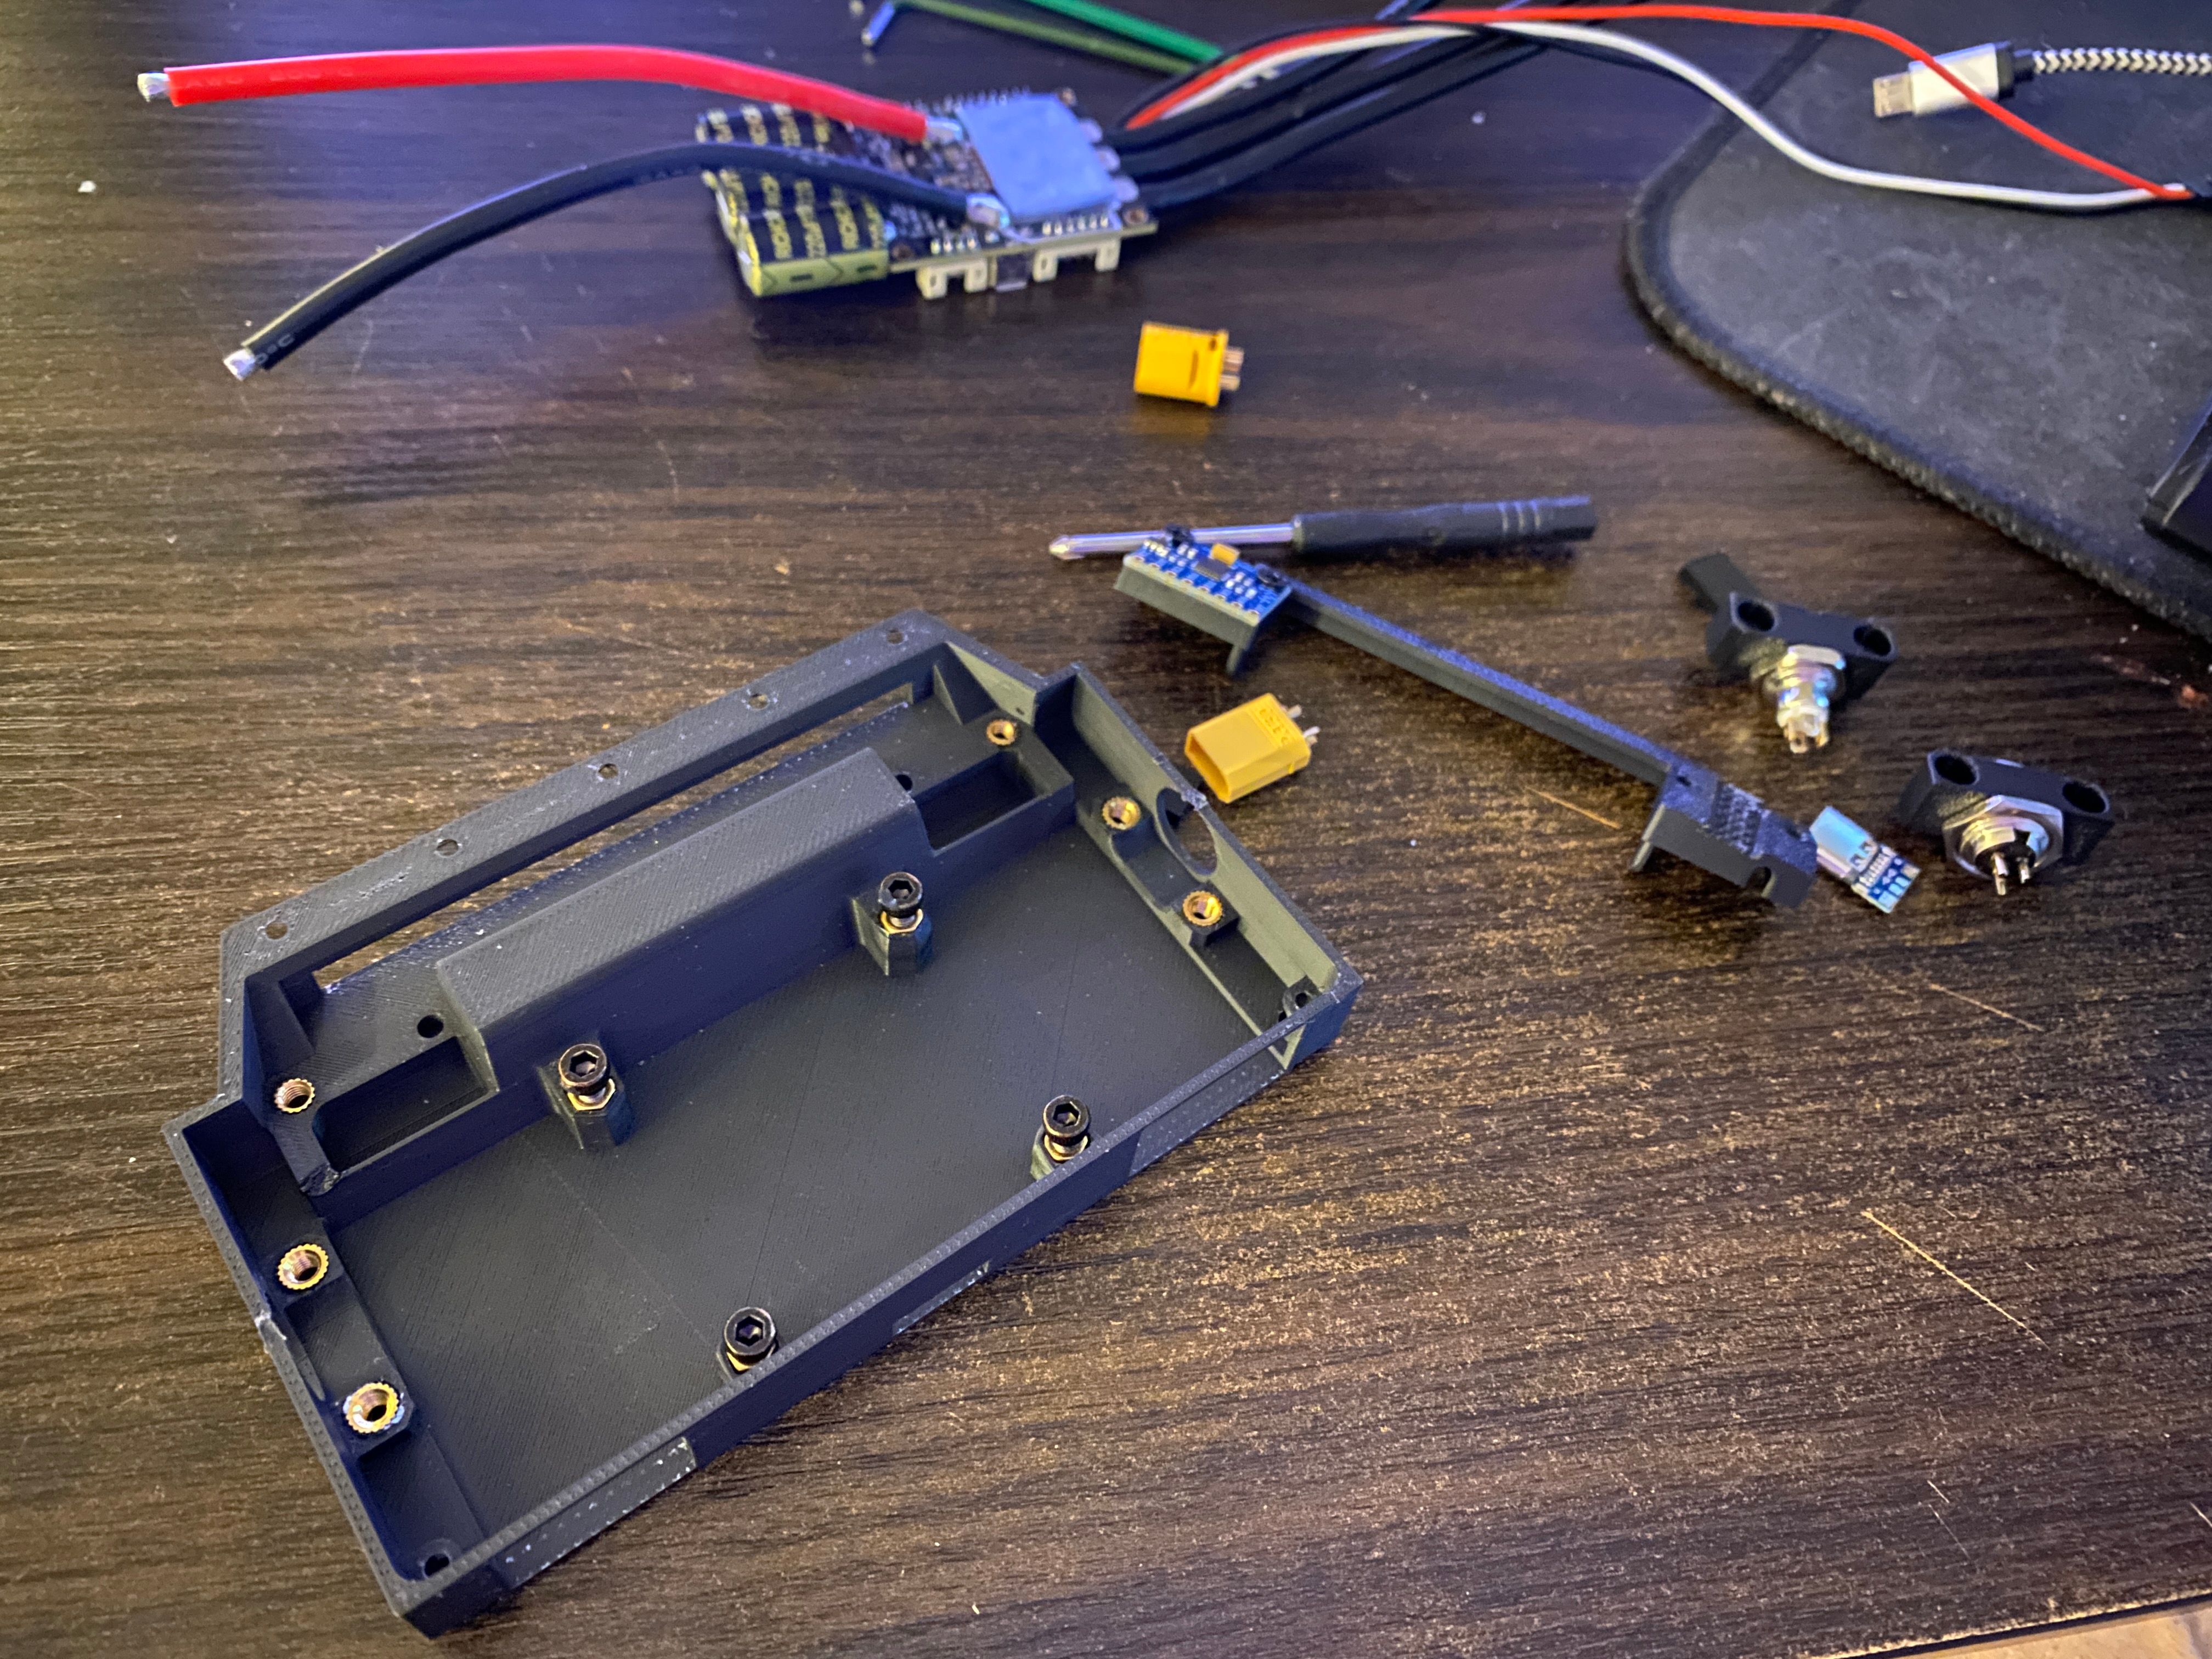
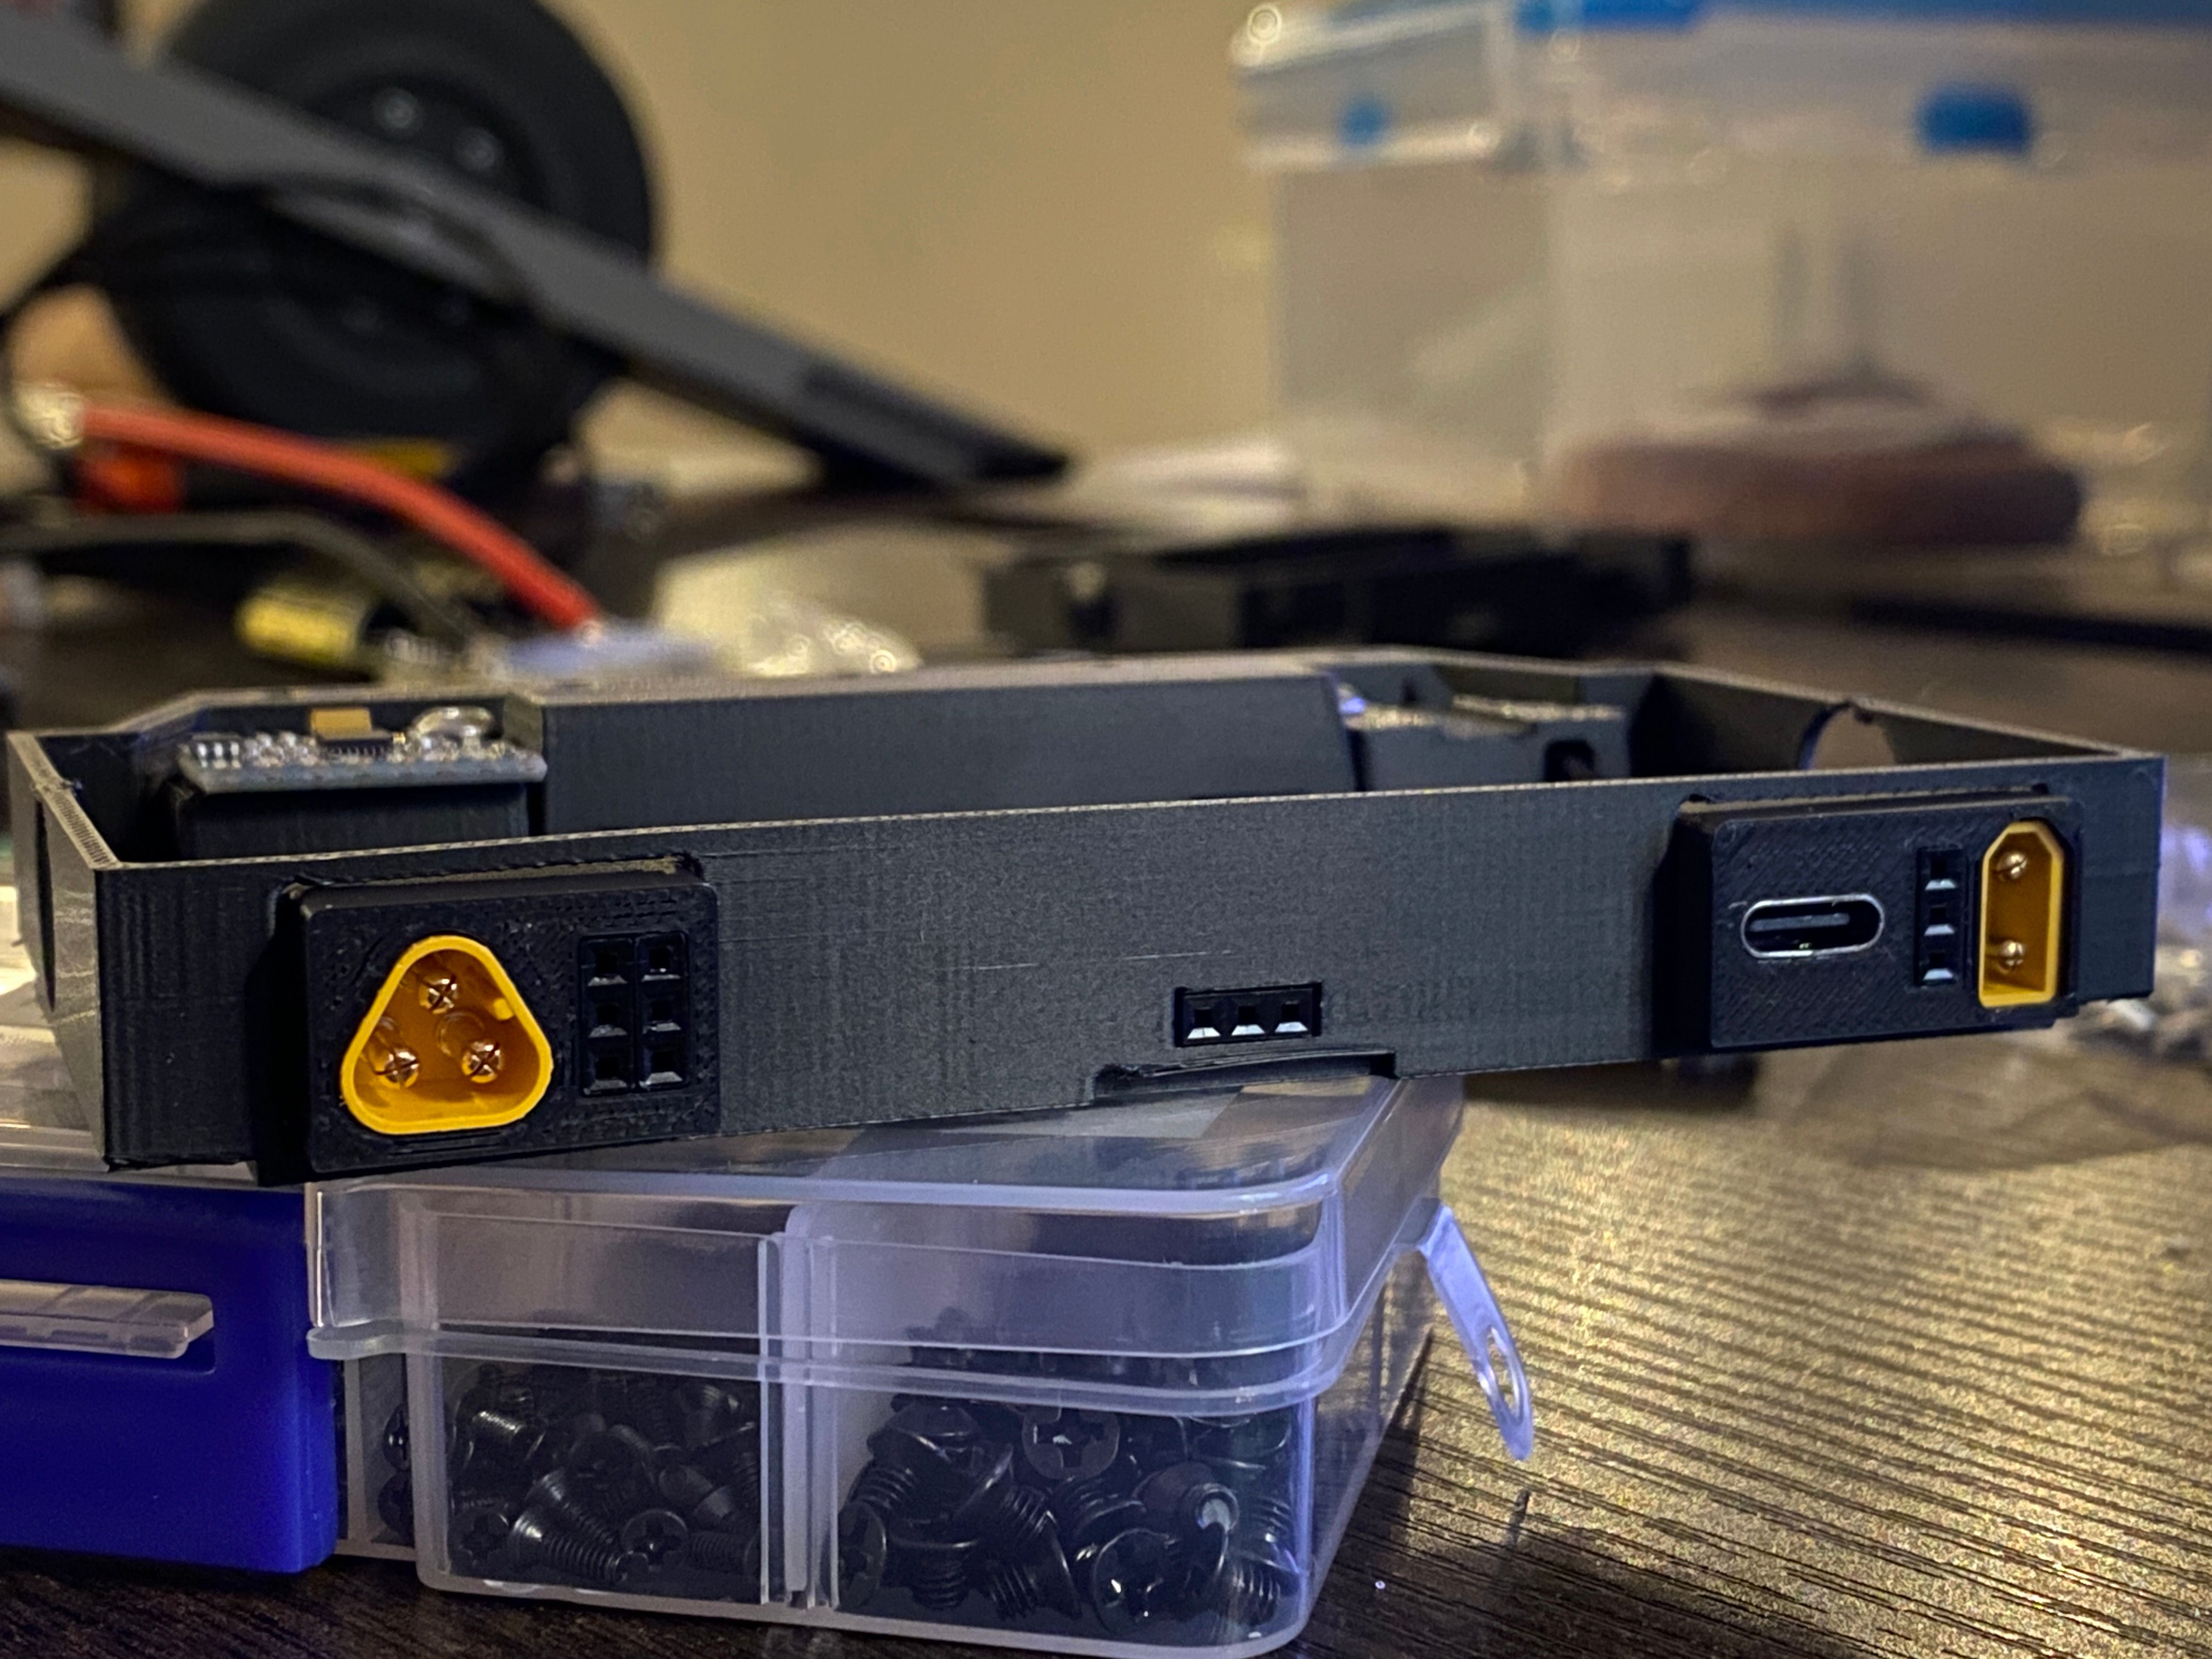
Headlight bracket triples as the power cap holder and the IMU mount. USB C for scale (and not because I couldn't be bothered to move it out the shot).
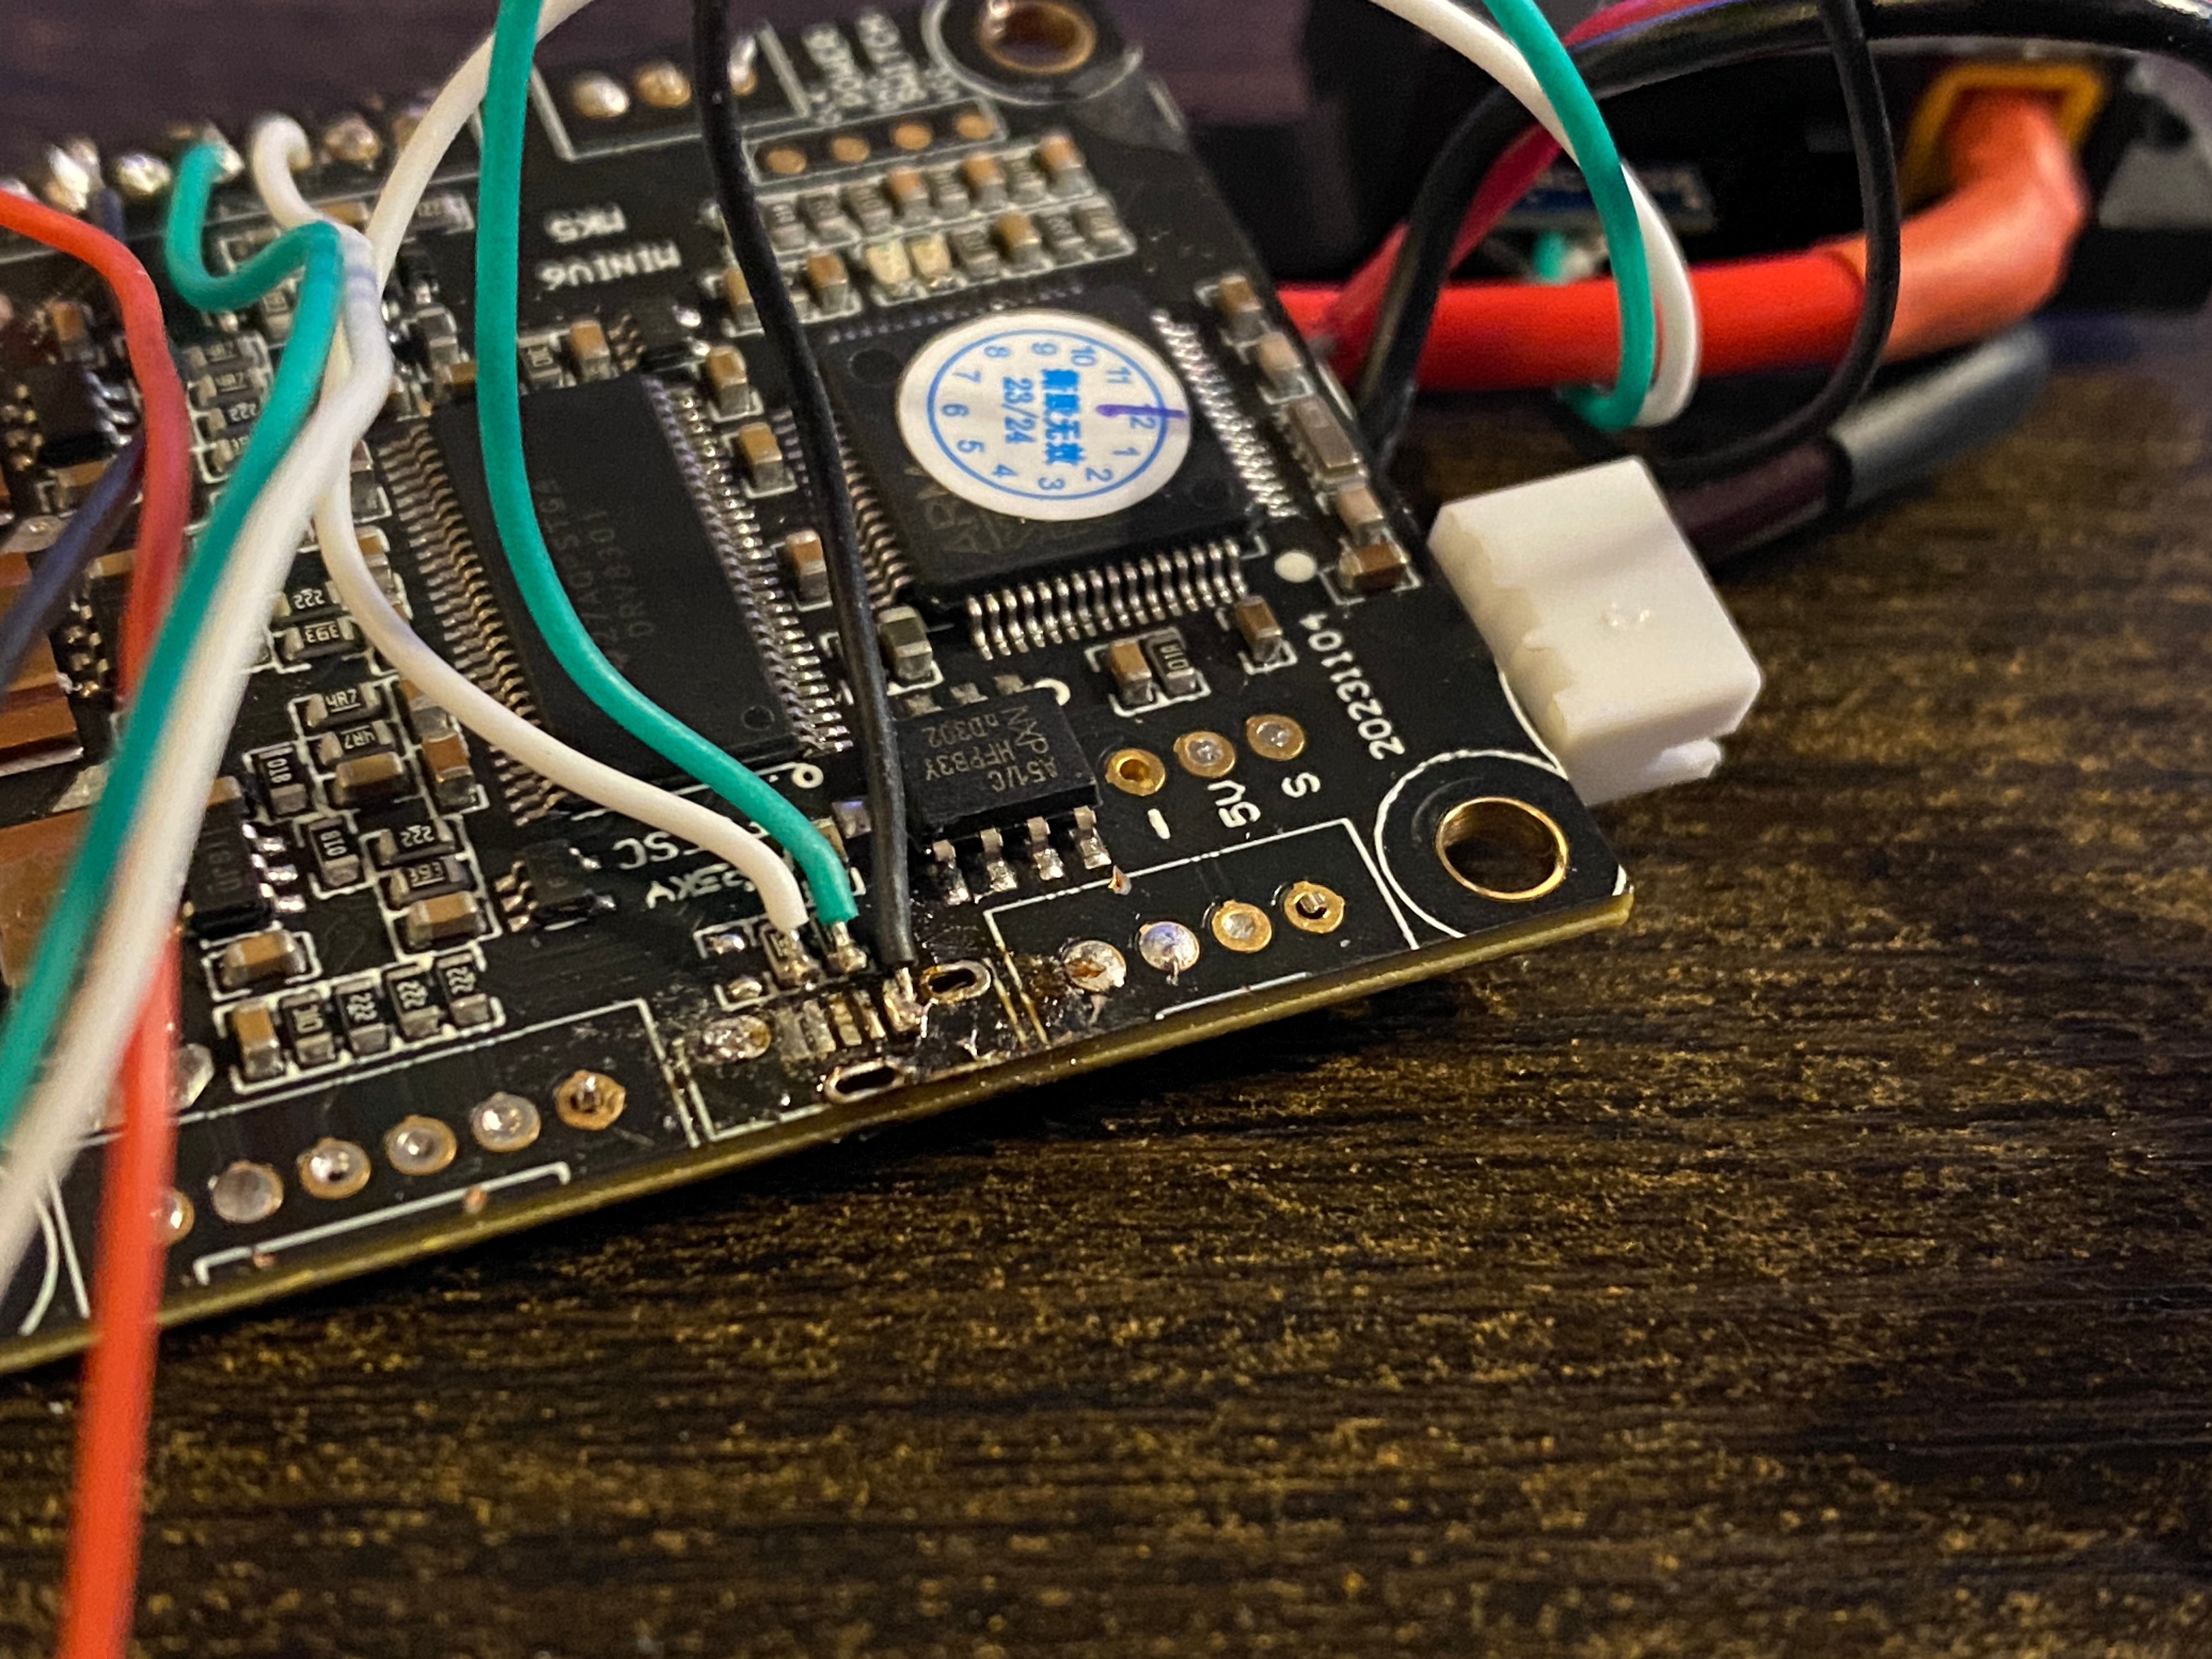
Rear IO is a little different too. USB C for programming/monitoring the VESC but I need to wire that in to replace the USB micro port 🤮
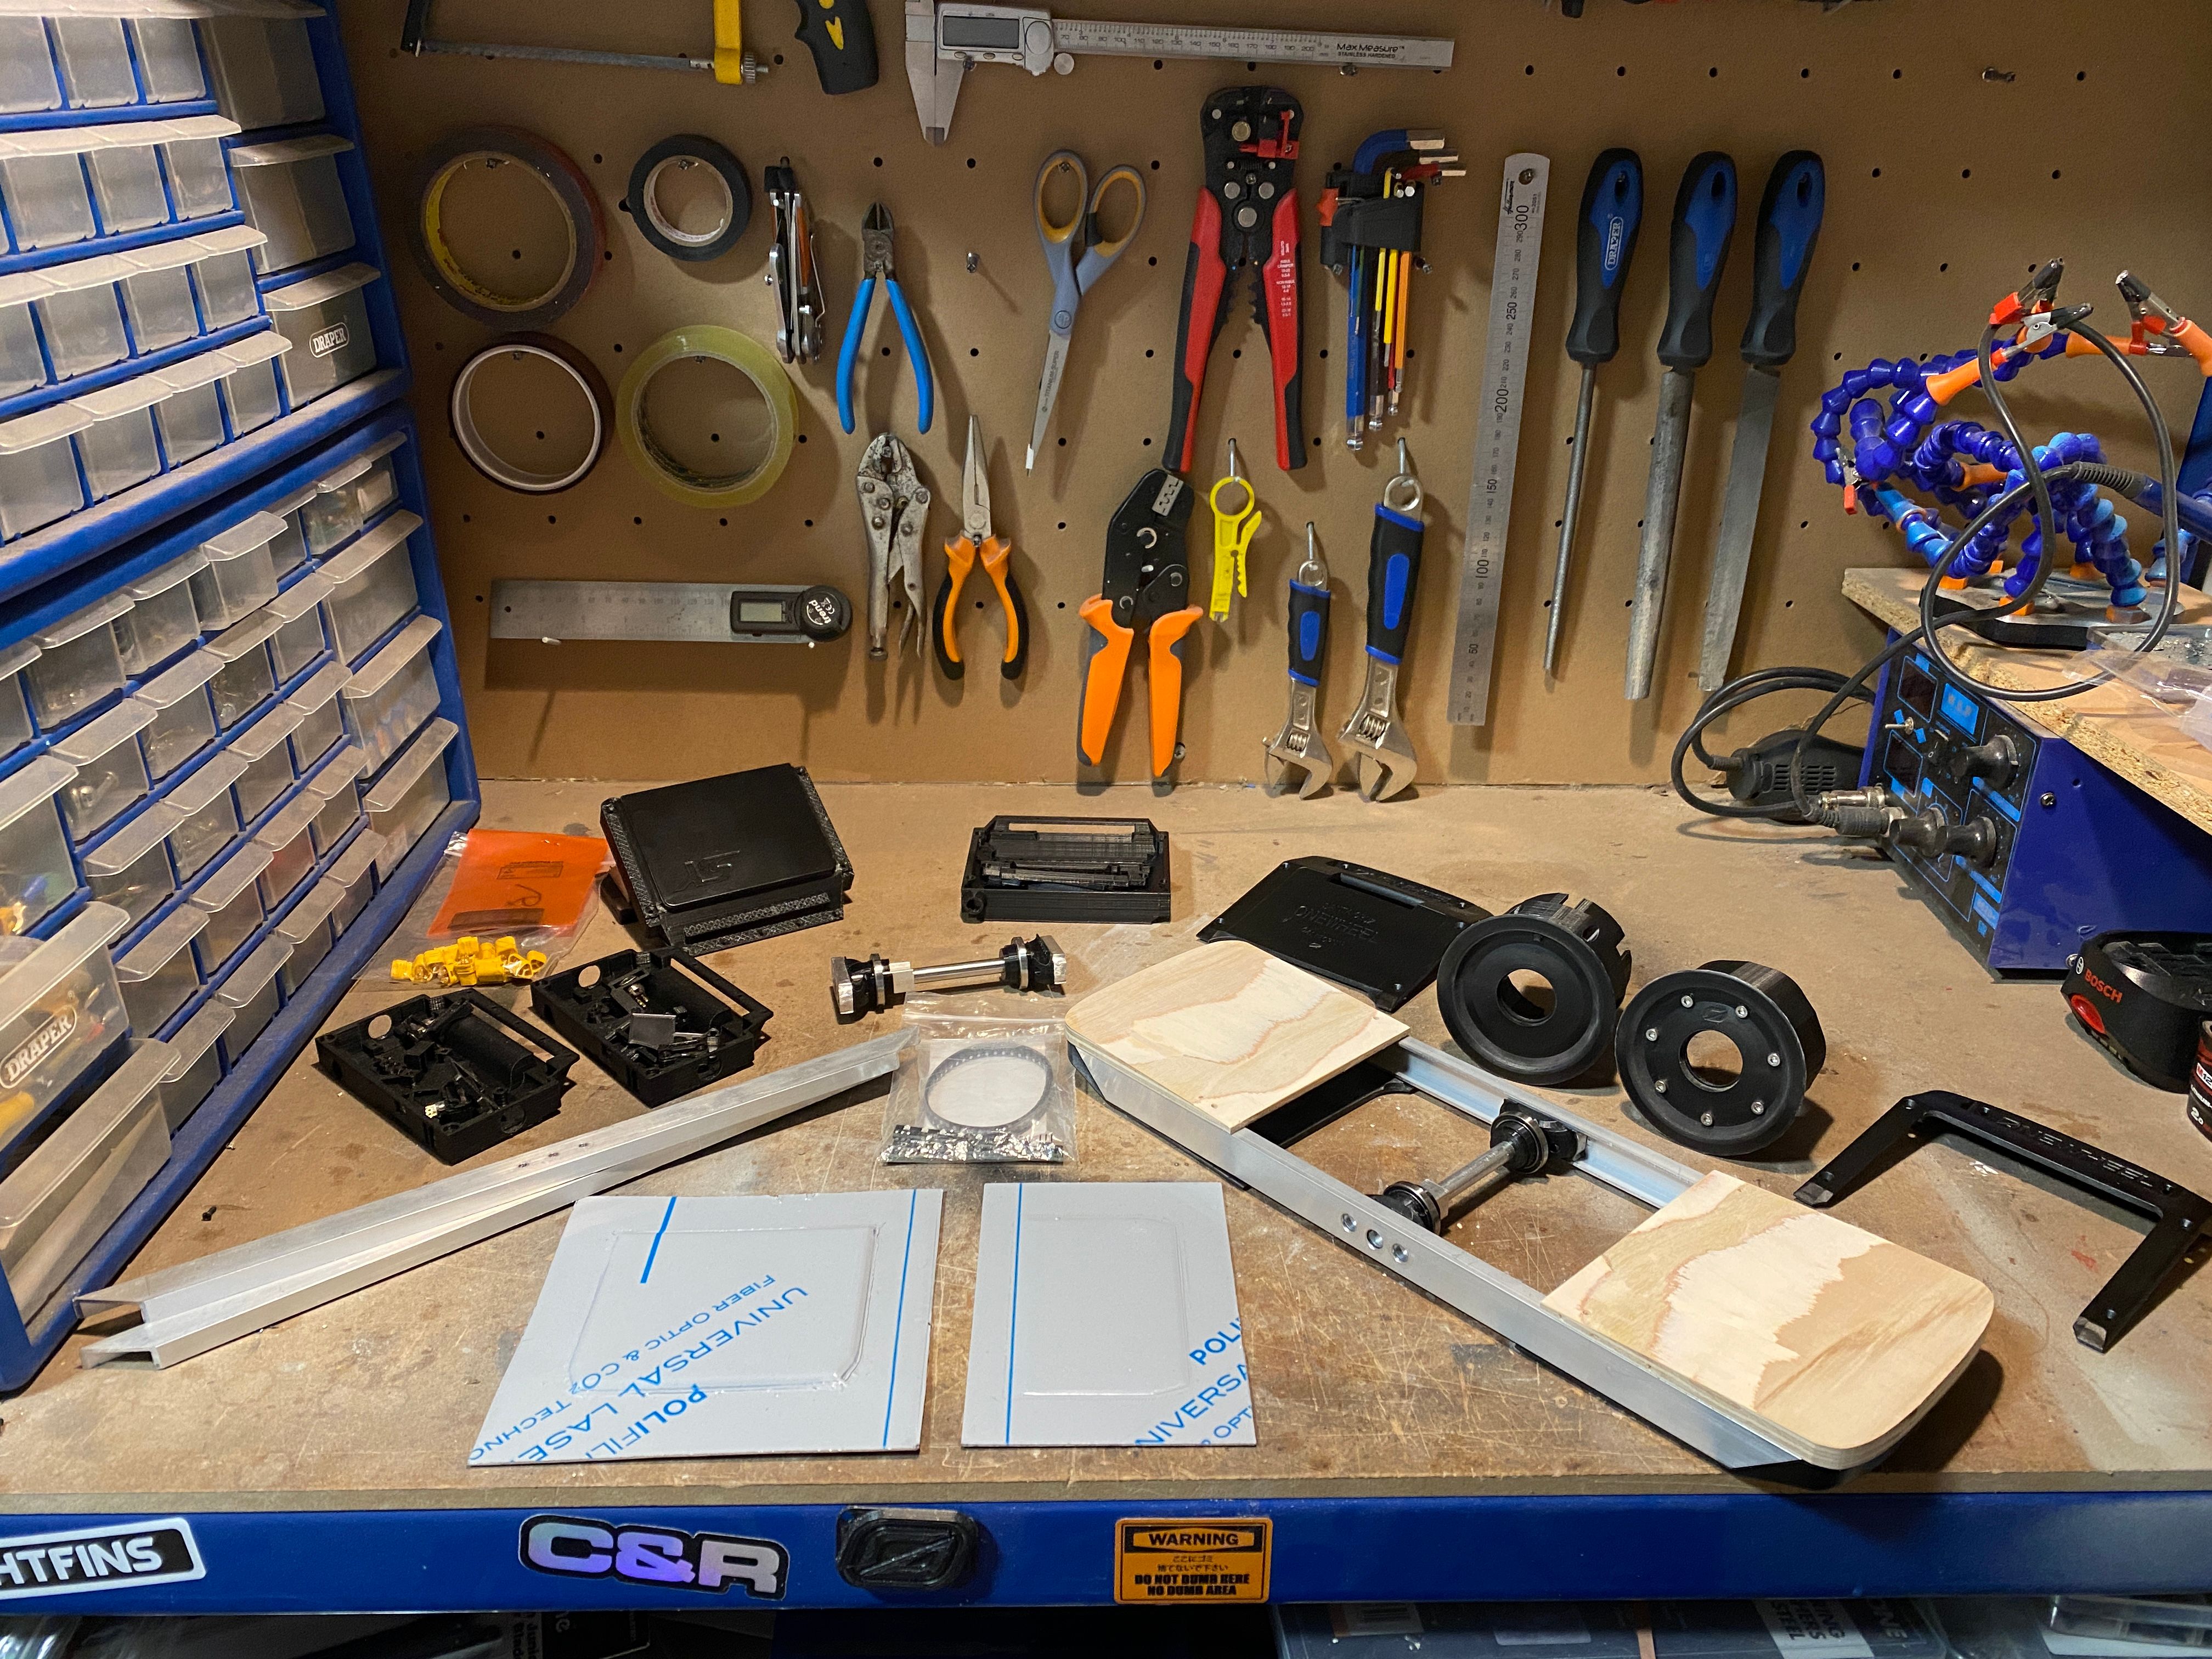
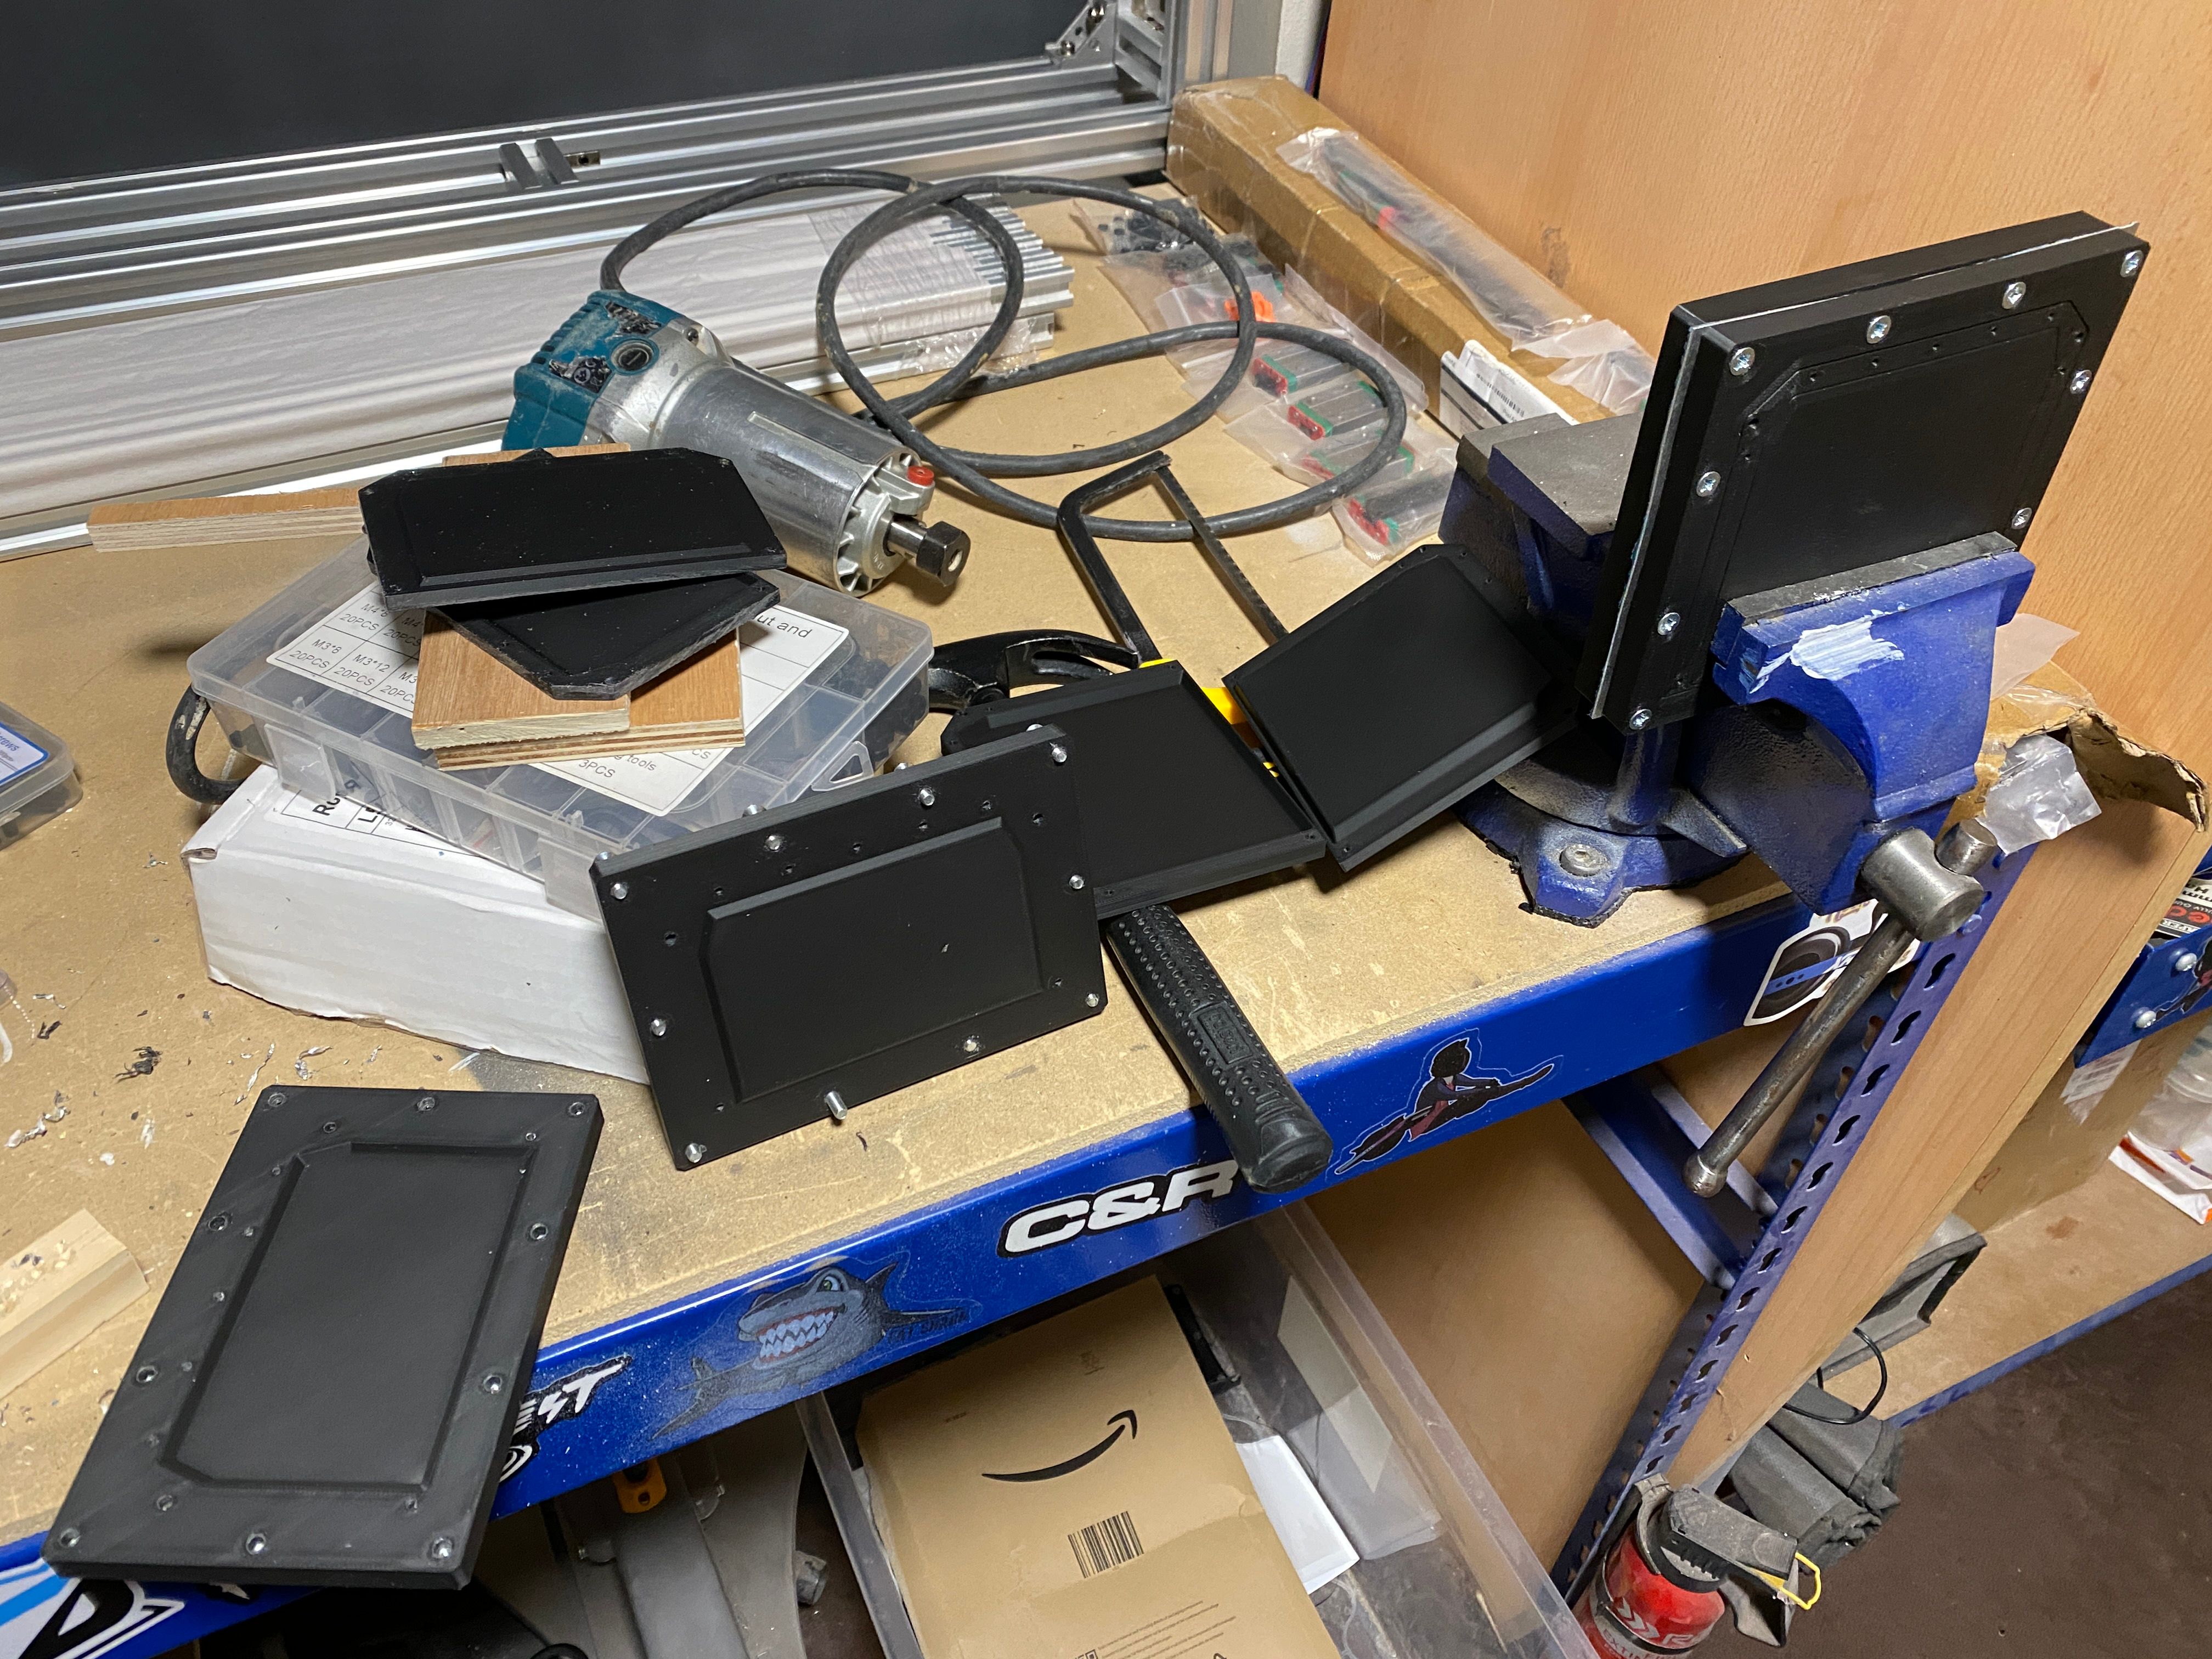
Stinky desk utterly cluttered in parts and it's currently even worse😭

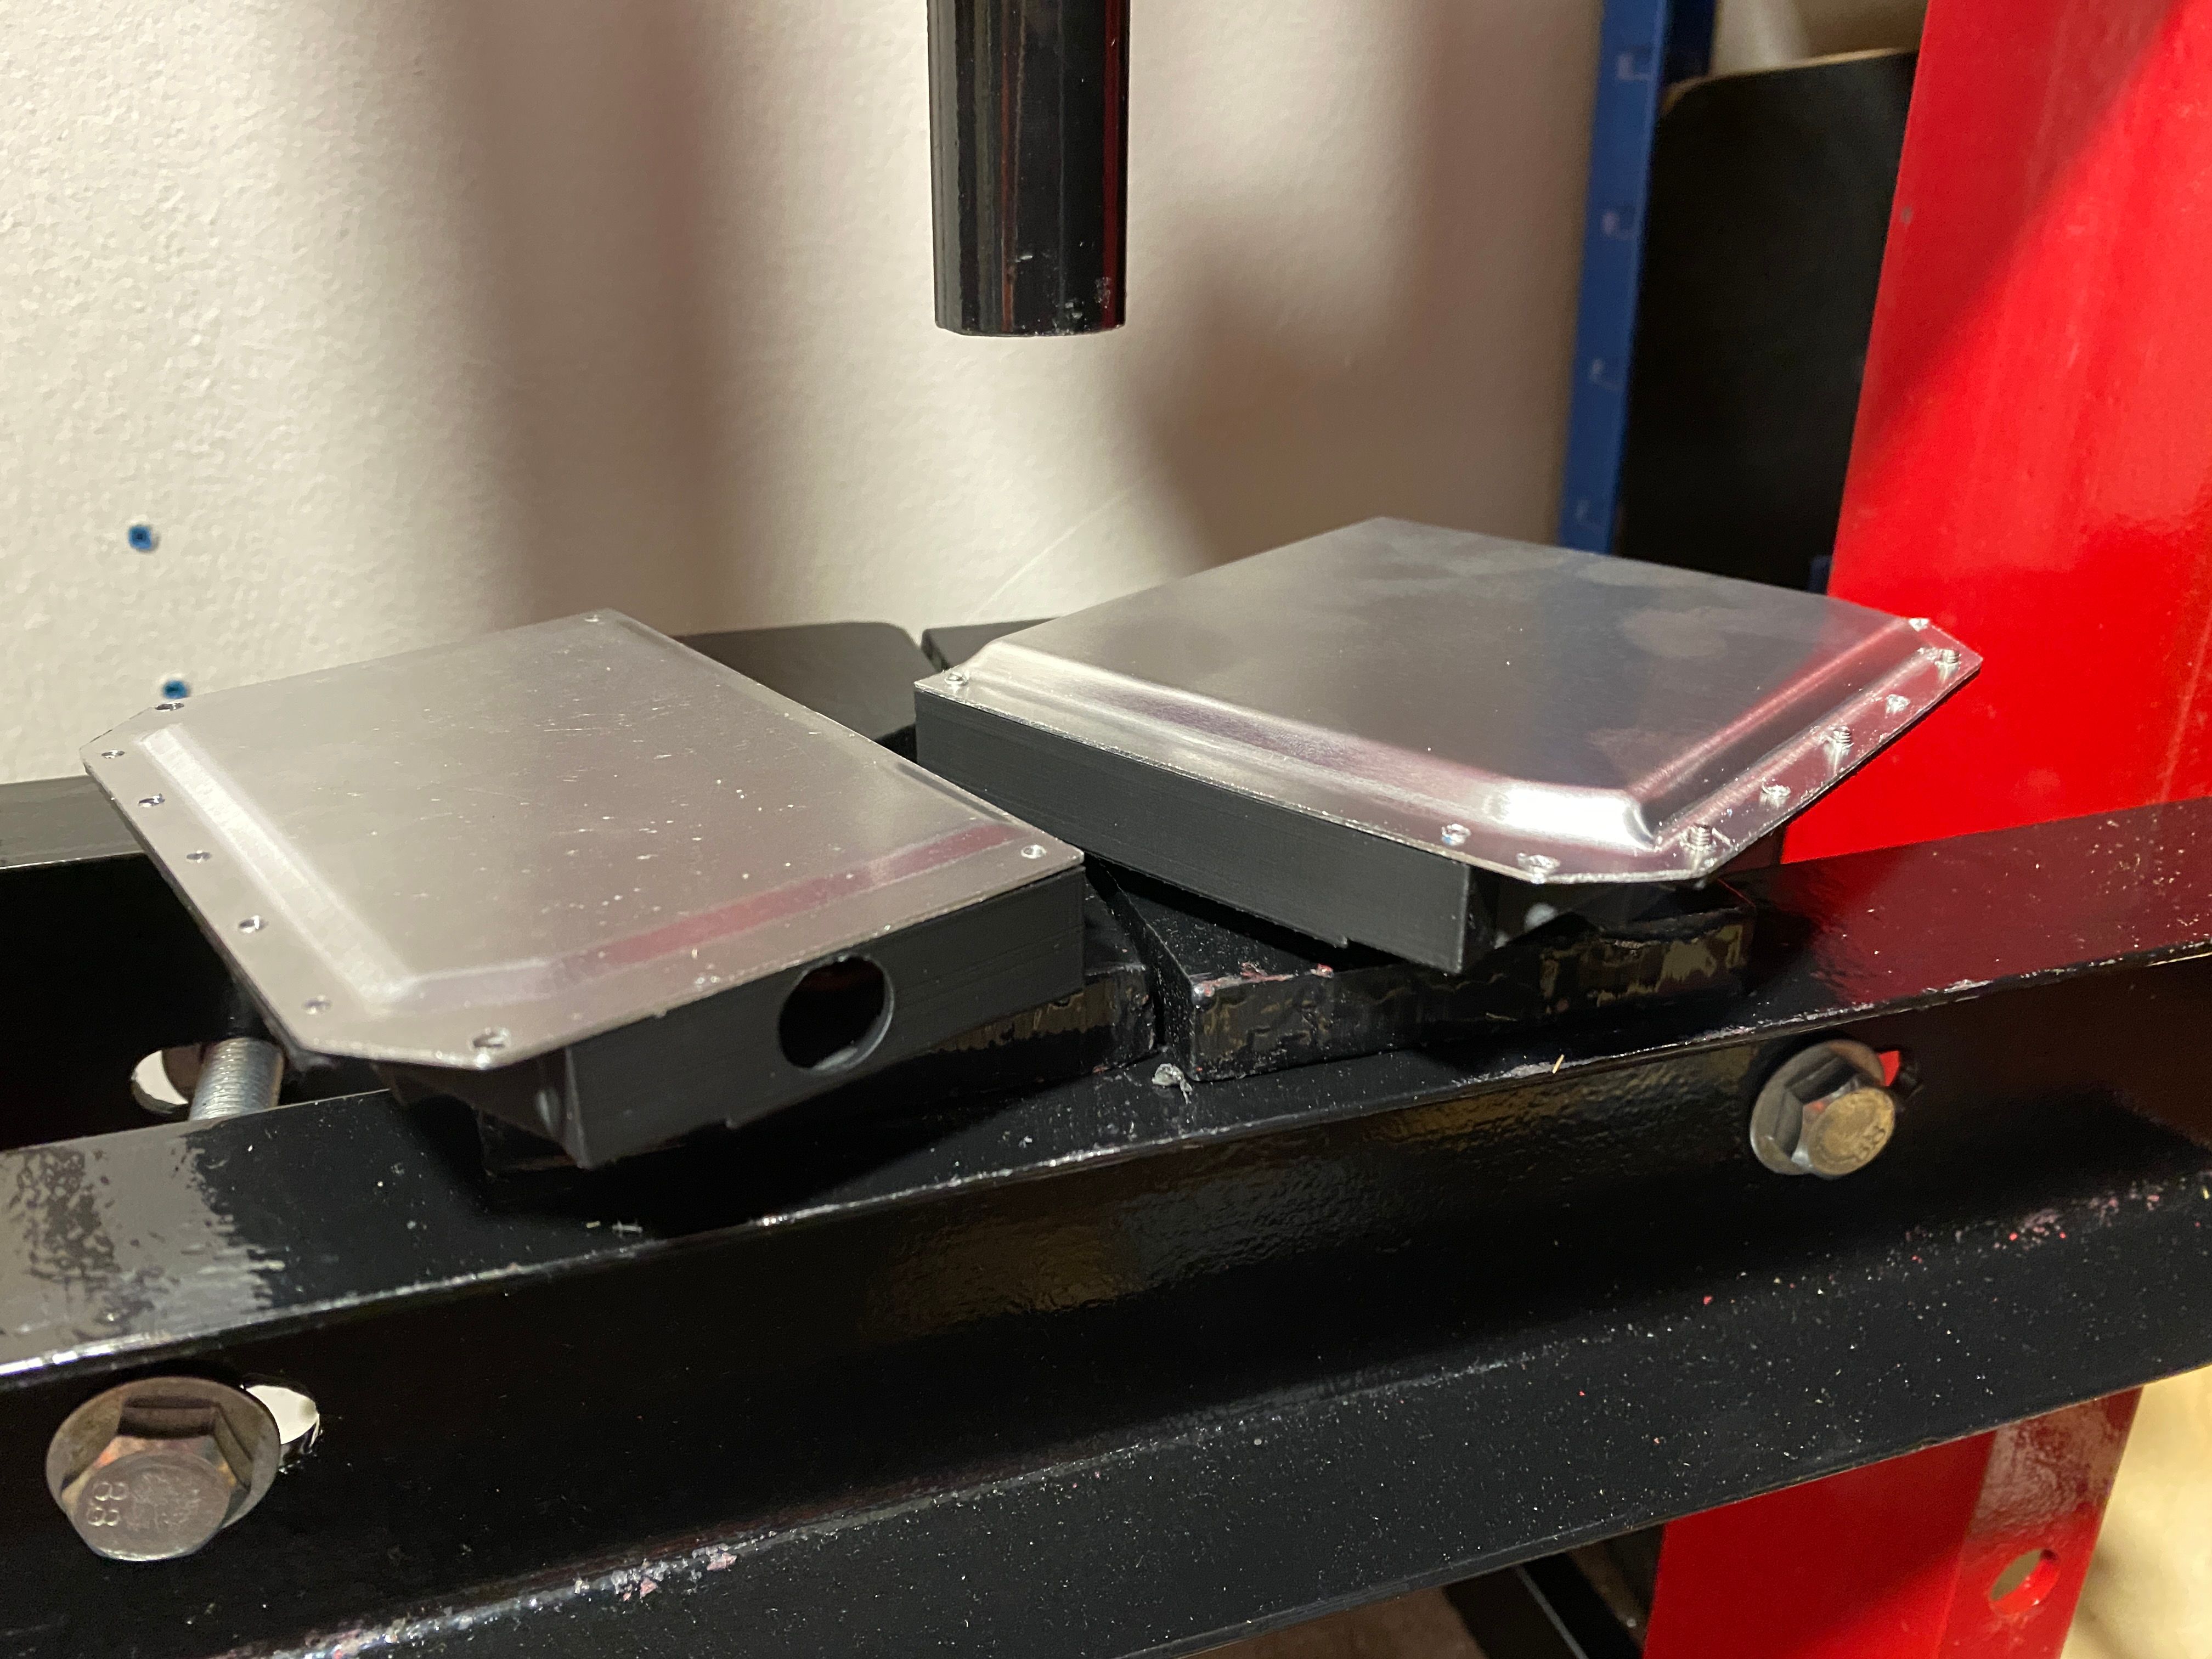
Press forming the lids using some 3d printed forms then crushing the 2 halves together with a sheet of 0.8mm aluminium in the middle. The controller one was easy enough but the battery one which I made a bit taller is not closing completely before bending the screw in my bench vice.
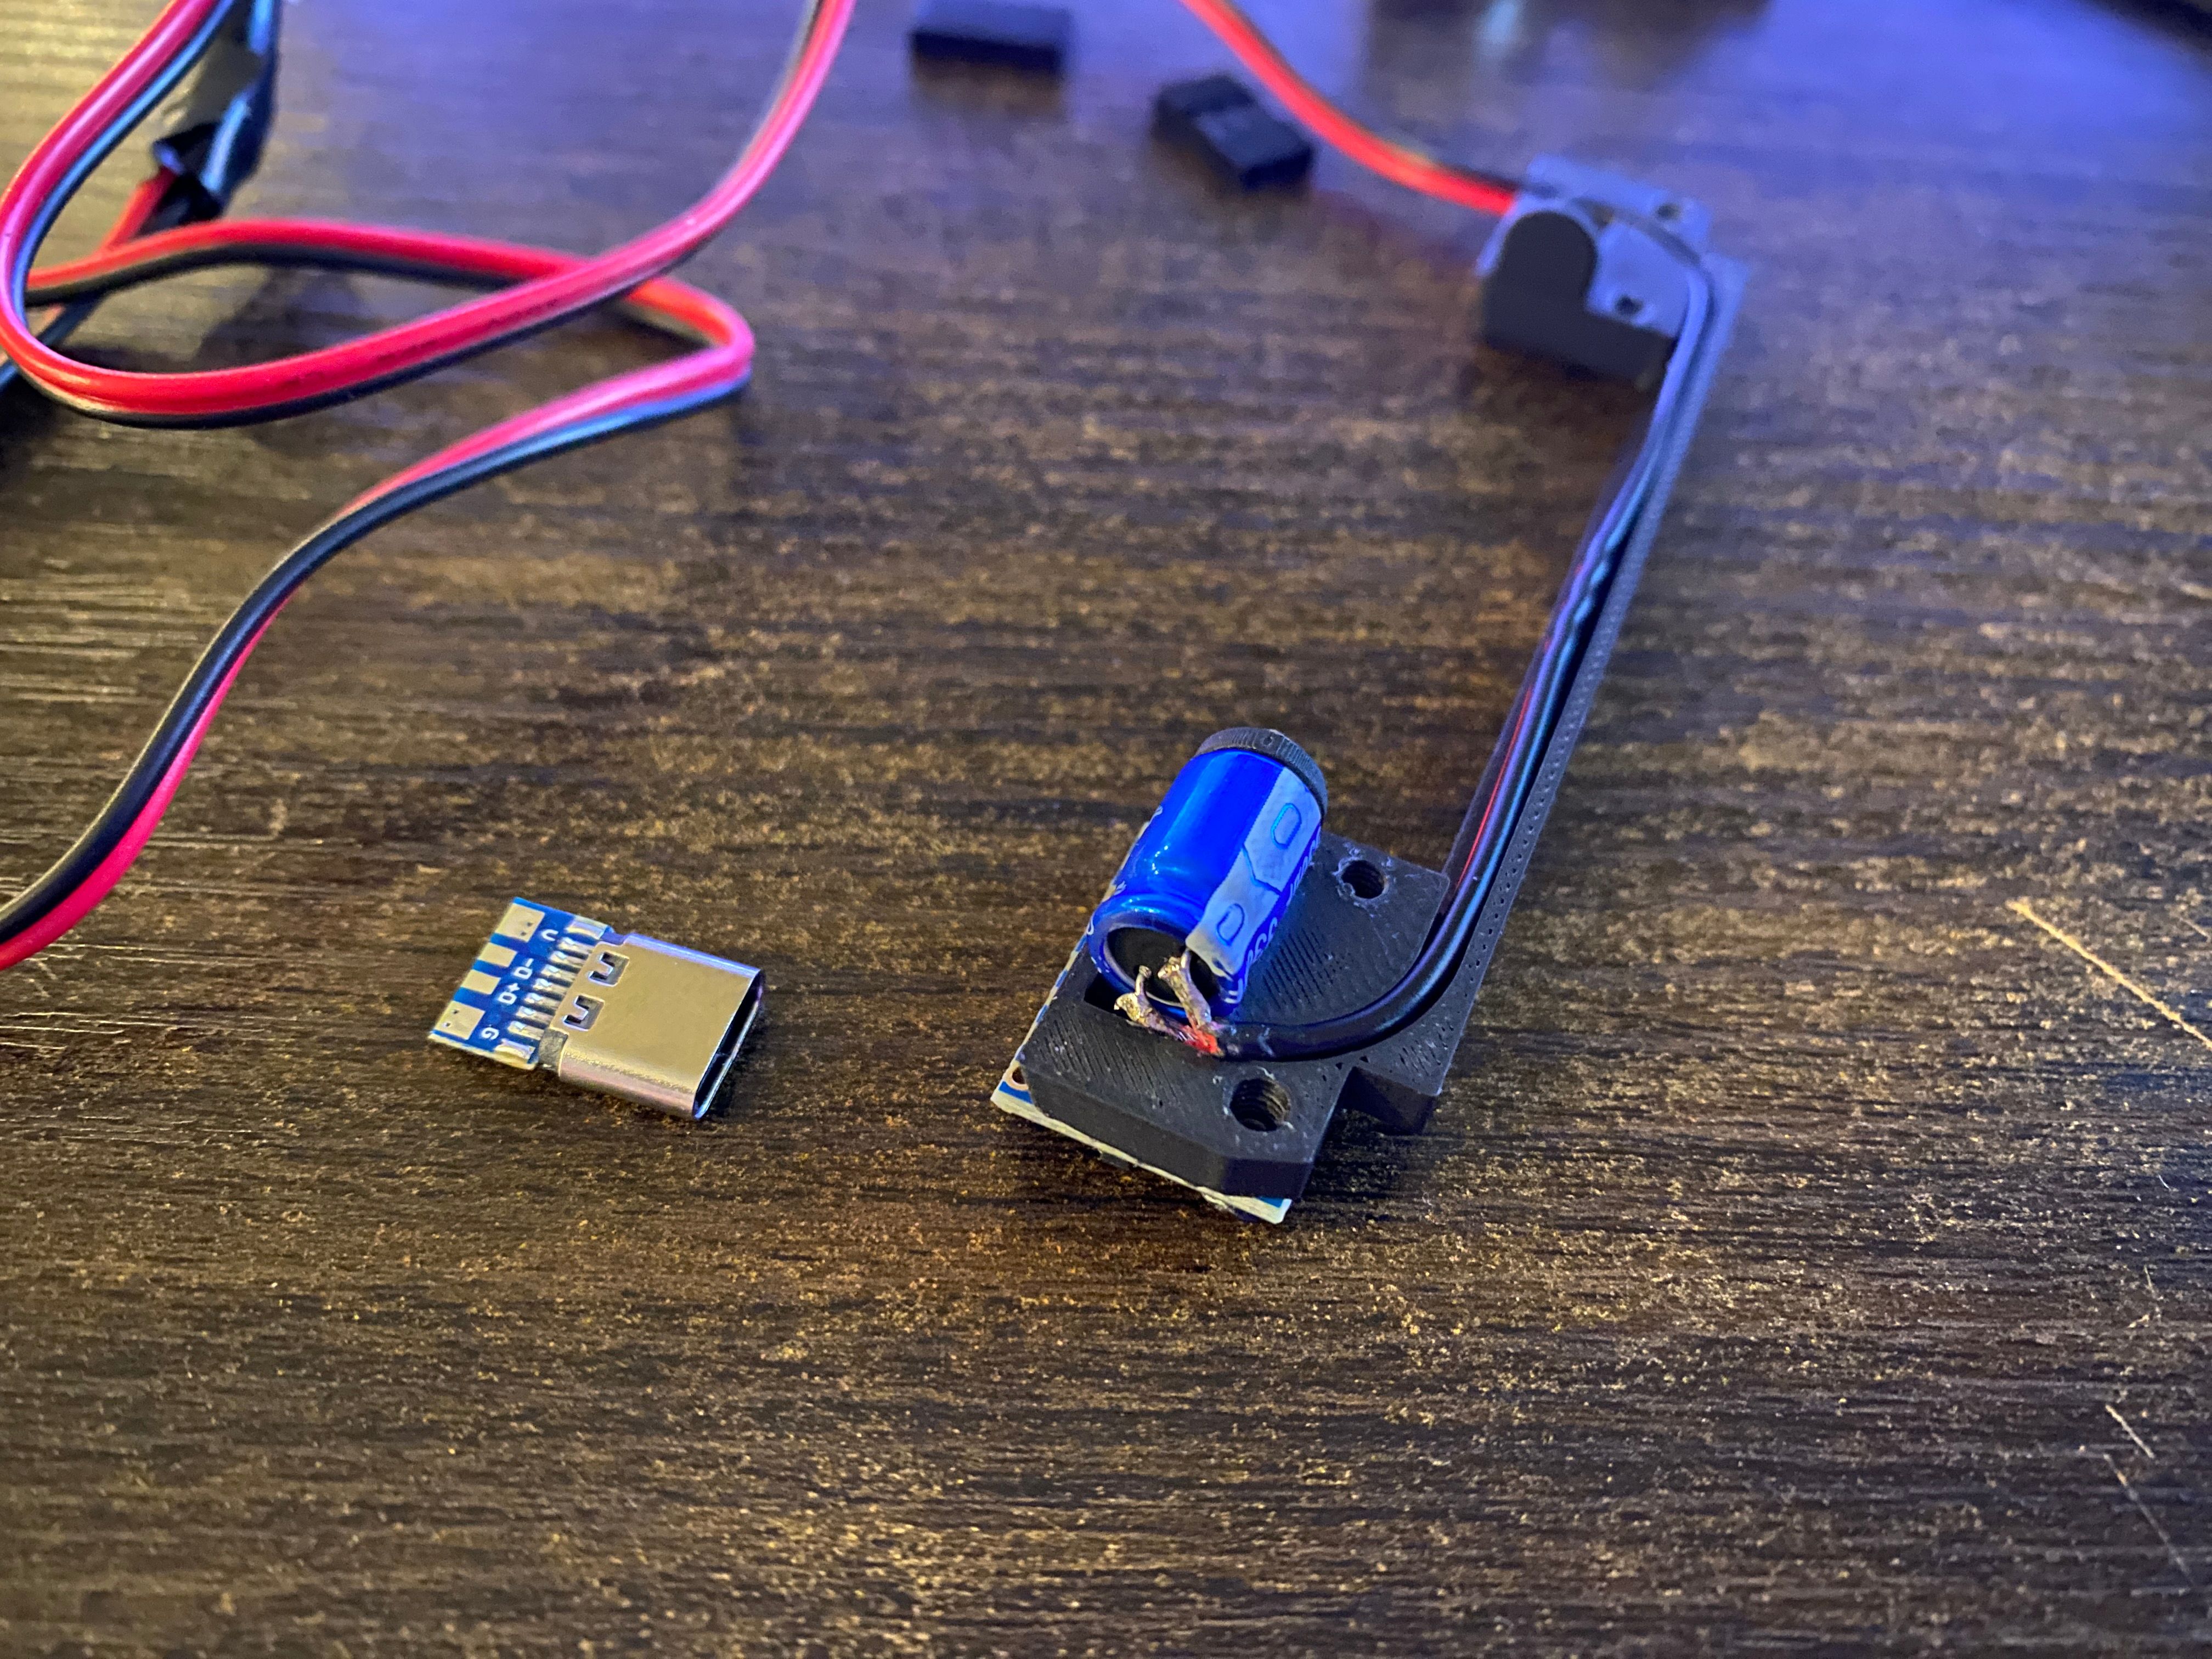
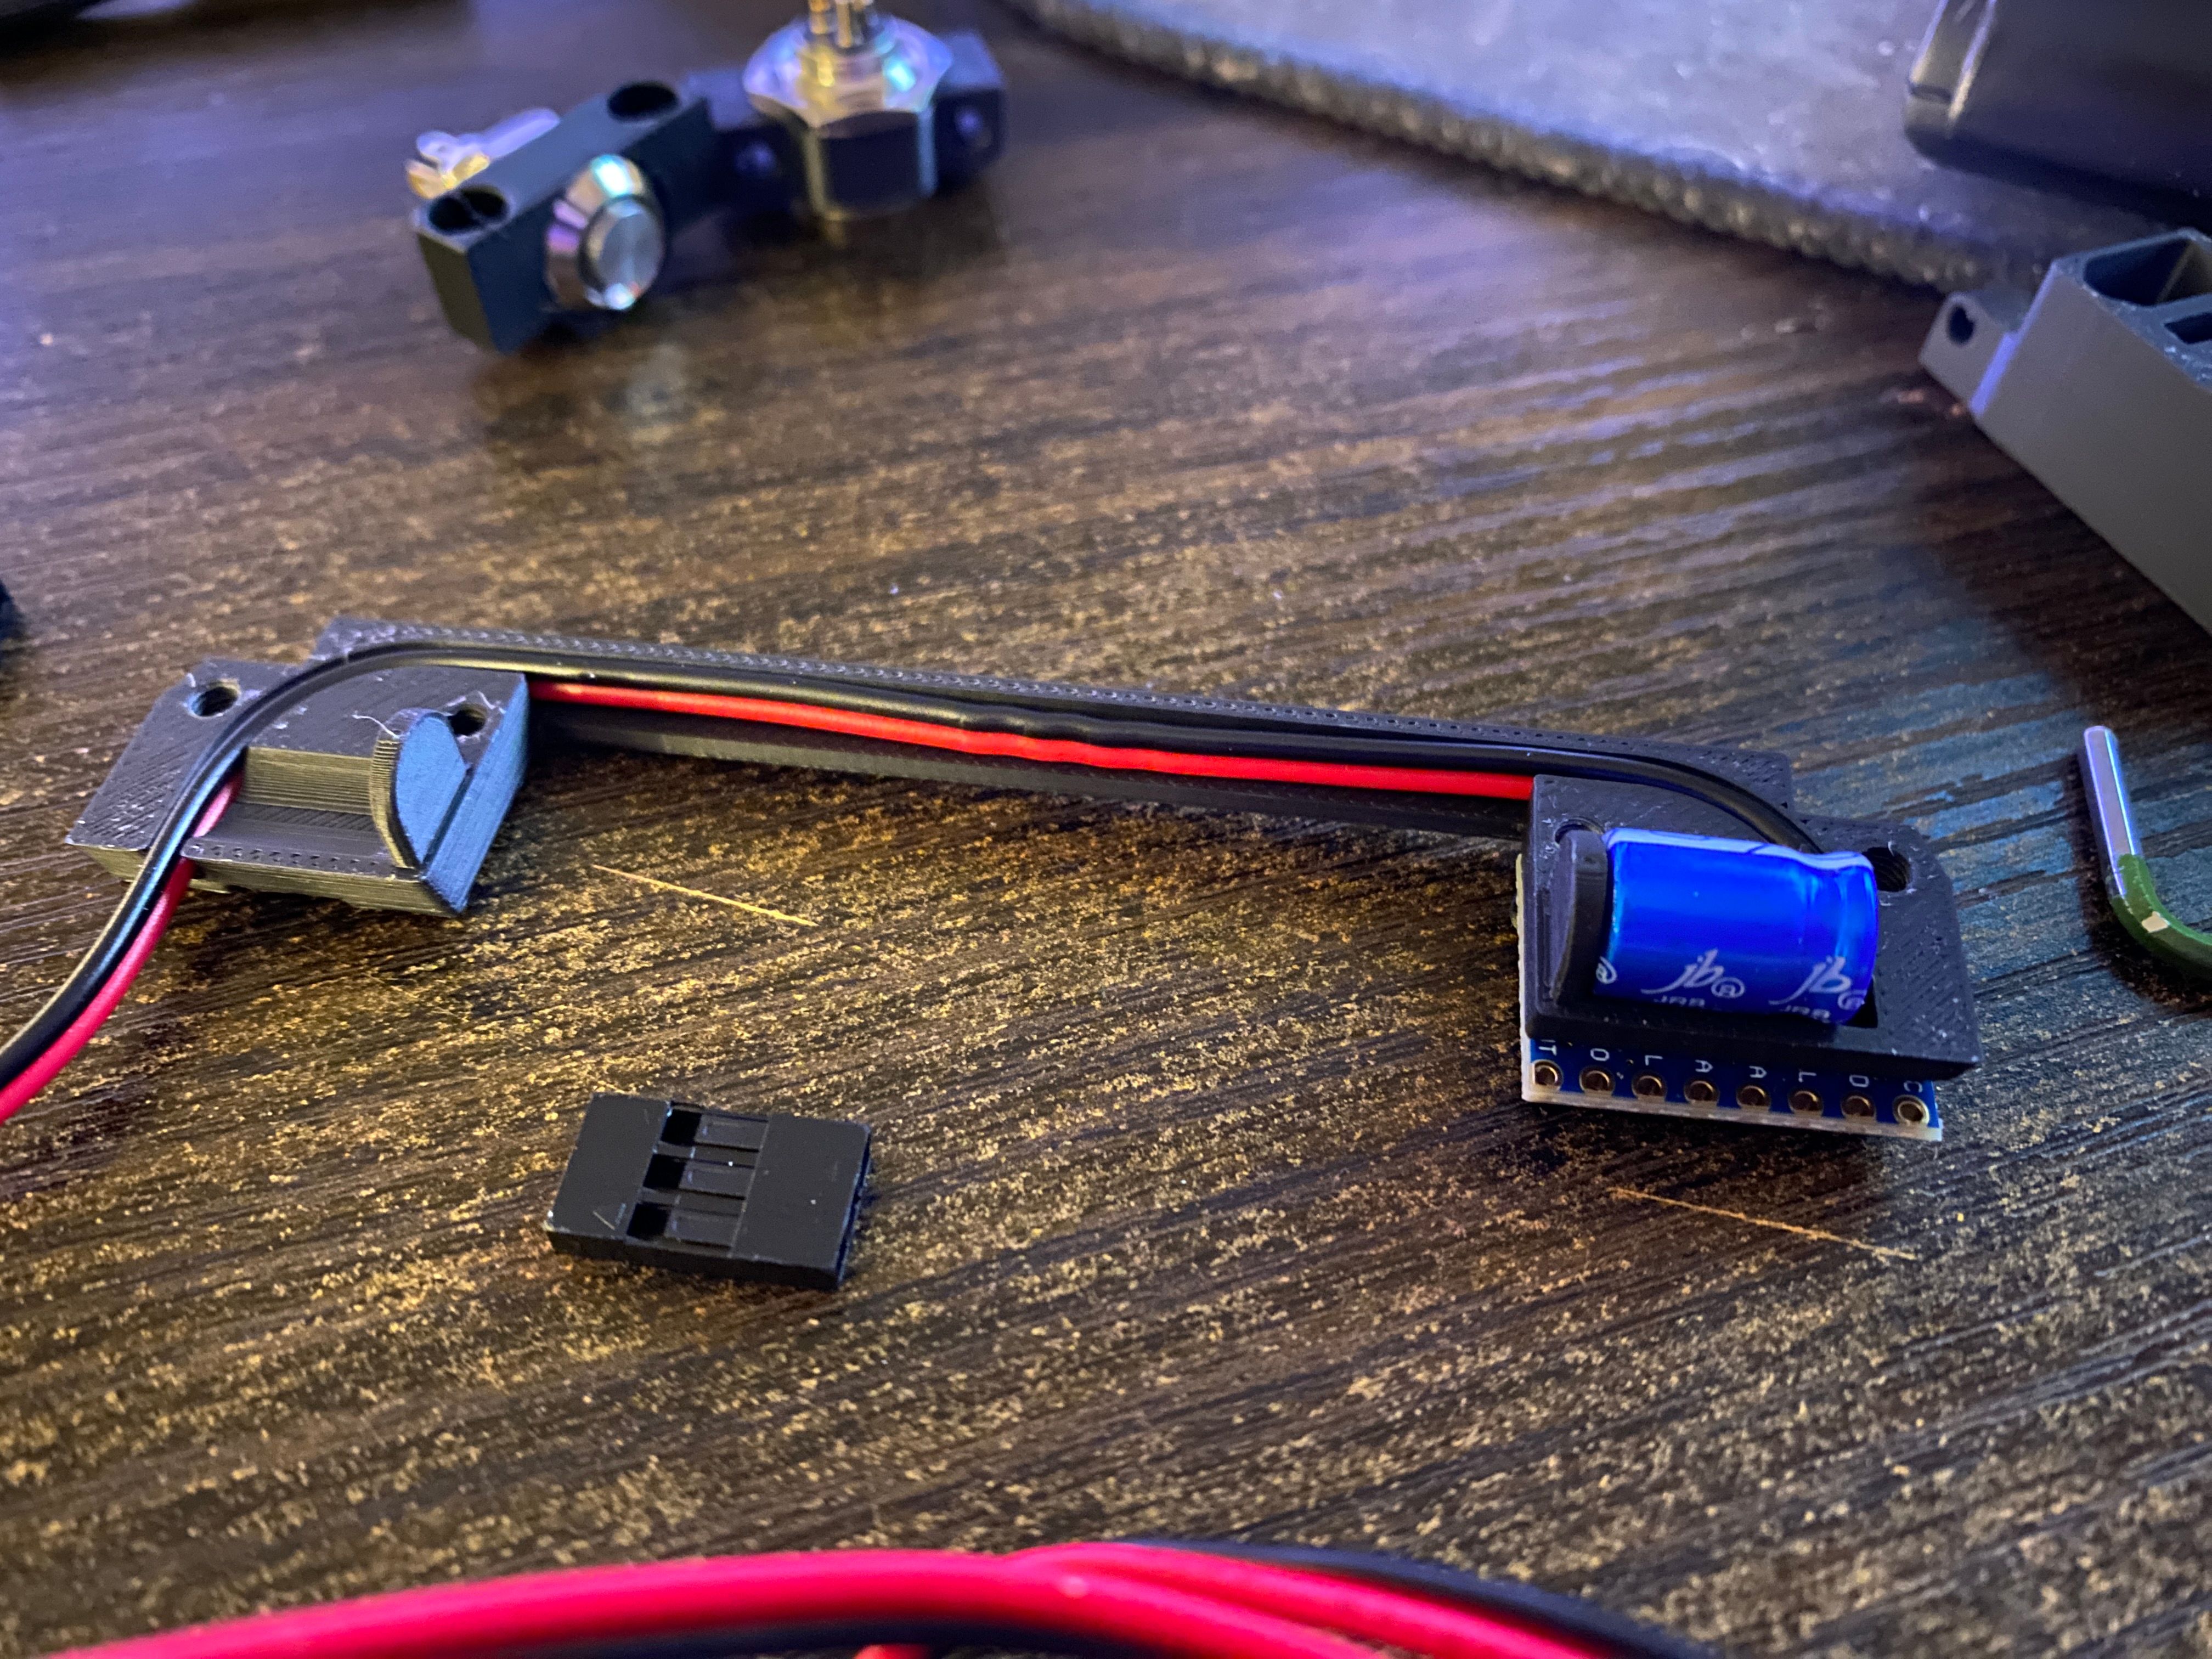
I have a 6 ton hydraulic press on the way to do the job. I'm working on my Finnish accent while I wait for it to arrive.On da benchy prepping for some temporary bodge wires and cable repinning to test it for the first time.
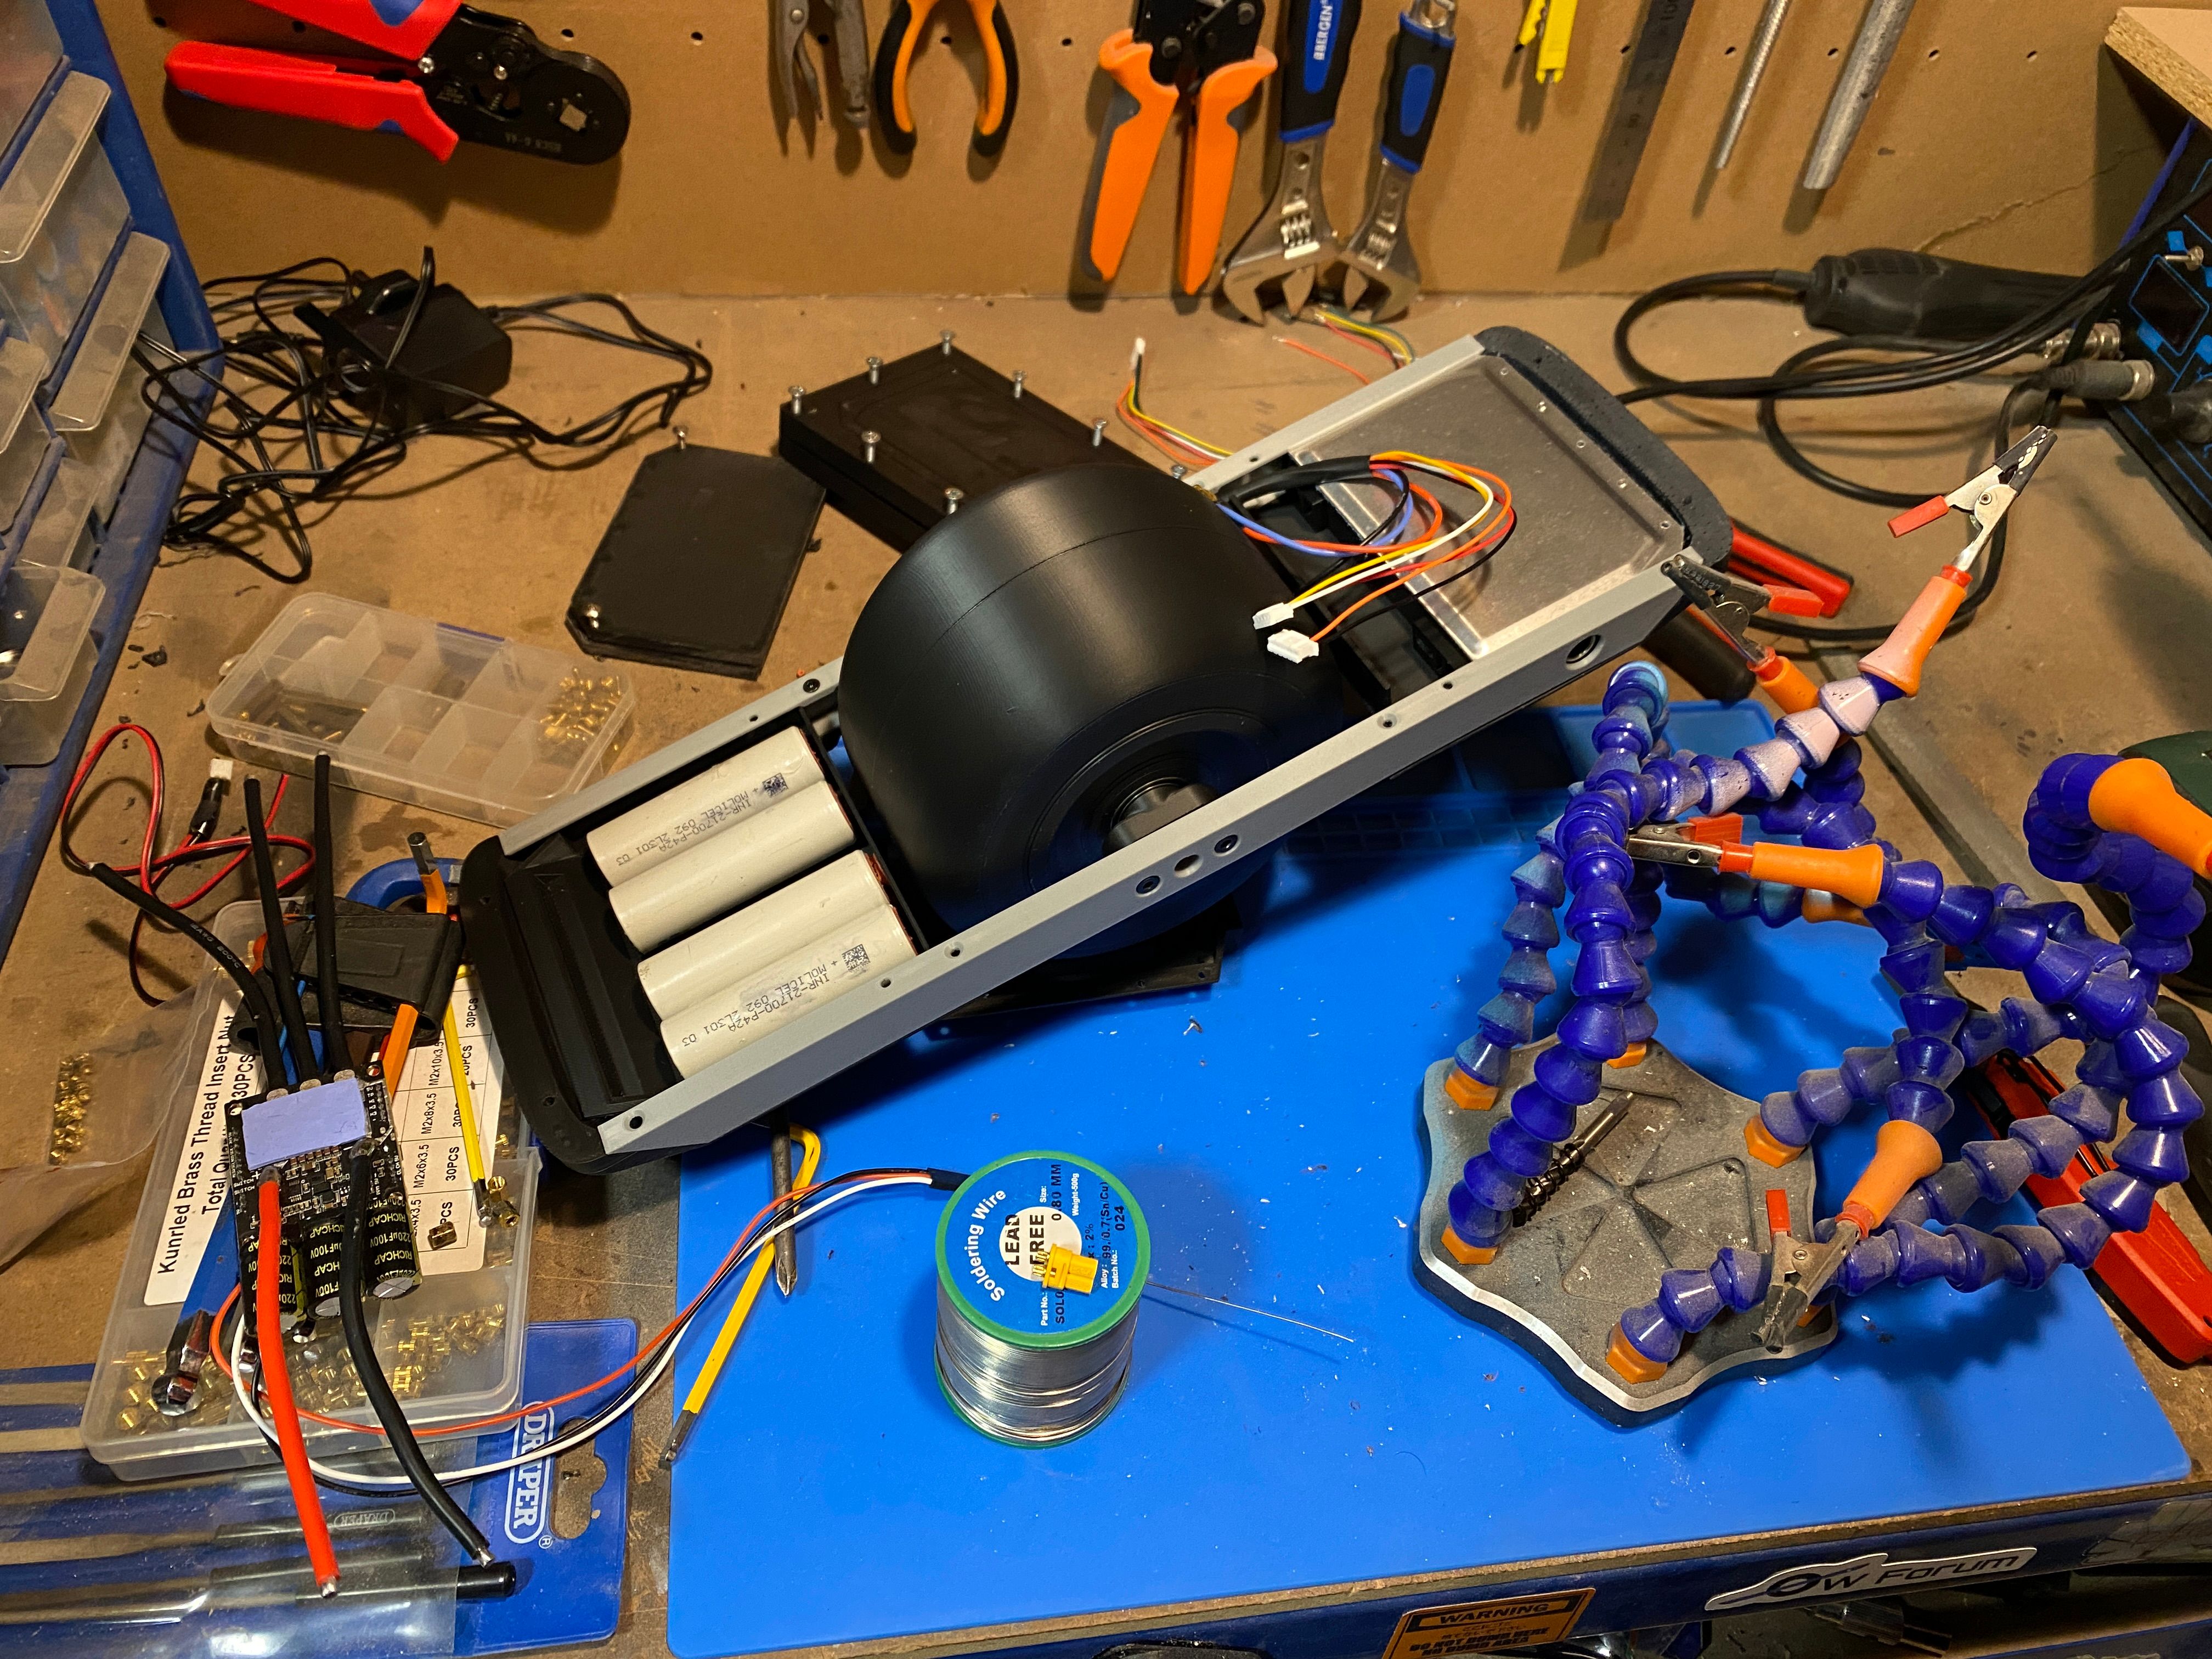
Excuse the crude testing setup. I'm here for results not an award in cable arranging :3 Better than the bucket I used last time I guess.
Aaaaand it lives ^-^ Now I can get removing connectors and the stock caps to mount it properly and wire up the IMU.
-
@lia Amazing work!
-
I got a new toy!
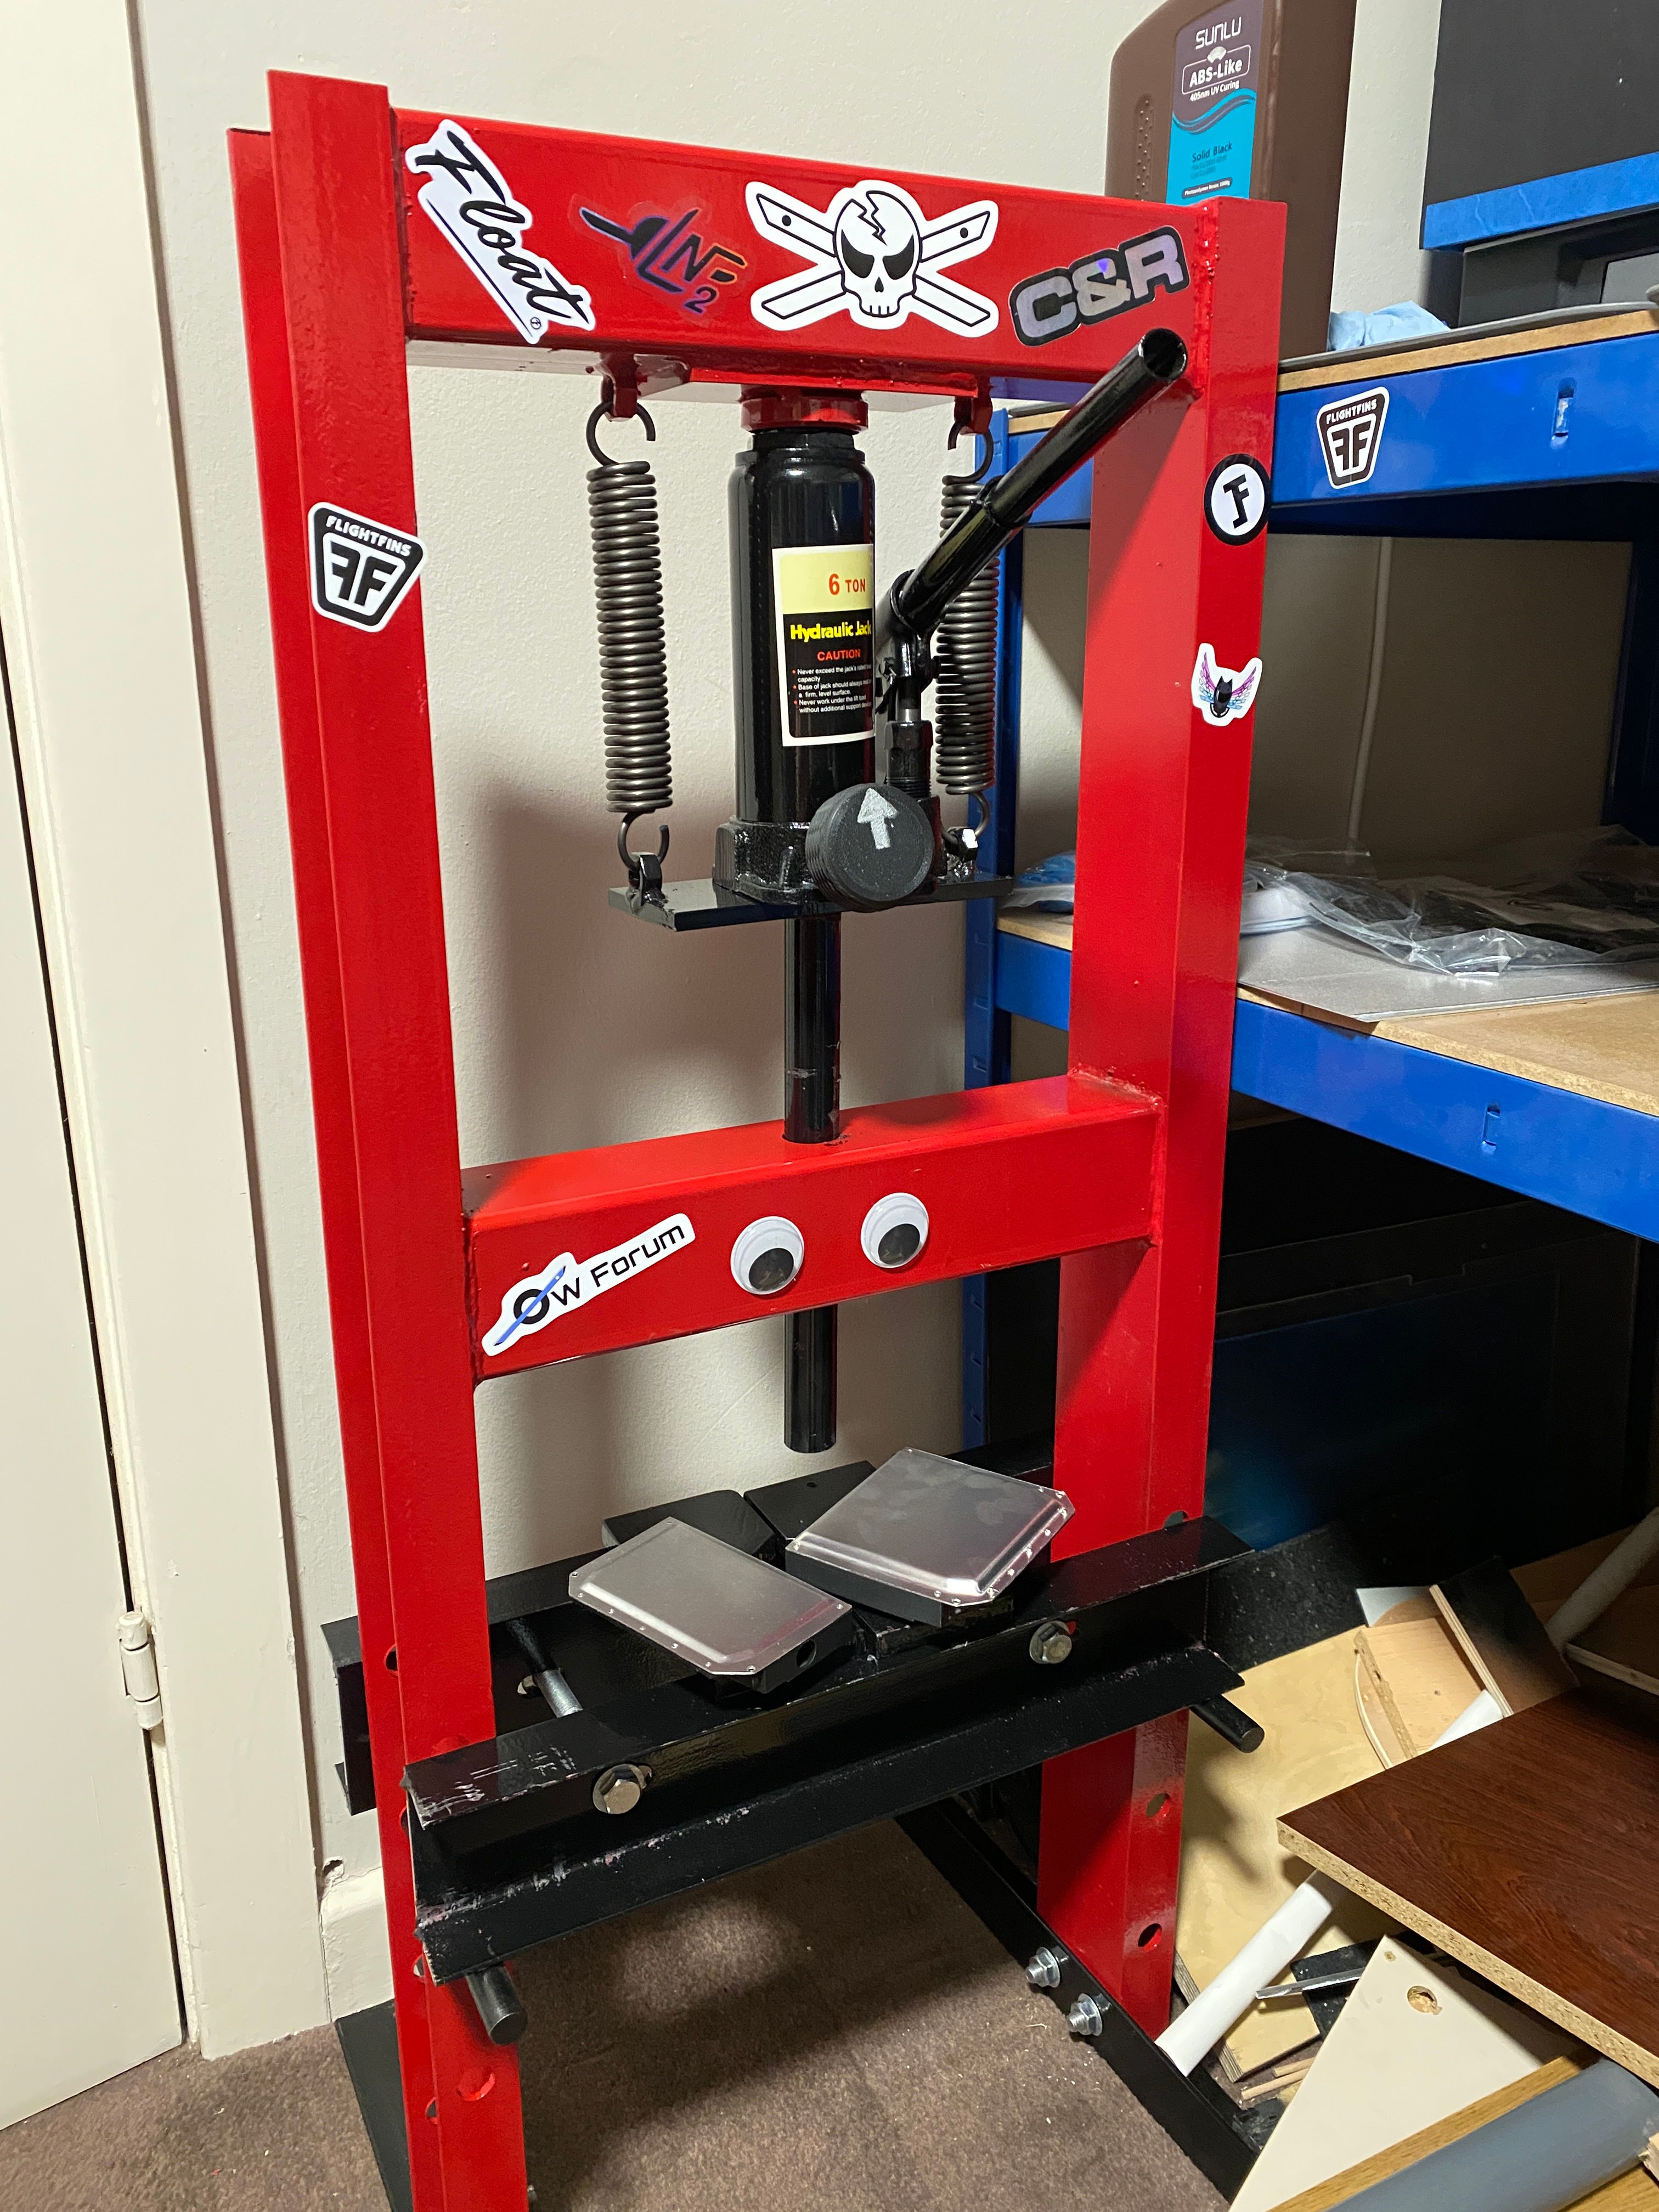
6 Tons of squishy squish so I don't have to keep bending the screw in my bench vice 😫
An arbor press would have been more suitable but getting one that'd fit and be cost effective made no sense while one of these have more power albeit with less feel for the pressure you're putting in.And it's made forming these lids so much easier!
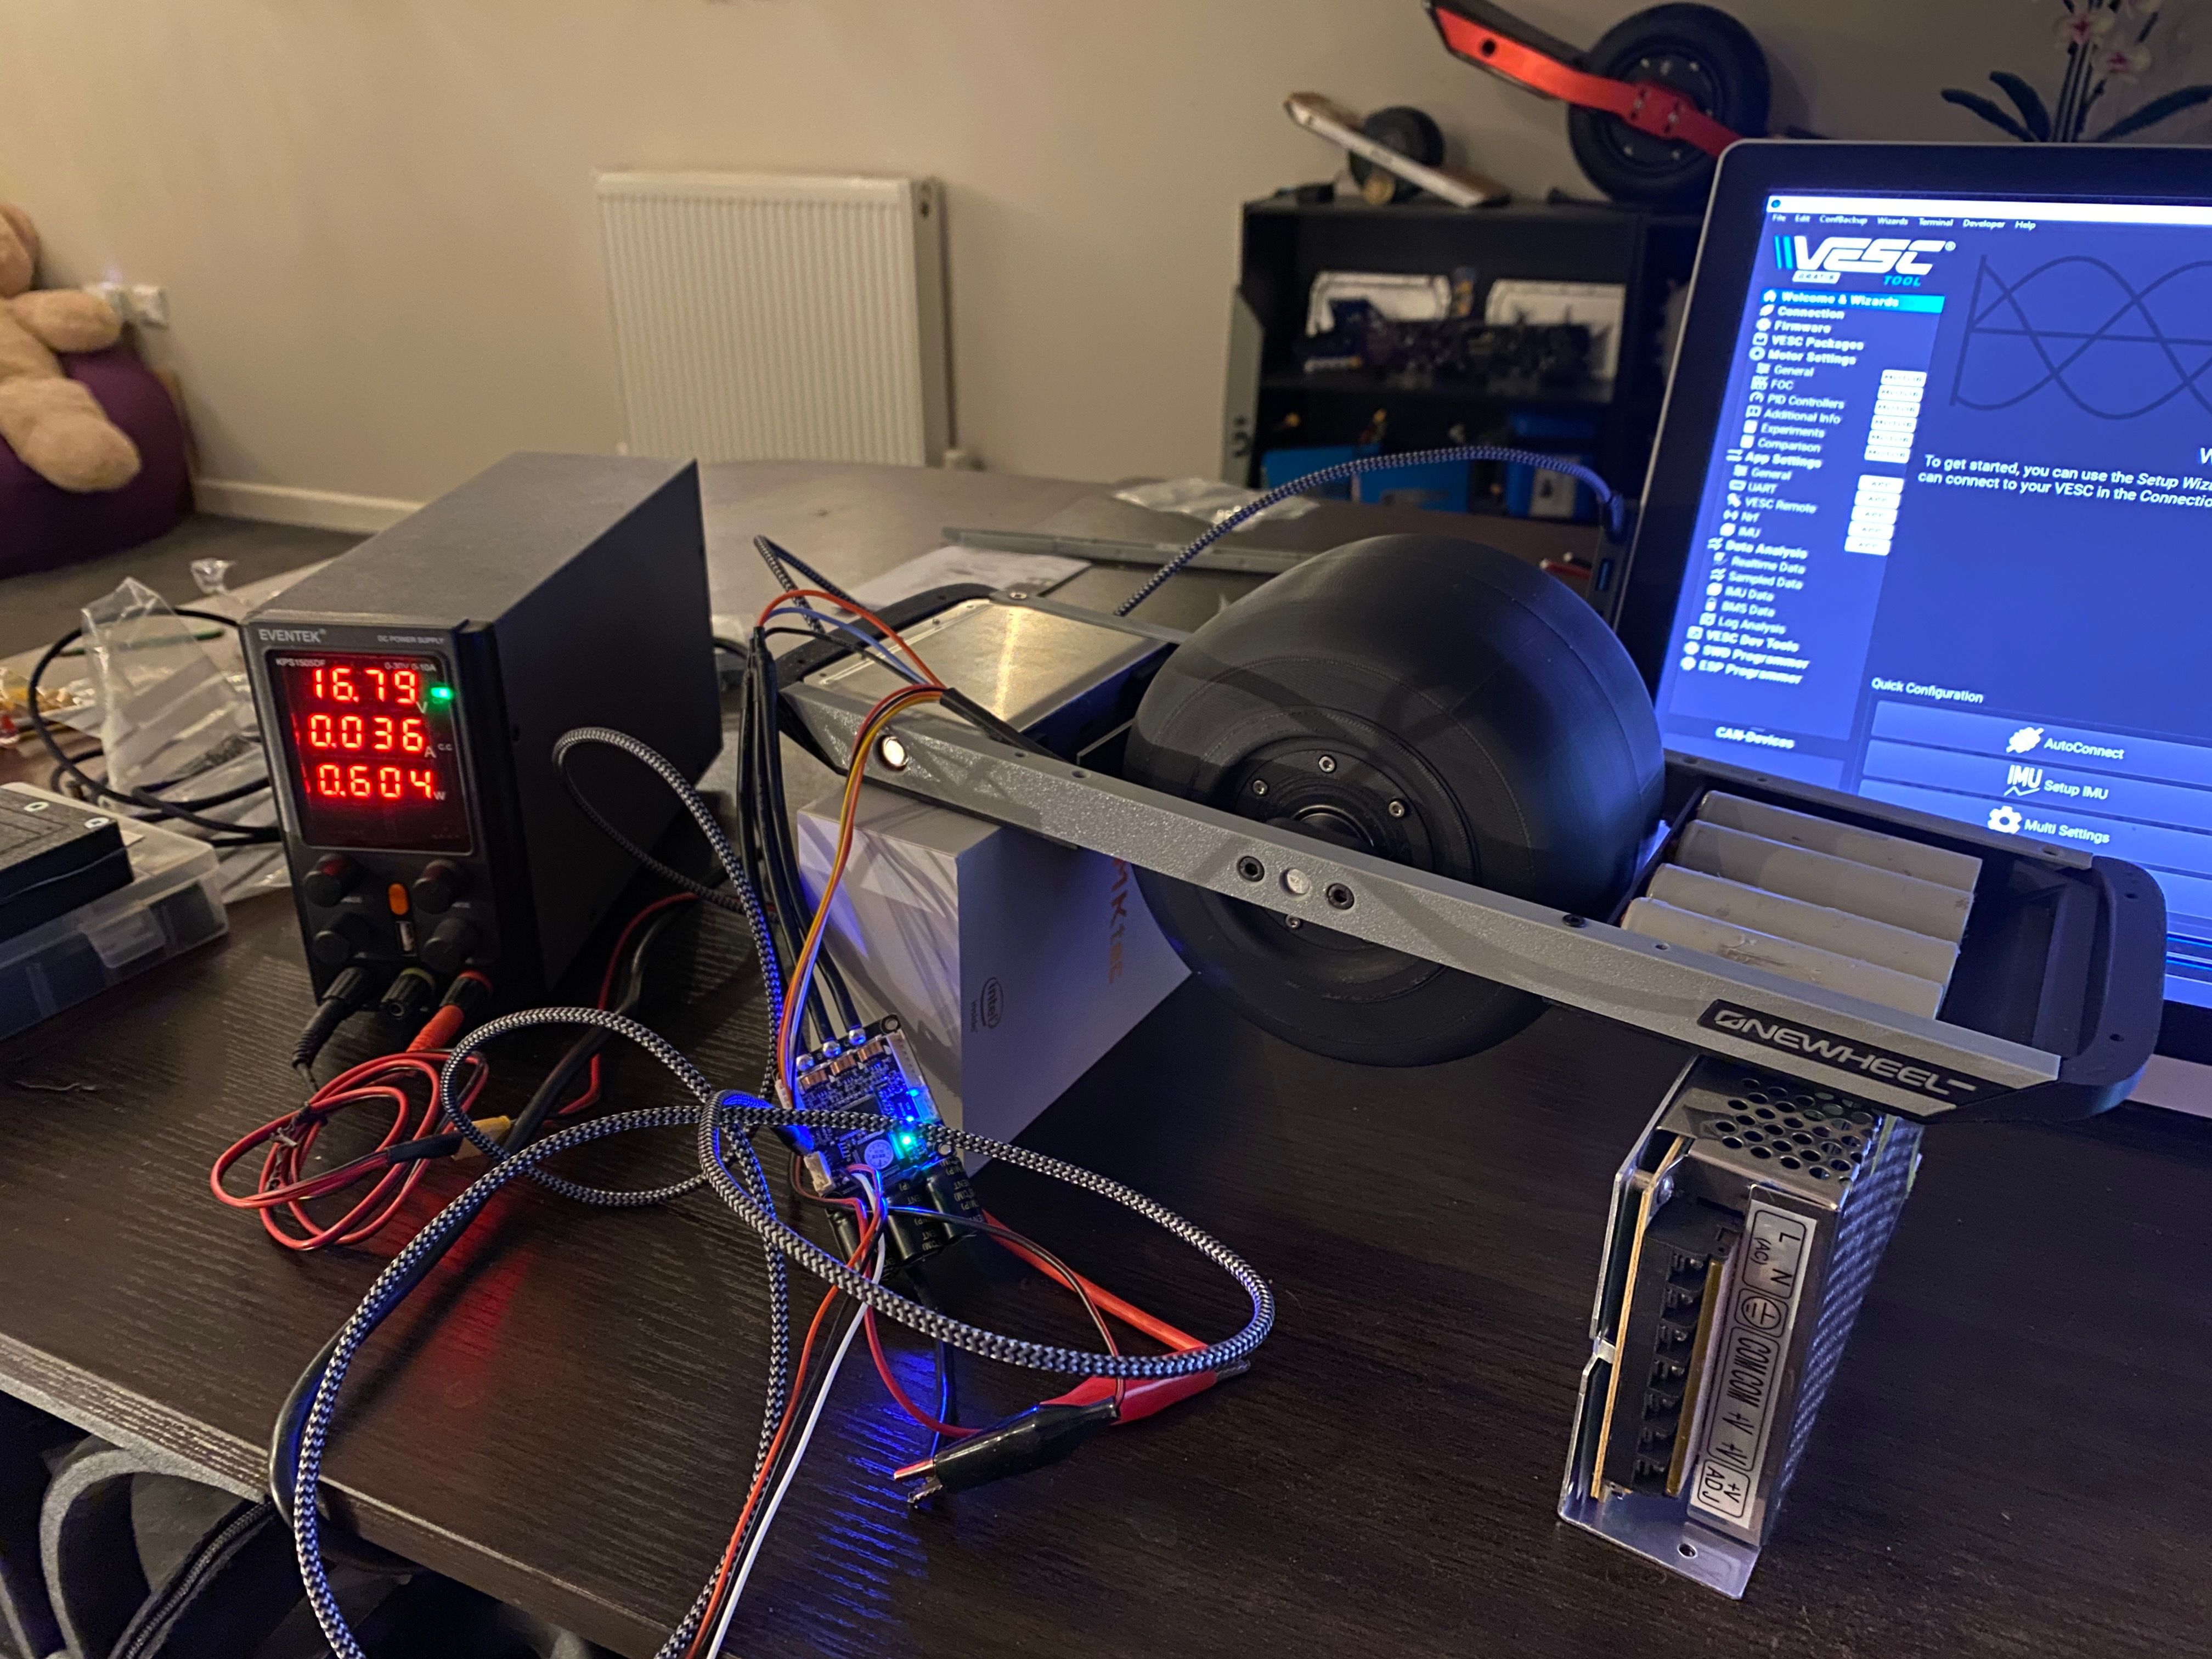
Got the pesky USB C wired up after demolishing the USB Micro port that was facing a bad direction for usability in this design.
Gyro works too :3
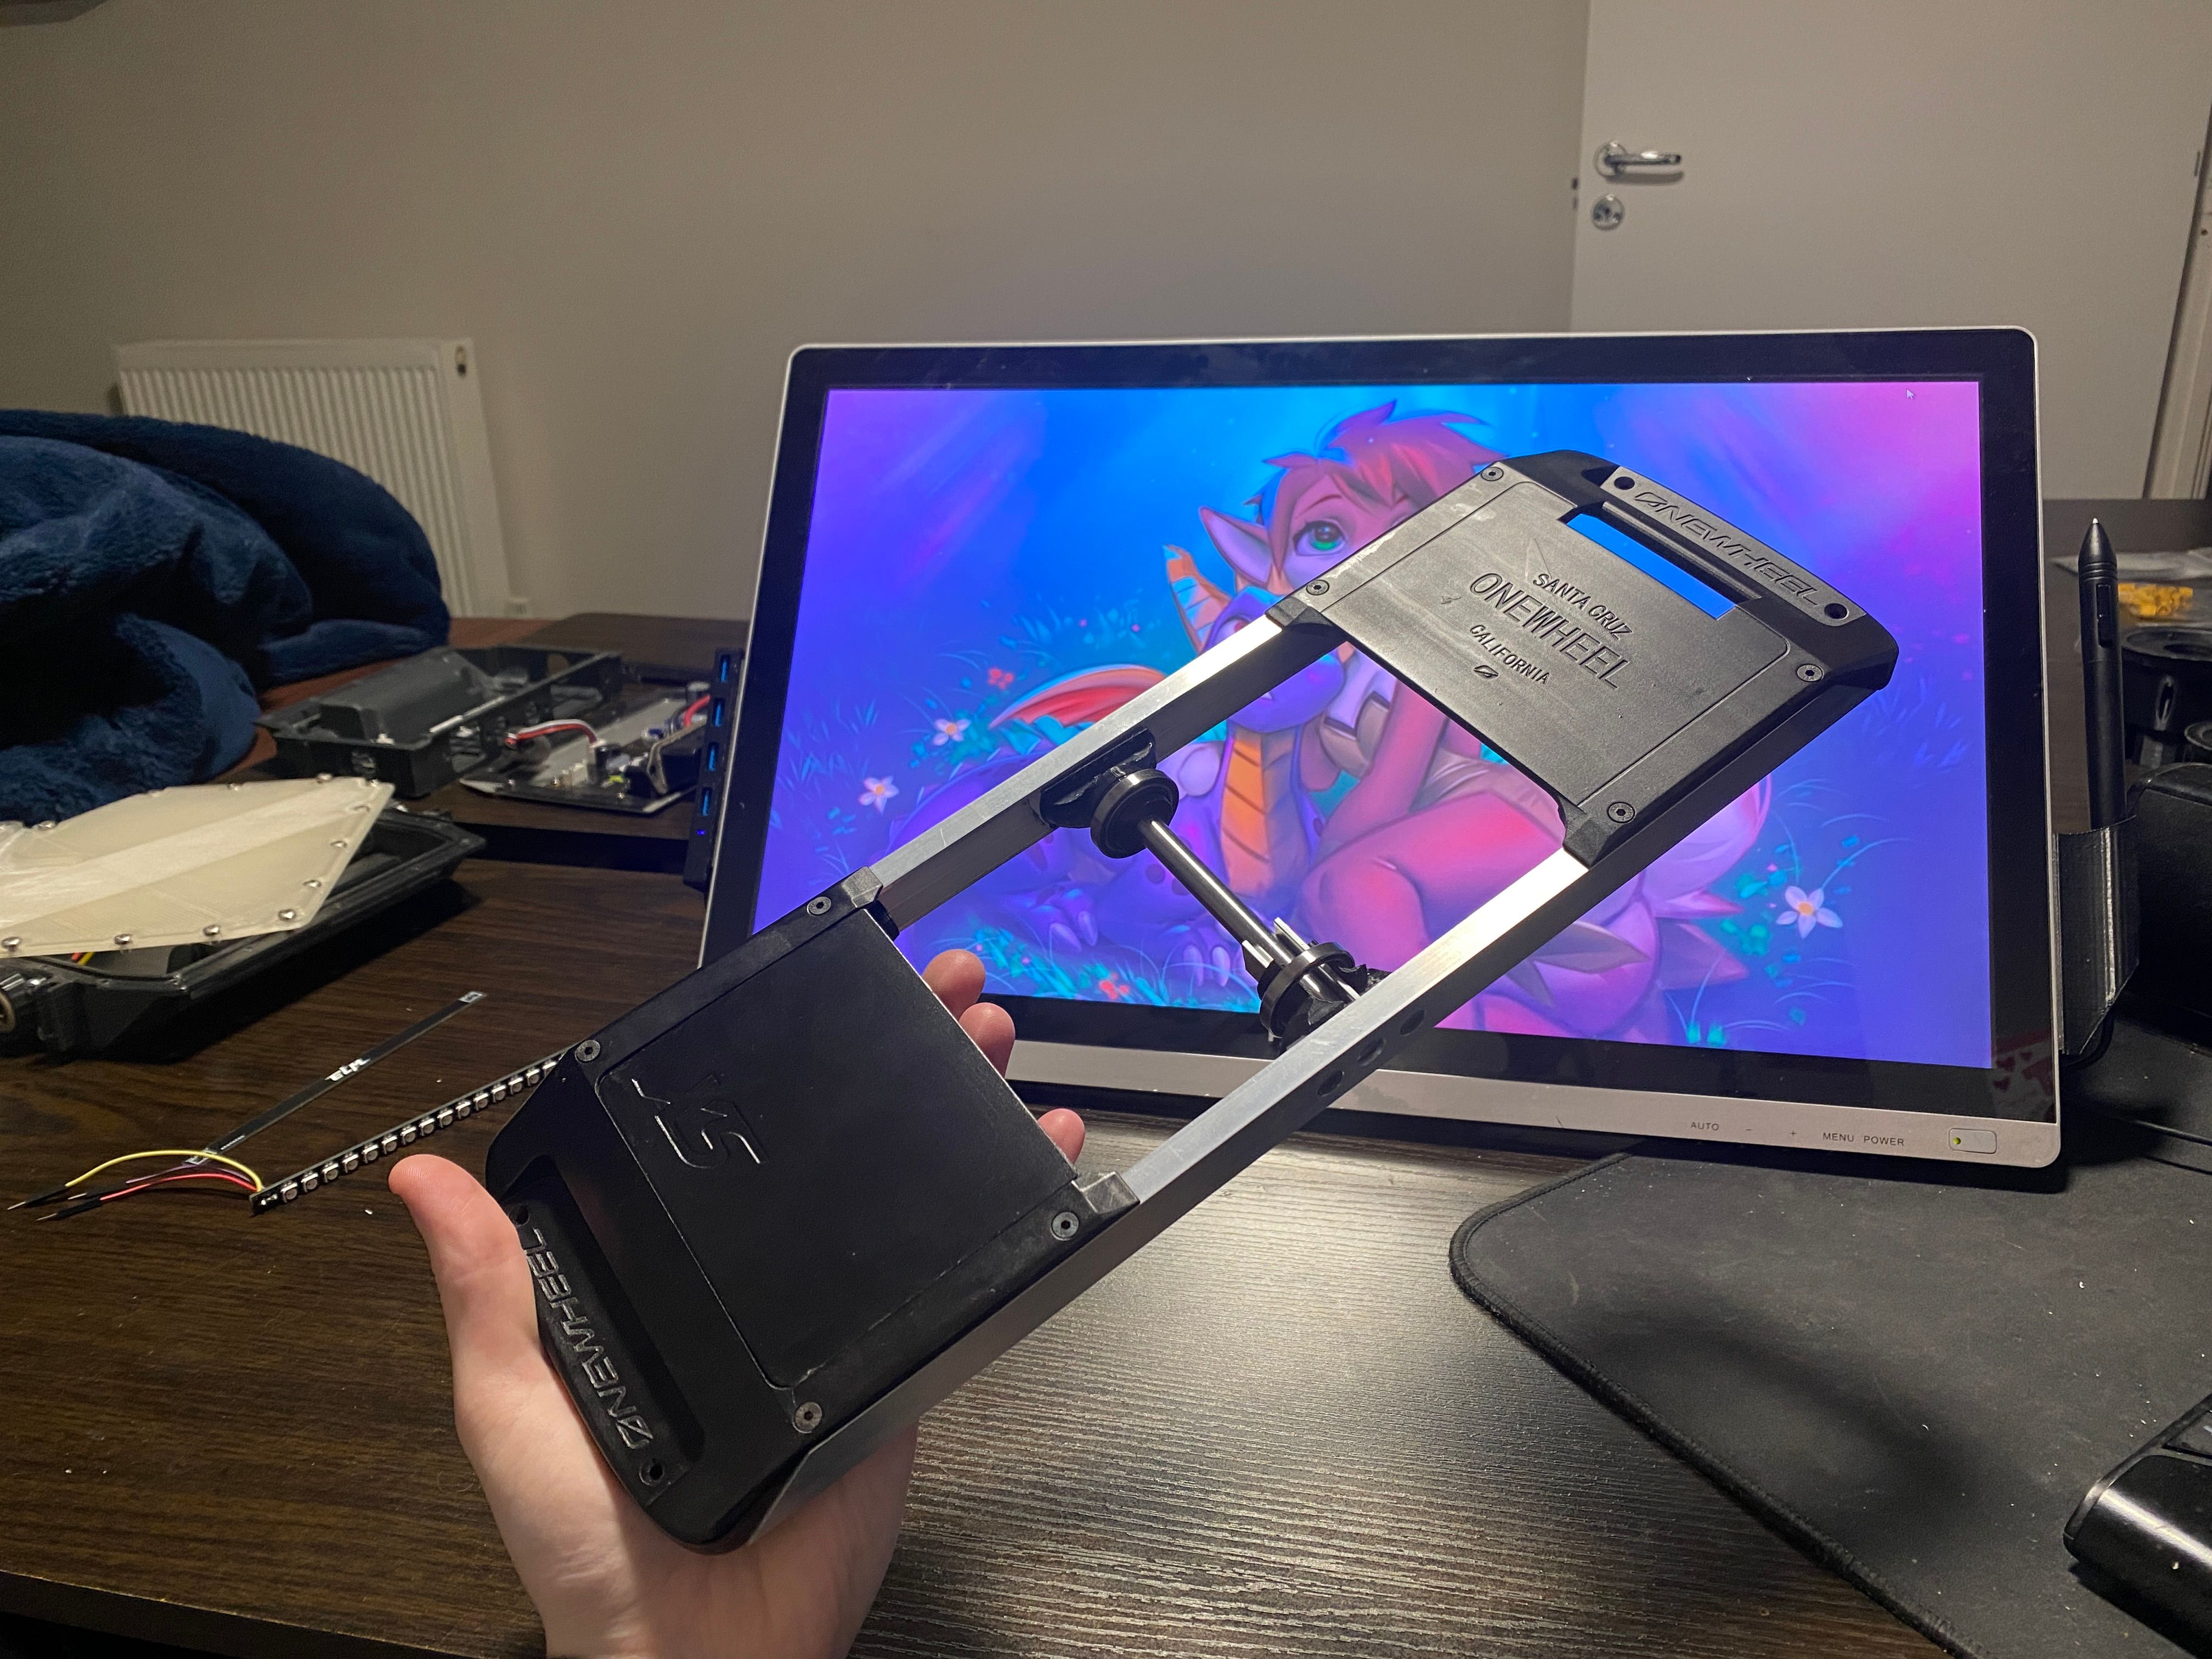
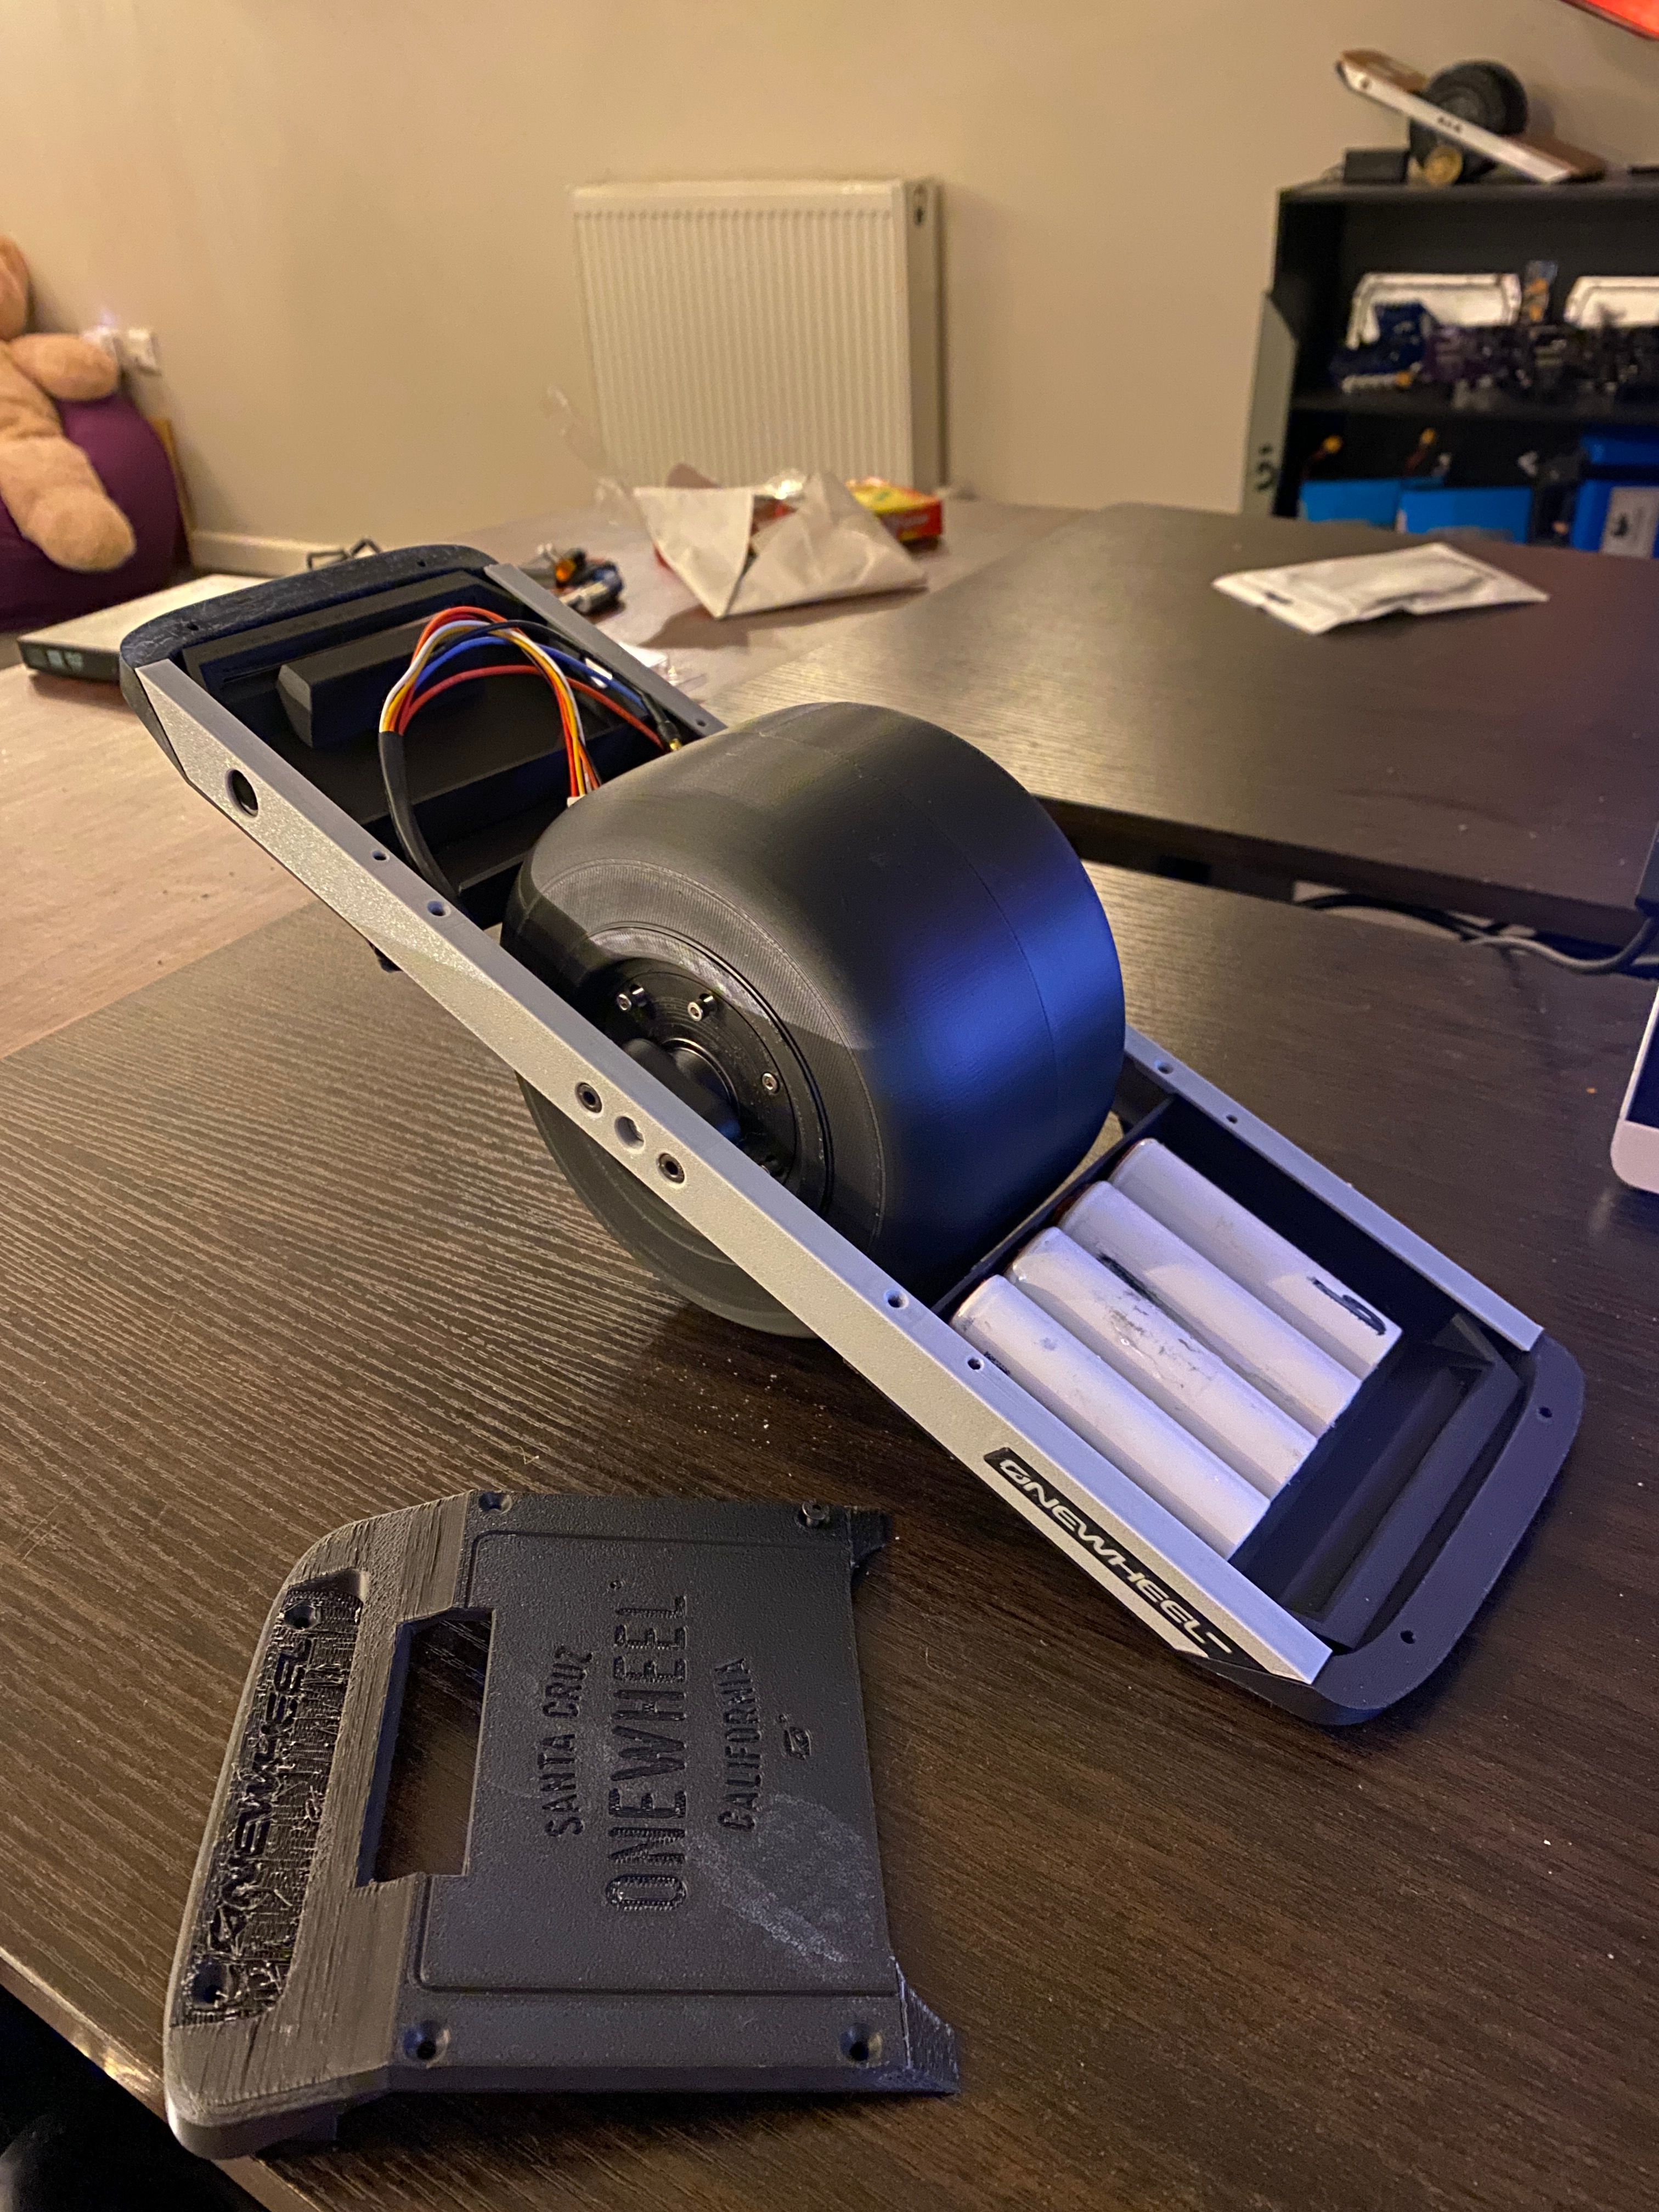
To save on time and finishing the CNC in time too I will get JLCPCB to fabricate and anodise the rails, axle blocks and hub plates. In the meantime a partial assembly is looking clean and familiar! ^-^
-
Been buuuuuuuuuuuusy ^-^
You know those pics of a human nervous system laid bare (if not don't look it's nightmare fuel). This sorta reminds me of it.

Didn't want to carve out space for pulldown resistors on the footpad so I managed to bake them onto the pins right off the VESC.
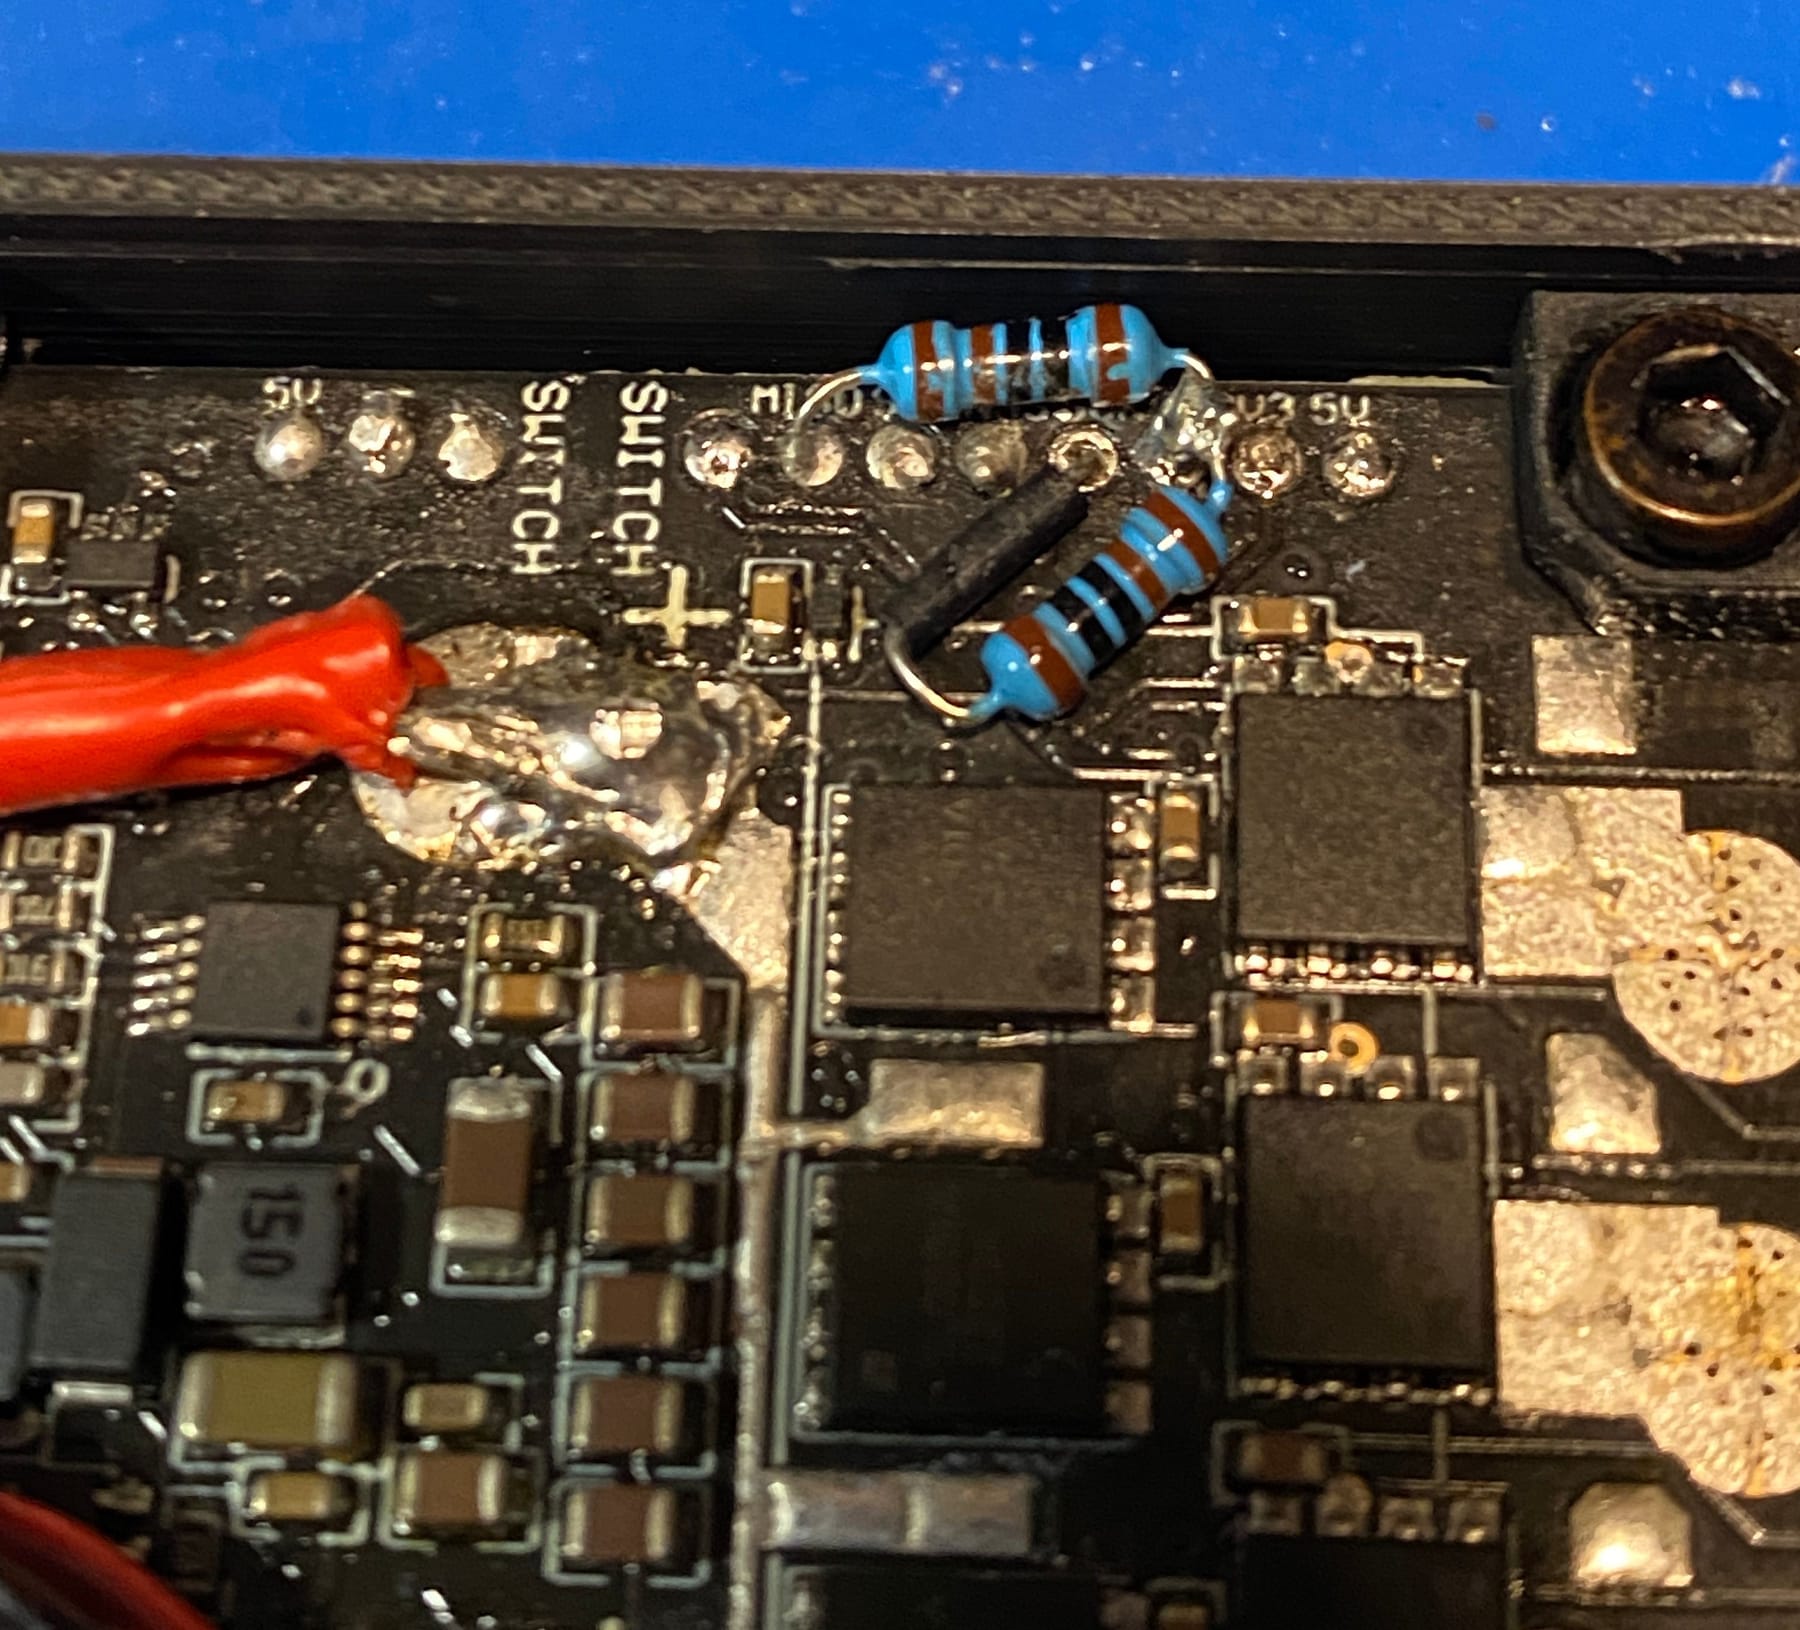
Defo not going over the top with detailing things you won't see. I just had to even if it's not 100% accurate. It's hard to appreciate how tiny this thing is. I had to use the macro zoom.

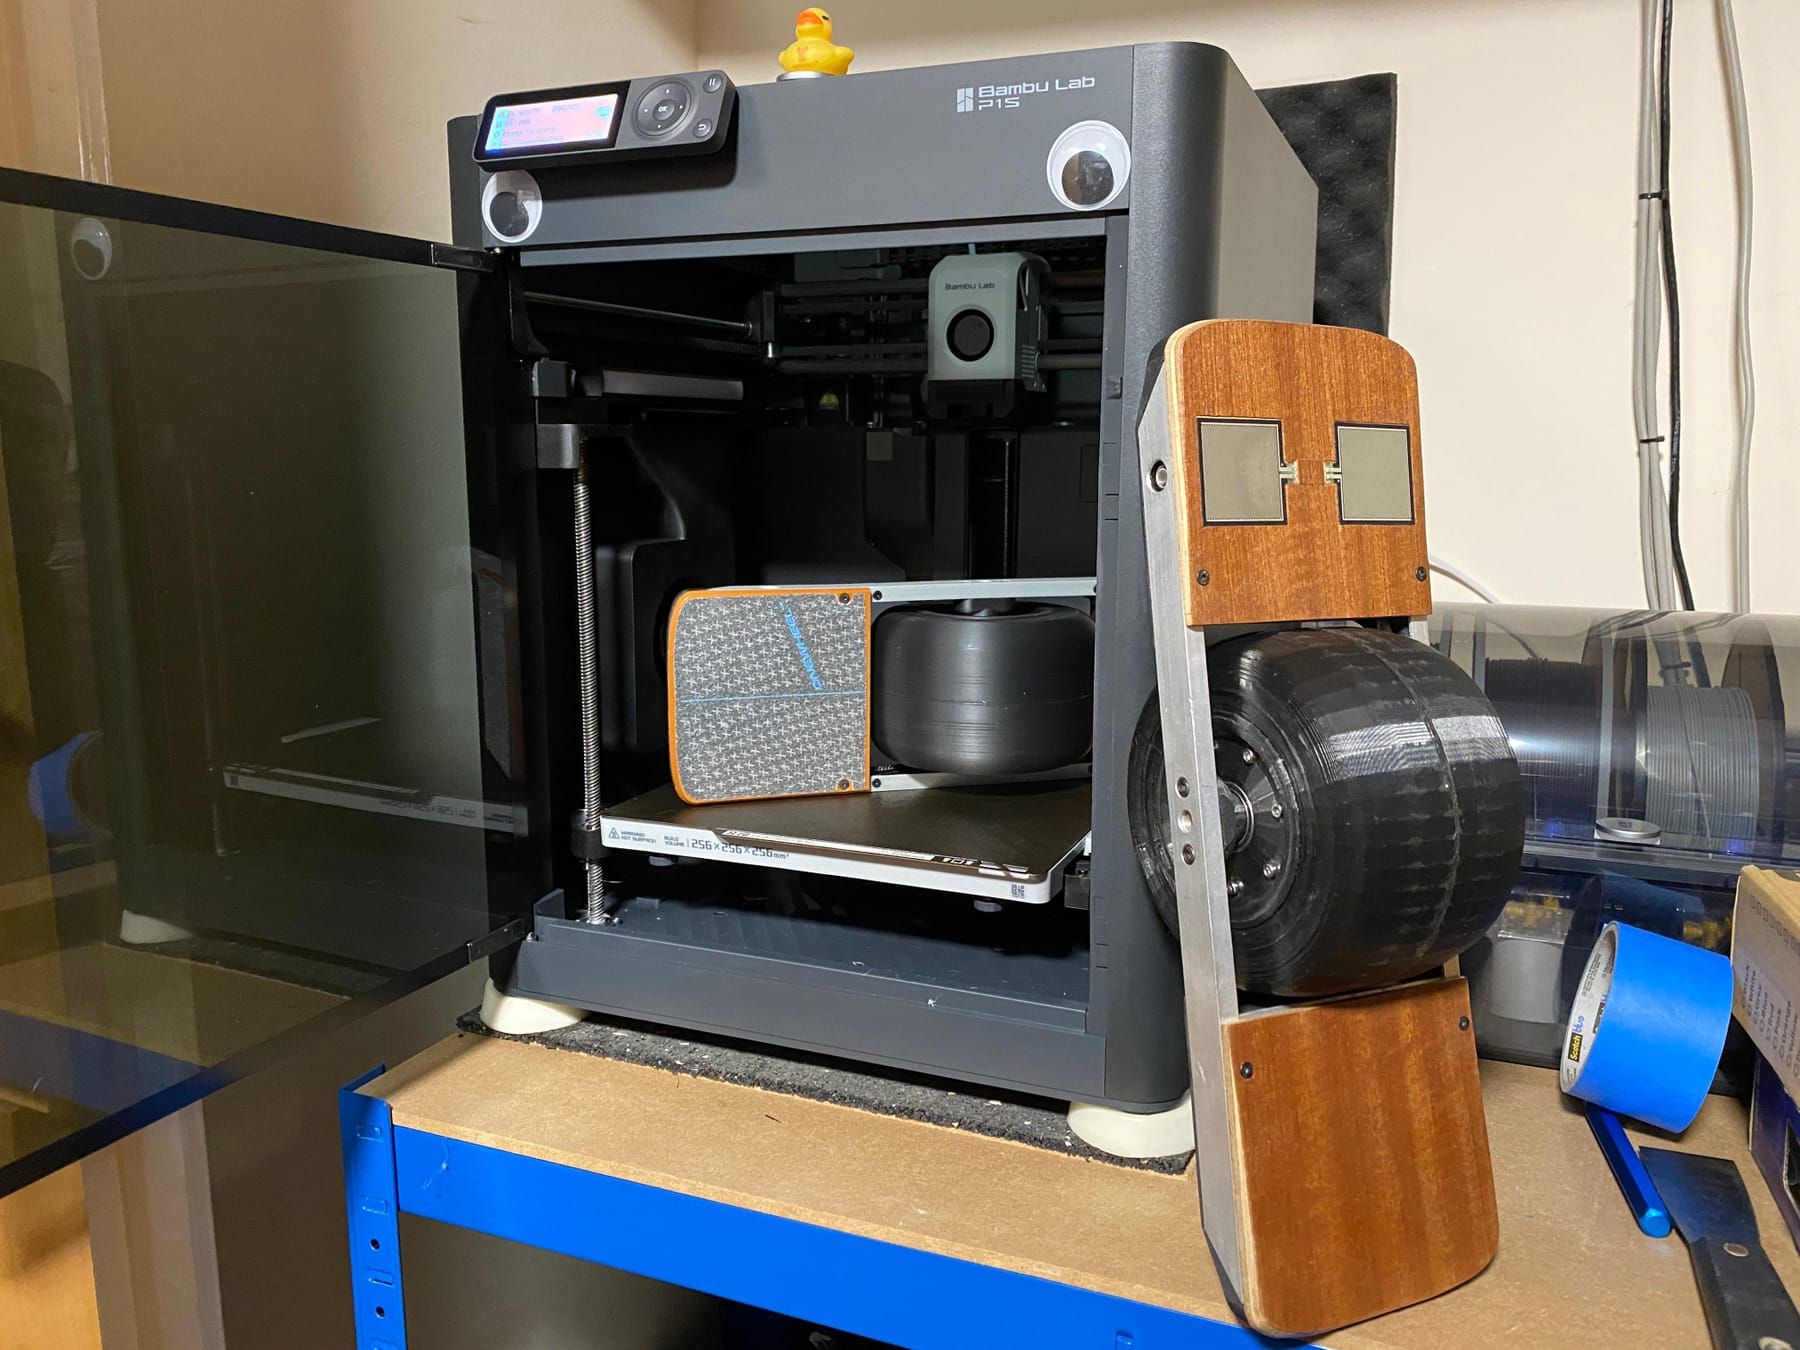
Was testing griptape and a printed footpad which worked great! Decided to tease it in this pic I put up on Insta the other day.
In preparation for casting some parts I got a vacuum chamber and pump. Managed to get the pair separate real cheap on eBay second hand ^-^

Also making some progress on the footpads. There are more jigs to make these than anything else on this iteration of the XS.
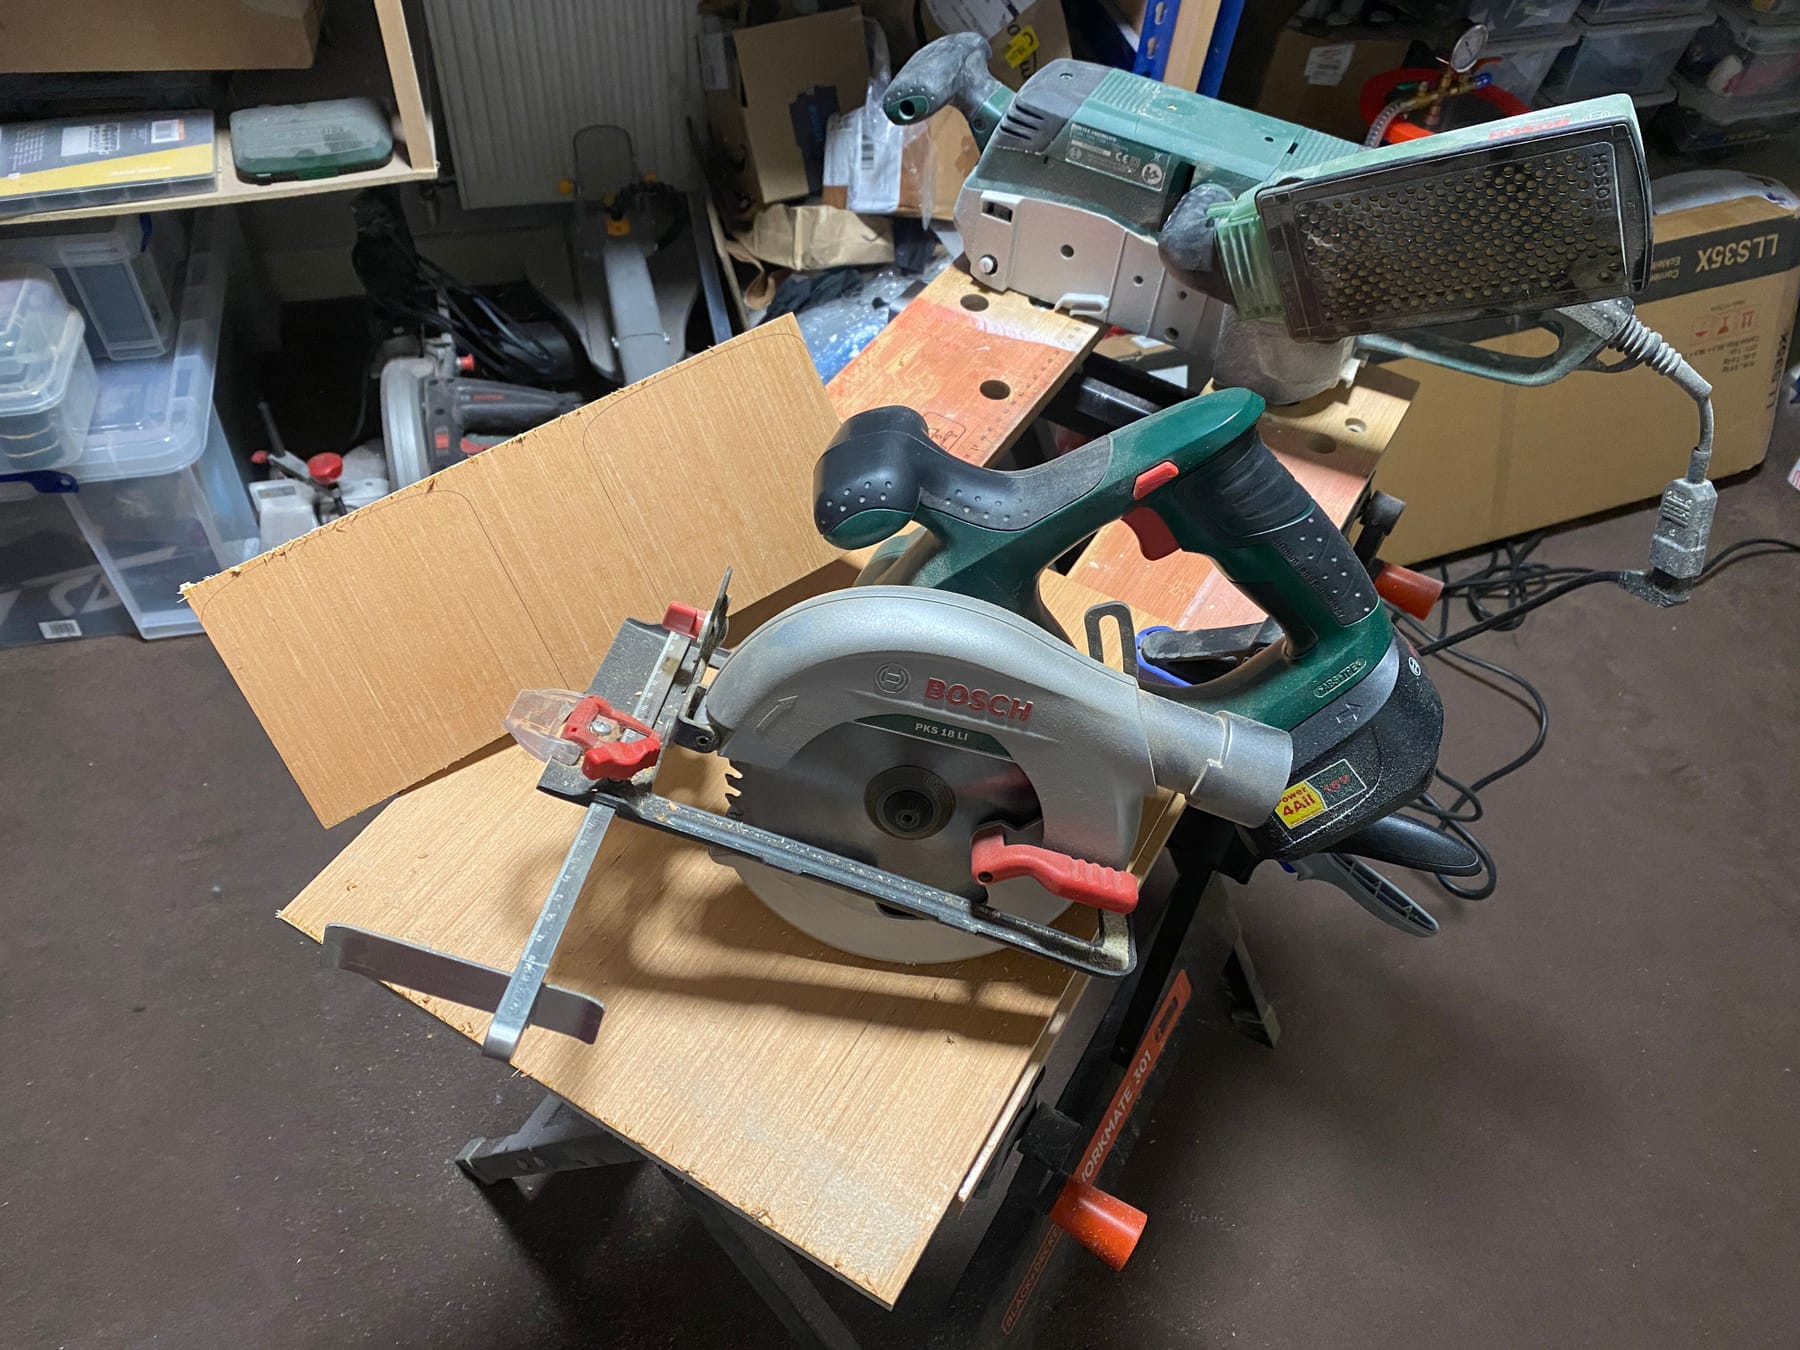


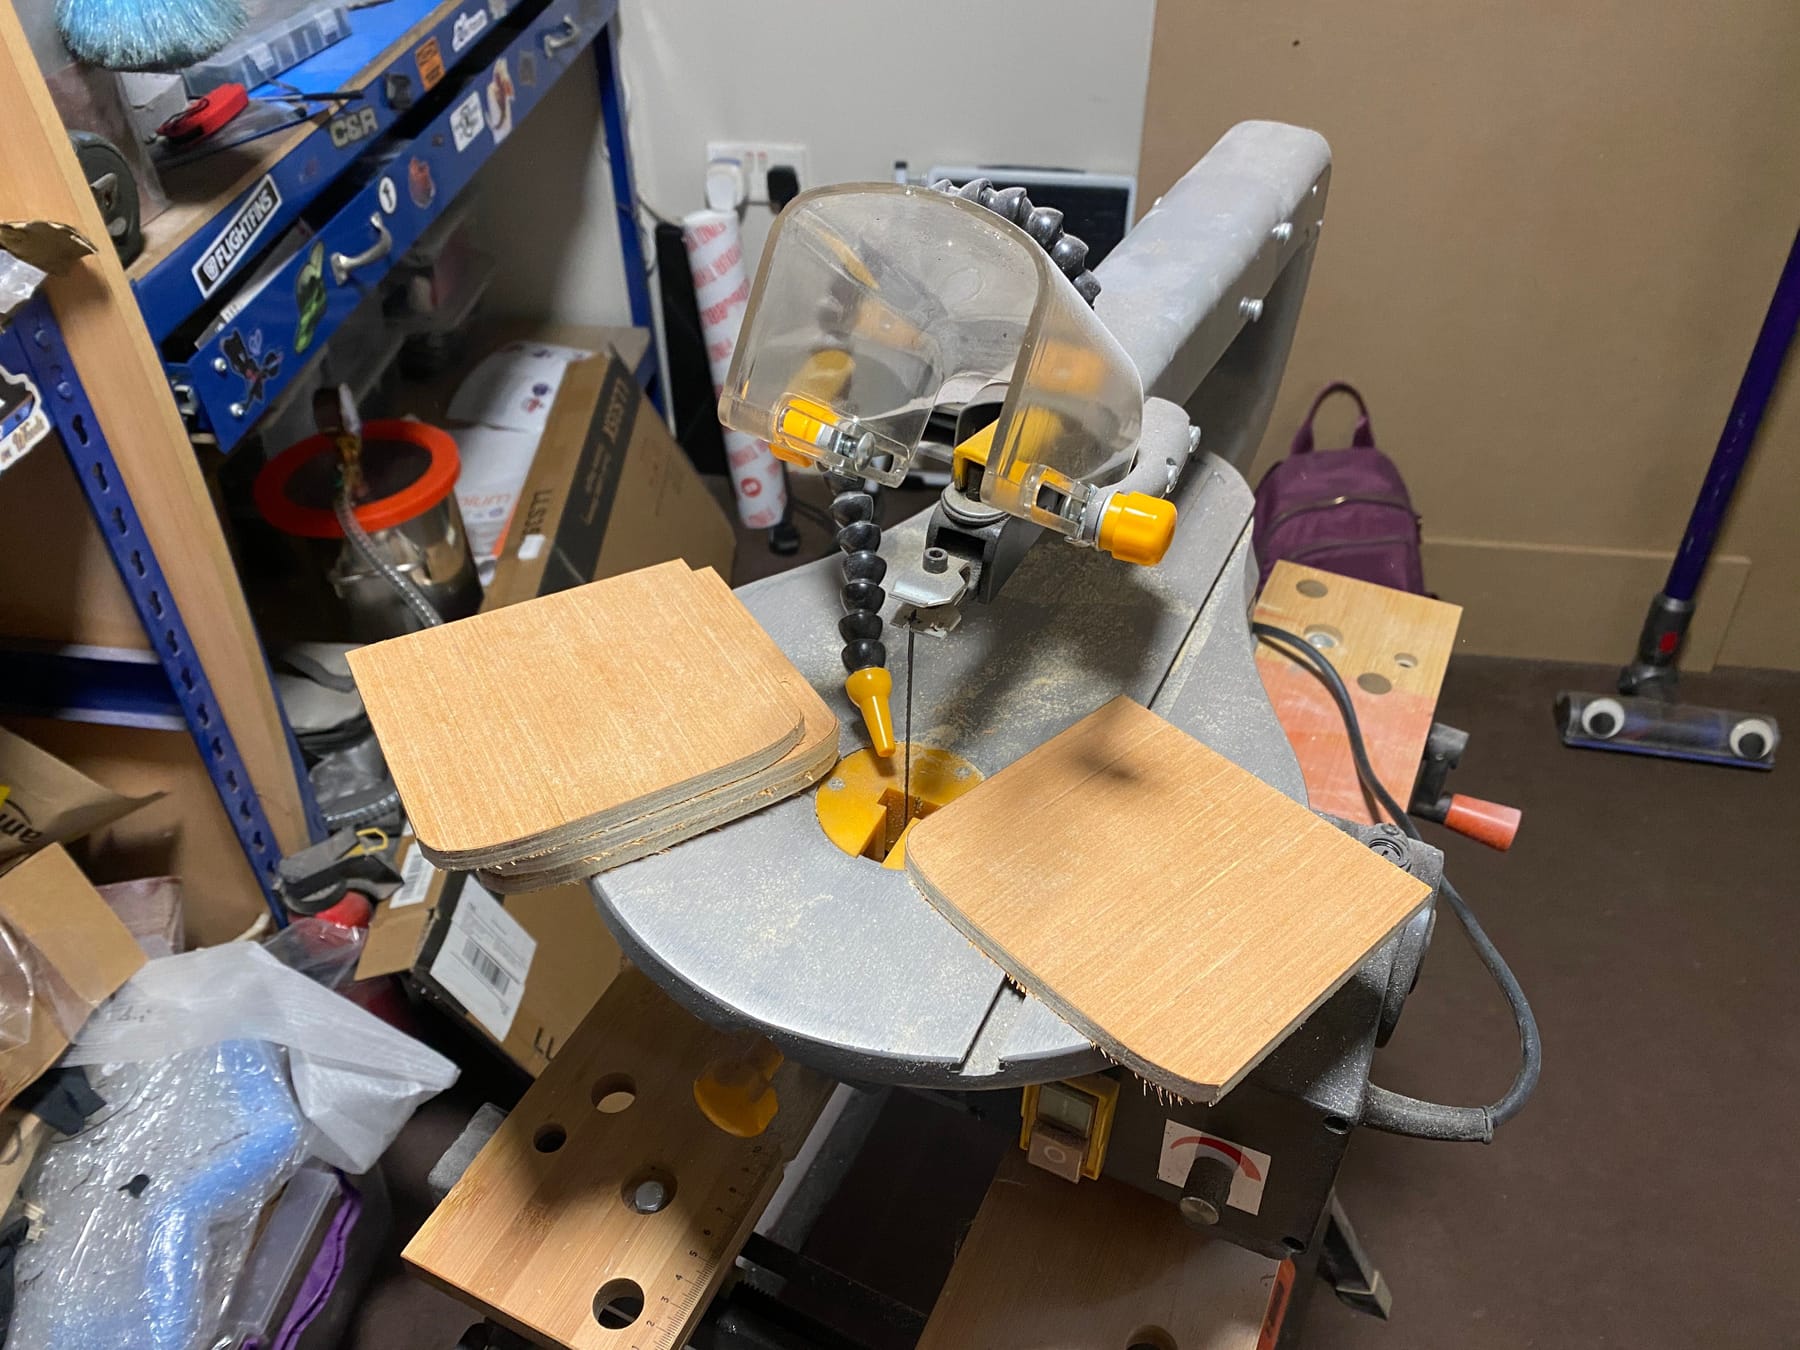
You must ruin a lot of material to get even a tiny bit of experience and skill using a scroll saw. Honestly these things are evil but a band saw is scary and I'm running out of space/money 😅There are a bunch more processes needed to finish these so I made some spare in case something went wrong and I had to redo some. Learnt from last time :3
This morning though things really ramped up. I got my CNC parts delivered. These.... cost quite a bit but honestly they were worth it. Let it be known a board half the size is not half the price even at cost.
