@lia Hah, just chilling with Paddington lol.
It was deceptively cold, we had some blue sky and managed to dodge the showers.
We took a chance going this time of year but the roads and sights were pretty empty 😉
We had most of the remote places to ourselves 👍
Group Details
Pint
Pint Board Owners
Member List
-
RE: Onewheel Photoshoot Threadposted in Wall of Stoke
-
RE: Onewheel Photoshoot Threadposted in Wall of Stoke
@puzz360 Looks like a shockingly nice day for winter!
Did you stop at the pub there? Any good or just chilling with Paddington 😊 -
RE: Onewheel Photoshoot Threadposted in Wall of Stoke
It's been a while since I've got any slightly worthy shots... Yes, the weather has been as usual. Rainy.
Here's a few from a recent trip...
I also seem to be the first that's recorded a float at John O'Groats and also the shortest street in the world 😉 🤣
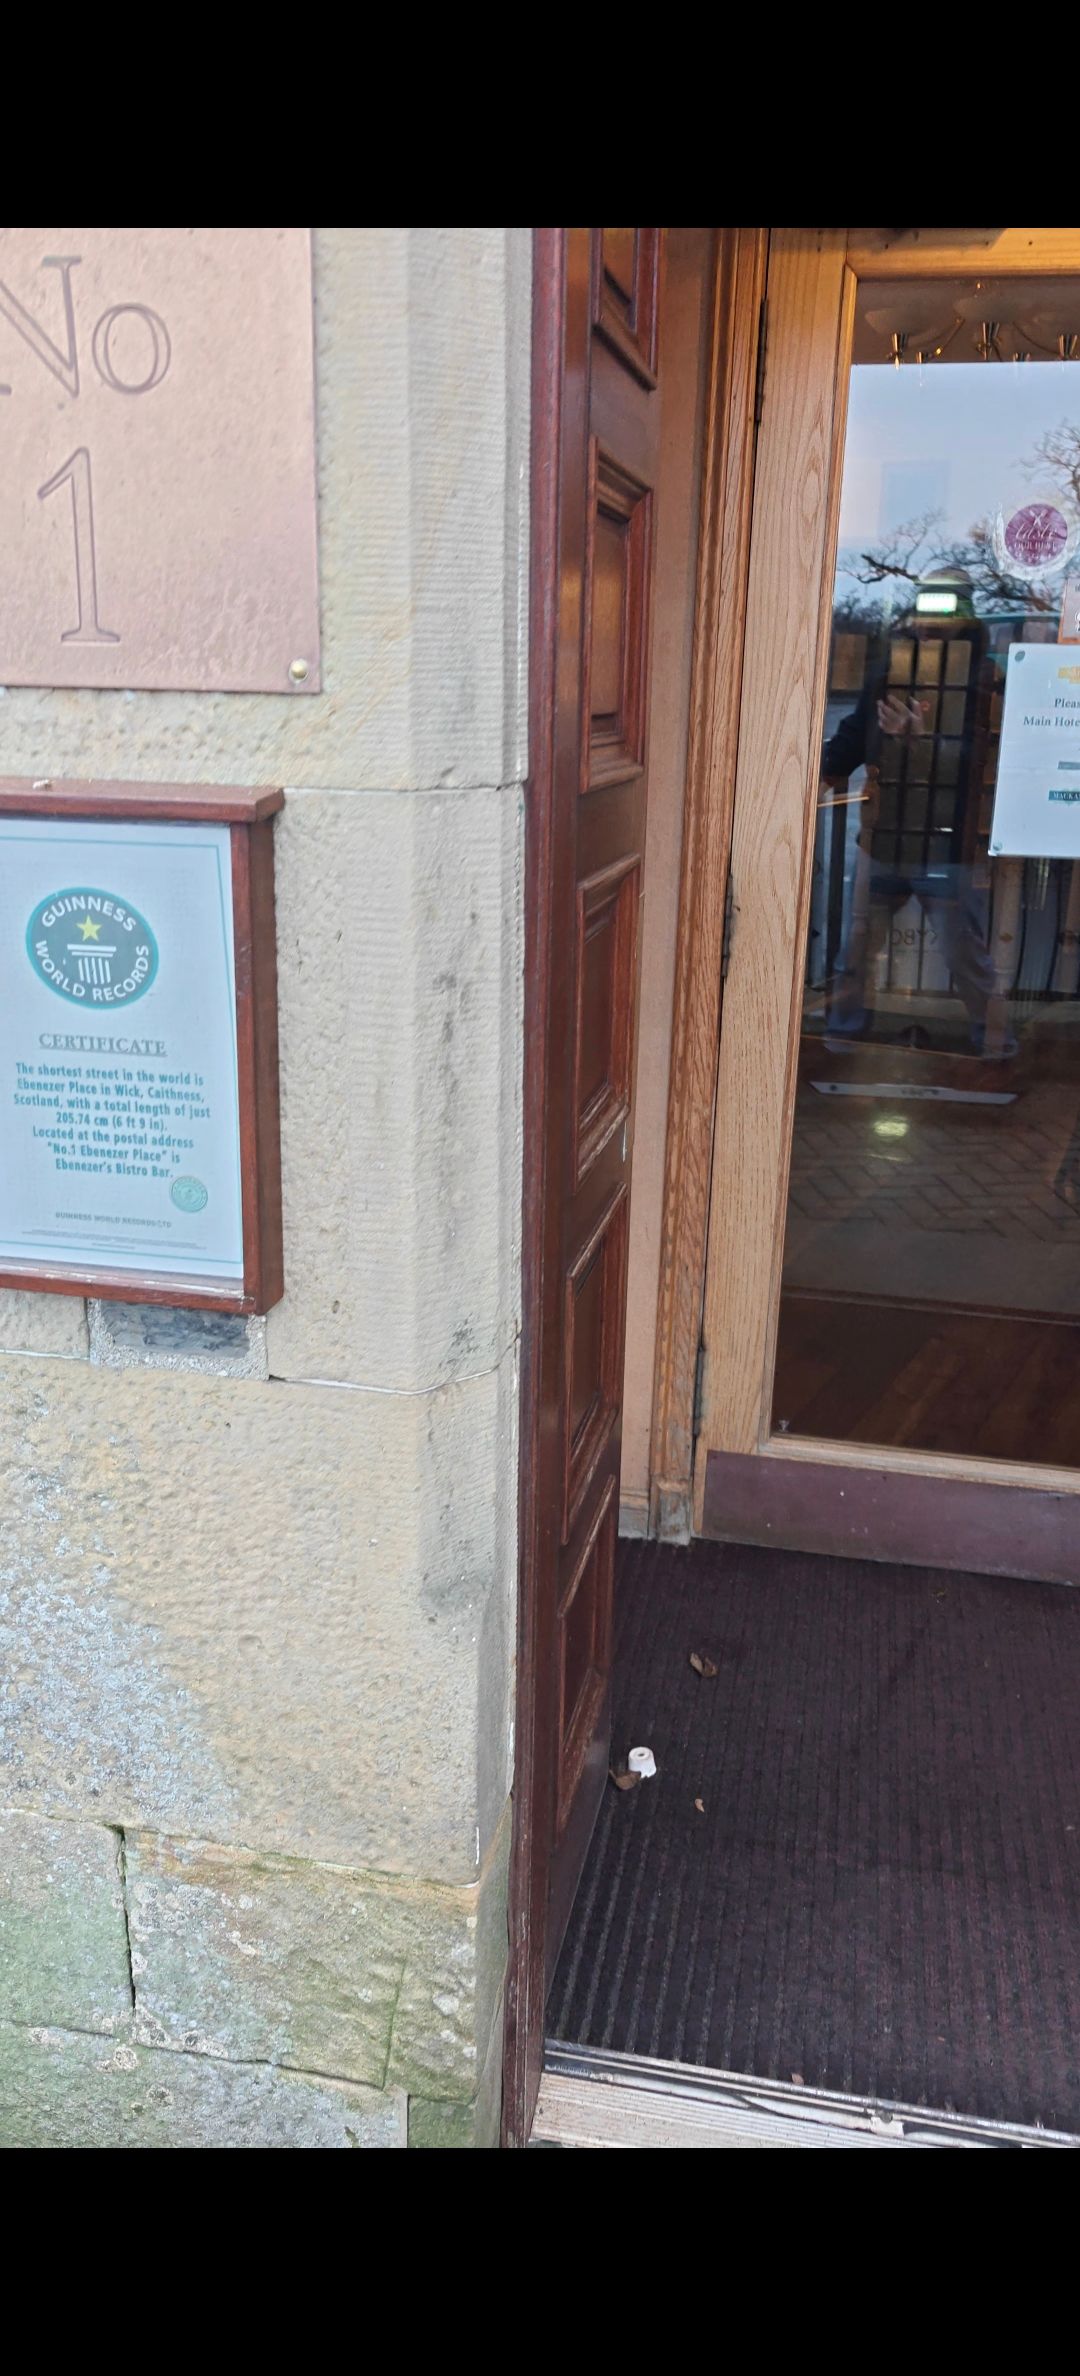
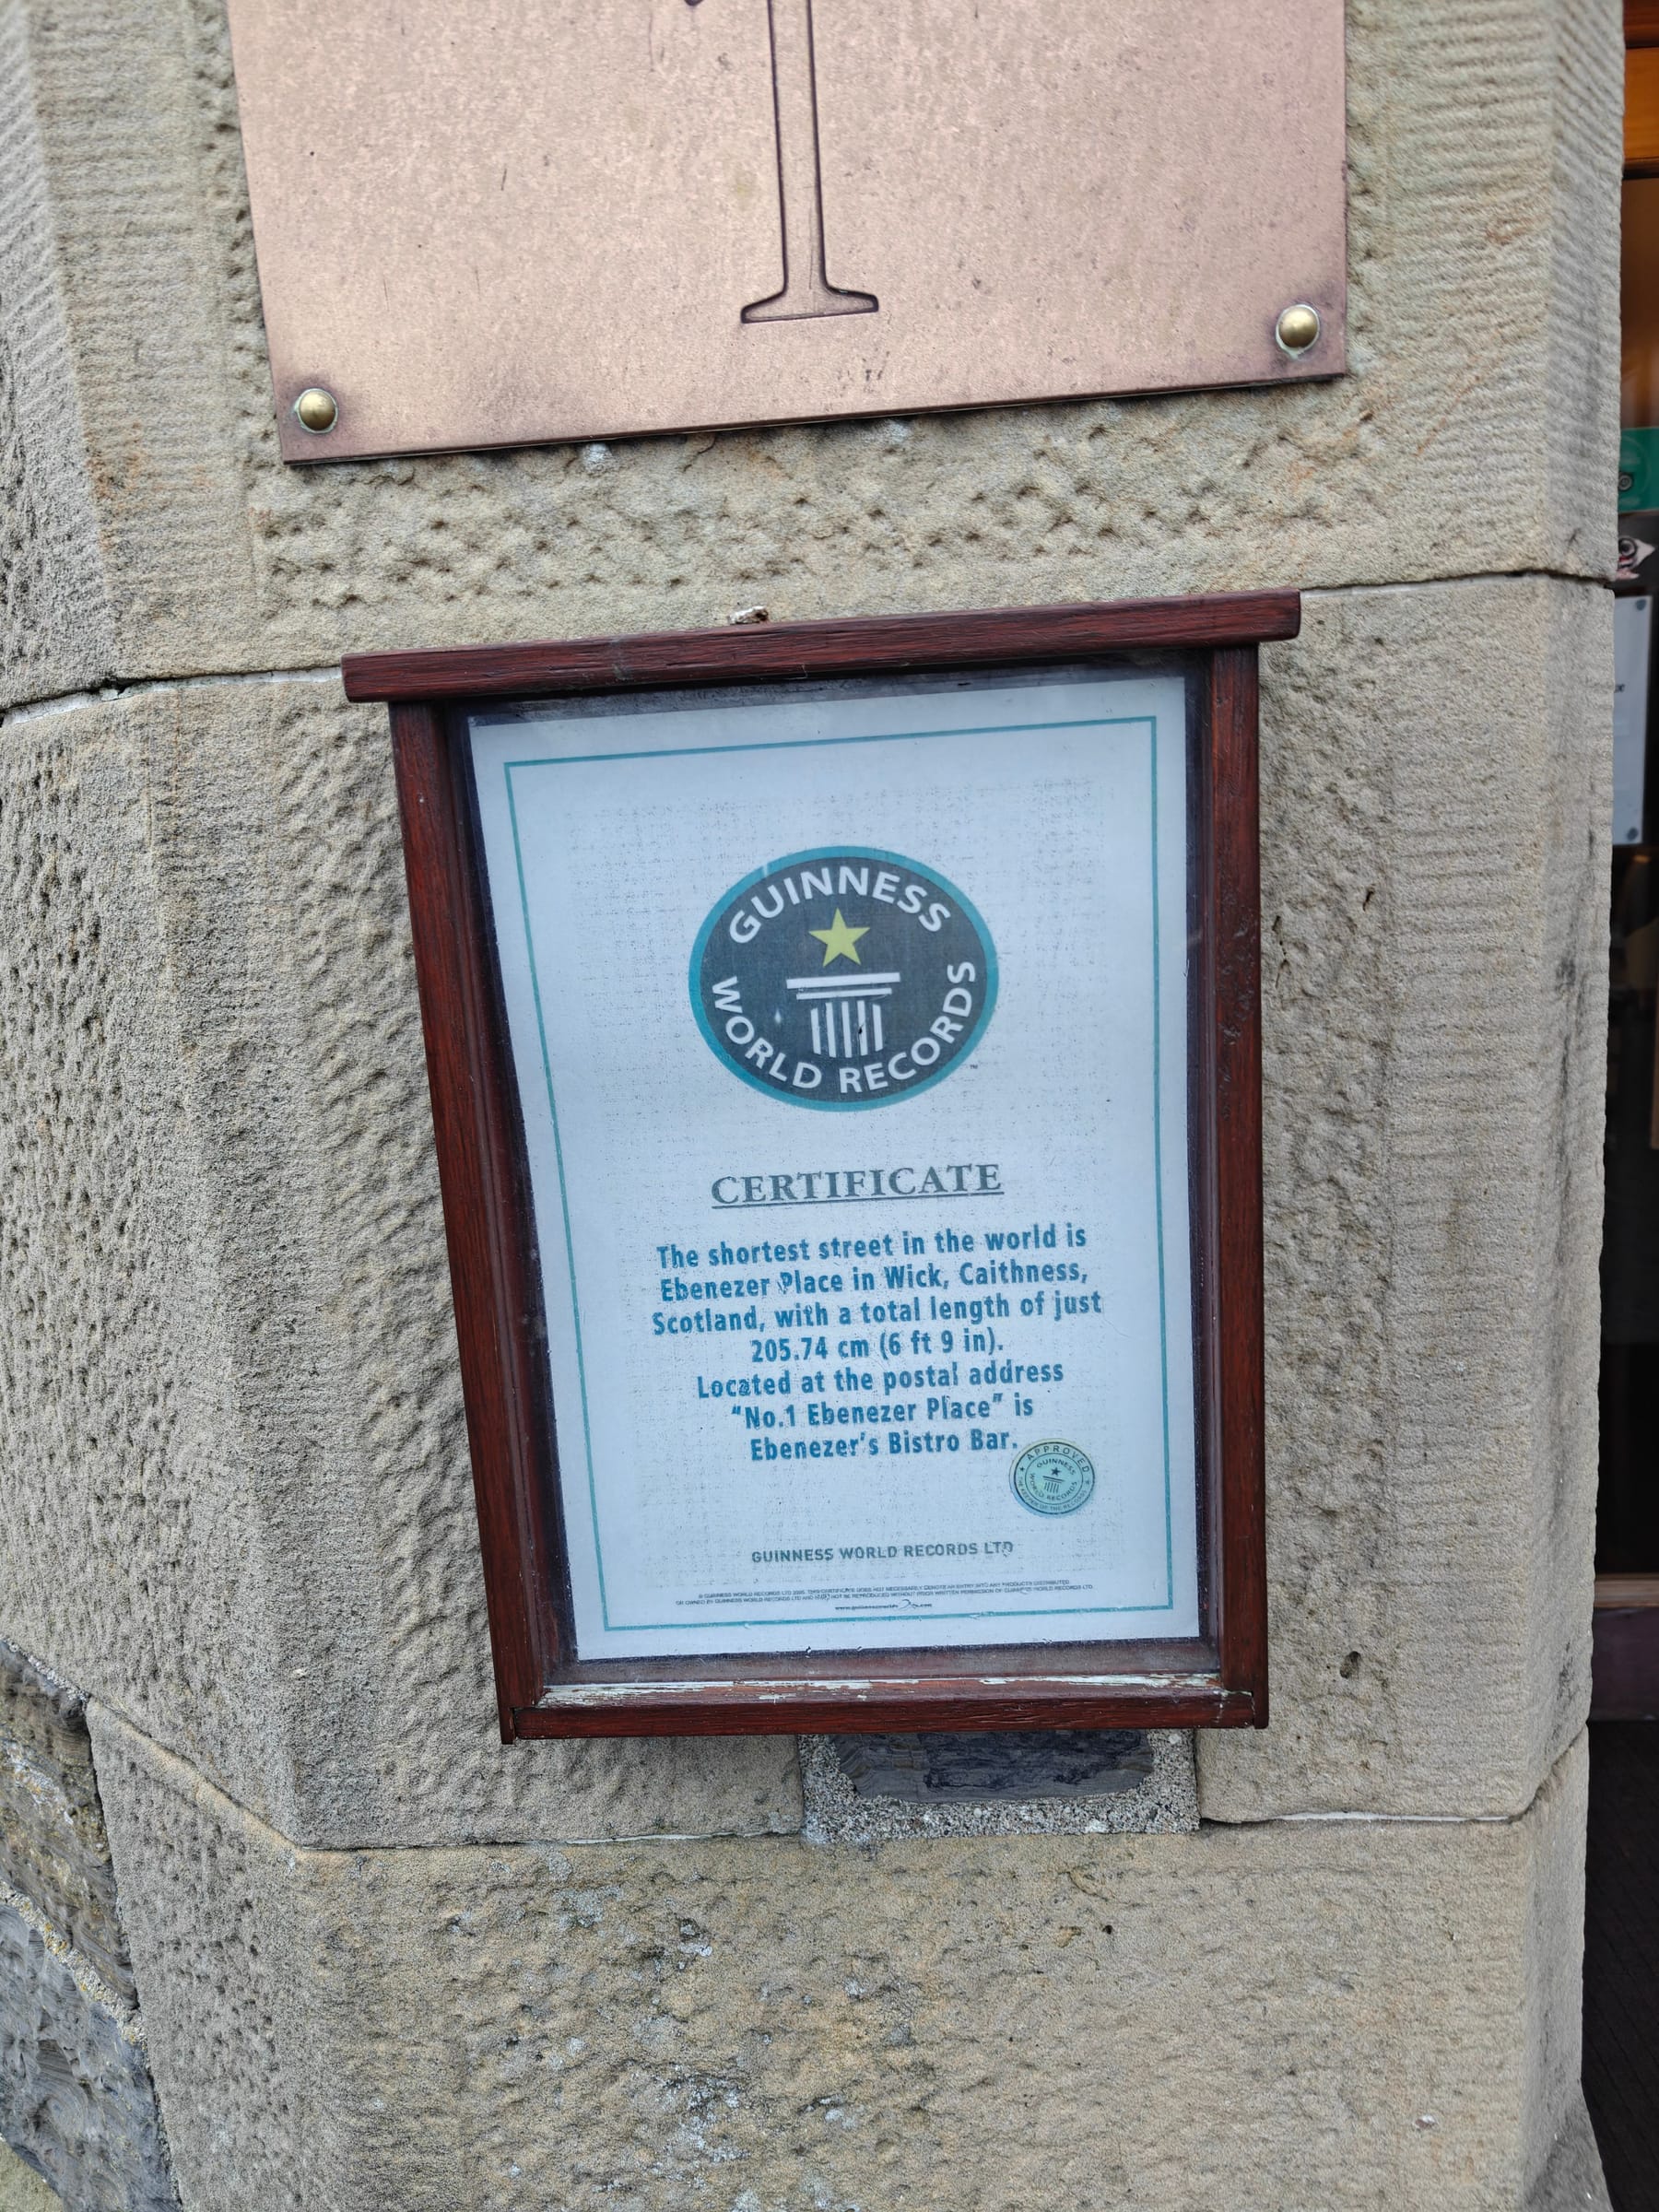

-
RE: Pint X - Error yellow 17 hot or cold with normal temp : How to change battery thermistor?posted in Repair
@rob-s It may be a bit of a tricky repair to pull the thermistors from the pack but if you’re up for it those should work fine on a pint-x. It’s a fairly basic 10k thermistor so not hard to find alternatives for if the one mentioned isn’t easy to get where you are.
Regarding getting inside the battery Mario did a teardown of a 3rd party battery that isn’t too dissimilar in structure that may help you in your journey.
Best of luck with the repair :)
-
RE: Rusty stator repairposted in Repair
@LOAFFETTE The cable swap was mint! Looks intimidating at first but I guess if you defo have the right pinout then it’s just a case of patience and heat.
@Sirgu I went with some generic bearing grease on Amazon as I didn’t have a whole lot of time left to wait for any specialist grease for the specific application. Afaik for this use case it’s mostly about keeping water out so the thicker stuff seemed appropriate. High speed grease maybe if you wanna ensure no performance loss since normal greases increase the rolling resistance a fair bit once packed well.
-
RE: Thinking of a retro "onewheel" projectposted in General Discussion
@lemur Duuuude I remember this thing. It’s on Instructables btw if you wanna trip down memory lane. Thing was sick!
https://www.instructables.com/Self-balancing-one-wheeled-electric-skateboard/ -
RE: Rusty stator repairposted in Repair
They were happy for me to re-install it since popping stators back in is a bit of a hairy task. Gotten a little used to it now so happy to do it.
However I don't have the rail to actually handle this properly... but I do have a lot of scrap wood.
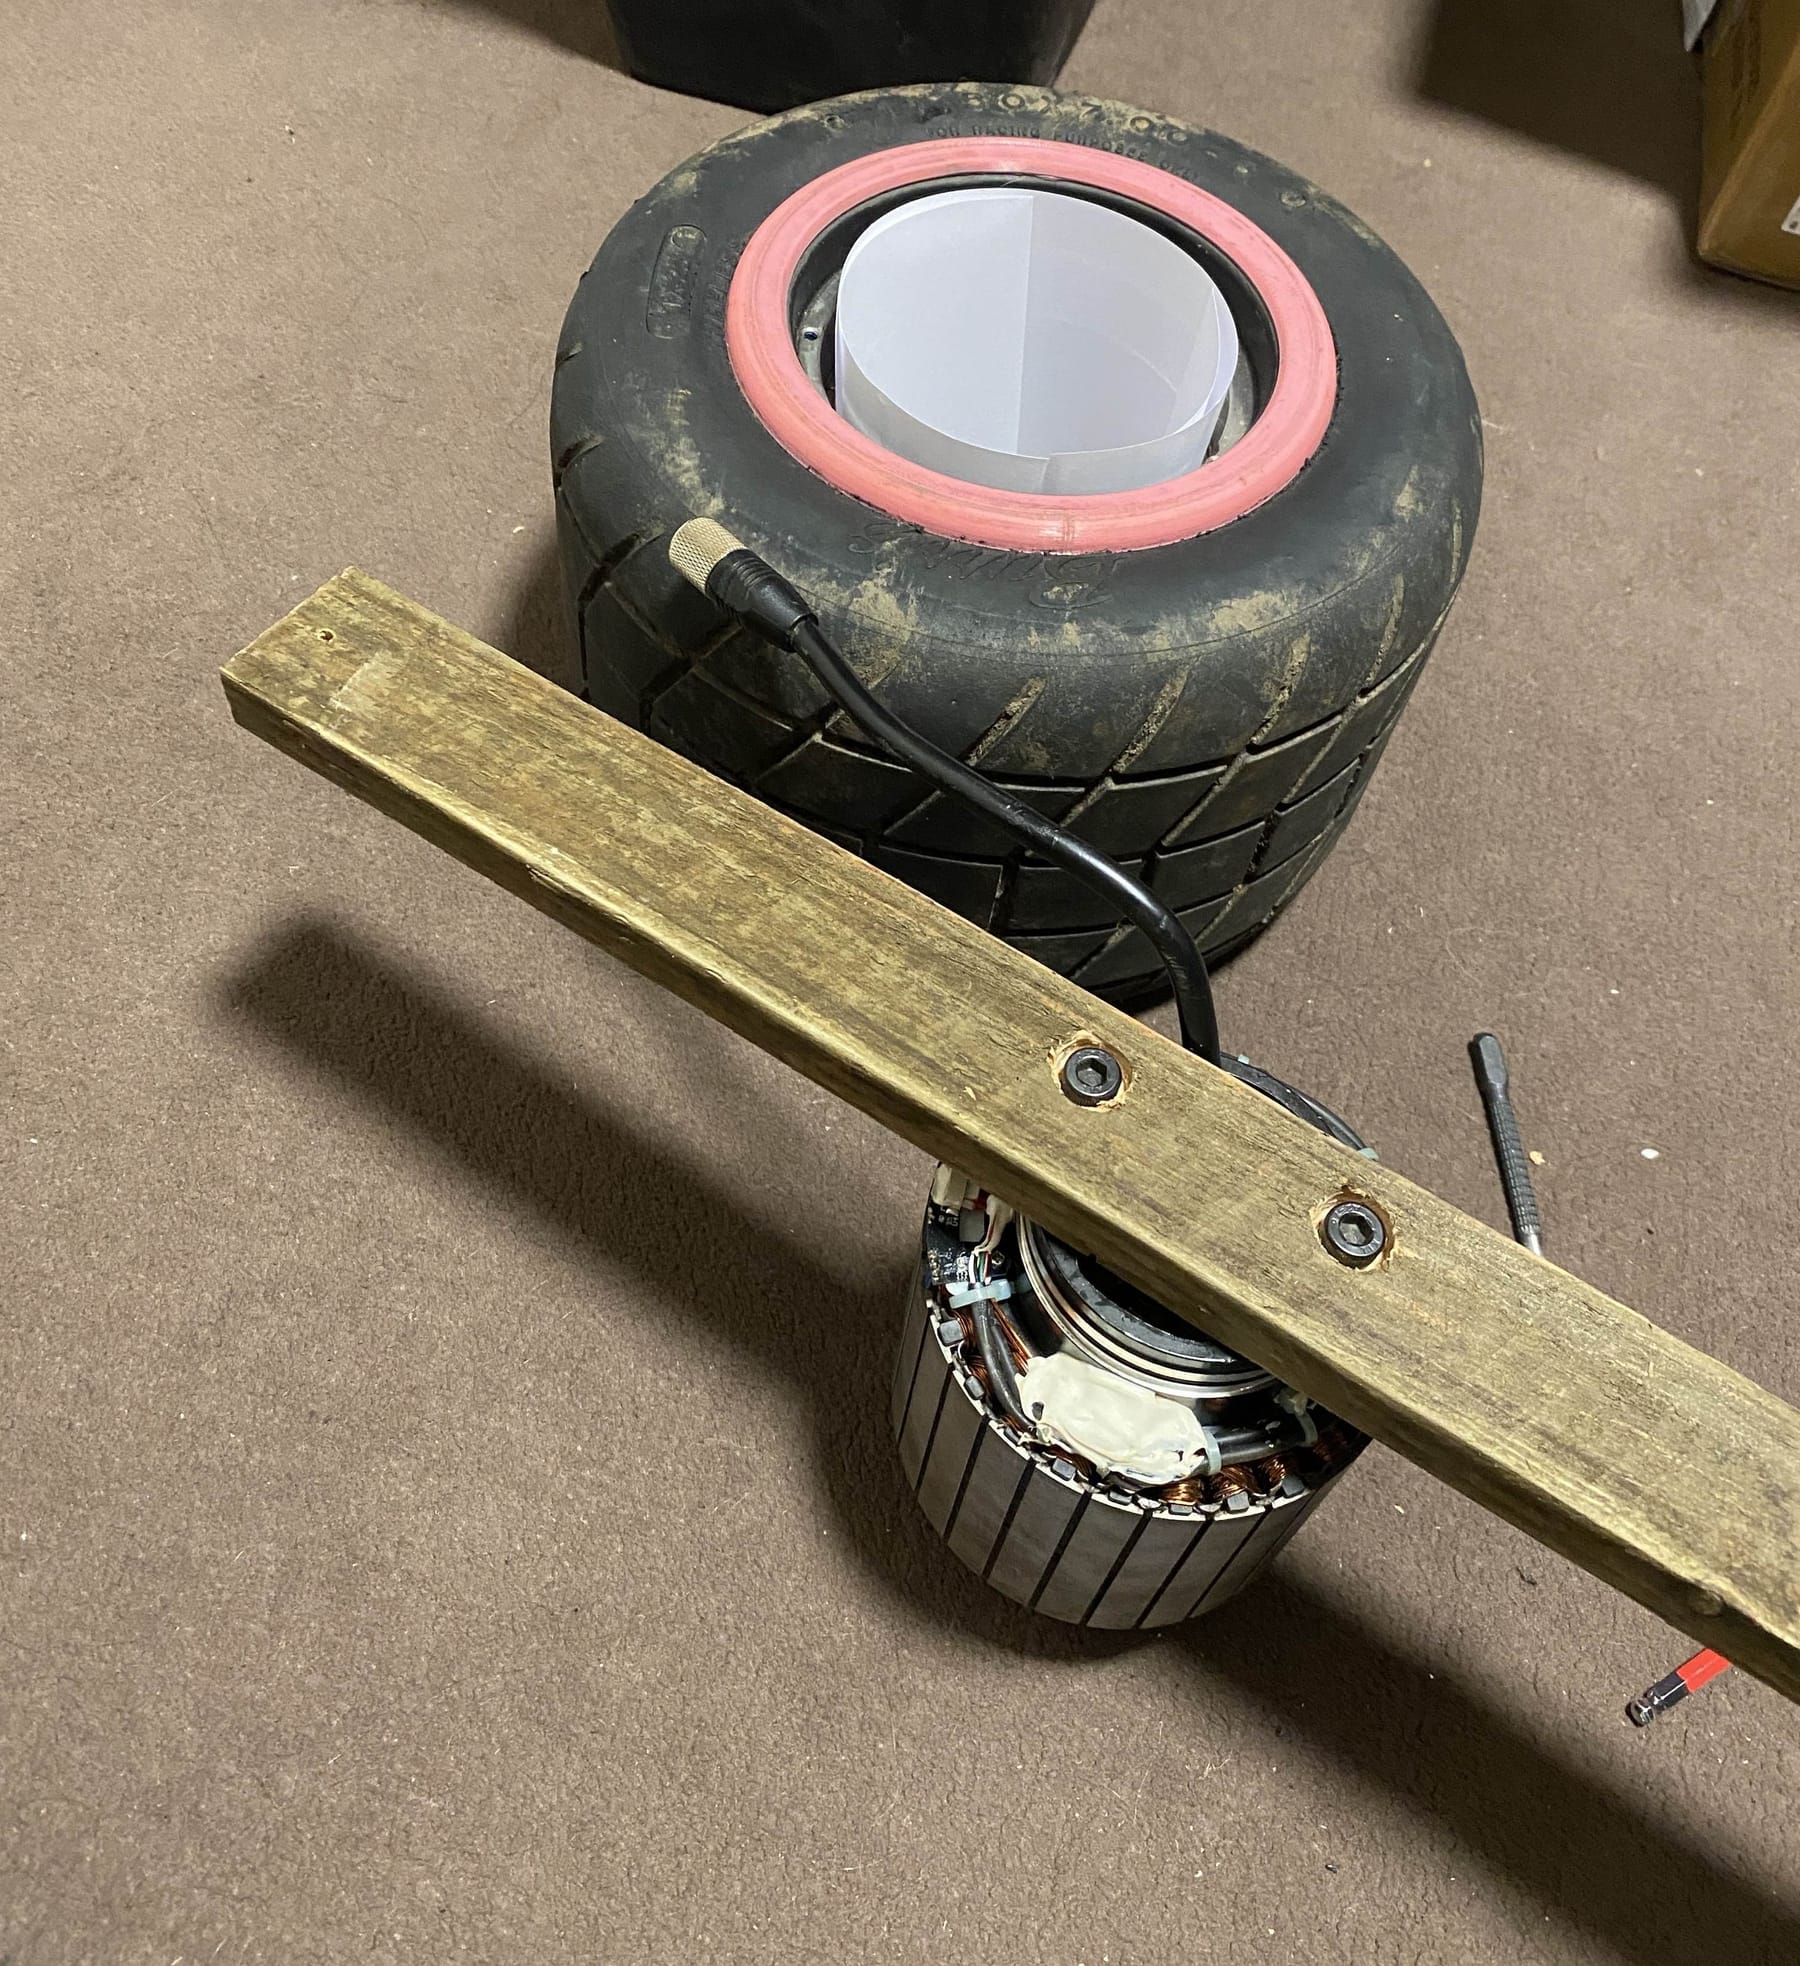
Card around the magnets as a barrier for when it inevitably wants to scrape on it's way down. Stupid easy drop in with a little extra convincing with the press to seat it onto the hub bearing properly.
And there it is. I don't have the plate either so left the bearing off the other side. It's easier and imo better to mount the bearing on the plate then slide that onto the axle. It'll hopefully get collected at some point and be put back to use. Hopefully this time not in water 😩
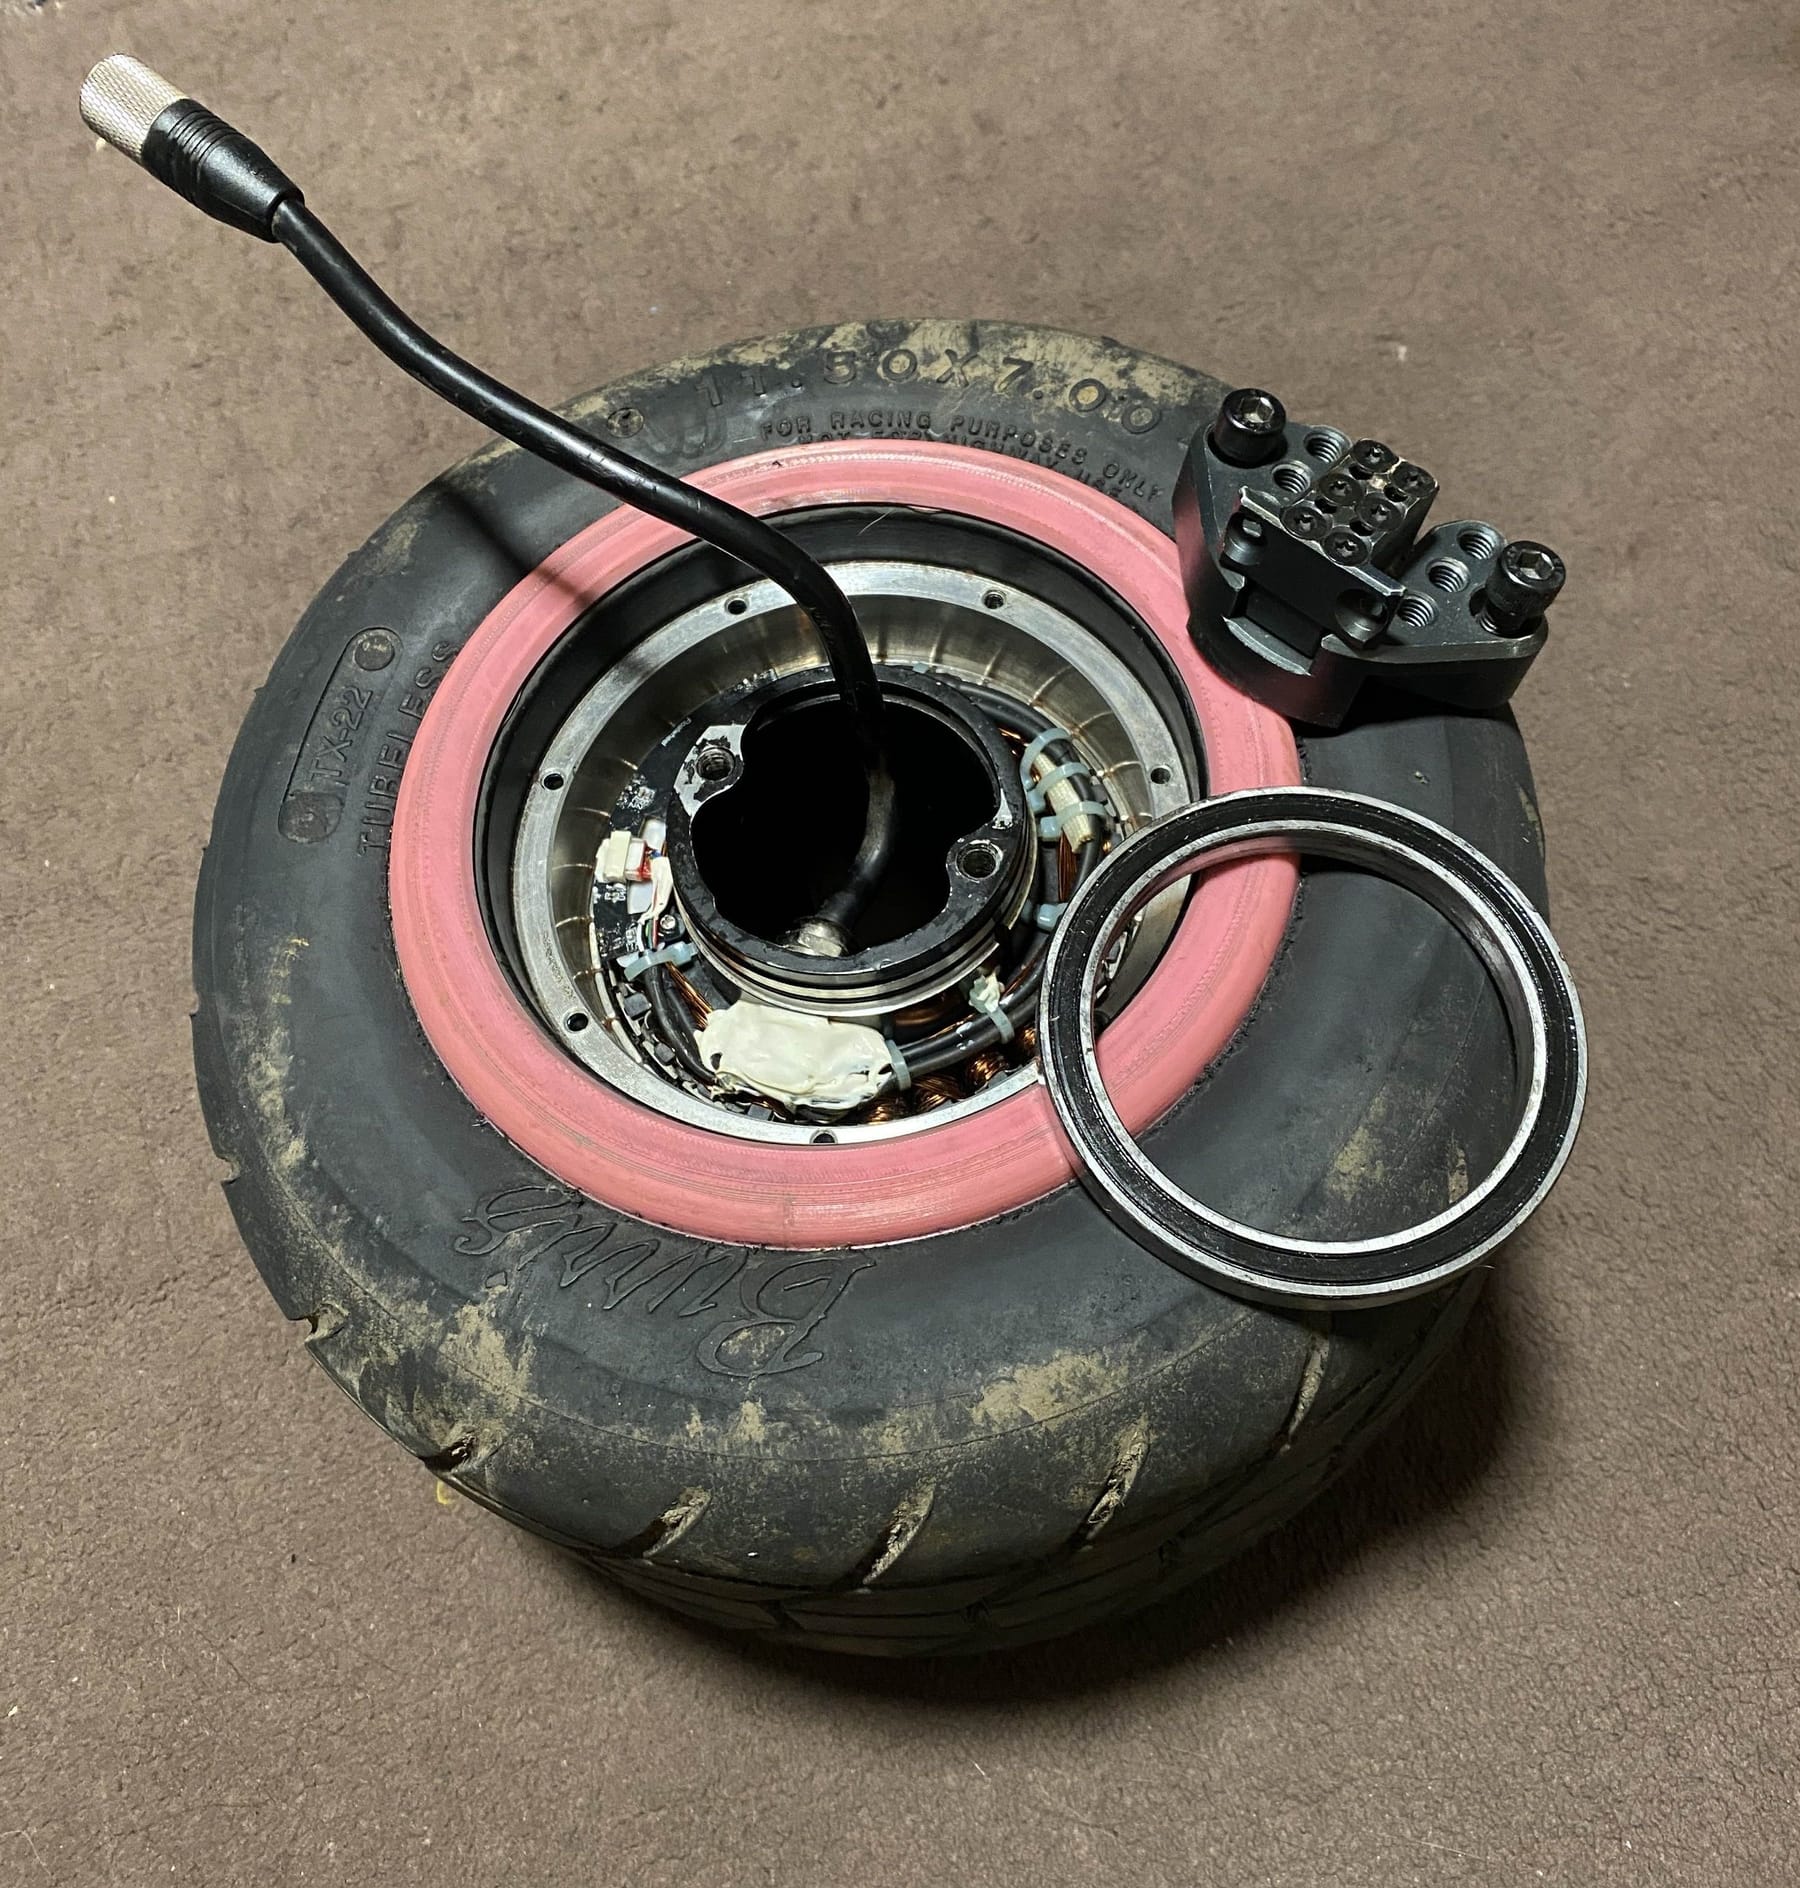
I'll let y'all know if this truly was a success once I hear back. But based on measurements it seems all good.
-
RE: Rusty stator repairposted in Repair
Bearings came out great after a few more cleaning soaks and scrubbing. Repacked them with grease which as expected made them no longer spin freely but they're smooth and clearly going to last longer now.
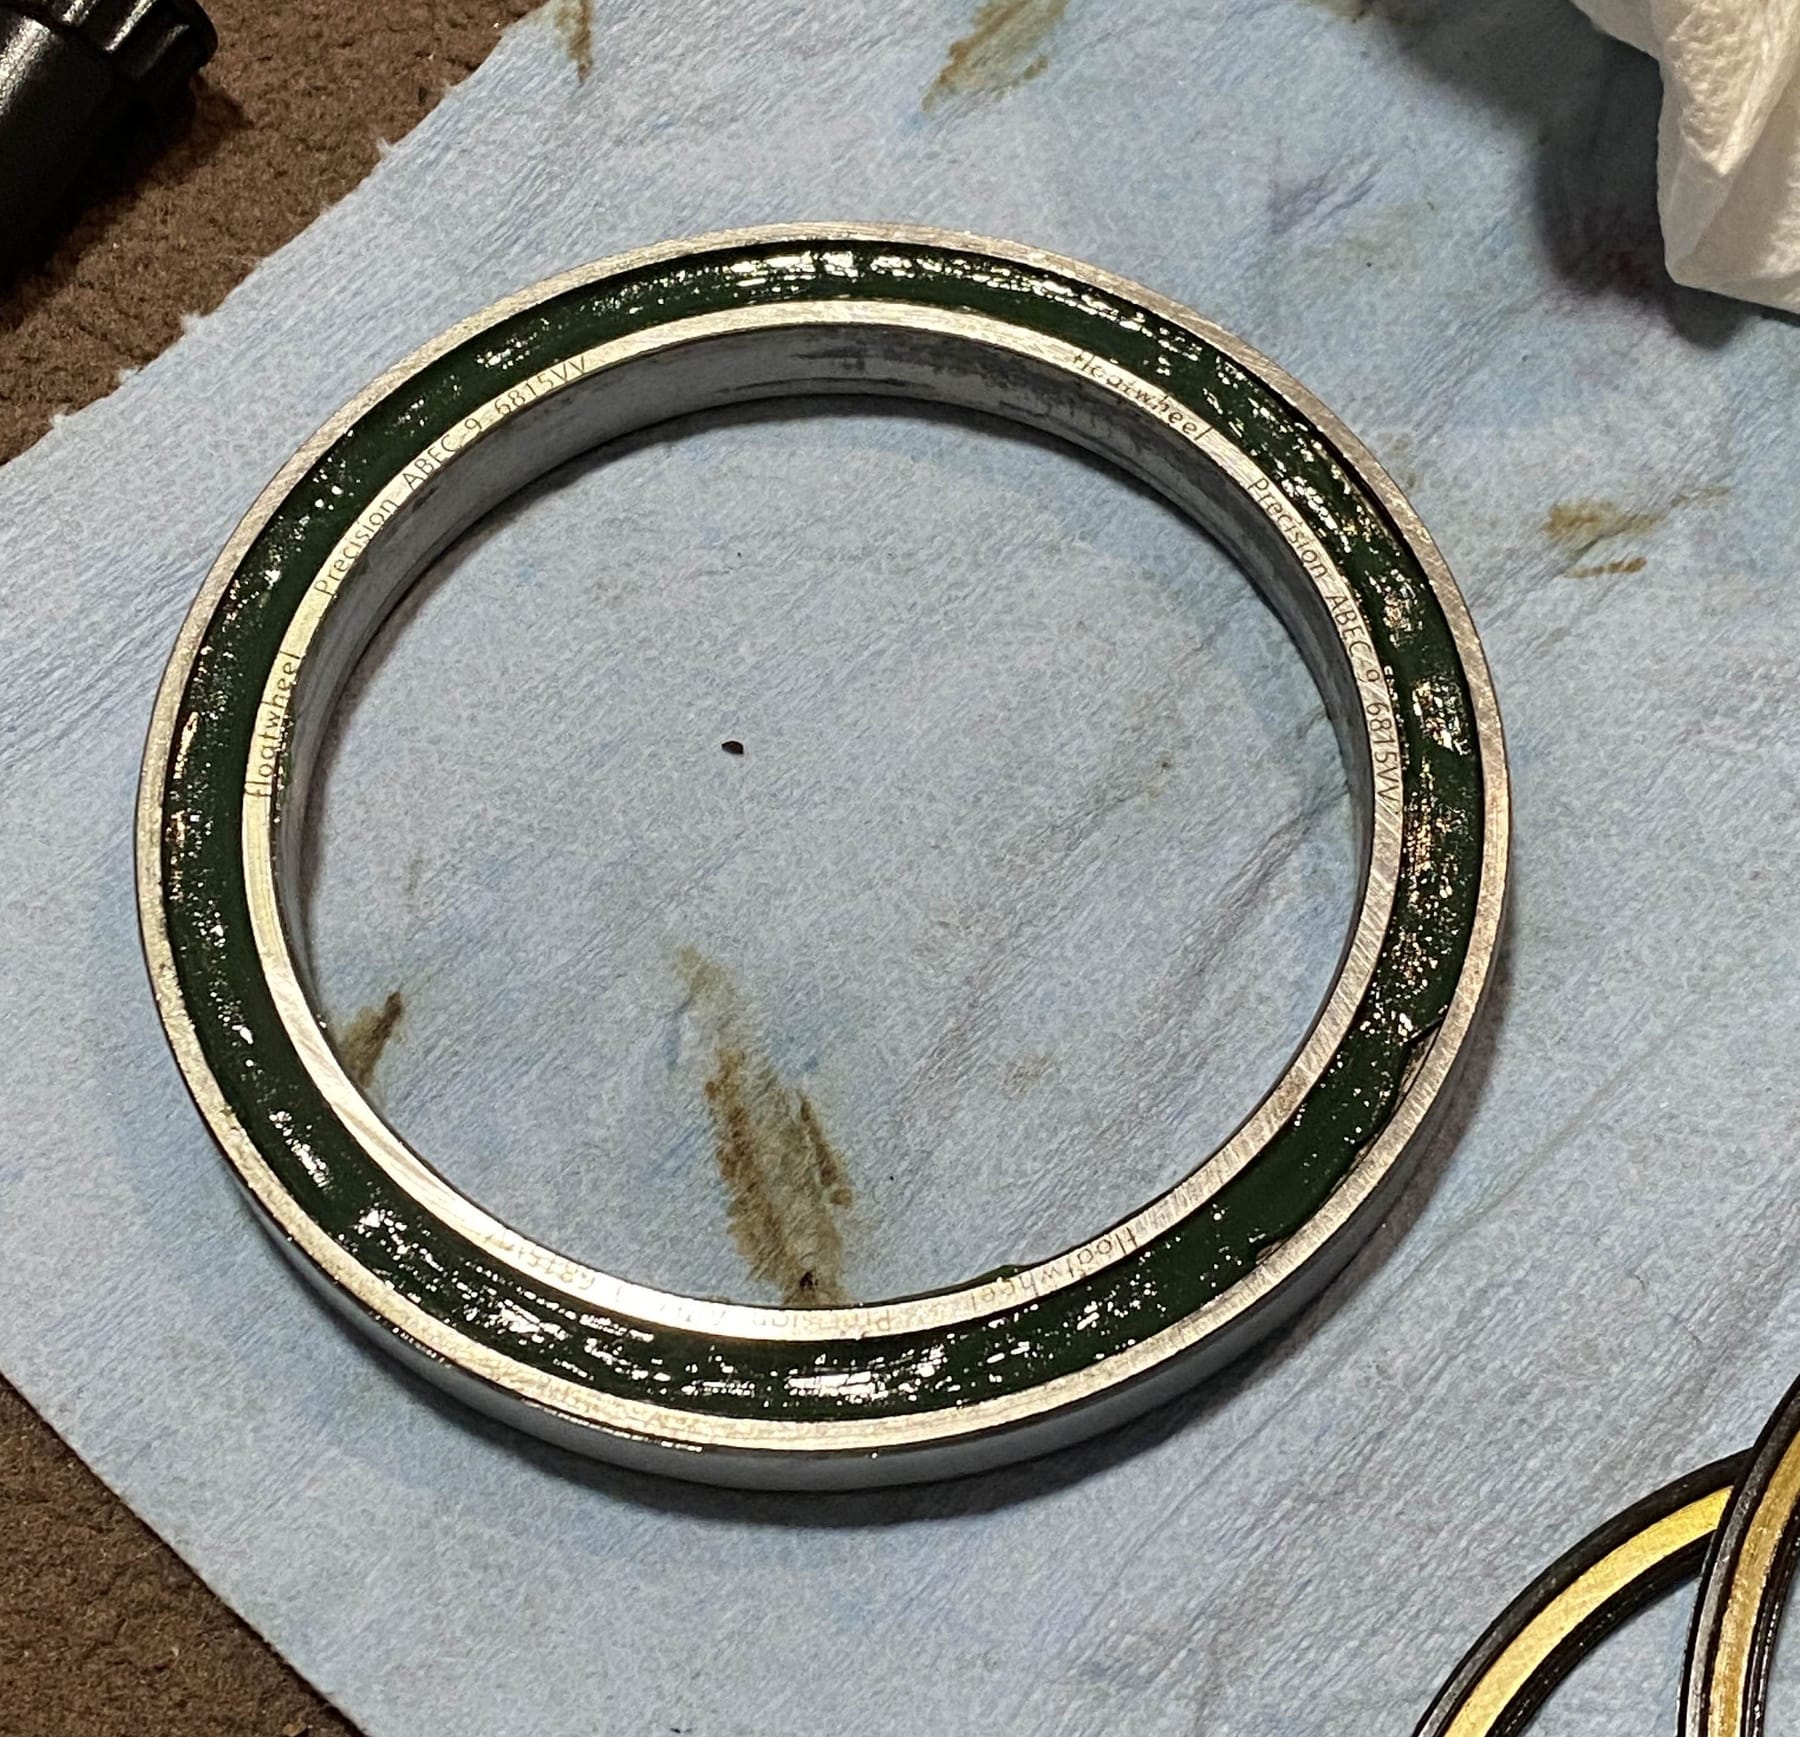
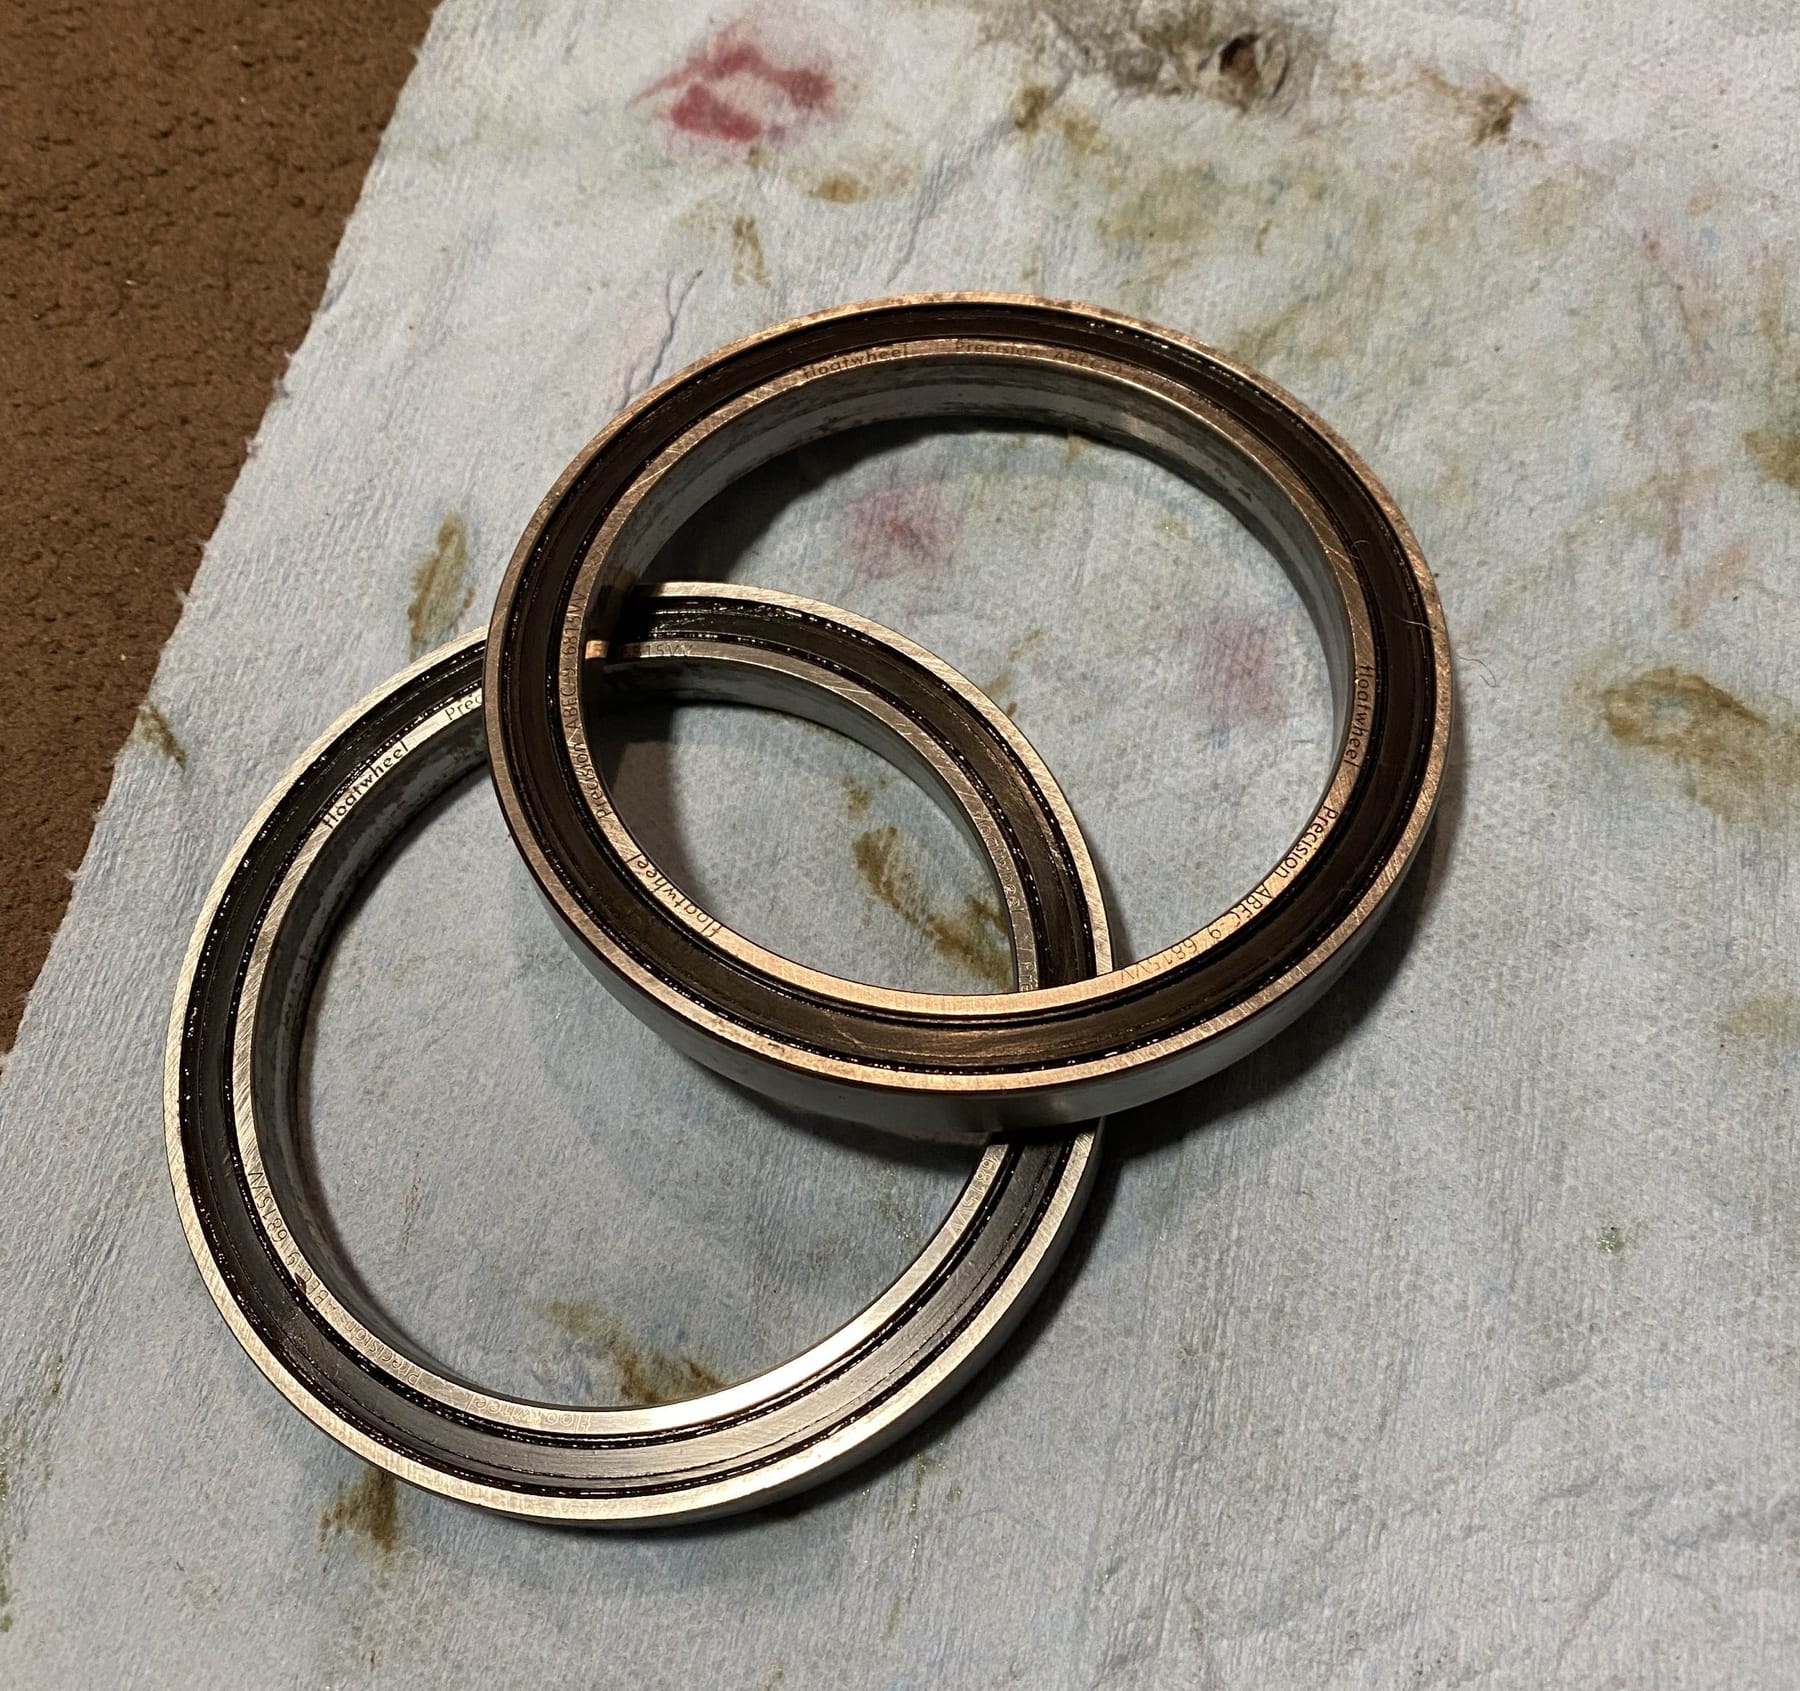
Cleaned up the magnets too while I was at it. There was a few bits of dried gunk and some corrosion stains on them. Thankfully those mostly came off with a bit of vigorous scrubbing.
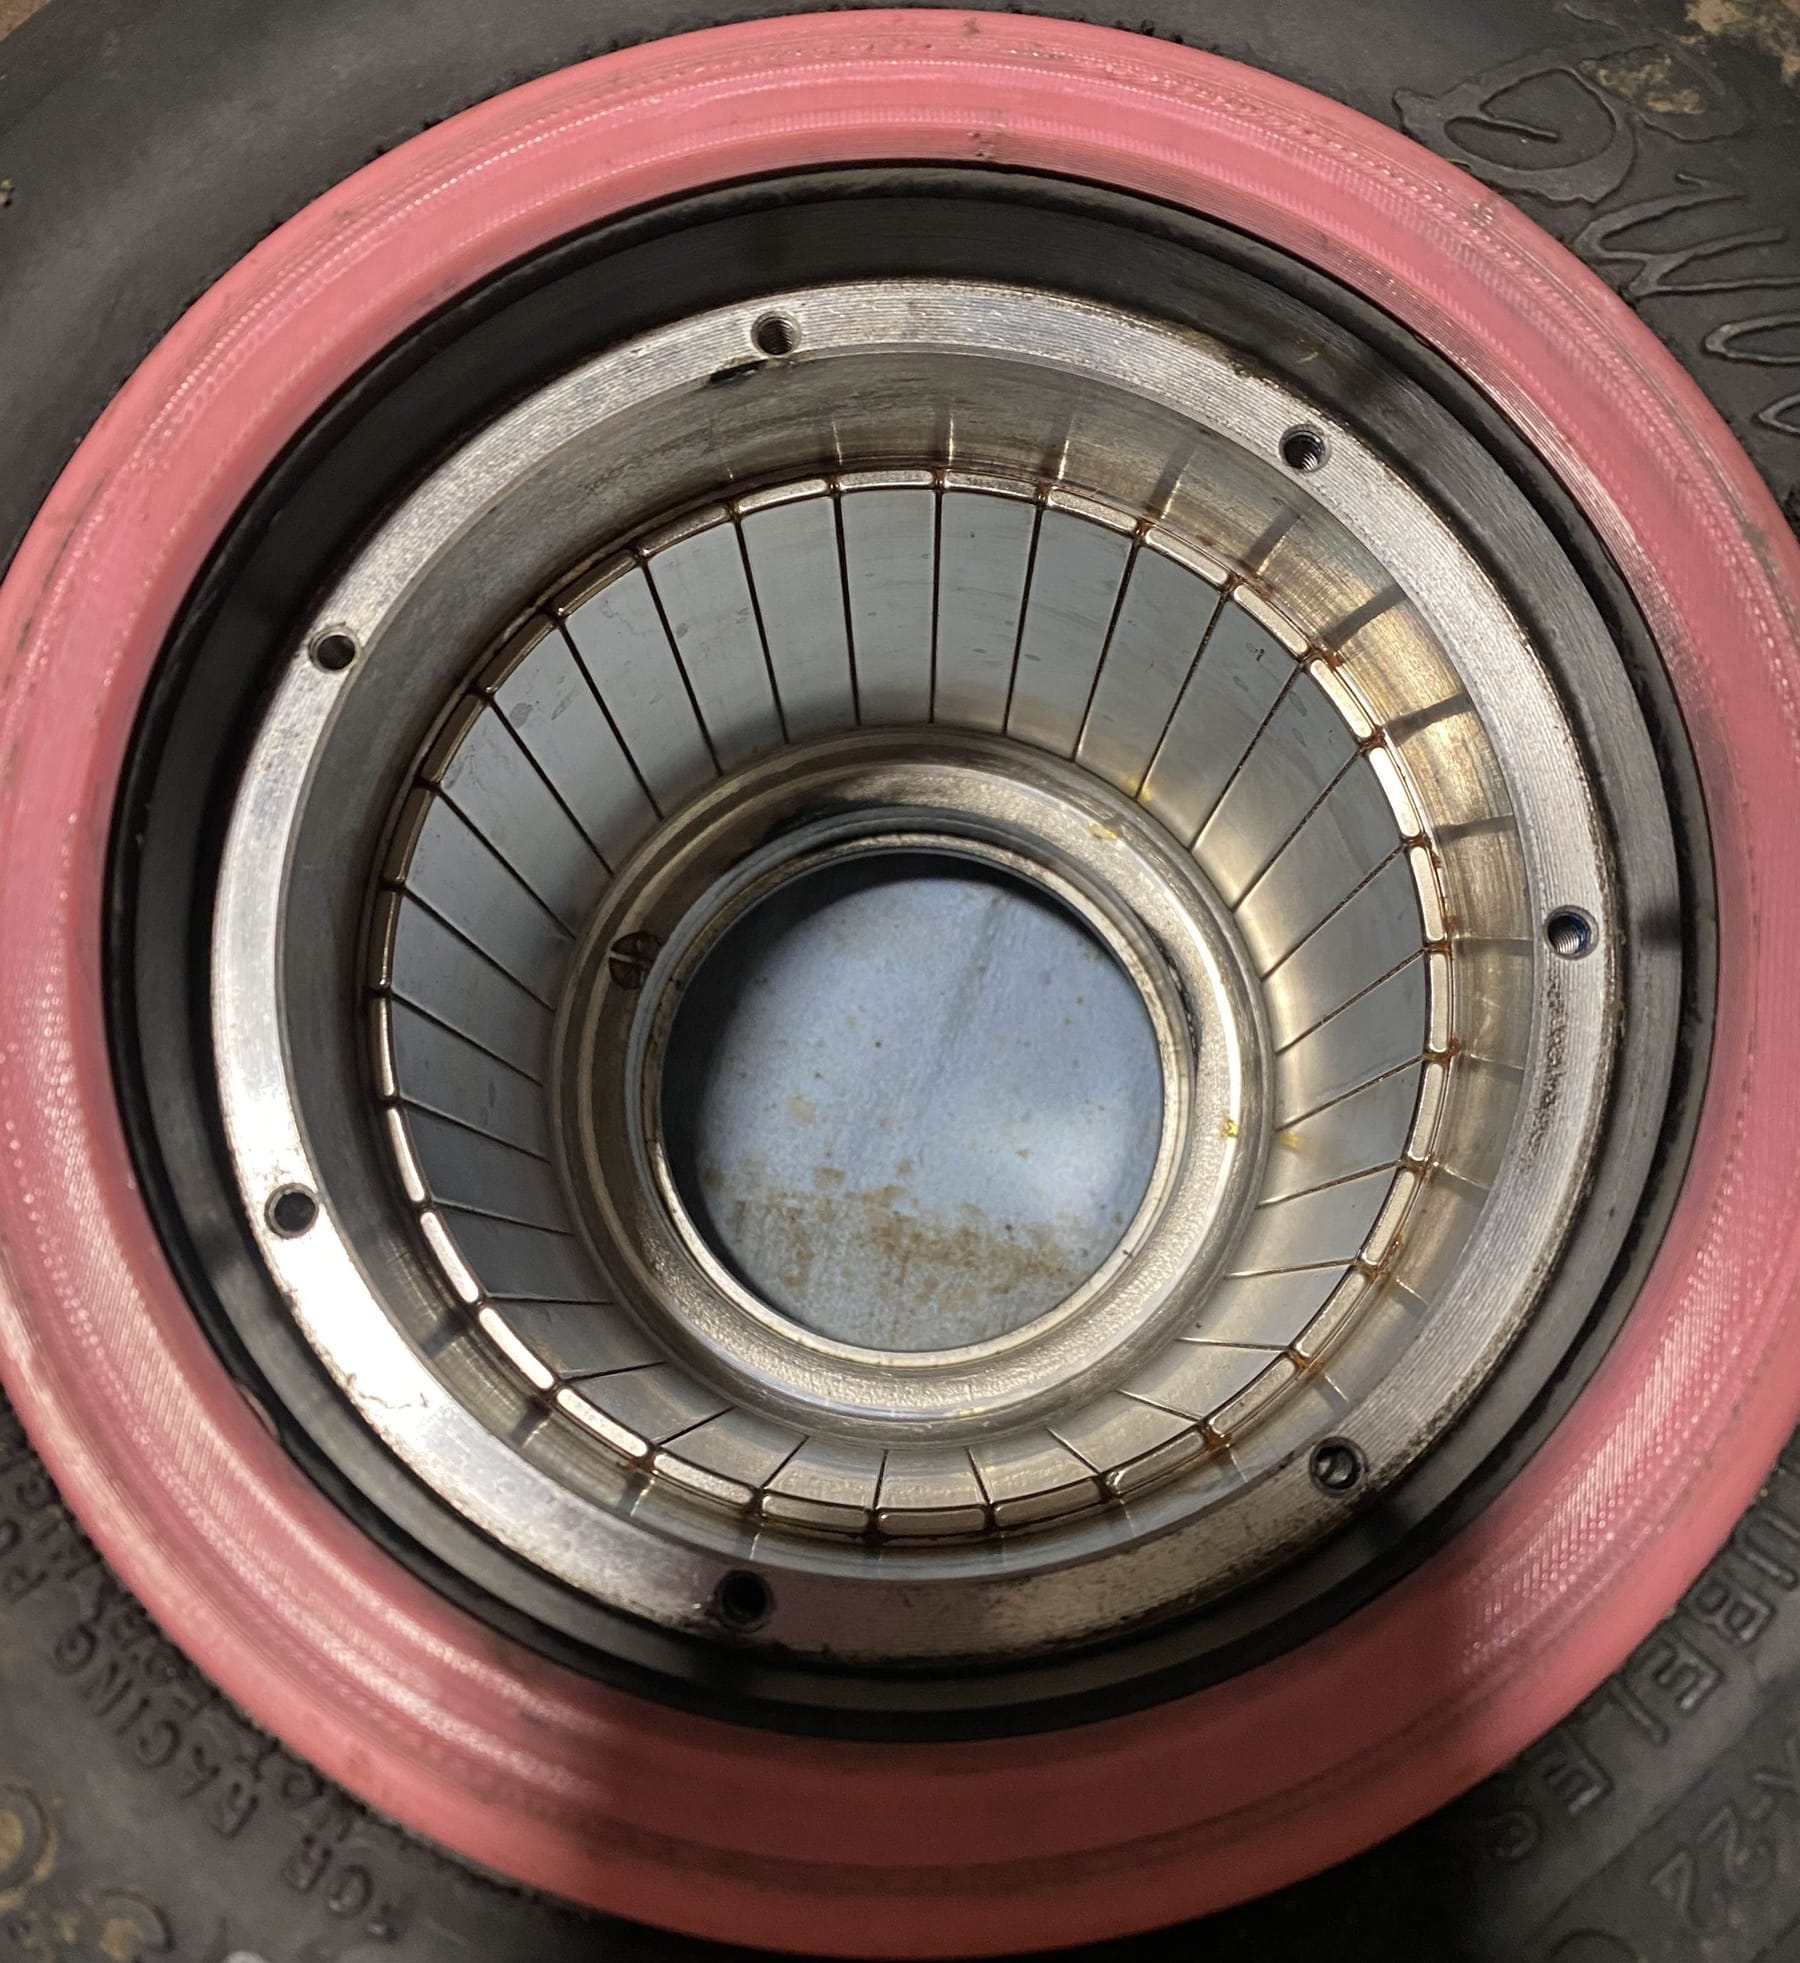
Touched up the hall joints as they seemed a little off. Redid the other joints too just while I was at it which made them easier to check. All seemed to measure right after doing so which is good since I don't have any spare.
I finally got that phase pin that was blackened clean and measuring fine too. I don't have a floatwheel motor connector to mate it too and test it but I put my probes in relatively loose and they all measure when testing between all 3 combinations.
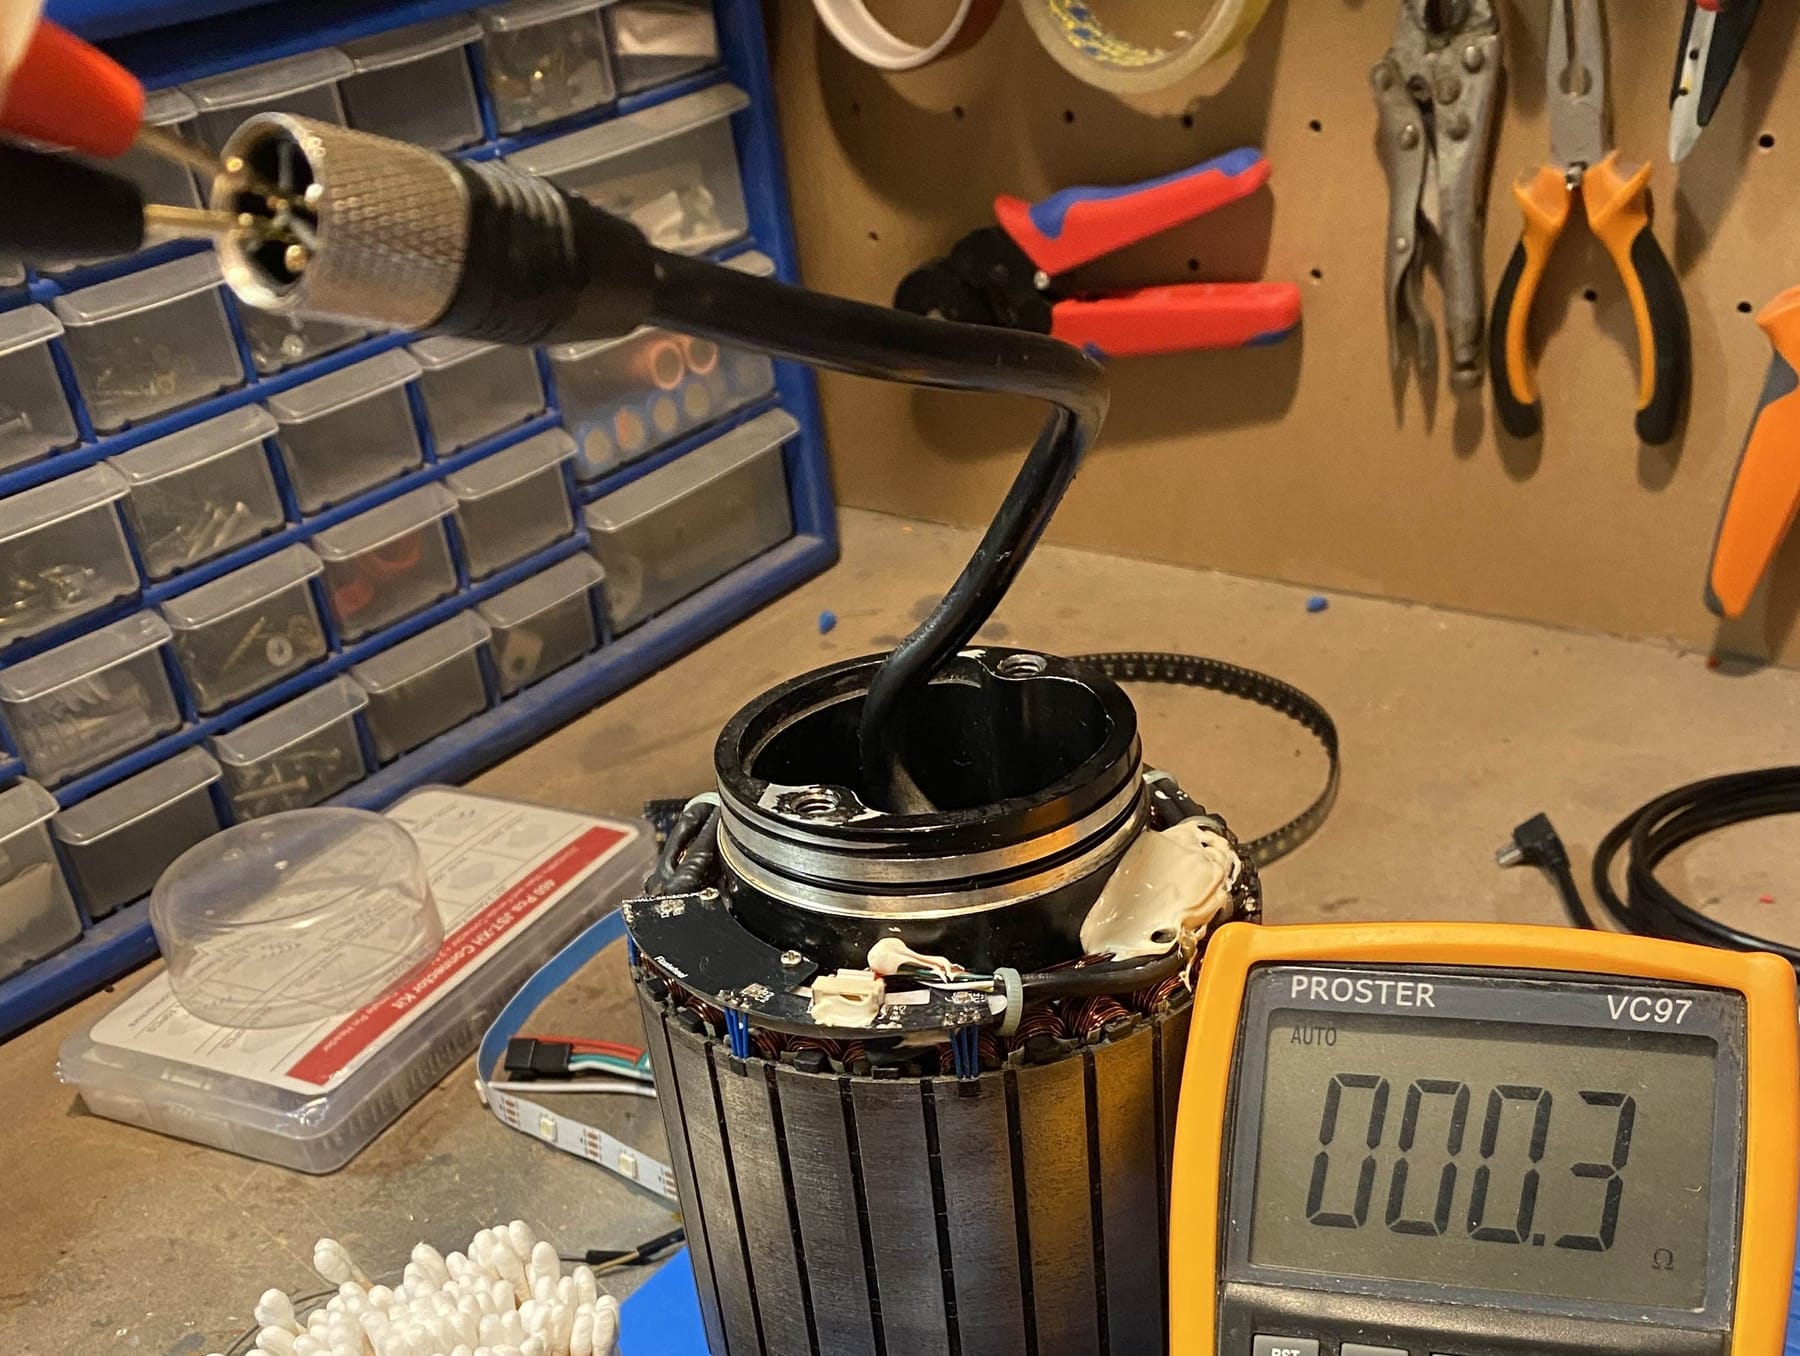
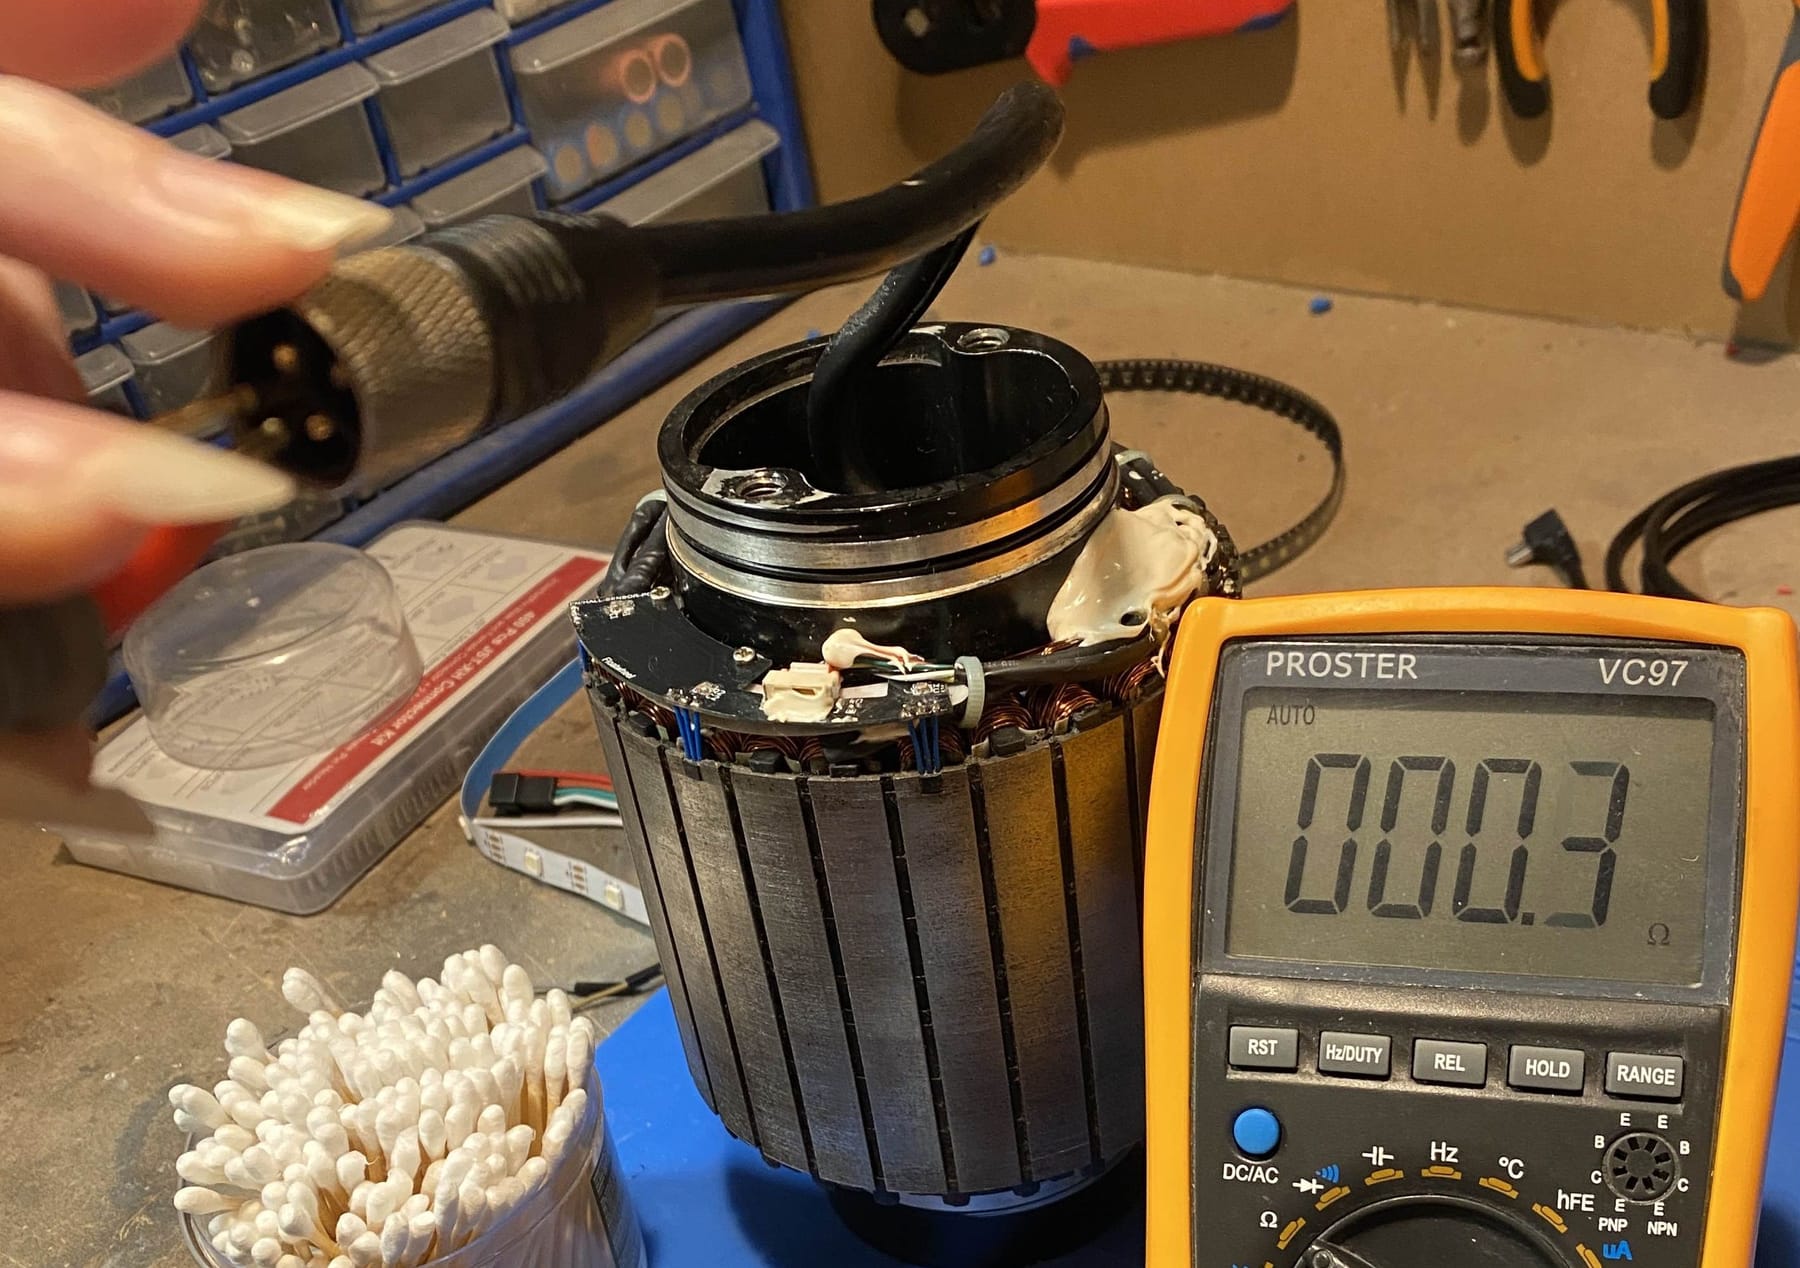
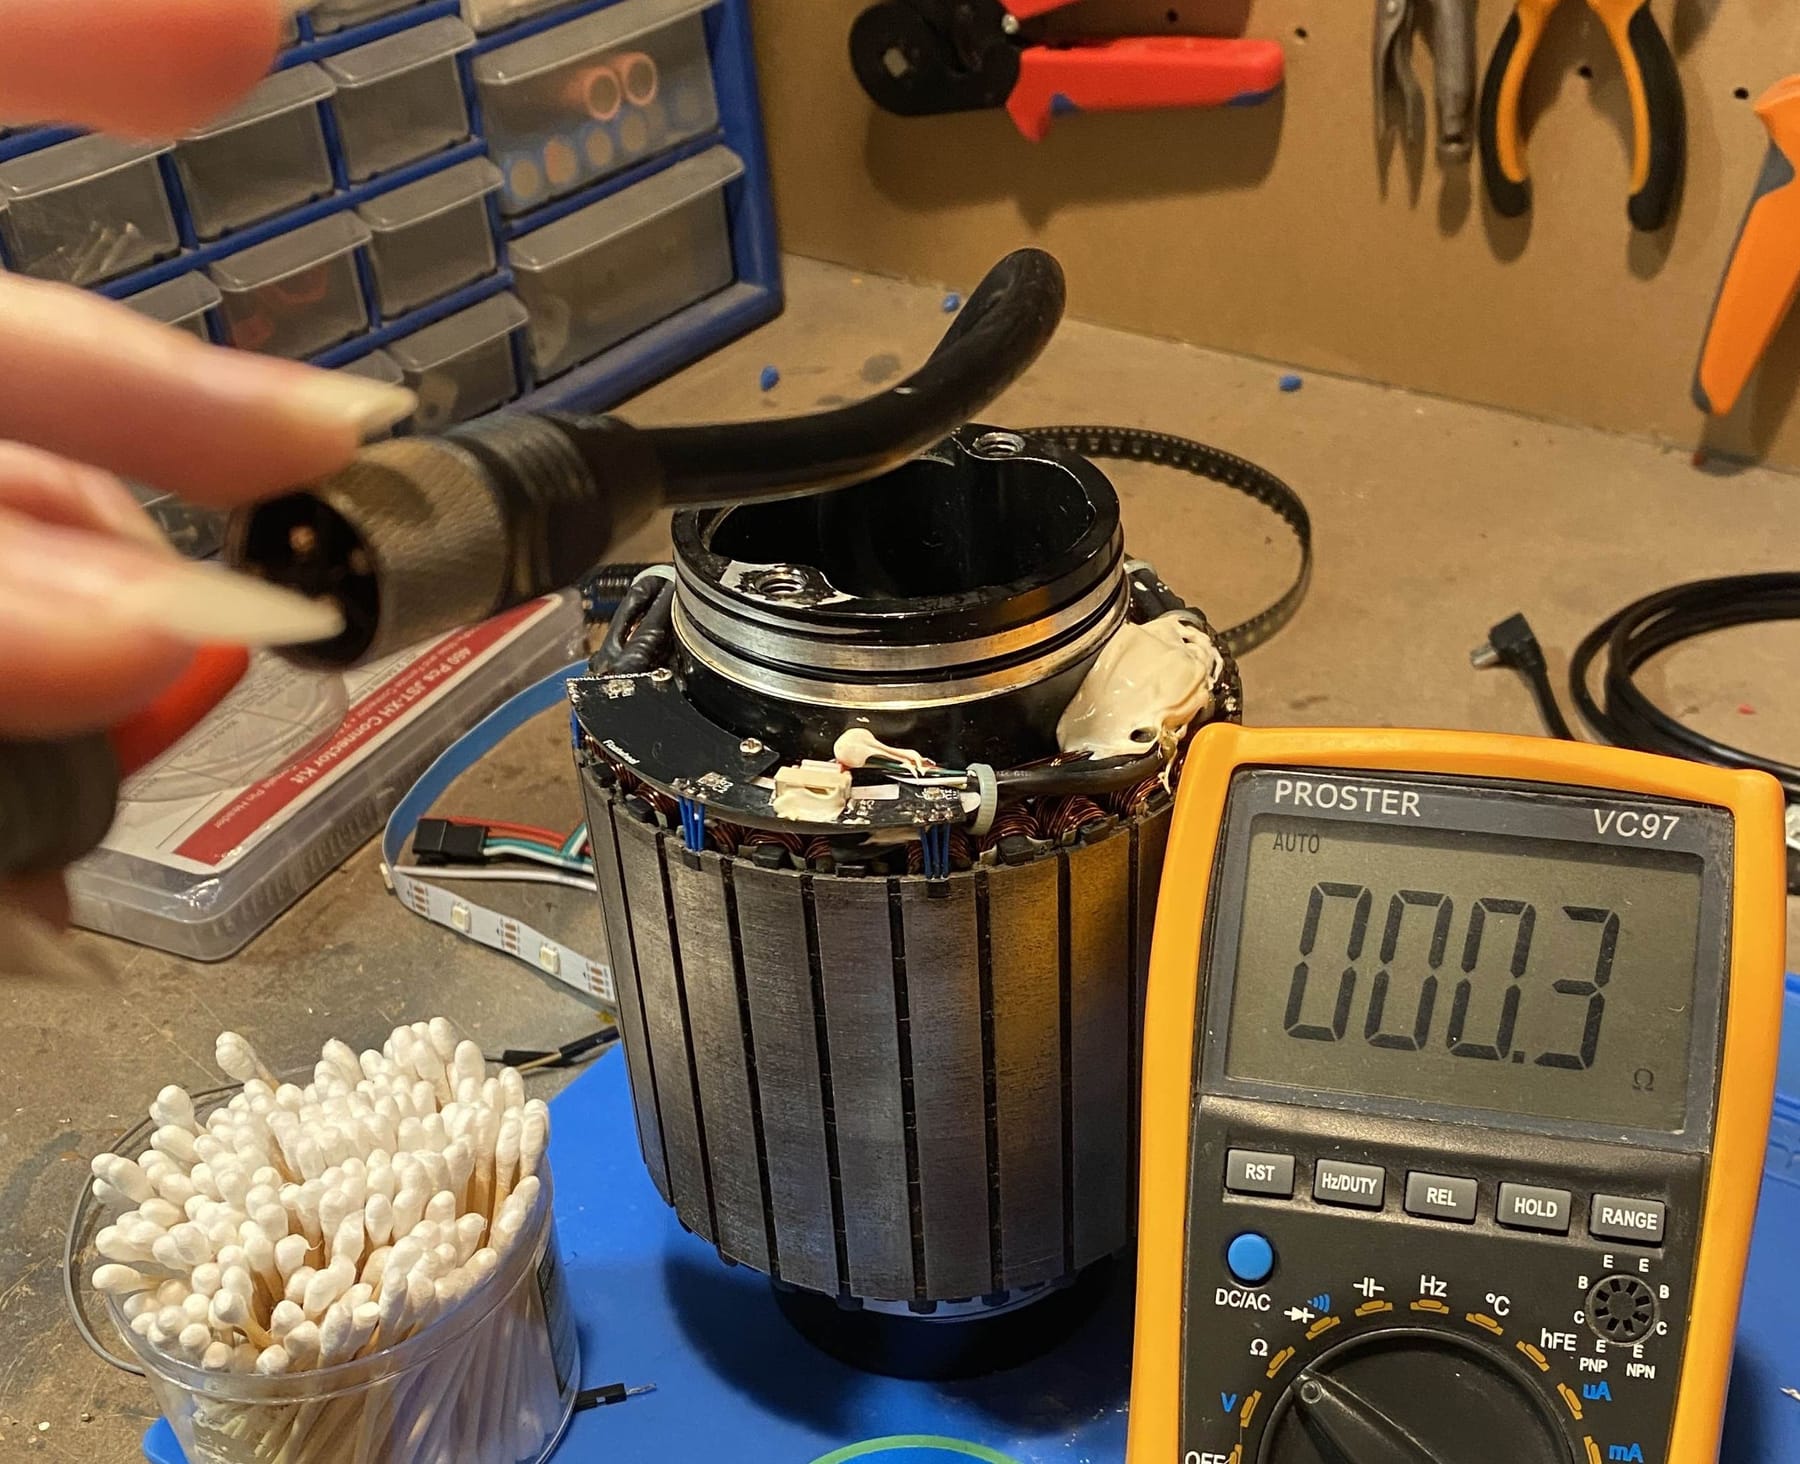
So with it electrically and visually looking fine it's time to put bits back together.
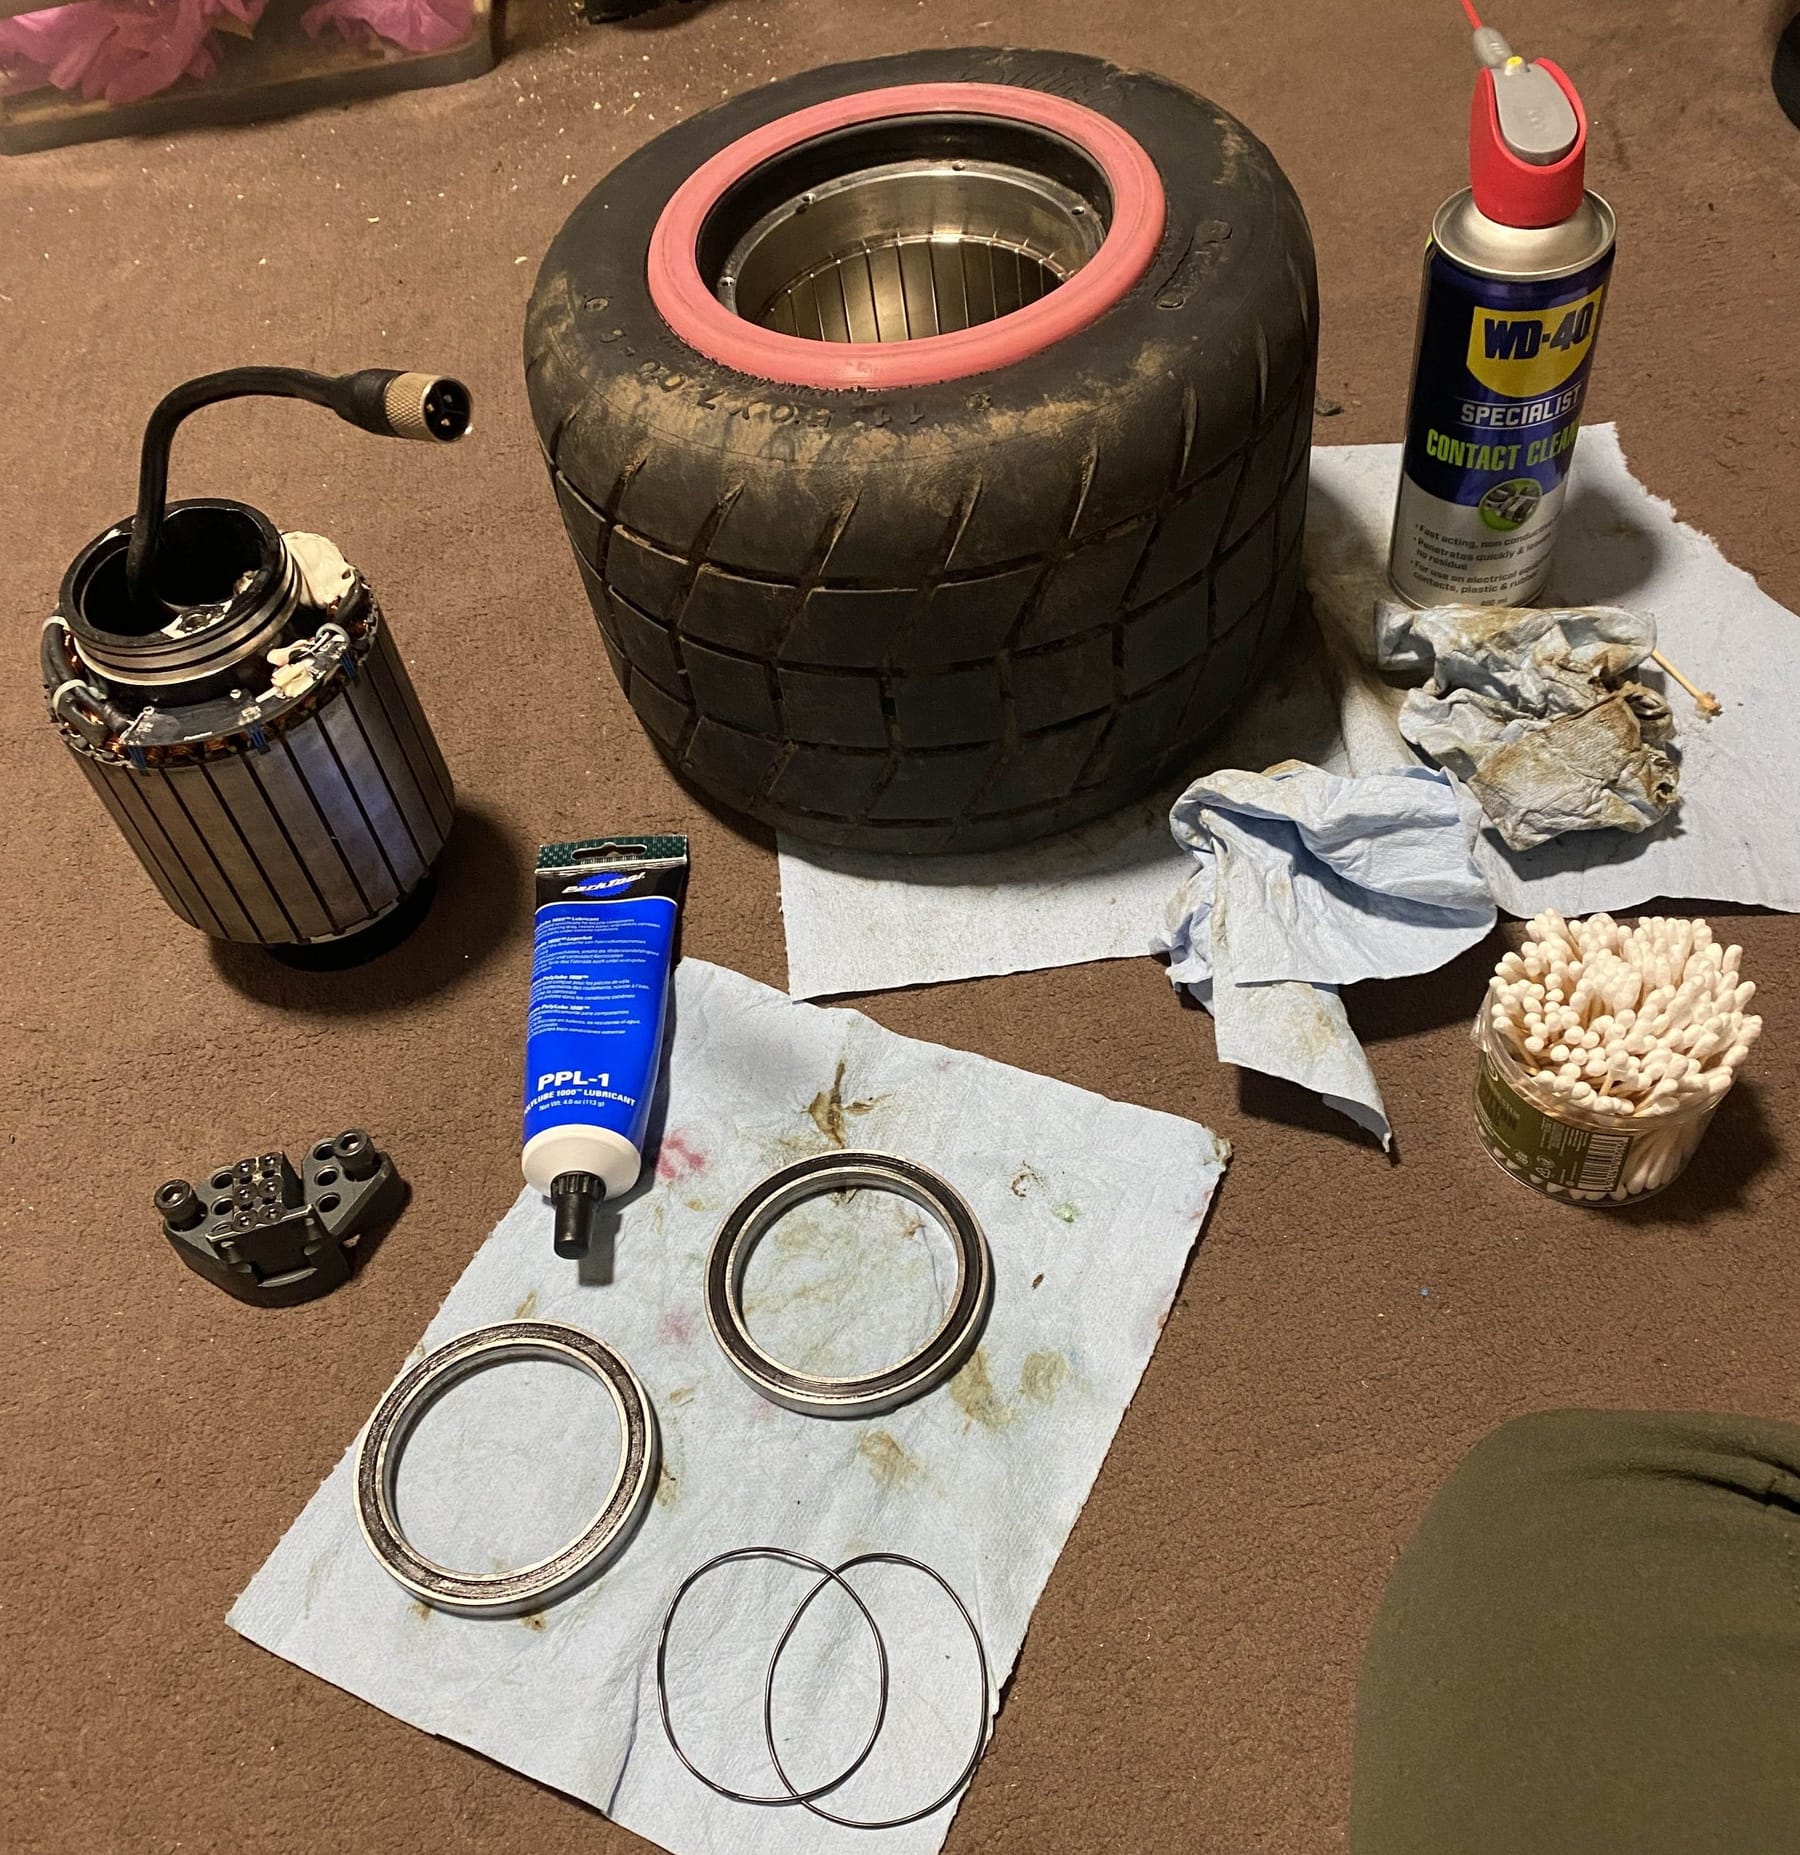
I'm only putting the hub bearing in for now while I wait for the owner to say if they would like me to completely re-assemble it or leave the stator out so they can check my work first.
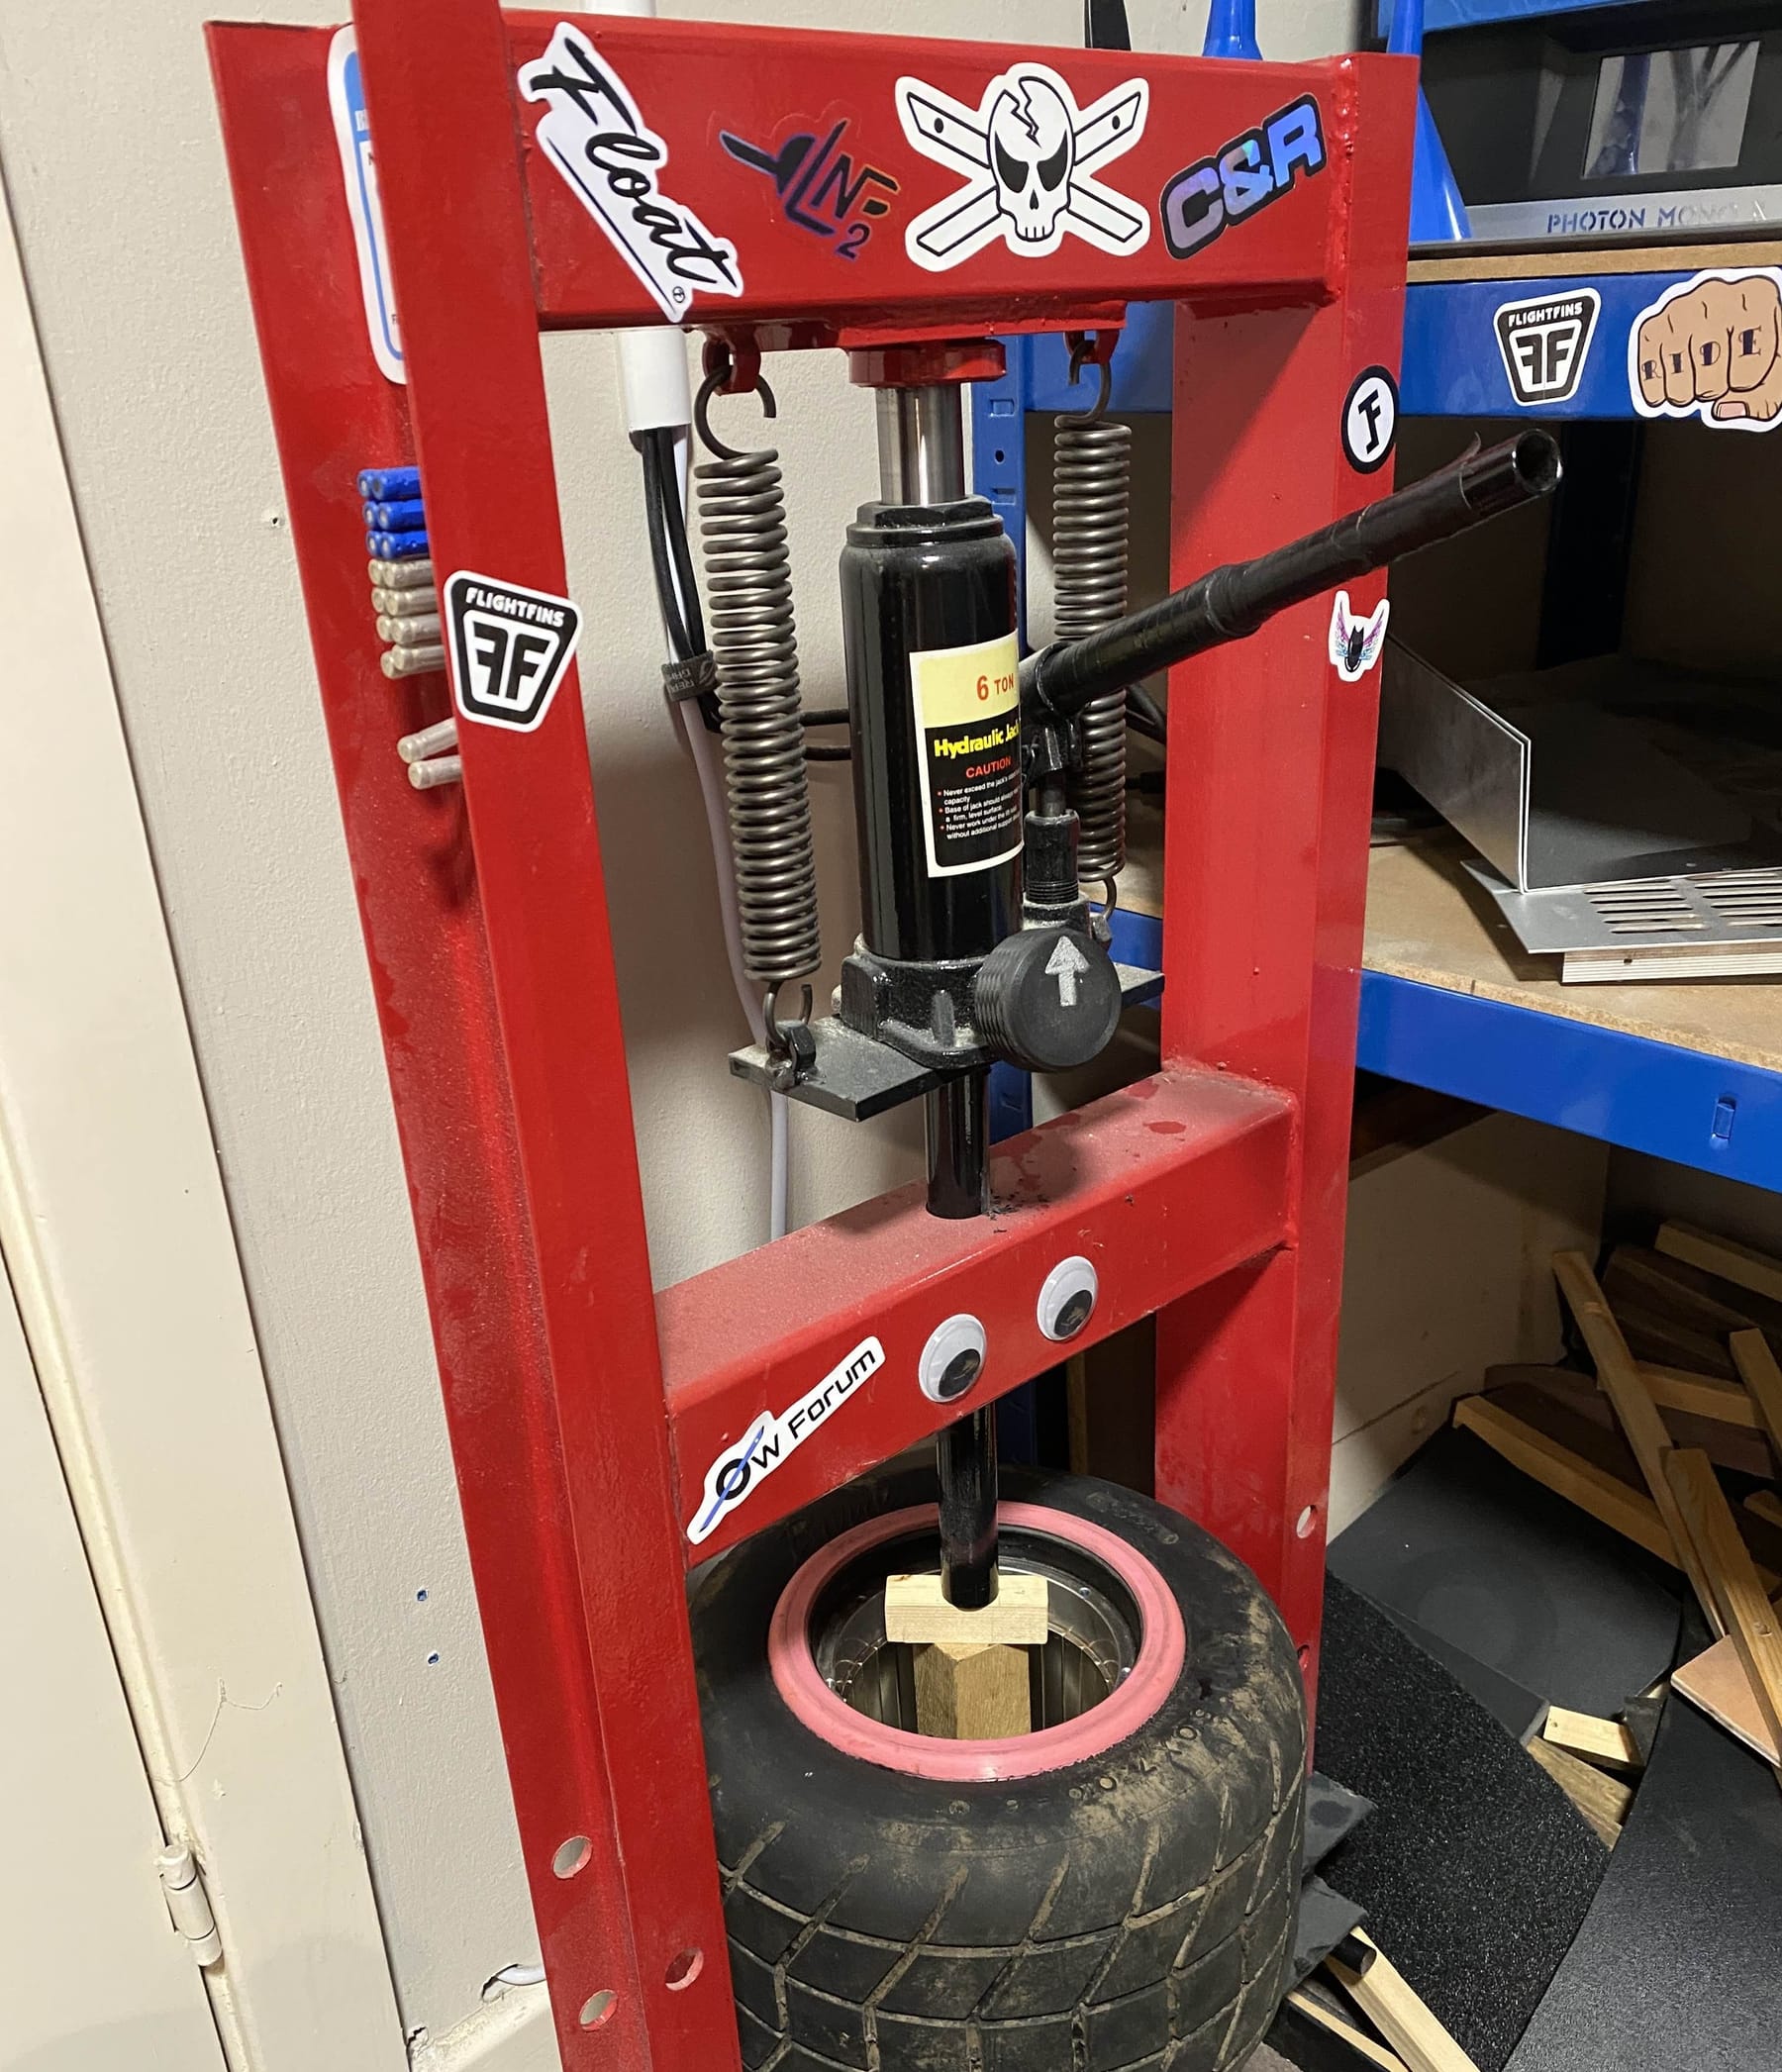
Been getting a lot of use out of this press. Definitely got a good feel for it despite what people say about using these for seating bearings.Hope to let y'all know soon if it works or not once they get it back. If it does I might pop open my old XR that I used to submerge while riding through streams. See how bad it is and refurbish it given I know I can do it.
-
RE: Rusty stator repairposted in Repair
@wheelwizard Seems like it. It's been confirmed it went through some mud and I've been finding it in the stator still.
Rust is now mostly gone after a LOT of scrubbing with a toothbrush, WD contact cleaner and #0000 steel wool.
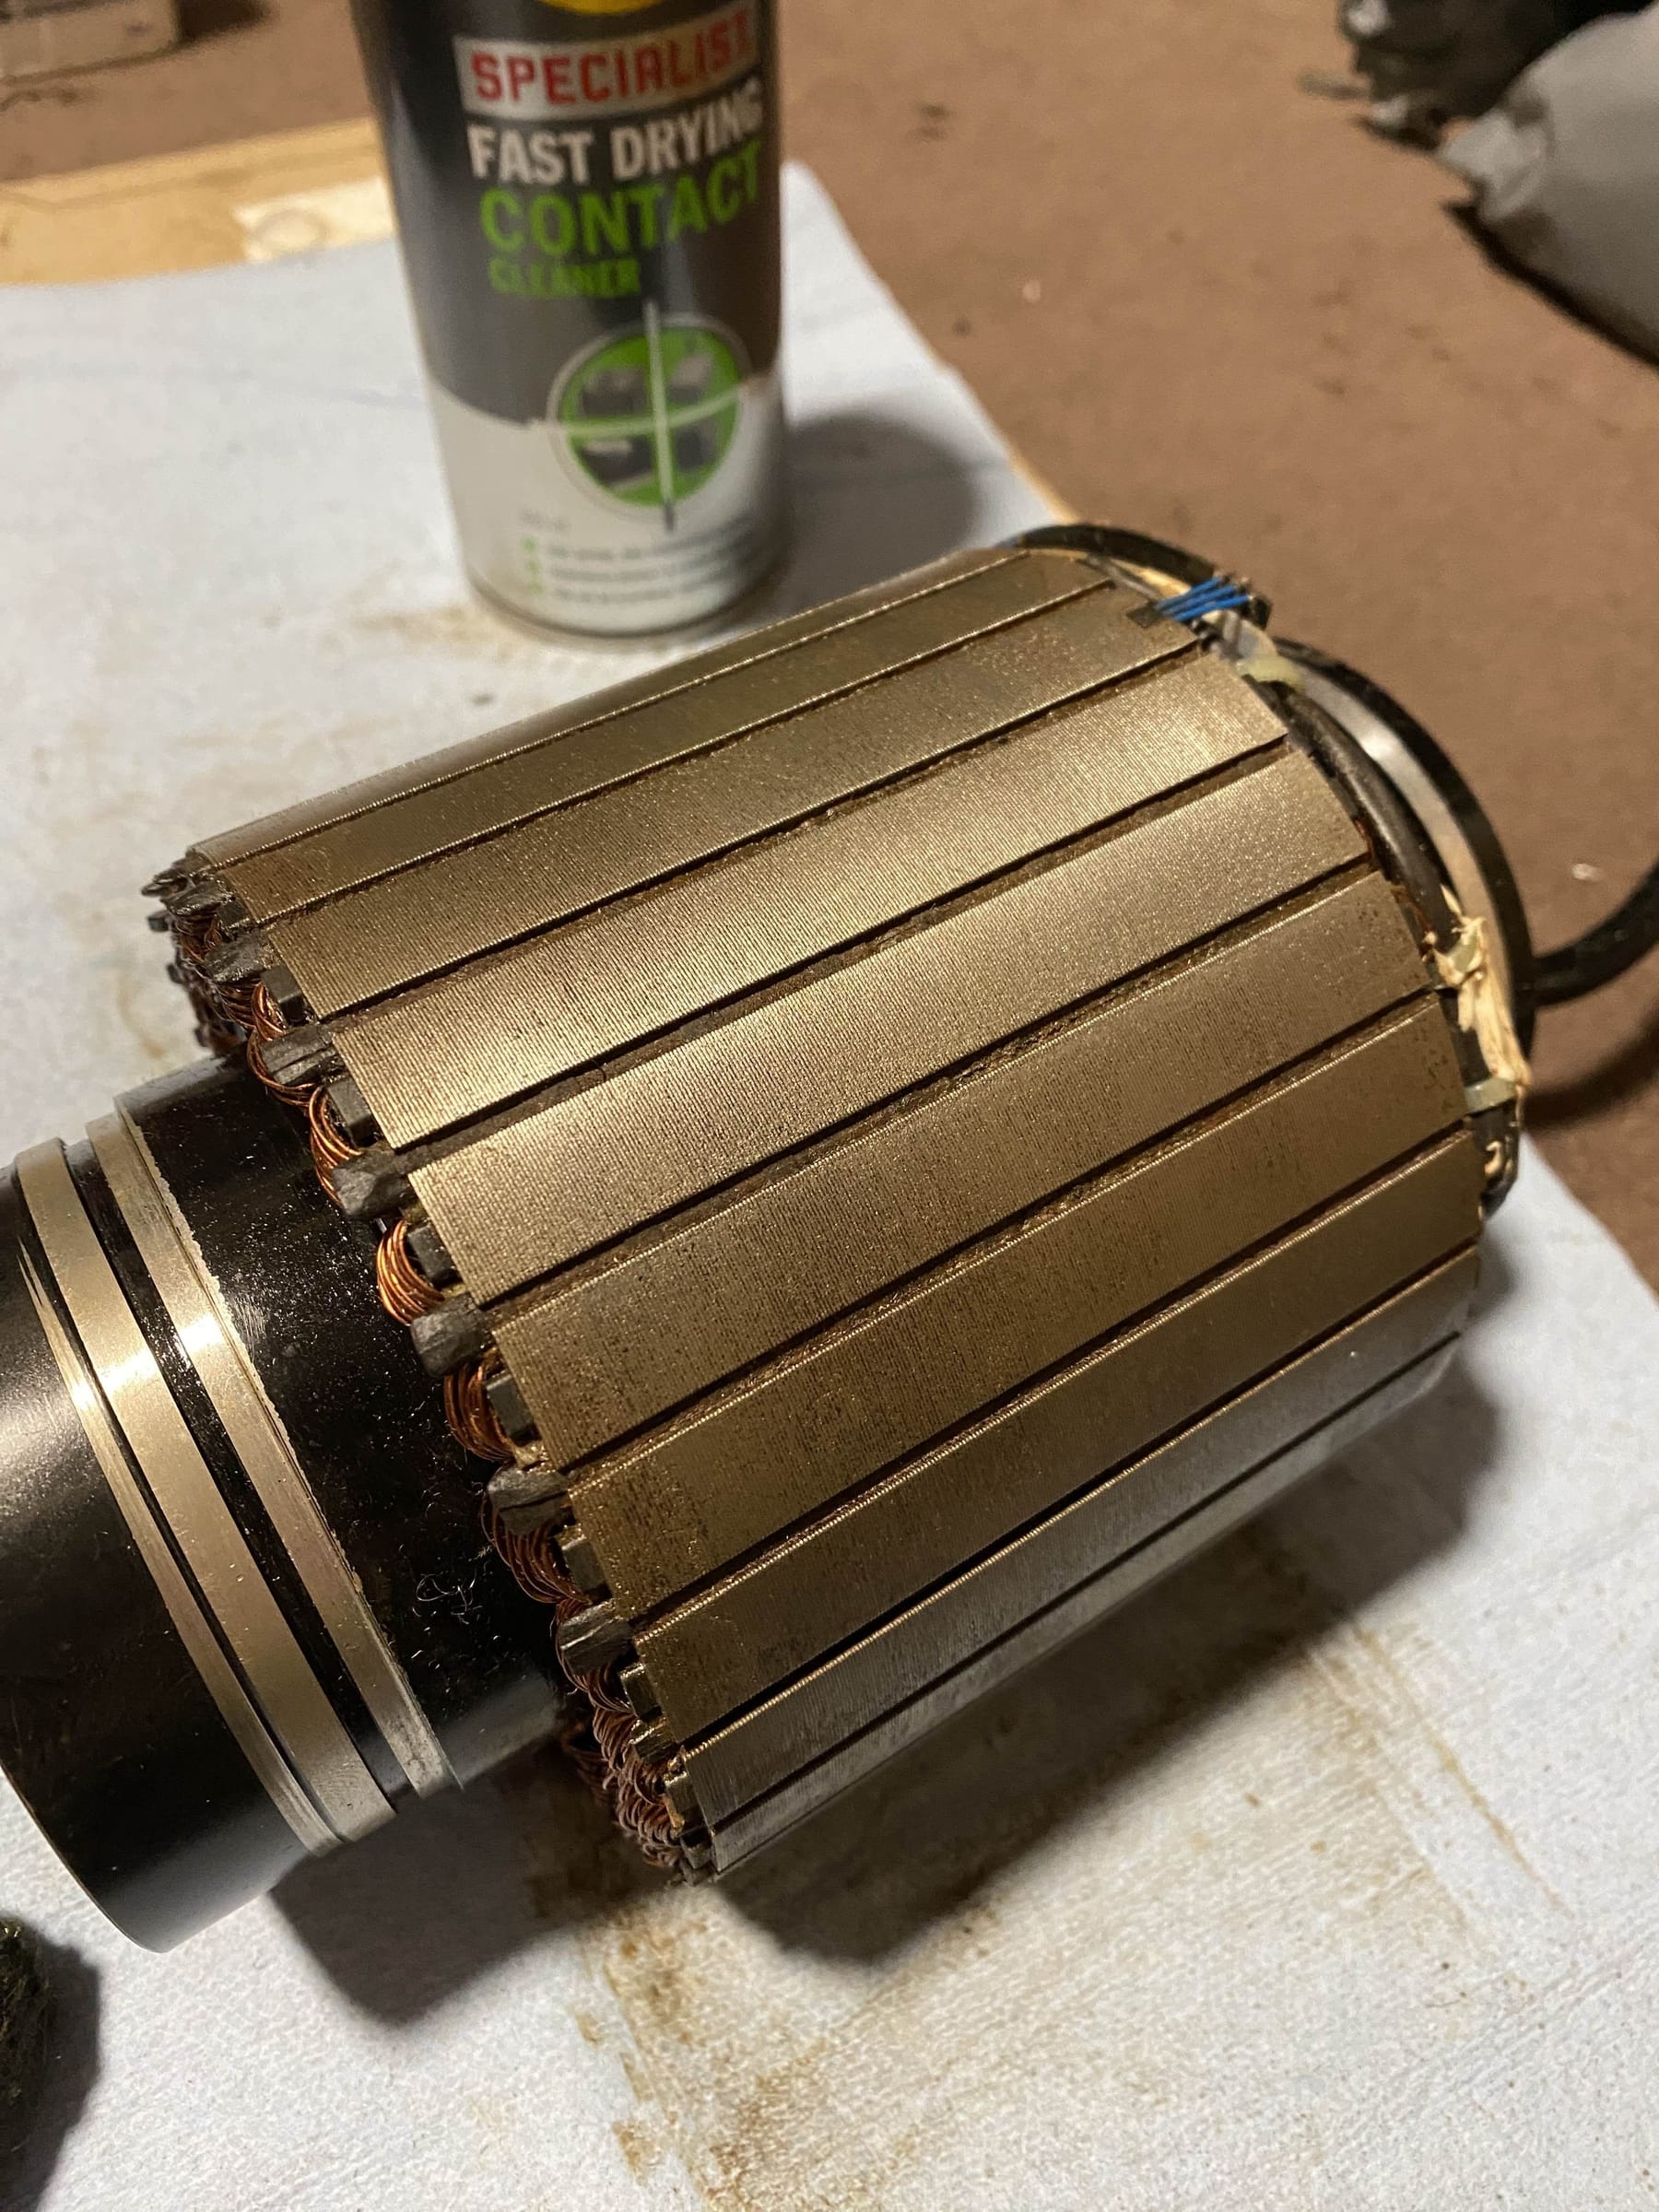
After constantly rotating the motor, adding cleaner, scrubbing and seeing brown keep appearing in bits I'd already gone over I realised there was actual mud between the plate stacks. I managed to sweep out one and sure enough... clean. So went through and did the rest.
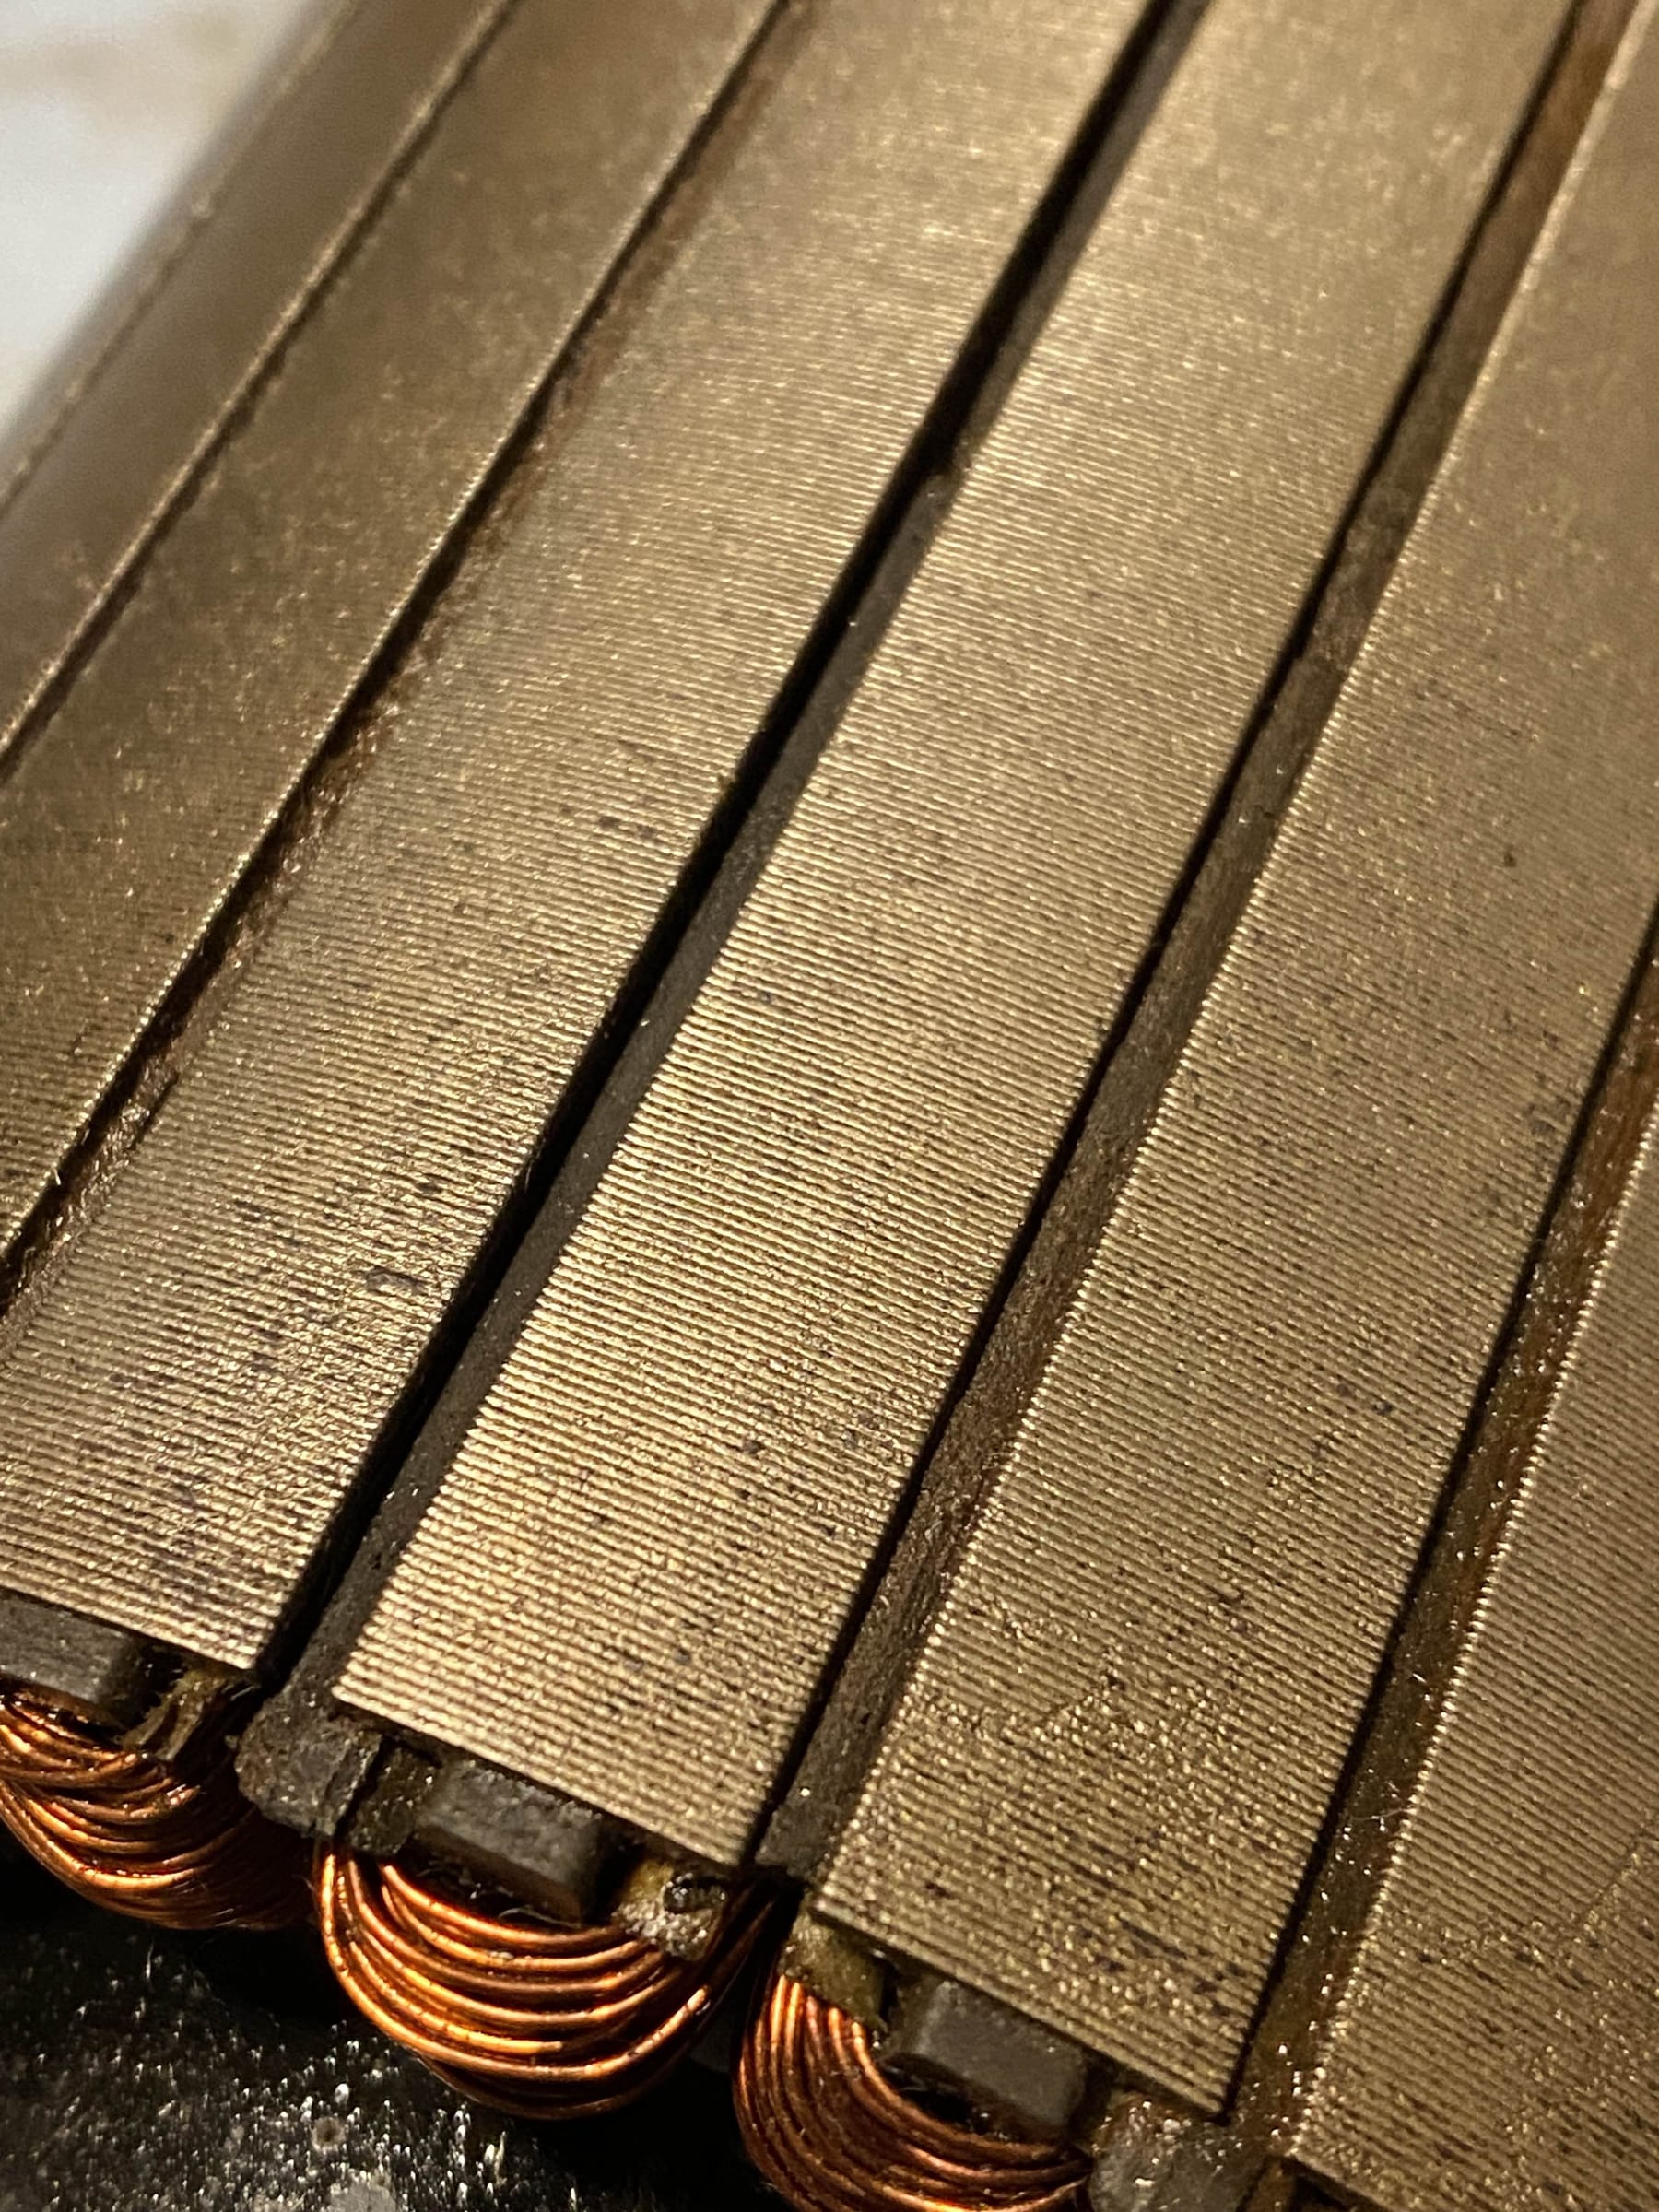
Will have to wash the motor off after to make sure no steel wool or stuff is still just floating around on the motor before assembling but it's on the home stretch ^-^
-
RE: Rusty stator repairposted in Repair
@lia this is looking from your description like it ended up in a river or pond at some point