I won't say this has been super hard. I've had some experience with virtual servers and poking linux in a terminal before but running a platform for others to use 24/7 is a change of pace.
All that said this forum would be nothing if not for you all choosing to:
-- A. Trust me to run the place.
-- B. Continue to make the forum a welcoming and friendly platform.
-- C. Support and help along the way.
I'm grateful to you all for keeping the place alive and allowing it to flourish from the ashes of it's former self. To those that are still here, those that no longer visit and the newer members I look forward to keeping the place running another year so you have a safe space to share your Onewheel adventures, builds and friendships.
No idea what's coming this year but I'm hopeful we all get an amazing year of floating in no matter what you're riding.
I just wanted to say a massive thank you for keeping this place as nice as it is. Consider this an appreciation post to everyone :)
I've noticed a lot of negativity within the overall community yet here remains nice, helpful and above all enjoyable to browse and be a part of. This feels more like a community and I'm grateful for seeing it survive as such without a need for any intervention.
@cheppy44 , Me and Kyle outside the office. 2 XS's and a freshy XR
Huge shoutout to Kyle, Joey, Jack and the team for actually taking the time to see our little creations and show us about a little.
Not to mention Andy, Lisa and Joaquin who enabled the visit. Drove us from SF to Santa Cruz. They were super cool and we spent the rest of the day and evening exploring SF ^-^
They were heading to Santa Cruz to drop off a red truck they used at their exhibit which actually happened to be the same one FM used in some promotional material (you can still see the decals used to say onewheel).
Seeing the XS's lined up in their office was great.
Shame there wasn't one we could leave with them but we gave Kyle one of the 2 rails we made extra so they have something from the XS to keep ahold of. Wren has the other :3
Something I was super stoked to see was old Ironsides. The OG that started it all. It's quite the thing in person!
It did work but they had to connect some bits 😅 Didn't get to ride it though. Kinda forgot to ask.
Ironsides, the XS MK1 and the Mk2. I sort of want to do a half scale of it too but I think a GT-S is more appropriate. especially since I plan to make one of these actually move under me.
After a bit the guys took us through parts of the office. I won't share those pics since that's probably not something we should share in case there were secrets I didn't notice. However we did get to take the Onewheel barrow for a spin.
After our visit Joey had lunch with us at a nearby oceanside café.
Was a fun little area to chill and chat. Got to hear some cool inside deets about RFTR.
I'm glossing over bits but I'm still sort of trying to relax after everything that happened last week 😅 Got a bunch of things to still share but like no time to share D: Need to take a day to just unwind.
Was working on something else and got a little worn out doing all the tedious ground work.
The new piece isn't me (gasp) but it's a biggy like my last one "Night Float" So will likely be a while till I'm done with that.
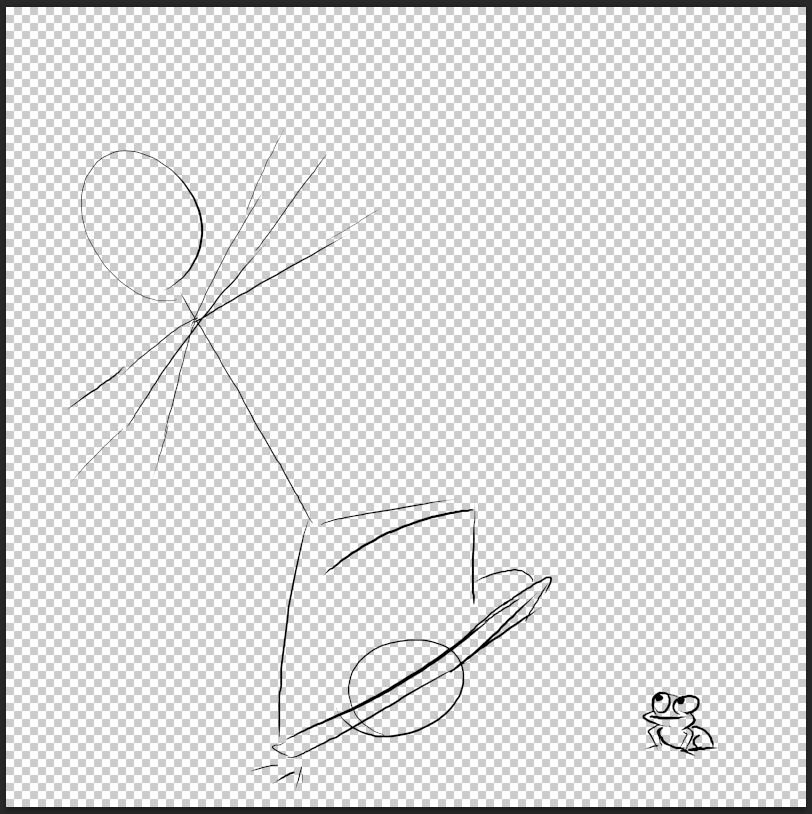
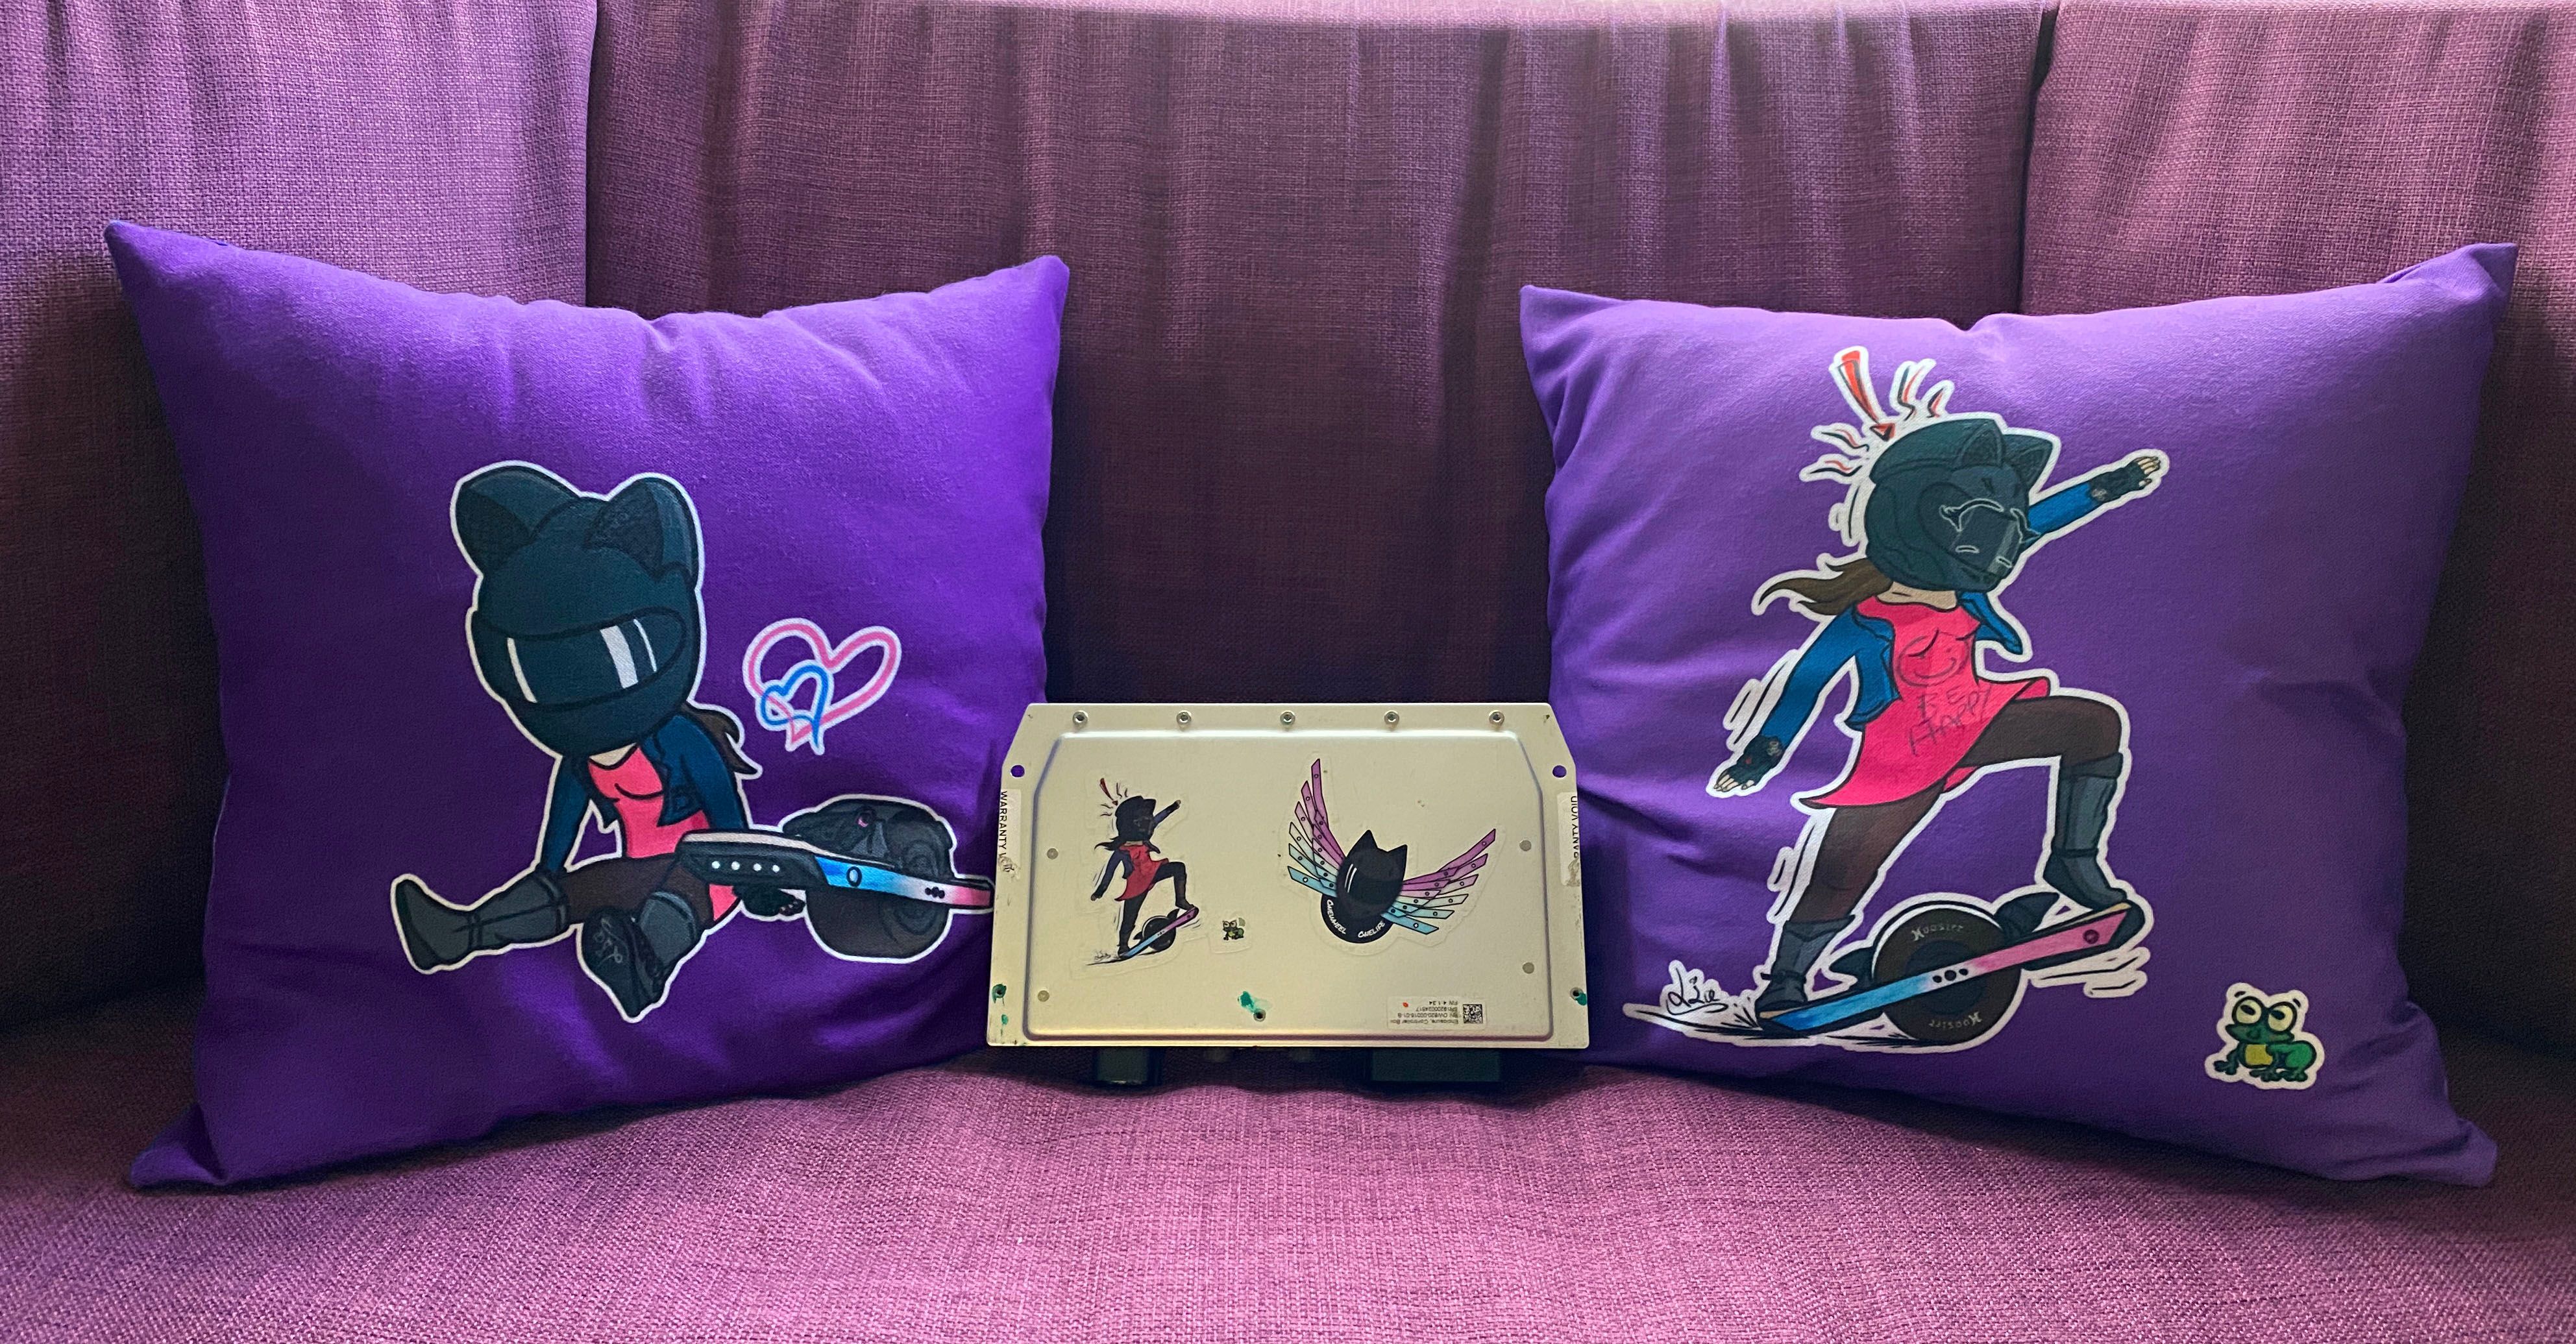
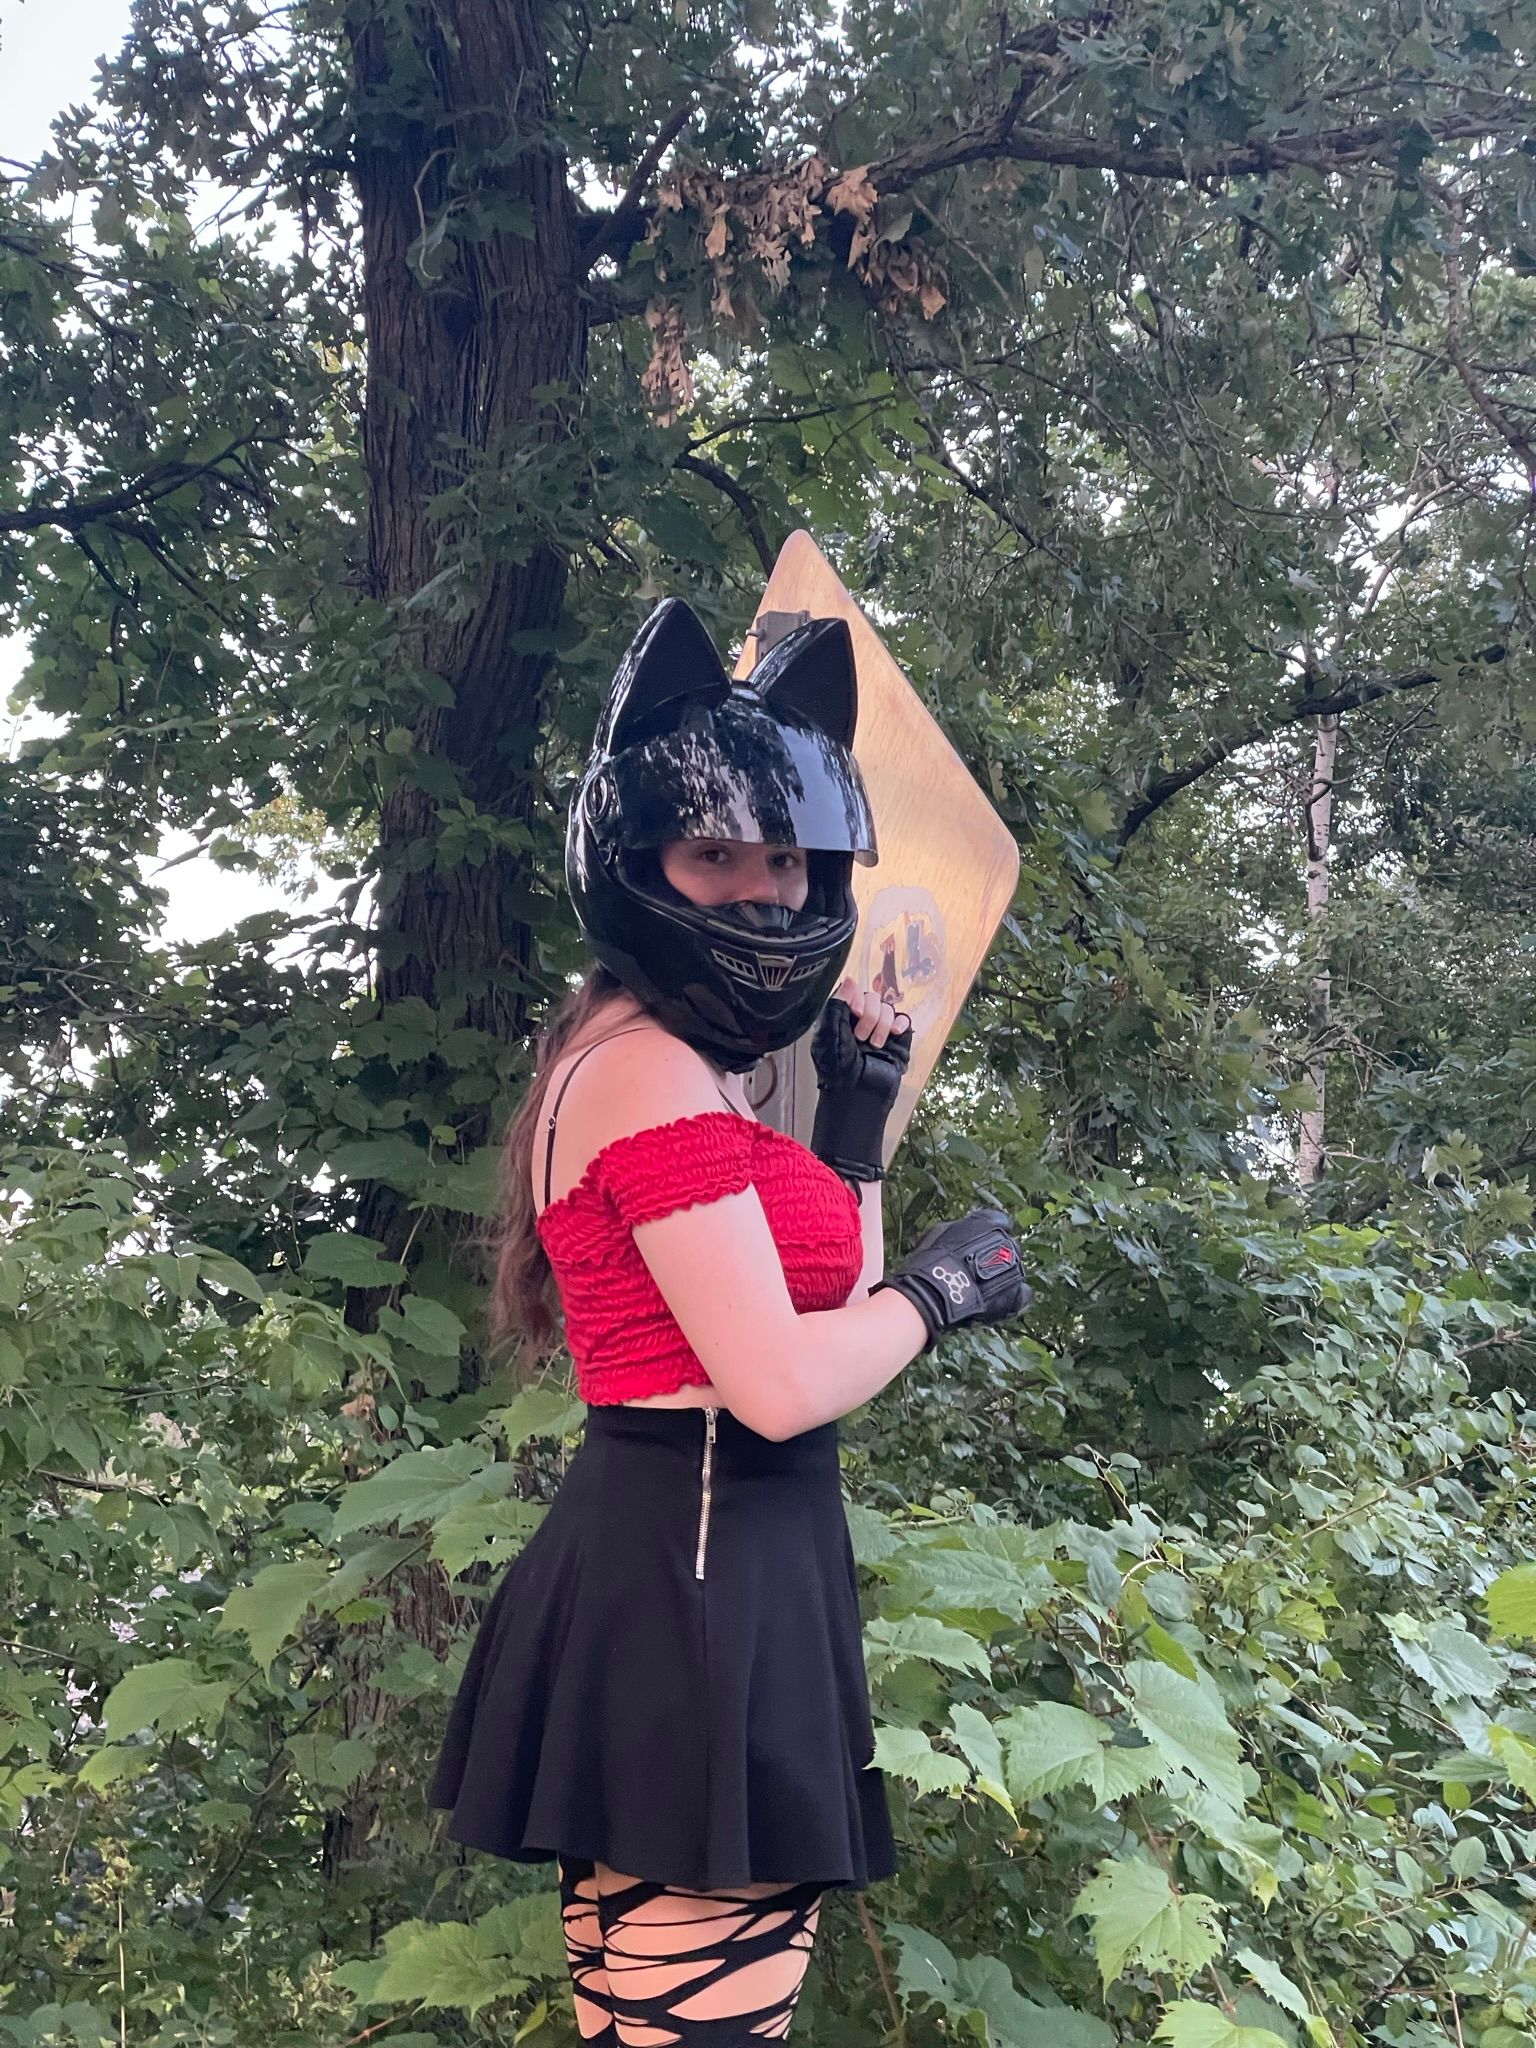
To try and loosen up and chill I did a round of doodling and decided to recreate an event that happened last year where I nearly ran over a little froggo D:
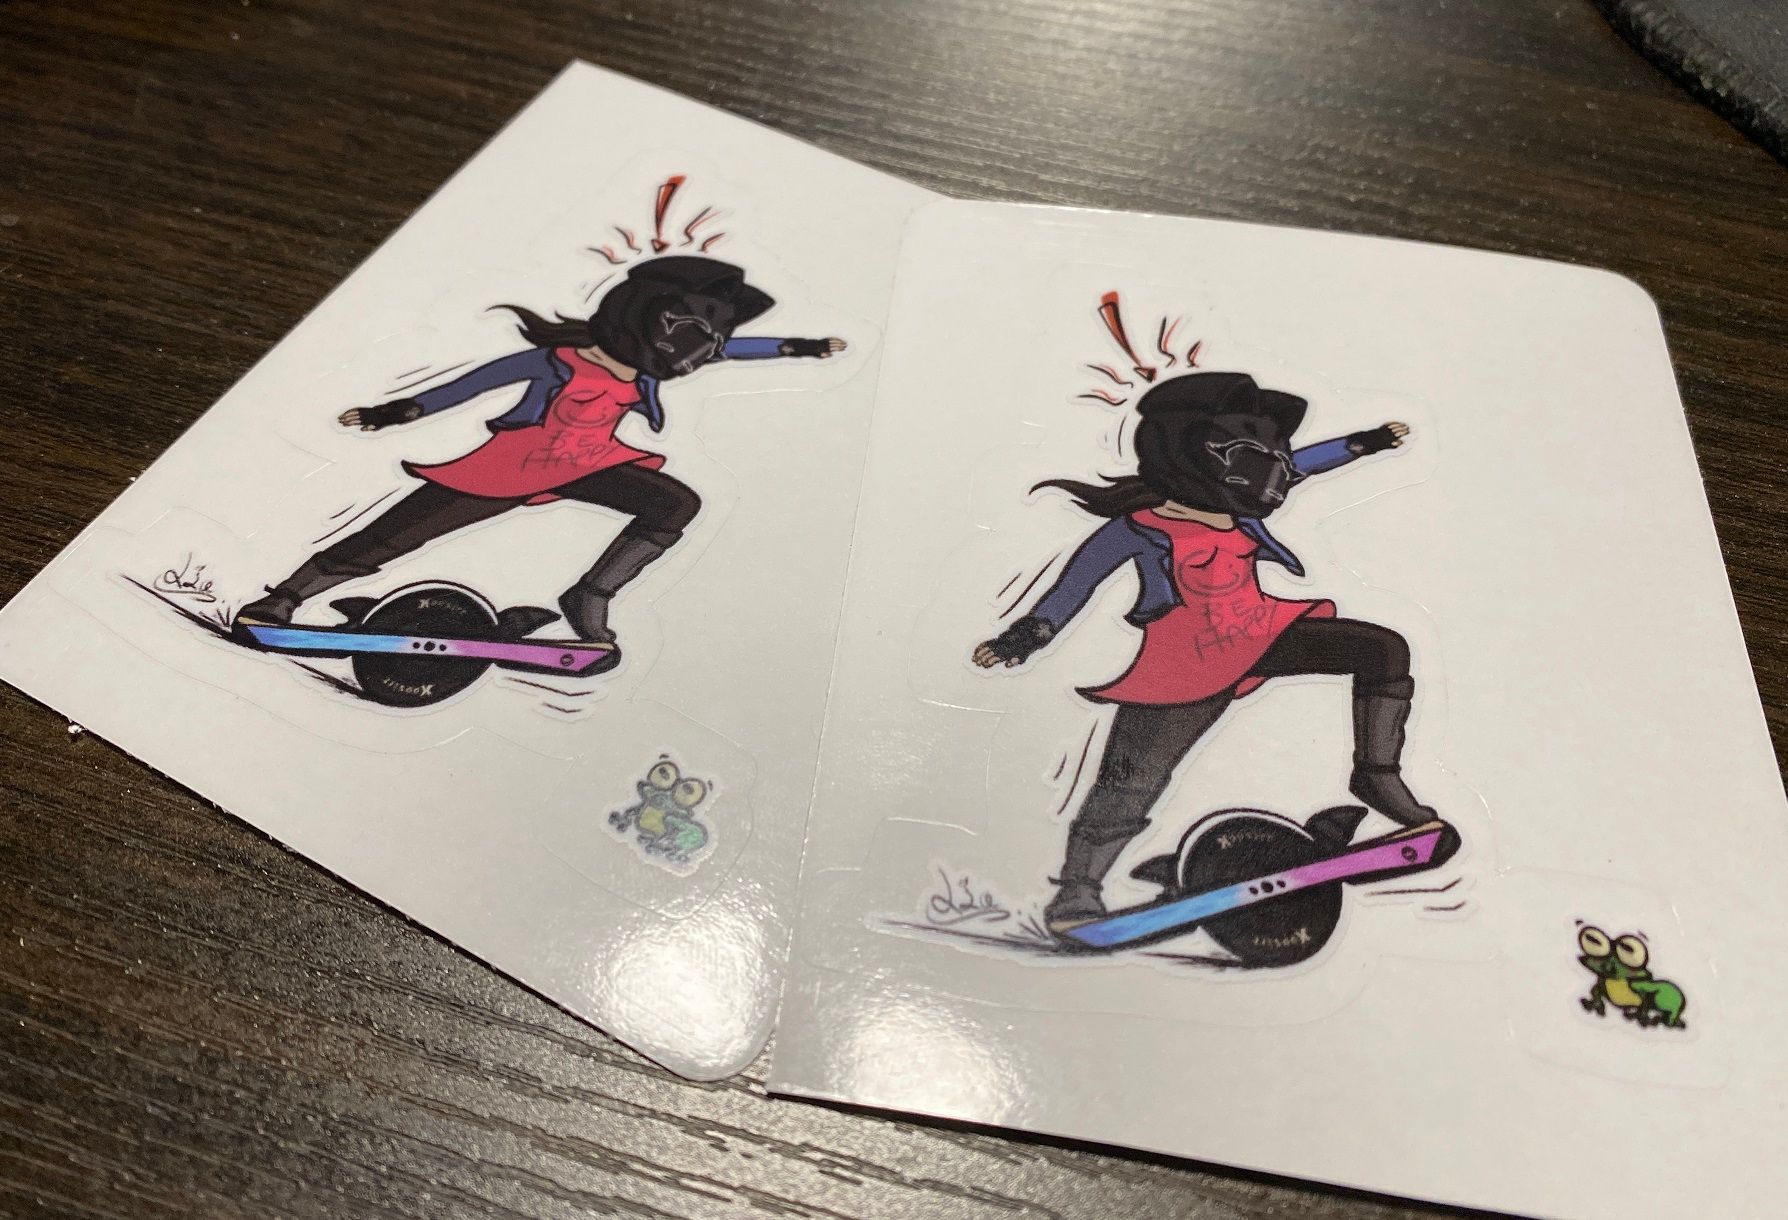
Here's the end result~
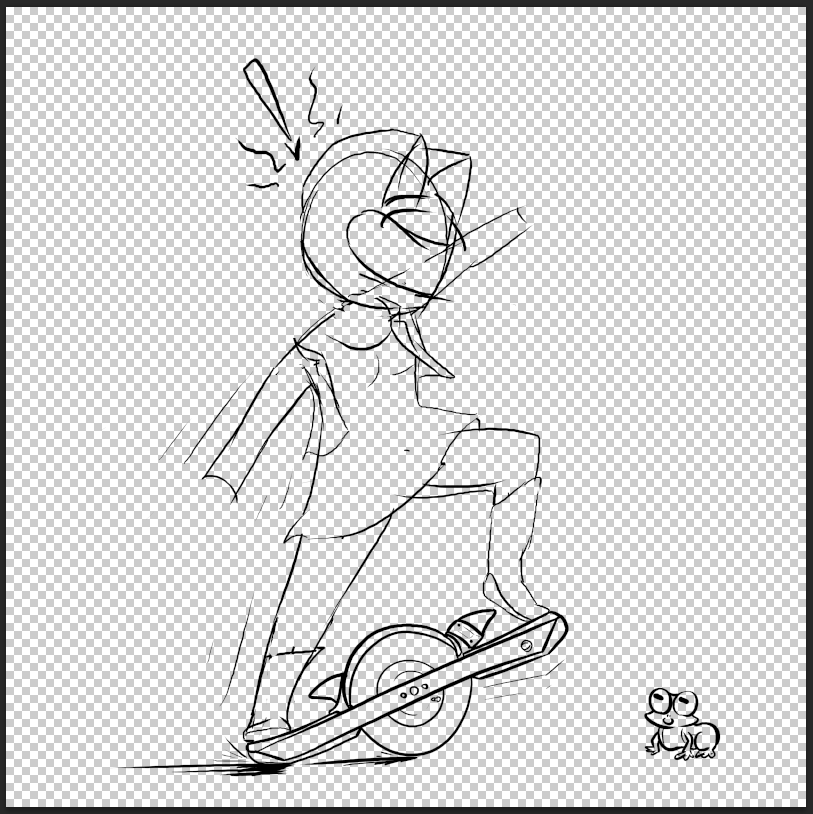
Tried a few new things, thought adding visible emotion to the helmet helped with the vibe while giving some cartoonish linework to emphasise the motion and reaction.
The frog came out cute too although I have to admit the crude sketch version felt cuter.
Here's the initial idea sketch... yes it's super crude.
Then a followup linework to flesh out the drawing.
Getting some test prints from RB to see if it comes out nicely. Some stickers and a 40x40 pillow to go with the other one :)
A handful of pics from my trip to the US. I have a bunch but trying not to spam. If you want more of these or keep up visually with what I'm doing I've been using Instagram more. https://www.instagram.com/comikzink/
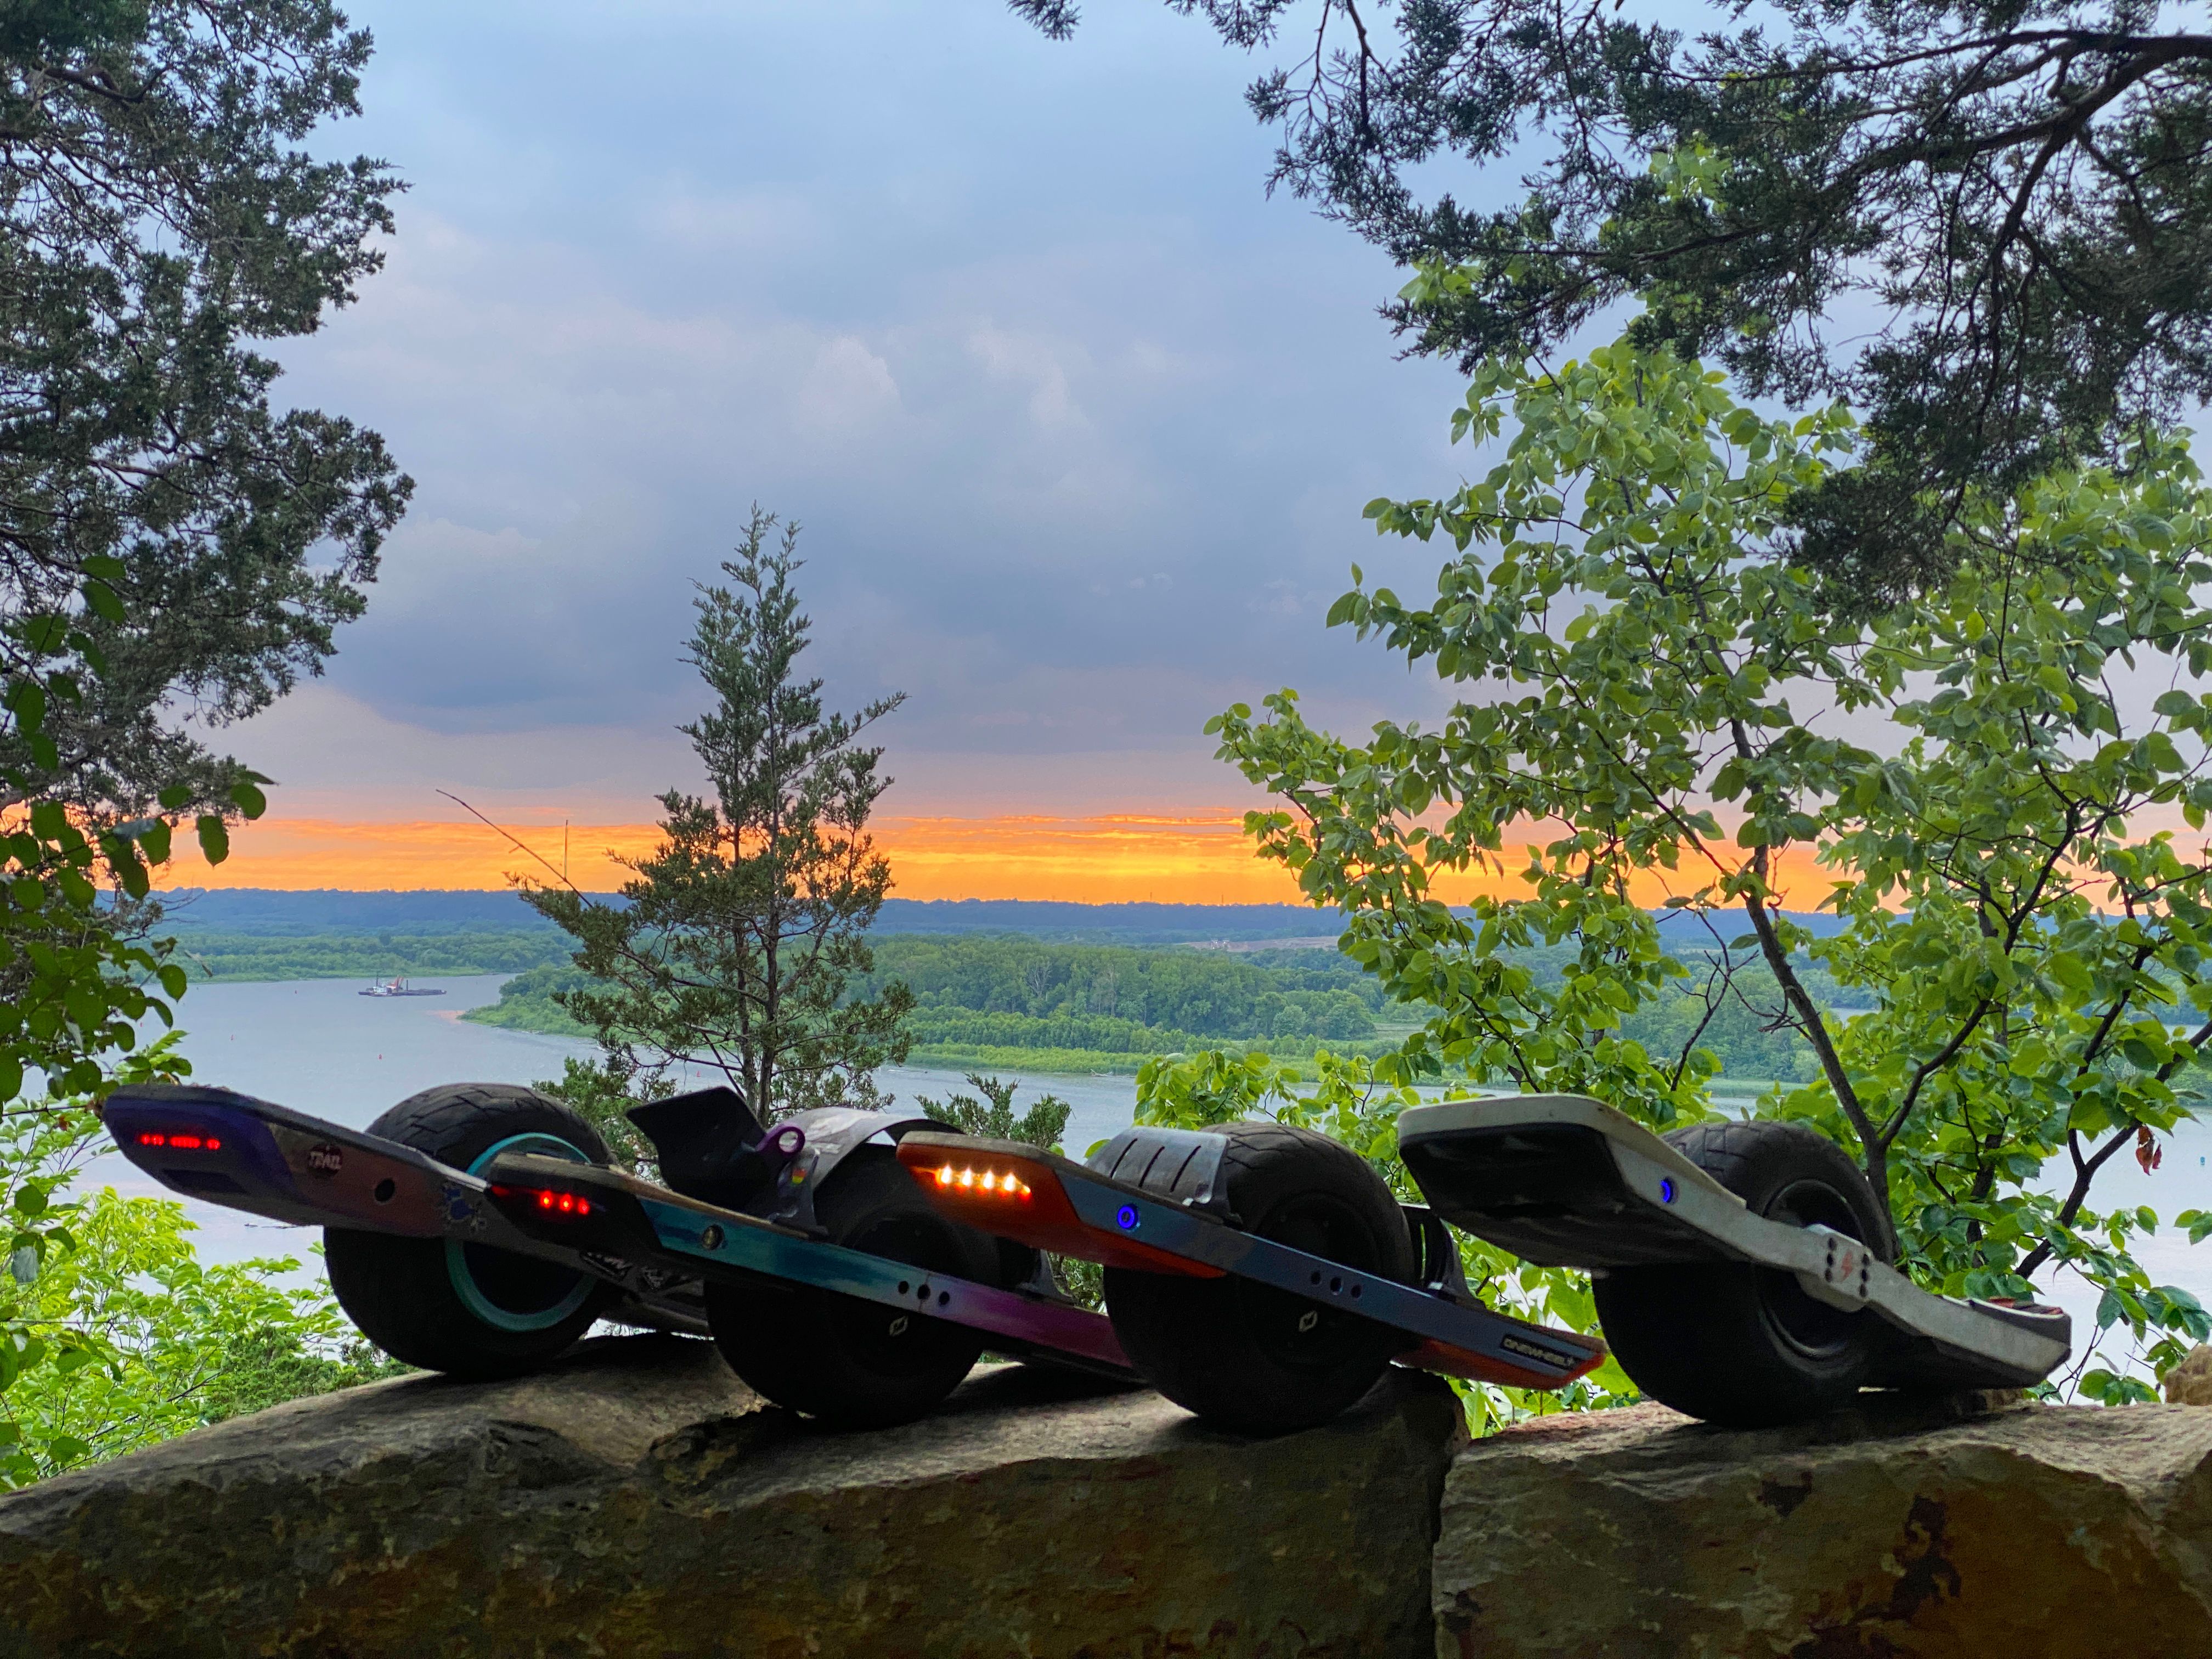
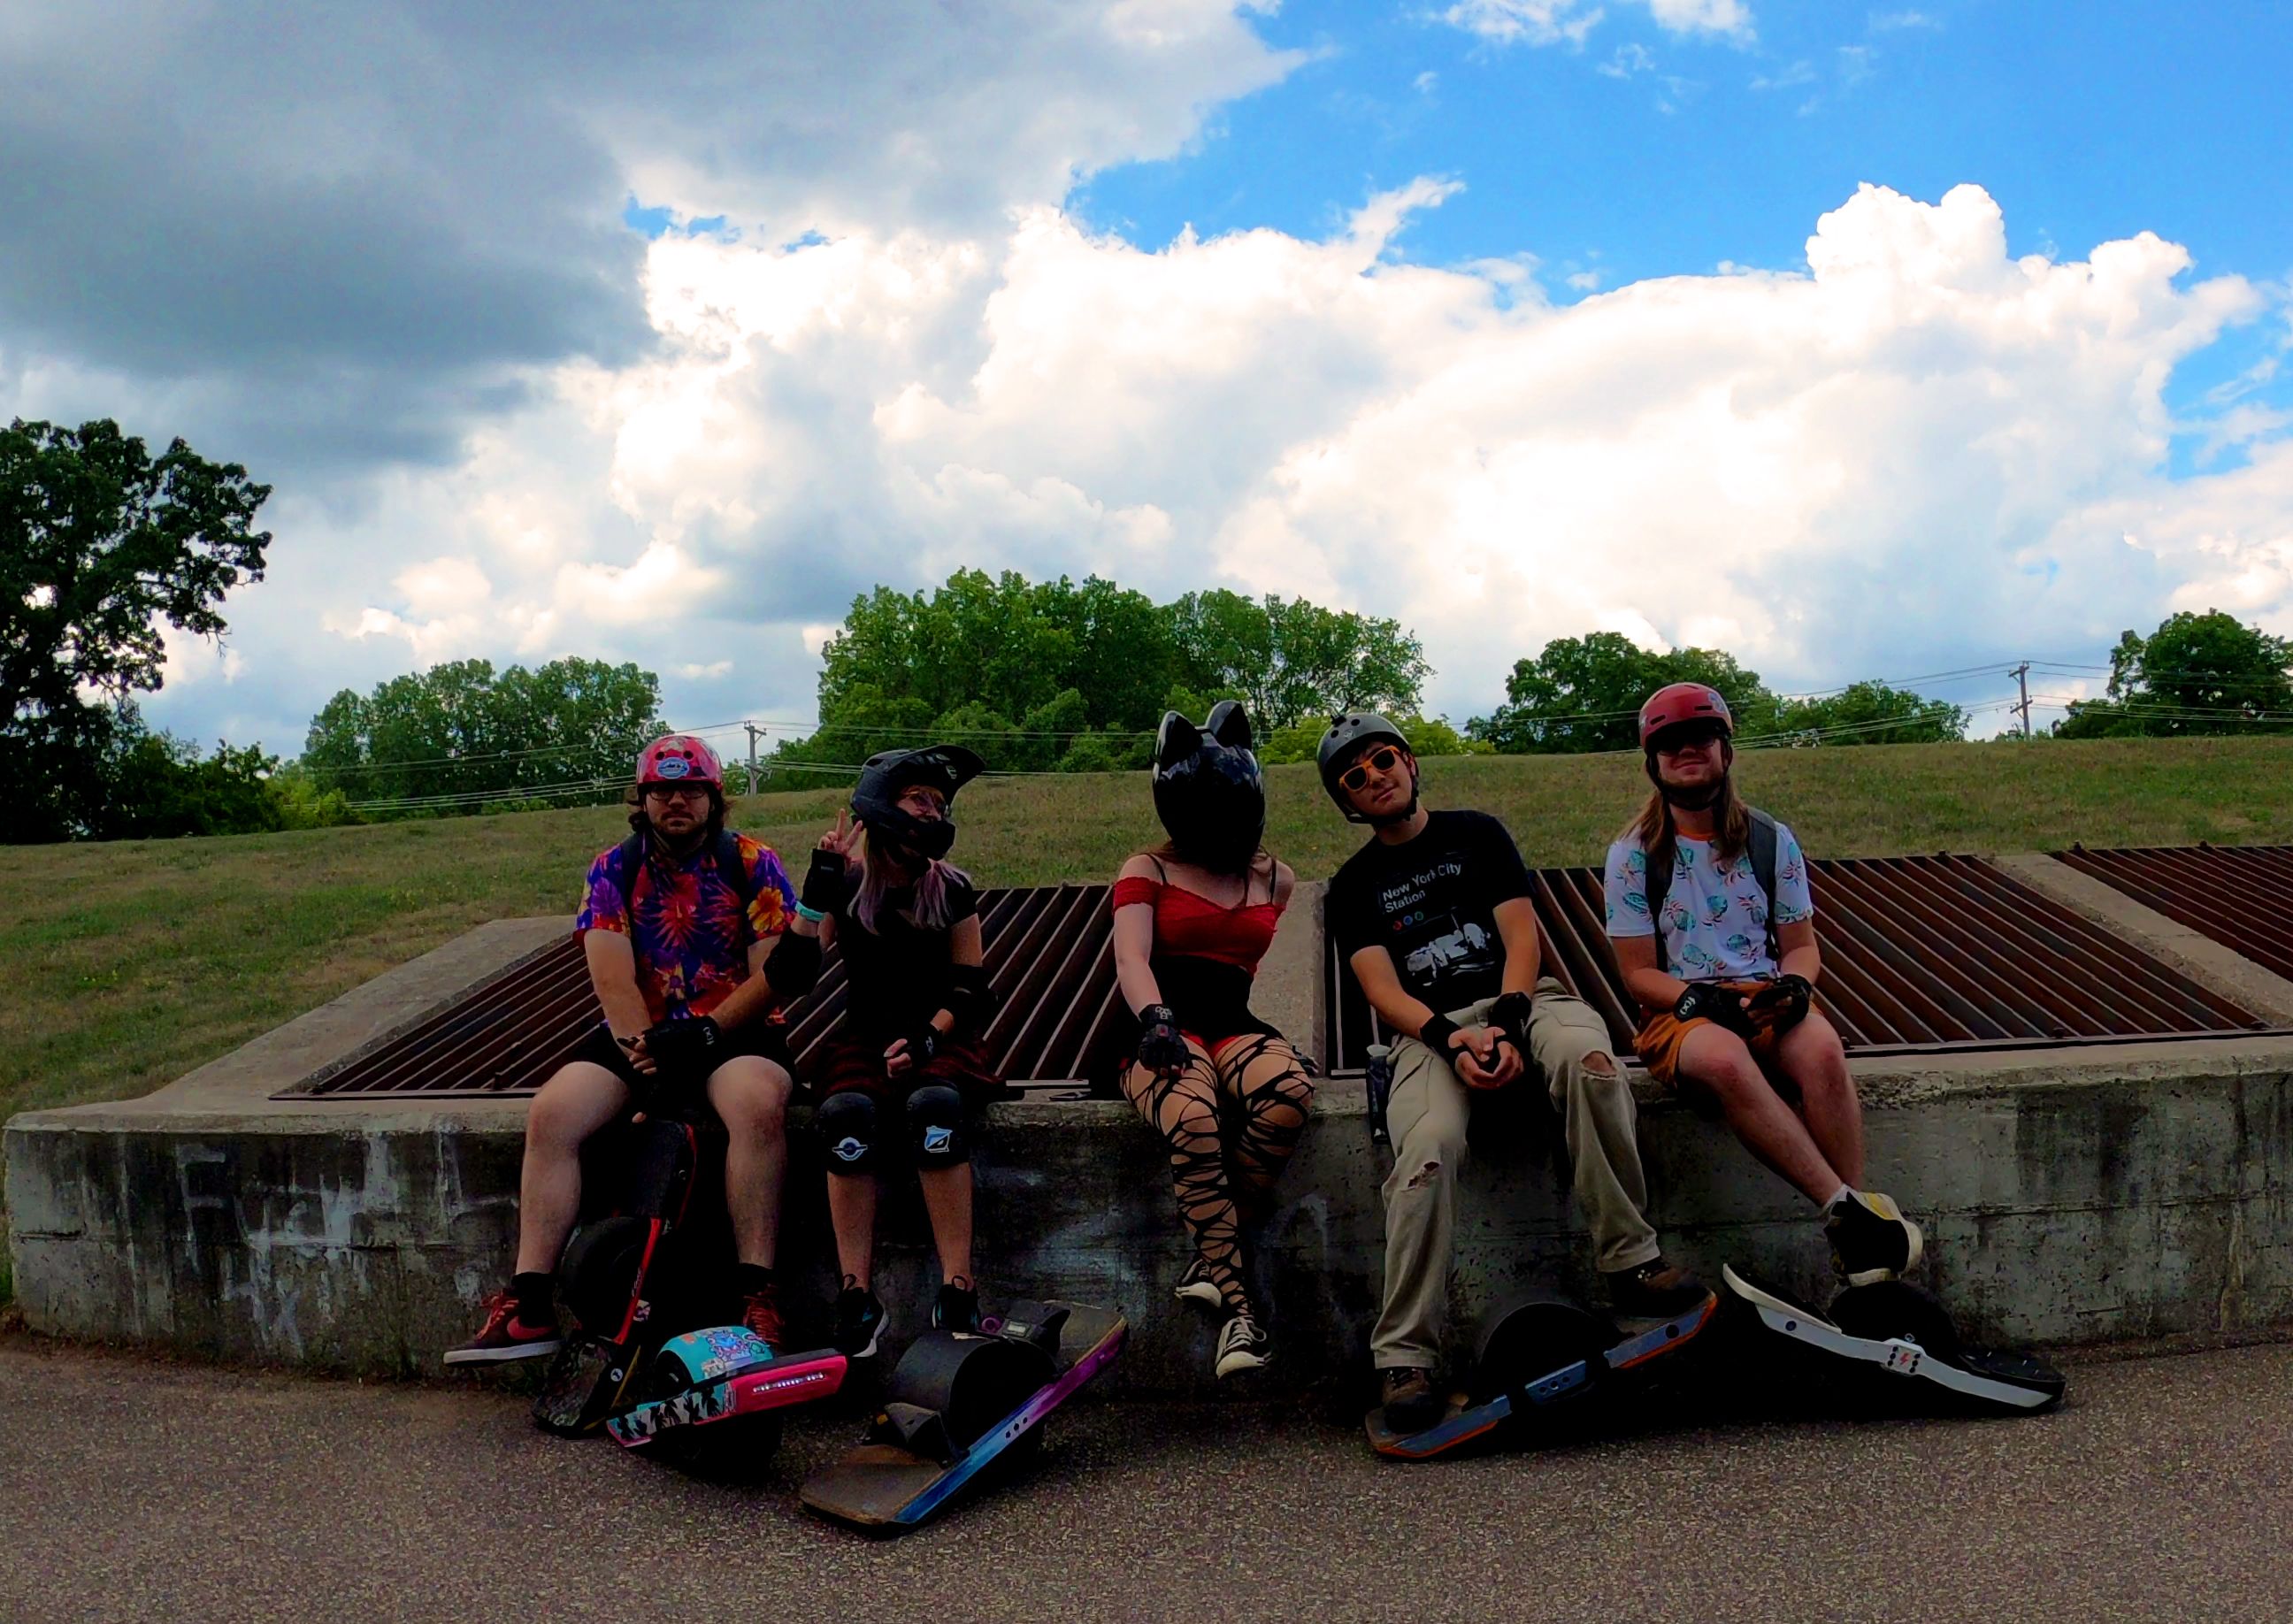
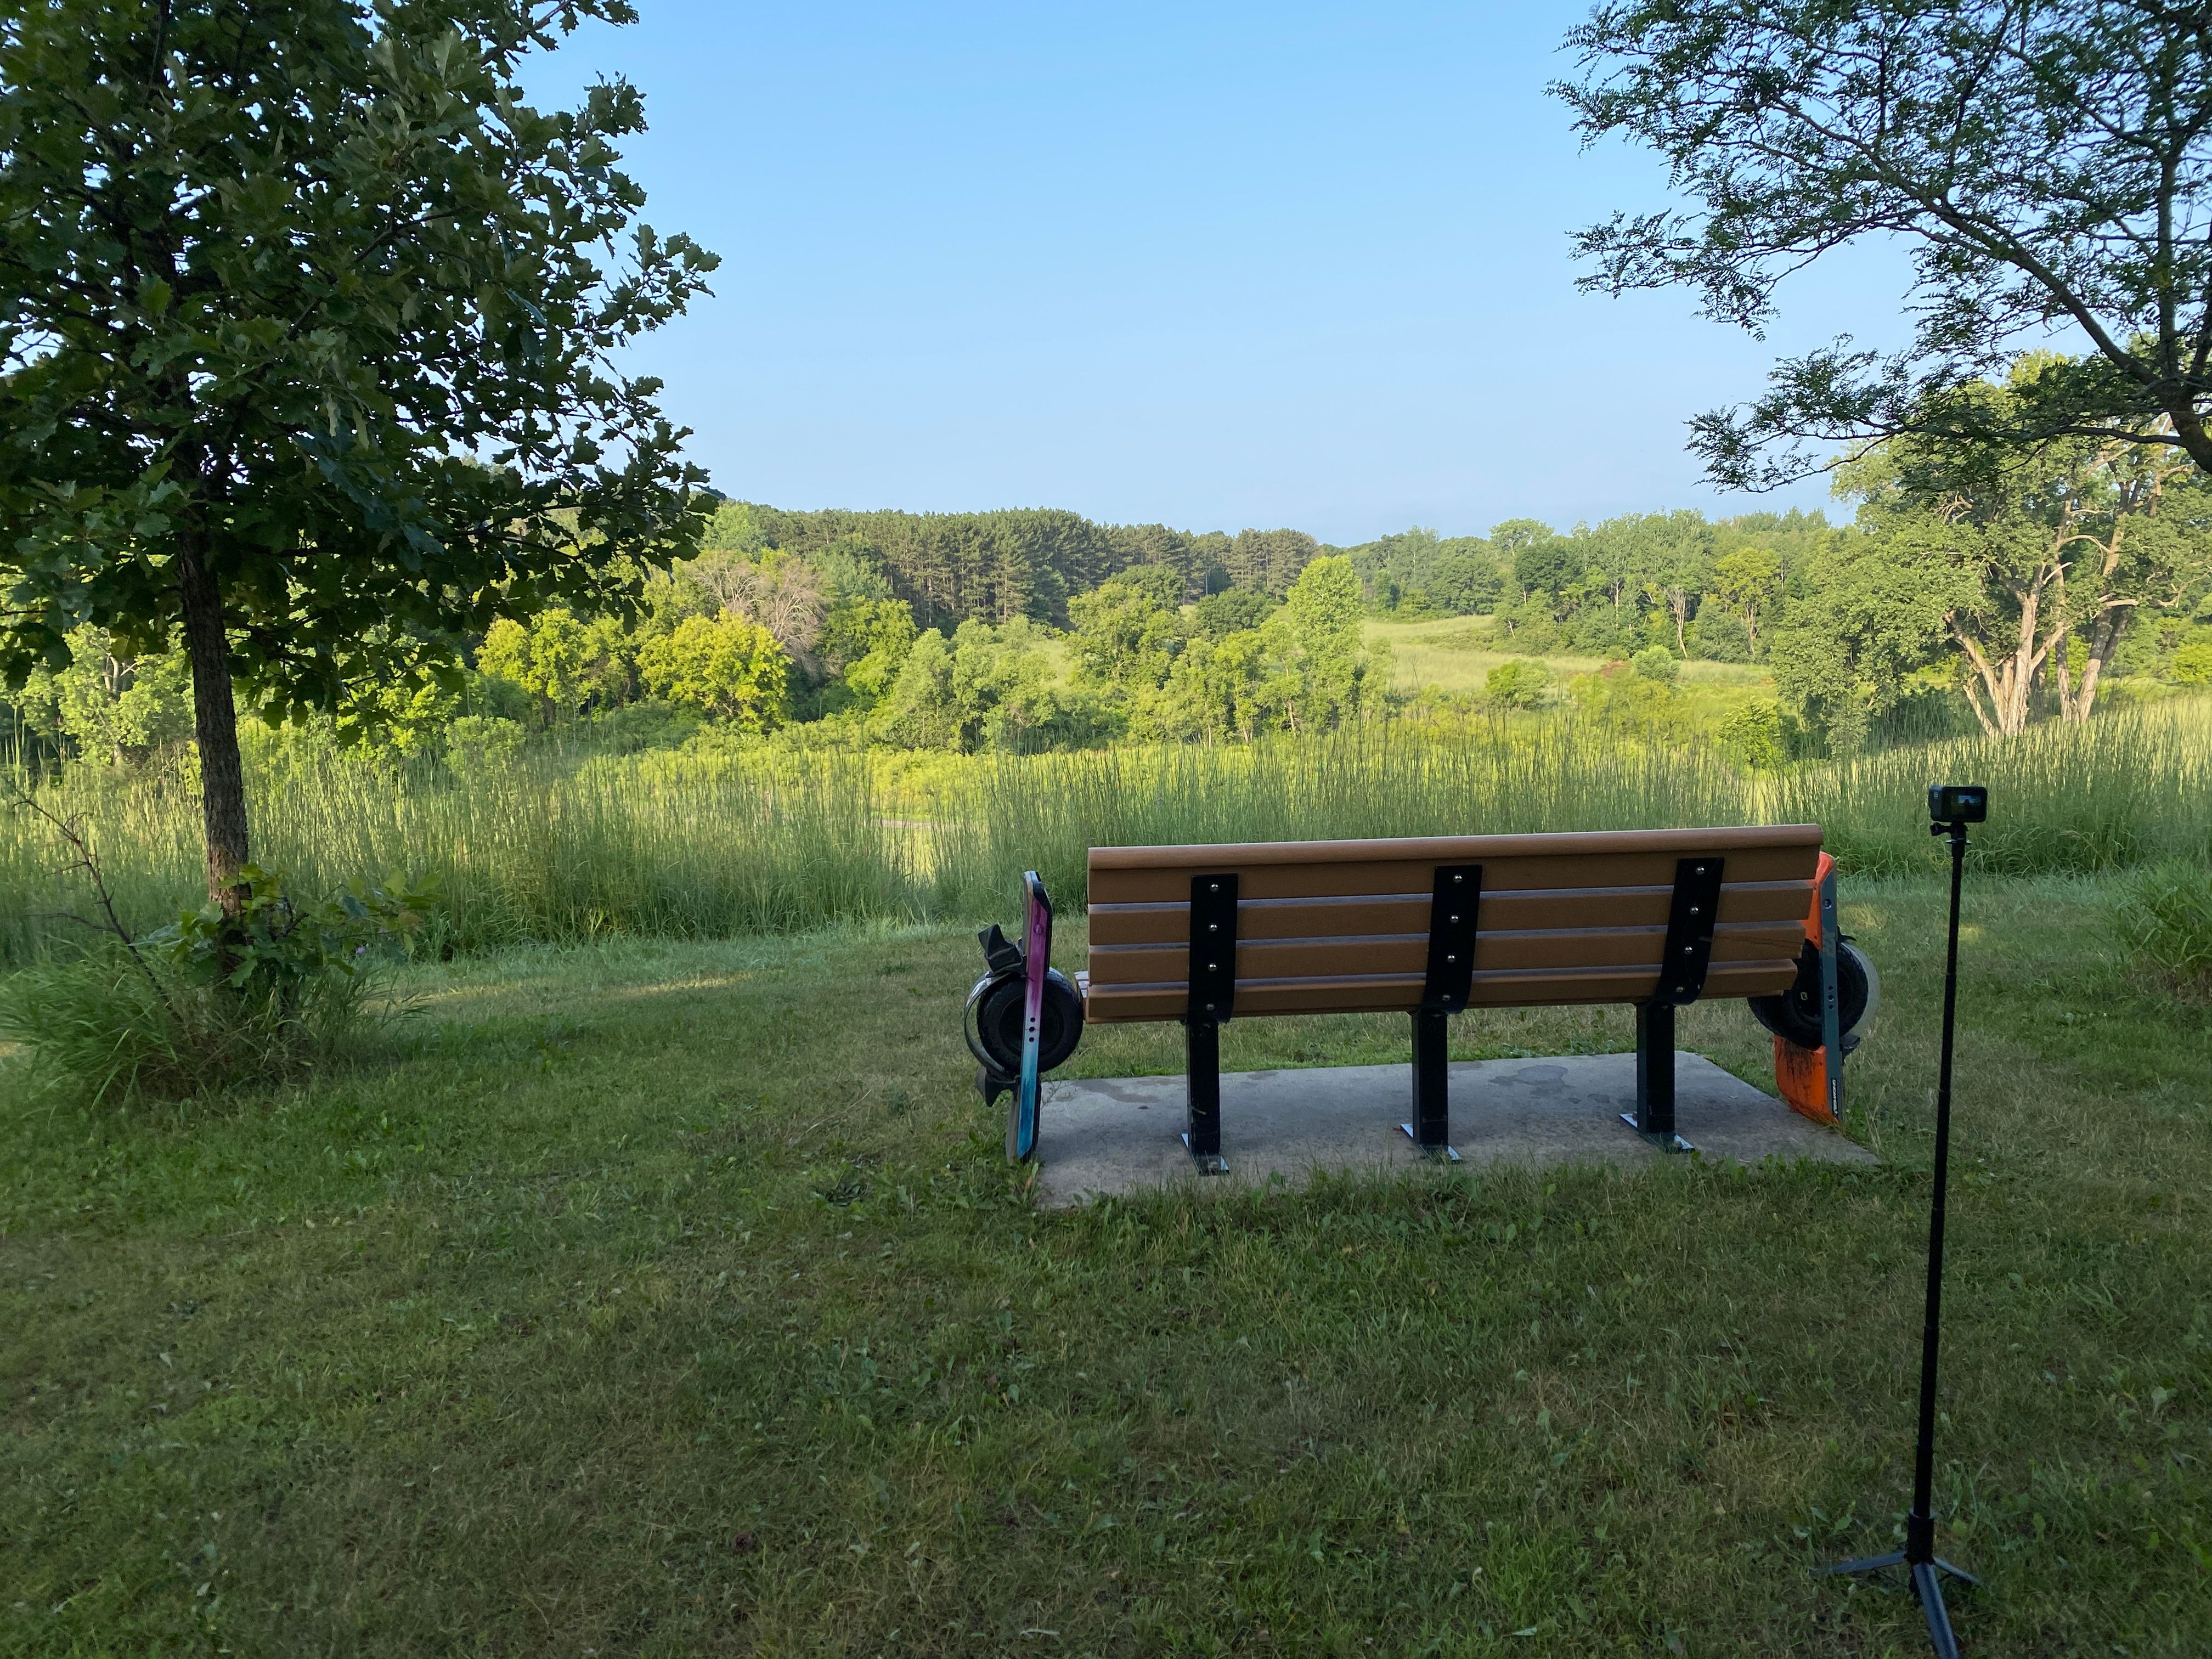
First up was this beautiful pic I took of @Crow_OW , mine, @cheppy44 and @Demimoto boards on our first ride together towards the end of the day. That night riding back in the complete darkness was a time I will not forget.
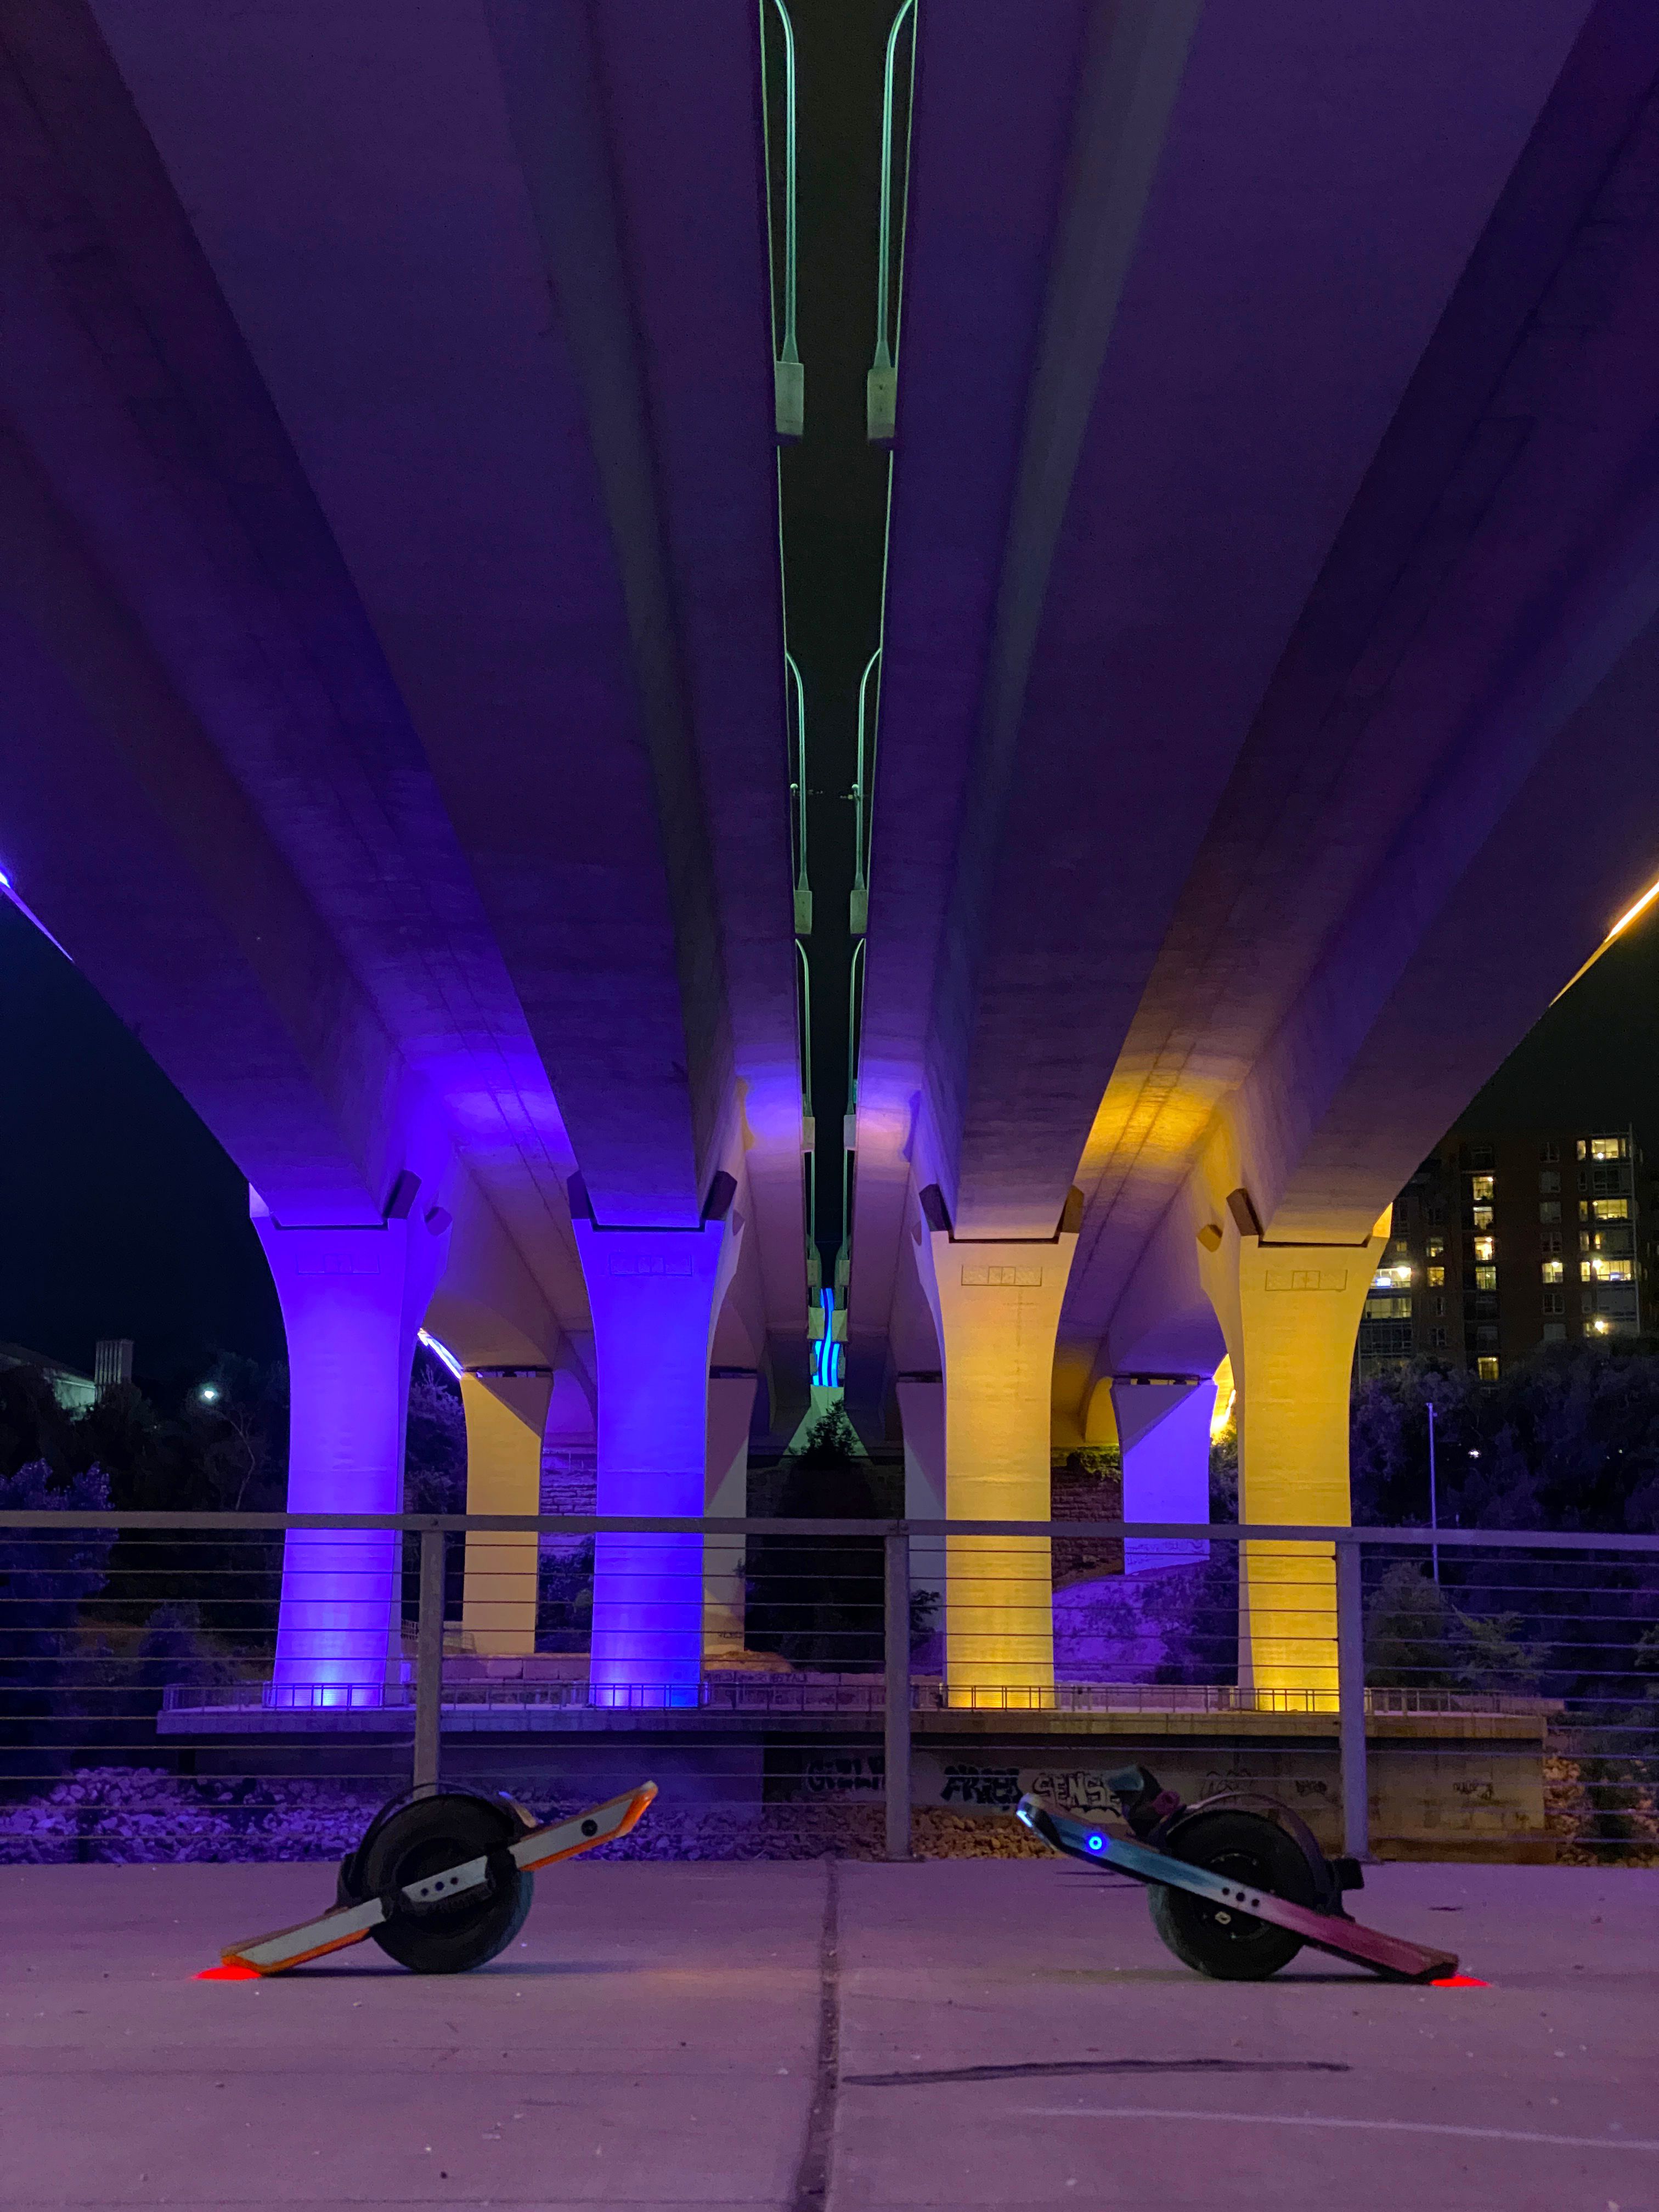
@cheppy44 Being the amazing boyfriend he is managed to get this entire bridges lights redone to show our fave colours as a surprise for me when we rode by it on a ride he planned well in advance.
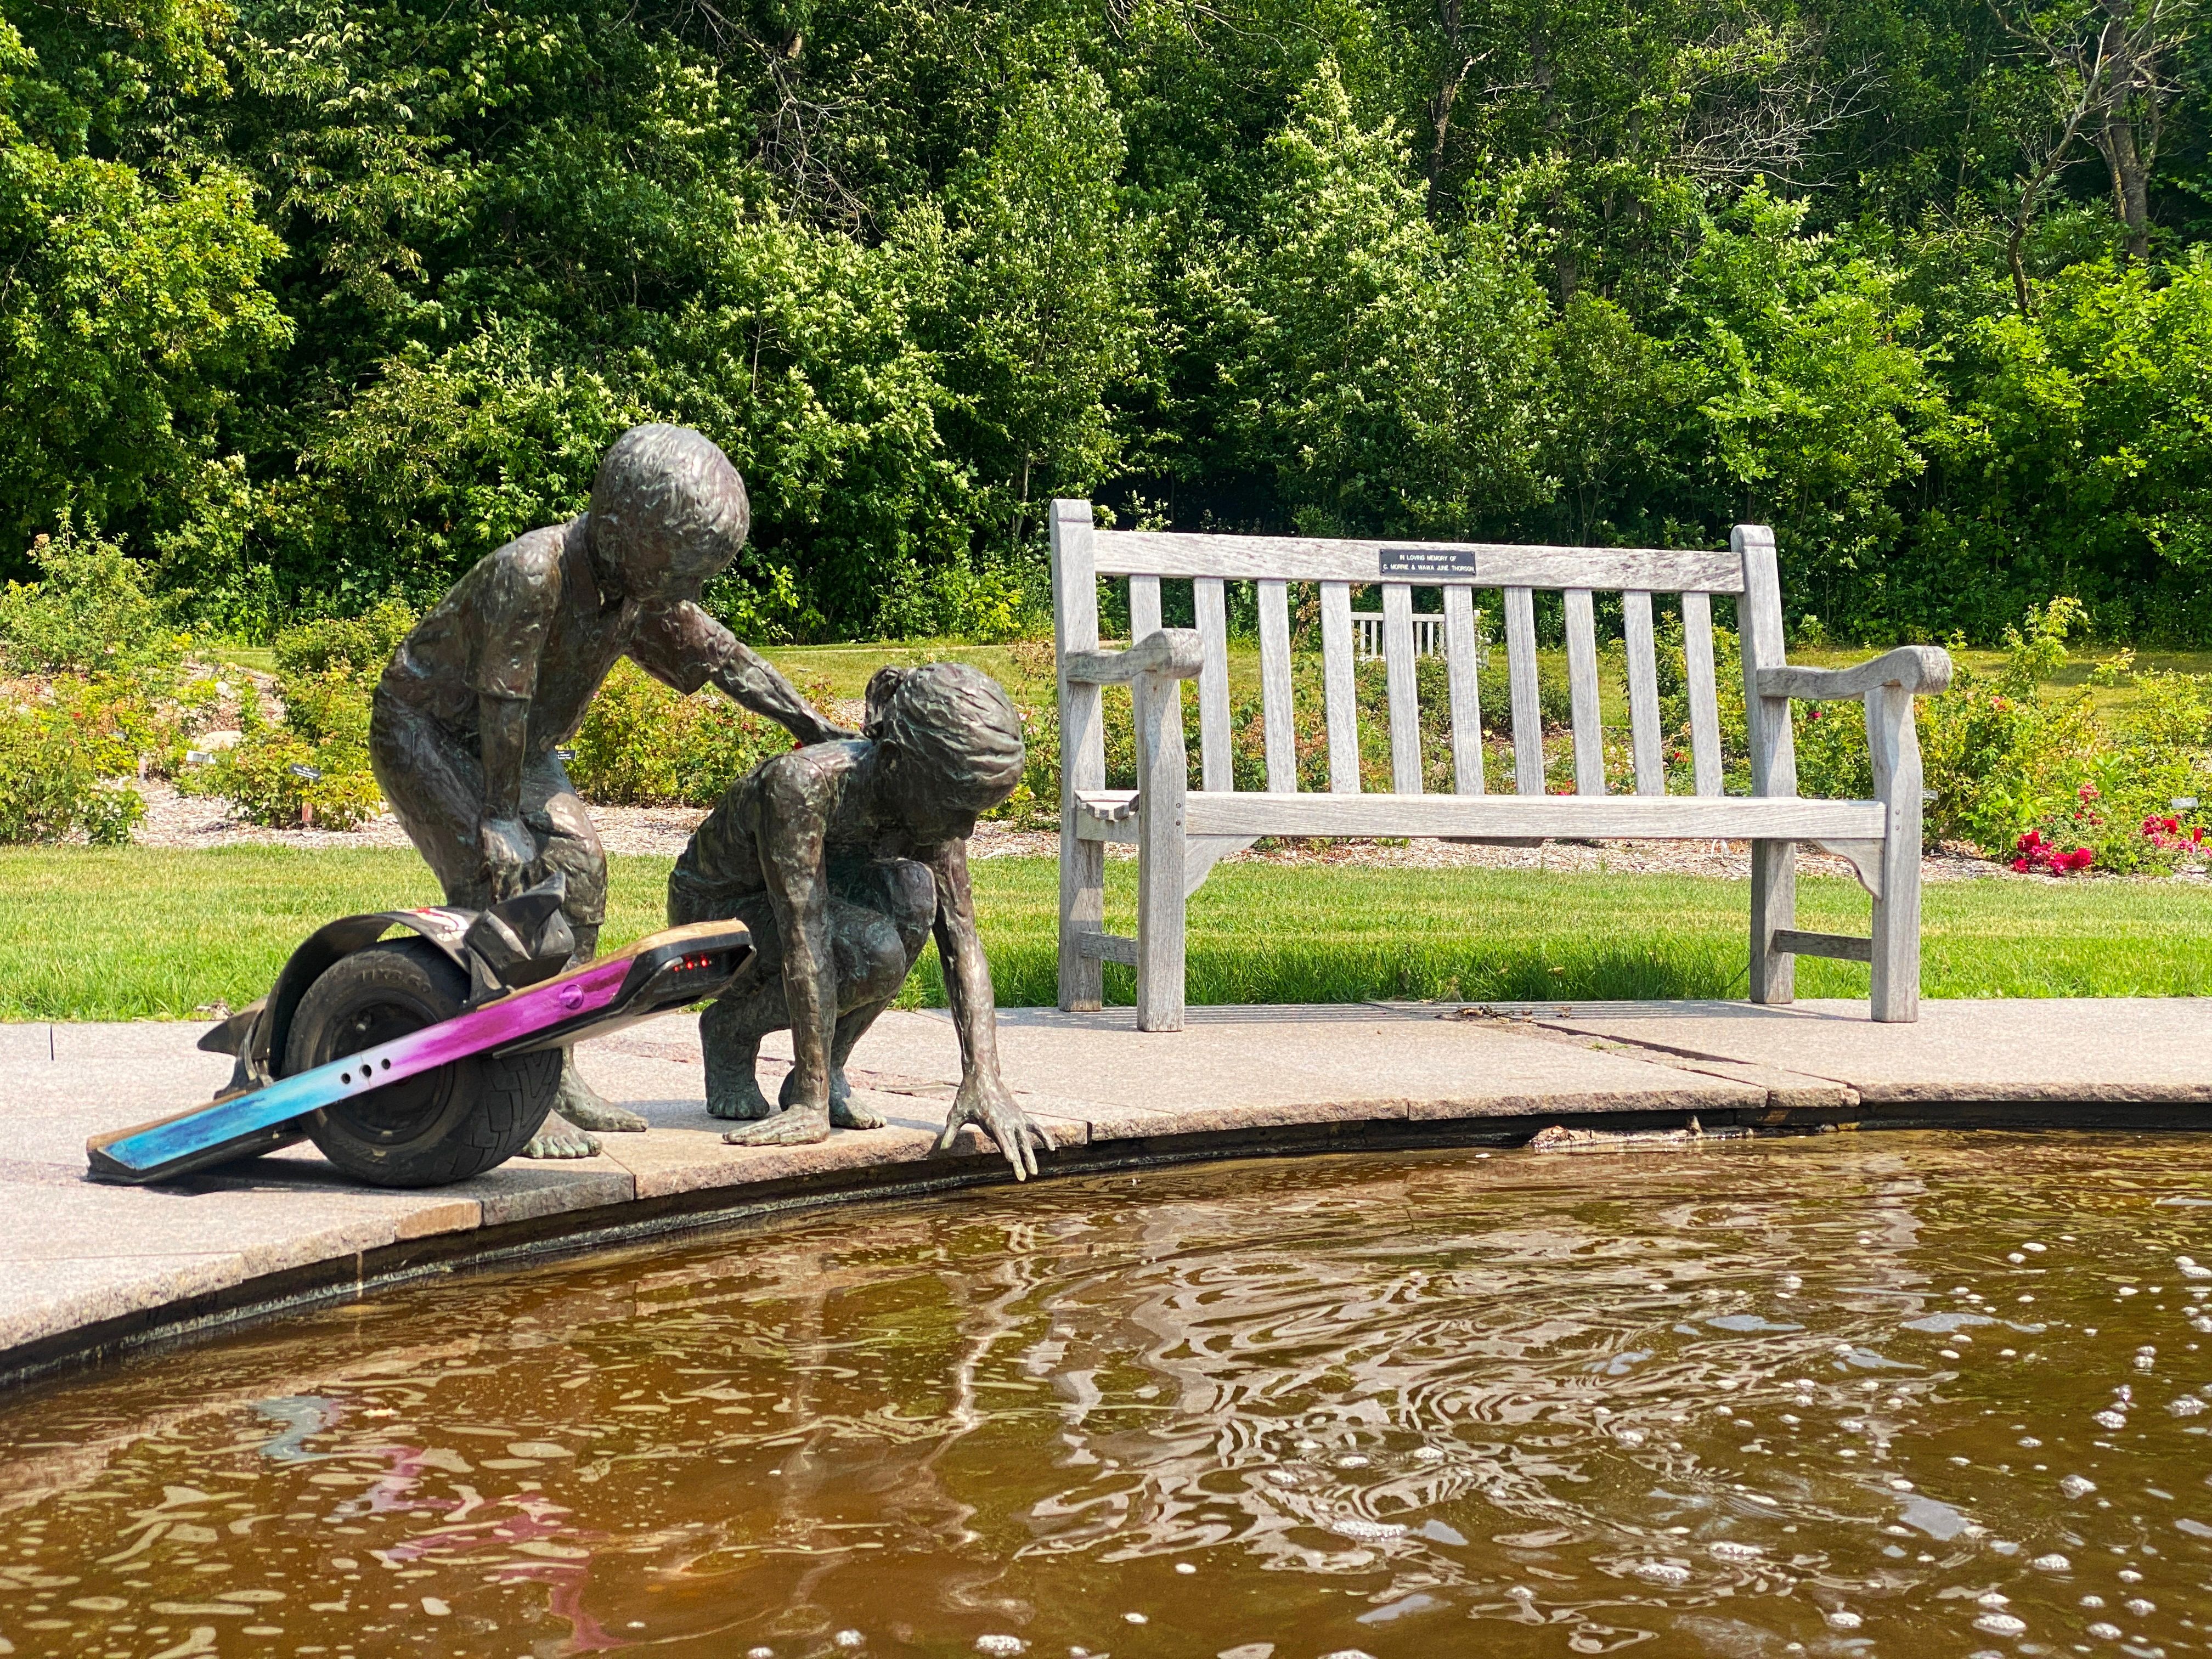
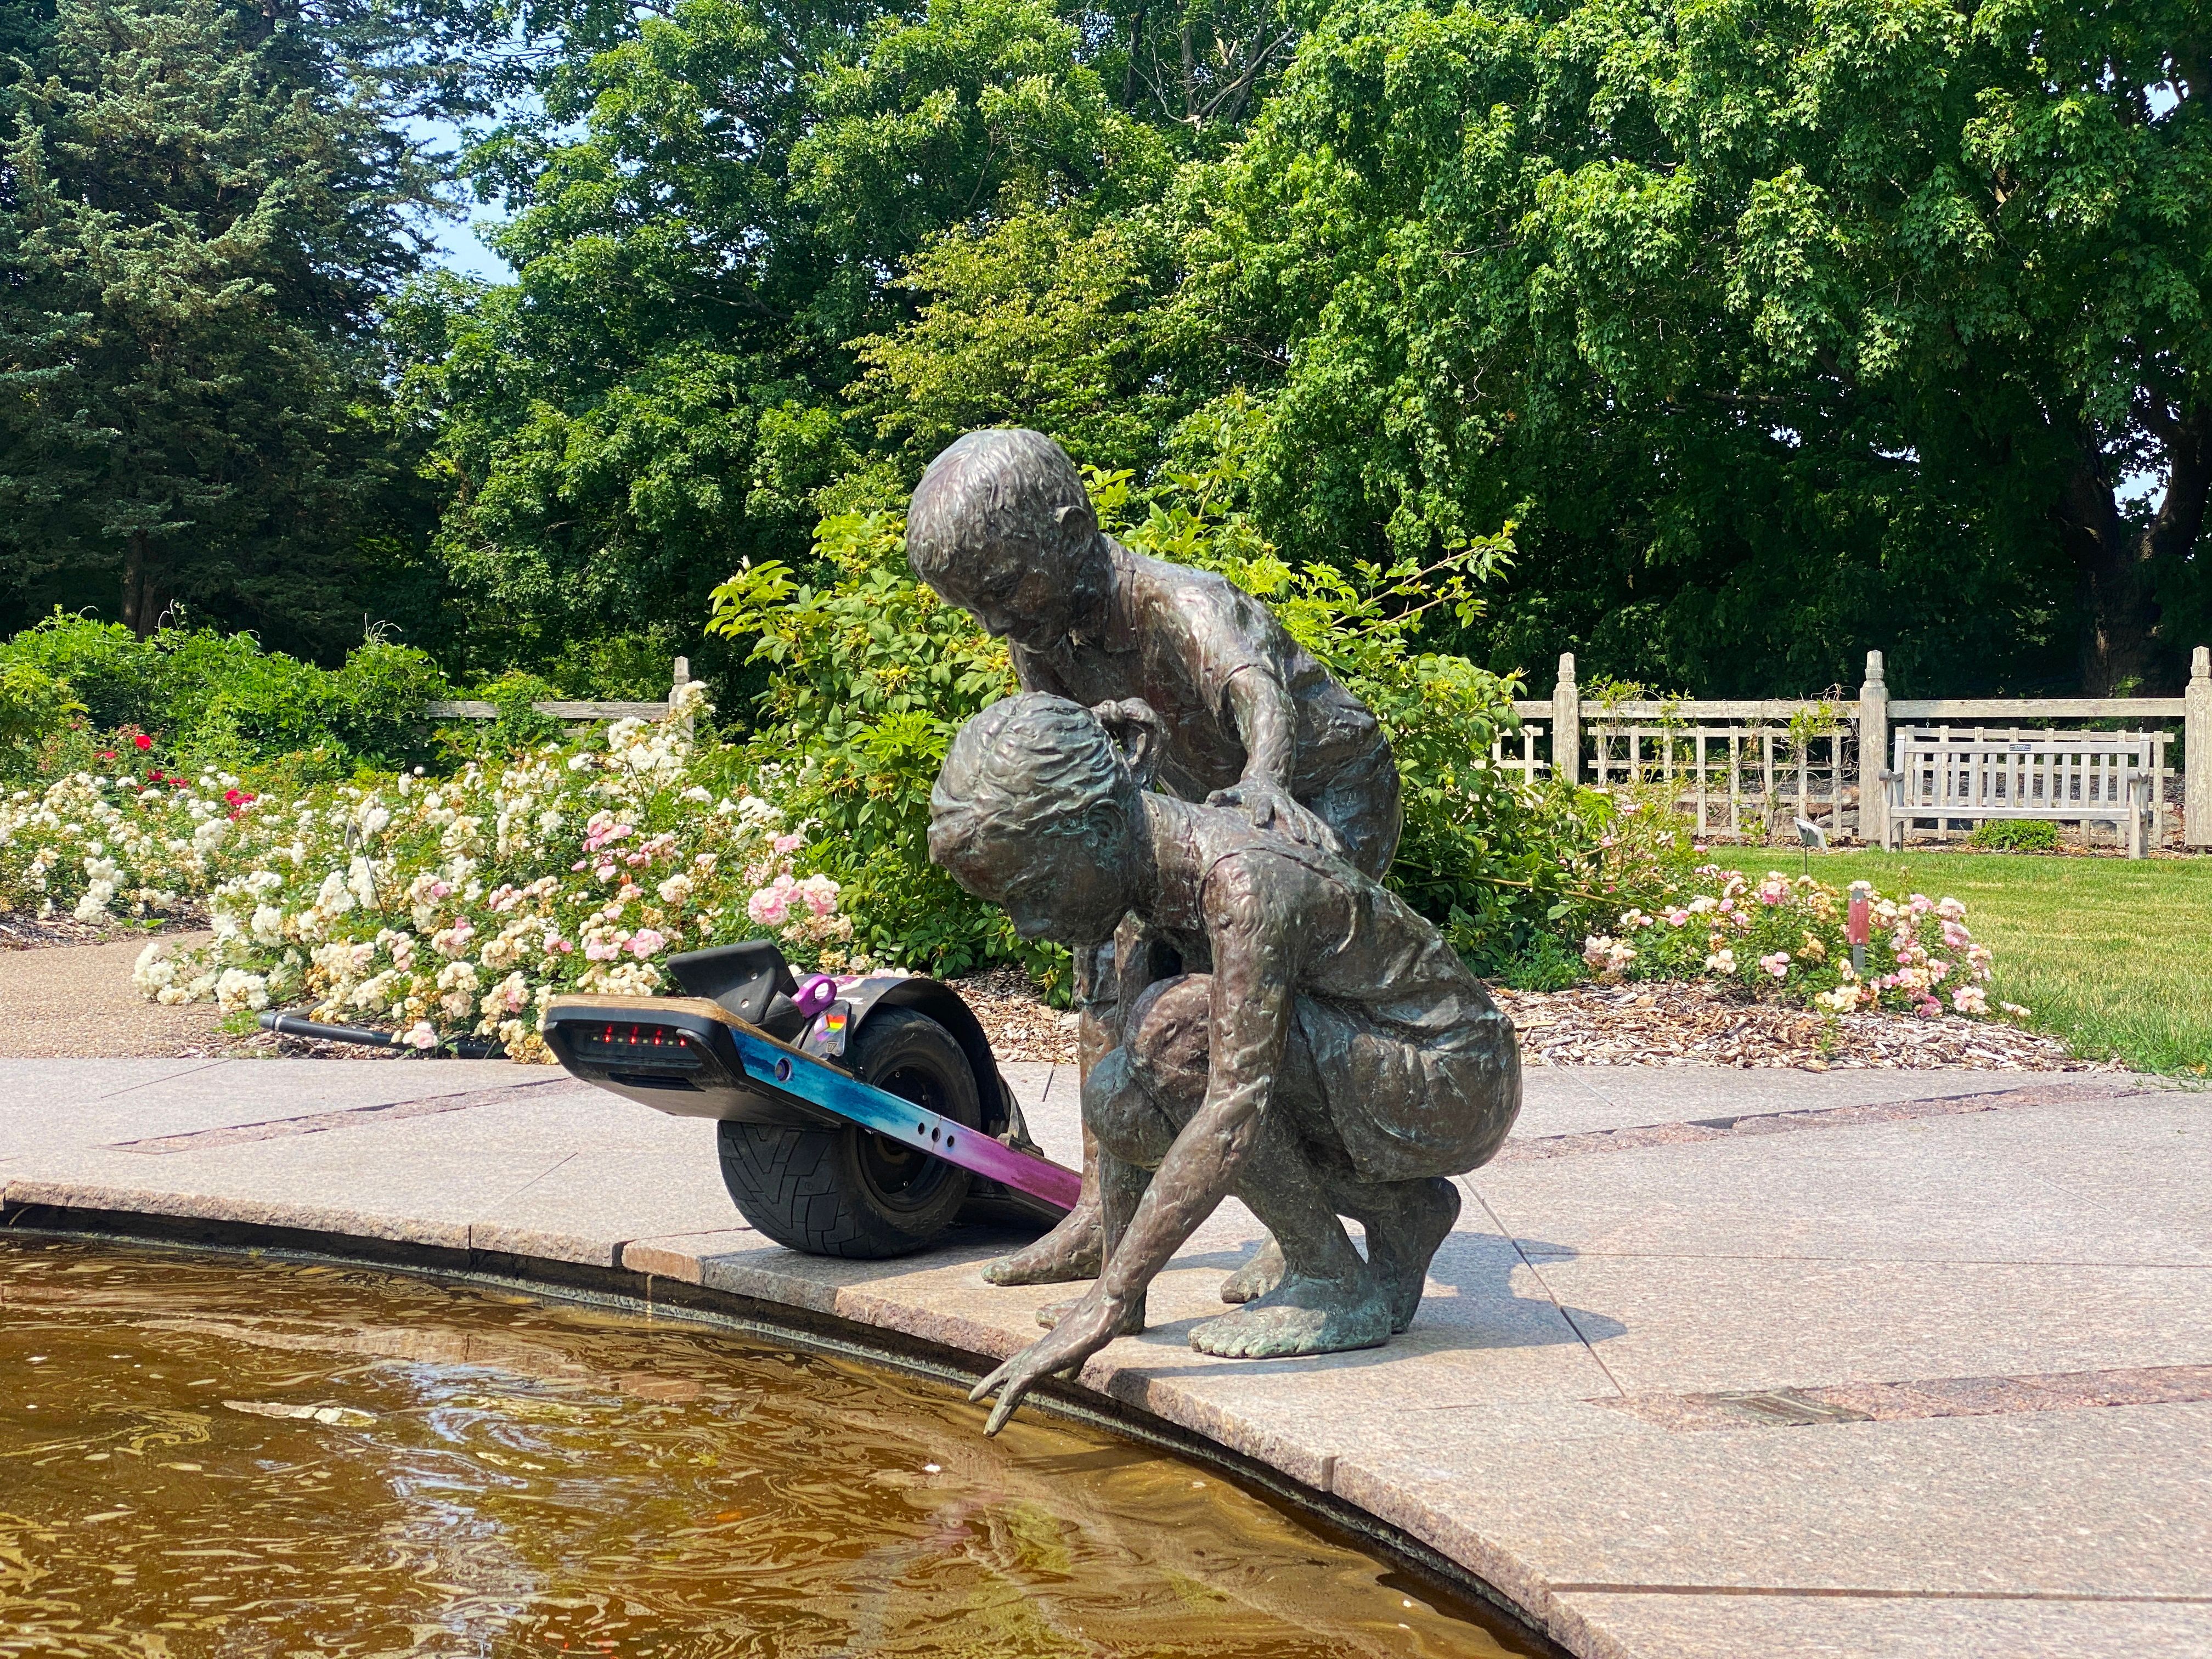
During our time together we rode around an Arboretum which was really pretty and only slightly sullied by some meanie in golfcart telling us we can't ride around here... even though other modes of transport not too dissimilar were allowed. Jobsworth type guy so we didn't fight it.
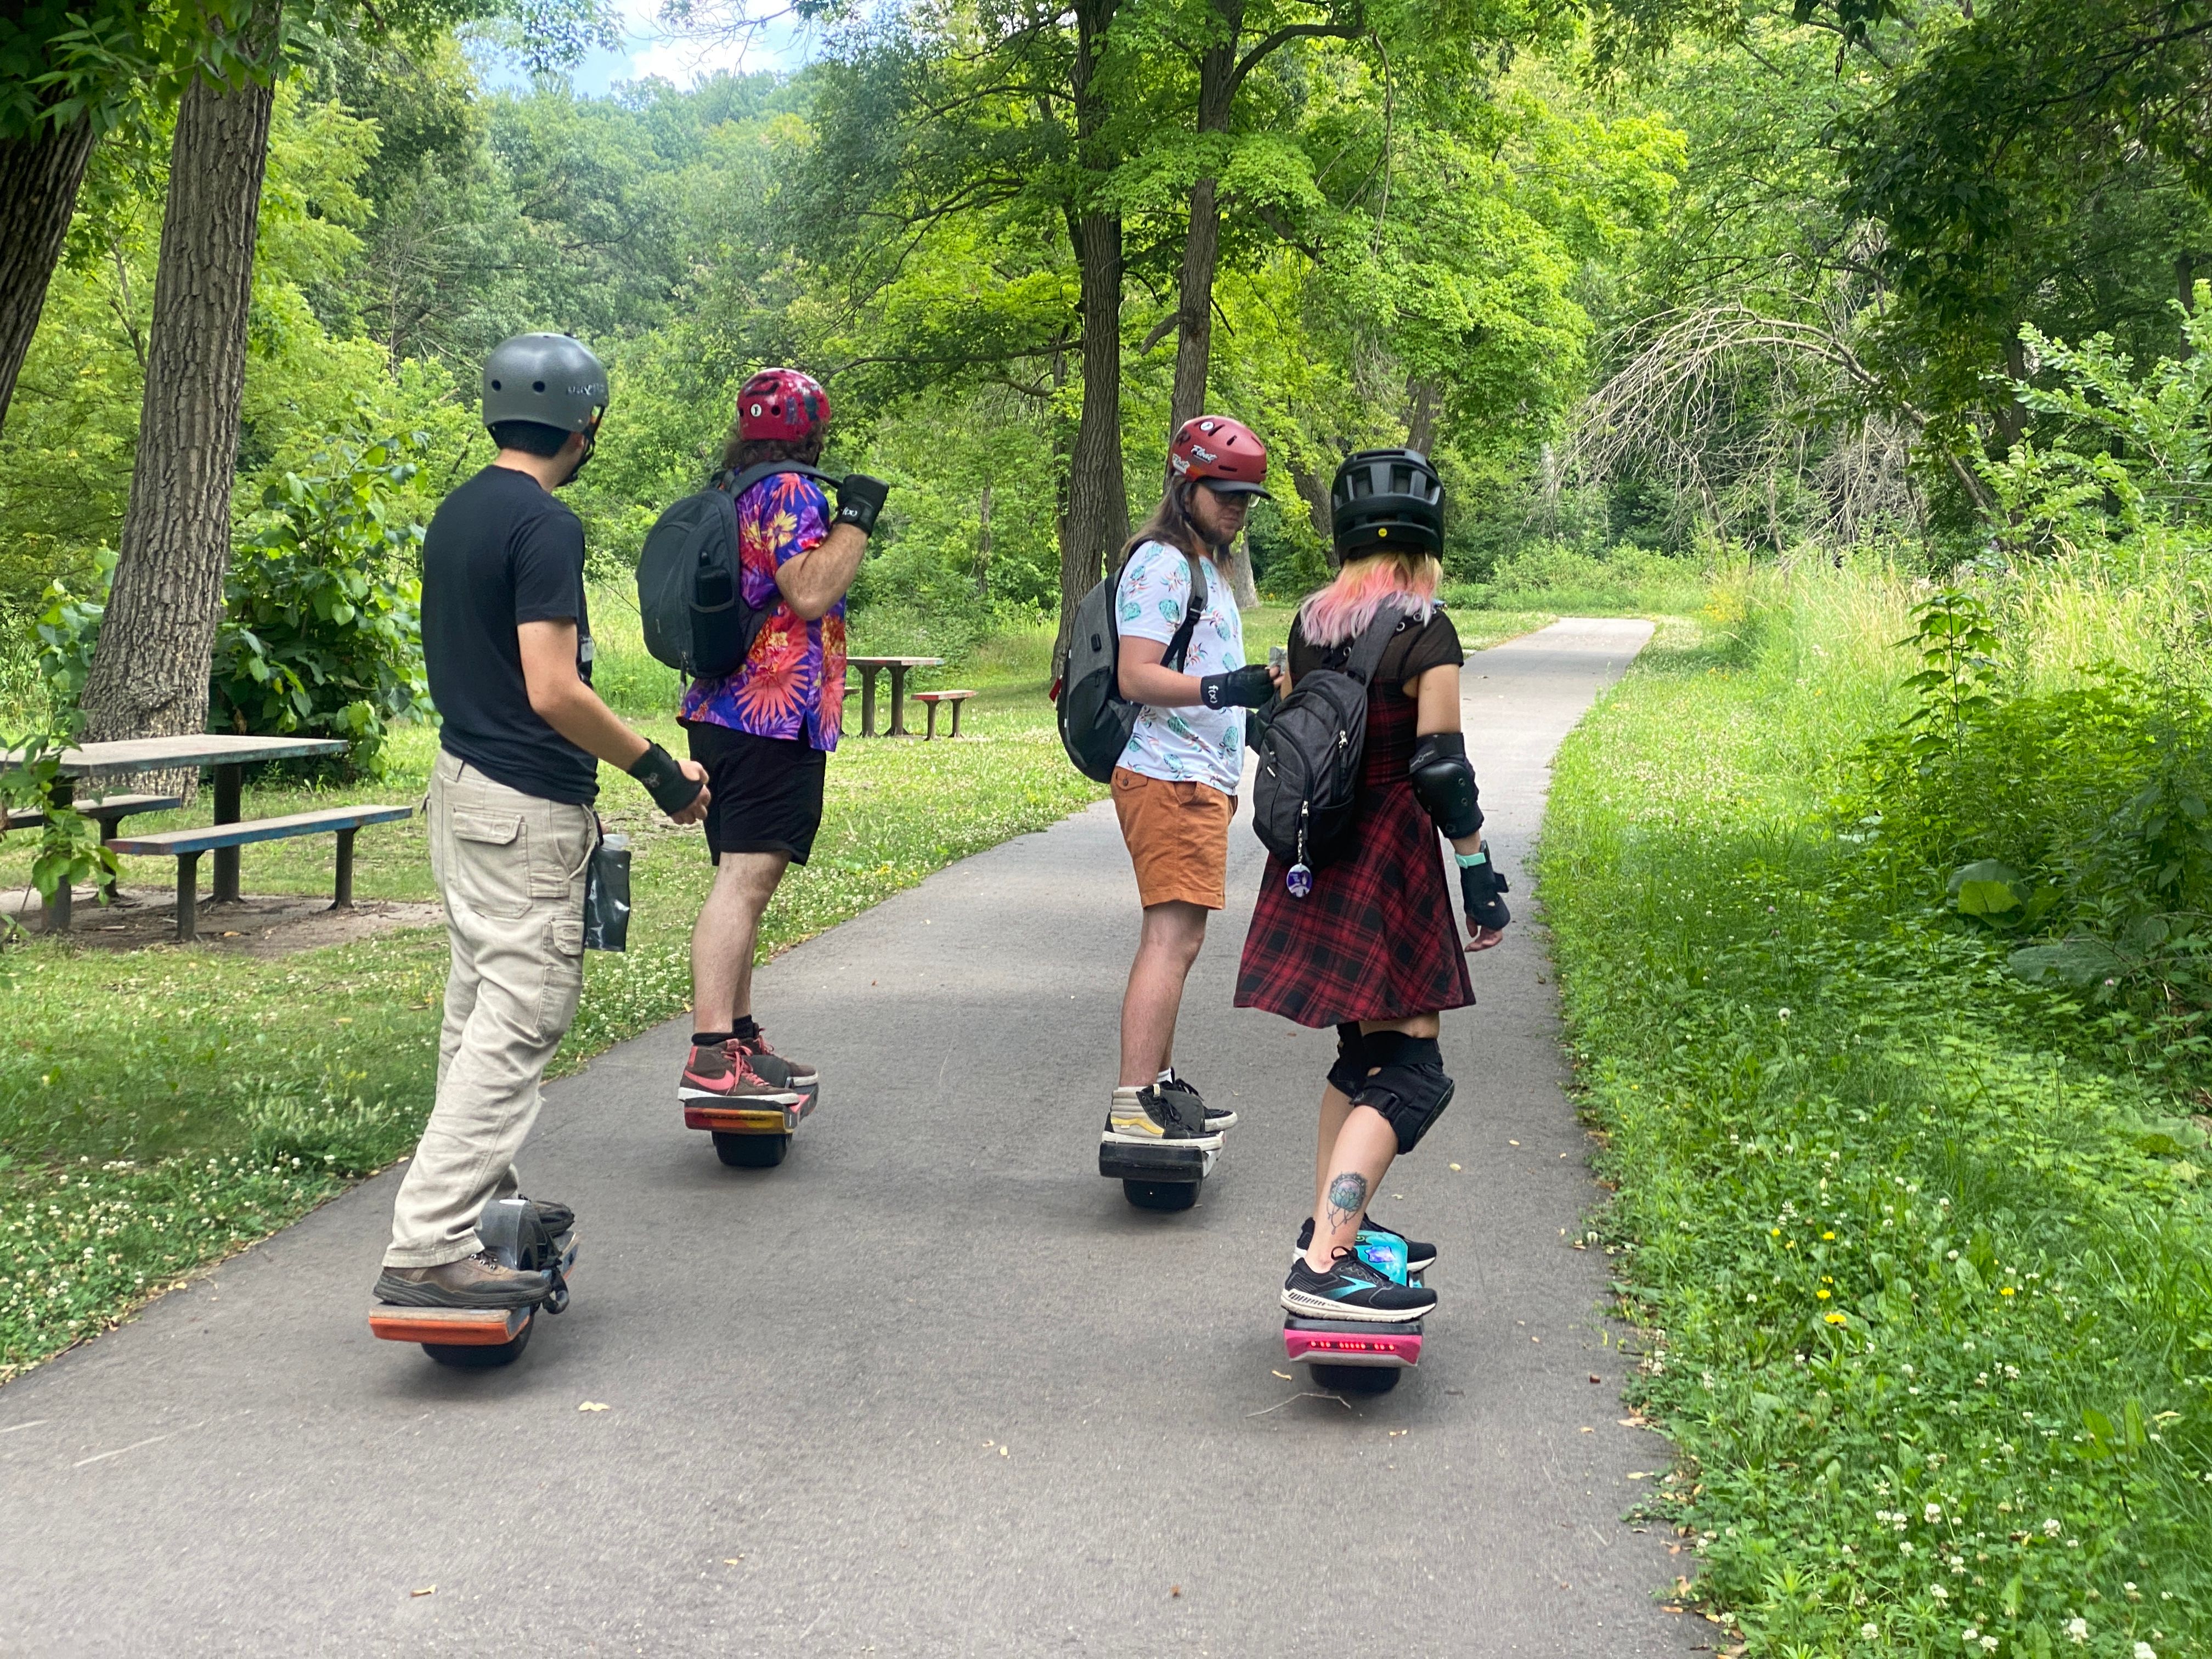
Another groupride with Nick, Josh, Adam and Alyssa this time
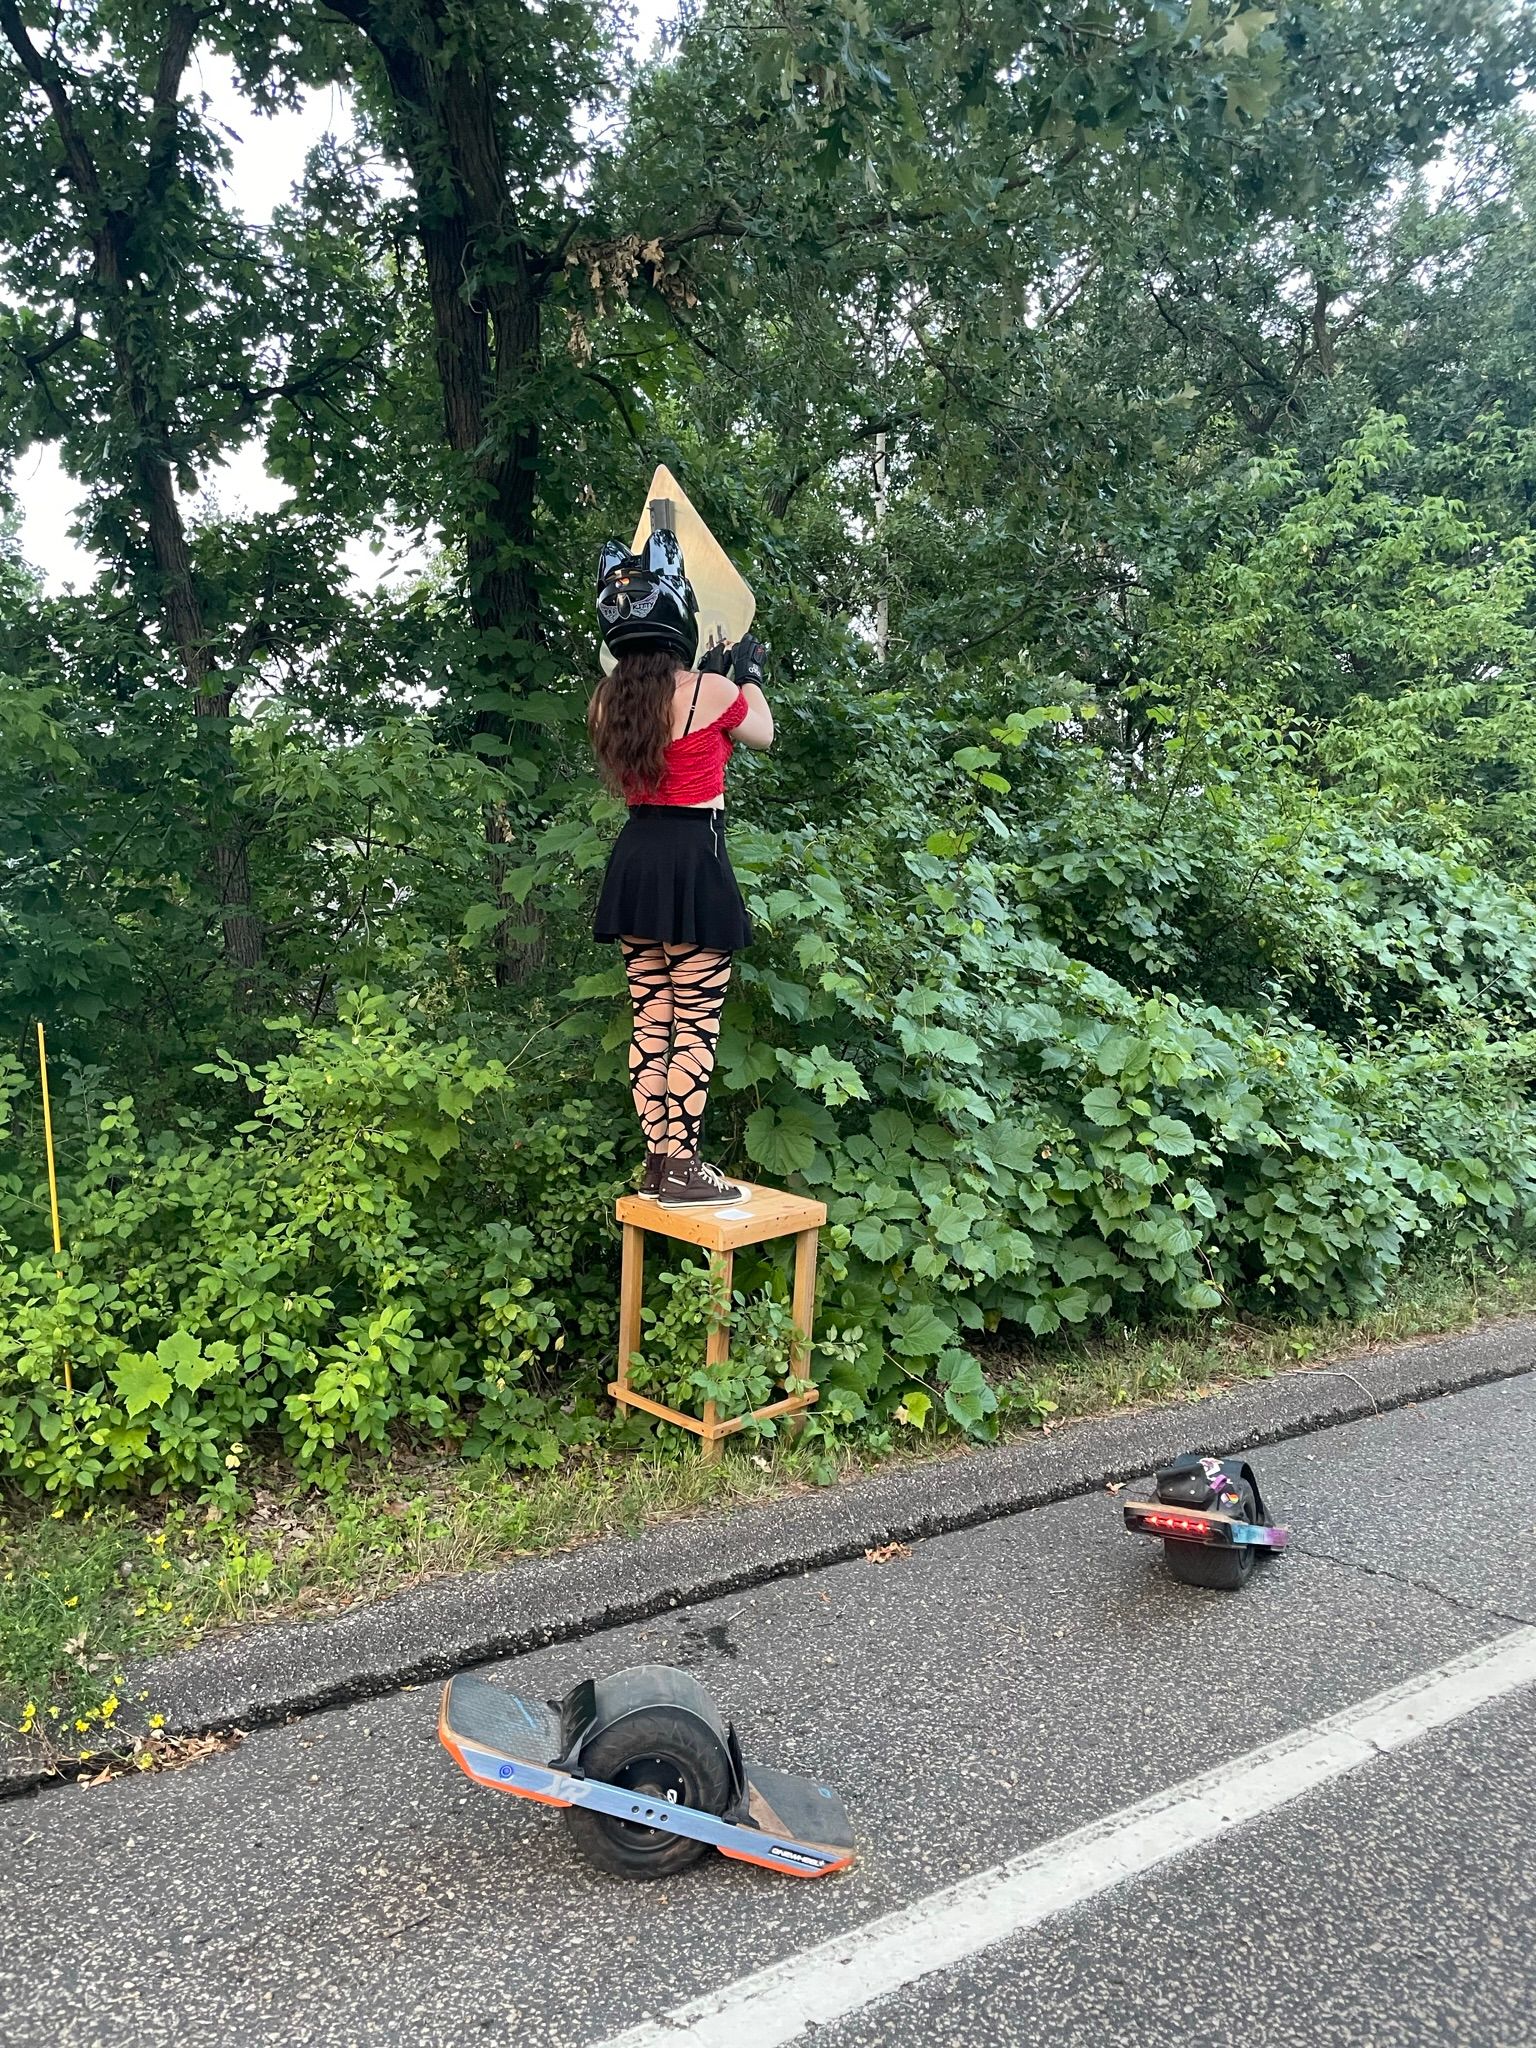
Before leaving me and Nick followed up on the stickers we placed on one of my regular rides by adding a matching pair on his.
(I'm such a criminal, vandalising signs like that)
To finish it up on our last ride together I got one clip for an upcoming video in a picturesque area.
Recently I went to one of the UK events. Float The Highlands.
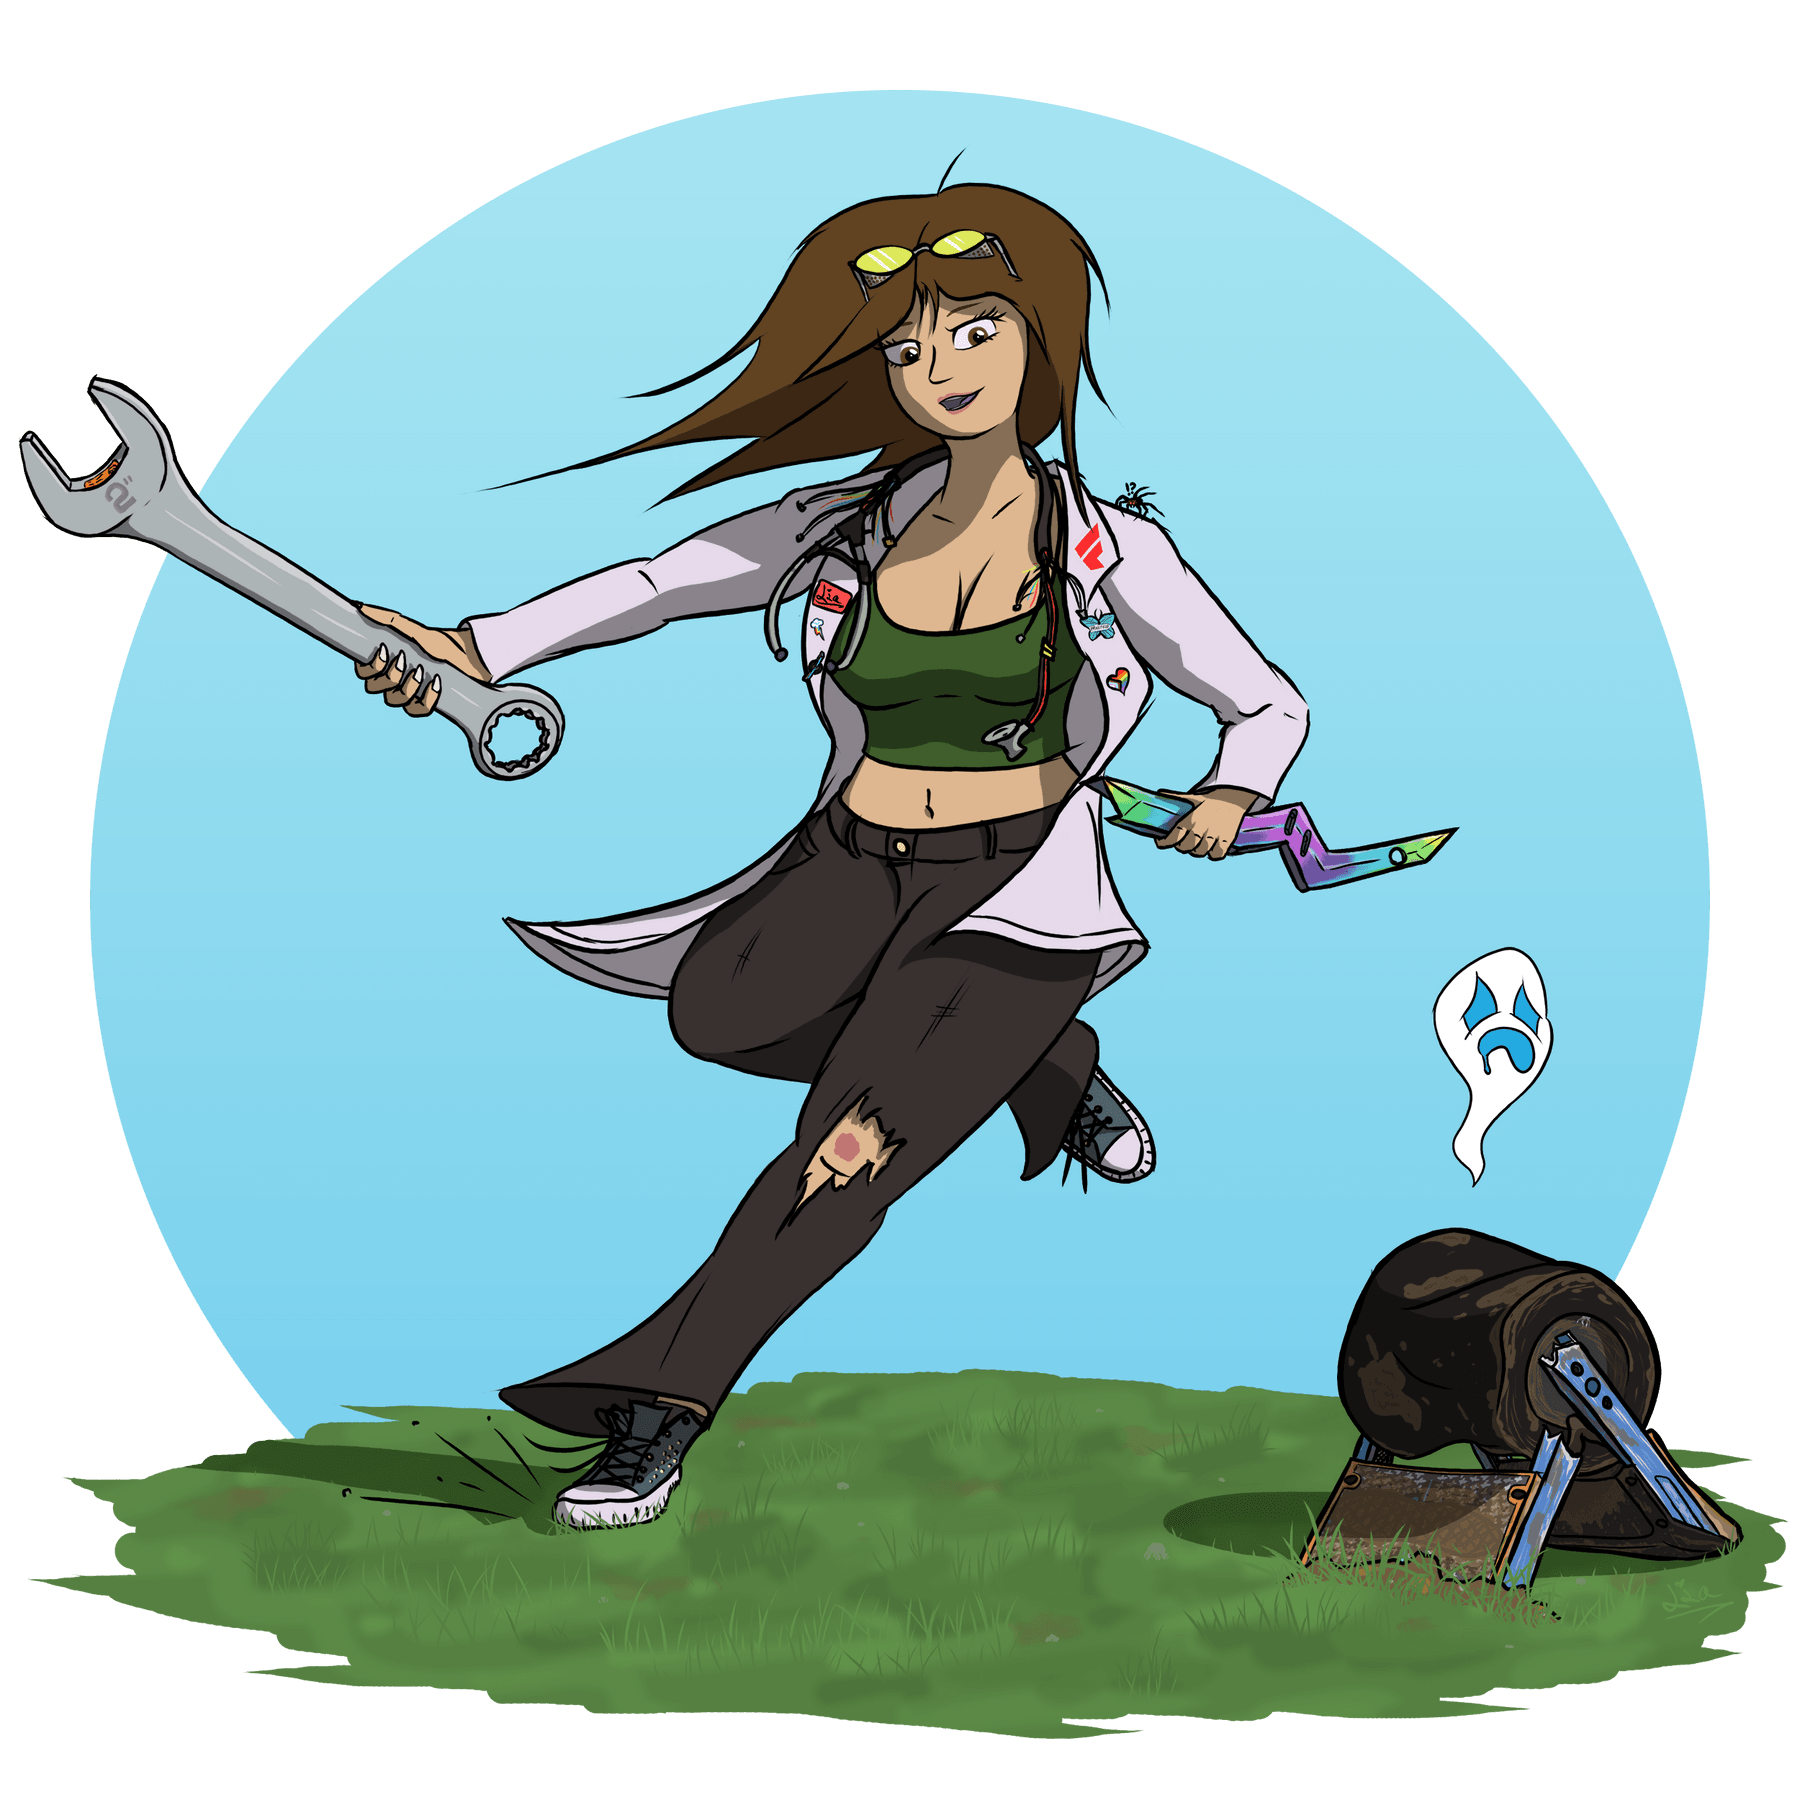
Officially I was representing Fungineers but I wanted to play it up a little if I was going to be doing some repairs. With a giant spanner, lab coat, cool AF glasses and a custom battery harness stethoscope I was set. If I wasn't drafted to help out with something at the event, I was riding around the event swinging that spanner around looking for trouble things to fix.
For whatever reason I felt compelled to dust off the graphics tablet and doodle it ^-^
@bigorne for your son a regular pint would be more than enough. You may need to experiment with his footwear so the footpad detects him as some shoes with less weight is hard to detect.
For yourself a PintX would be great. You should both get similar enough range currently to enjoy rides together :)
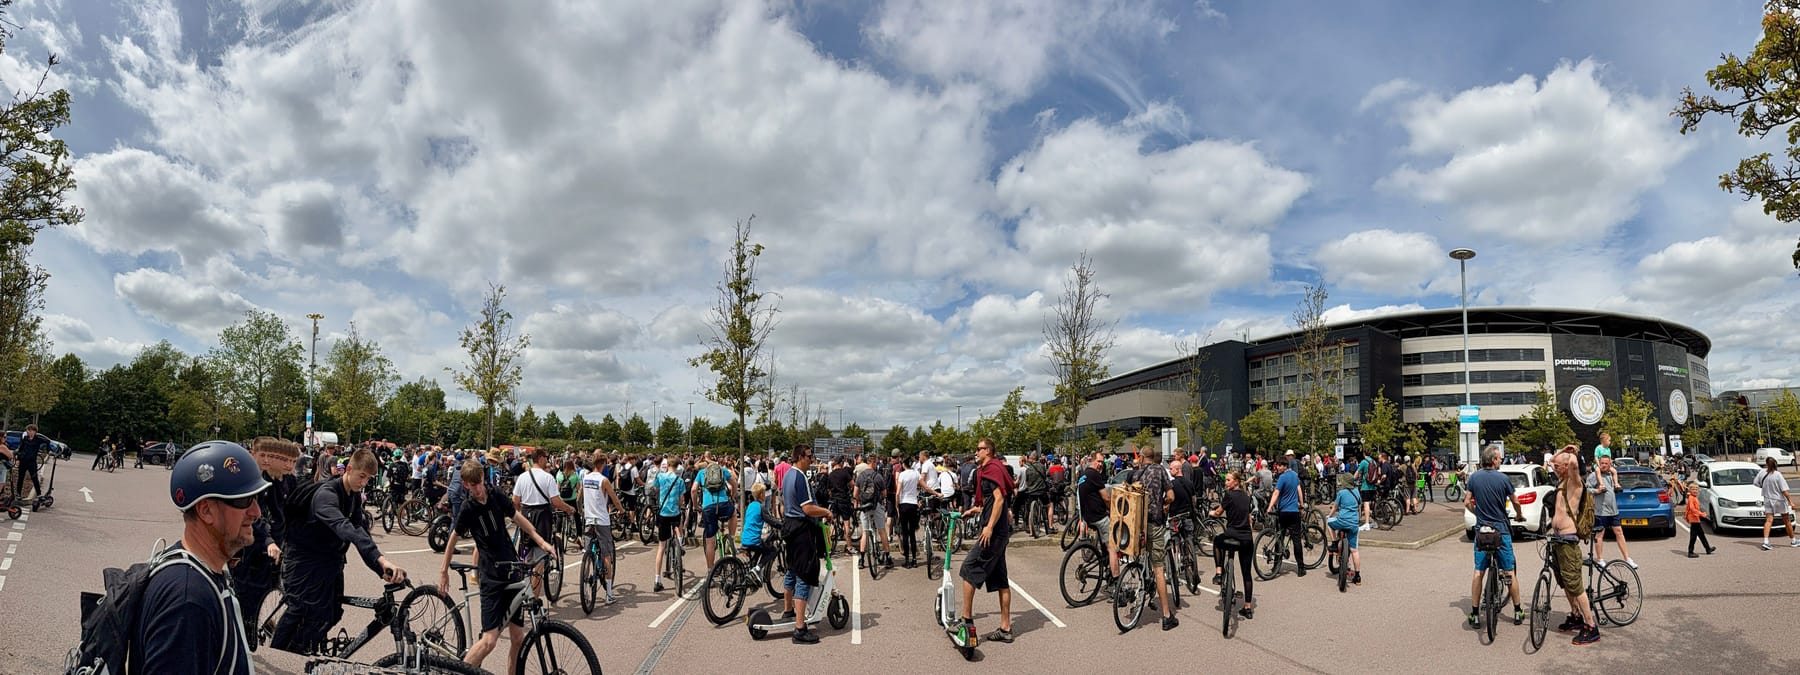
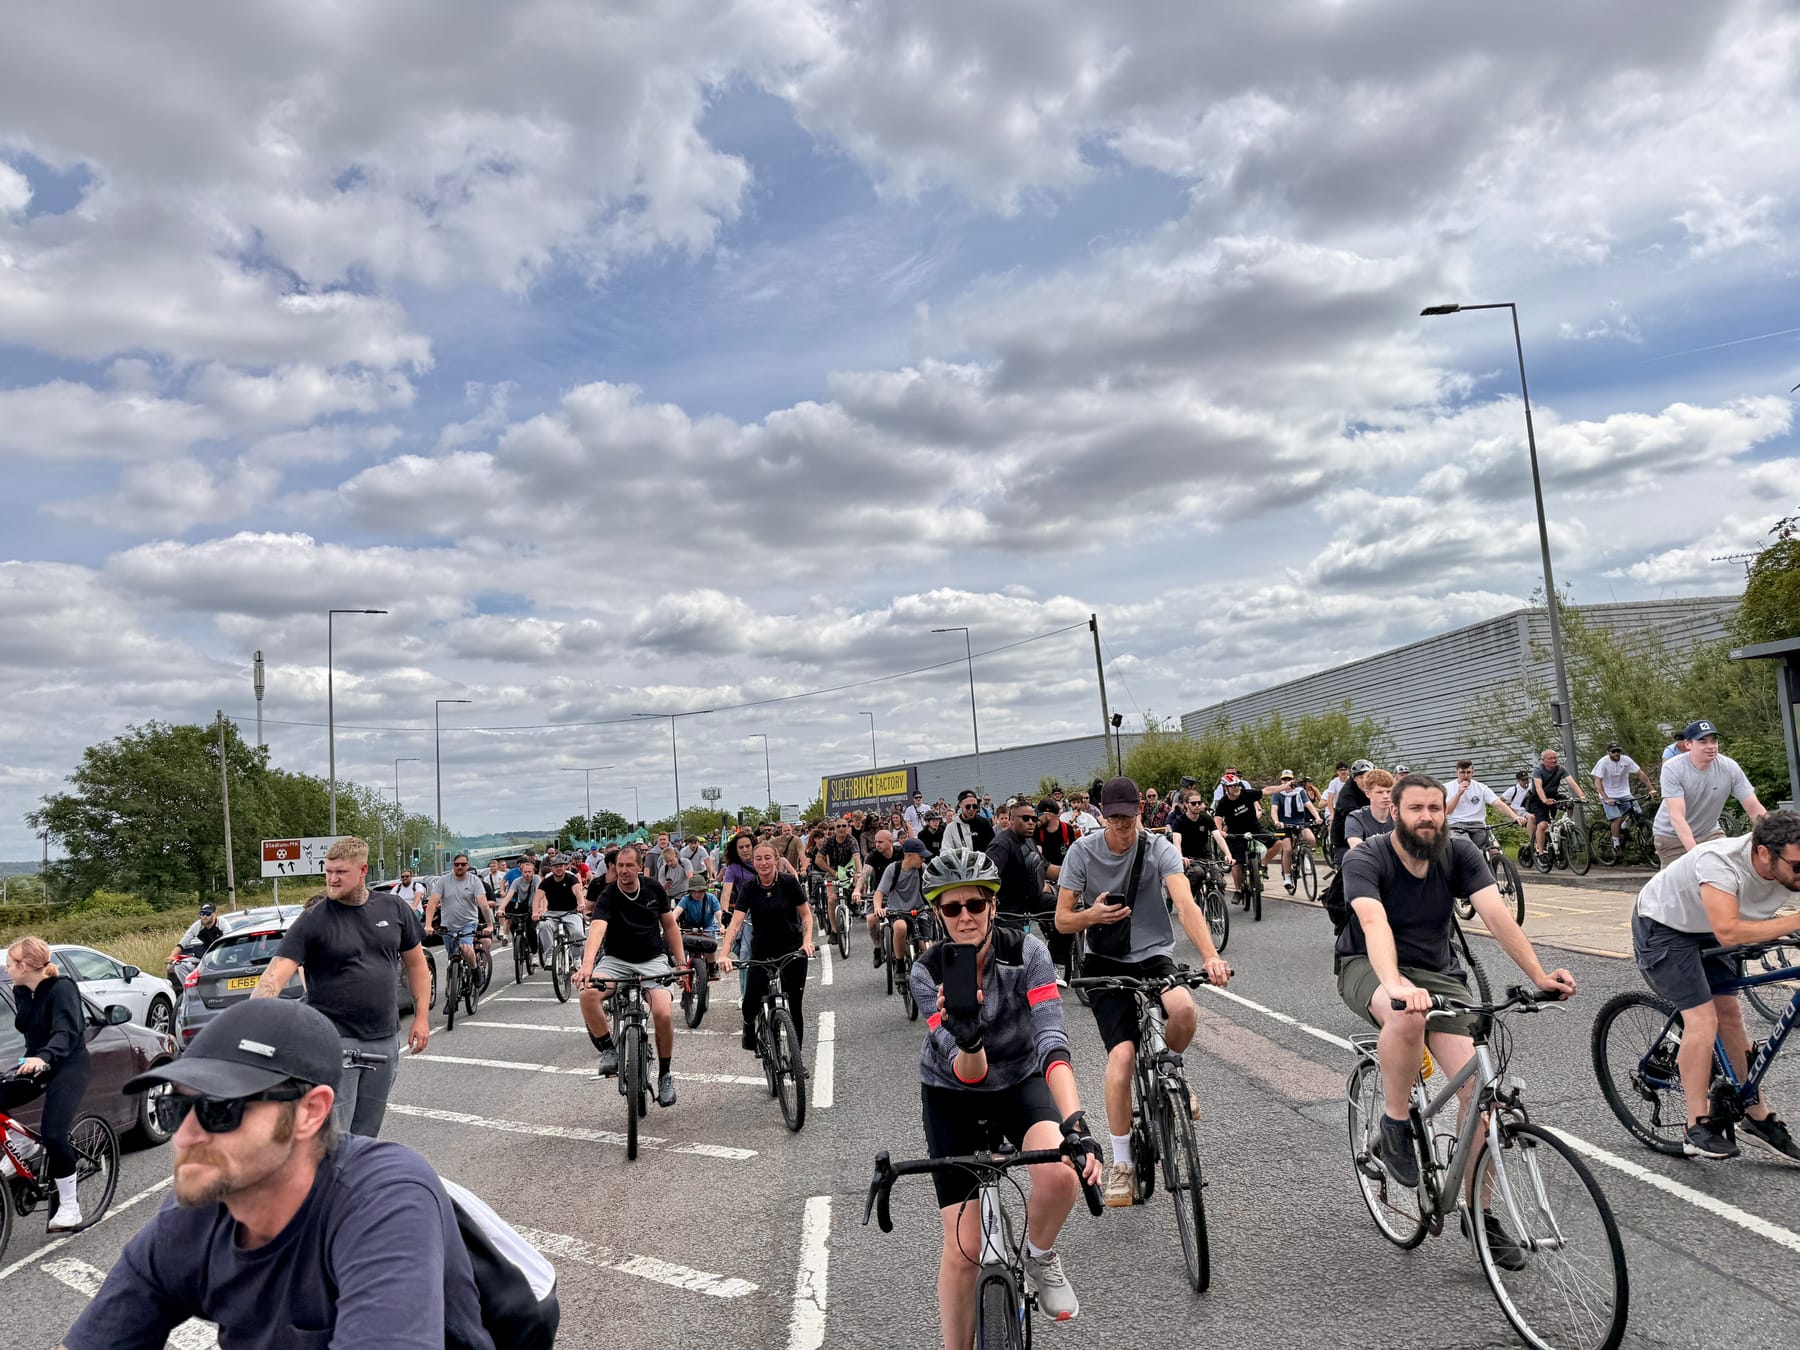
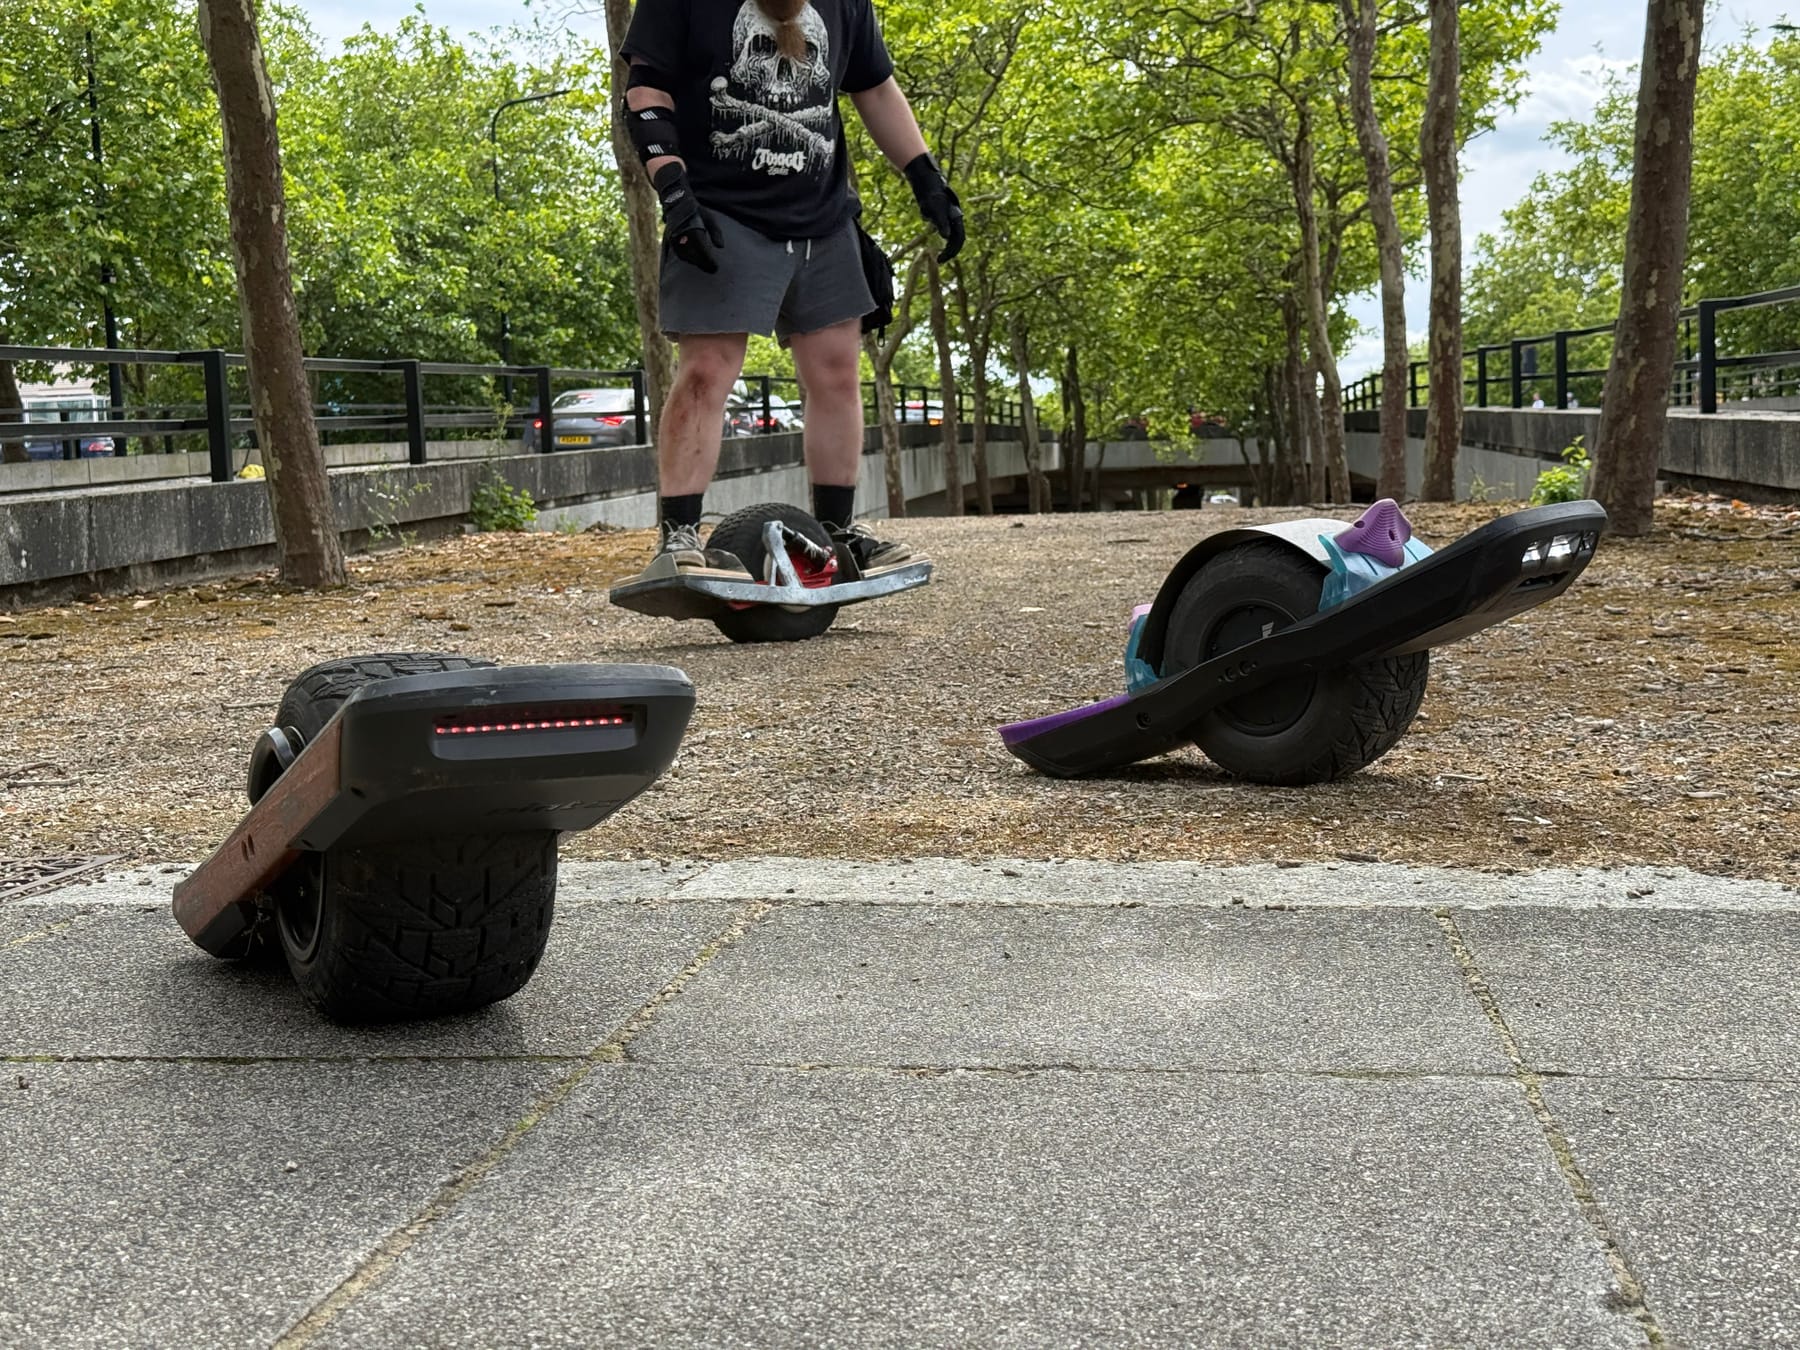
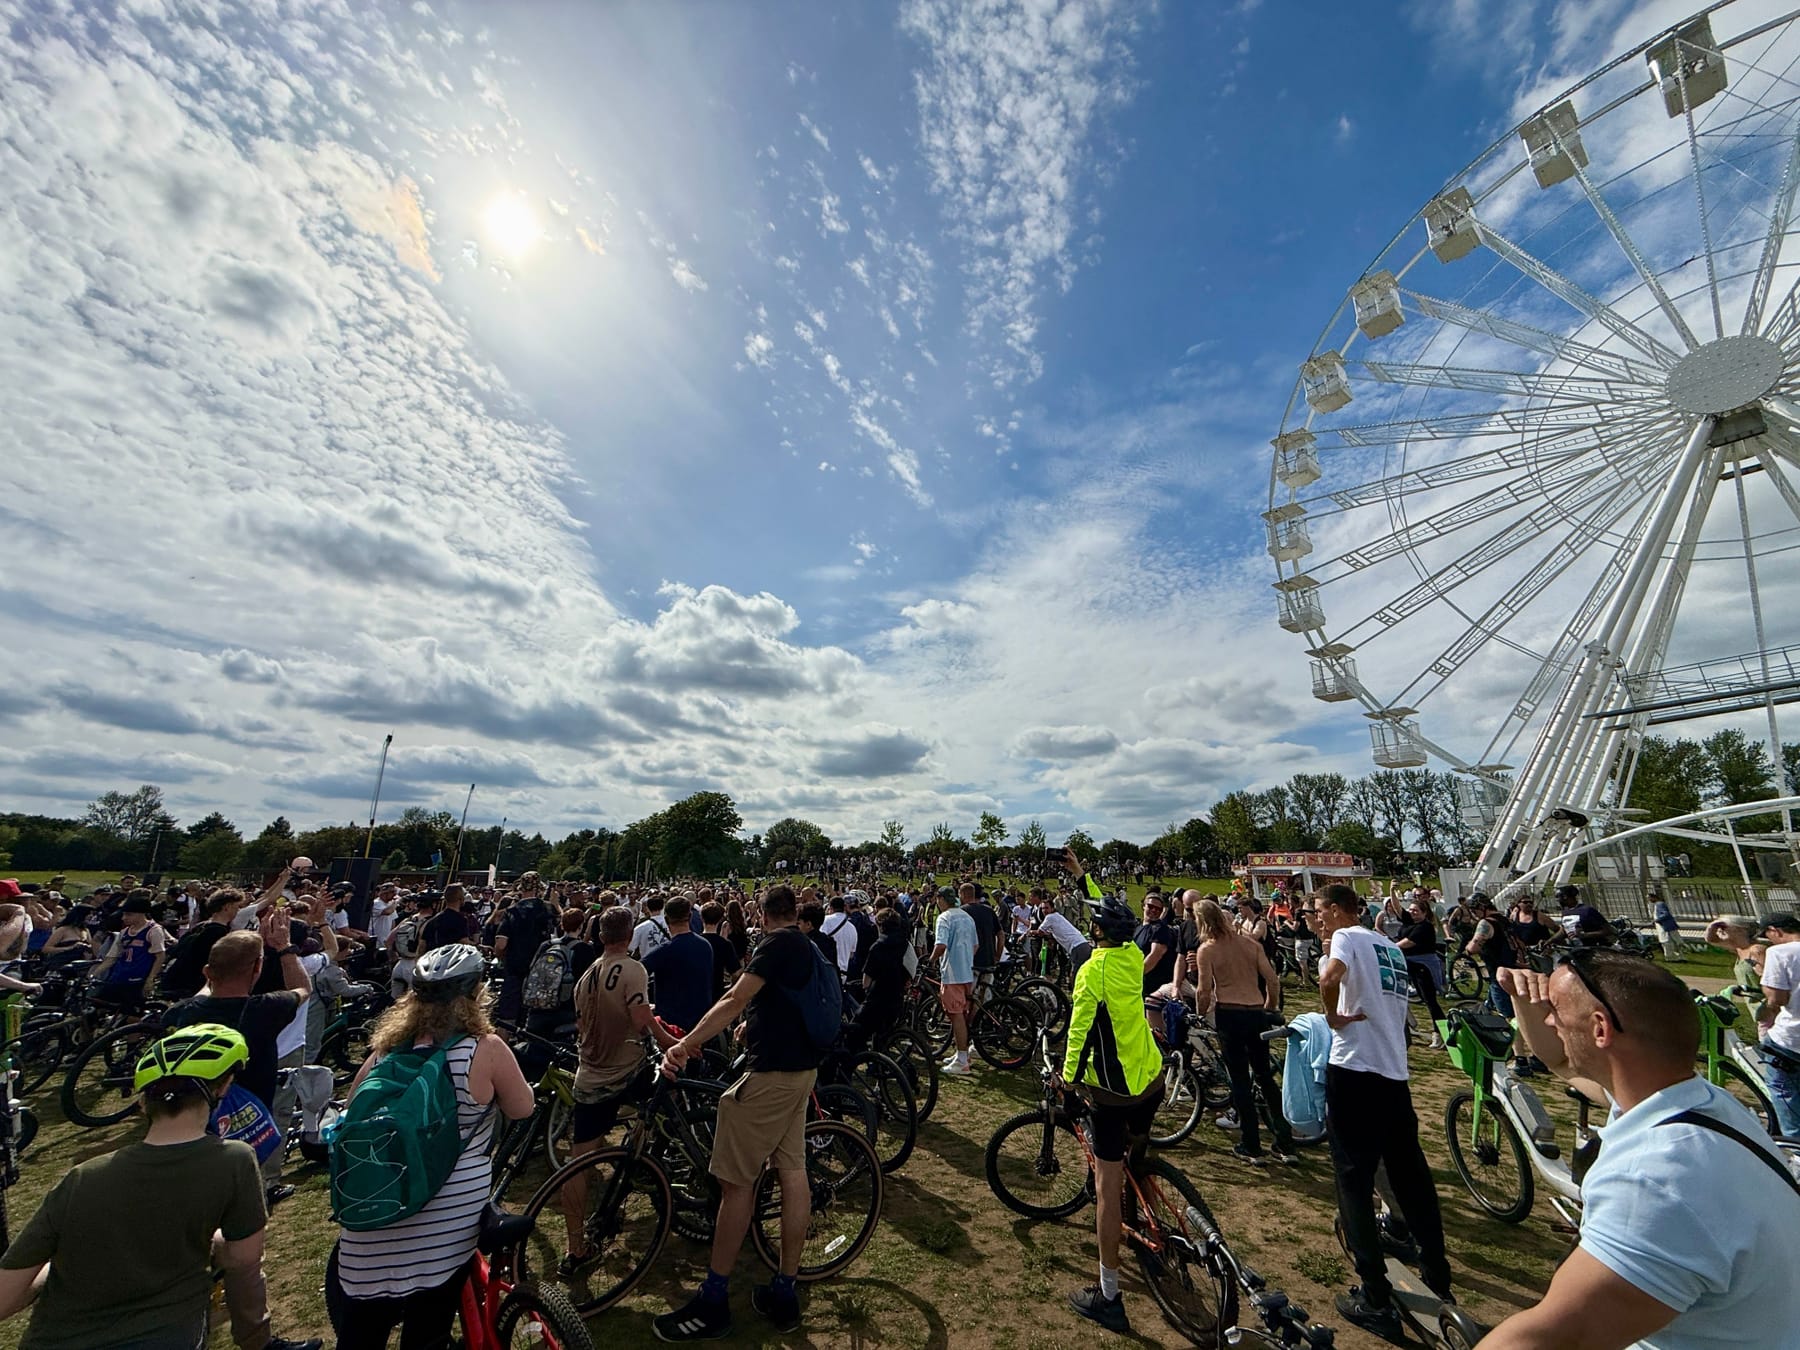
2 weeks ago me and a few friends attended a group ride unlike any other.
Yes mostly bikes but we had a few onewheelers come to represent.
I think I counted at least 10 Onewheels but there were so many of us DnB heads I can't say for certain.
All I know is we shut down MK that day!
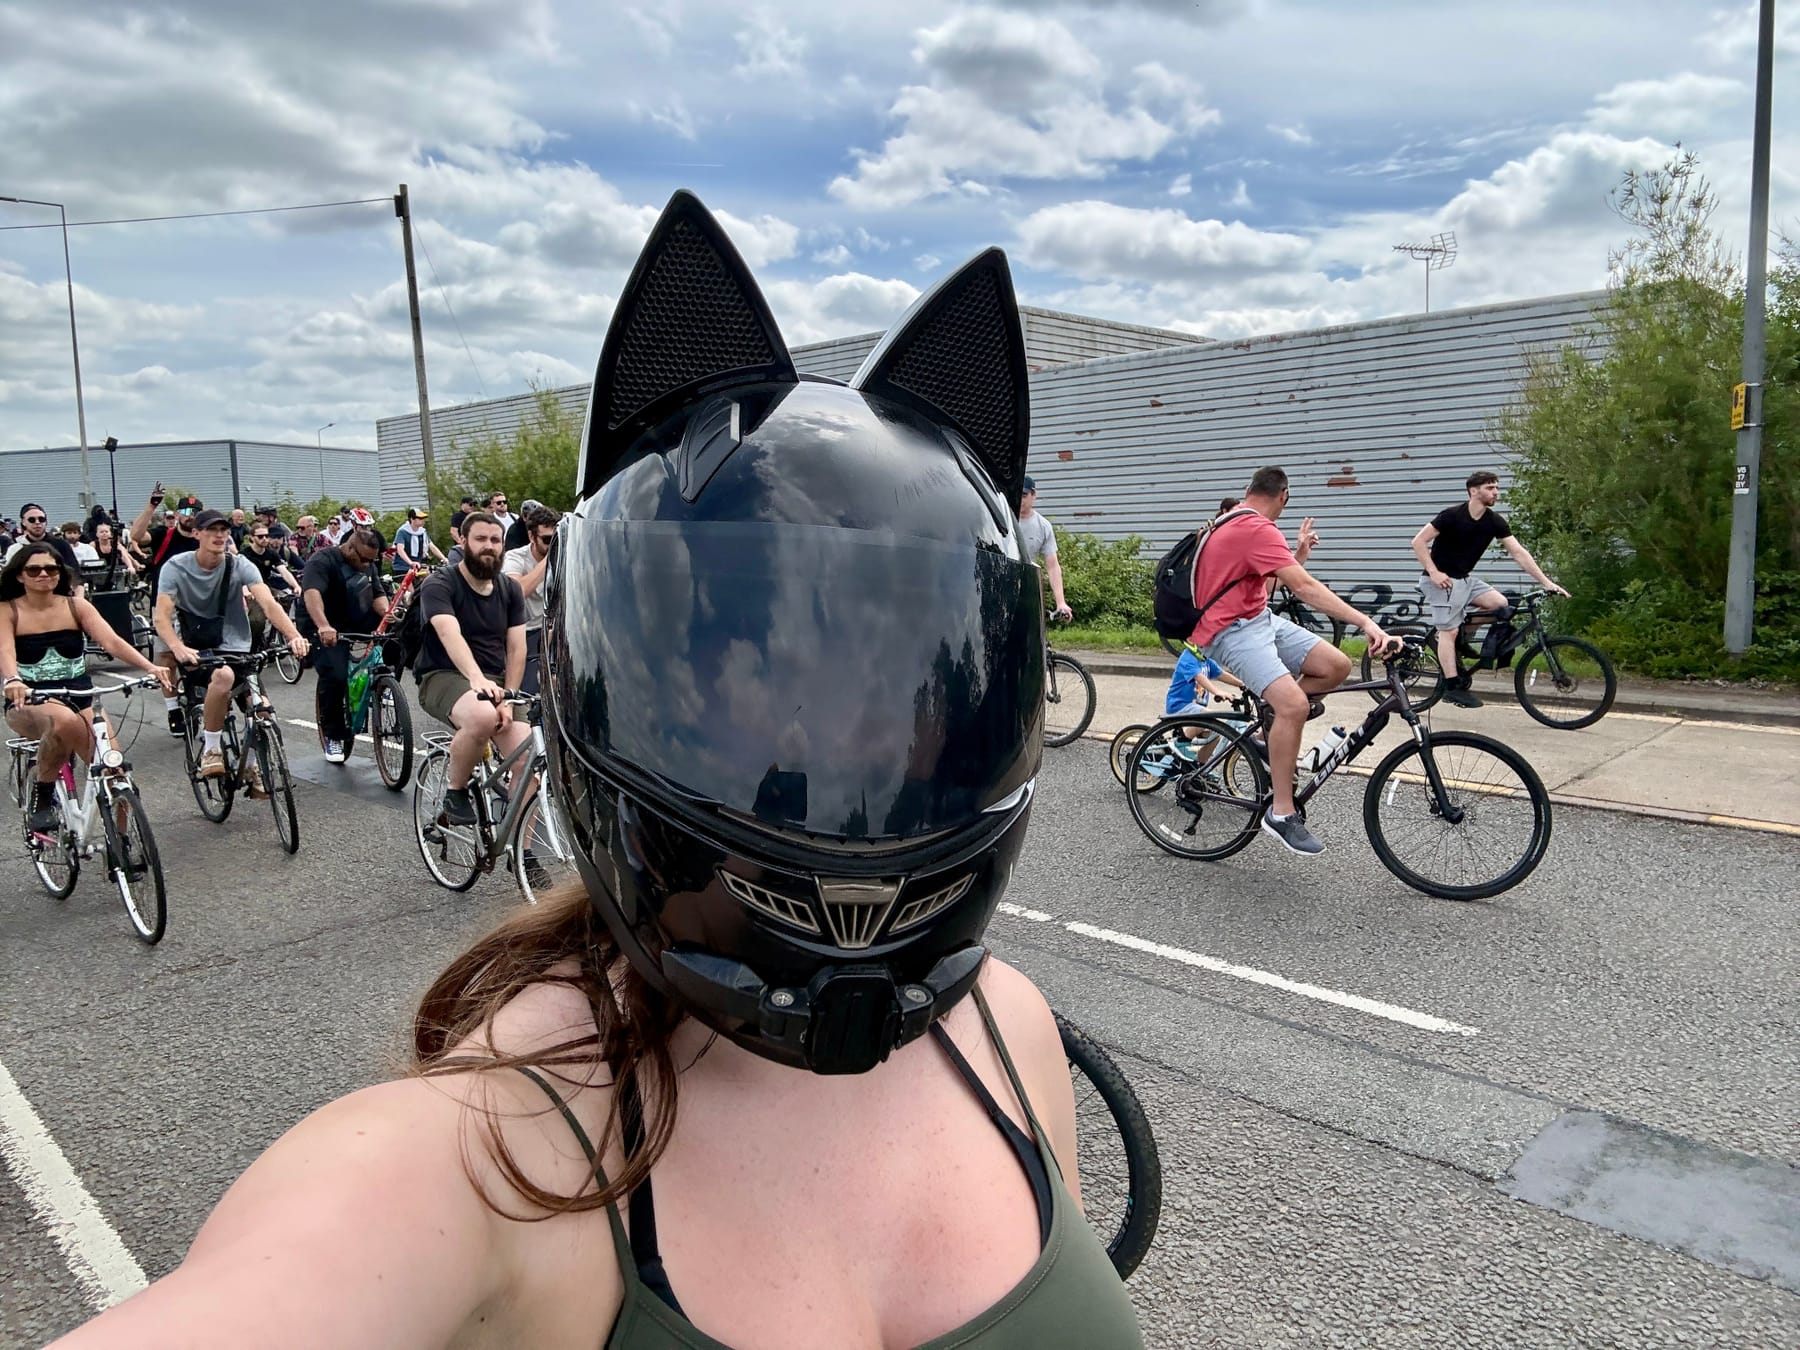
I decided to get up front for the first bit and get some space to carve. Back in the main pack was very closely packed and a little hard to navigate with all the handlebars poking me in the front and regular bottom 🍑
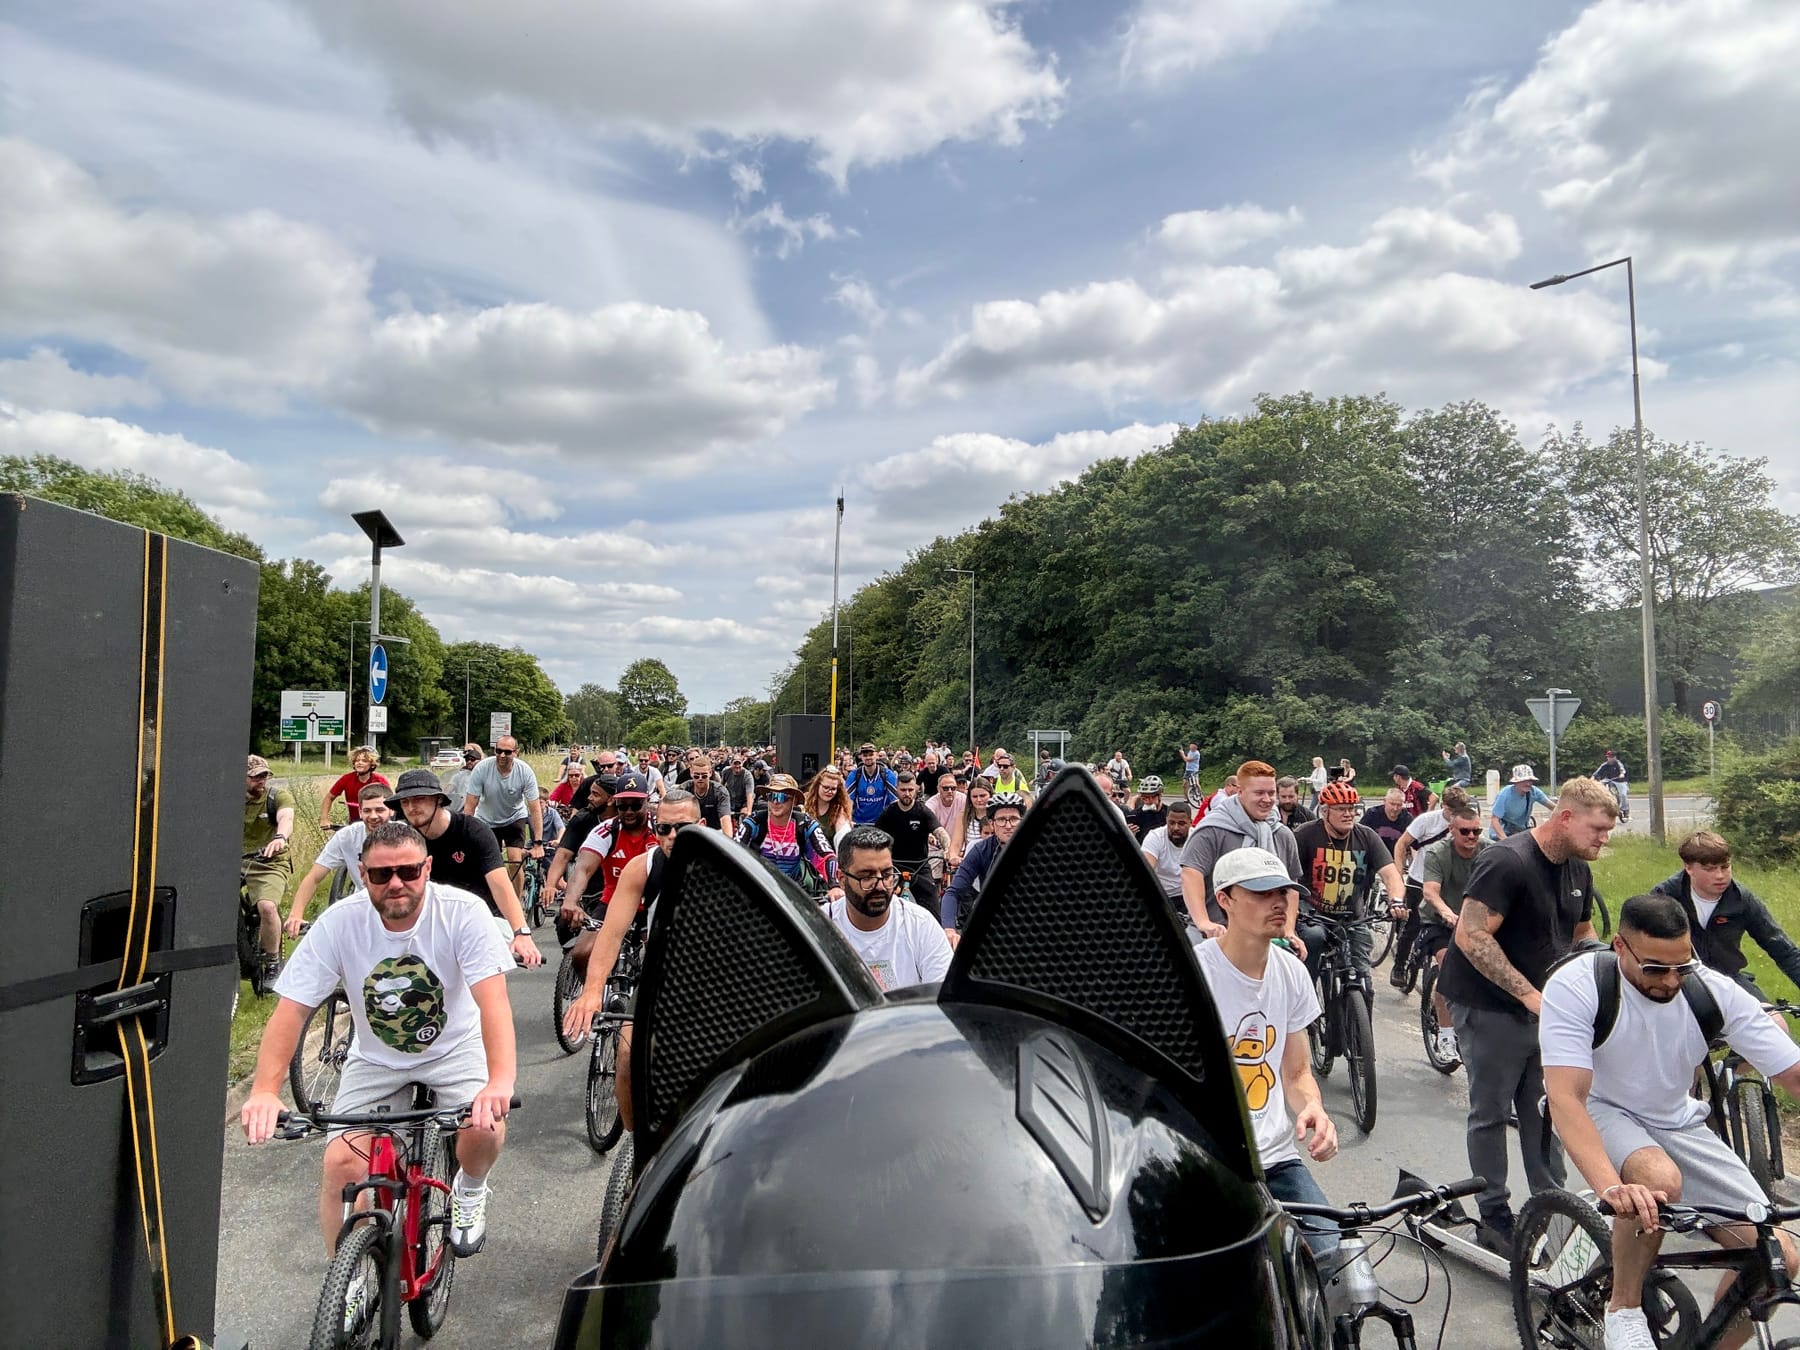
It looks mental now but things only got more insane as we rode as a huge pack adding to our numbers the further we went.
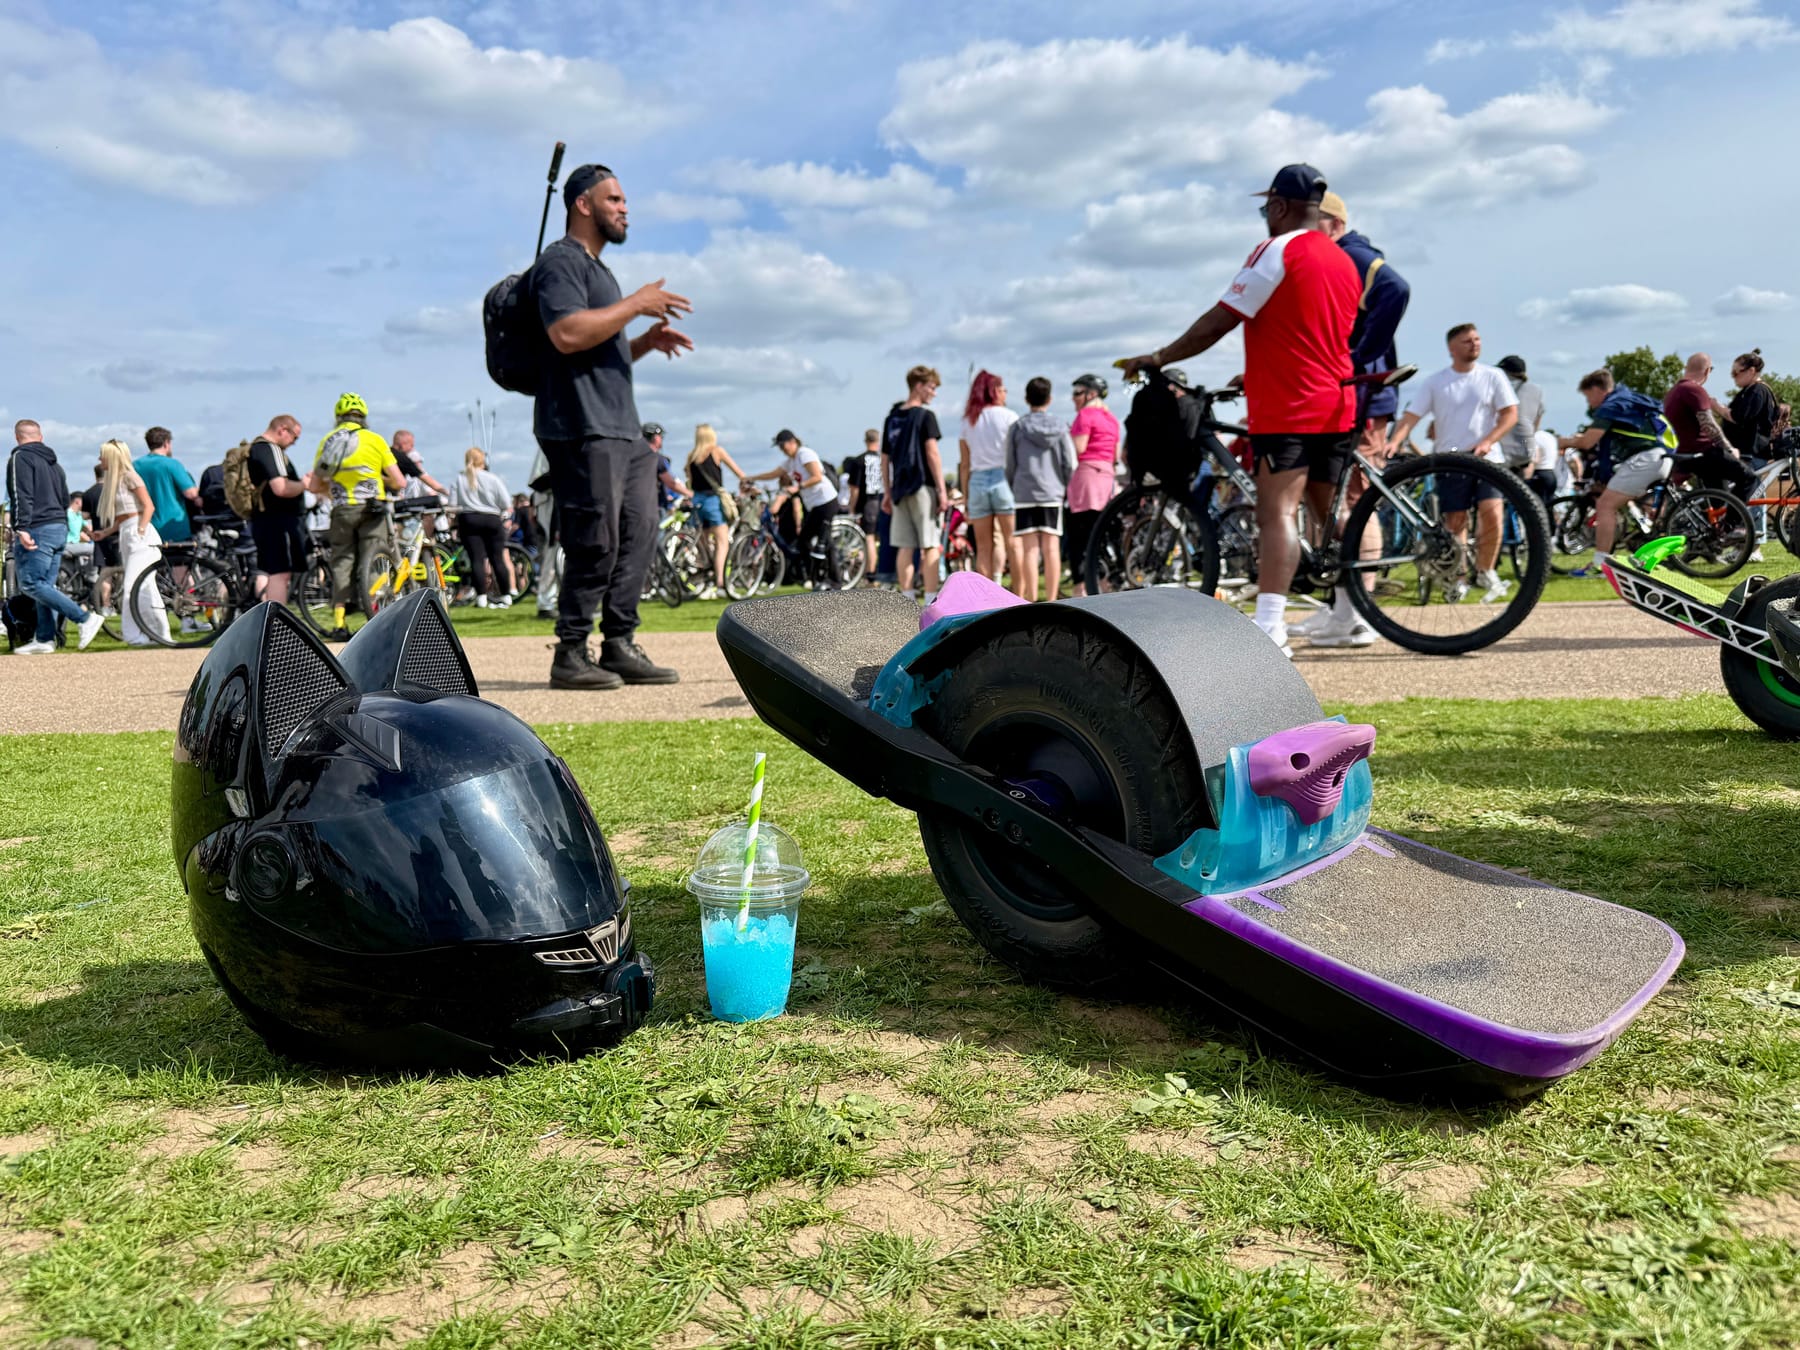
Getting in around the speaker bikes was where you wanted to be. Getting a full body dose of bass. Literally making my entire body shake at points!
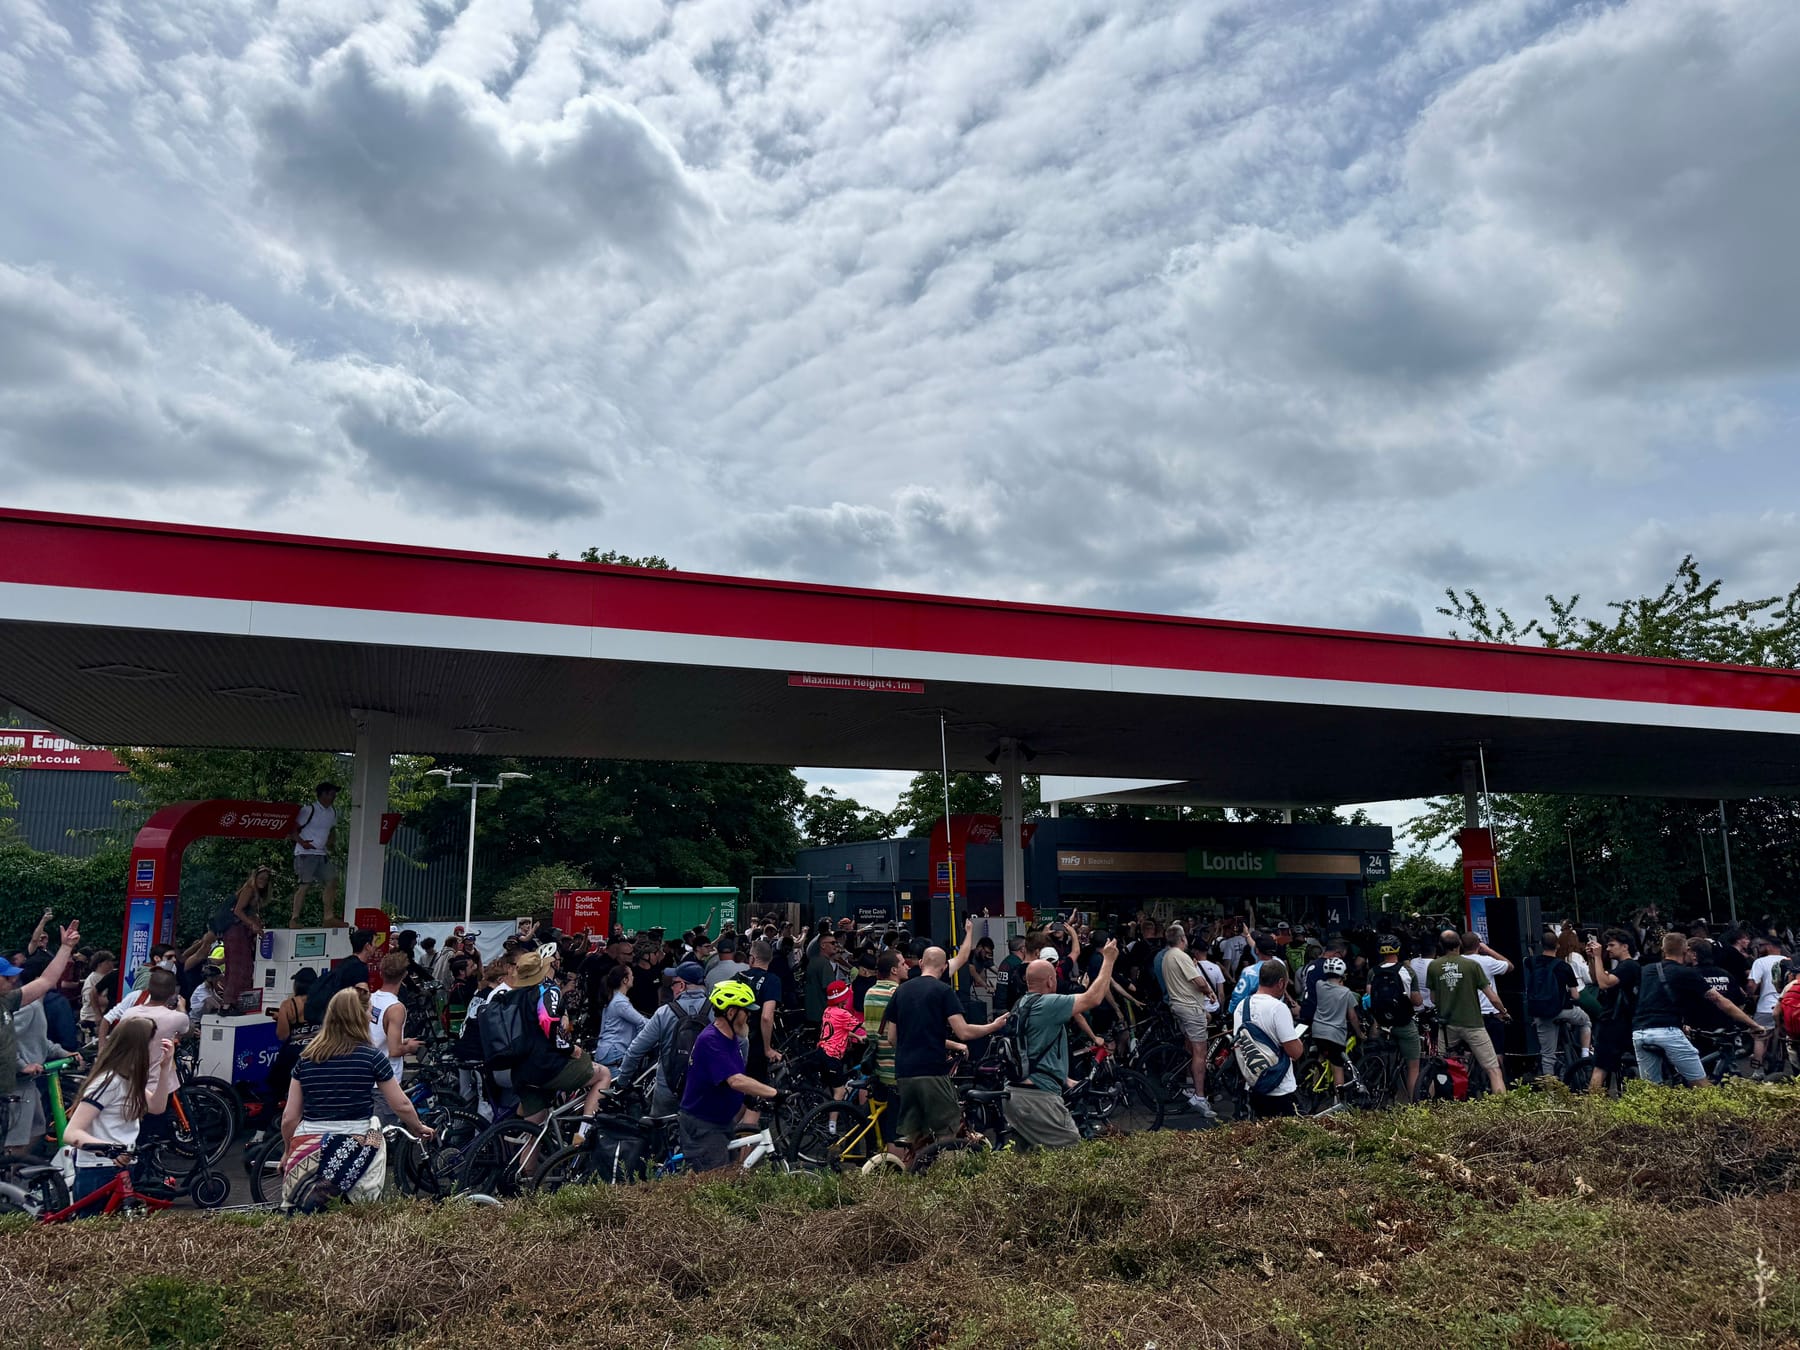
Then we got to the petrol station. Apparently this was the main attraction last year and this year did not disappoint.
@Beardonaboard just cruuuuising through the crowds outside MK Central Station.
And then helping out a skater get some speed up the hills. With his board being an absolute tank he had no issues towing.
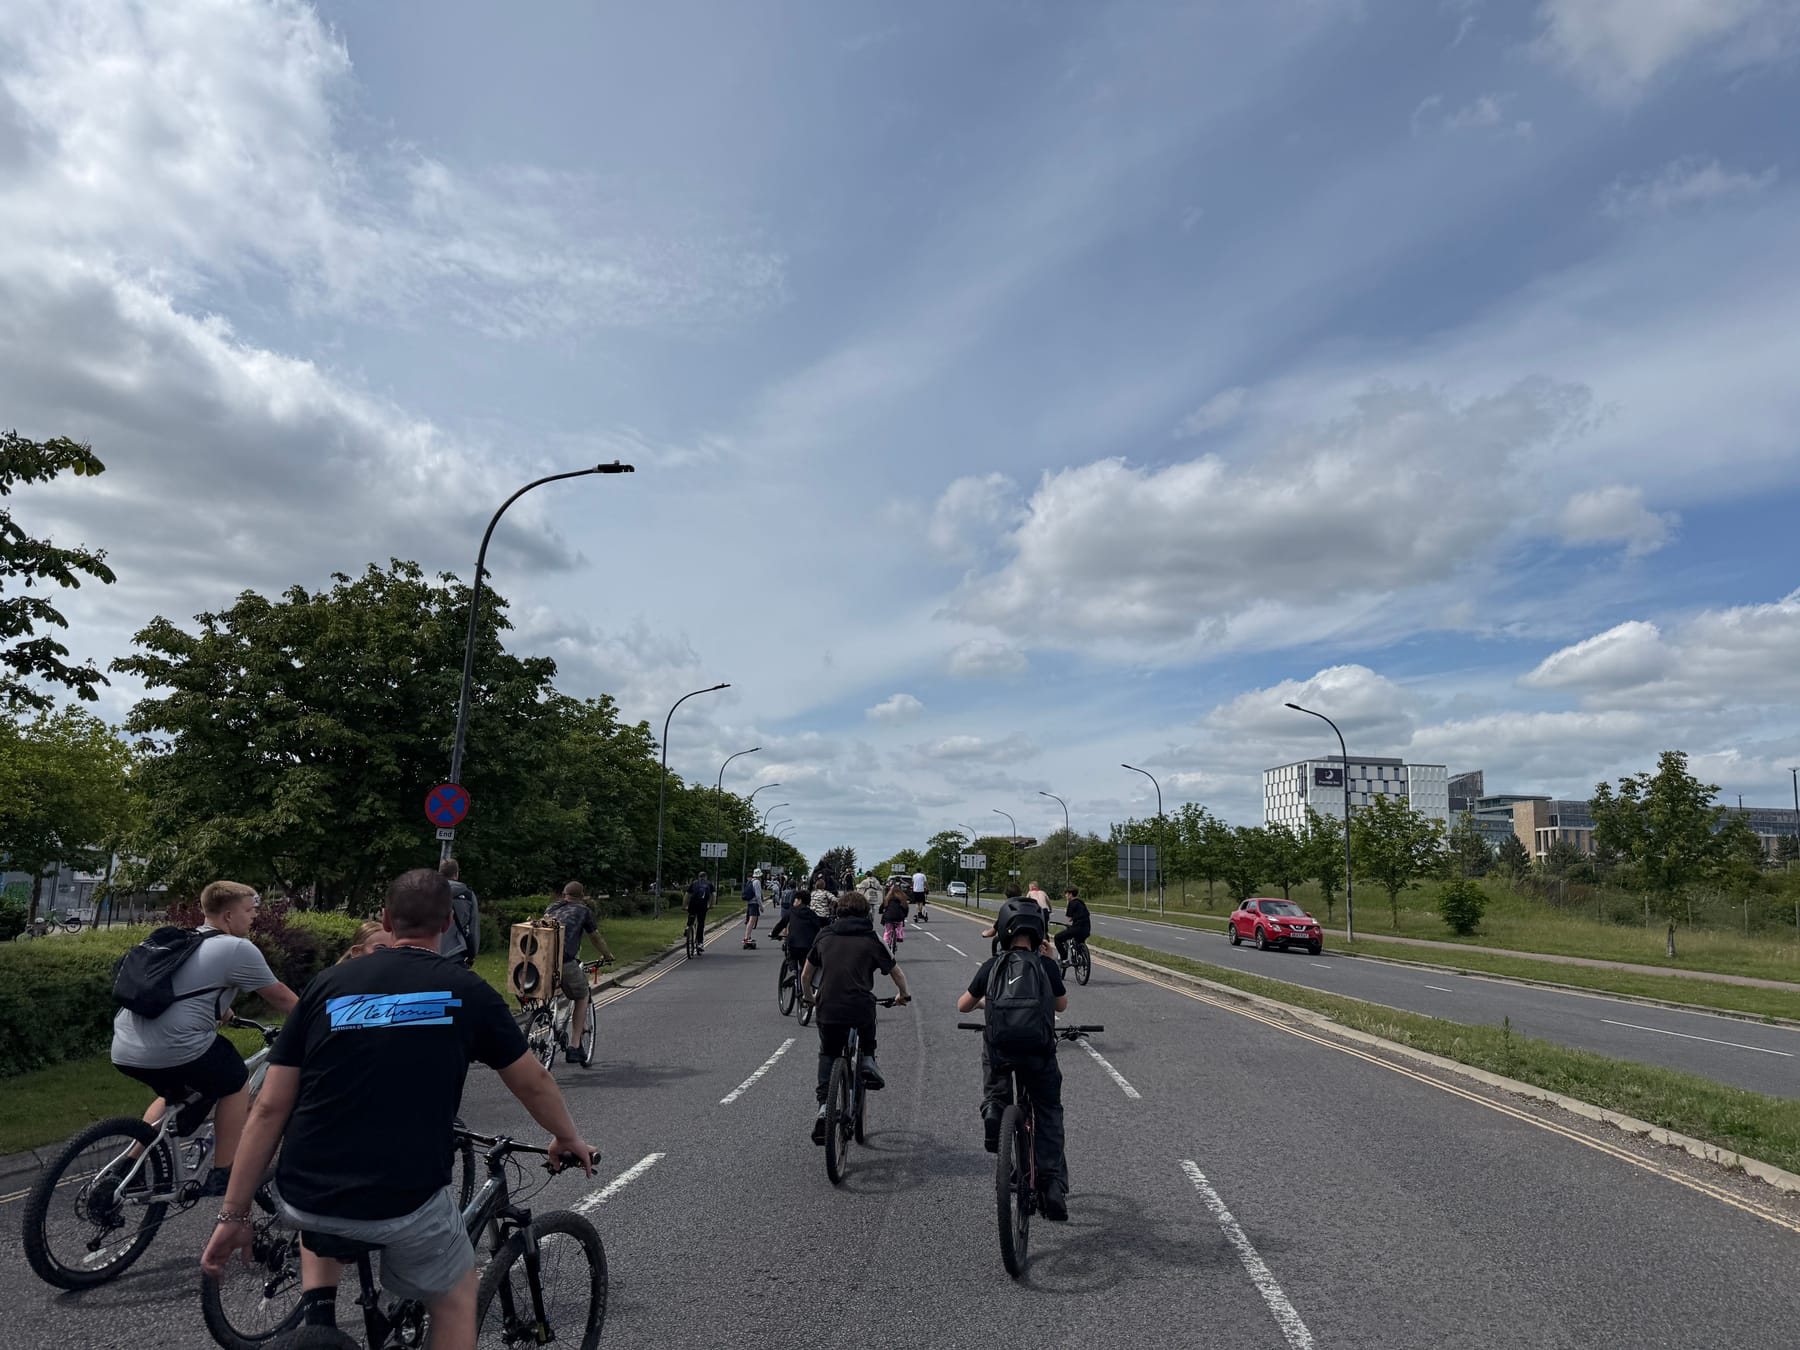
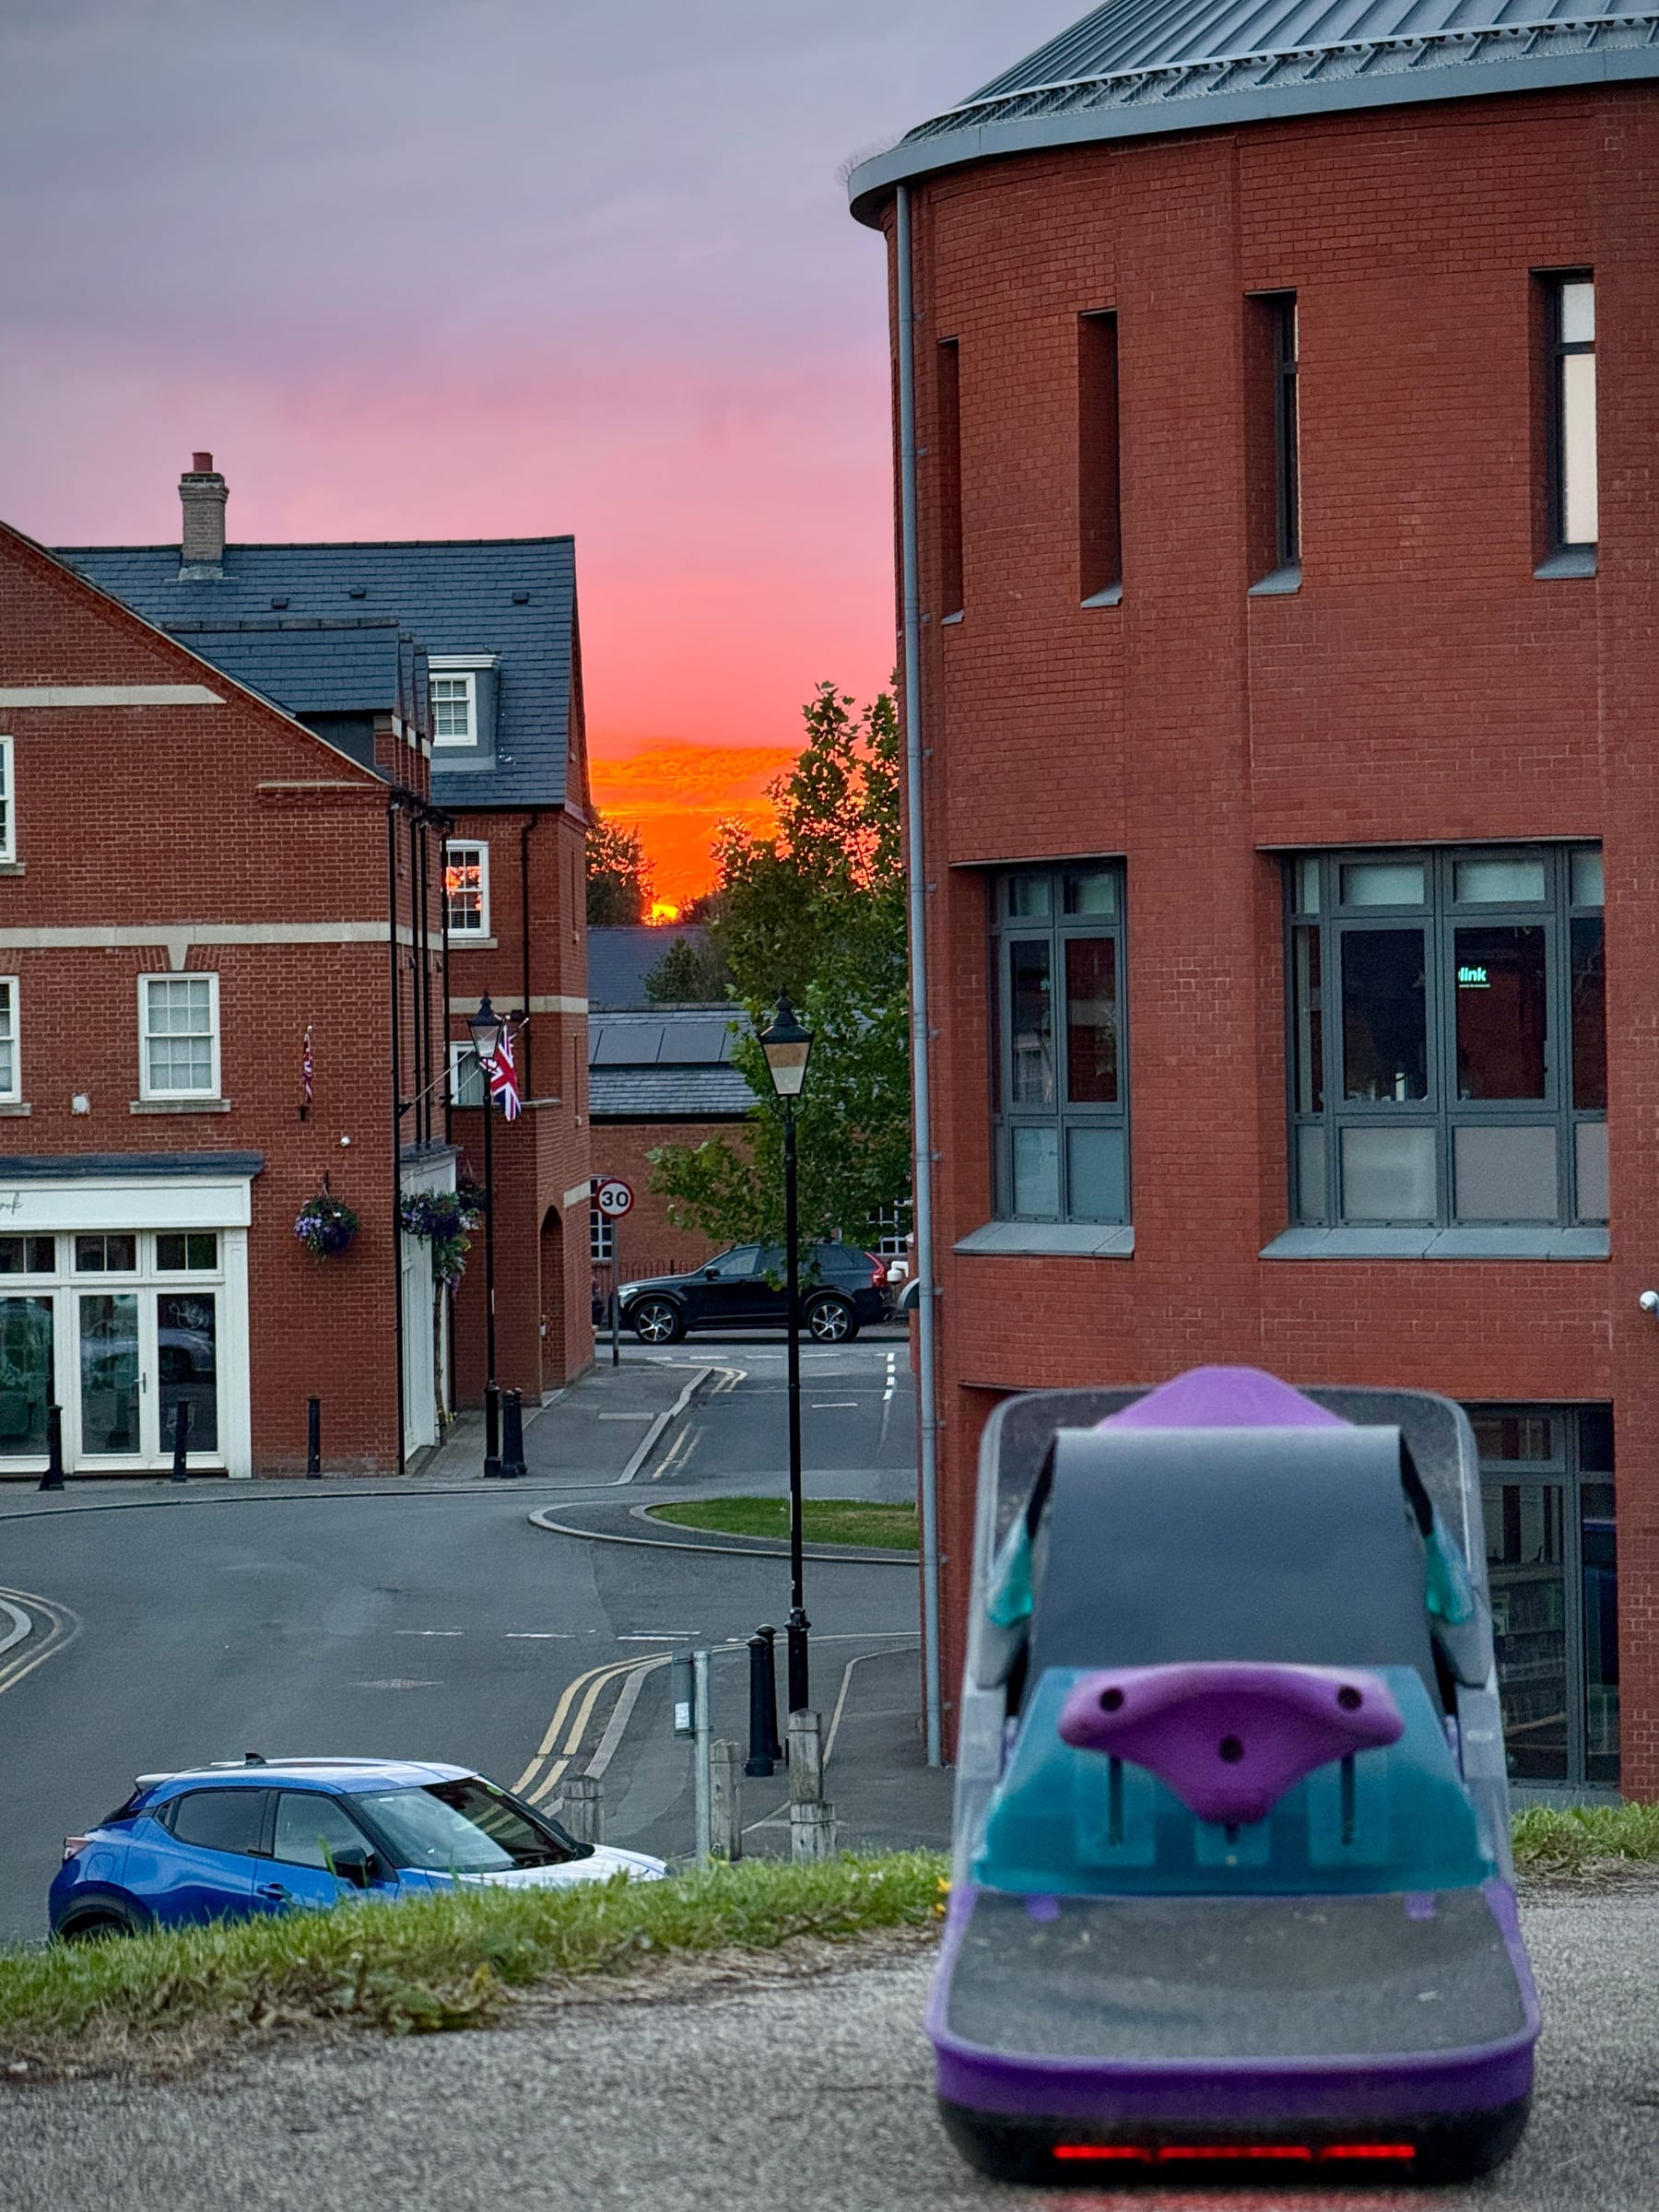
Midride me and gang got to shoot off ahead to get a little break from the crowds.
I didn't realize it at the time but I was just ahead of Dom. I spent a lot of the event weaving from back to front and back again to experience a little of everything.
Last stop was Willen Lake. Really good spot to end it with heaps of space for everyone to pile in.
If you want to watch the whole thing from Dom's perspective here's the whole ride. Bonus points if you spot me or other Onewheelers appear throughout.
I hear the next UK one is in Nottingham sometime so I defo plan to go to that too.