Custom headlight and taillight (VESC)
-
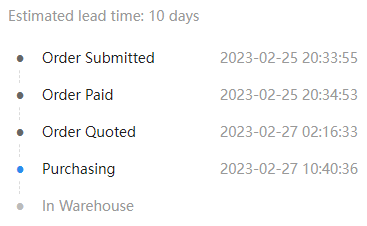
Cmon gimme LEDs faster >.>
-
LEDs are in stock and I've been able to send off for a batch of 20 Headlights and Taillights.
It's not cheap but Nick has offered to help :3I found some double sided adhesive thermal tape and on my test box it's holding really well and sinking the heat perfectly. After an hour doing a burn in test it's not even warm so I'm happy to assume it's unlikely these LEDs will cook themselves.
So the Headlights will come with some adhesive applied to the back of them so they can be easily installed.
The pads for wiring will be left untouched so the end user can just solder on their own connecter so that they can cut it to length and have them go to a connector of their choosing.
-
@lia
POV: me waiting on my bank to send me a new debit card -
Look what showed up earlier for me to test in?
Edit: Just had the production file confirmed too. 8 per PCB, ordered 5 lots so 20 full sets :)
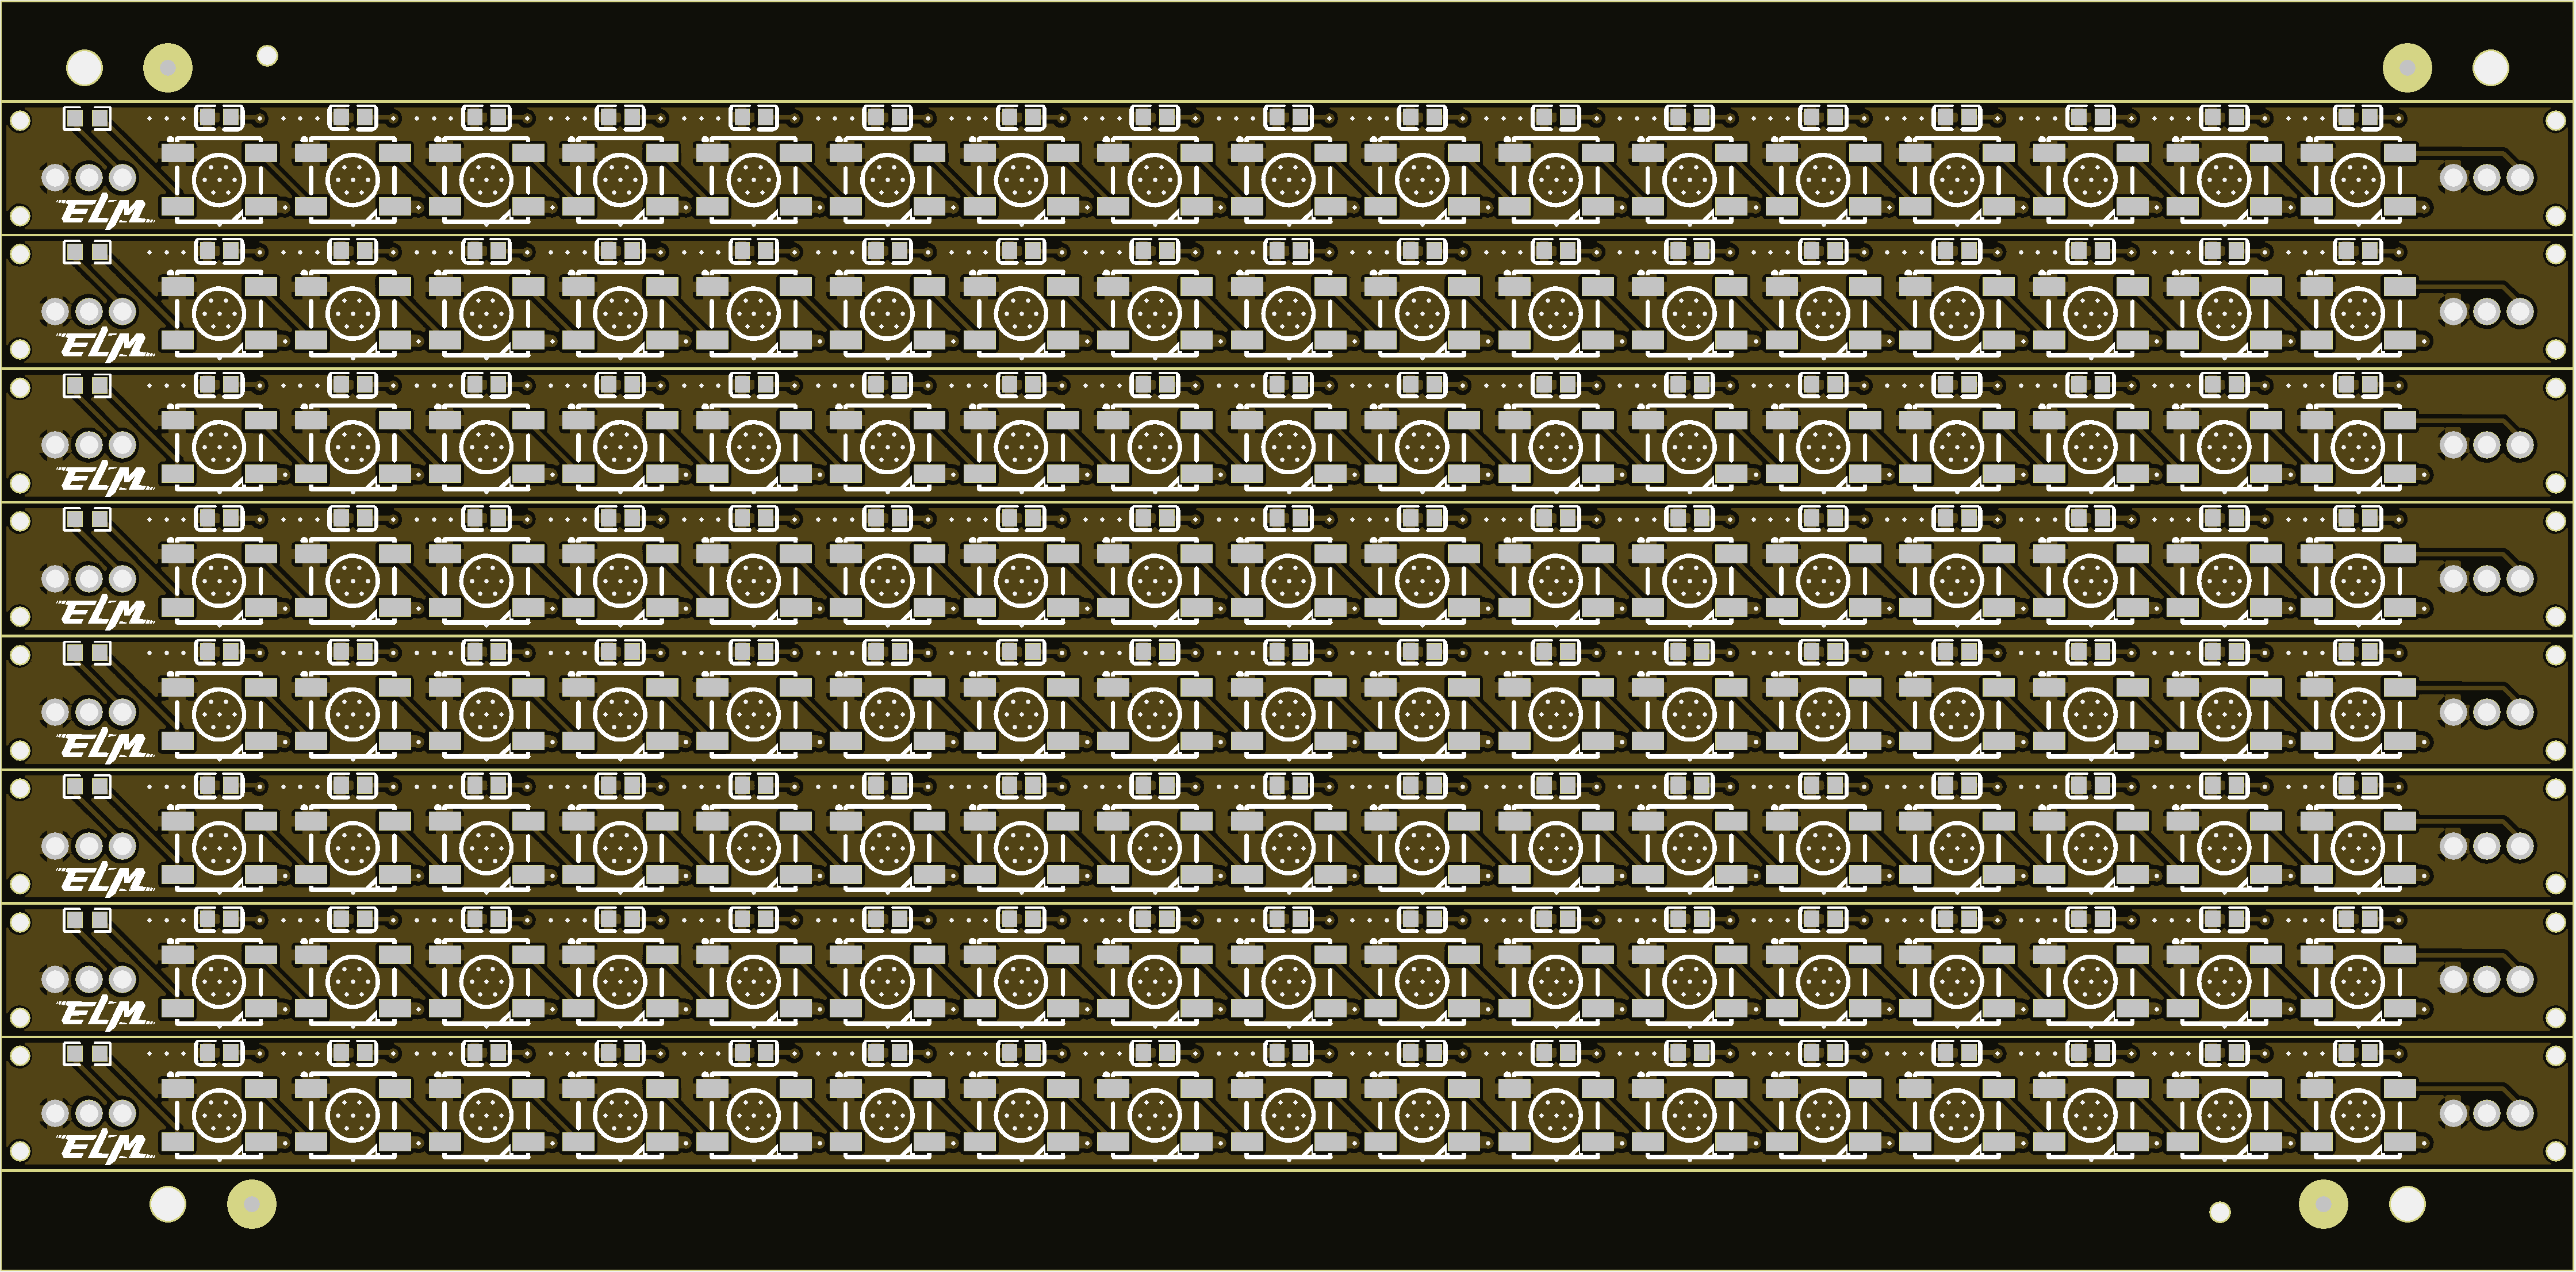
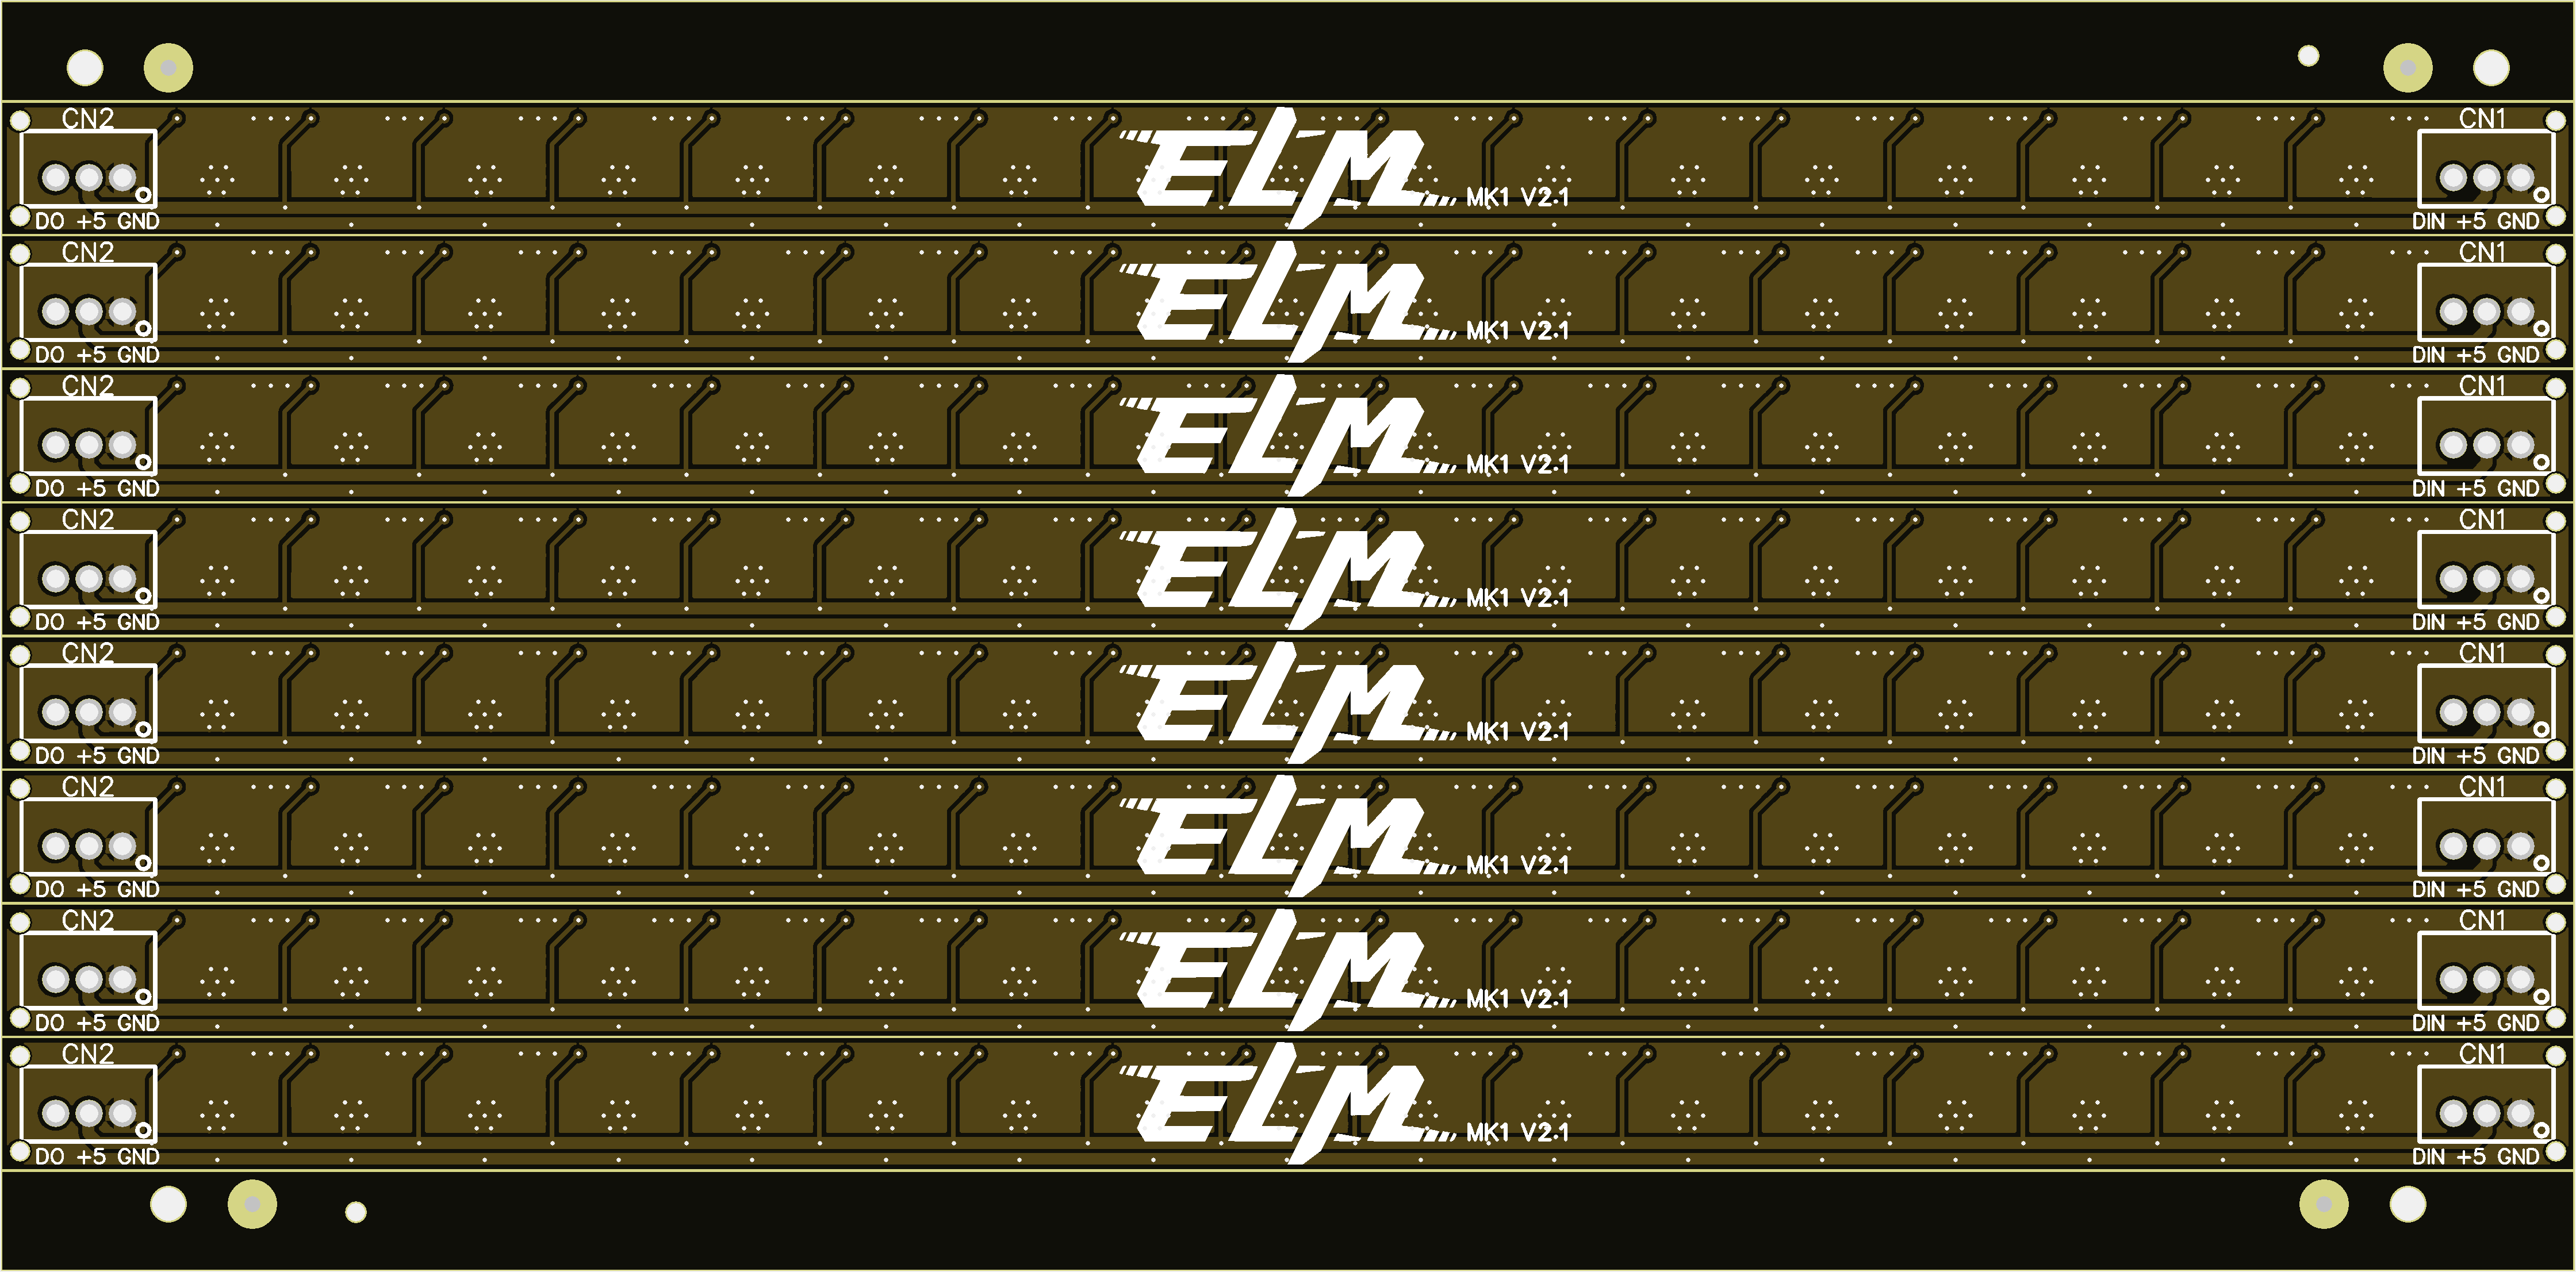
These will be V-cut into the individual headlights once the components are placed :3
-
@lia this looks so cool!
-
Had a small hiccup with the design.
Turns out the footprint for the 5050 LEDs were rotated 180 out of order compared to the actual footprint. The fab told me they couldn't just rotate the pick and place operation so I've had to re-submit it after making an amendment to the EasyEDA library for that component in hopes it doesn't trip anyone else up lol.
Just confirmed the pick and place pre-production file so ideally I should have these in a few weeks :)
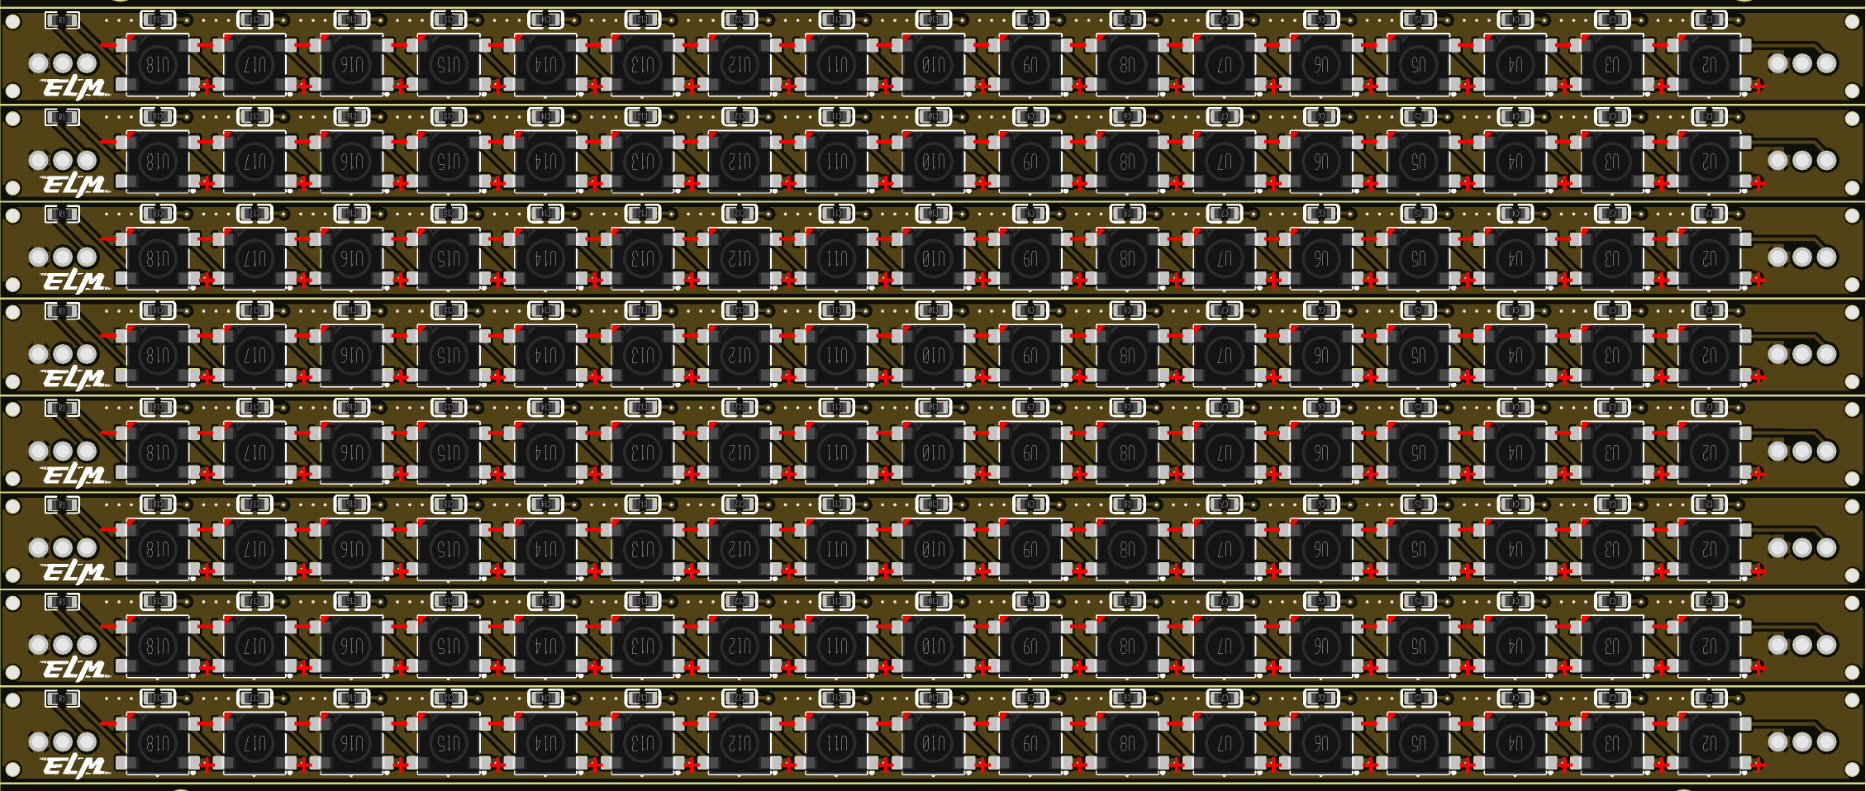
Then it's a case of getting a set off to Ed and Maclak before looking to sell off the first batch. No idea on what I'll price these at yet, something sensible of course though.
I have 20 pairs manufactured currently since that made the most economical sense taking into consideration shipping costs balloon after you hit around 1.5kg total weight.
-
Still waiting on the lights, but they have at least touched down in the UK :)
In the meantime I'm working on the packaging since I can't just ship these things in boring boxes. No no no no nooooo~ I spent too much time in Product Design to NOT put that bit of education to use. Besides the difference between a villain and a super on is presentation and I simply cannot settle for less.
This is one of the lids to the boxes I've decorated with a stencil. I like the look (even if I got paint all over me. Thankfully not my new cute white top)
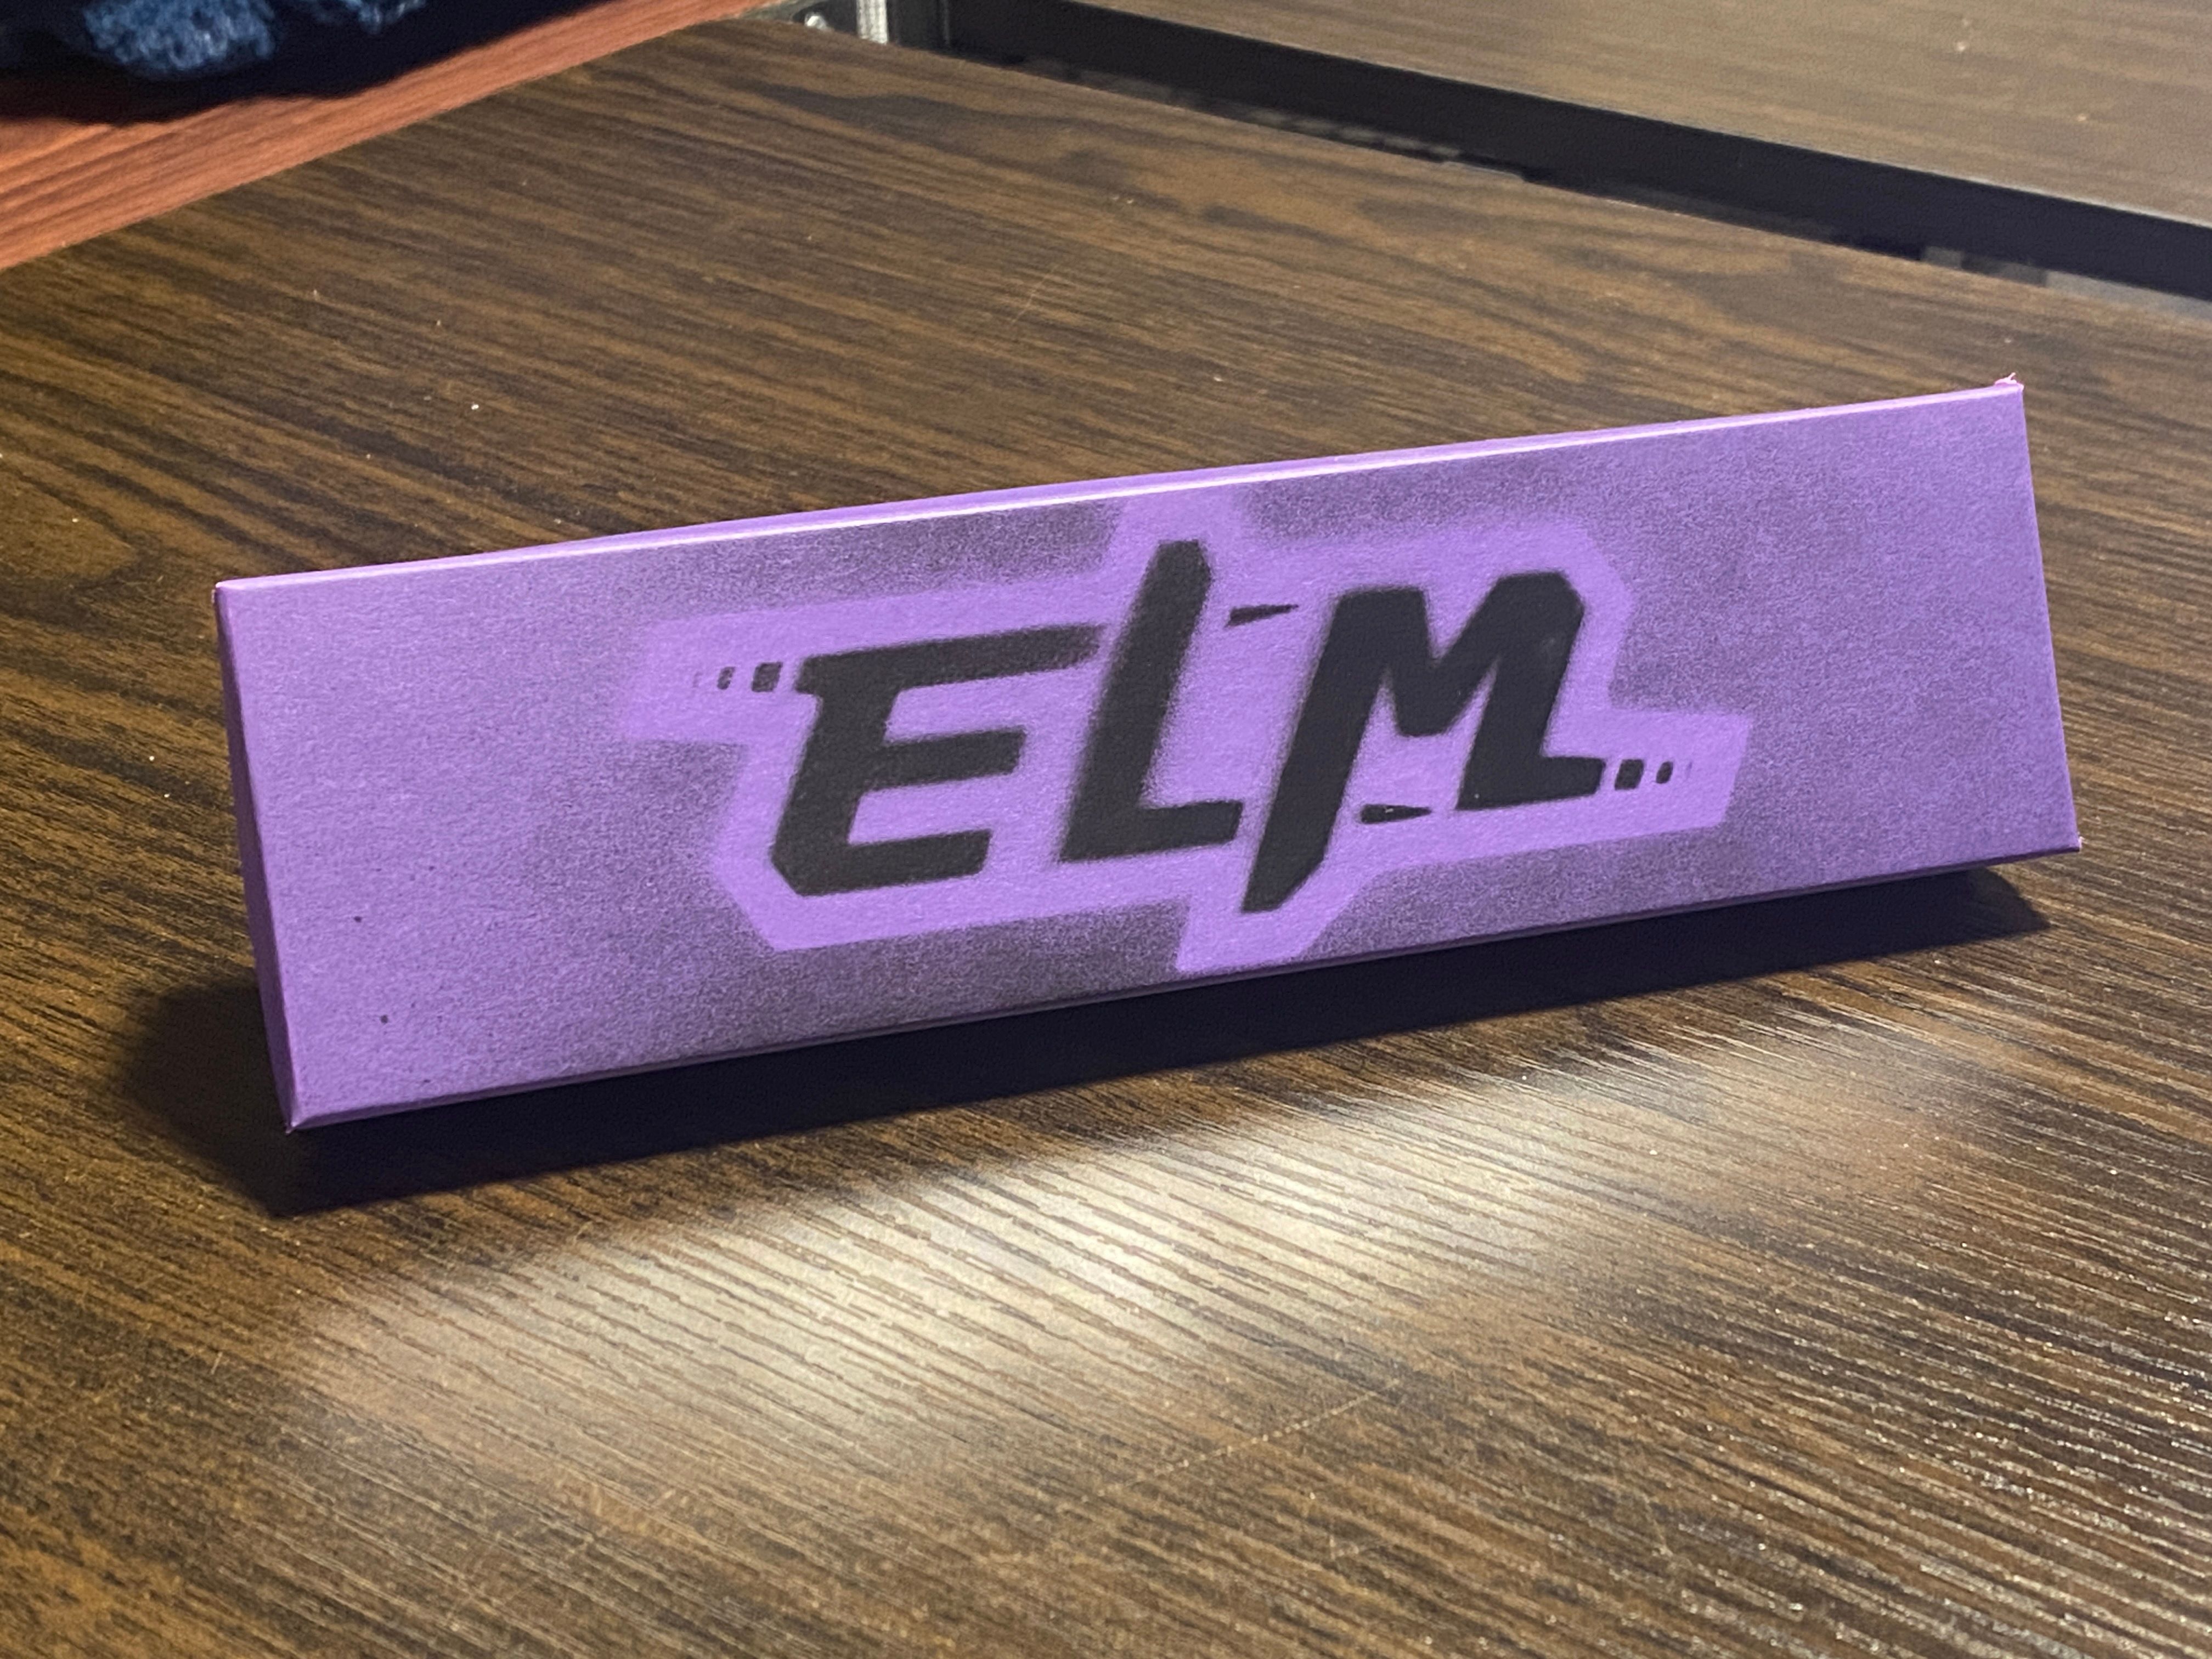
These will of course go inside actual protective postage bags and not just left bare like this.
Each of these will contain 2 headlights, one with pre-applied double sided thermal adhesive for heat dissipation into the ELM controller housing and the other will remain without.
Also included will also be 2 little transparent EML stickers because who doesn't like free stickers. -
@lia -- Stunning packaging! It makes my mouth water -- although I do not even use lights on my Onewheels.
-
@s-leon Thank you <3 The box is a premade one for necklaces but the innards and decor will be all me :)
They're sadly not drop in replacements for the XR but rather designed for modded boards that can interface with an RGB signal (RGBW in my case)
-
most excellent @Lia!
-
@lia That's pretty cool! Can't wait to see them out in the wild!
-
Well look what decided to show up. So many LEDs 0.o
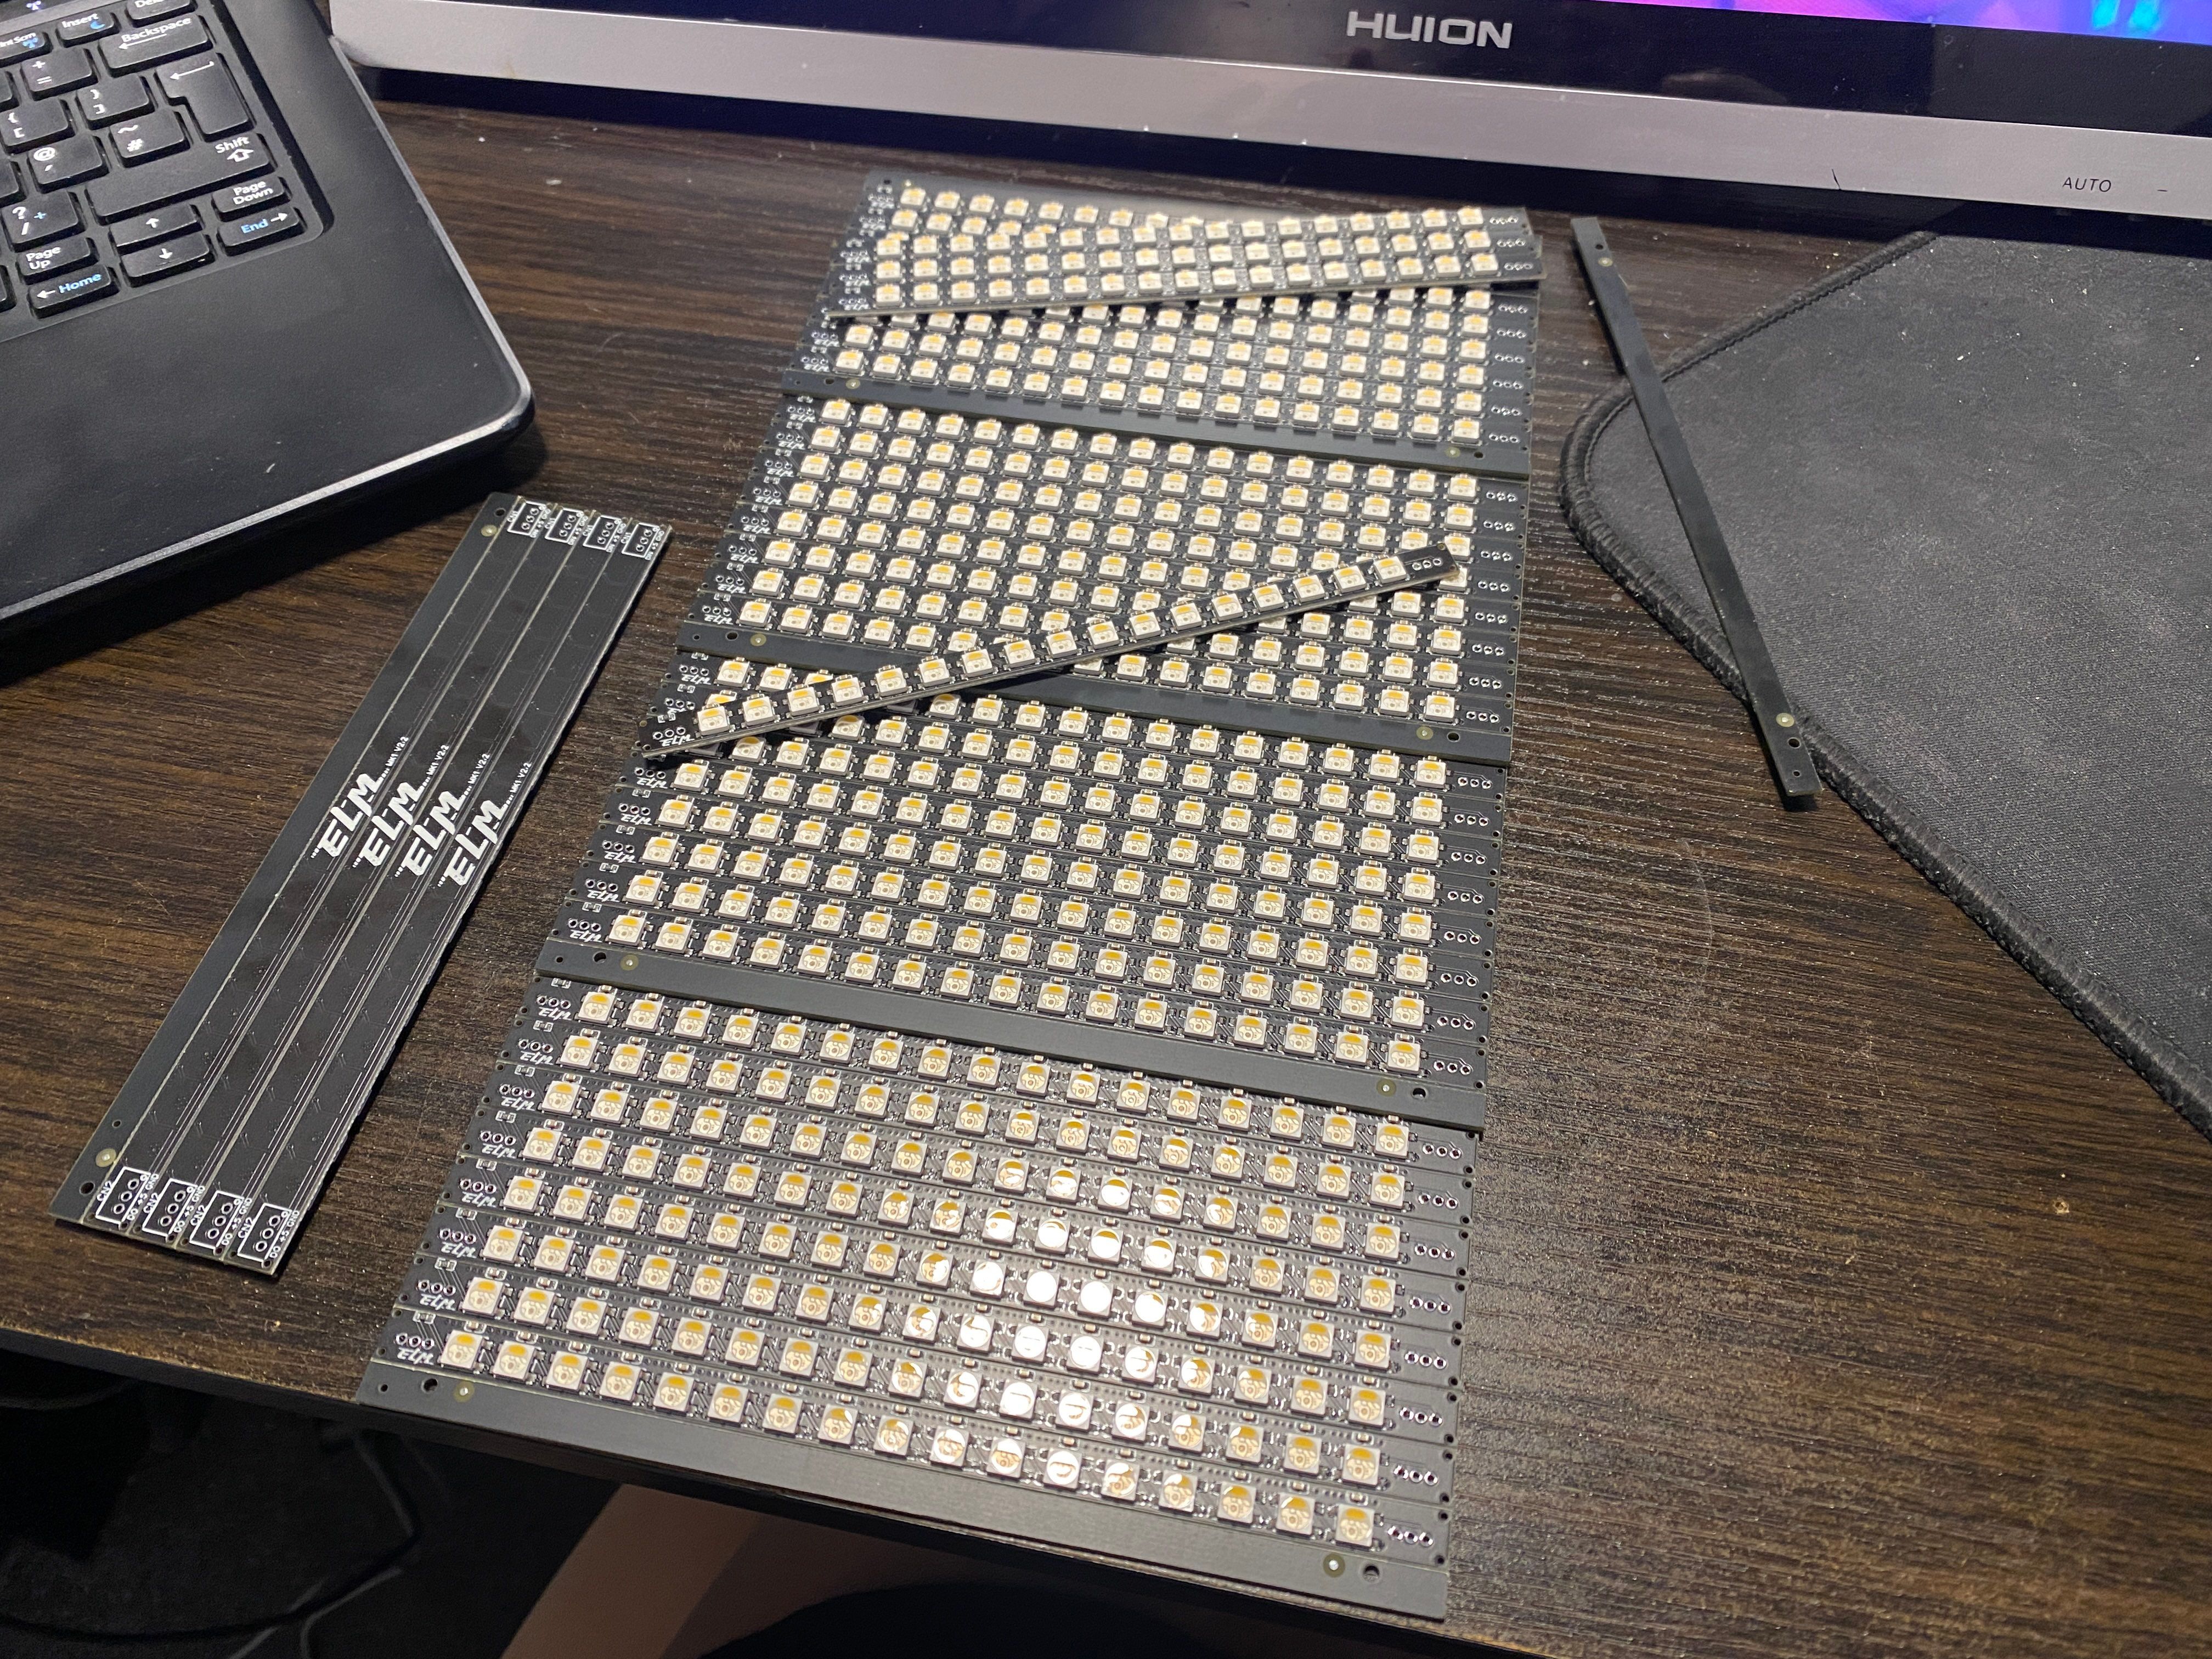
Work is busy today though and I'm the only one covering support so haven't been able to take pics of the test I did but they work!
Going to make a jig to separate and test these all then see how they compare to the XR, Pint and even my initial version.
Update post to follow in a few hours x
-
-
I spent way too long trying to validate this and my eyes are on fire. I can still see multiples of 17 dots across my vision and a headache to go with lol 😖
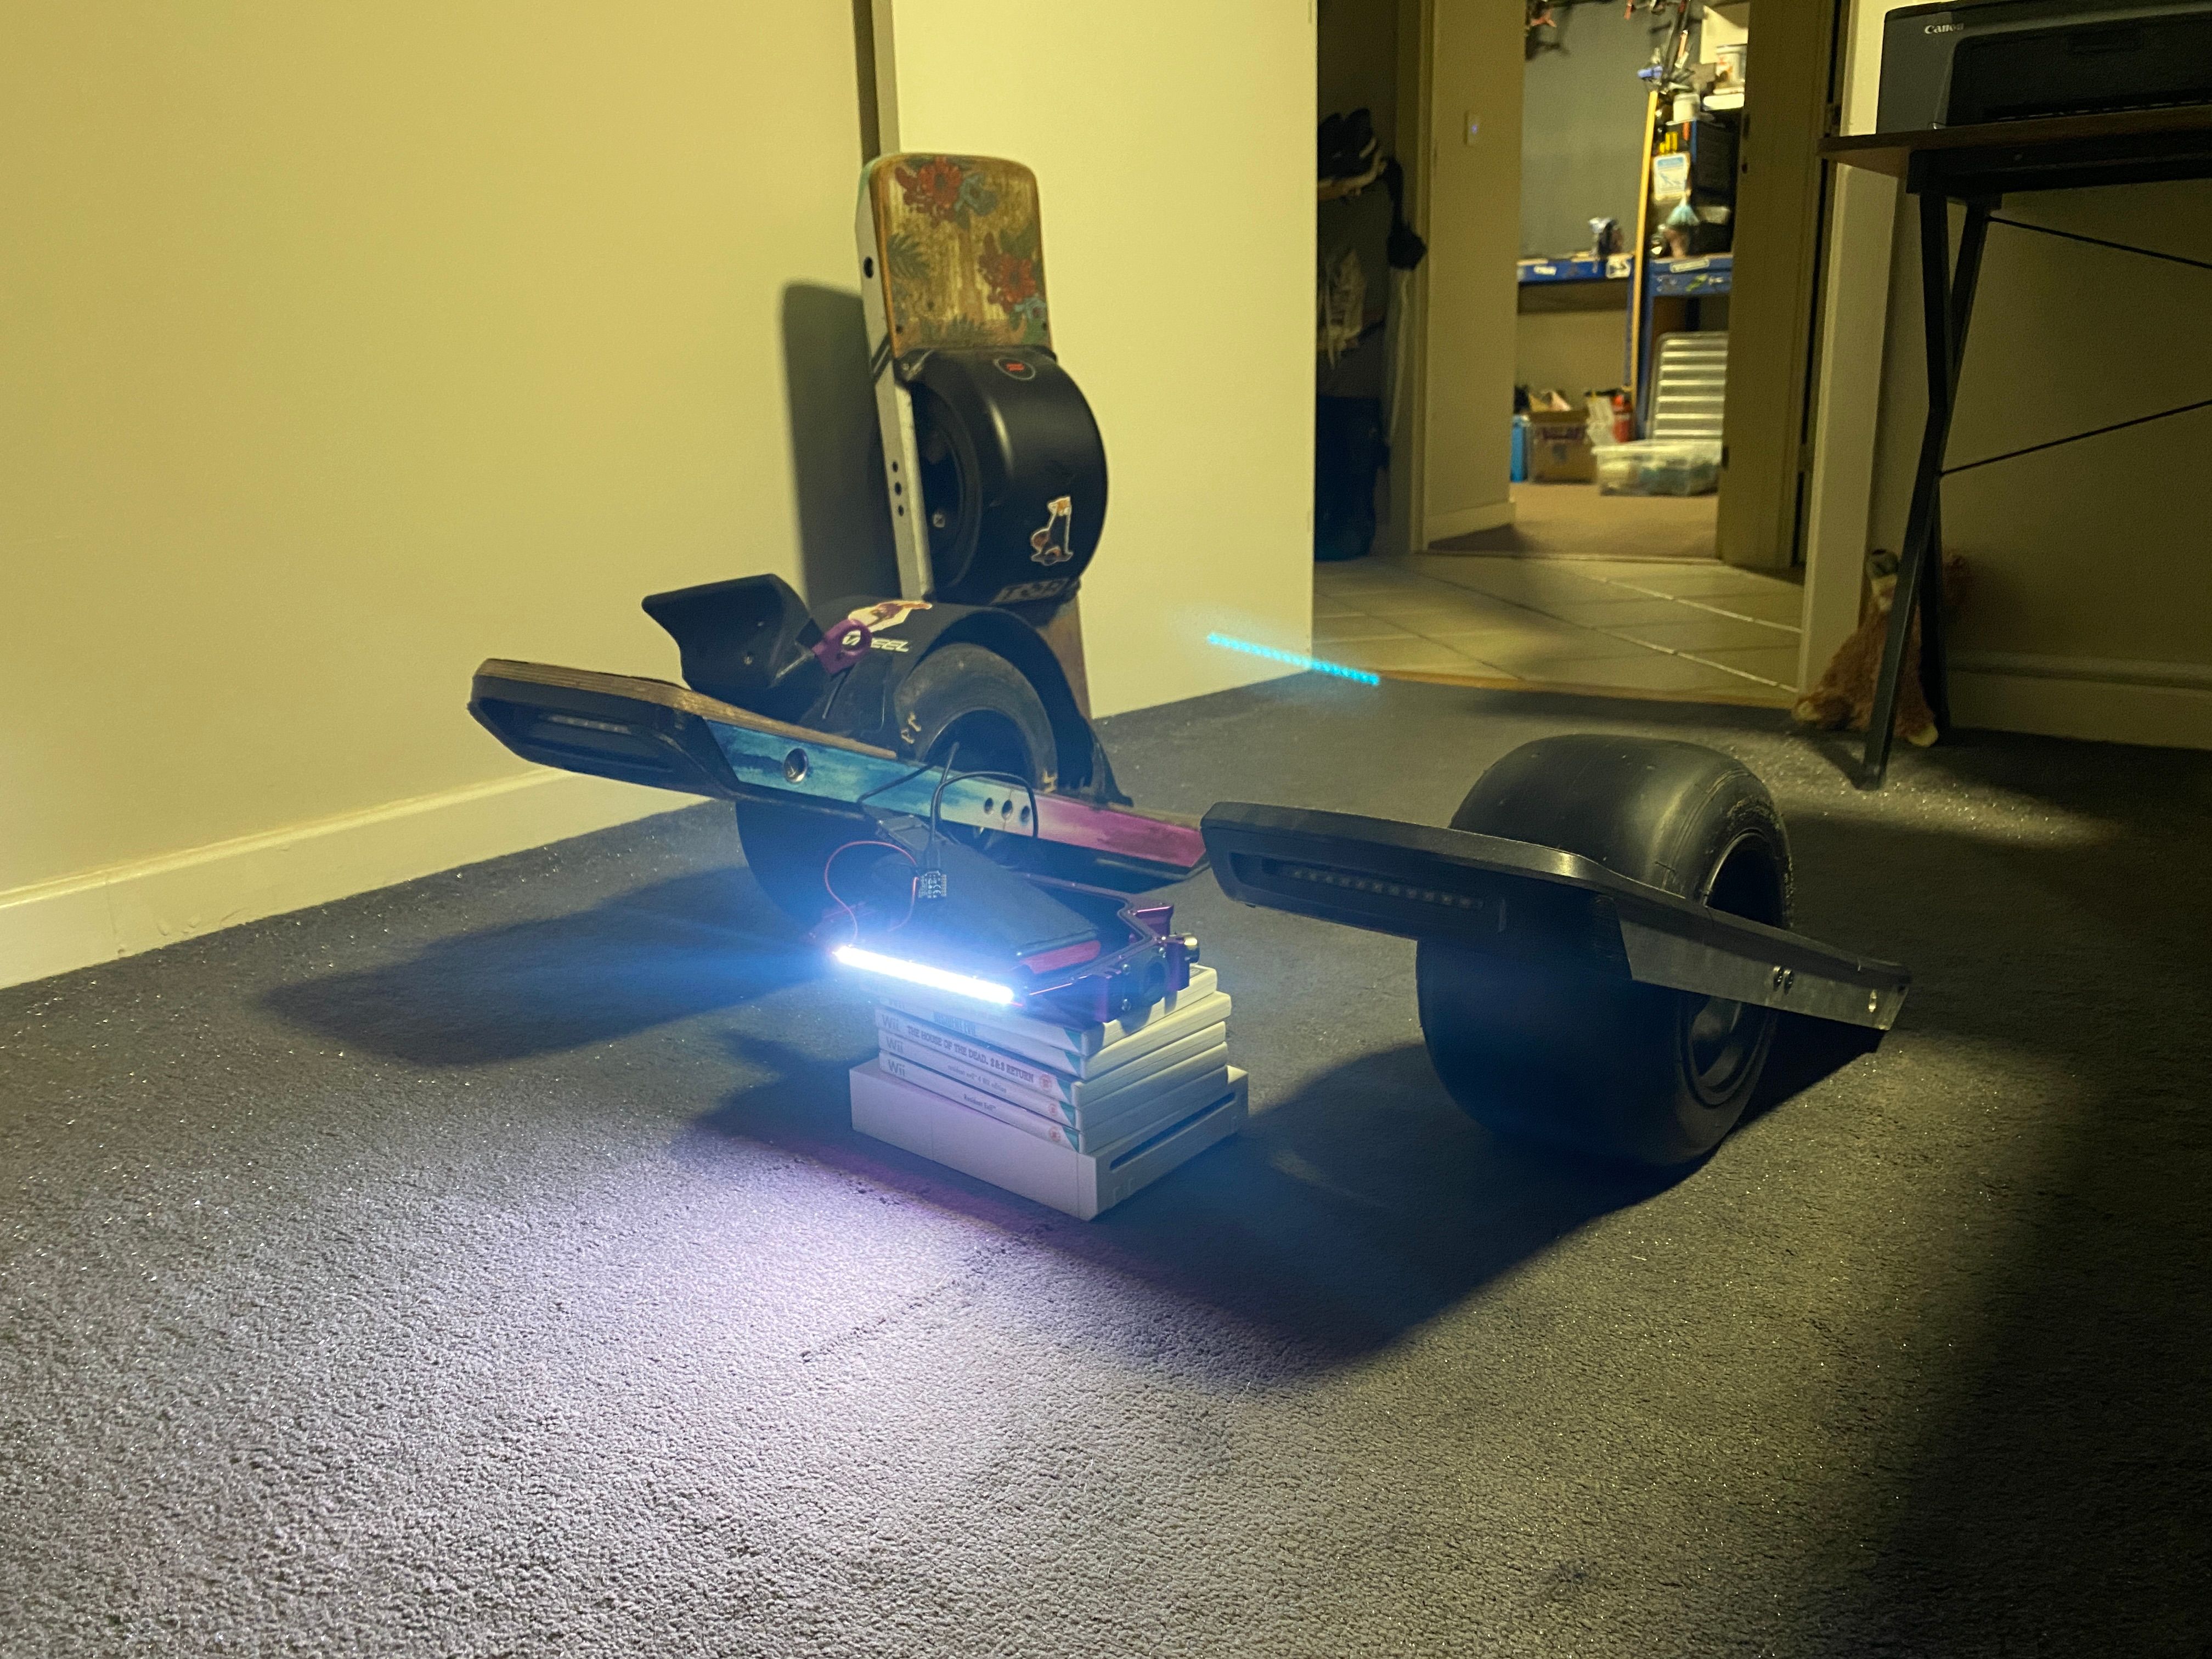
Testing is done (I hope) and it looks like it's keeping up just fine with the XR. Hard to get on camera but I gave it my best with my iPhone on a tripod so it didn't move too much.
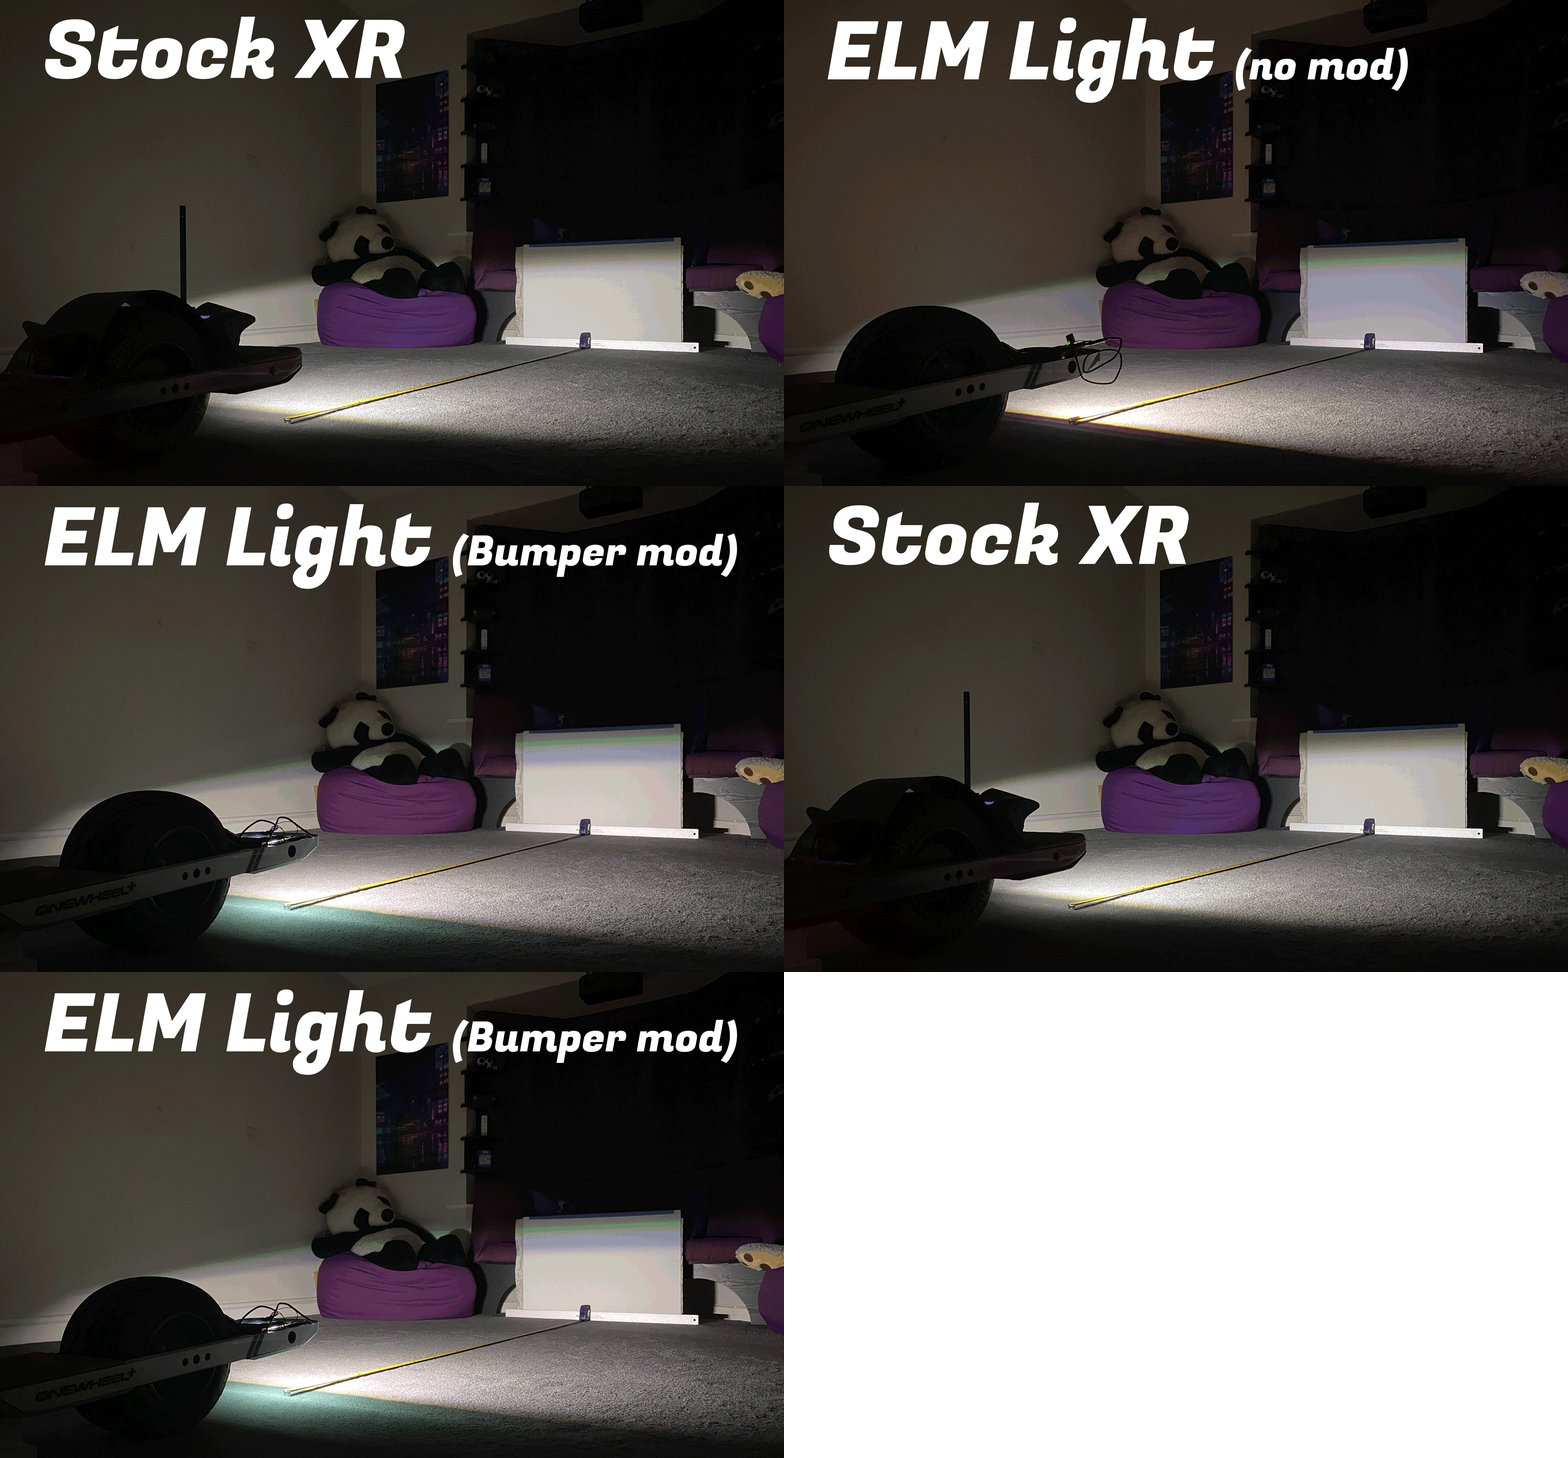
For each test I had an A1 sheet of foamboard 2.5m away from the boards in each since that's as much room I had to work with and felt like a good way to validate the brightness :)Also did the Pint but it wasn't worth adding in the above gif.
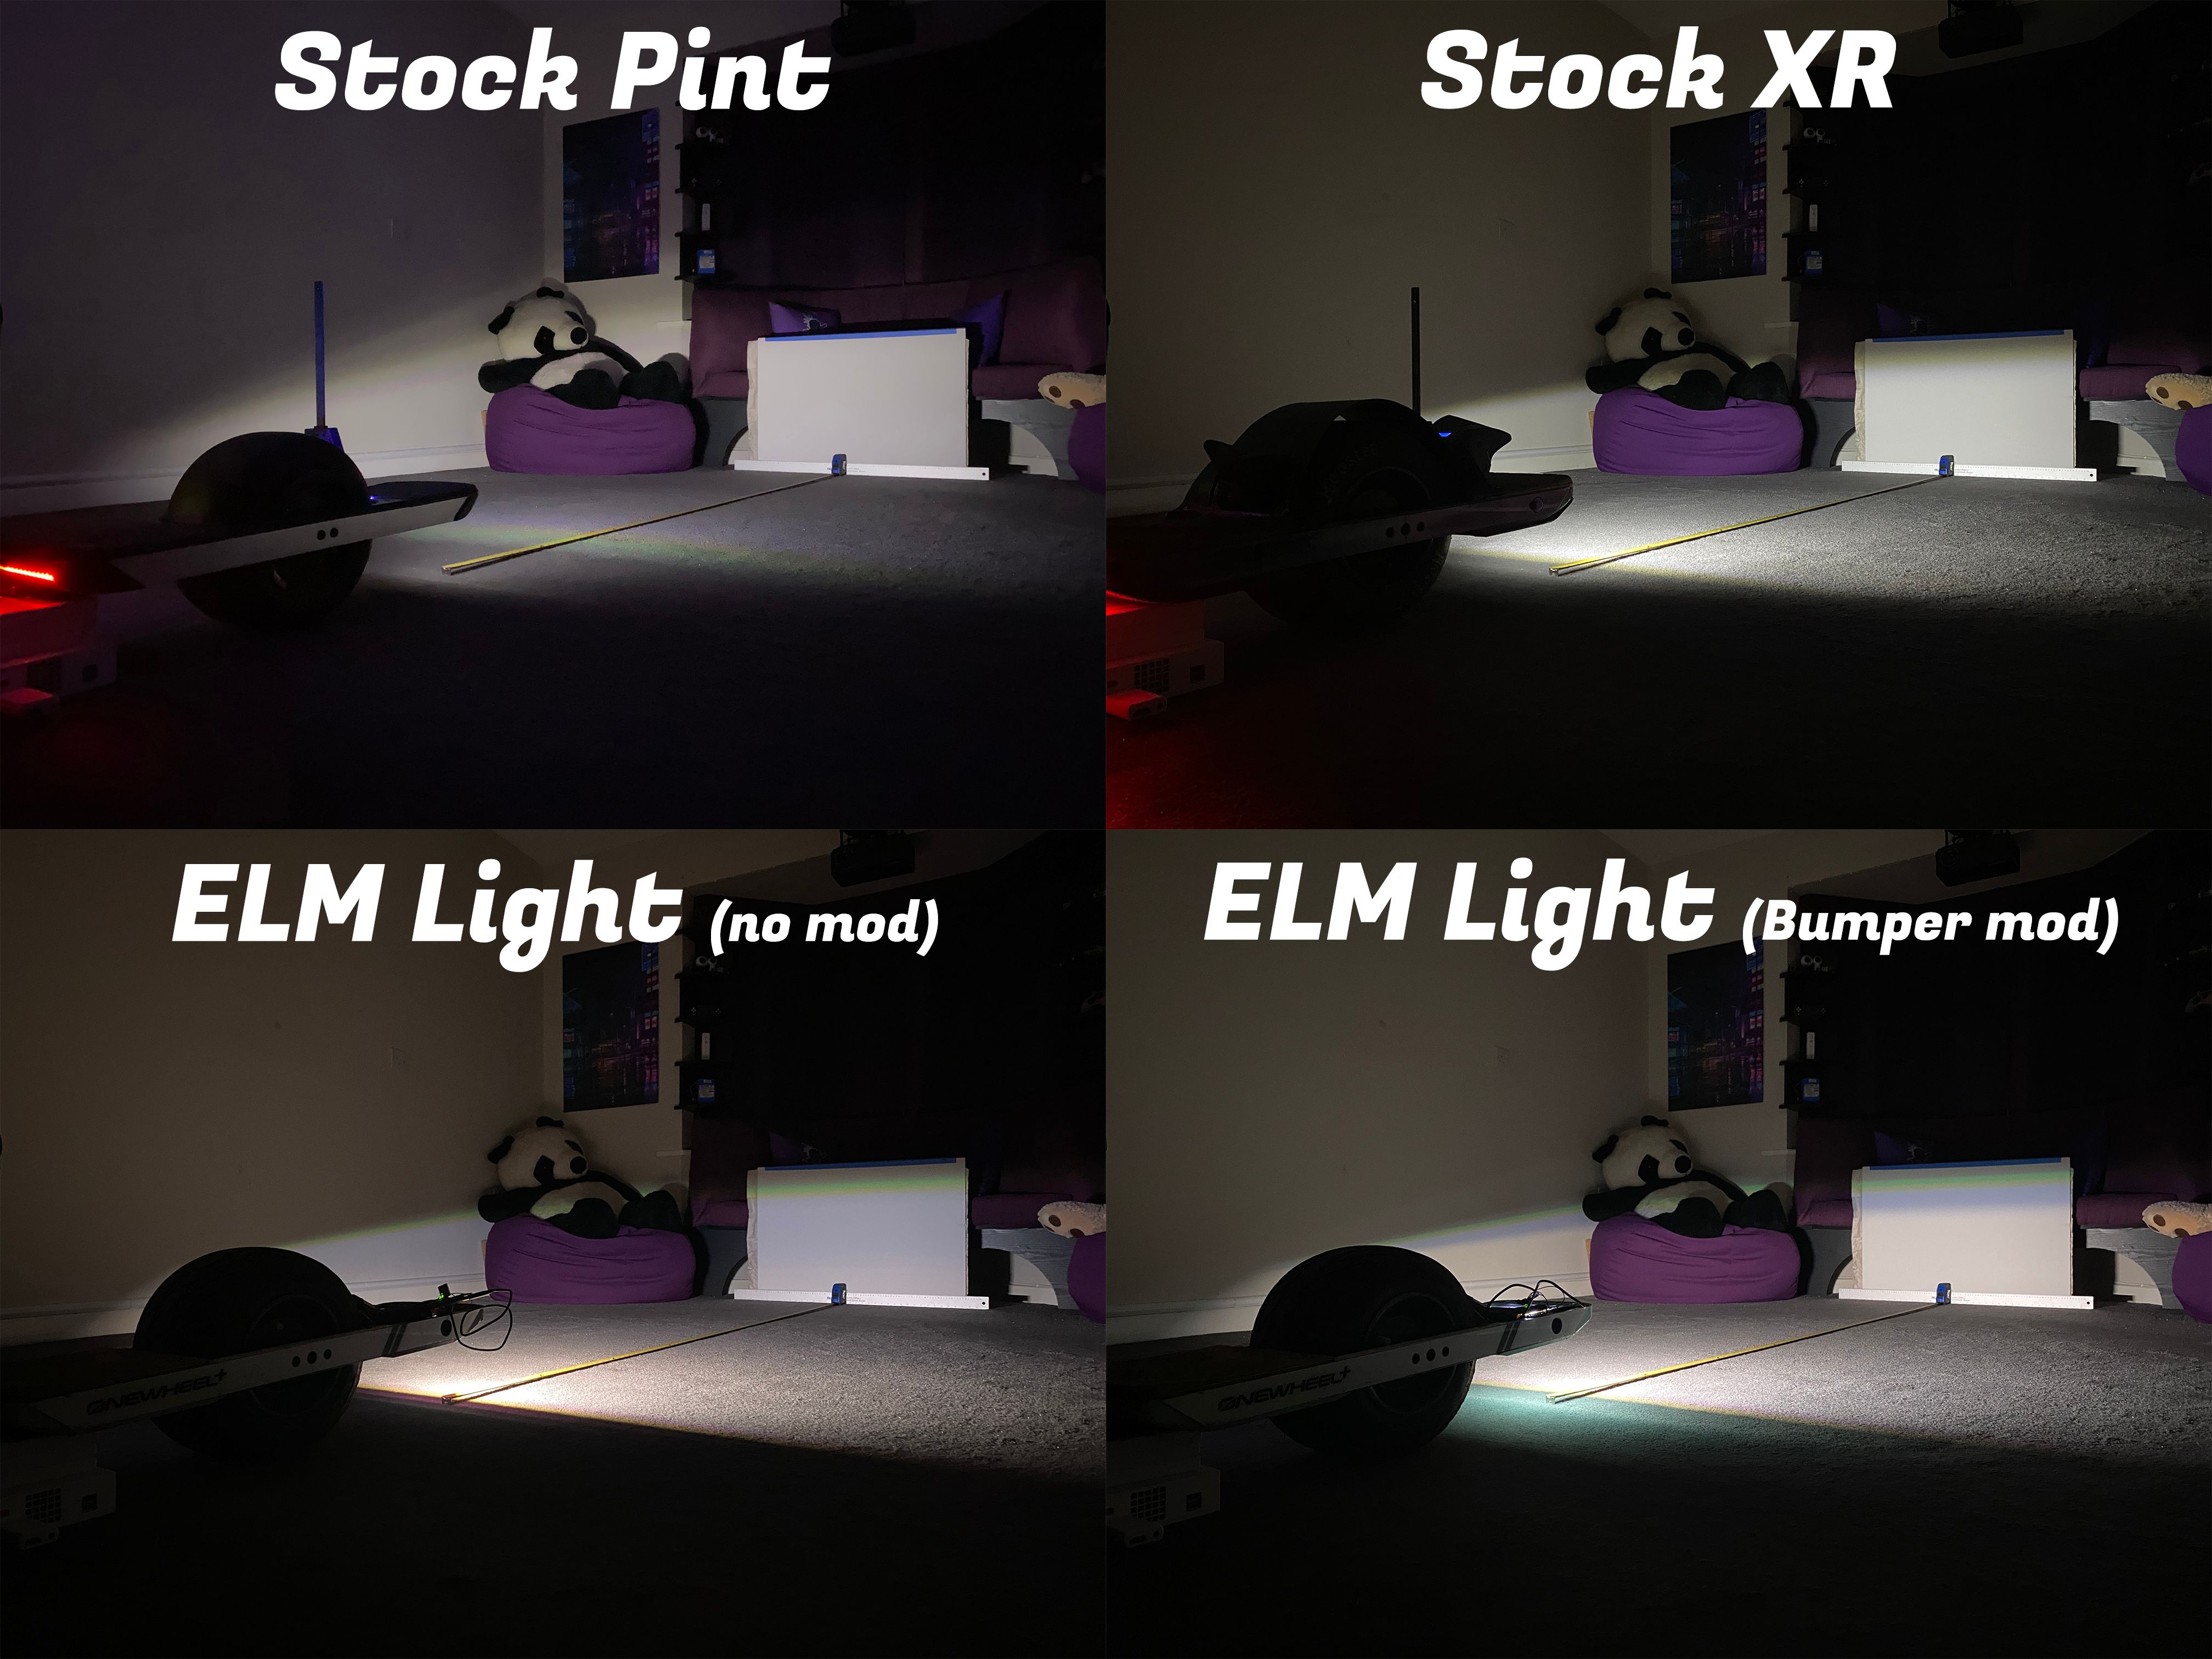
(Yes the Wii and games are certified scientific testing apparatus)So what's with this "Bumper Mod" mentioned in the images I hear you ask (I'm in your walls). As it turns out the stock bumpers have a tiny window that was blocking some of the LEDs seen below.
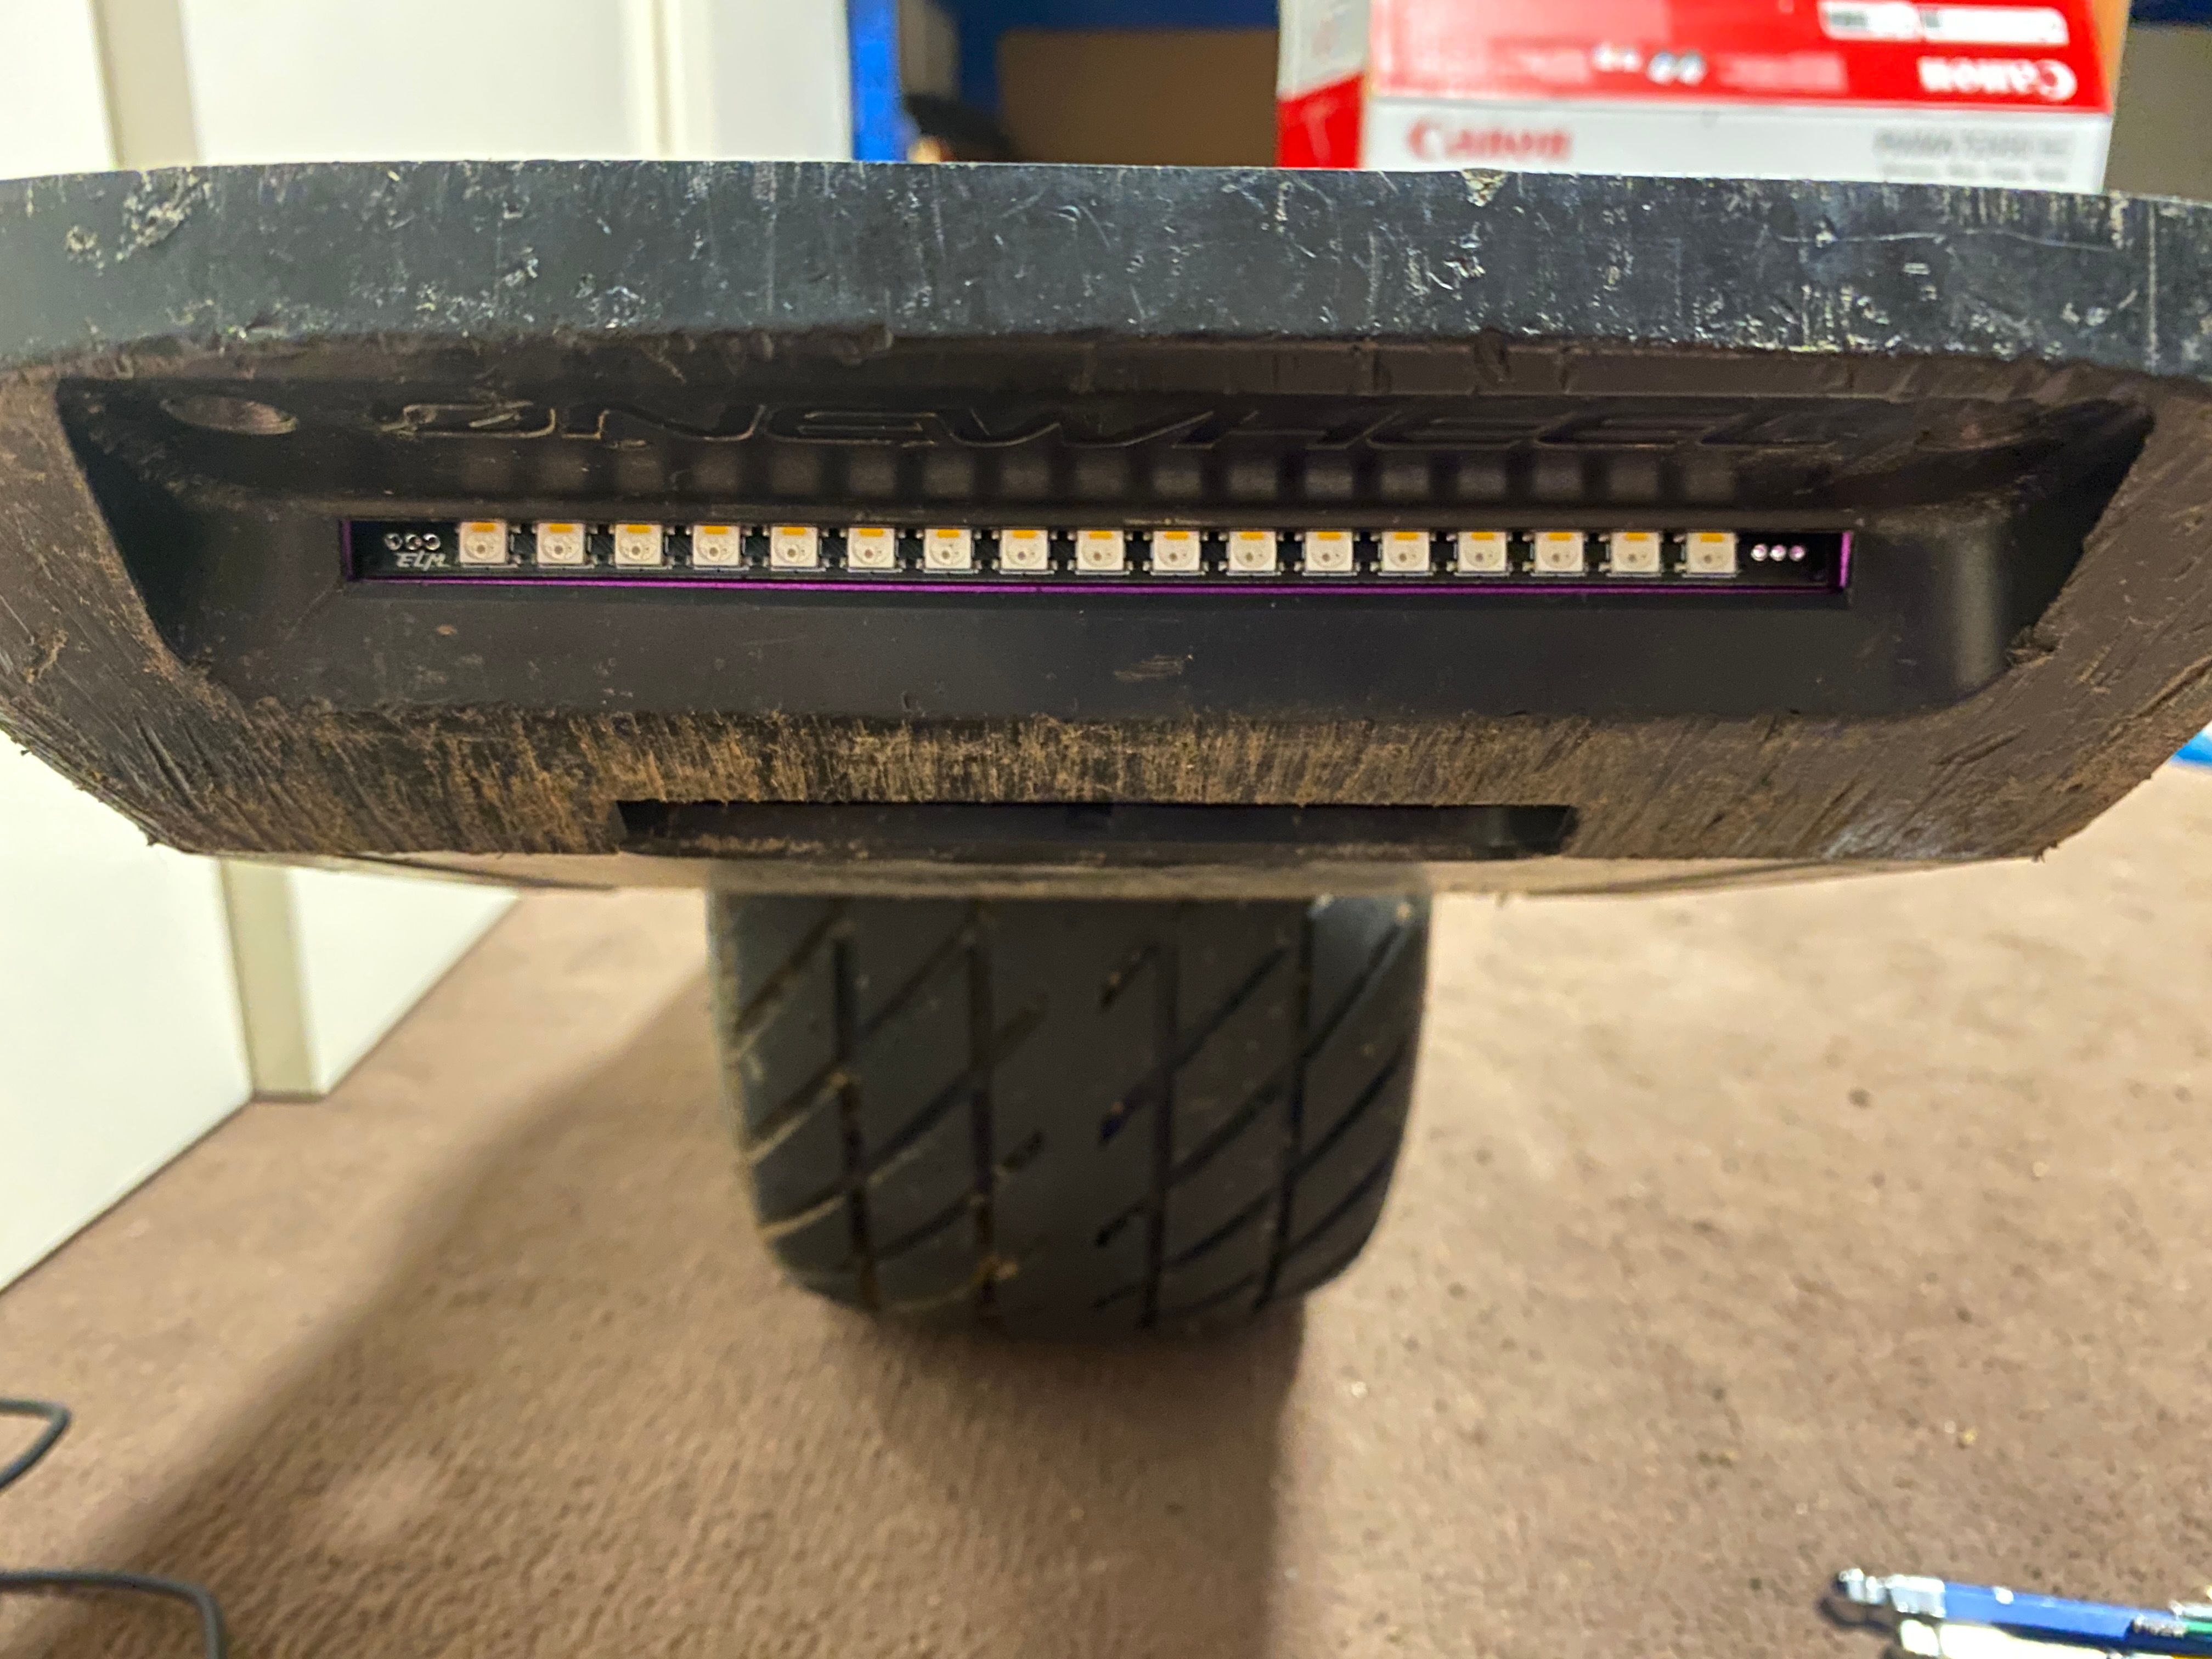
The dedicated white segments of the LEDs were obscured so although they shone nicely below it didn't do much up front. However there is a bit of overhanging plastic you can easilly remove with a file where you get the below results.
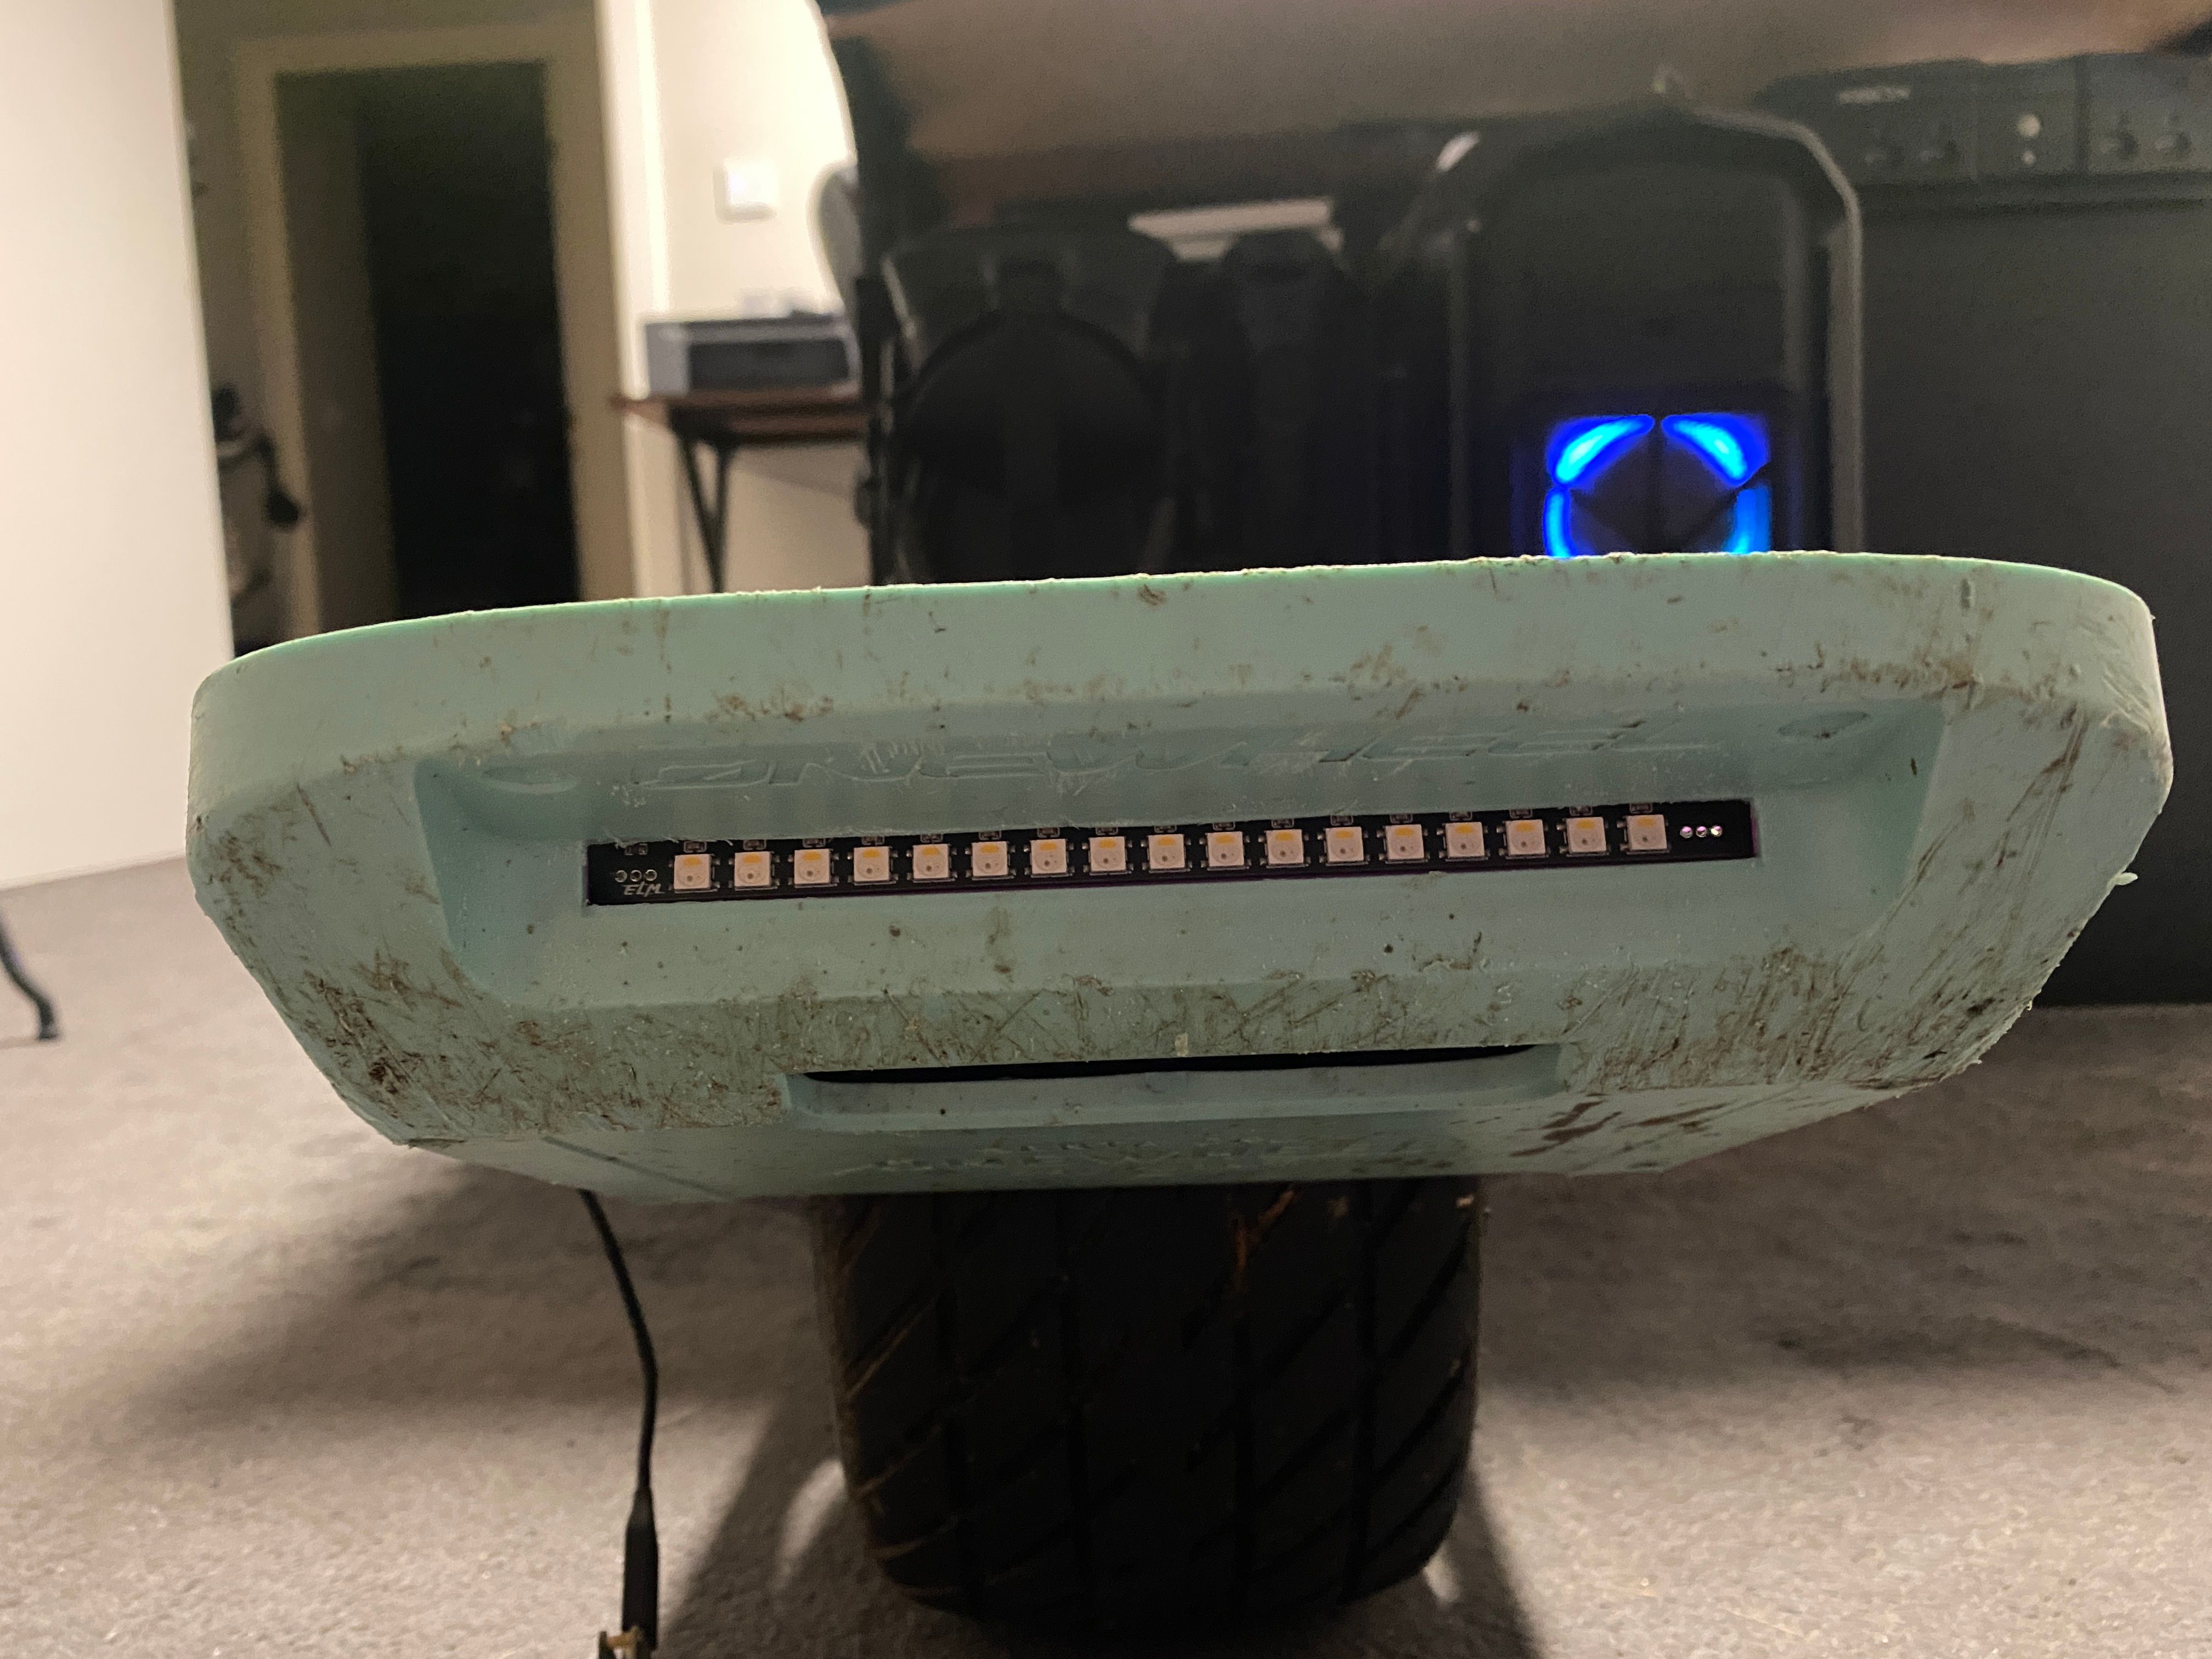
The mod as you can see makes a slight difference in how much extra light makes it forward rather than just down where you get a clearer cutoff line for where the white channel reaches.
V2.3 Might have the LEDs rotated 180 if I can pull that off without completely changing the layout of everything else however I'd doubtful it'll make that much of a difference so either version should be fine.
Guess I need to finish the packaging then and sort out how I'm going to sell the first batch off.
Stats in case you wanted.
Full white (That's RGB set to 255 and the White channel too) draws 0.72A per bar @ 5V
Full red (That's Just the red channel at 255 and nothing else) draws 0.16A per bar @ 5VSo in theory you have 2 with opposing white/red total current draw is 0.88A @ 5V per bar or 4.4Watts to run a pair in a "normal" config.
-
Okay I had too...
If you have RGB you have to have it shoot rainbows.
Also added a demo turn signal animation as a proof of concept.
You could probably get way more creative with it and make it more clear. On cam it just blows out the sensor so not easy to record it but you get the idea. -
@lia thank you for creating this and doing these tests! It’s great to see it working so well.
-
@batterymooch It's been a lot of fun :) Learning how to do full production CAD in EasyEDA and get a PCB fab to make these was new.
Thanks for swinging by <3
-
@lia
I must buy these. They look fantastic.In your testing, what are you using to drive and/or control these?
Cheers!
-
@theboardgarage I’ll be sure to keep a set reserved for you on the first batch :)
For testing I’m just feeding a data signal using a seeeduino (tiny little Arduino the XS will be using) using the neopixel library. Really simple to test with and I hear the VESCs support RGB and RGBW now so this should just drop in with a decent buck converter to supply the 5v.
-
This post is deleted!
