Followup to the Onewheel XS
-
Nearly nearly nearly done!
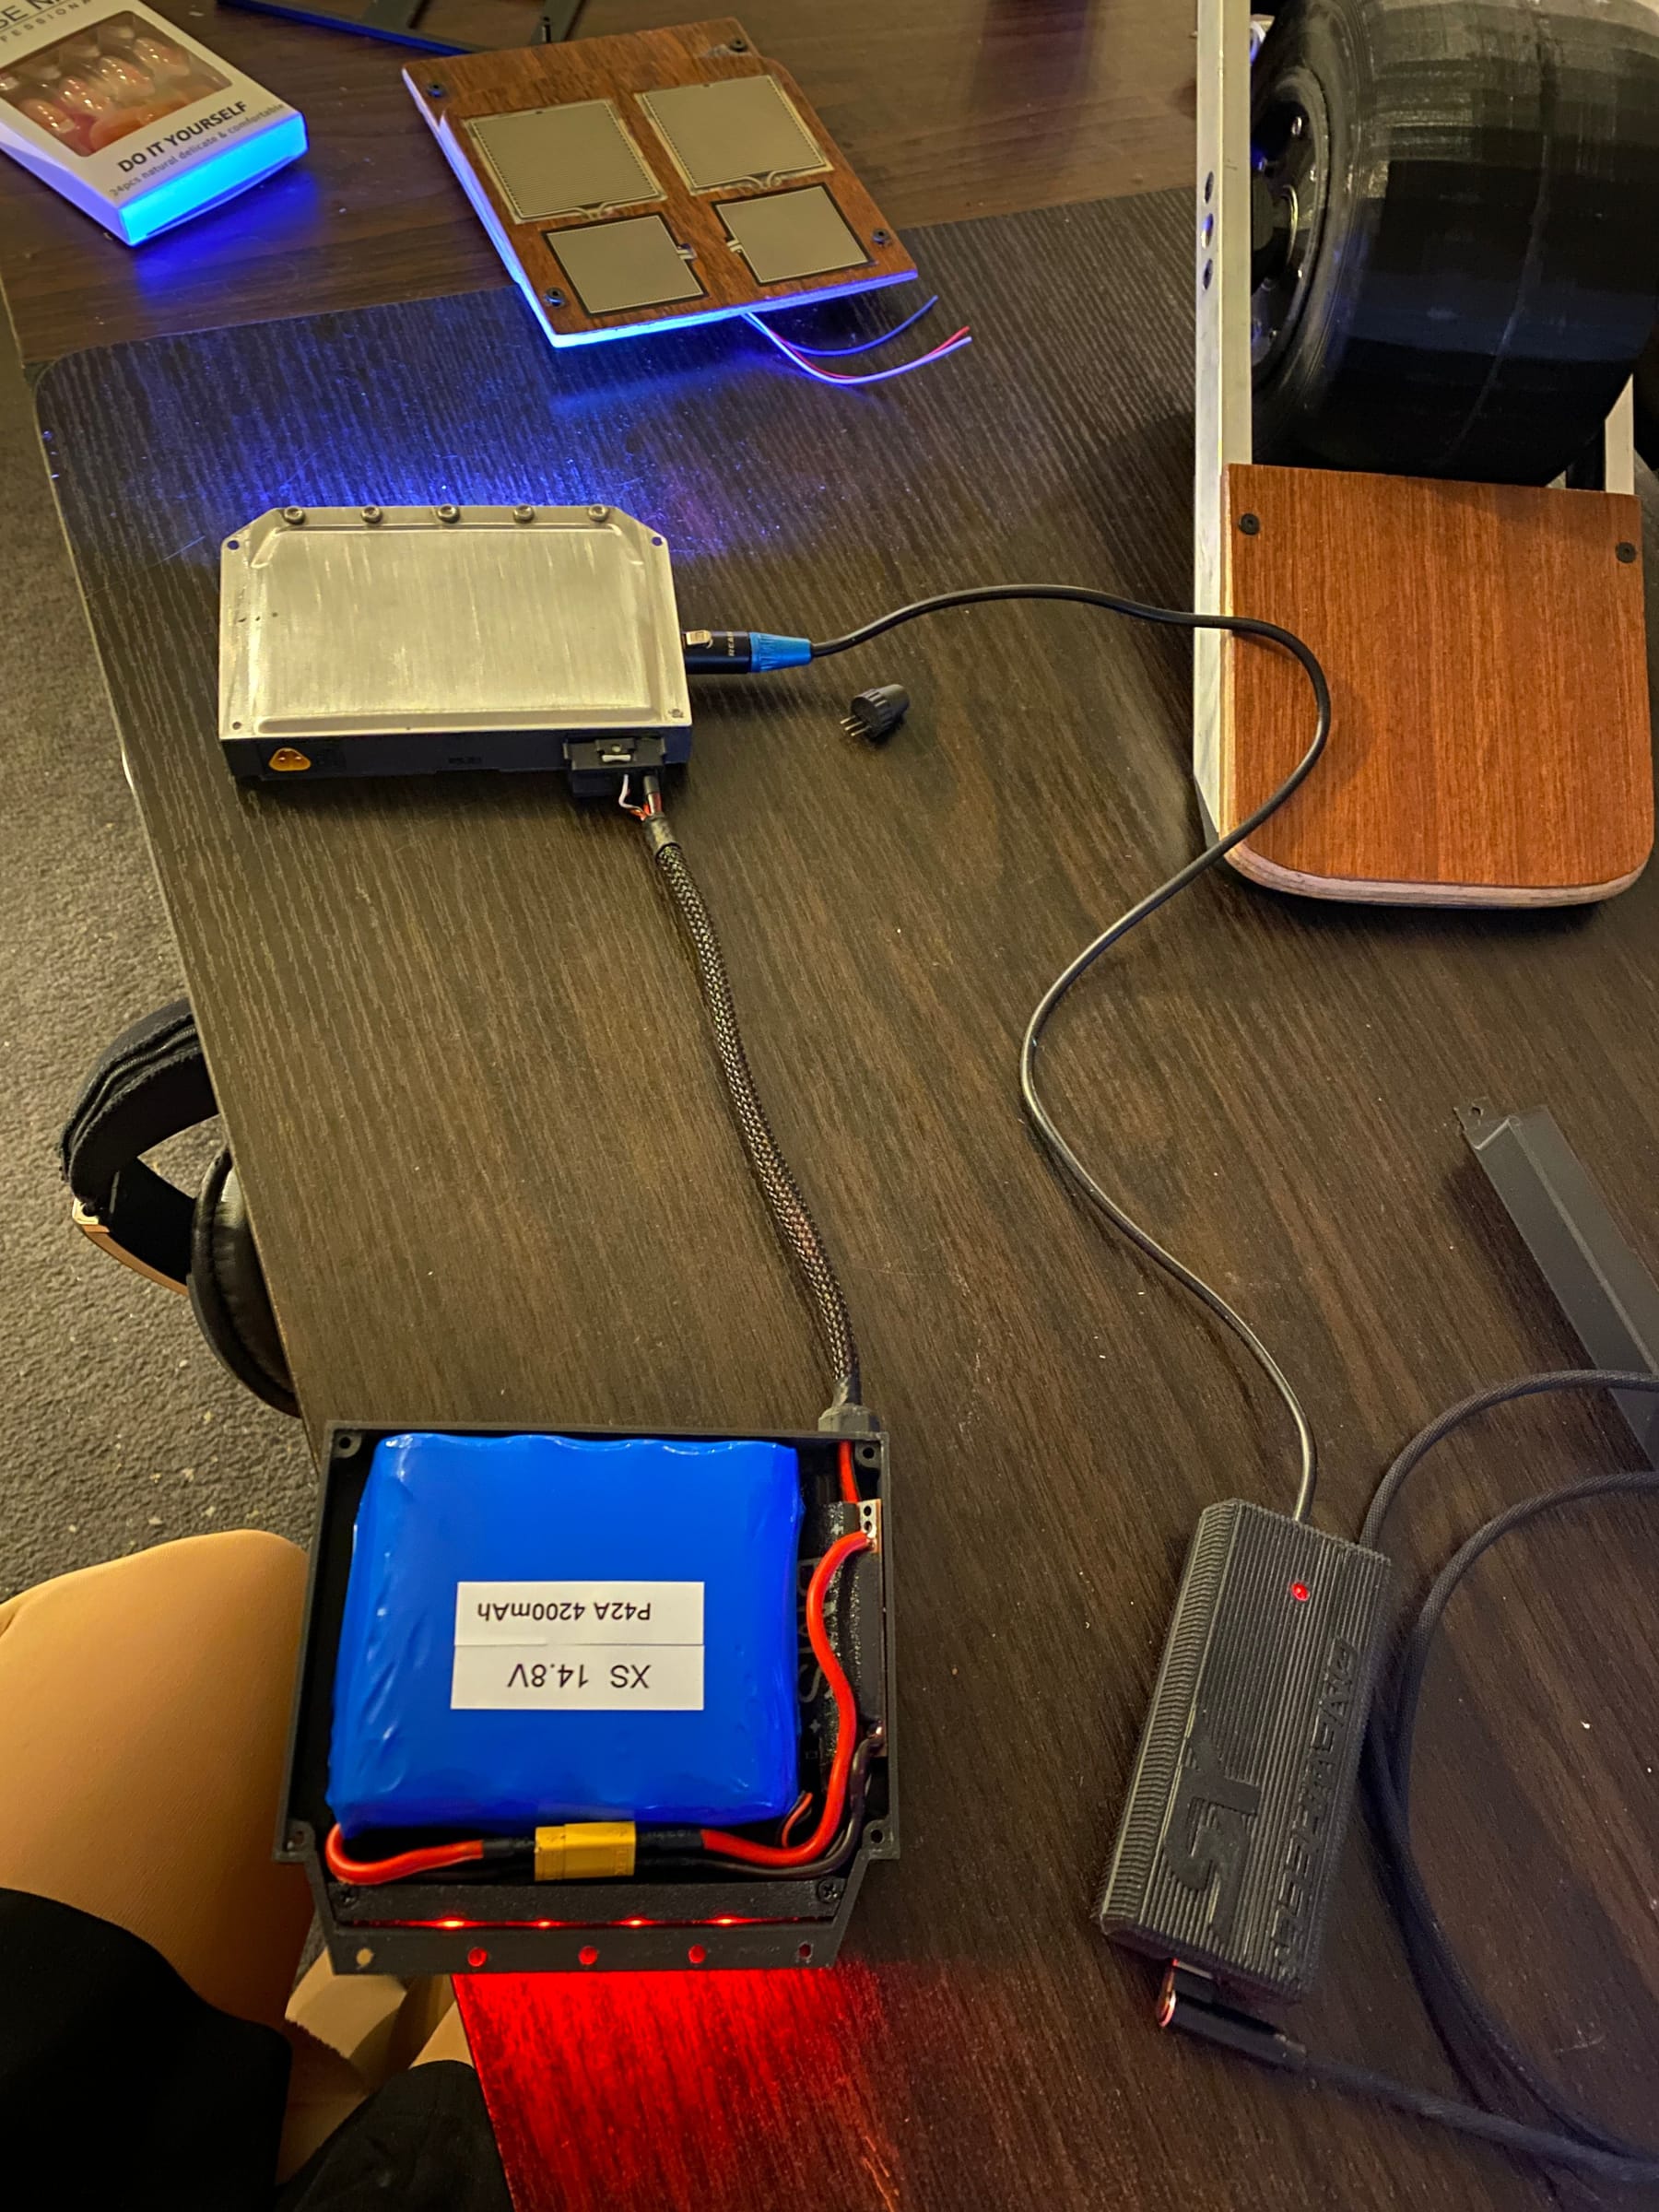
Works with my old charger. This one from memory is configured for 1amp but the new ones I will configure for 2amps. Although I won't build them as "hyperchargers". Too much feature creep and the dinky size of the standard one looks better alongside it.
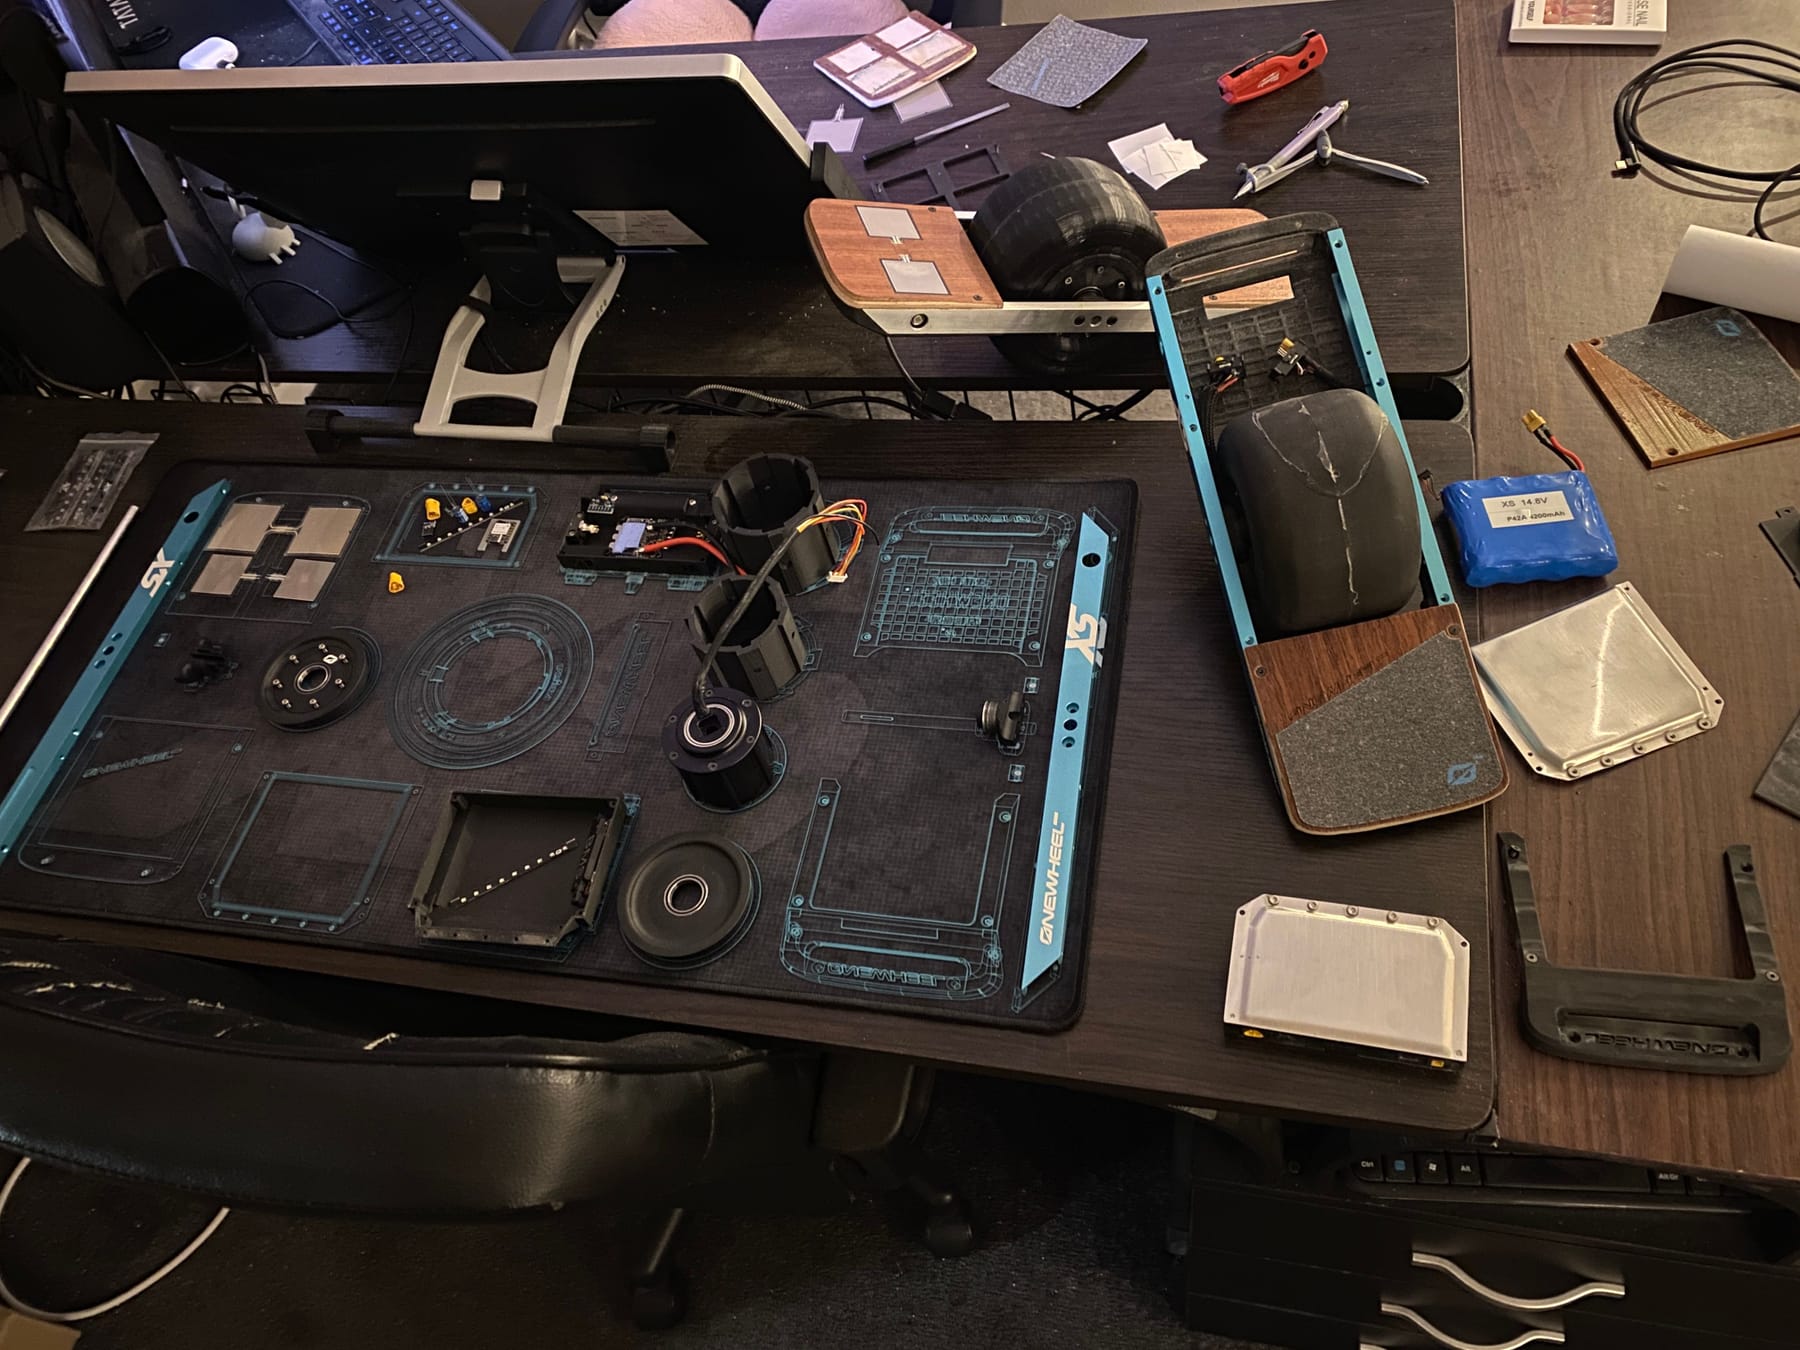
In the meantime I've been adding to the pile of parts for the twin build so it's sister is ready to roll too.
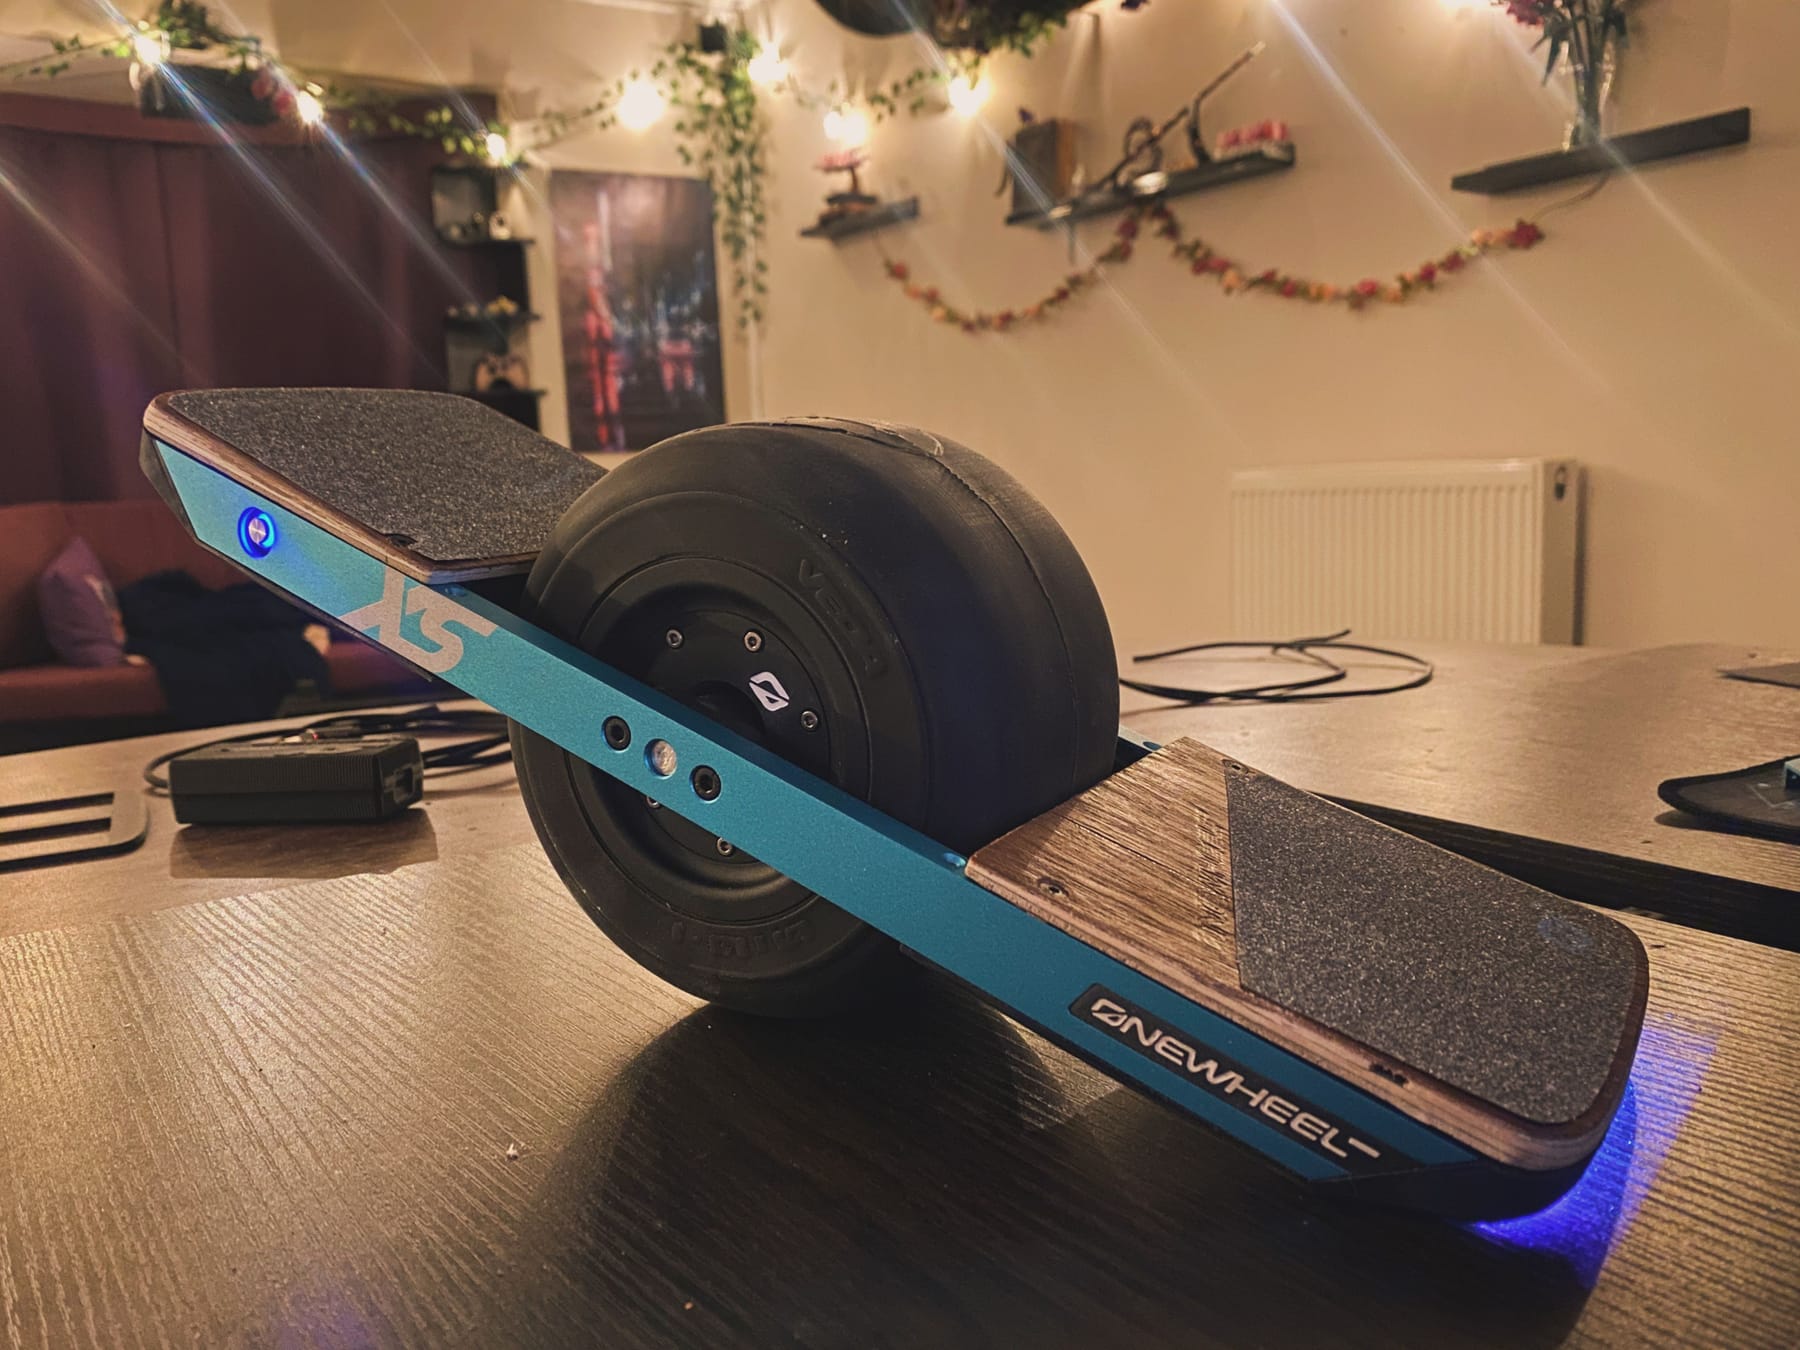
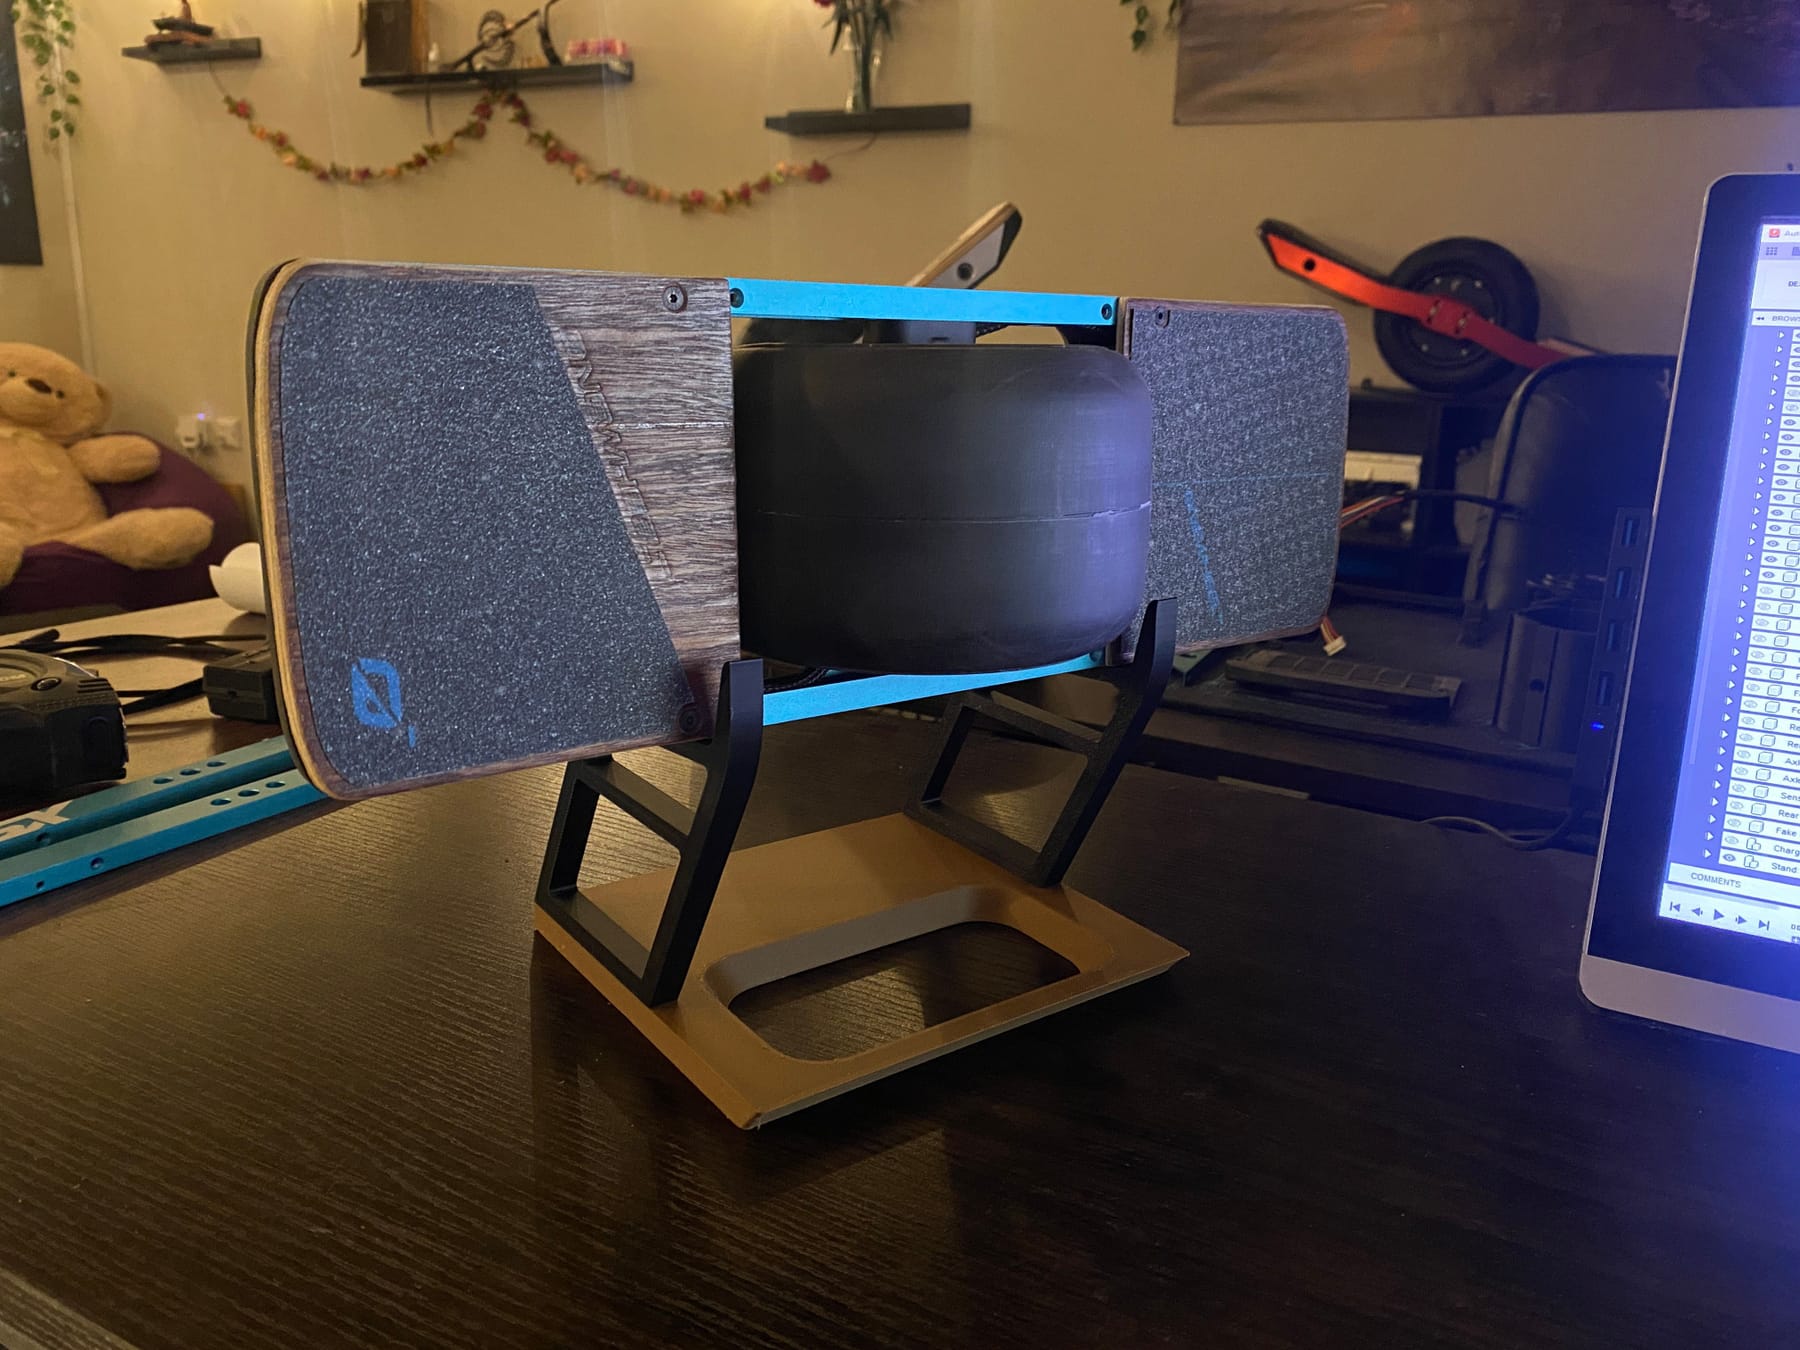
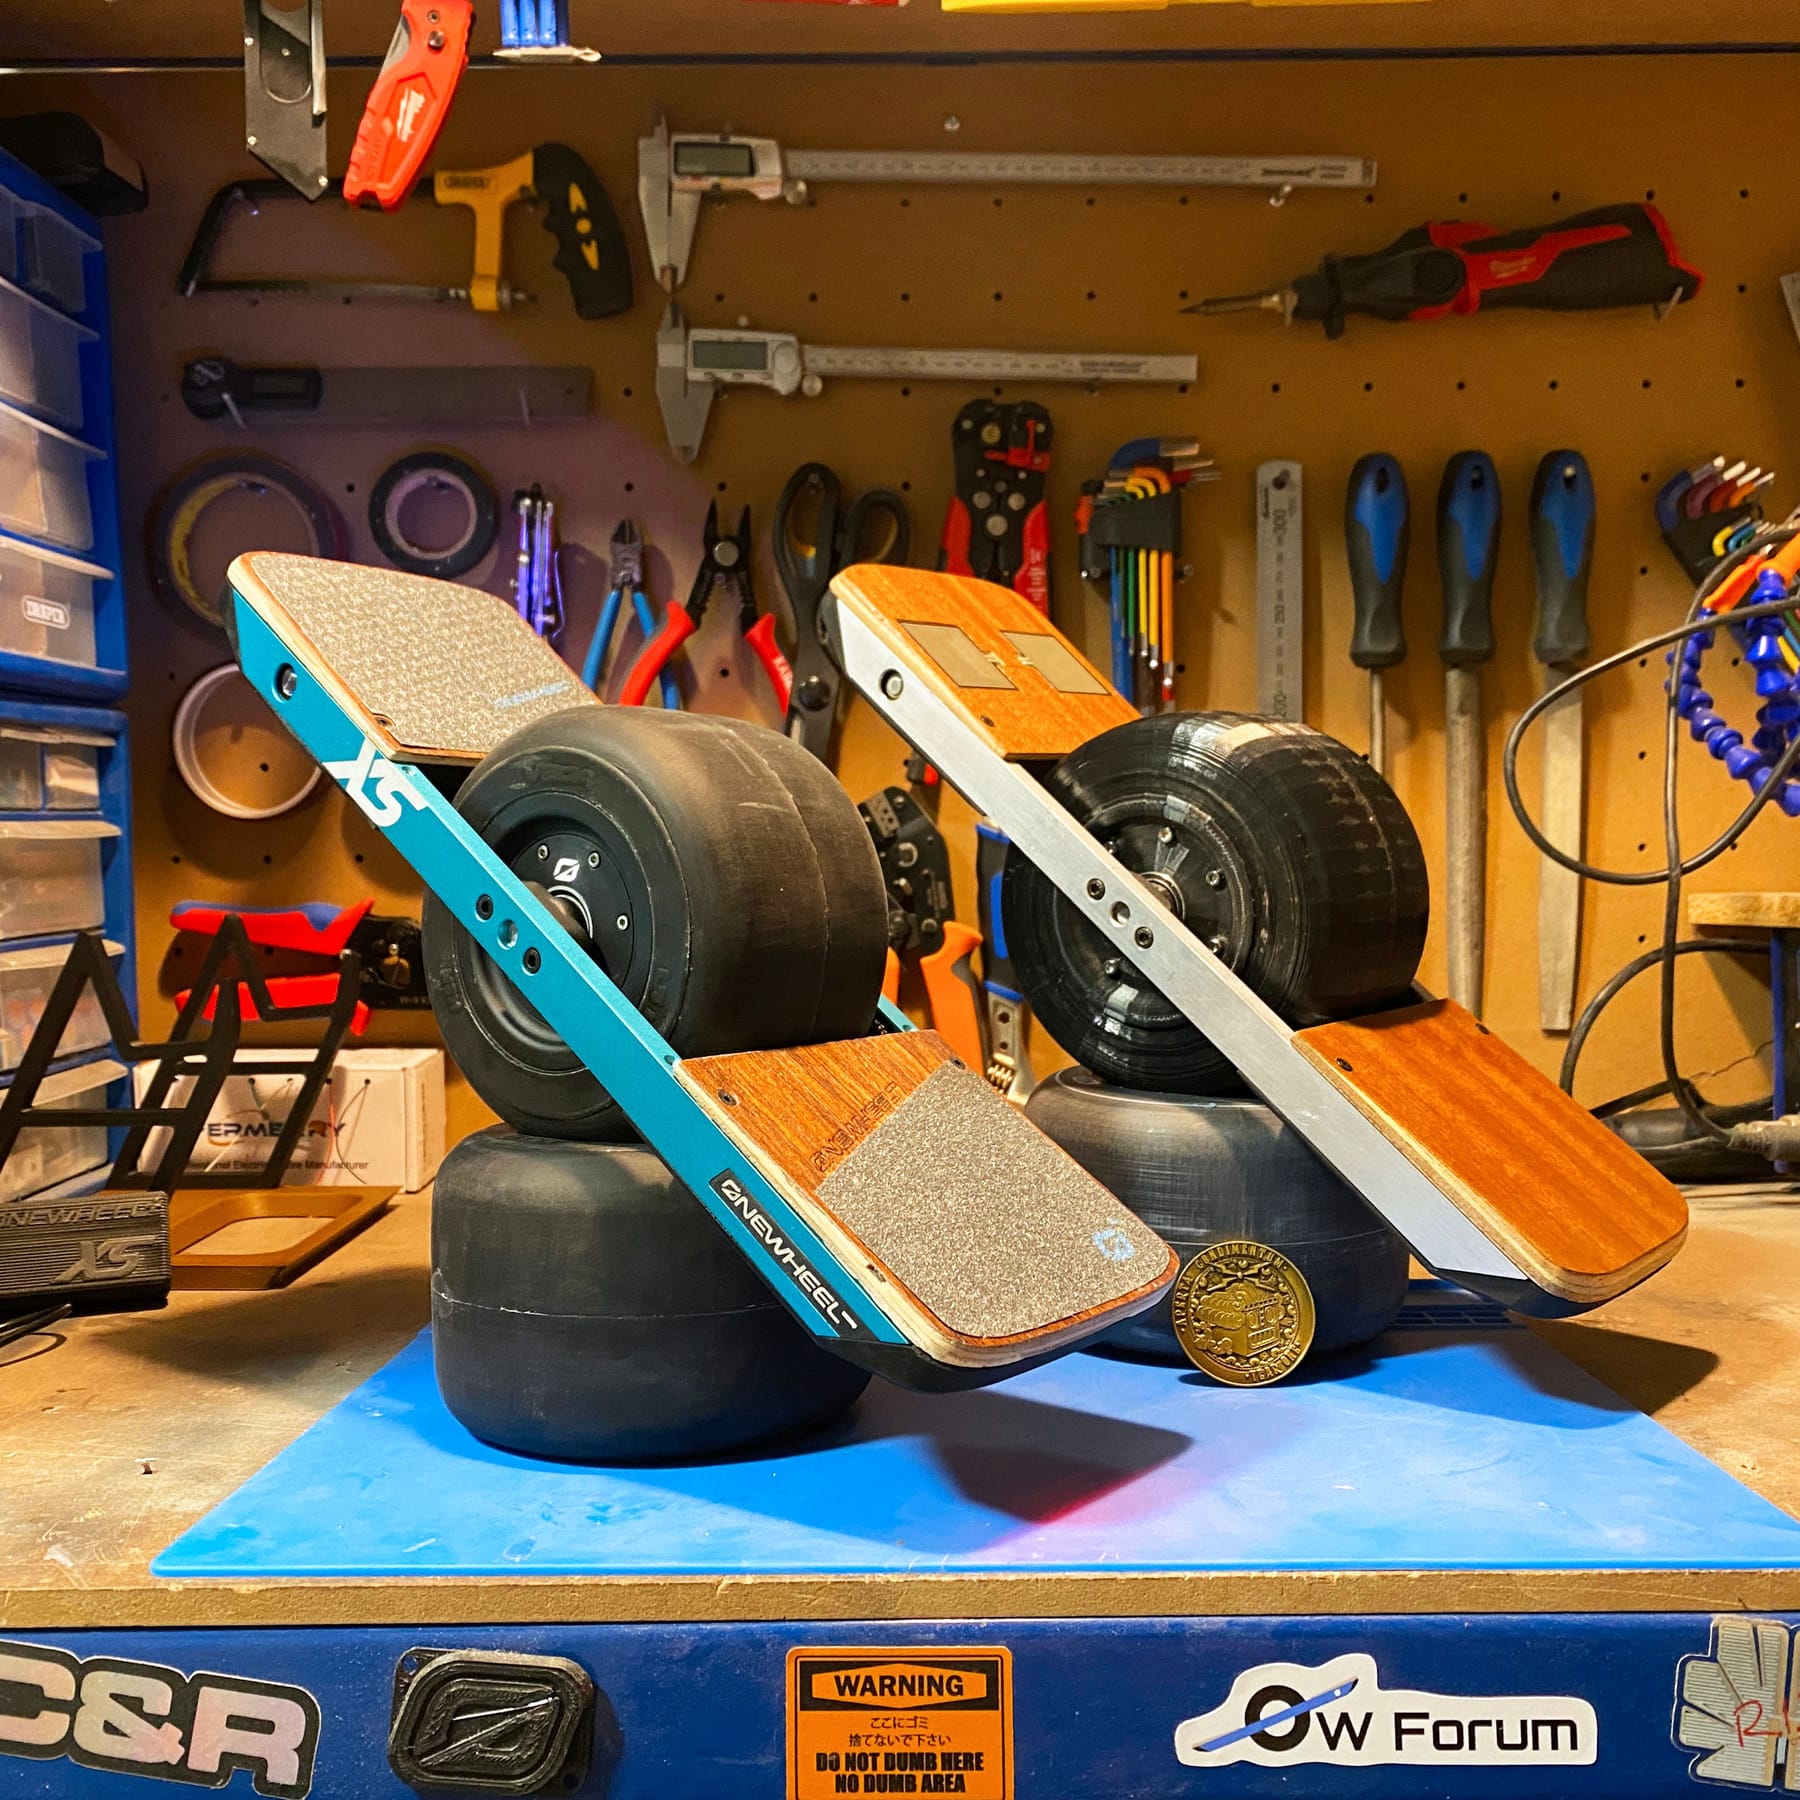
Sealed up the front footpad and took a pic. I think it looks suuuper good even though I haven't put the bearings on. They are purely decorative and don't really provide any structural support since the motor itself rests on the 8mm axle.
Here's a quick vid of me testing it under its own power even with the busted tire.
Ignore my broken thumbnail 😭😭😭I hate it so much. Gonna take months to grow that claw back 😡Managed to finally get another batch of PU rubber and set off a second casting. This time I tried another technique involving 3 pours one after the other to get a cascading curing process where the last one combined the 2 halves together.
It begins to cure after just 1 minute an has a pot life of 5-6 minutes. That's enough to dye, mix and de-gas just as it starts to set. Pouring takes about another minute as it's pretty viscous stuff. So if you time it right you can cascade the curing times to get a desired fill. I did:
1x 500ml batch and pour split between the 2 halves to create the outer most faces.
1x 400ml batch and pour split again between the 2 halves to top off both moulds.
1x 100ml batch and pour on 1 mould as I flip the other and squish out the excess and clamp it closed to combine the still not fully cured material.Sadly I didn't get pics or vids of the process as it's a very involved process with no time to mess with a phone especially when I'm using it as a timer 😅
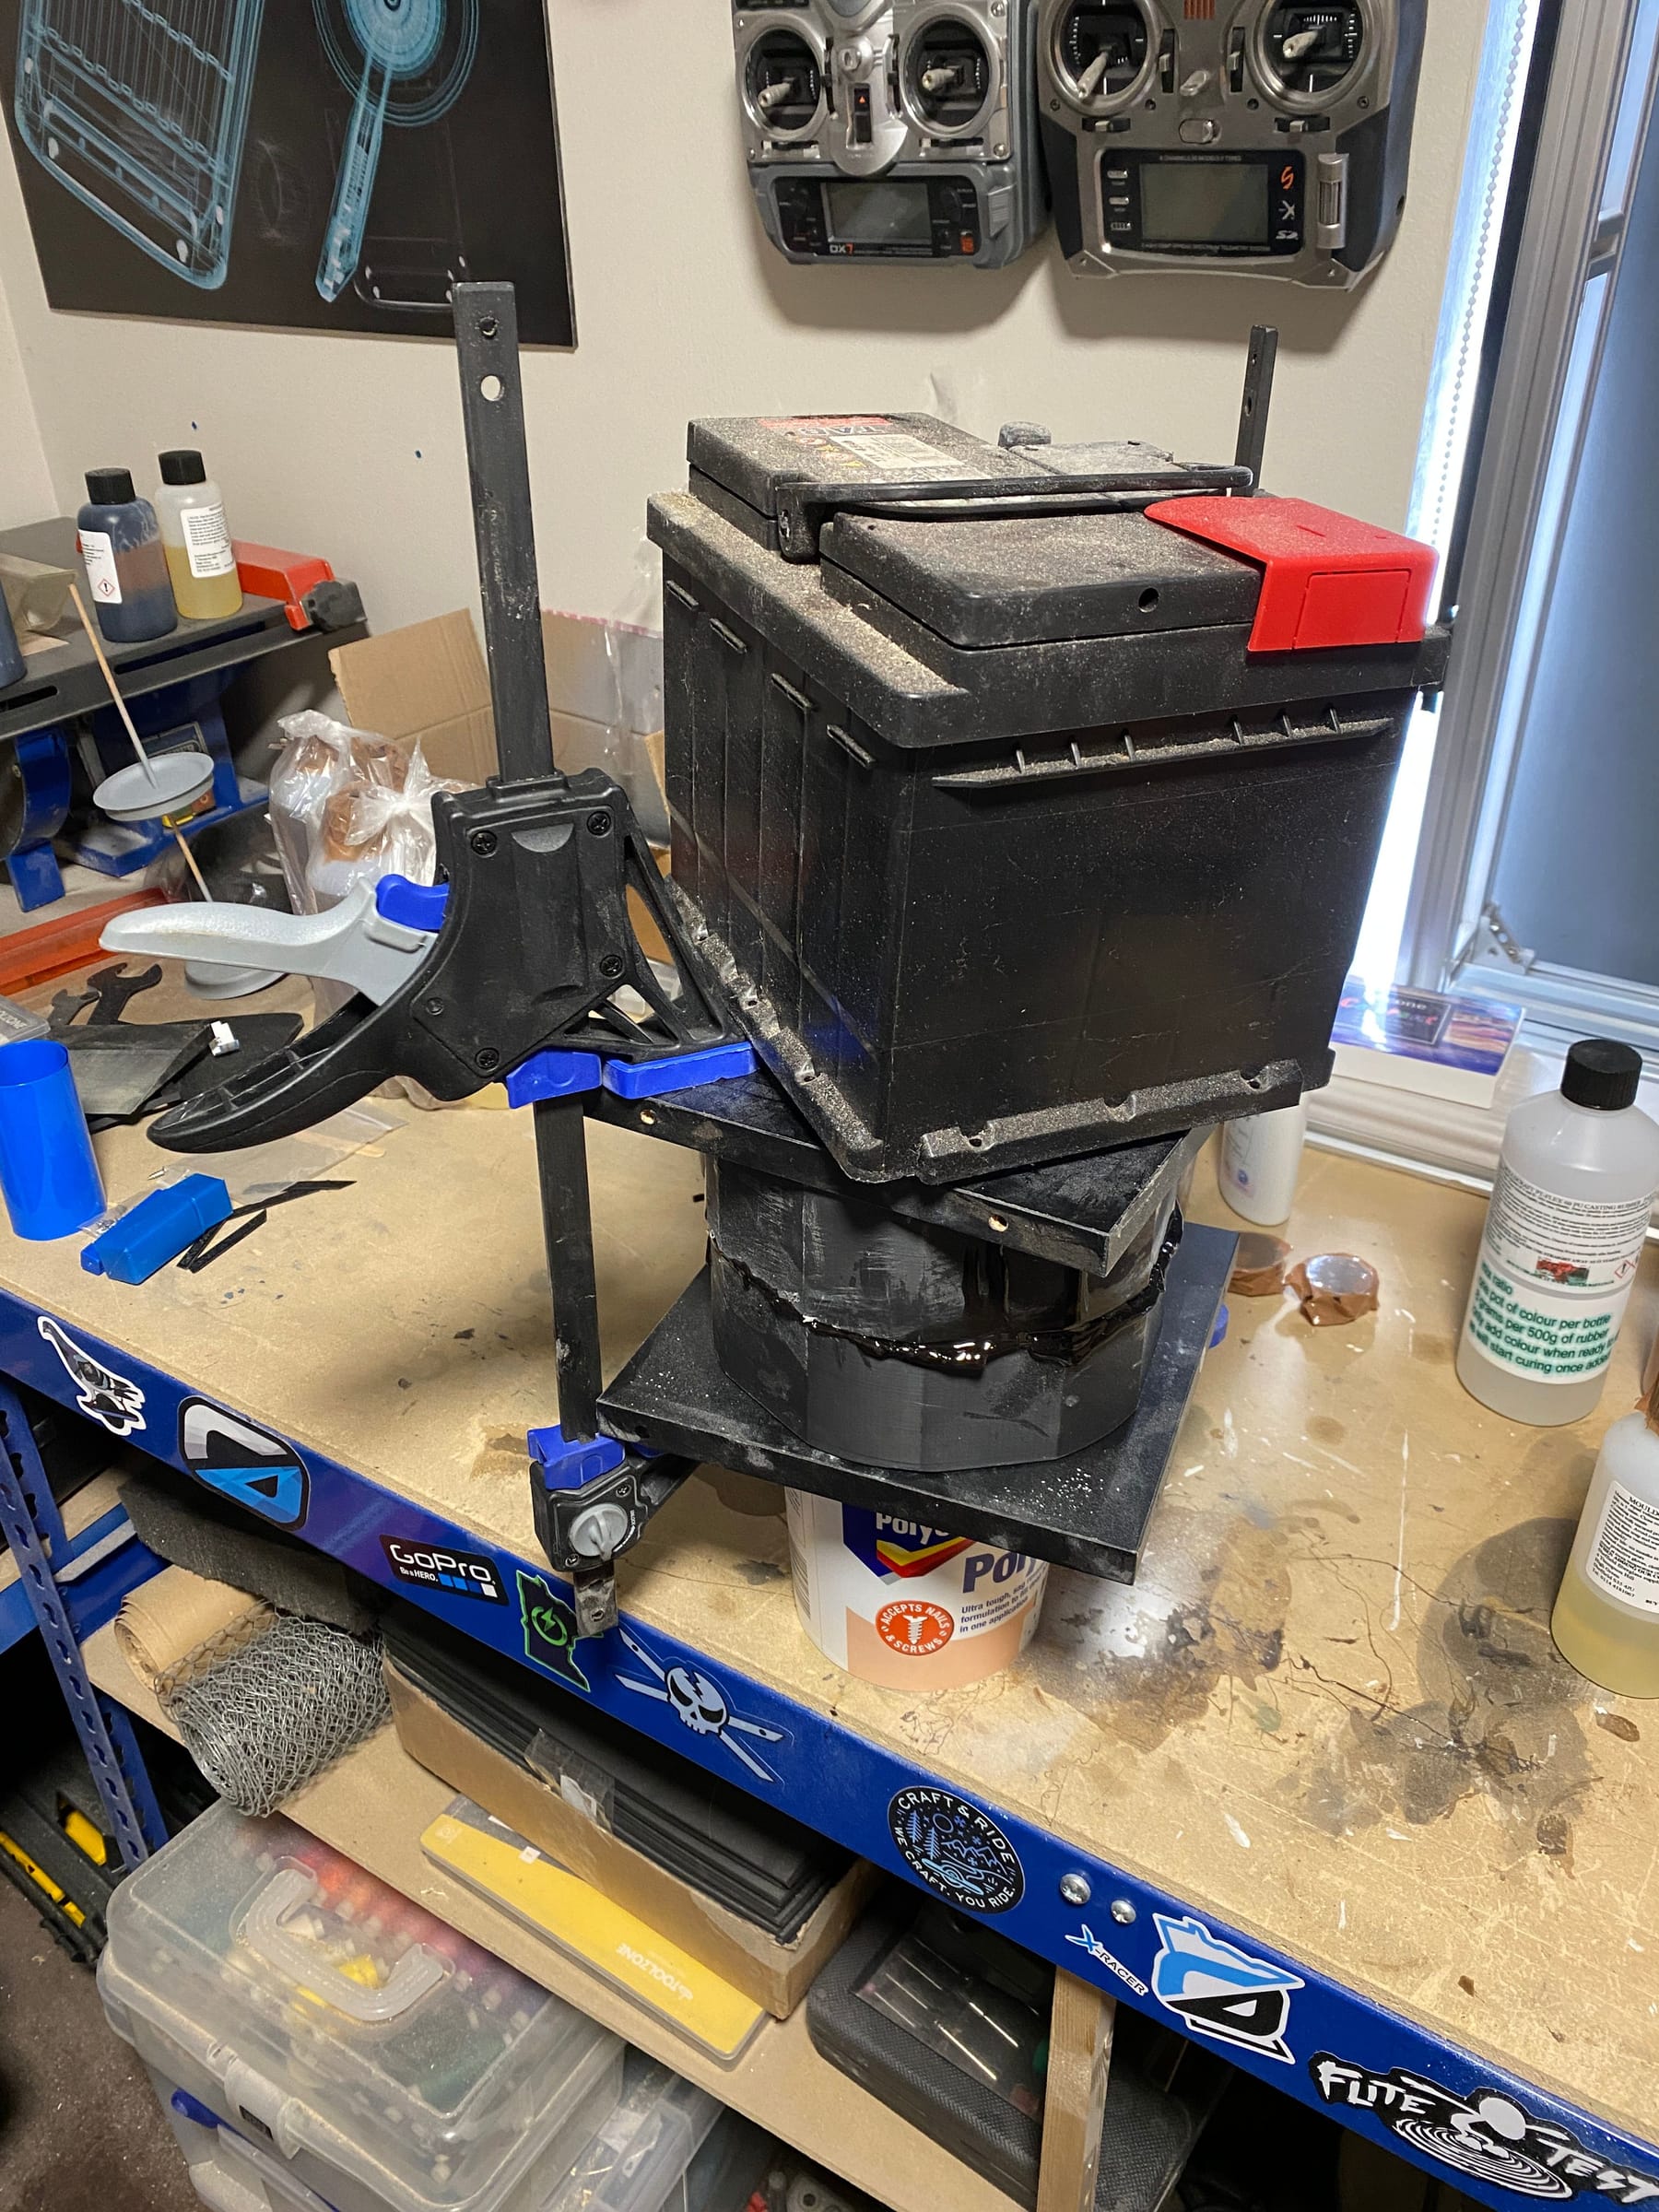
My 2 clamps were not enough so a car battery was brought in to assist with pressure.
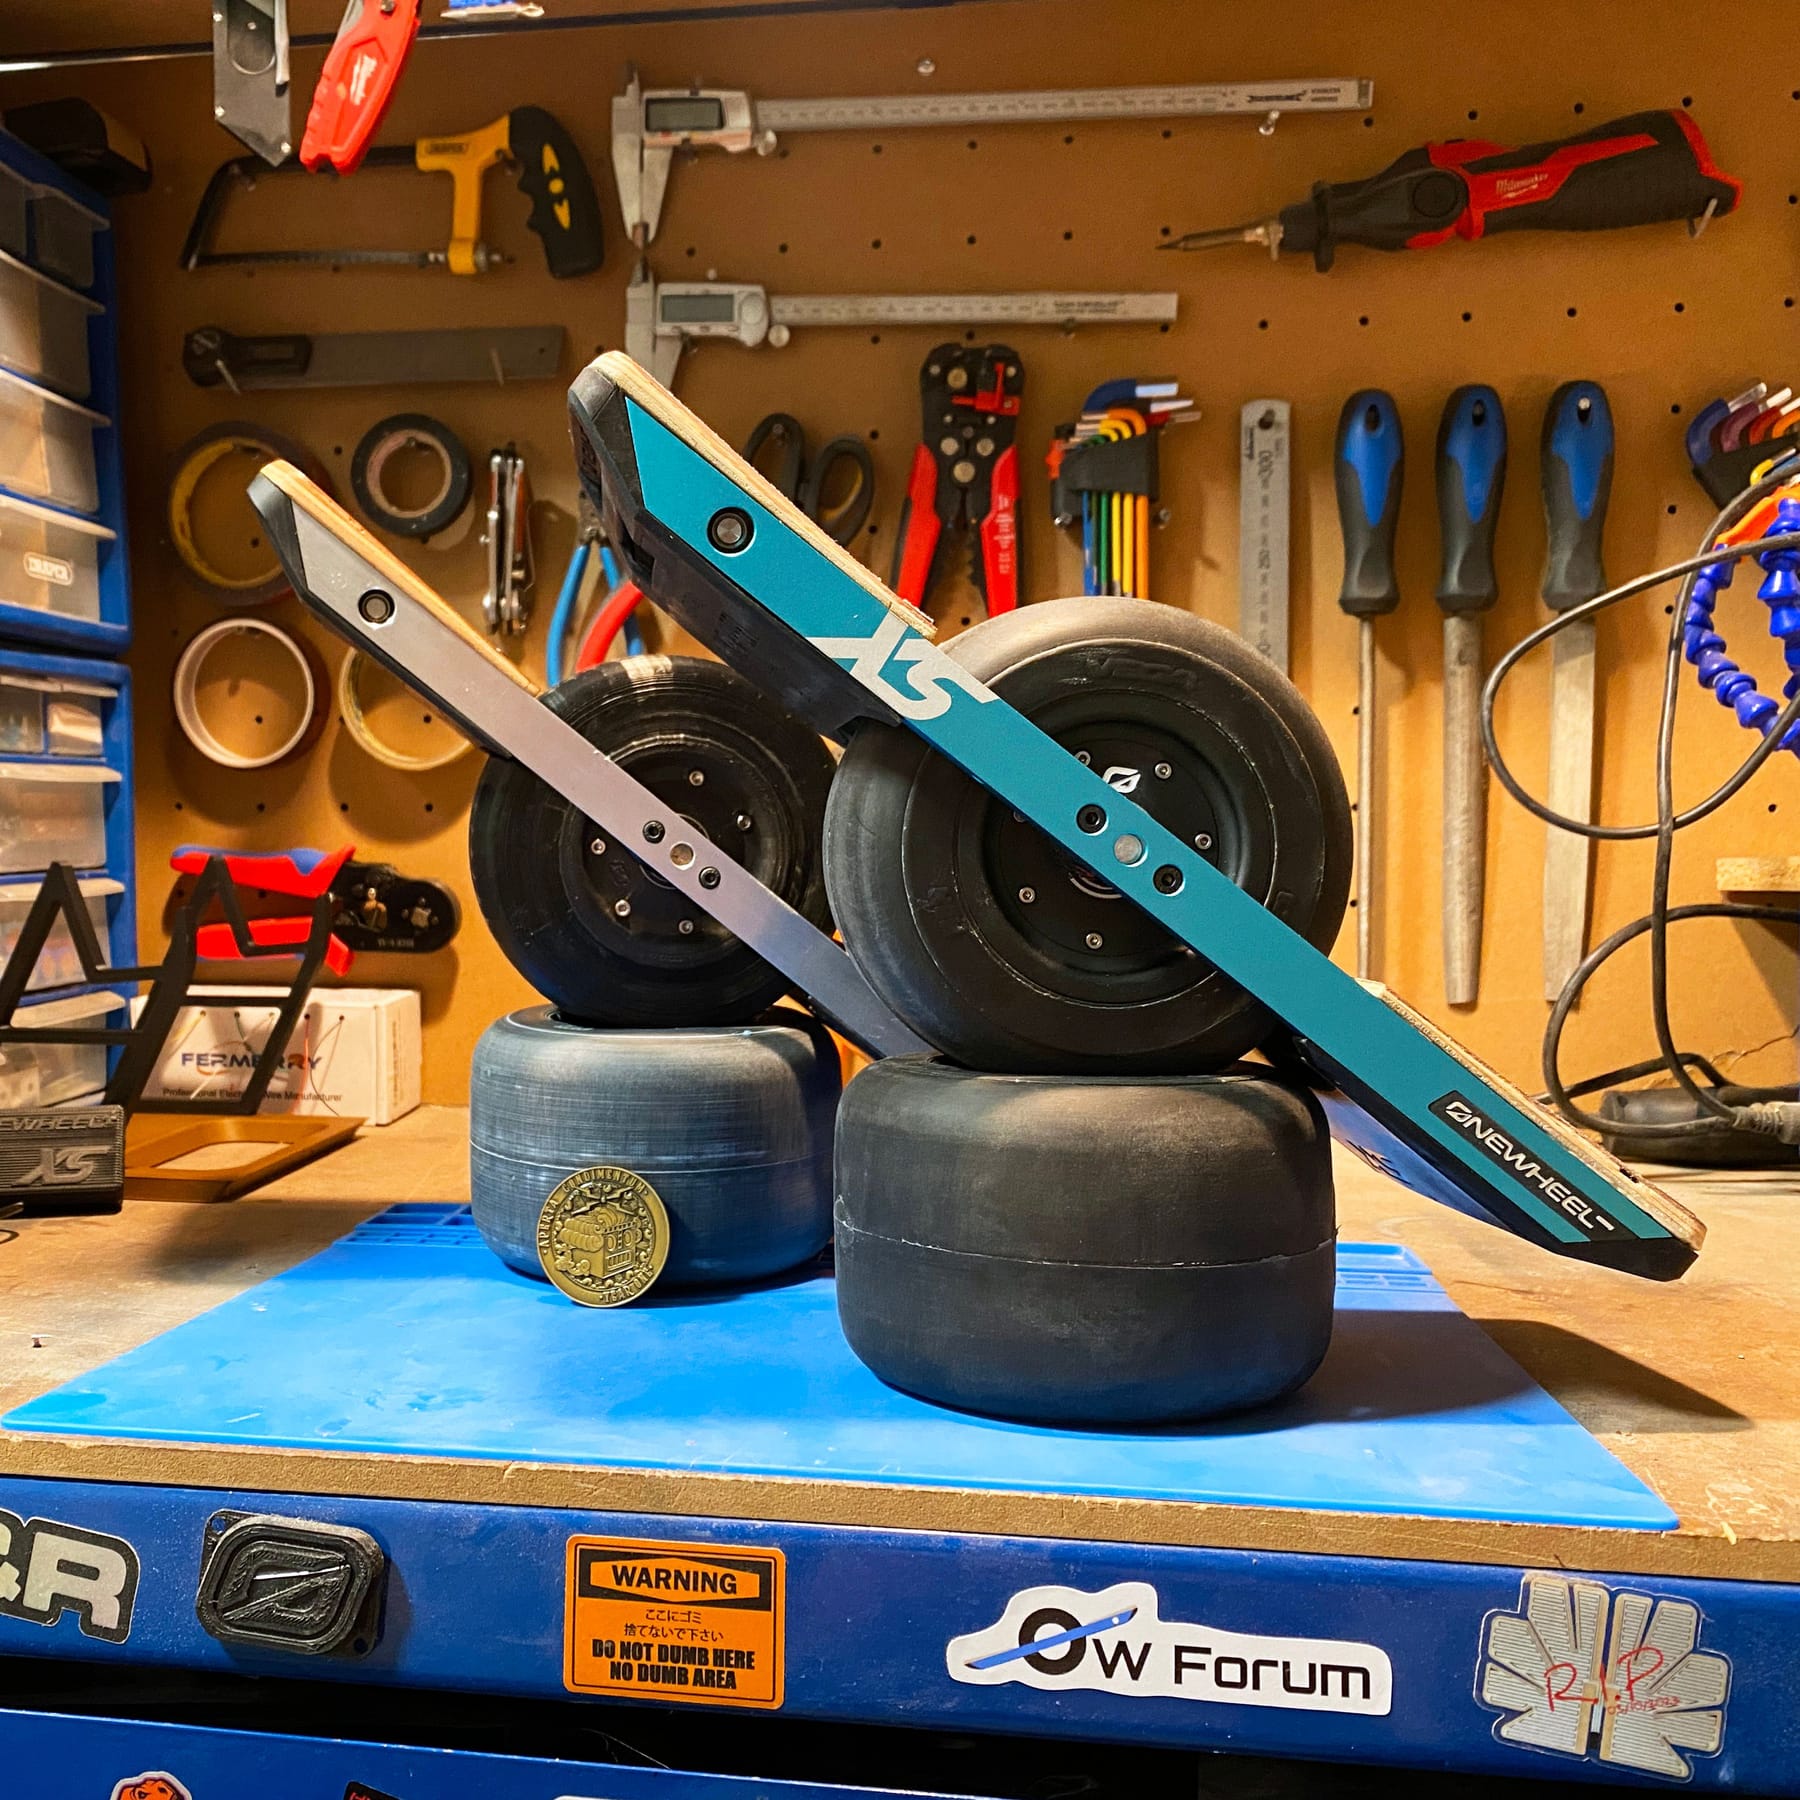
Regardless the tire came out fine minus a slight offset meaning some of the internal geometry isn't aligned but it still fits the motor casing just with more resistance instaling.
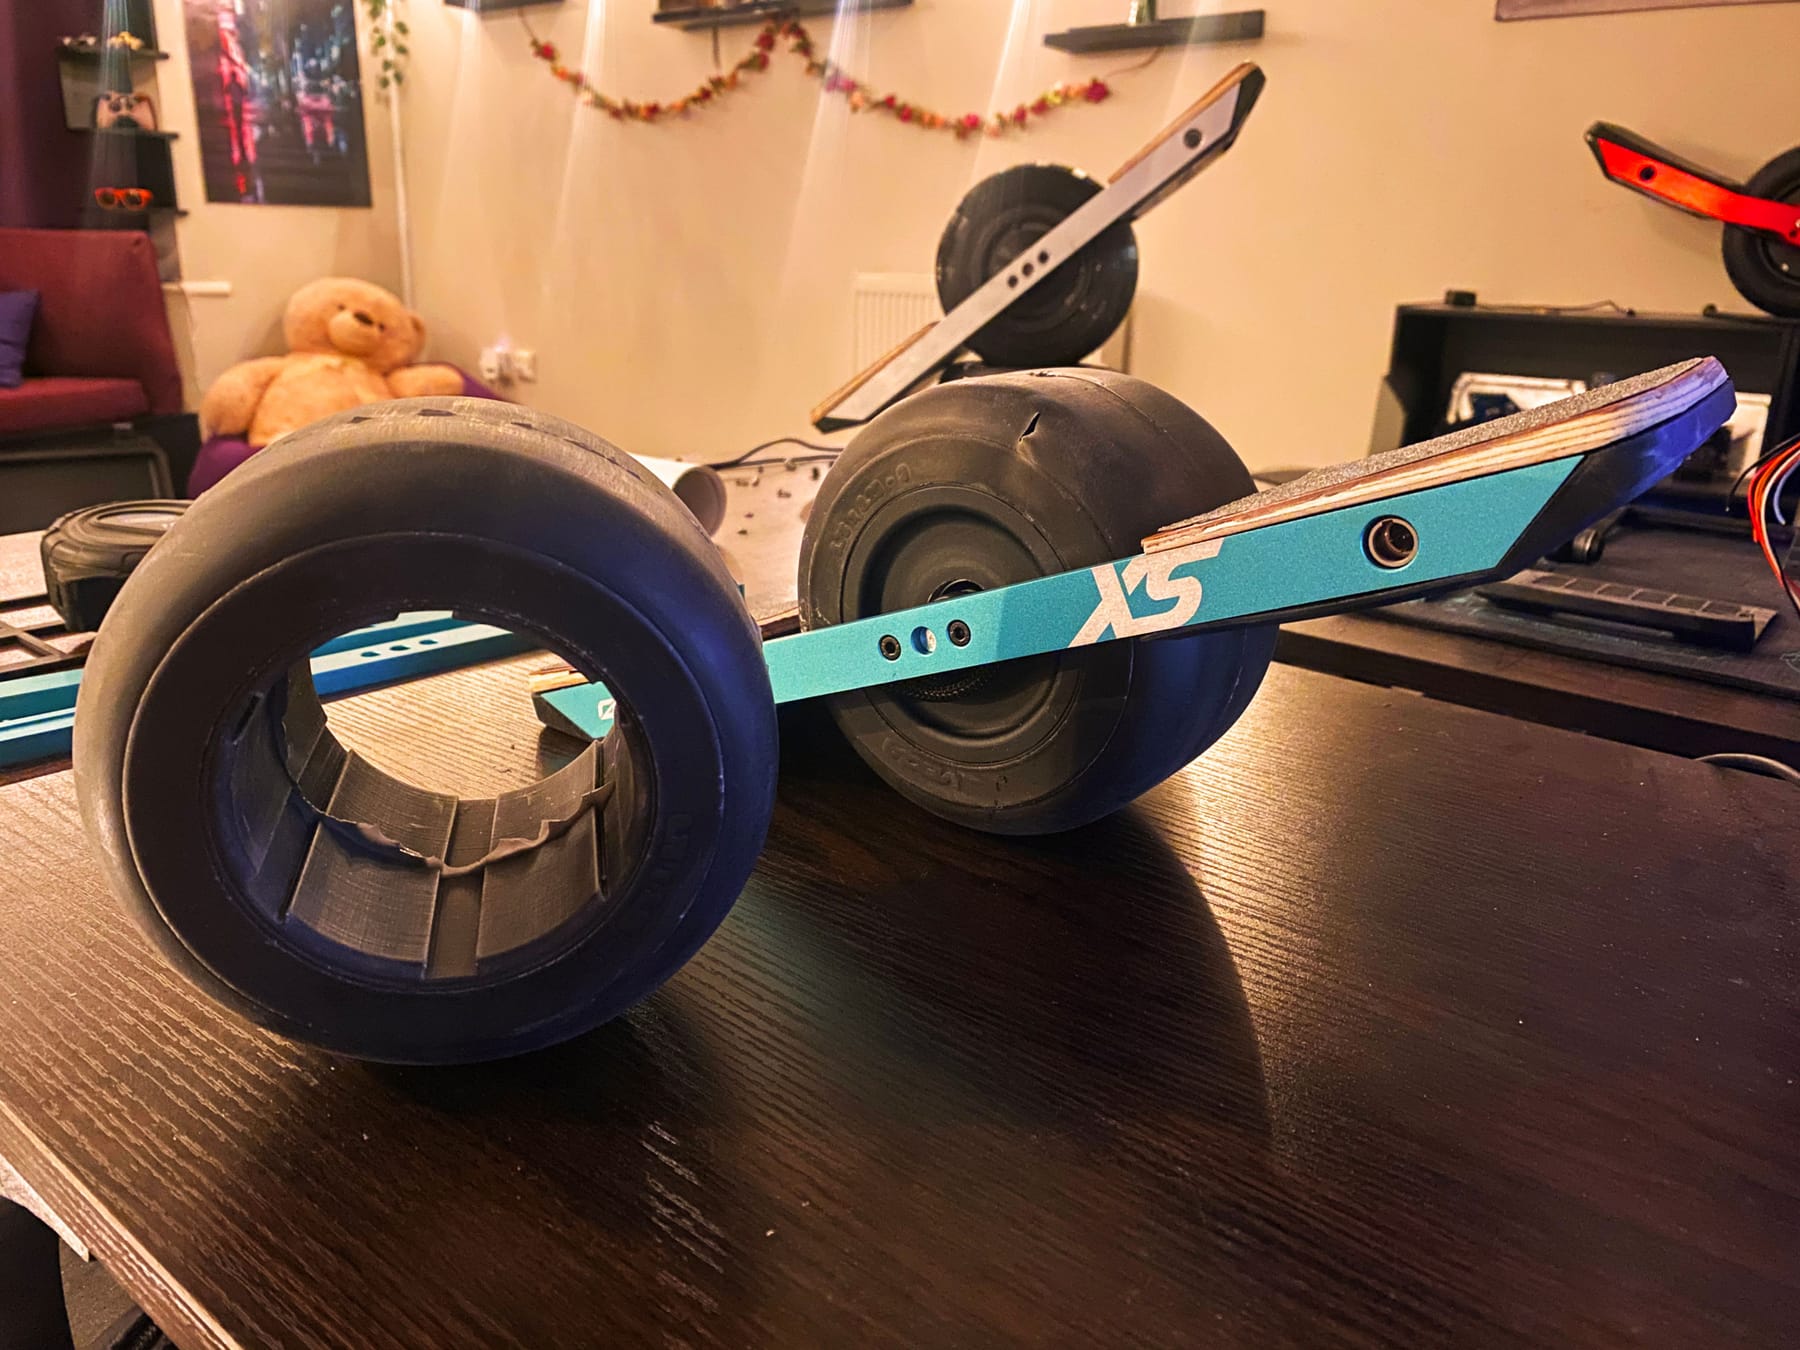
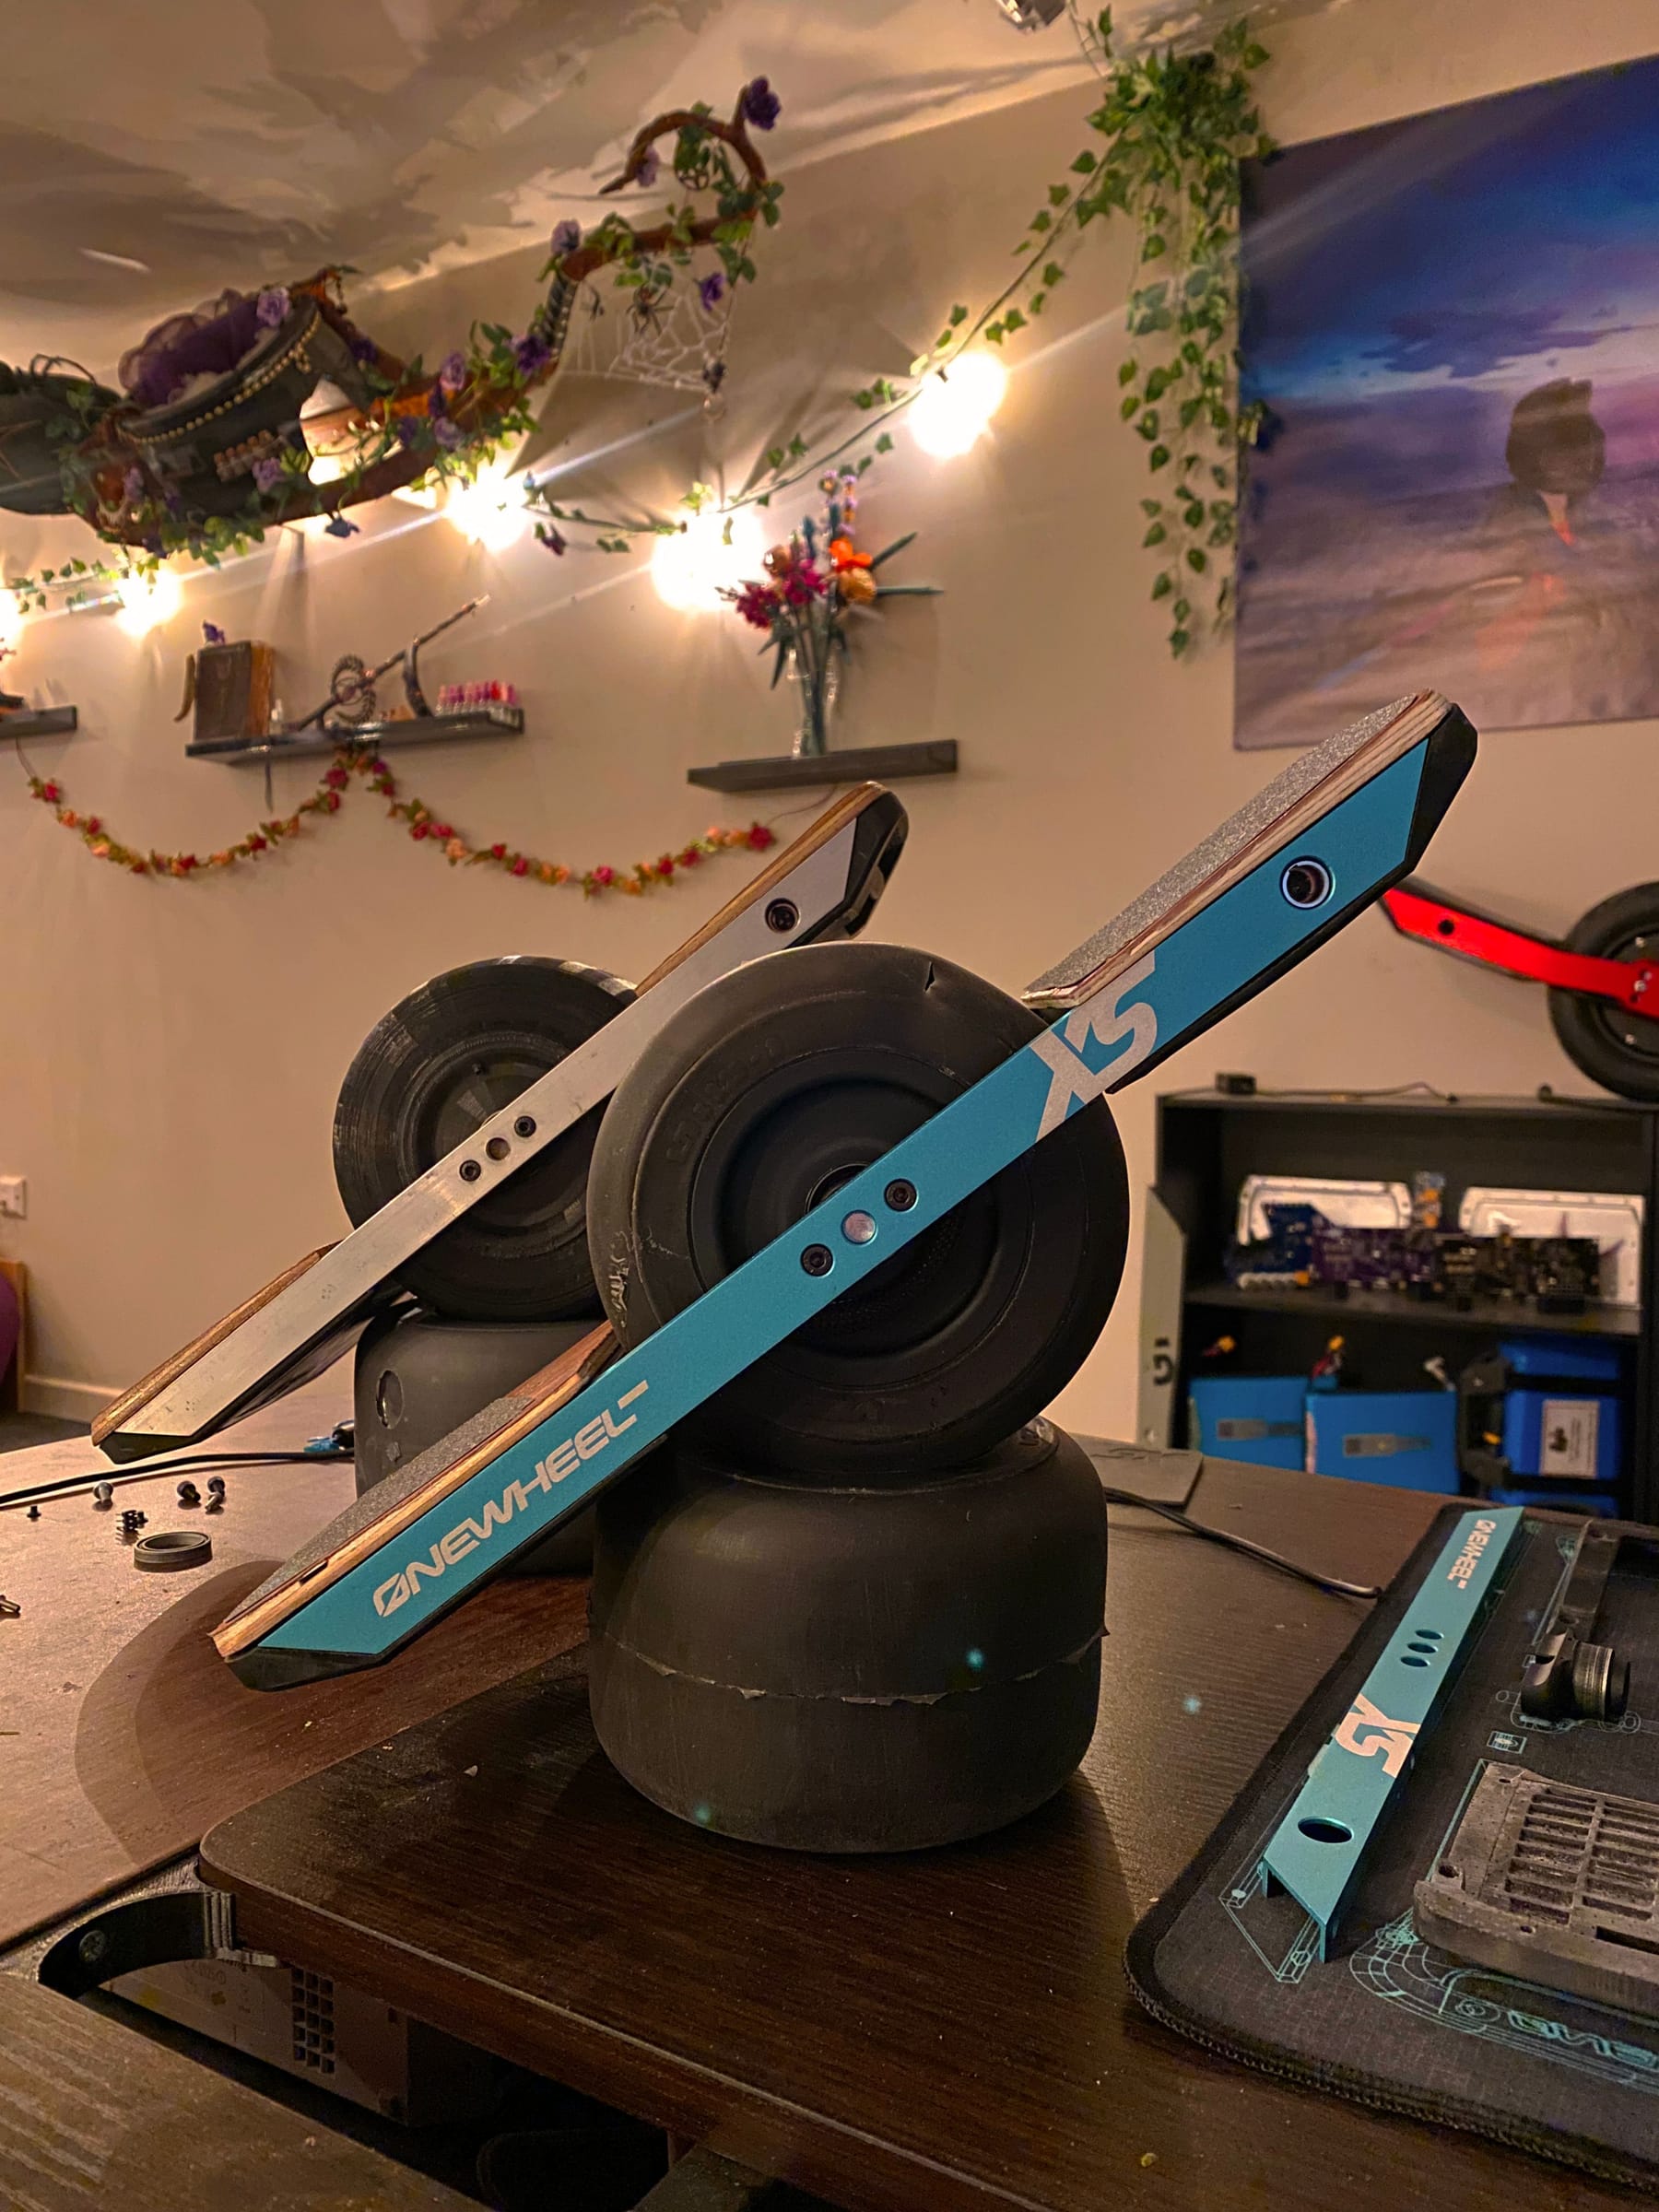
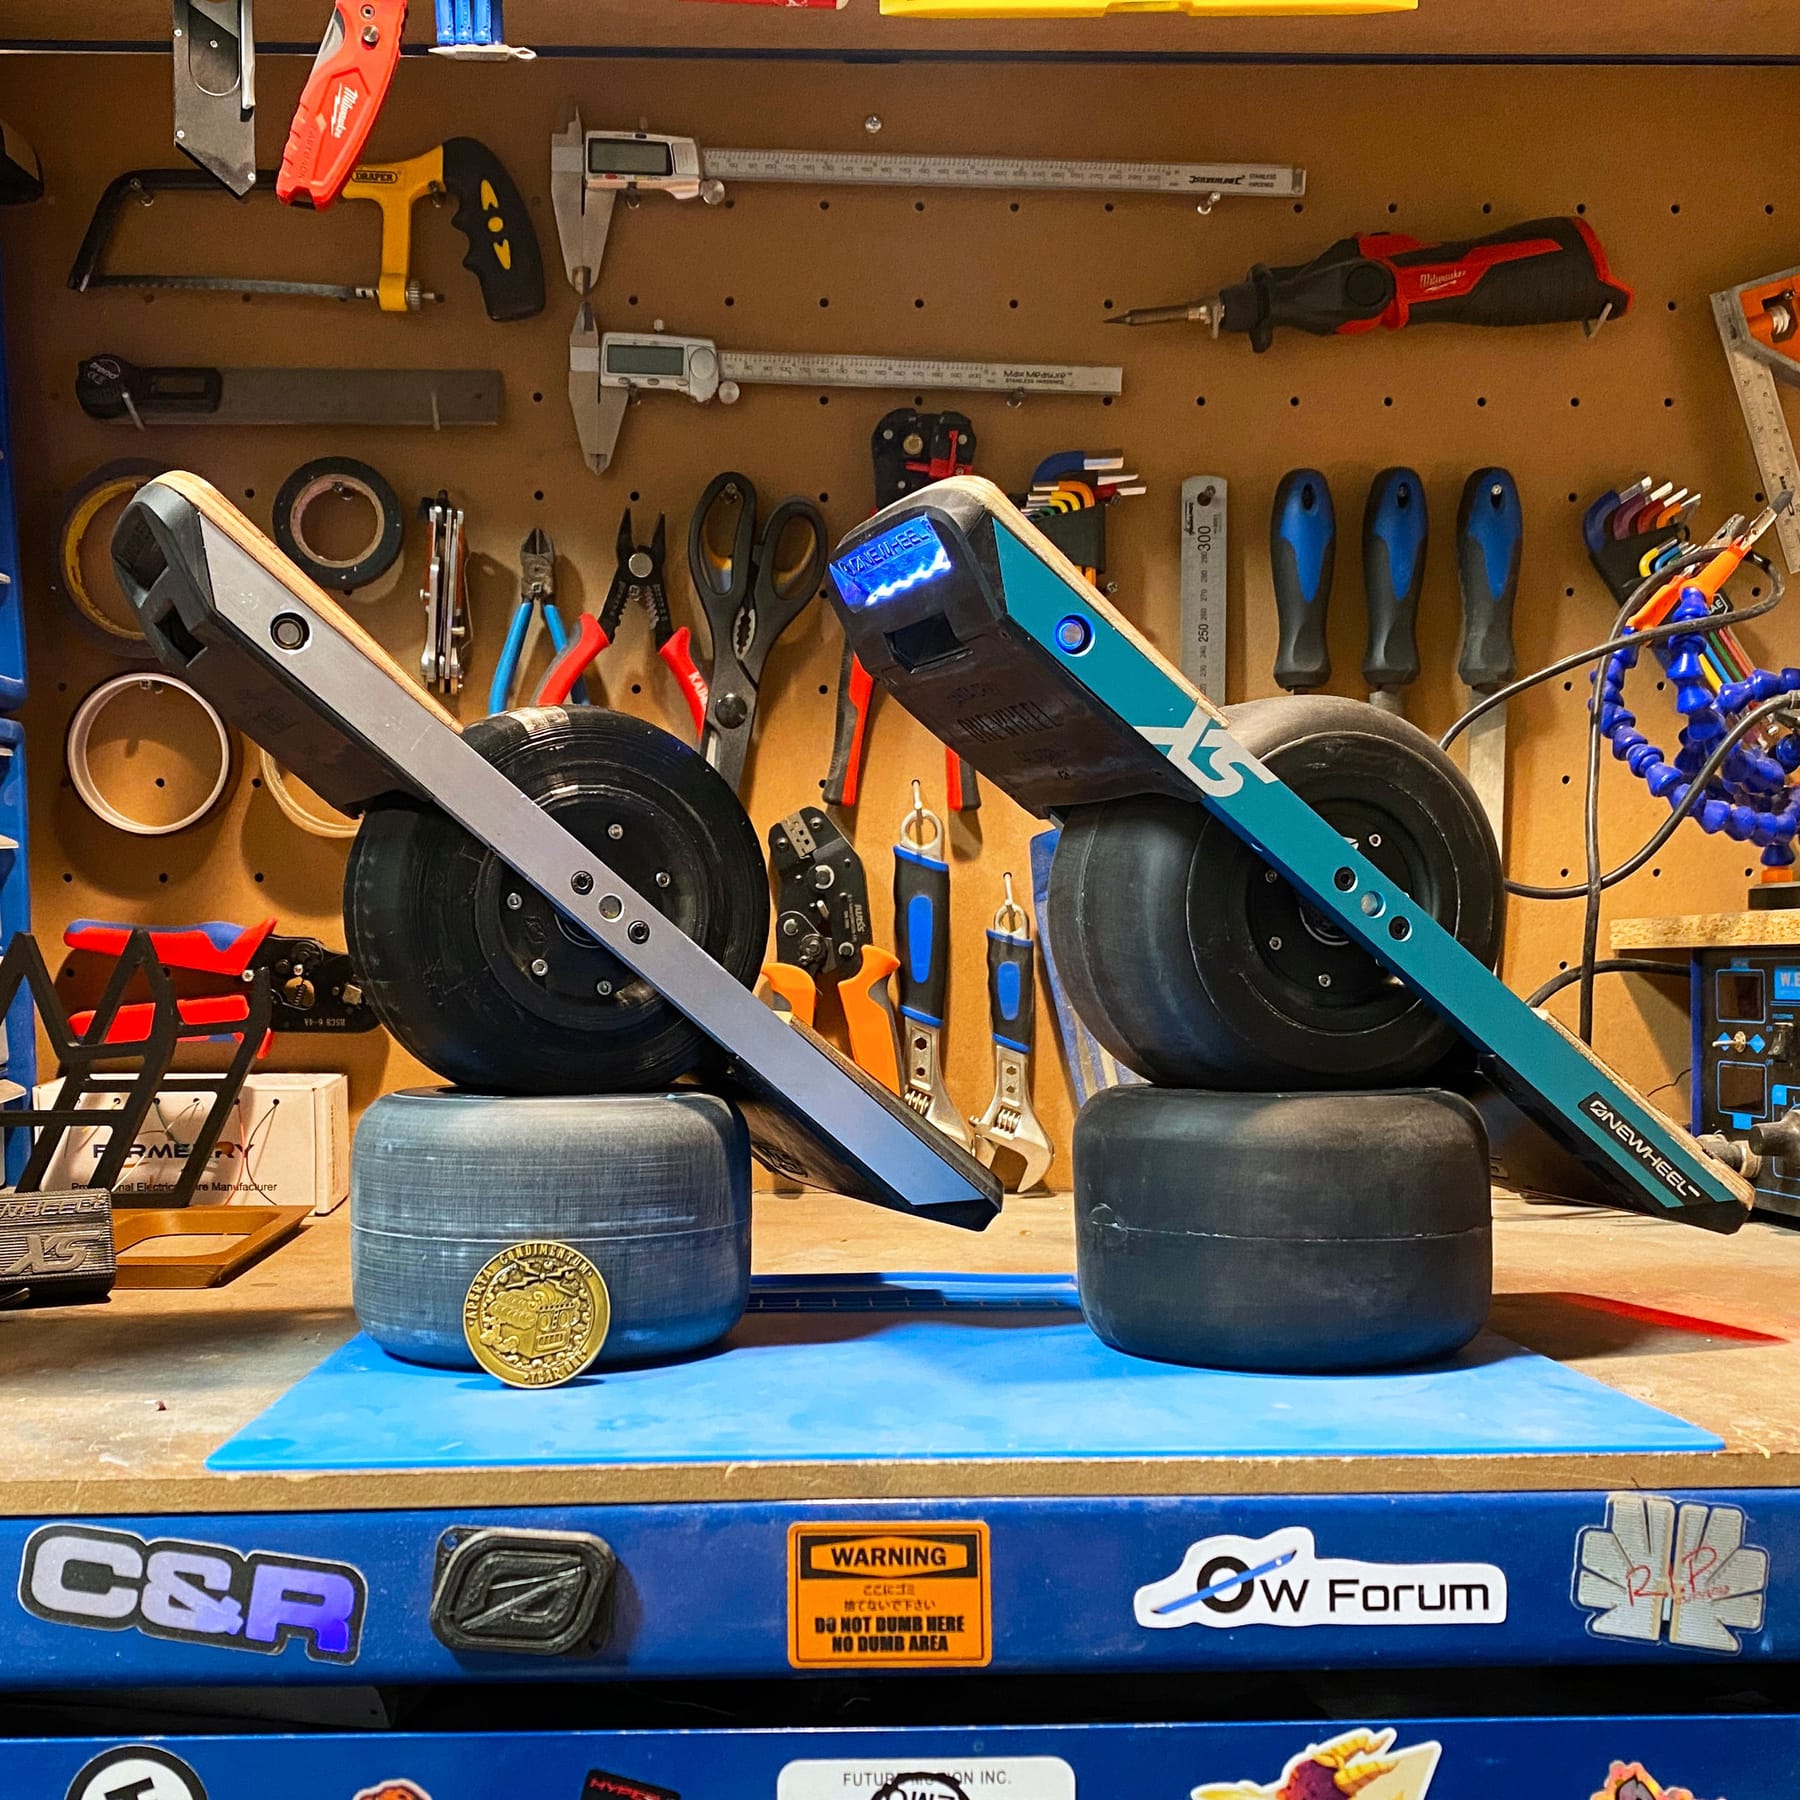
Also found the tires make a great display stand.
So I need to fit the new tire but I have another set of things to do so in order these are left to do.
- Install the bearings.
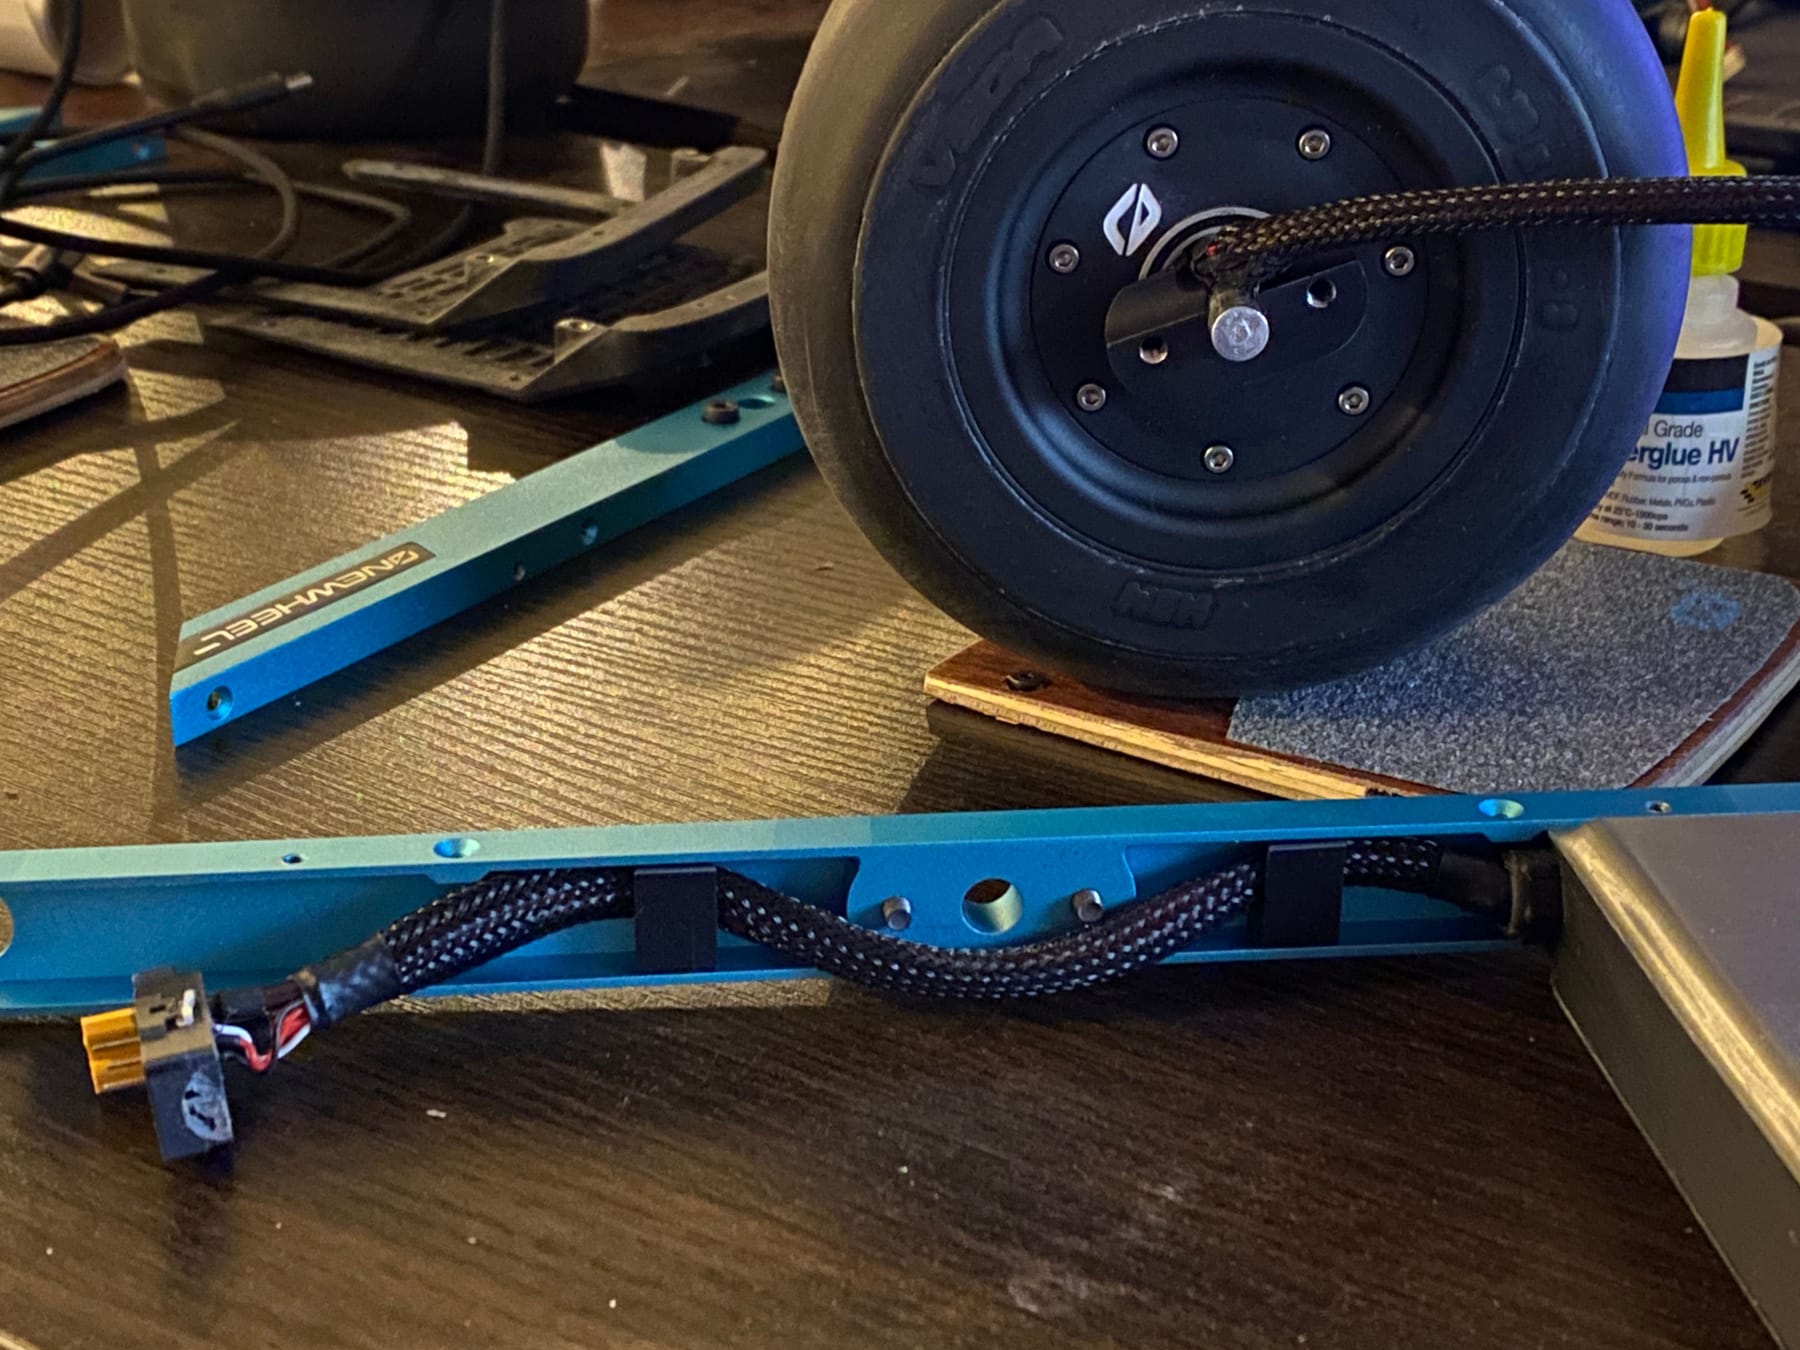
- Shorten the battery harness cable a bit.
- Adjust the LED programming so it's more consistent.
- Alter the footpad resistors so it is more sensitive at lower weights. Probably a 20k resistor instead of 1k by my calculations.
- Sand down the bumpers to line up with the footpads.
- Spray paint the bumpers.
- Add white colouring to the Vega logo.
Since the programming port for the VESC is still accessible via the back of the controller I'll tune the board once re-assembled as it's a bit looser than Mission and I want a more Delirium feel for showing it off.
Once I have this one done though I'll see if I can poke FM on insta and see if they'll swing by OpenSauce to see it in person. You know, to give it the official seal of approval 🥰
-
@lia I can't believe the amount of detail and patience you devoted to this project!
Do you think a person can ride your XS? -
@lemur Thank you! Part of me feels silly that a lot of the detail is hidden but I and you all know it's there ^-^
Funny you ask, Wren asked a few hours ago too. It can hold my weight like the first one but I have yet to try moving on it 😅 I want to so bad.
-
@lia I thought I saw a third XS in the earlier pics . . . I was hoping your own personal XS would be an homage to Slush, at least in its colorway. :)
GTS XL > GTS > GT > Pint X > XR > +
-
@onedangts I do plan to when the event is done with :) I need to figure how I'm going to cast an Enduro too but that's assuming I don't shelve this for months after the event is done.
-
Final stretch, got those pesky cable clips done. Did you know these are both my least favourite thing on the OG boards and the half scale. Yes even frustration translates.
Also figured it might be fun to make that side stand just for fun. Will make the base out of actual wood but for testing this actually came out pretty good. Haven't cast the rubber grippers that sit in the holder but as is it works just like the real stand.
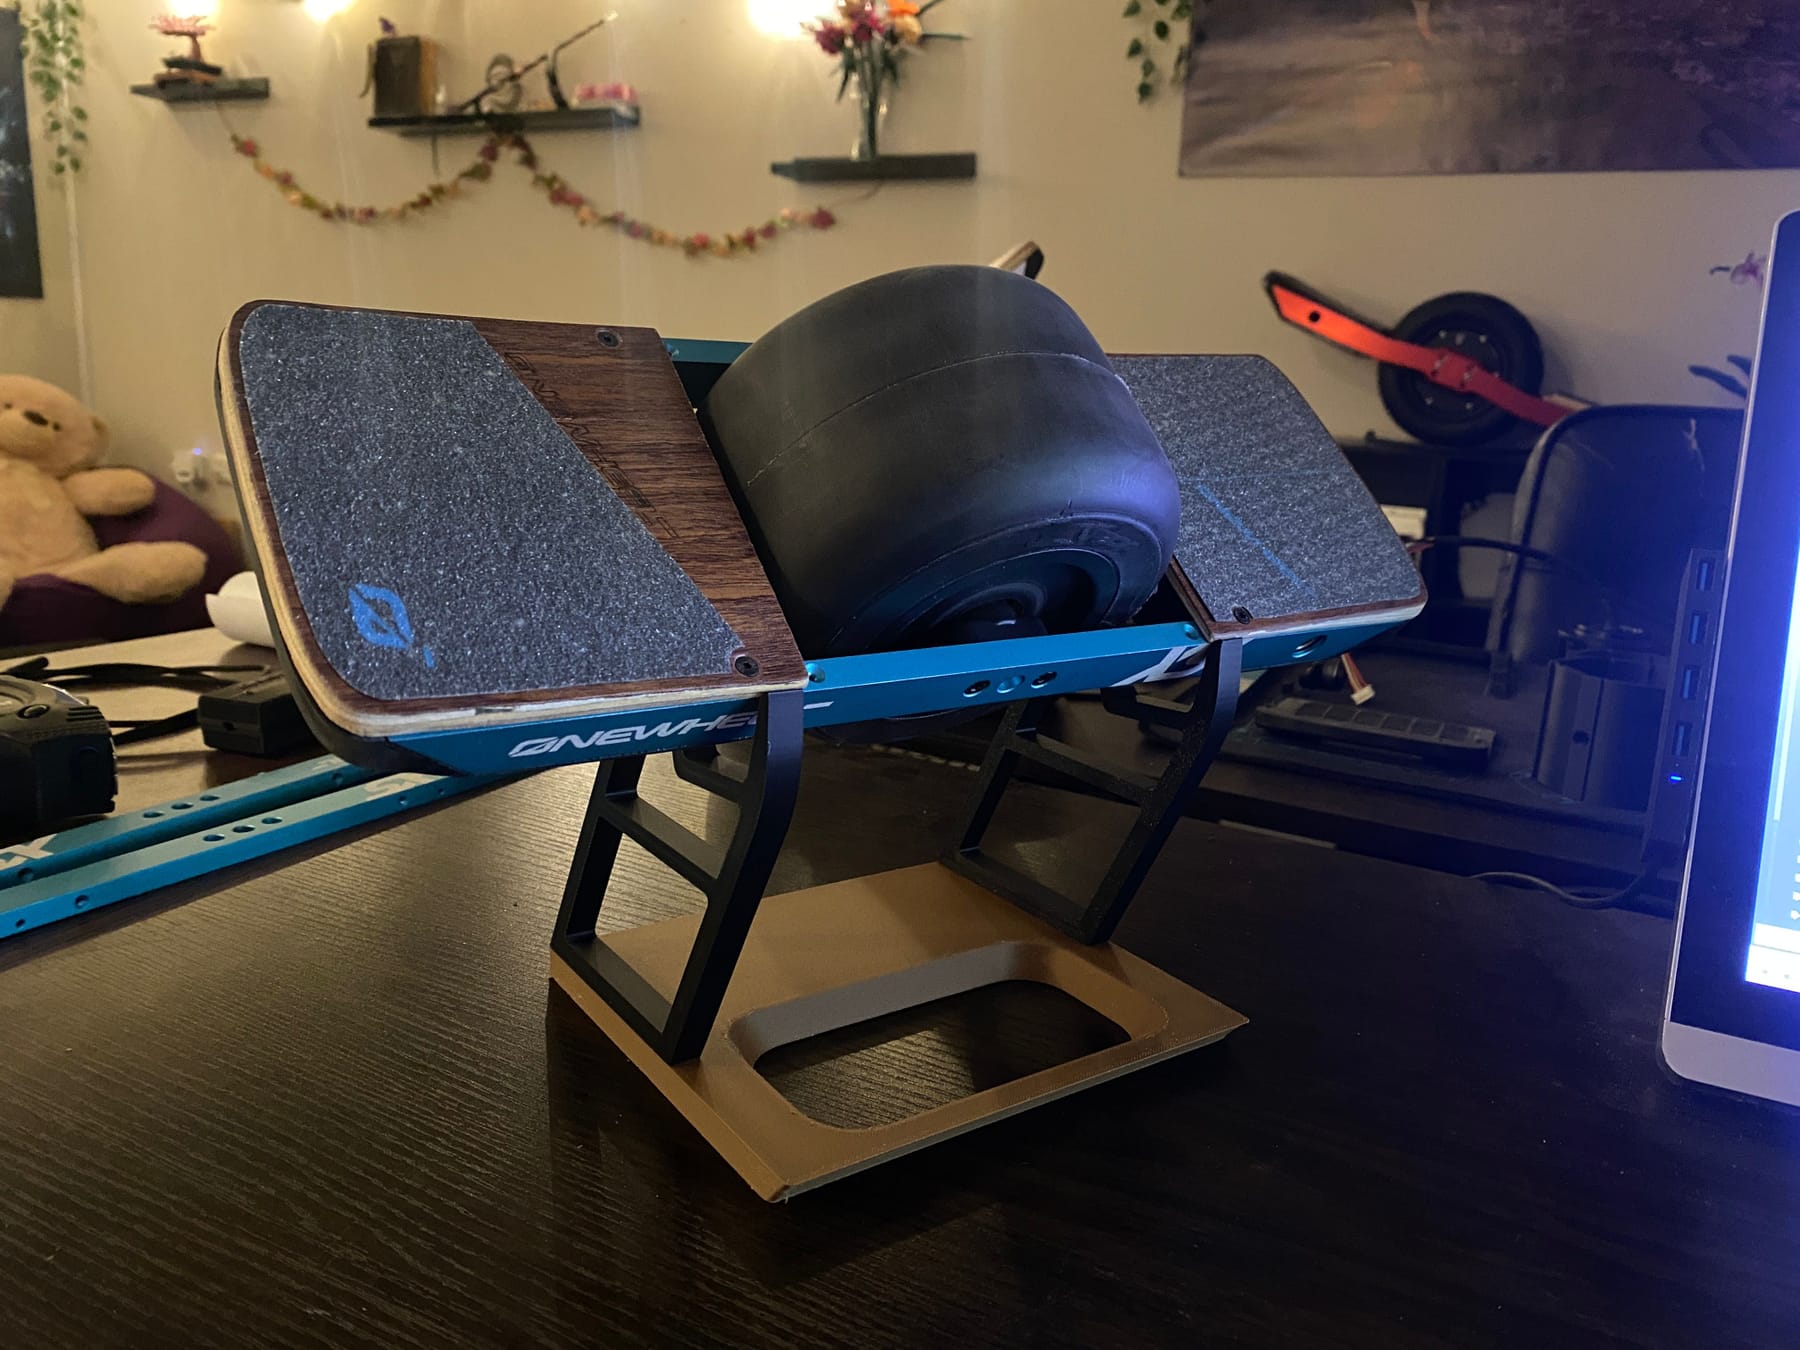
All assembled it was time to tune it. I spent a bit of time with the programming tether connected. Eventually I sat it on some tire replicas since it was gonna take off otherwise.
But er... well nothing left to say other than
It's dooone!
I've poked FM on insta with my post to see if they wanna come see it. Like the event is not that far from their HQ so hopefully they swing by. I think that'd be cool 🥰
I have tried to ride it with my full weight but she's not strong enough for me. However she does have a stupid amount of torque still. I had to set the p value to just 0.5 else she's just rocket away.
-
@lia Absolute work of art! If we ever get a one wheel museum, your XS build belongs in it. I love the "Onewheel -" branding you have on it, if it had a code name, it could be the "Minus".
-
@biell Thank you 🥰 I'd be honoured if that were to become a thing.
The minus was a fun little touch. Glad you noticed it 😊 -
@lia That is crazy beautiful!!
-
@lemur I know right 😊 Hopefully I'll get some cool pics and vids in a few weeks of people having a go with it.
-
@lia said in Followup to the Onewheel XS:
Hopefully I'll get some cool pics and vids in a few weeks of people having a go with it.
Hopefully very small people!
GTS XL > GTS > GT > Pint X > XR > +
-
@onedangts I have a feeling some kids might have a go. Gonna be cute!
-
@Lia Congratulations on big attention your project well worth gained!
Please, could you share us some closer insight of those impressions by Future Motion comrades?
![XS attention at FB [1000x2035].jpg](/assets/uploads/files/1718537200241-xs-attention-at-fb-1000x2035.jpg)
-
@sirgu I may or may not be at the HQ tomorrow but I’ll defo share when I get back 🥰 Been so busy I’ve barely been able to check in on anything 😅
-
We did make it to the HQ and it was wild. I’m utterly tired and hella sunburnt (forgot suncream 💀) but I’ll do like an ama thread or something soon plus add some pics of stuff I can probs share.
FYI they’re actually all really cool guys 🥰
-
Awesome!
If Bodhi does not reflect some bit of it in next 'FIRST FRIDAYS' episode, then I really don't know what does! -
@lia said in Followup to the Onewheel XS:
FYI they’re actually all really cool guys 🥰
A company of Onewheel enthusiast engineers, whatever would you have to talk about 🤔
Remember that most companies, even the ones we disagree with vehemently, are filled with good people just trying to do the best they can to make their piece of the world as good as it can be. We can be upset with those at the top, but the rank-and-file are usually good people who deserve the same love and respect we would give to anyone.
-
@Lia your board got mentioned in a YT short by FM
https://youtube.com/shorts/kXovalmThbI?si=U2Fnk-DW3ia9rkLj113 volts?! I could lick that!
-
@Lia Wow! 🤯🤯🤯 I haven't been here a while, but spotting this short on YT has blown my brain. Had to log in for the full story.
Congratulations on the success, full respect to you. -
@stinkyface Thank yoooou <3 I was so stoked to see it posted on their Insta and channel 🥰