Followup to the Onewheel XS
-
Me and @cheppy44 will be exhibiting the XS's at Opensauce 2024 in San Francisco June 15-16 🥰
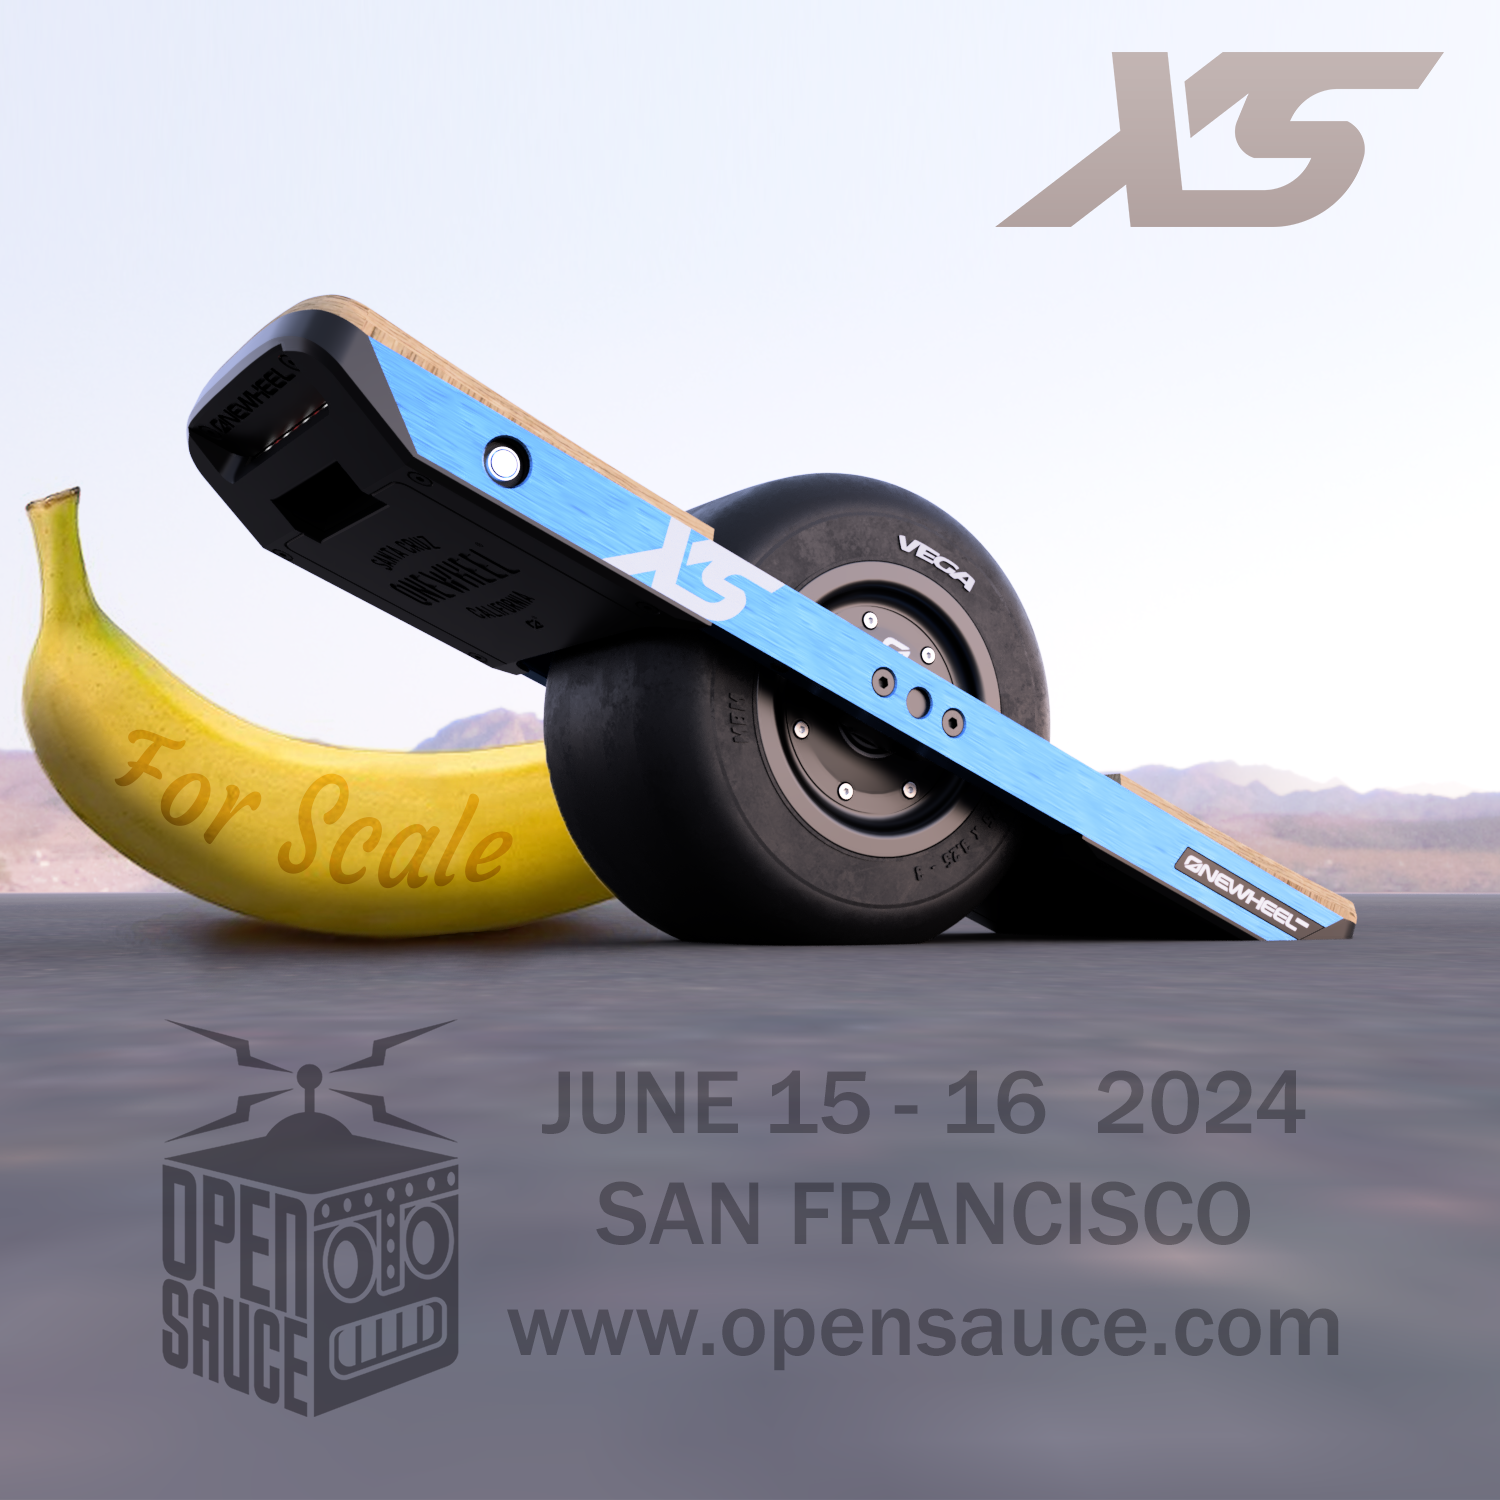
I have a few build log pics and stuff to upload but wanted to get a bit more done before sharing. In the meantime I wanted to share this as we've been accepted to have a booth ^-^
Not sure how many of you are into the whole DIY sorta thing but if you are go check out https://opensauce.com/ for tickets and what to expect. Last years was great and this one is gonna be even bigger.
-
@lia So much fine detail! Fantastic!
-
@lemur Thank yoooou ^-^
-
I'm really bad for updating y'all on this >.> I like wanna share something but I'll think "no after this". Rinse and repeat 😅 Gonna split this into a few posts so I don't melt your device loading it all in one go.
So a lot has happened. Lets play catch up!
First up the LED strips for the XS came. I bought a bunch of PCBs since they were dirt cheap. Still needed 2020leds added but that was future (now past) Lia's job.
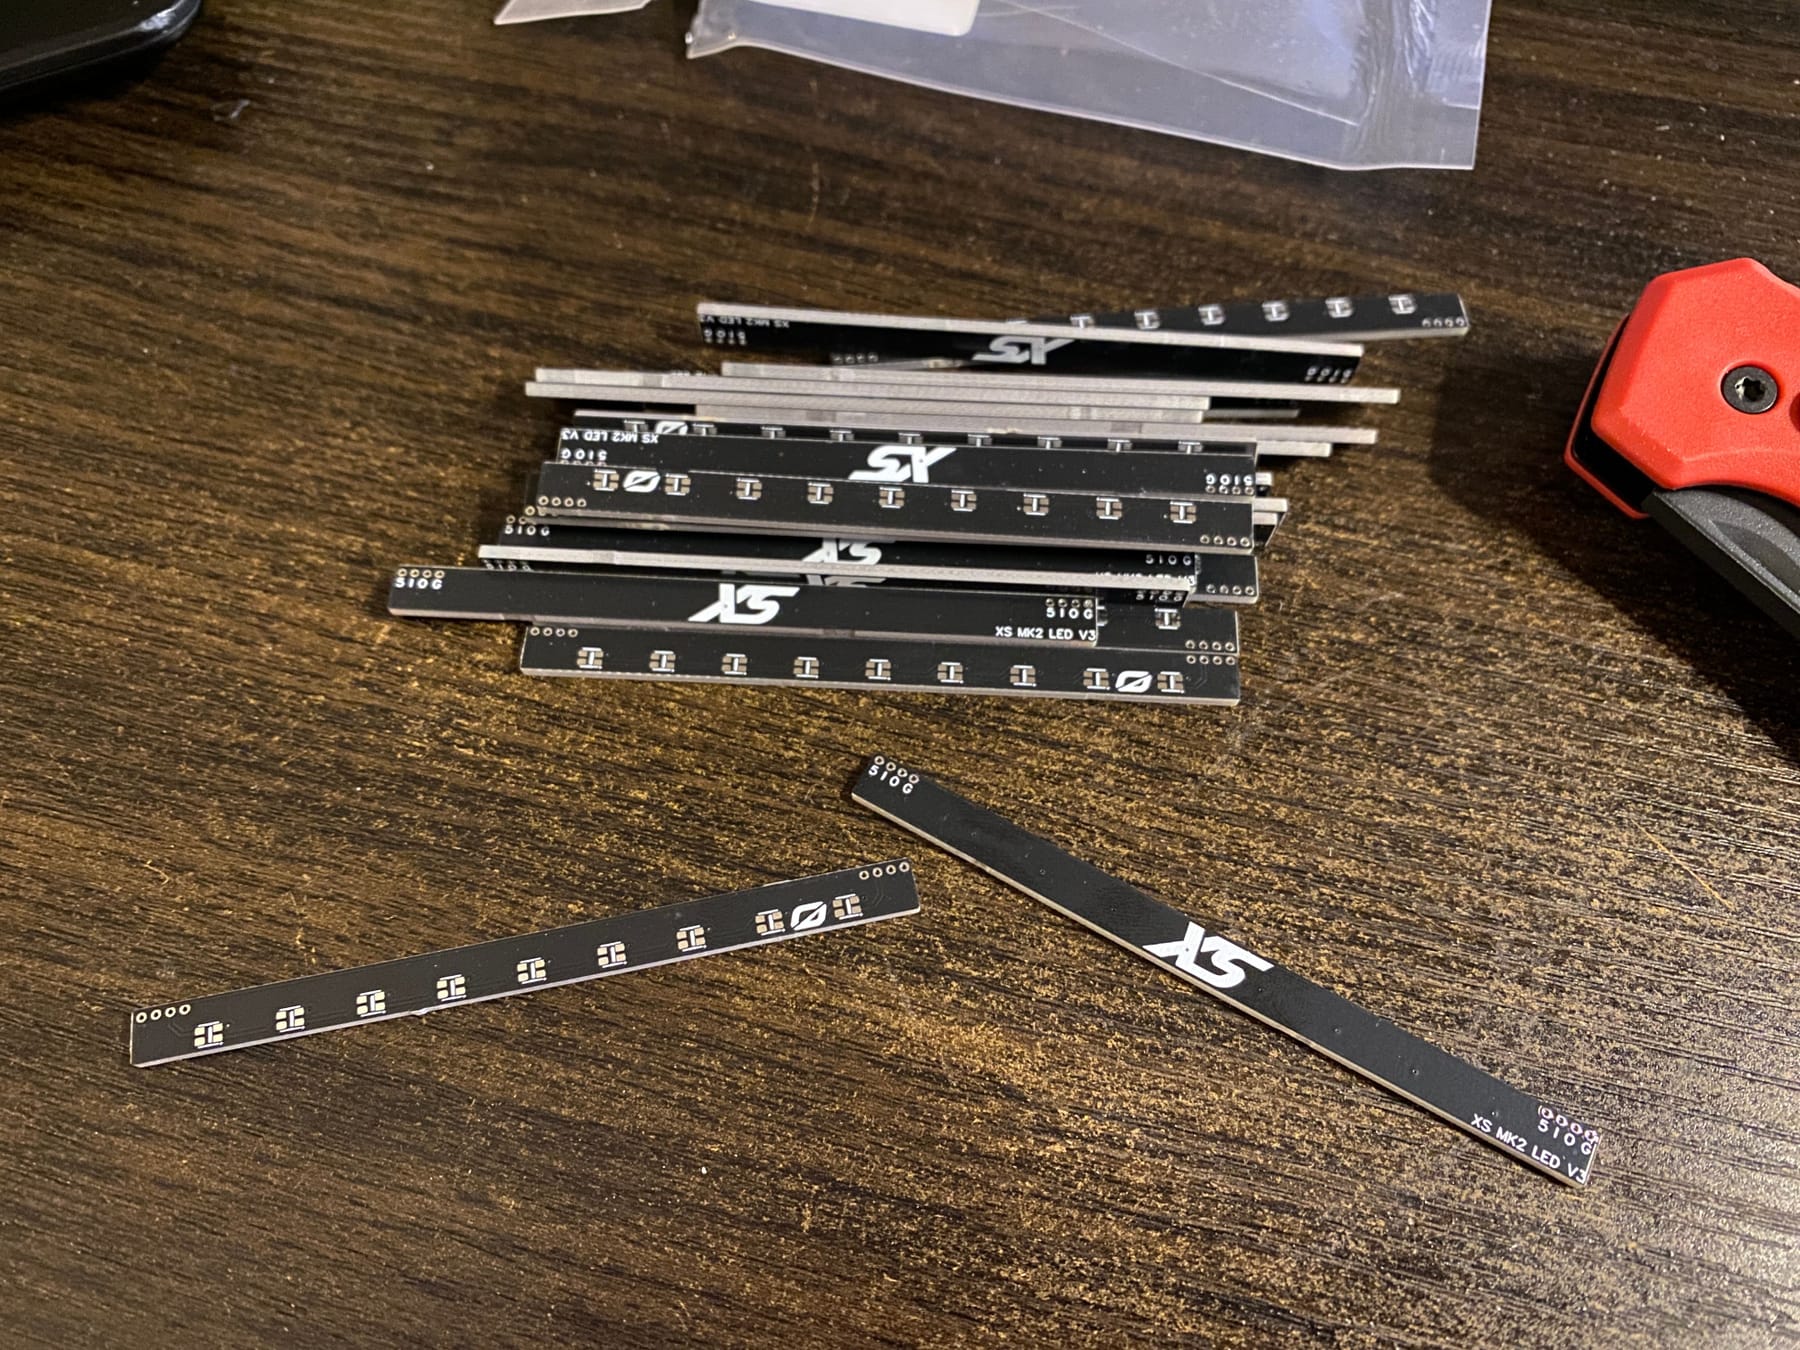
Fast forward a bit and I've got them soldered and with @cheppy44 's help some test code running. It pulses the blue LED and lights up the others at like 10% brightness or something. They're really bright n full whack.
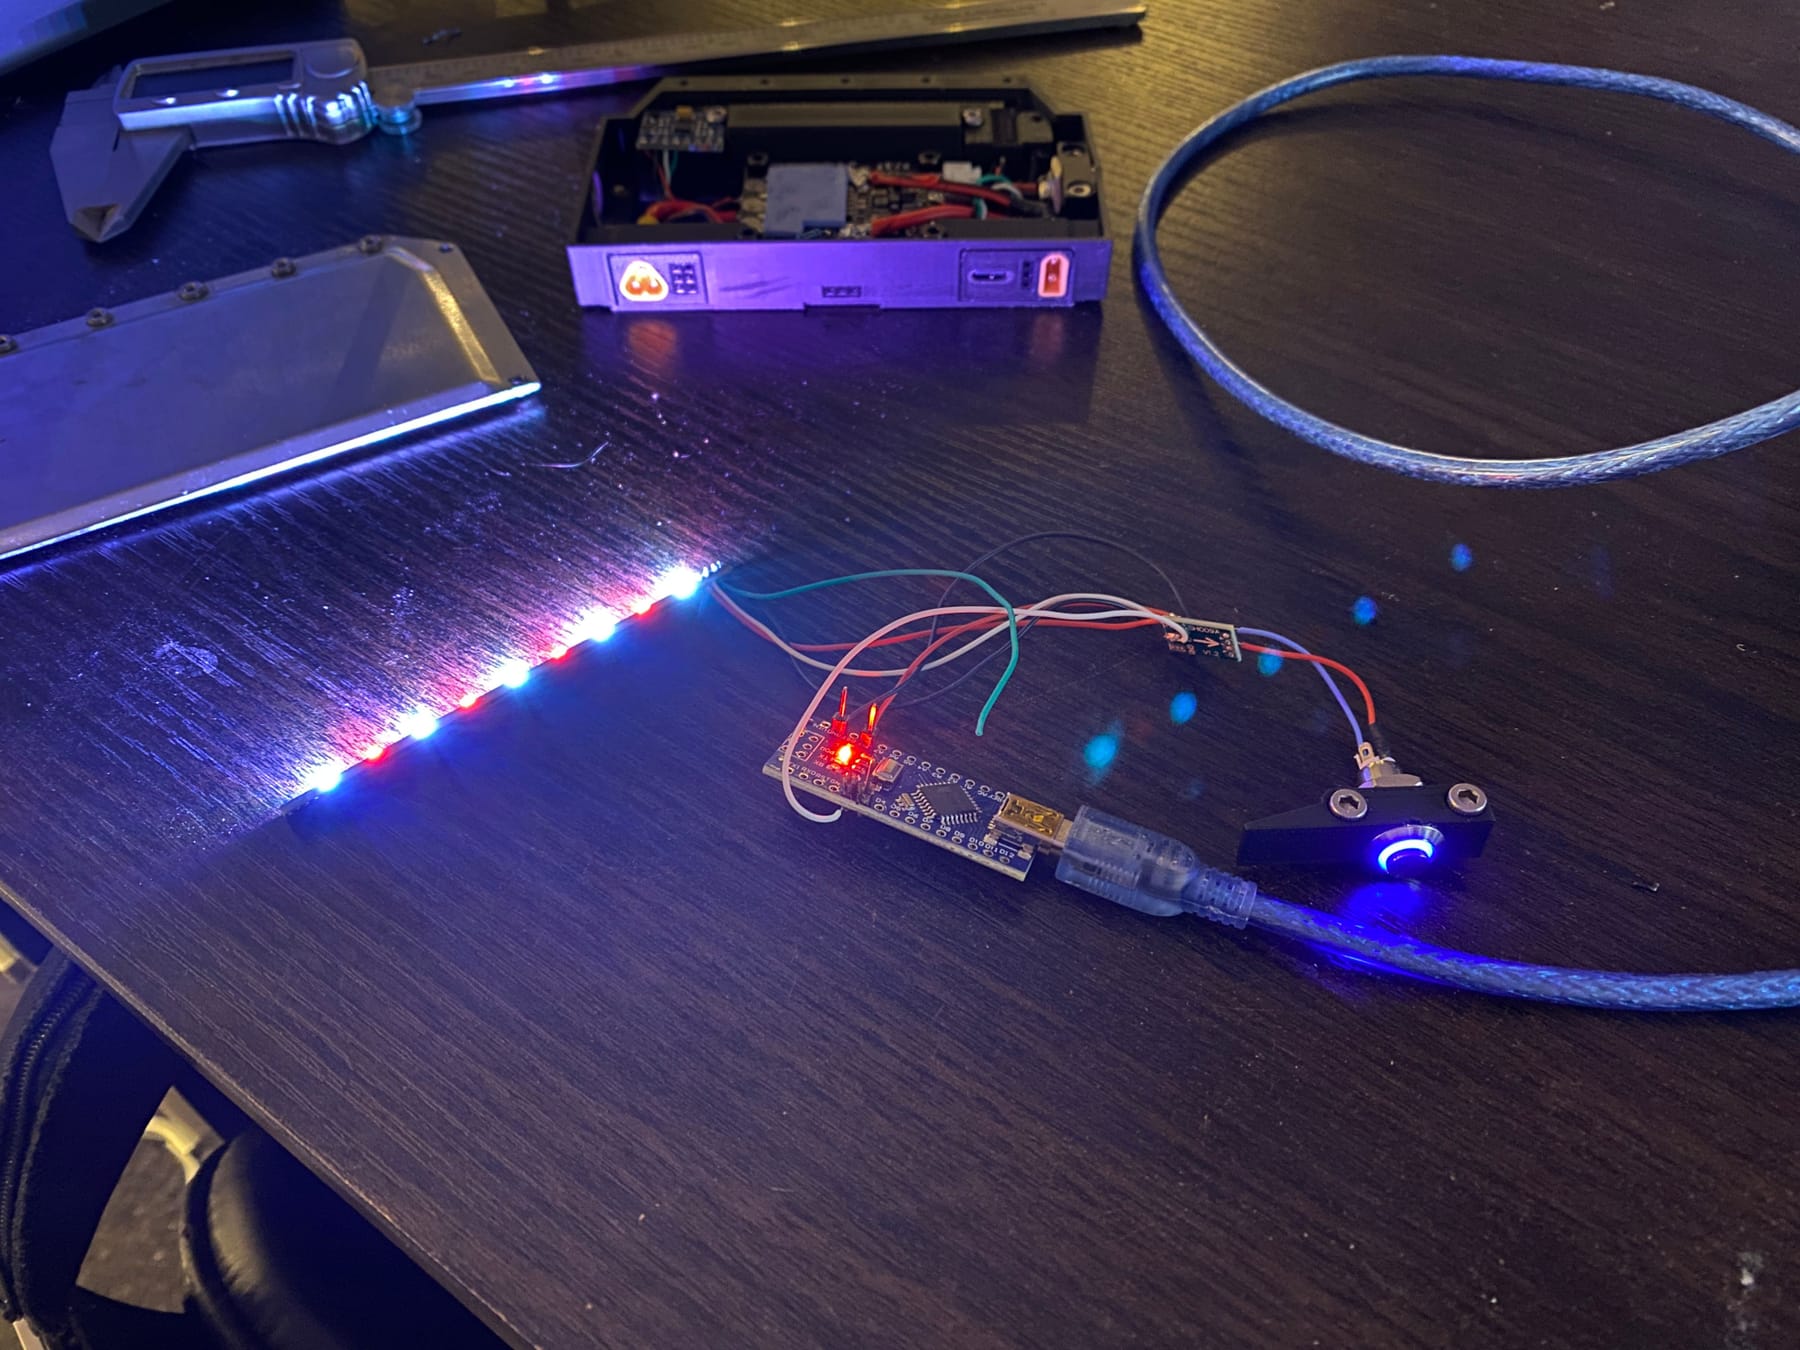
Mounted inside it looks sooooo good especially with the little FM logo.

Disappointingly at this point the USB port that I bodged on stopped working. Turned out the lil resistors that sit near data lines had died so I ended up piggybacking off some traces further back to add some test resistors.
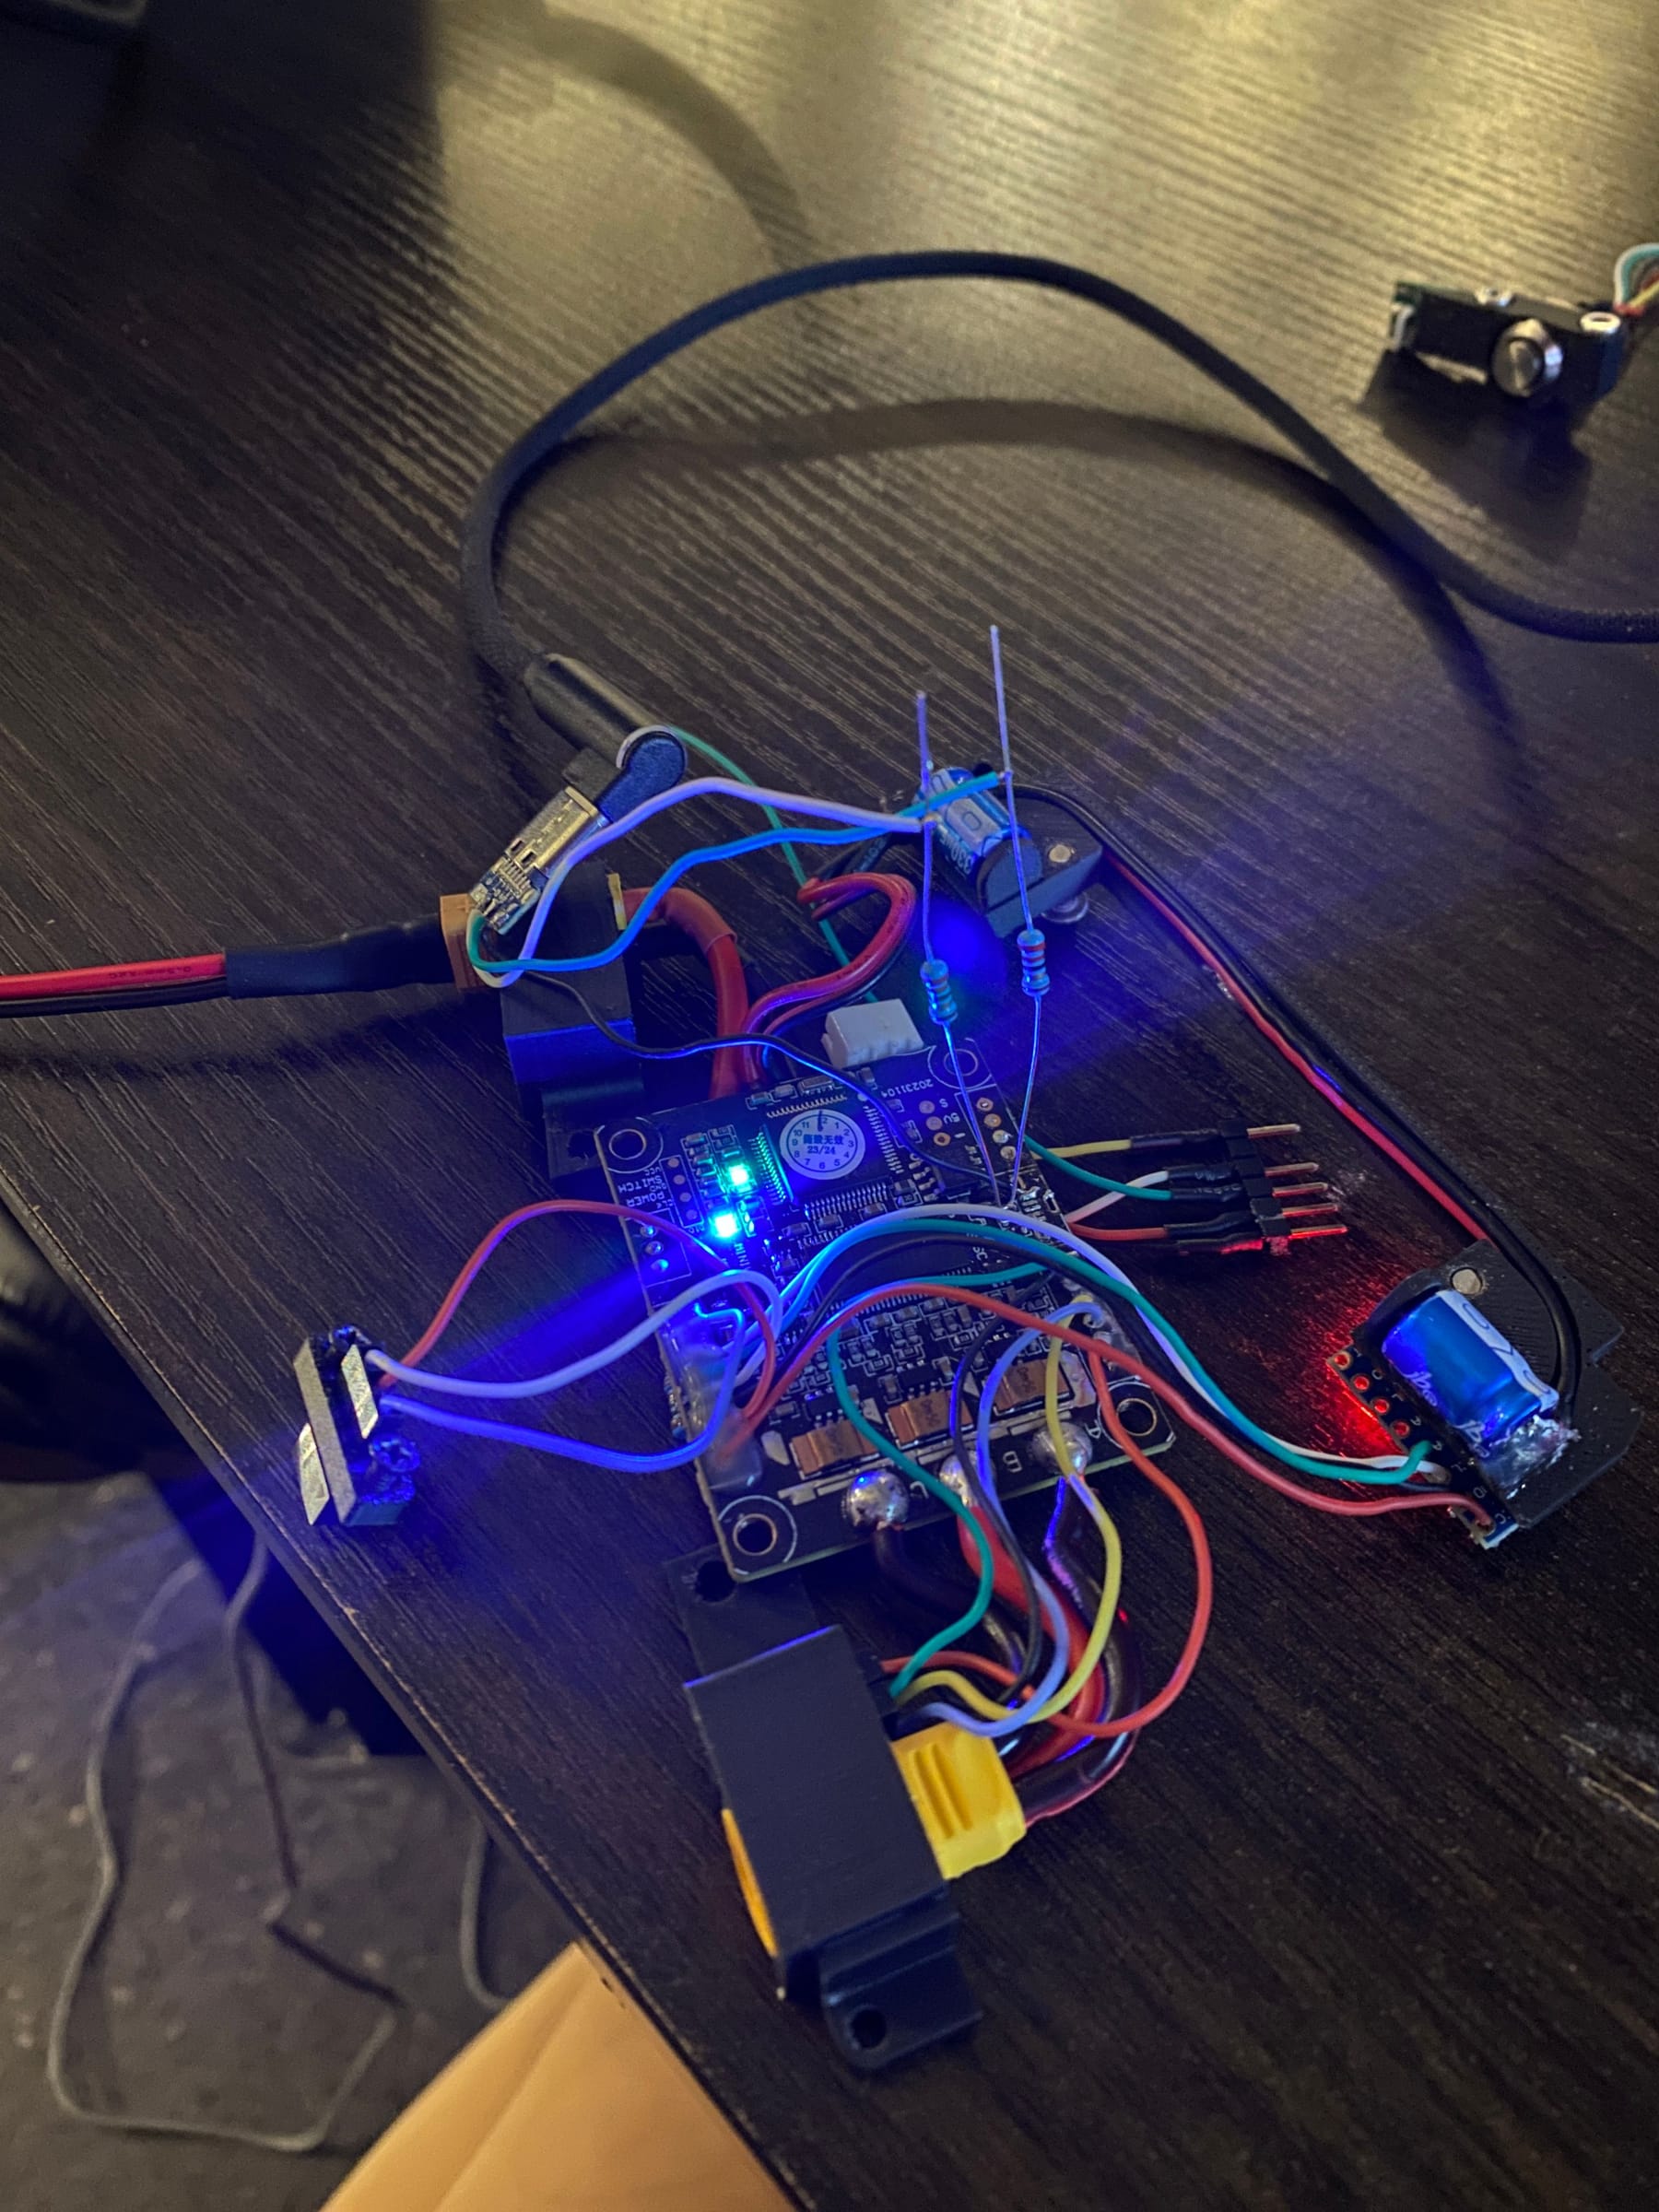
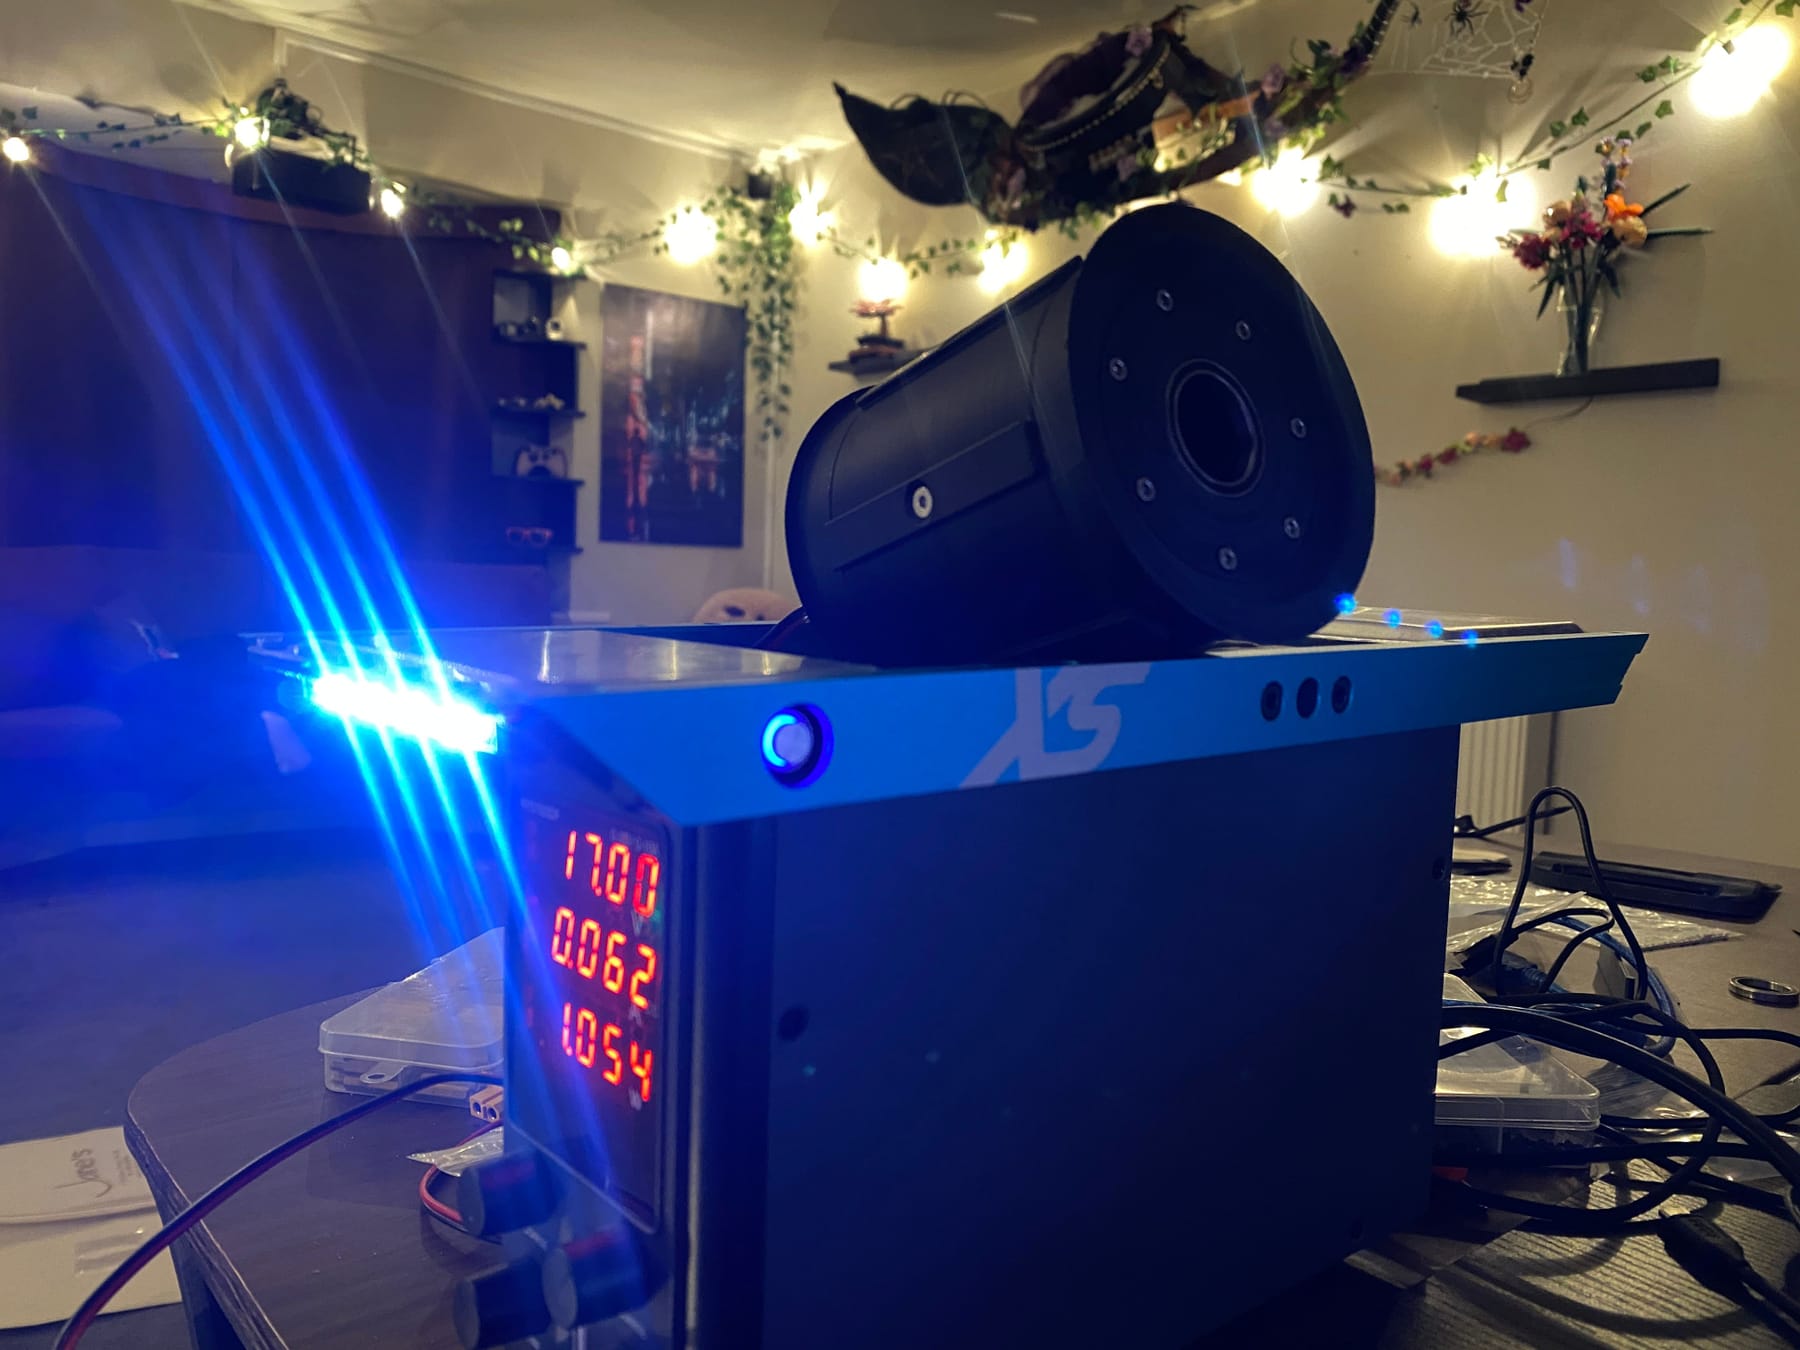
All together again for a test and it looks fab!
In the meantime I made the battery again. Identical to the first one since it worked great so why change it.
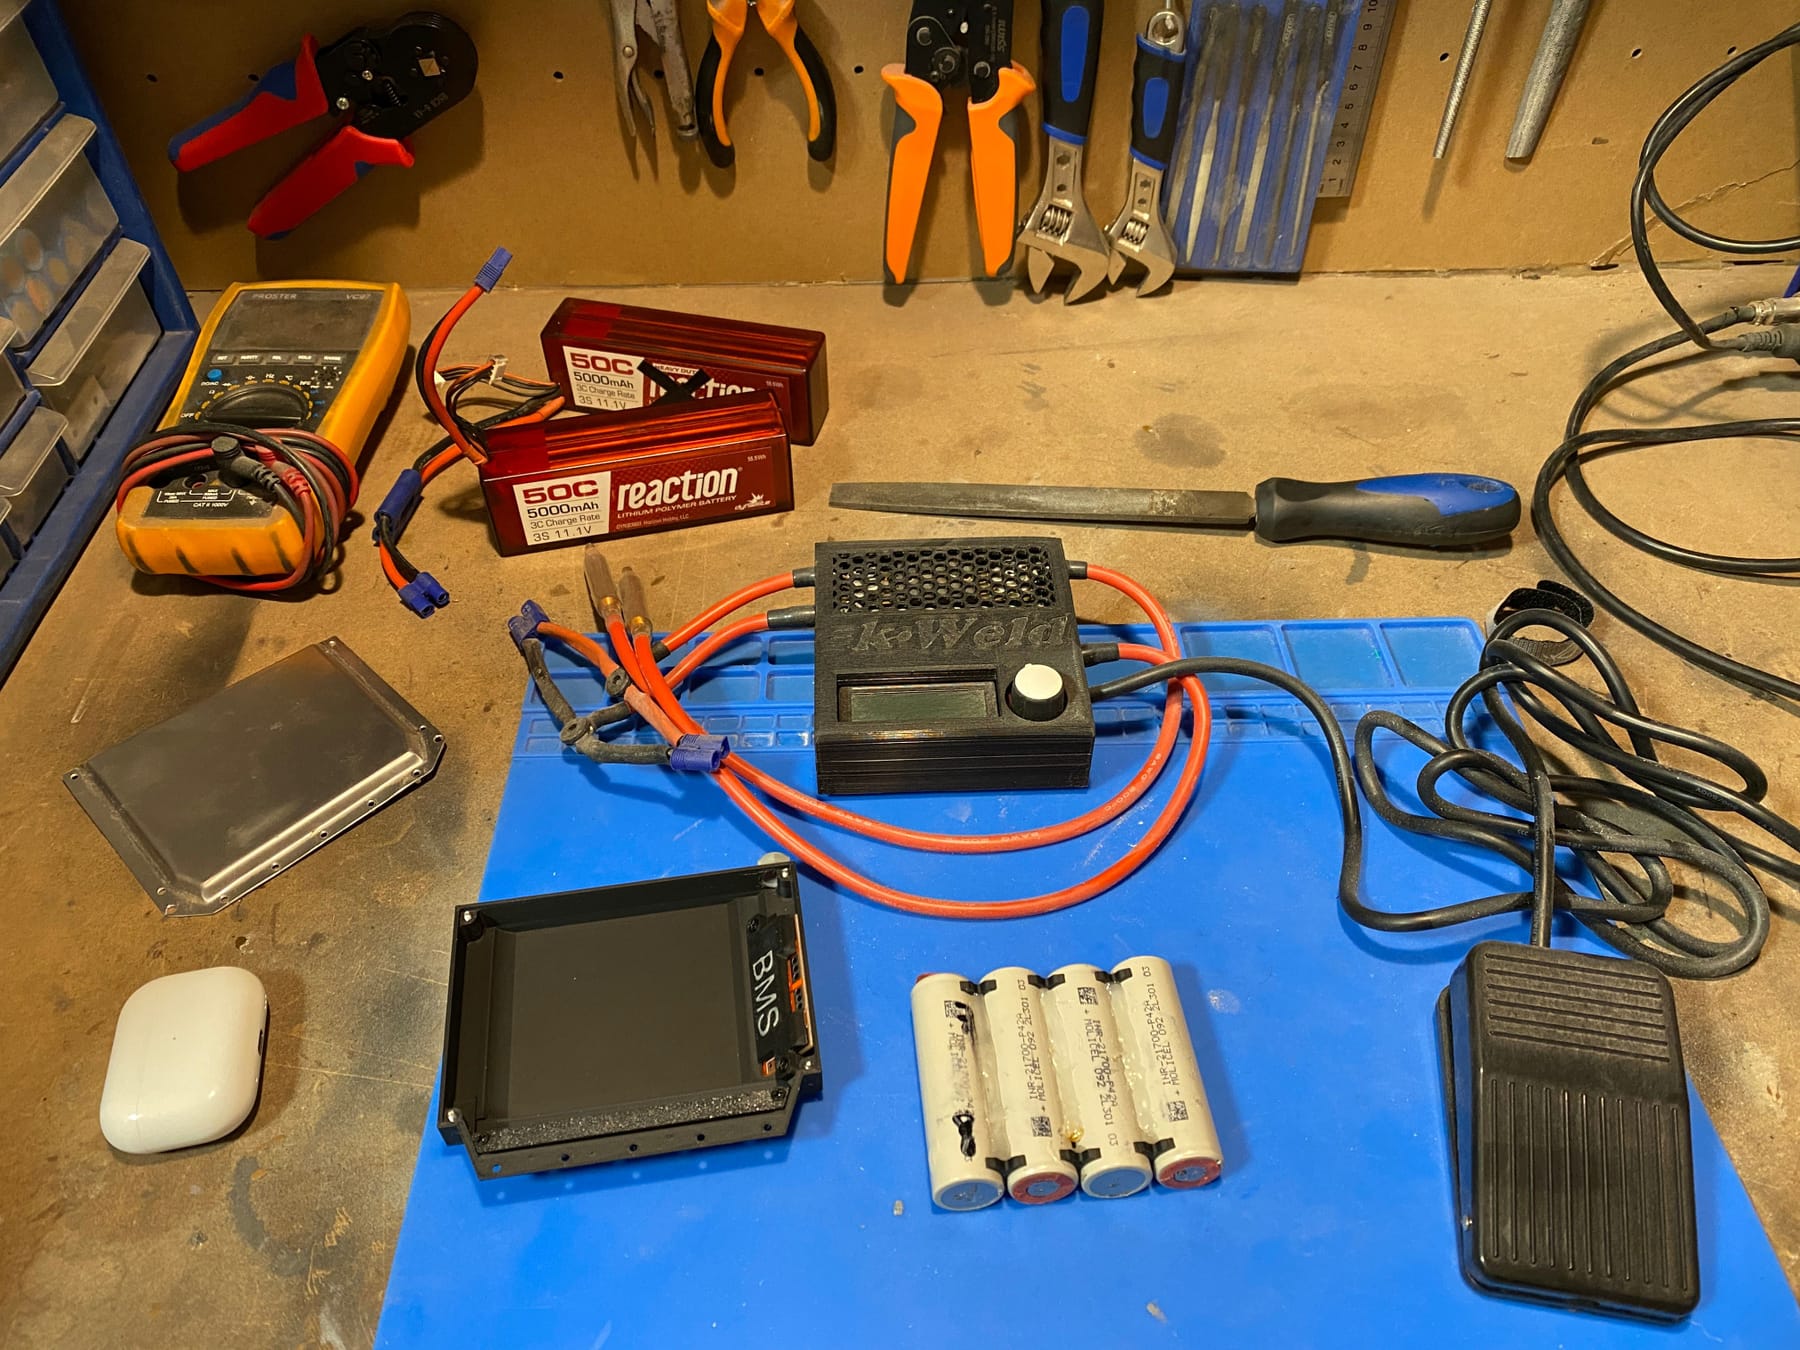
To be honest this is one of my least favourite parts of the build. I hate working with lithium batteries. Even though I made that monster 60 cell 15s4p VnR pack I always get nervoud working on them. Regardless I got it done, taped and shrink wrapped.
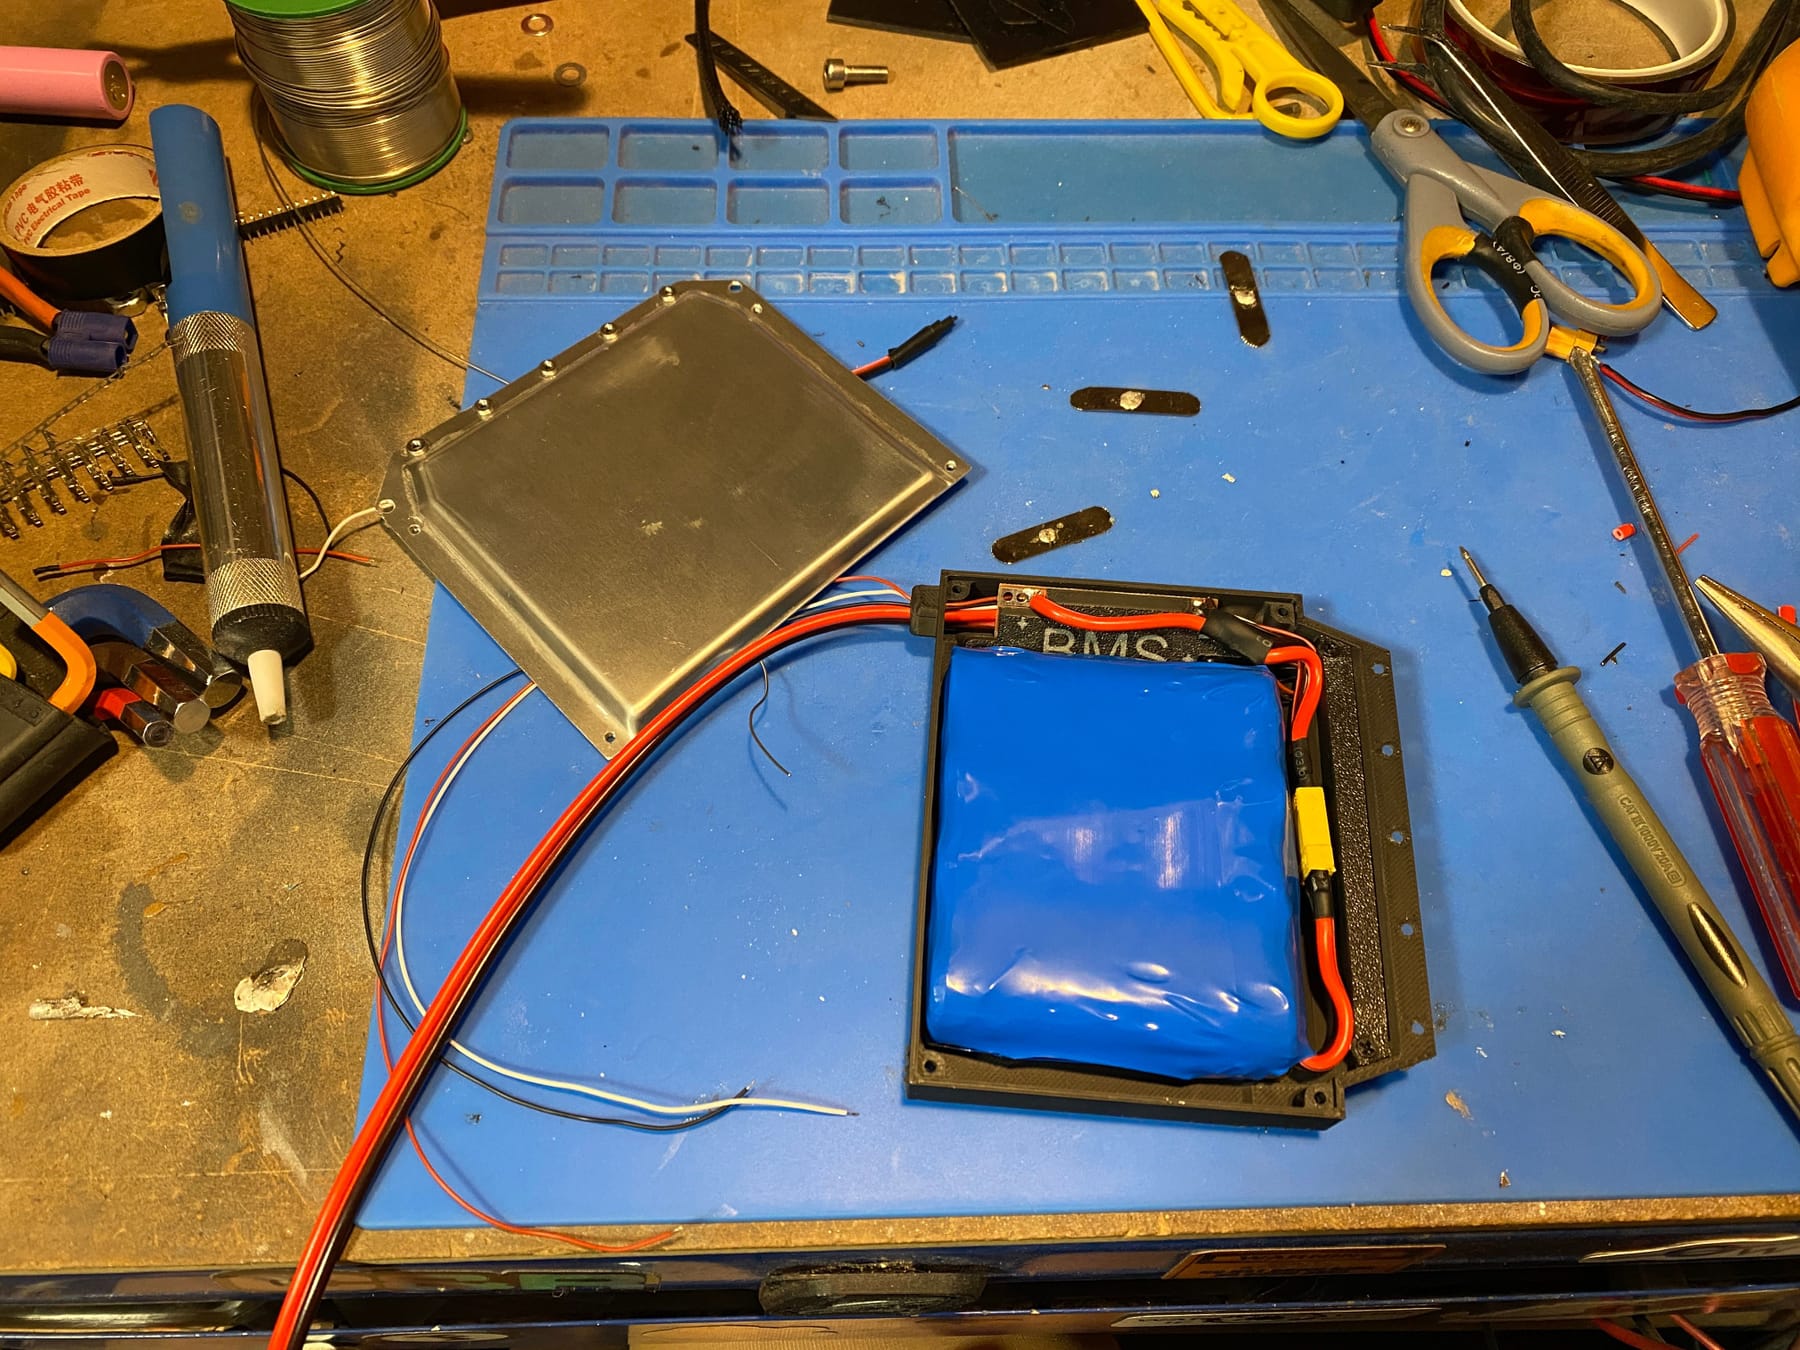
Complimentary label for style points.

-
Anyway back to the LEDs. I also ran into another issue. This VESC hates the float package. Like not just it doesn't work. It freaks out and reports all sorts of junk. As such I had to ditch using the servo pins to drive the LEDs and instead mount a Seeeduino with a gyro/accelerometer built in that we could use to calculate direction of travel and change the lights. @cheppy44 handled the code as I frankly suck at it.

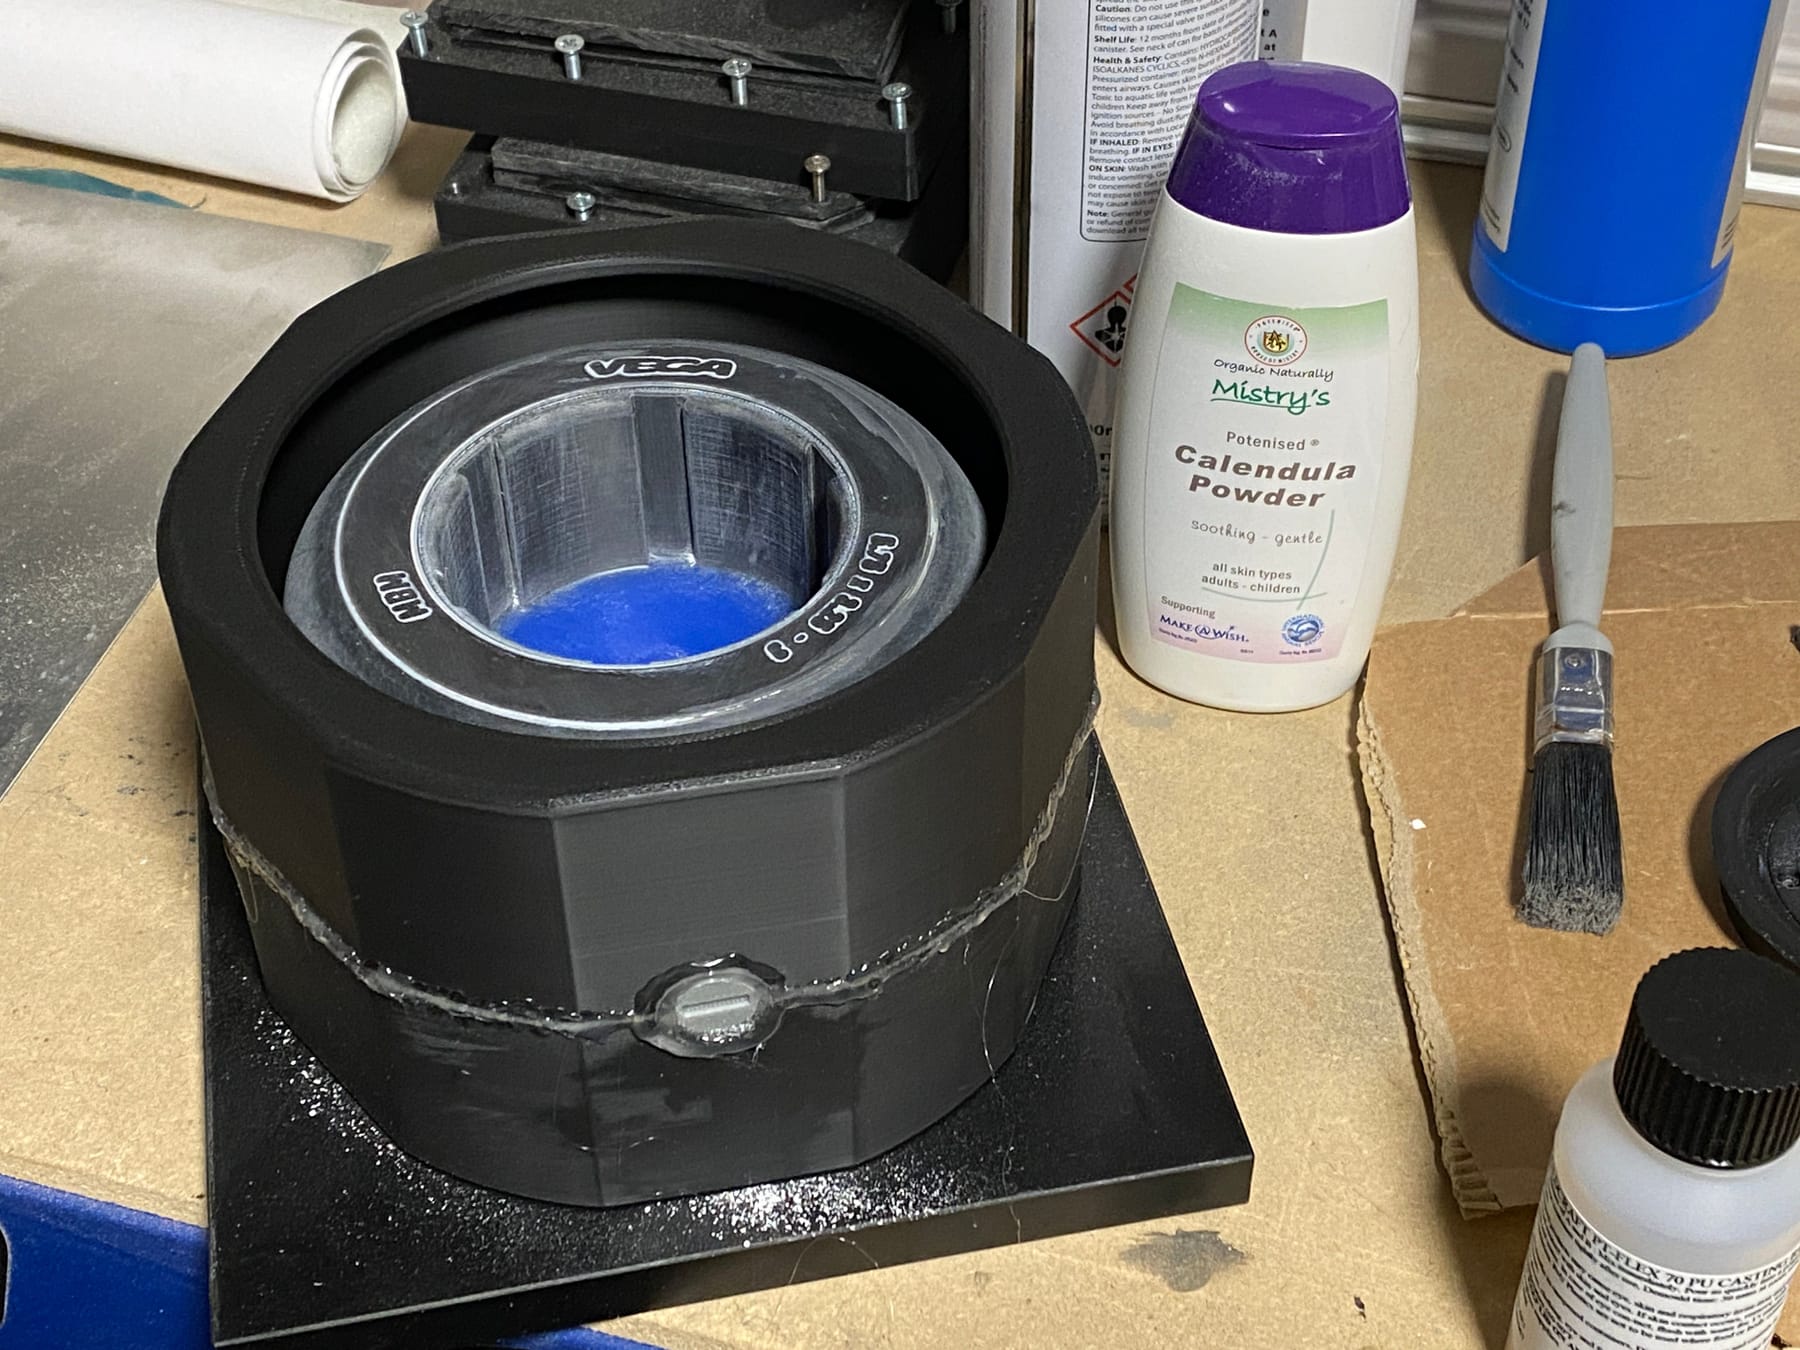
Something I've been putting off for a while is the tire. PU rubber sets in a minute with a pot life of barely 5 minutes. Pouring the viscous gloop into a mould is daunting but I made some progress today. However we're not there yet so have some pics of the process getting there. First up taking the positive and a mould shell to create the first half.
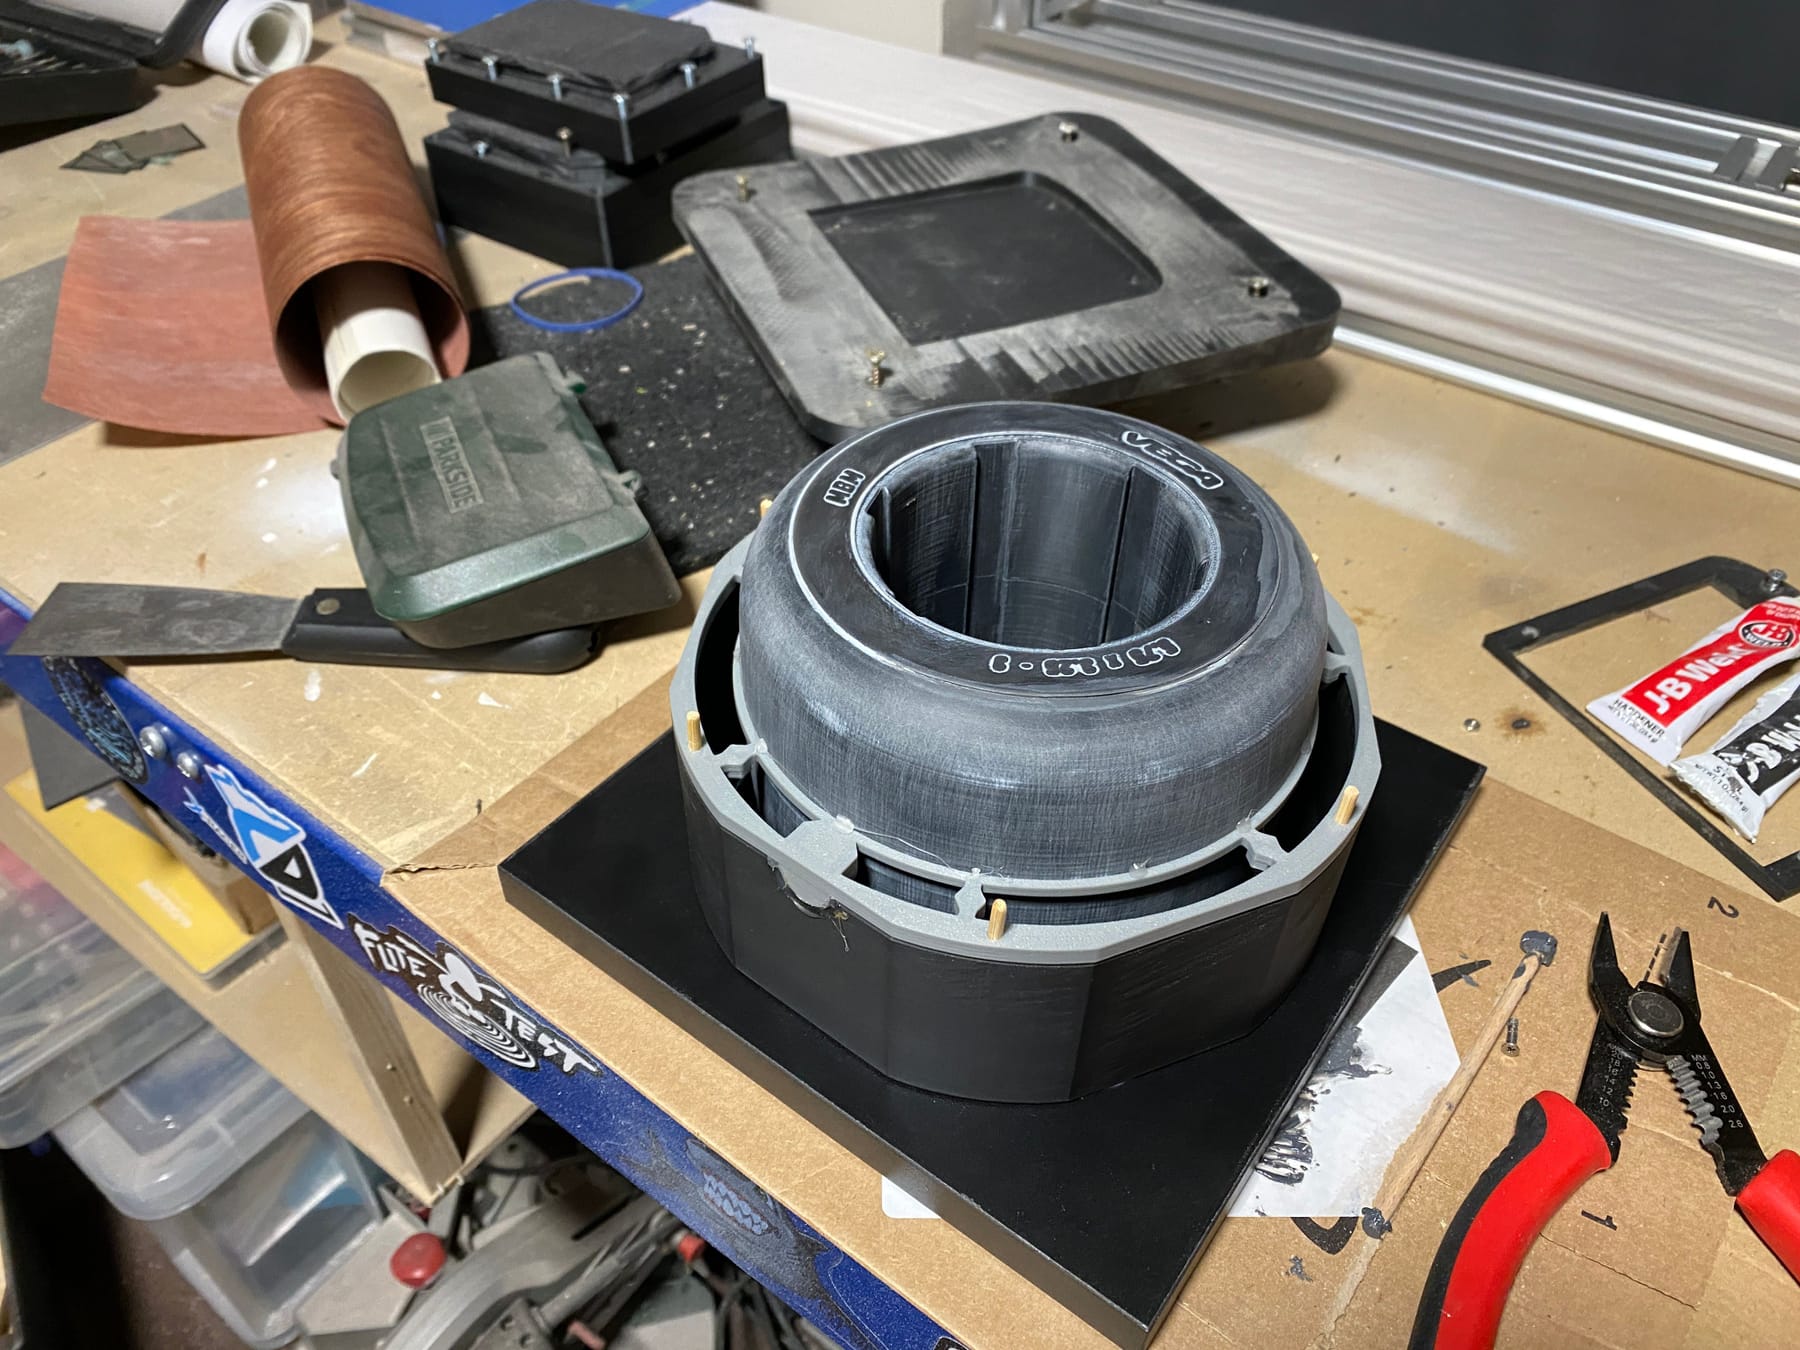
The ring is to keep the positive floating so some silicone can go underneath. It also has some printed location pins so once cast the silicone will have some way of locating with the other half if the shell is removed.
The first batch of silicone got mixed, degassed and then poured in one spot to avoid bubbles forming during the pour.

To make the mould a bit easier to separate I dusted it in baby powder, glued the 2 shells together and prepped the second batch.
If you care for it I tried to film the last degassing and pour. It's 5 minutes so skip around if you want.
Forbidden cake.
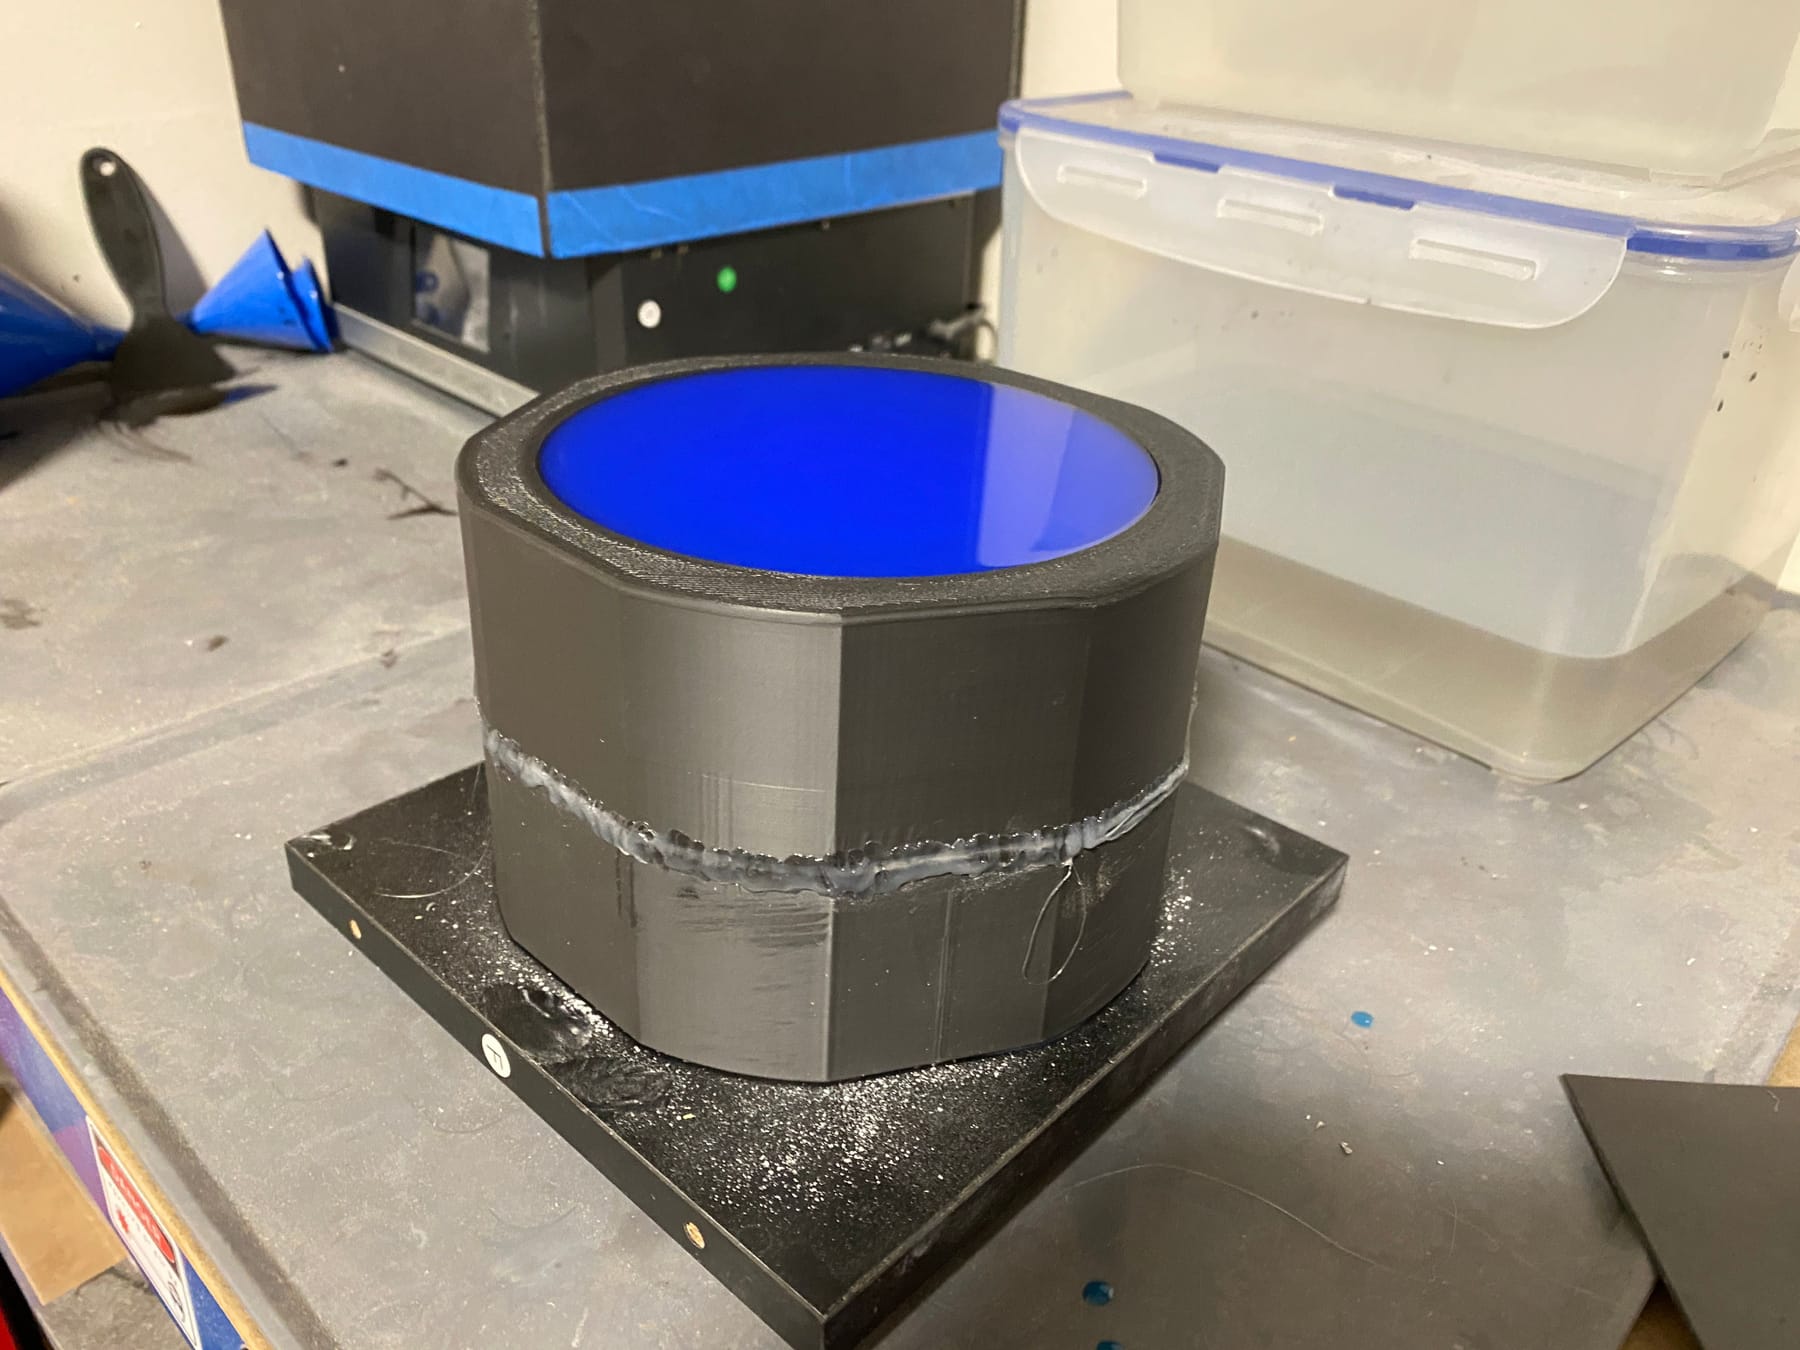
One thing not obvious is the shells had internal geometry to help me locate them with the silicone mould after. Actually really useful. However pulling this all apart was an actual nightmare!
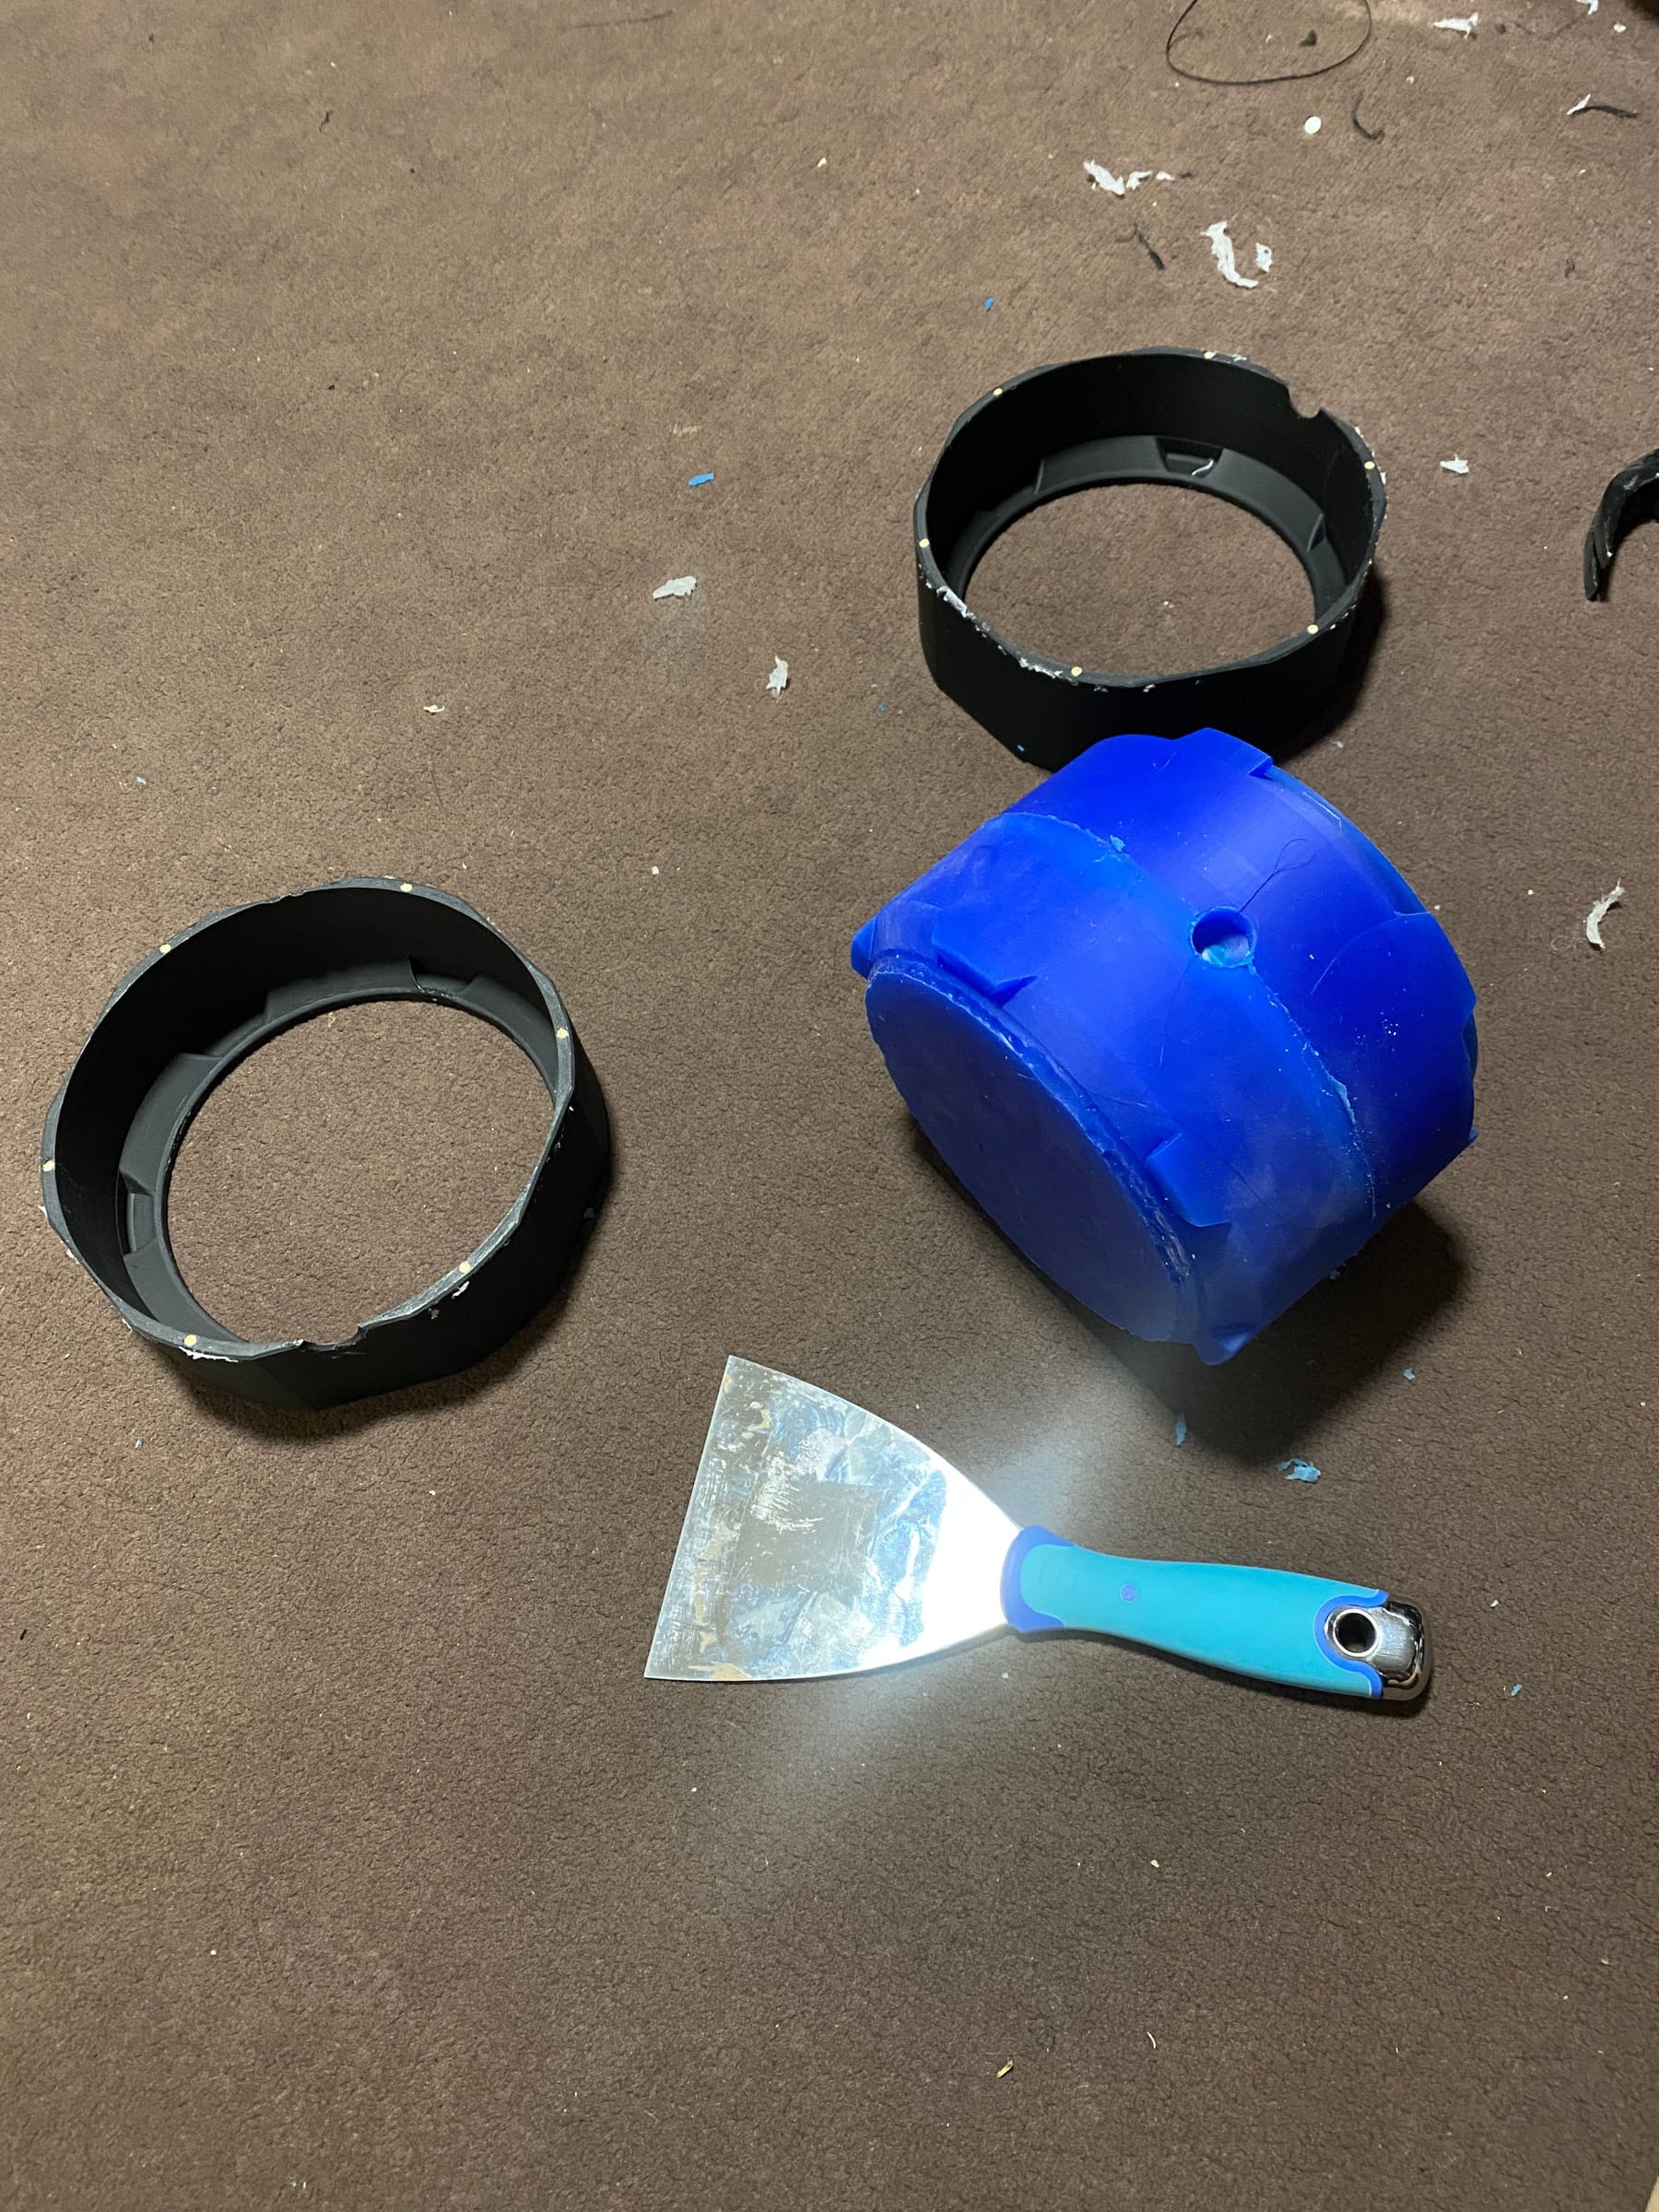
However after a lot of swearing and trying to replicate those videos of women bursting watermelons between their thighs; I got the sod open.

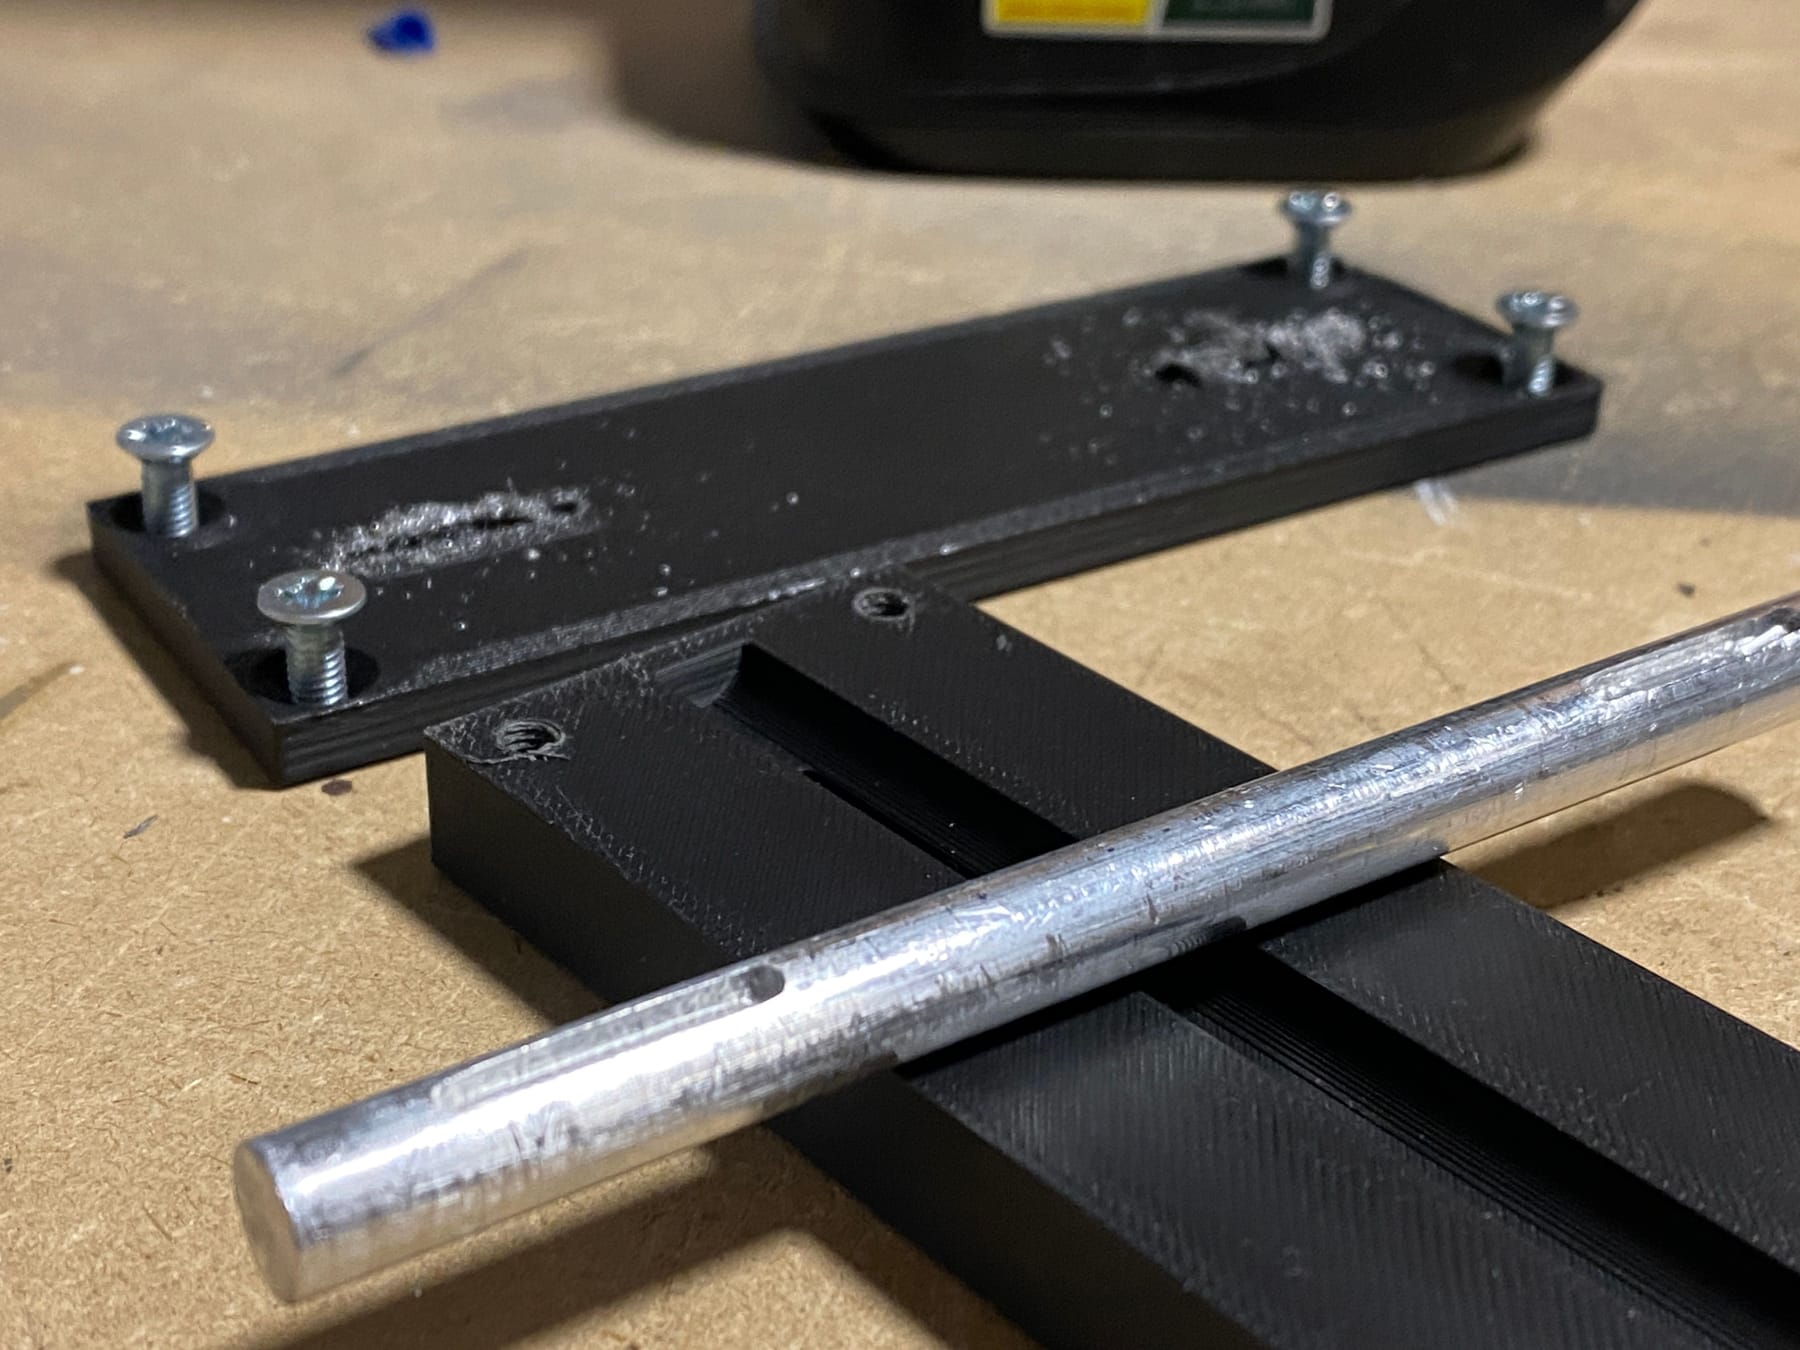
To help take the twisty force... um... torsion from the battery box and controller I wanted to add keys to the axle so it would resist rotating. I made a lil jig to clamp the axle and a guide to slide it back and forth so I could mill out the keyway with a 2mm endmill in my drill press. Paper aided in getting a smooth and tight fit between the guide.
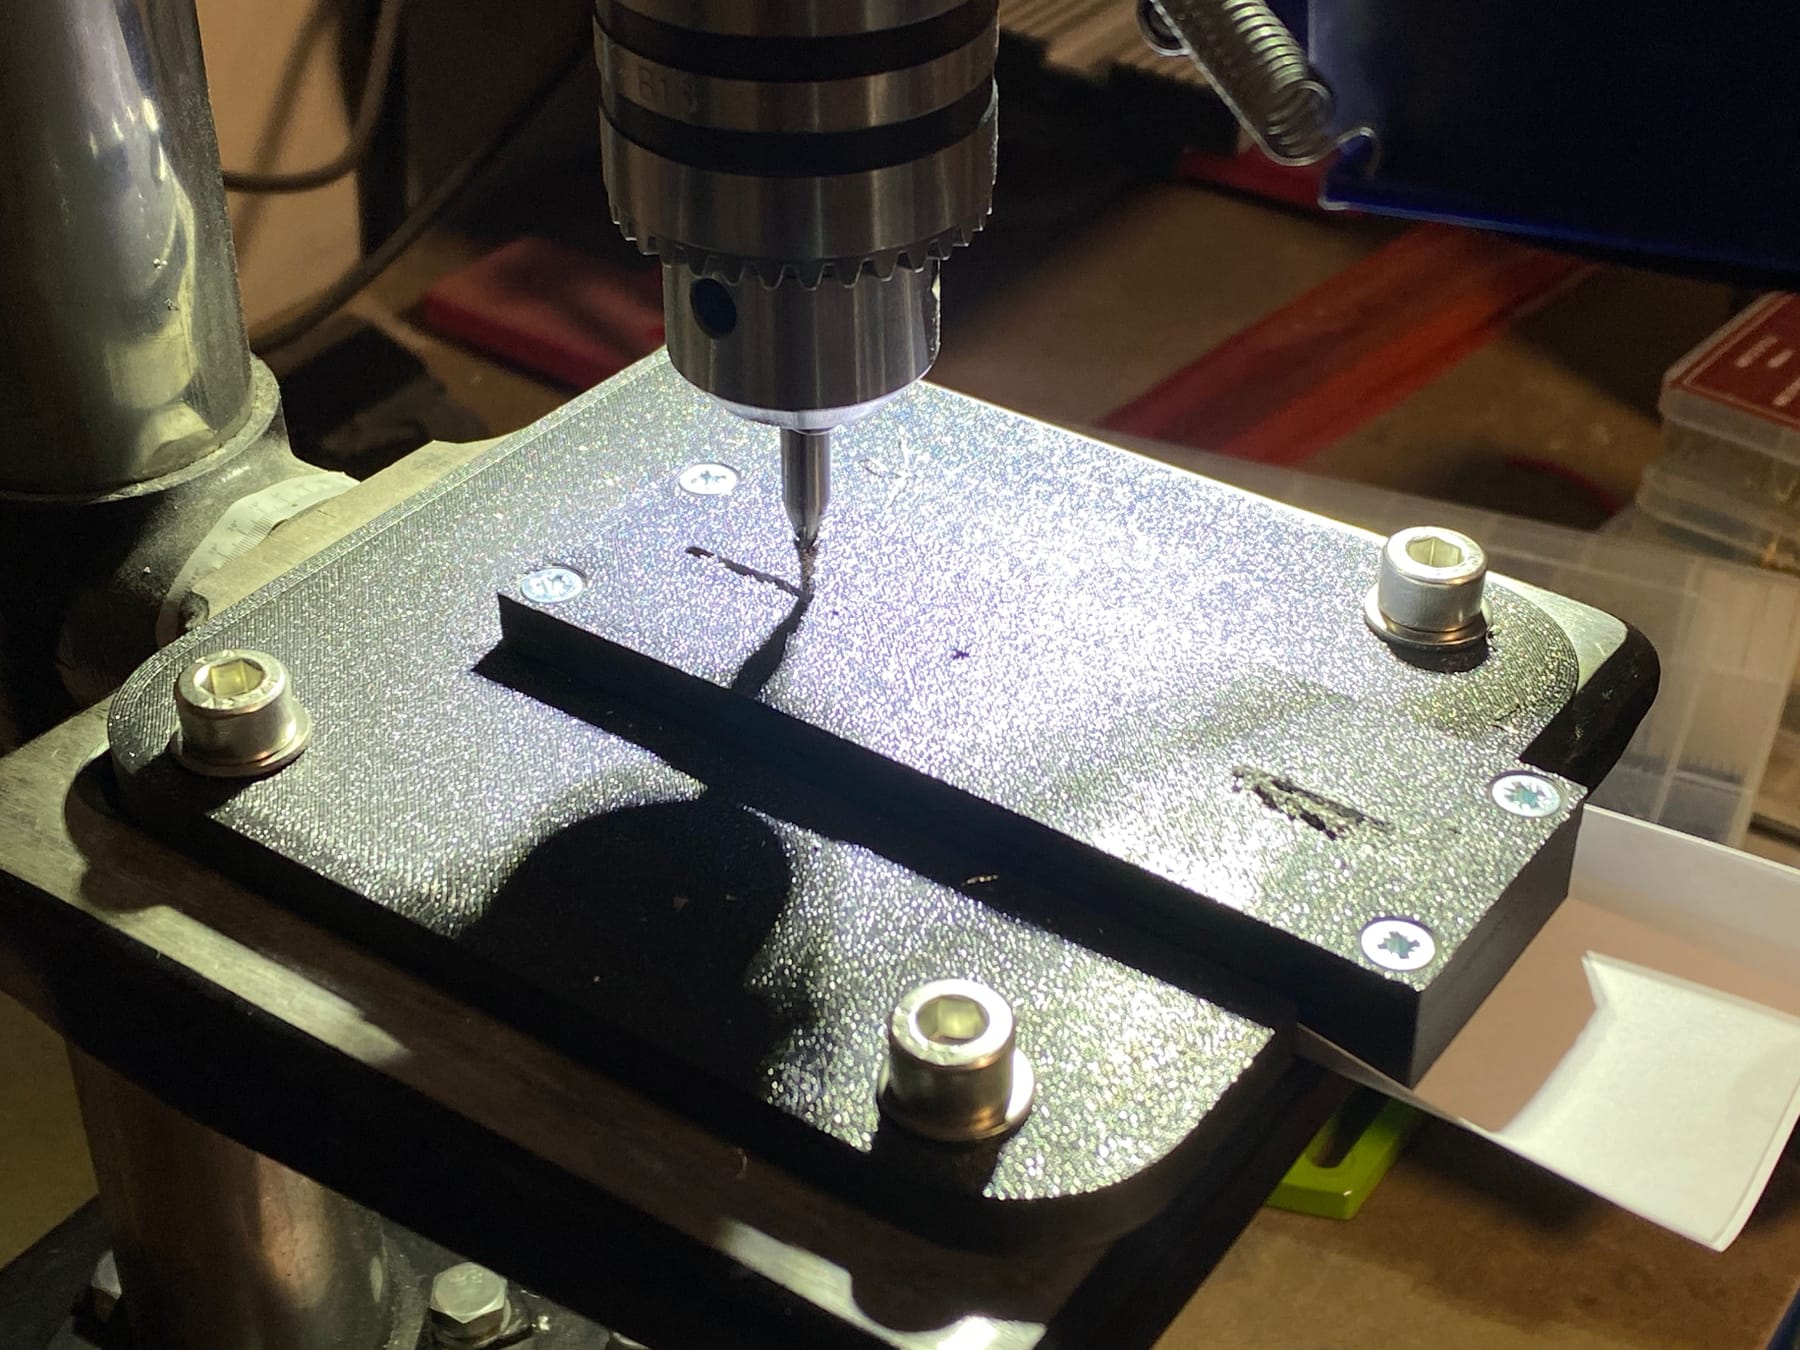
Janky AF yes but work it did.
-
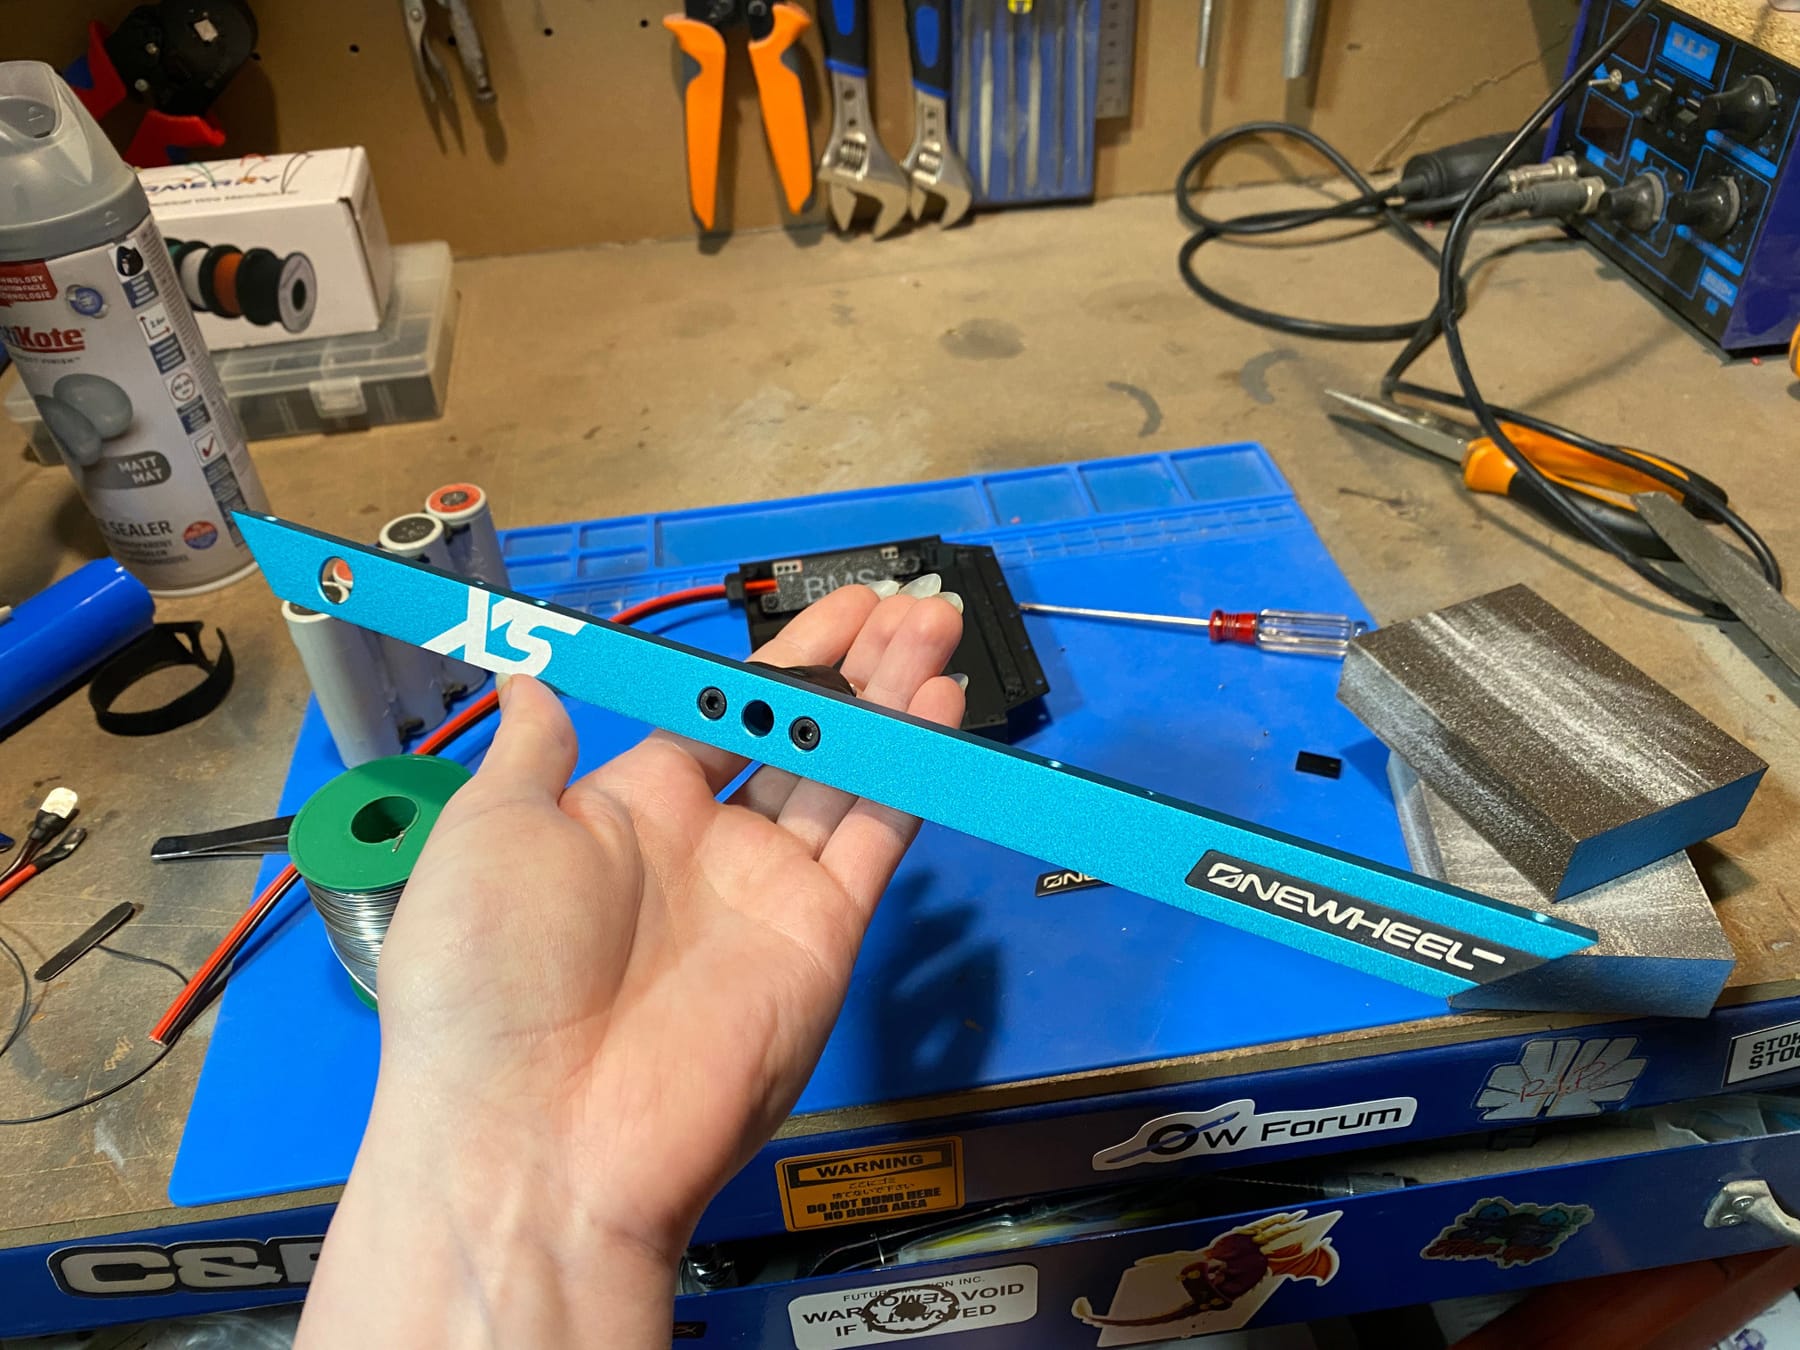
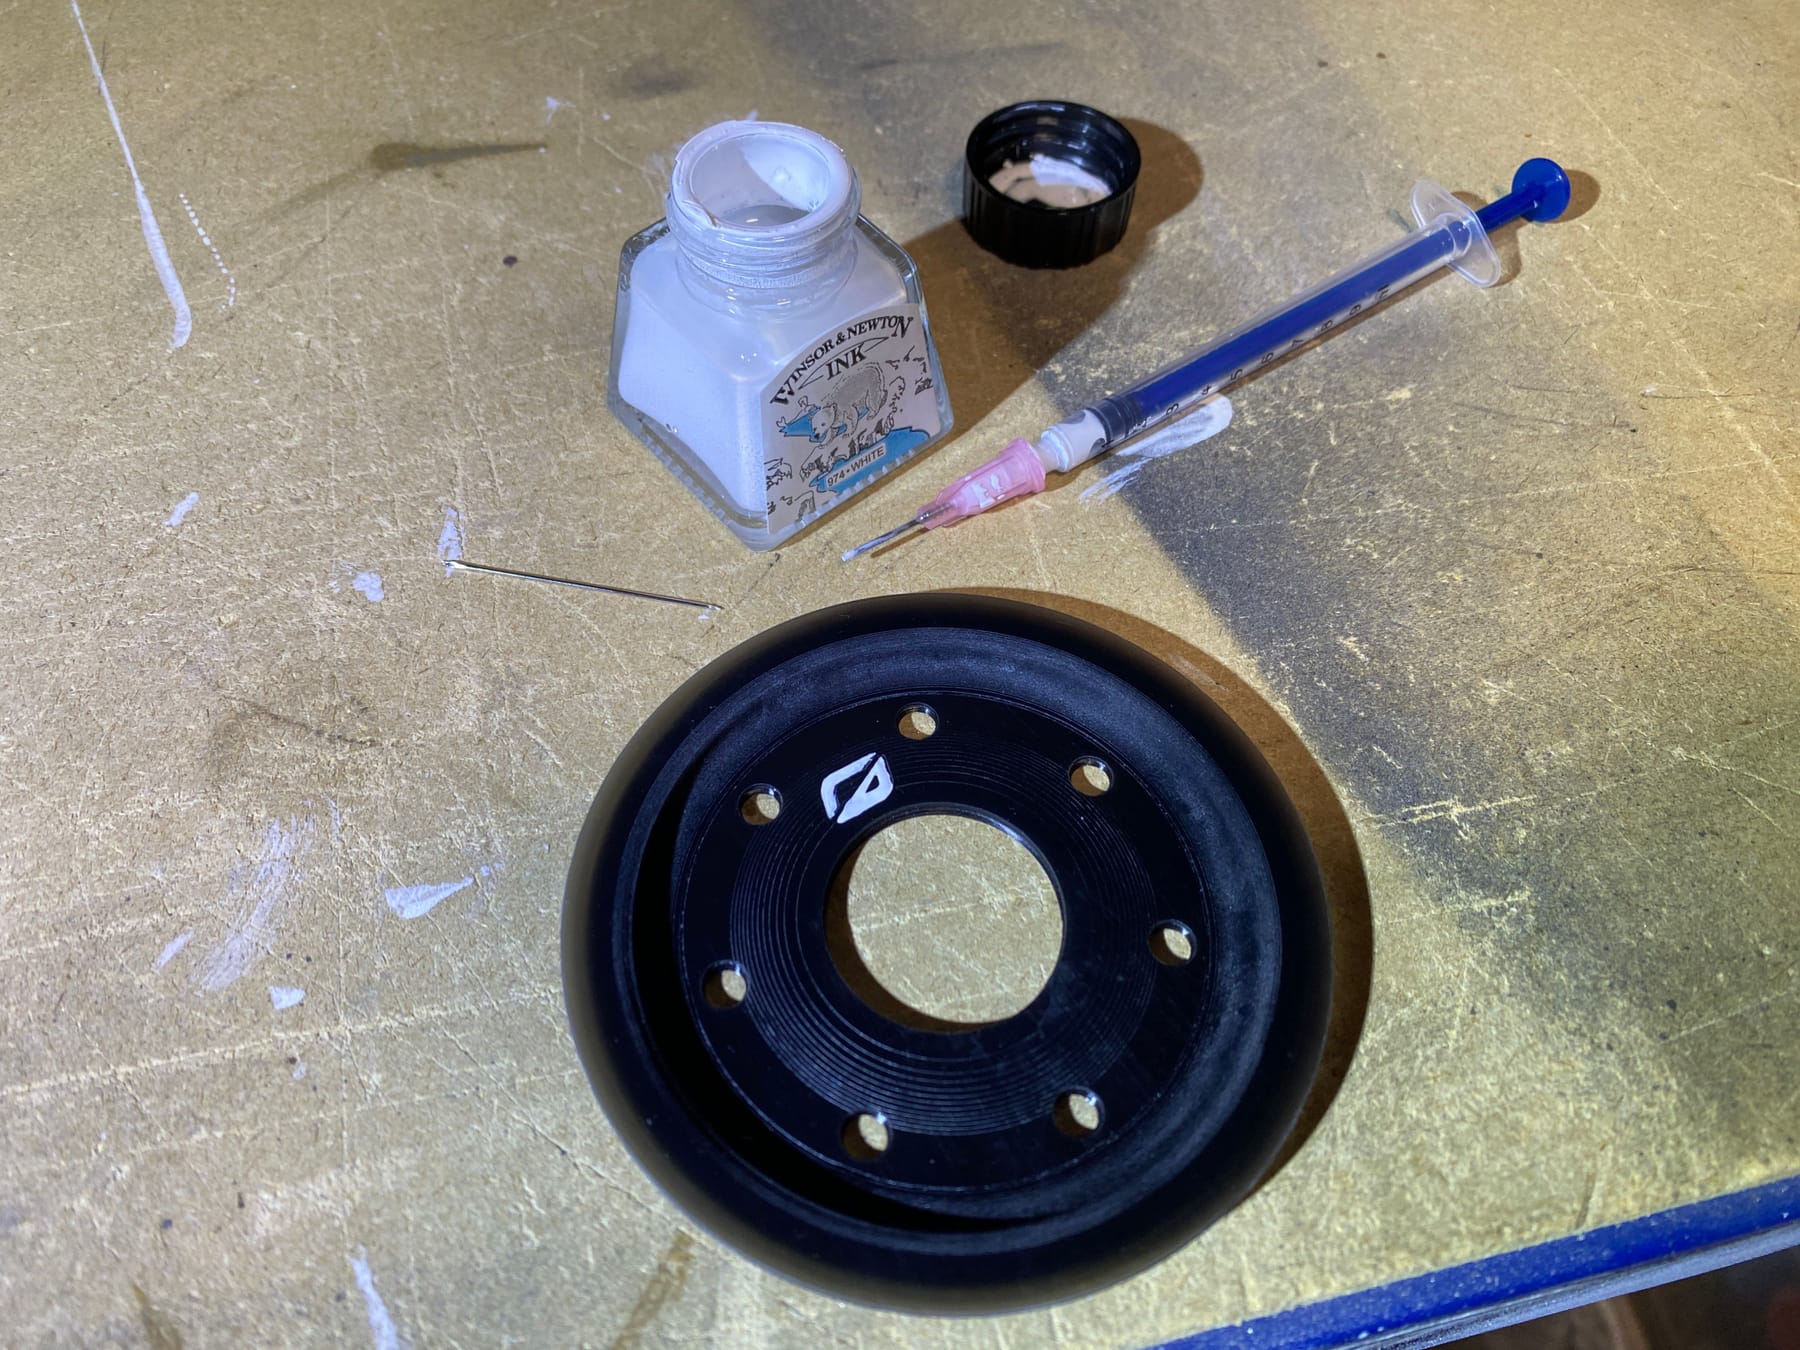
Another thing that's been giving me trouble is the small white detailing like the rail badges and the motor. But after some trial and error, some syringes from
the local dealerAmazon I got it to work. And daaaaamn does it look good!
This was a test on a resin
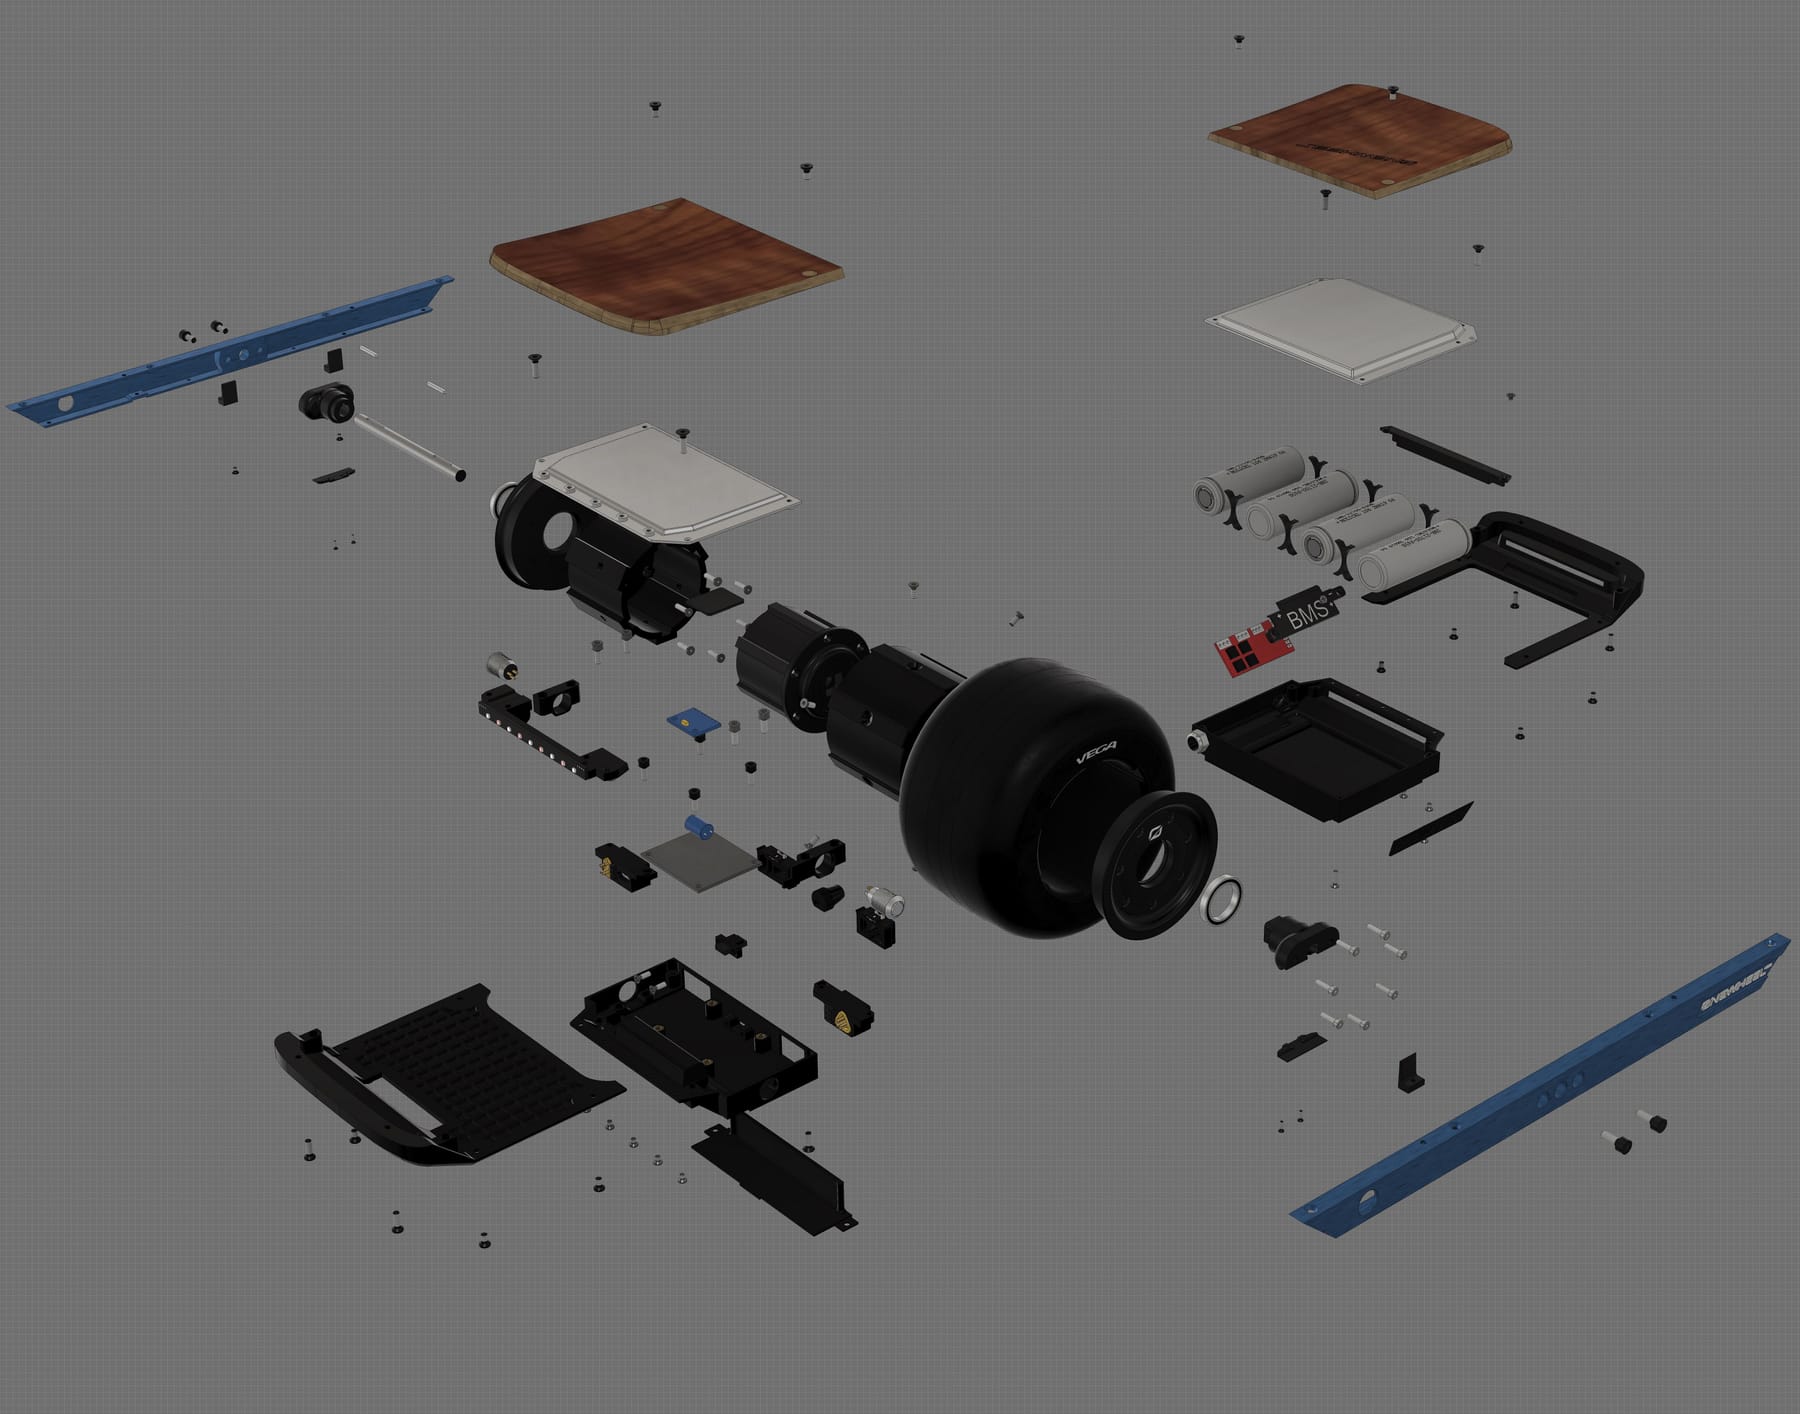
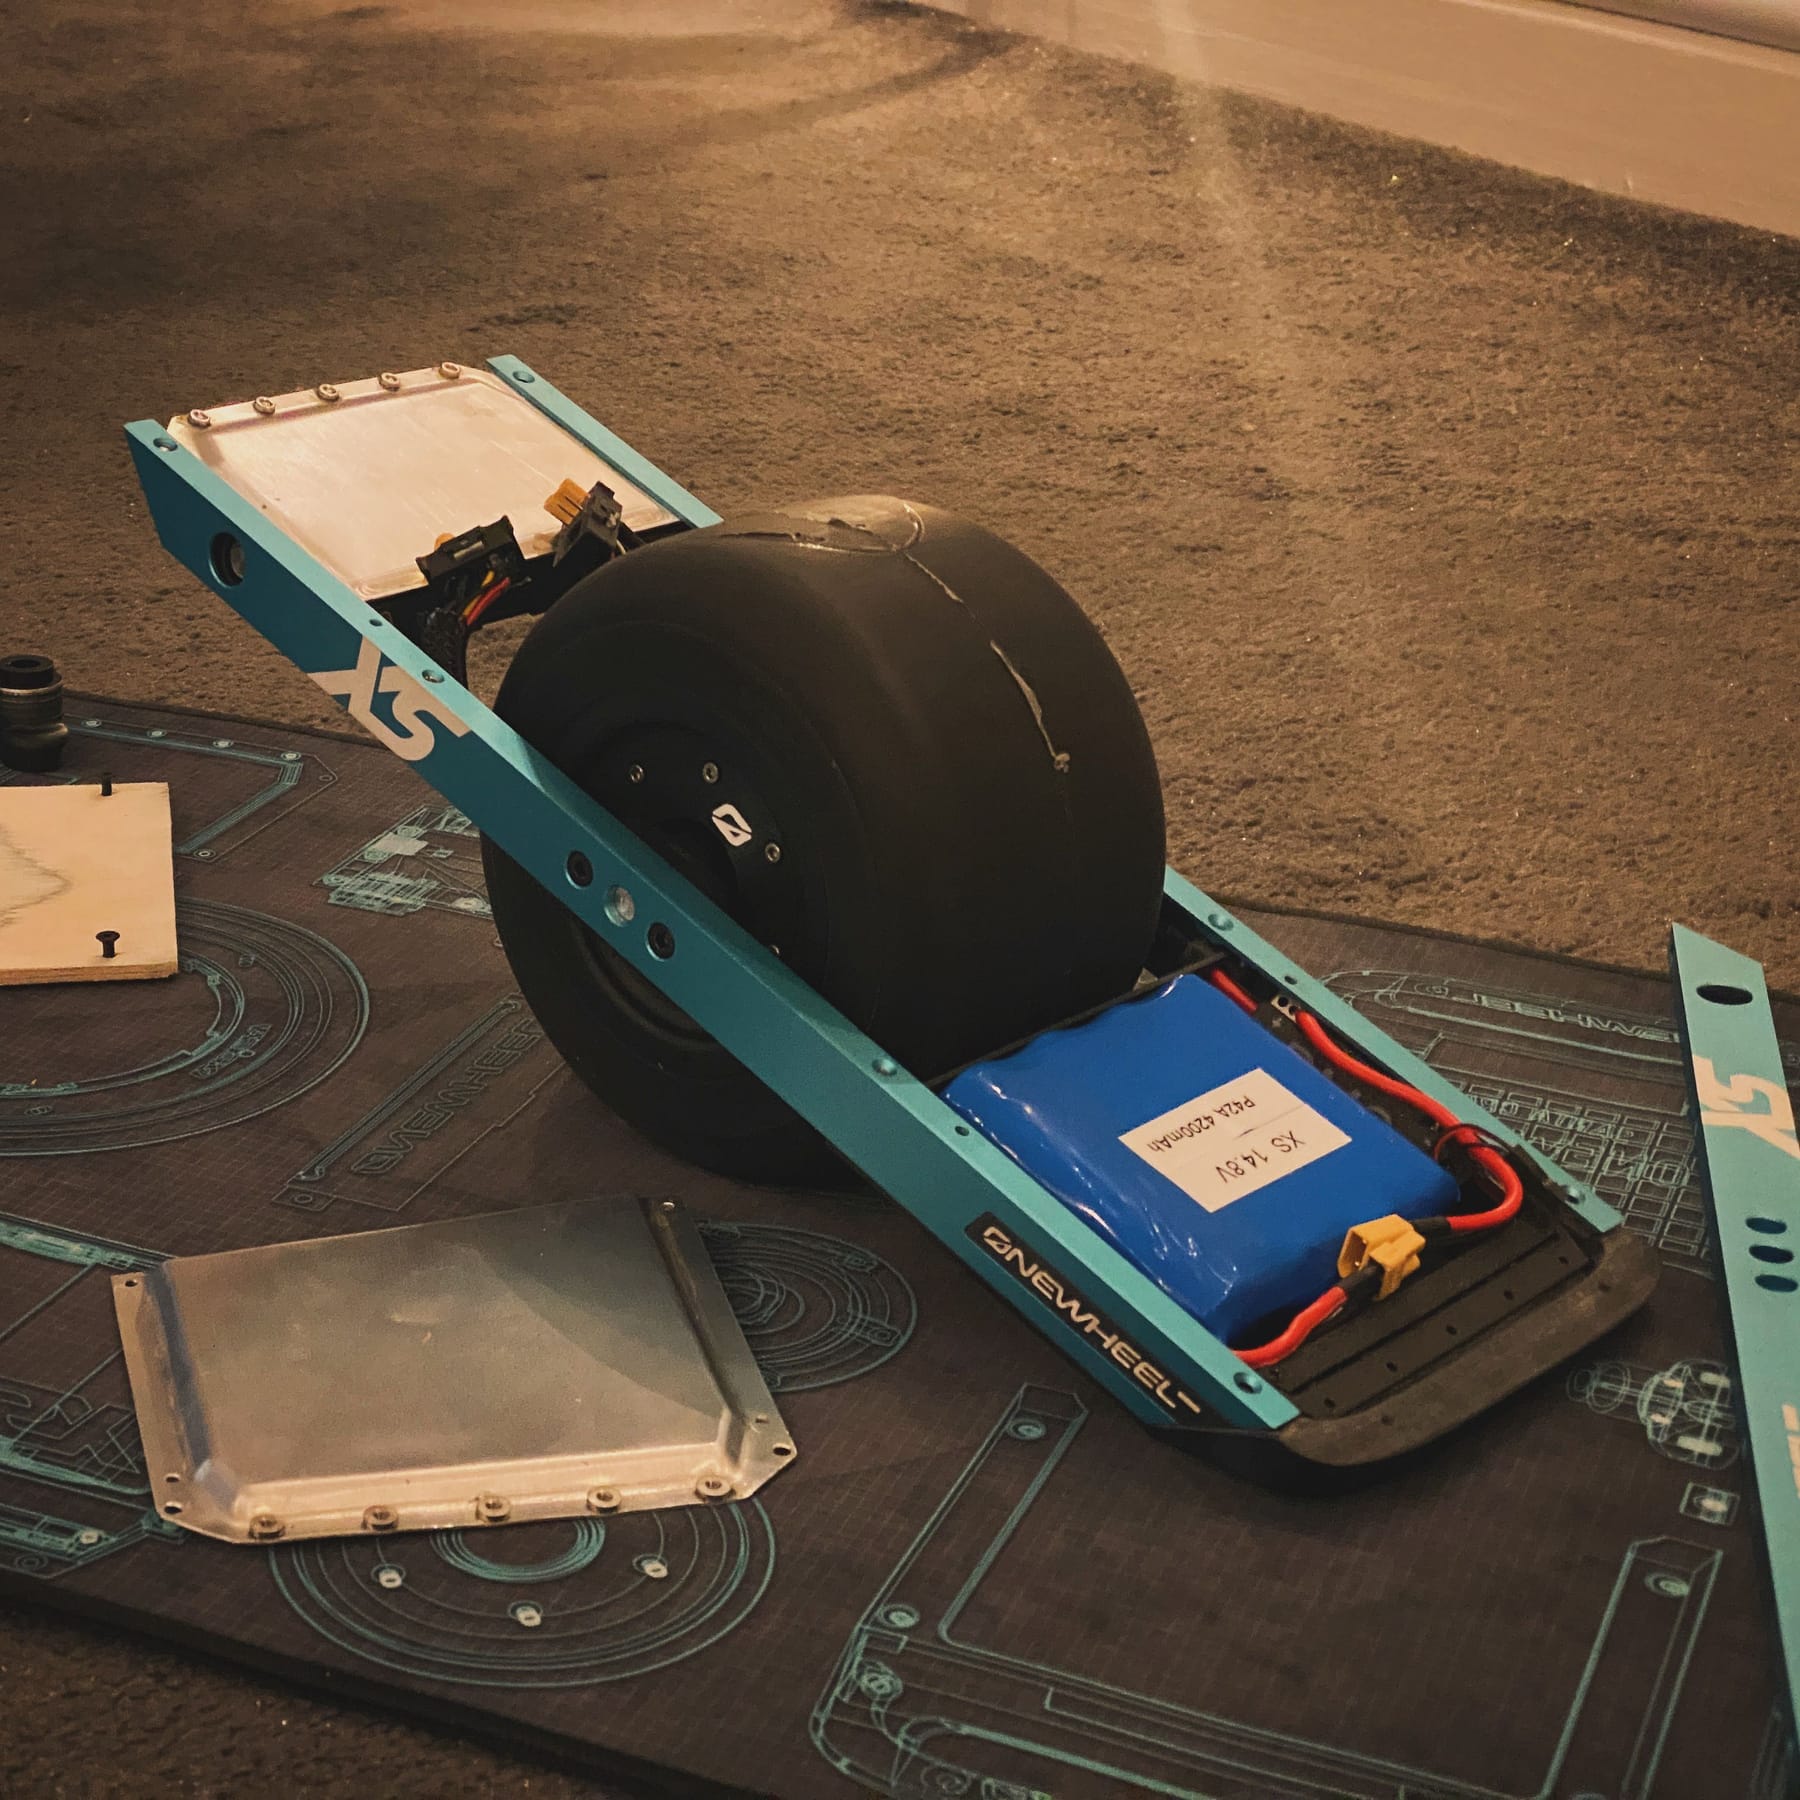
For display purposes I made a deskmat in the same wireframe style I did the XR Xray art a few years back. Laid out in major components it helps show the build and gives me a way to display the pieces easily.

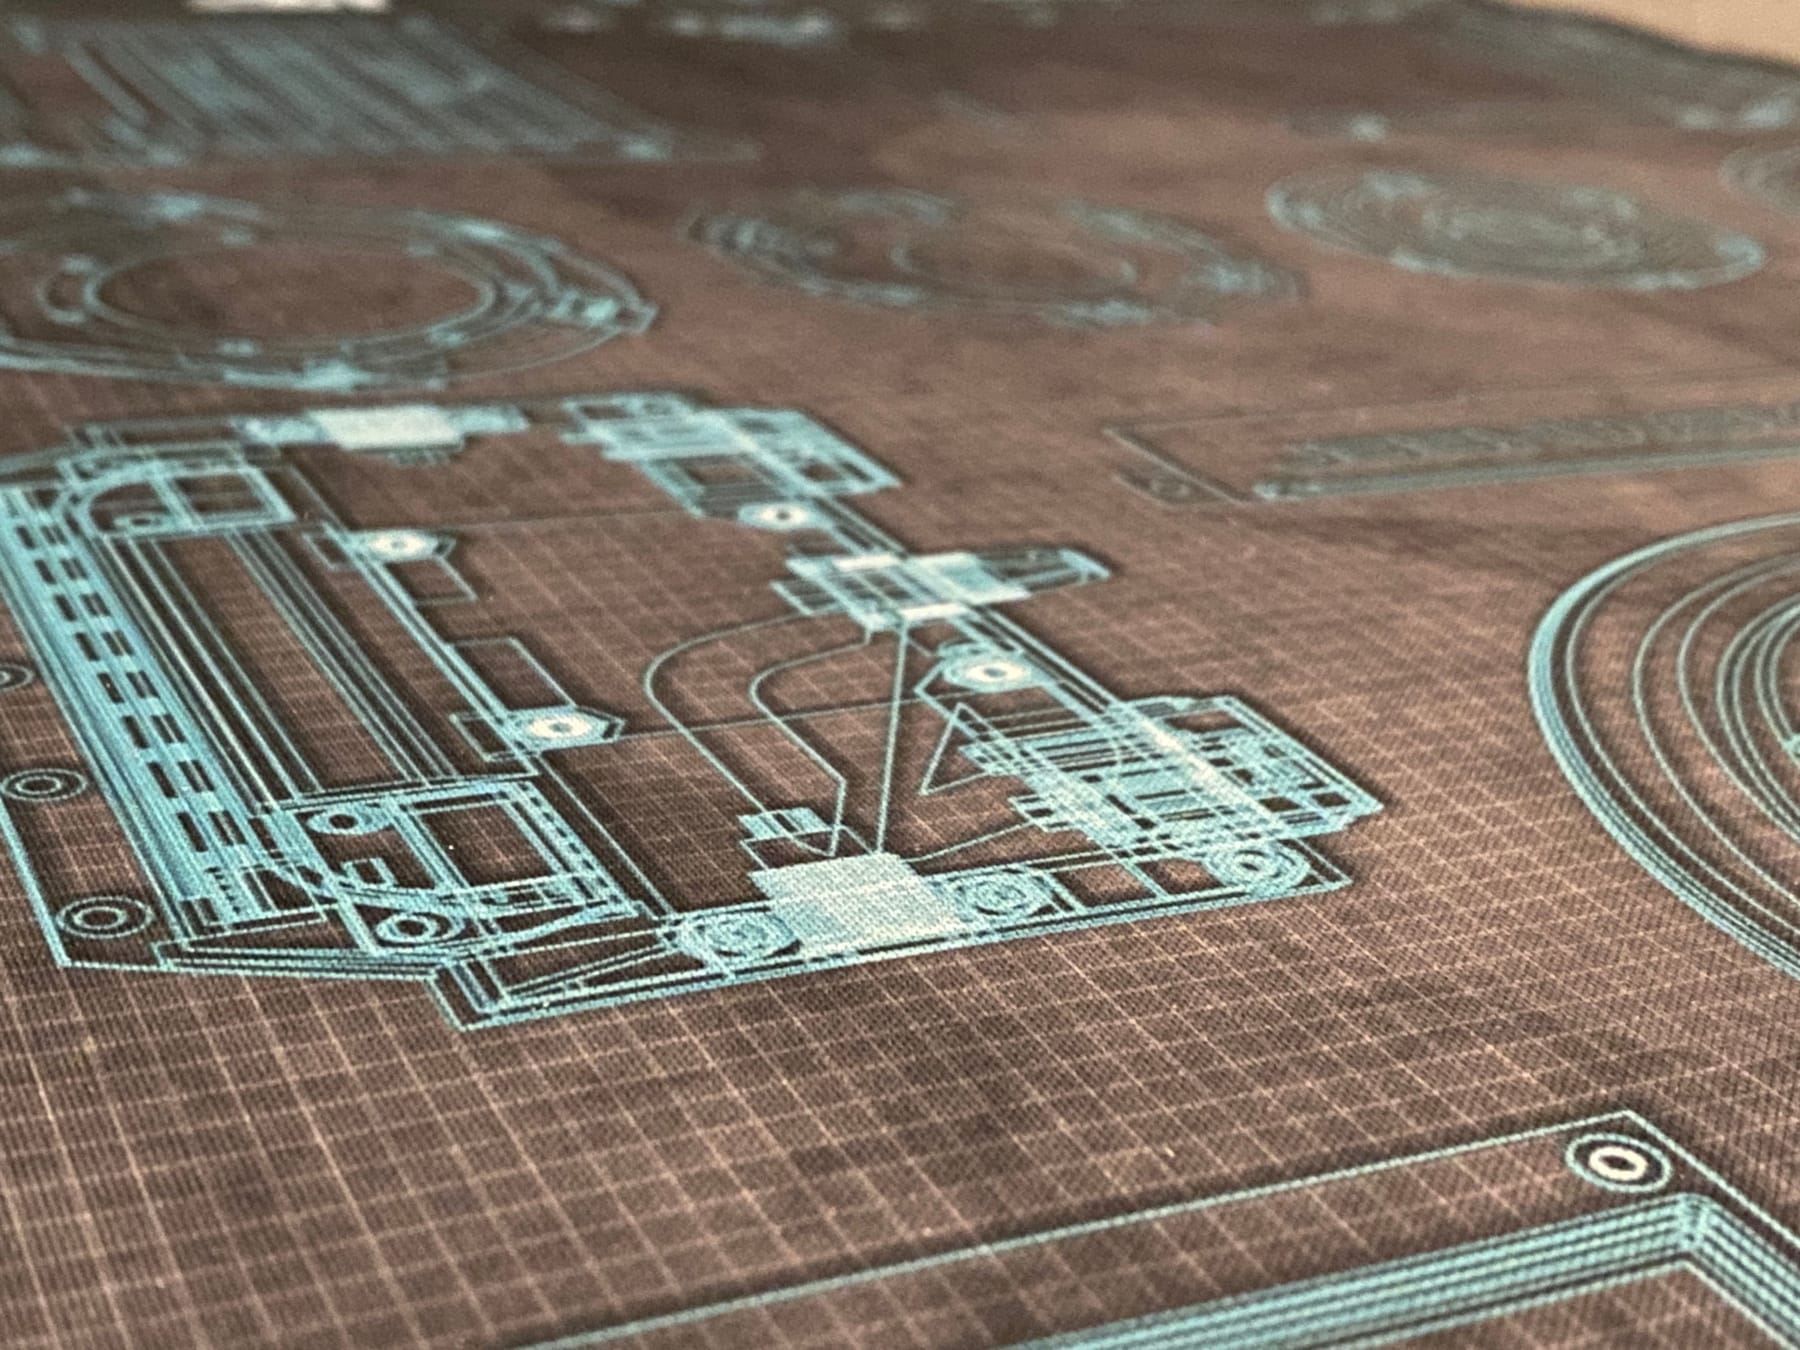
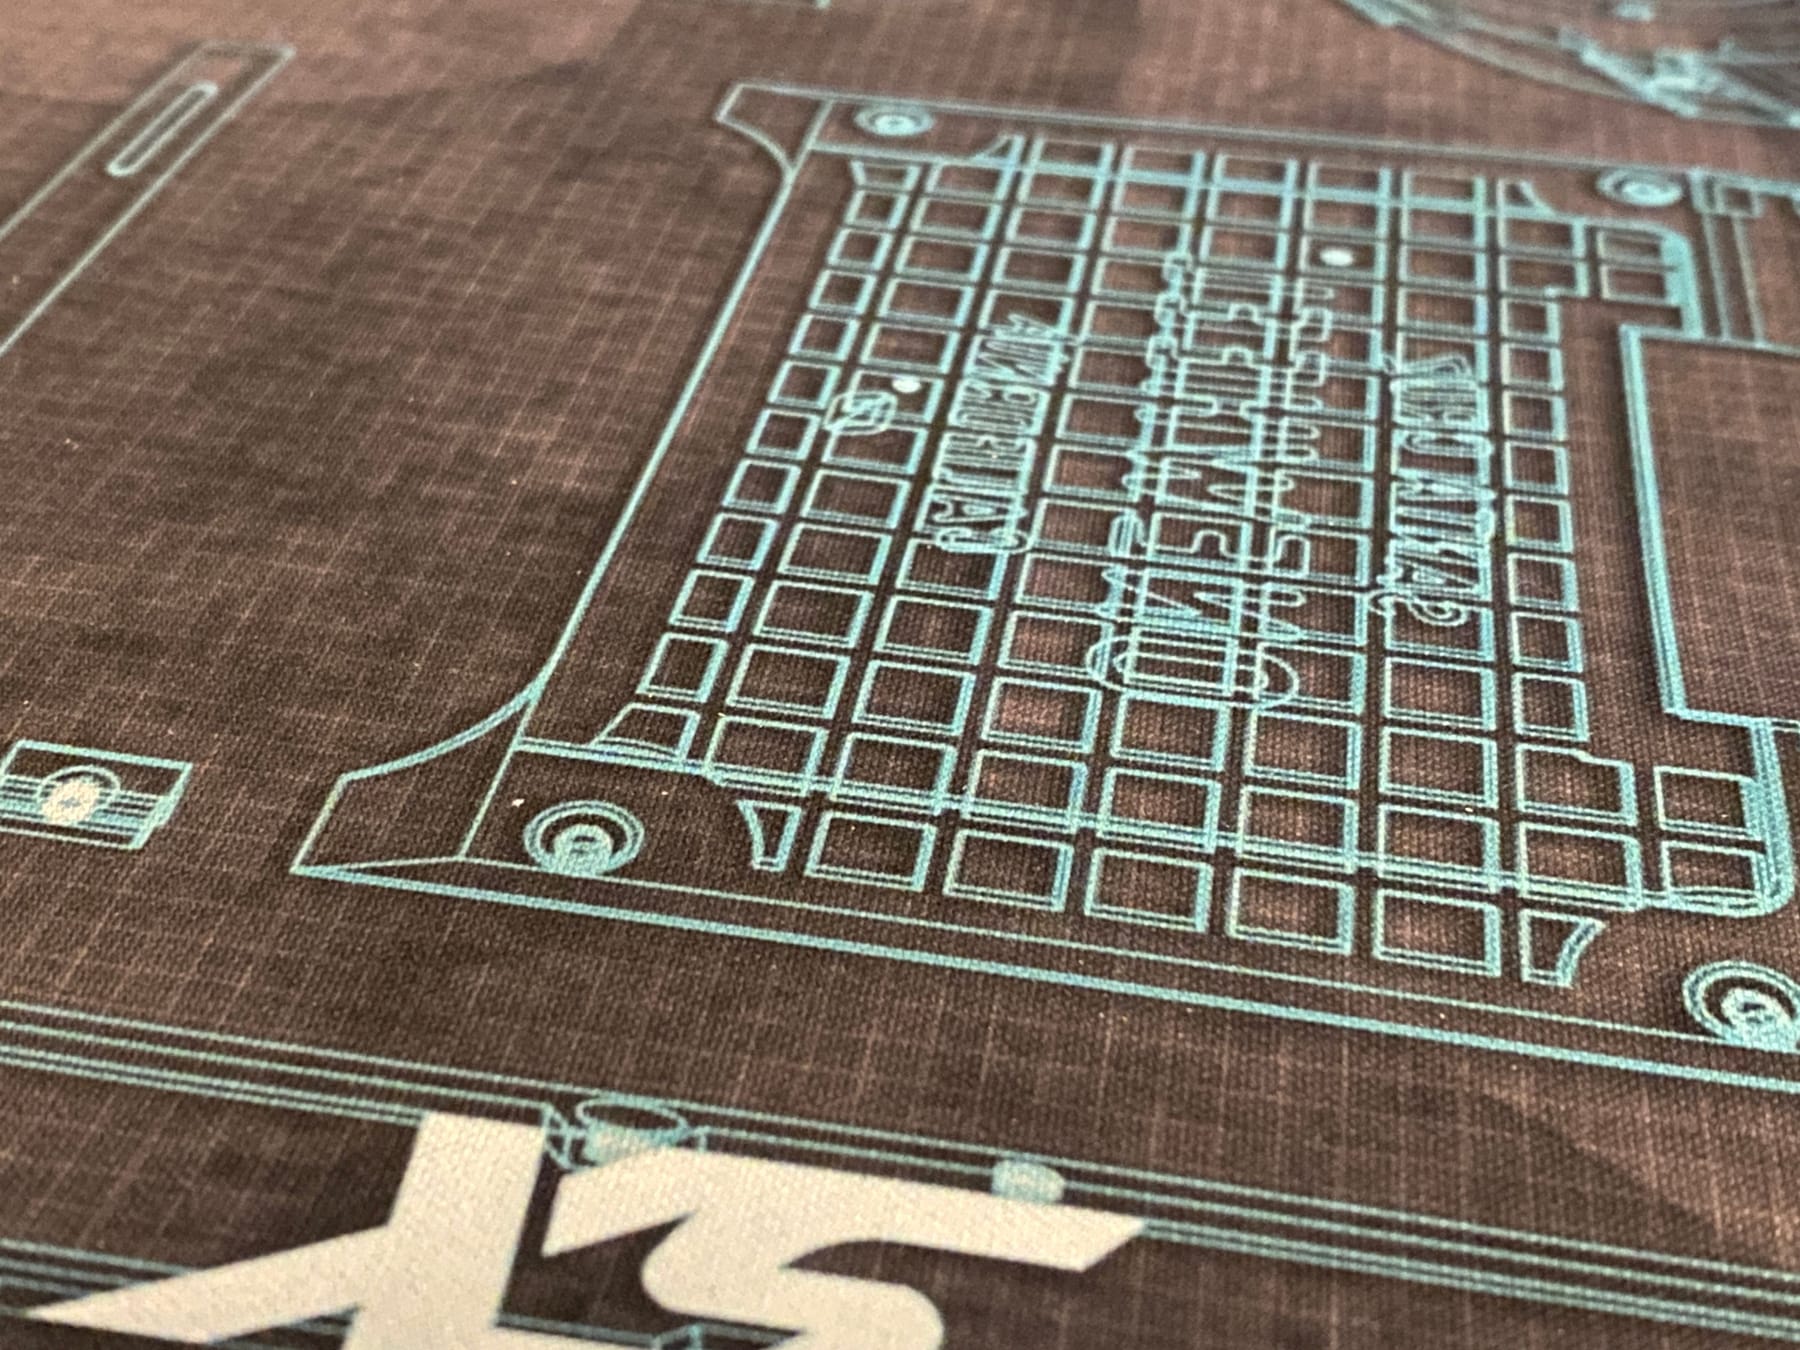
I did consider doing something exploded but.... well just look at it all. I can't fit this all on a deskmat 😅
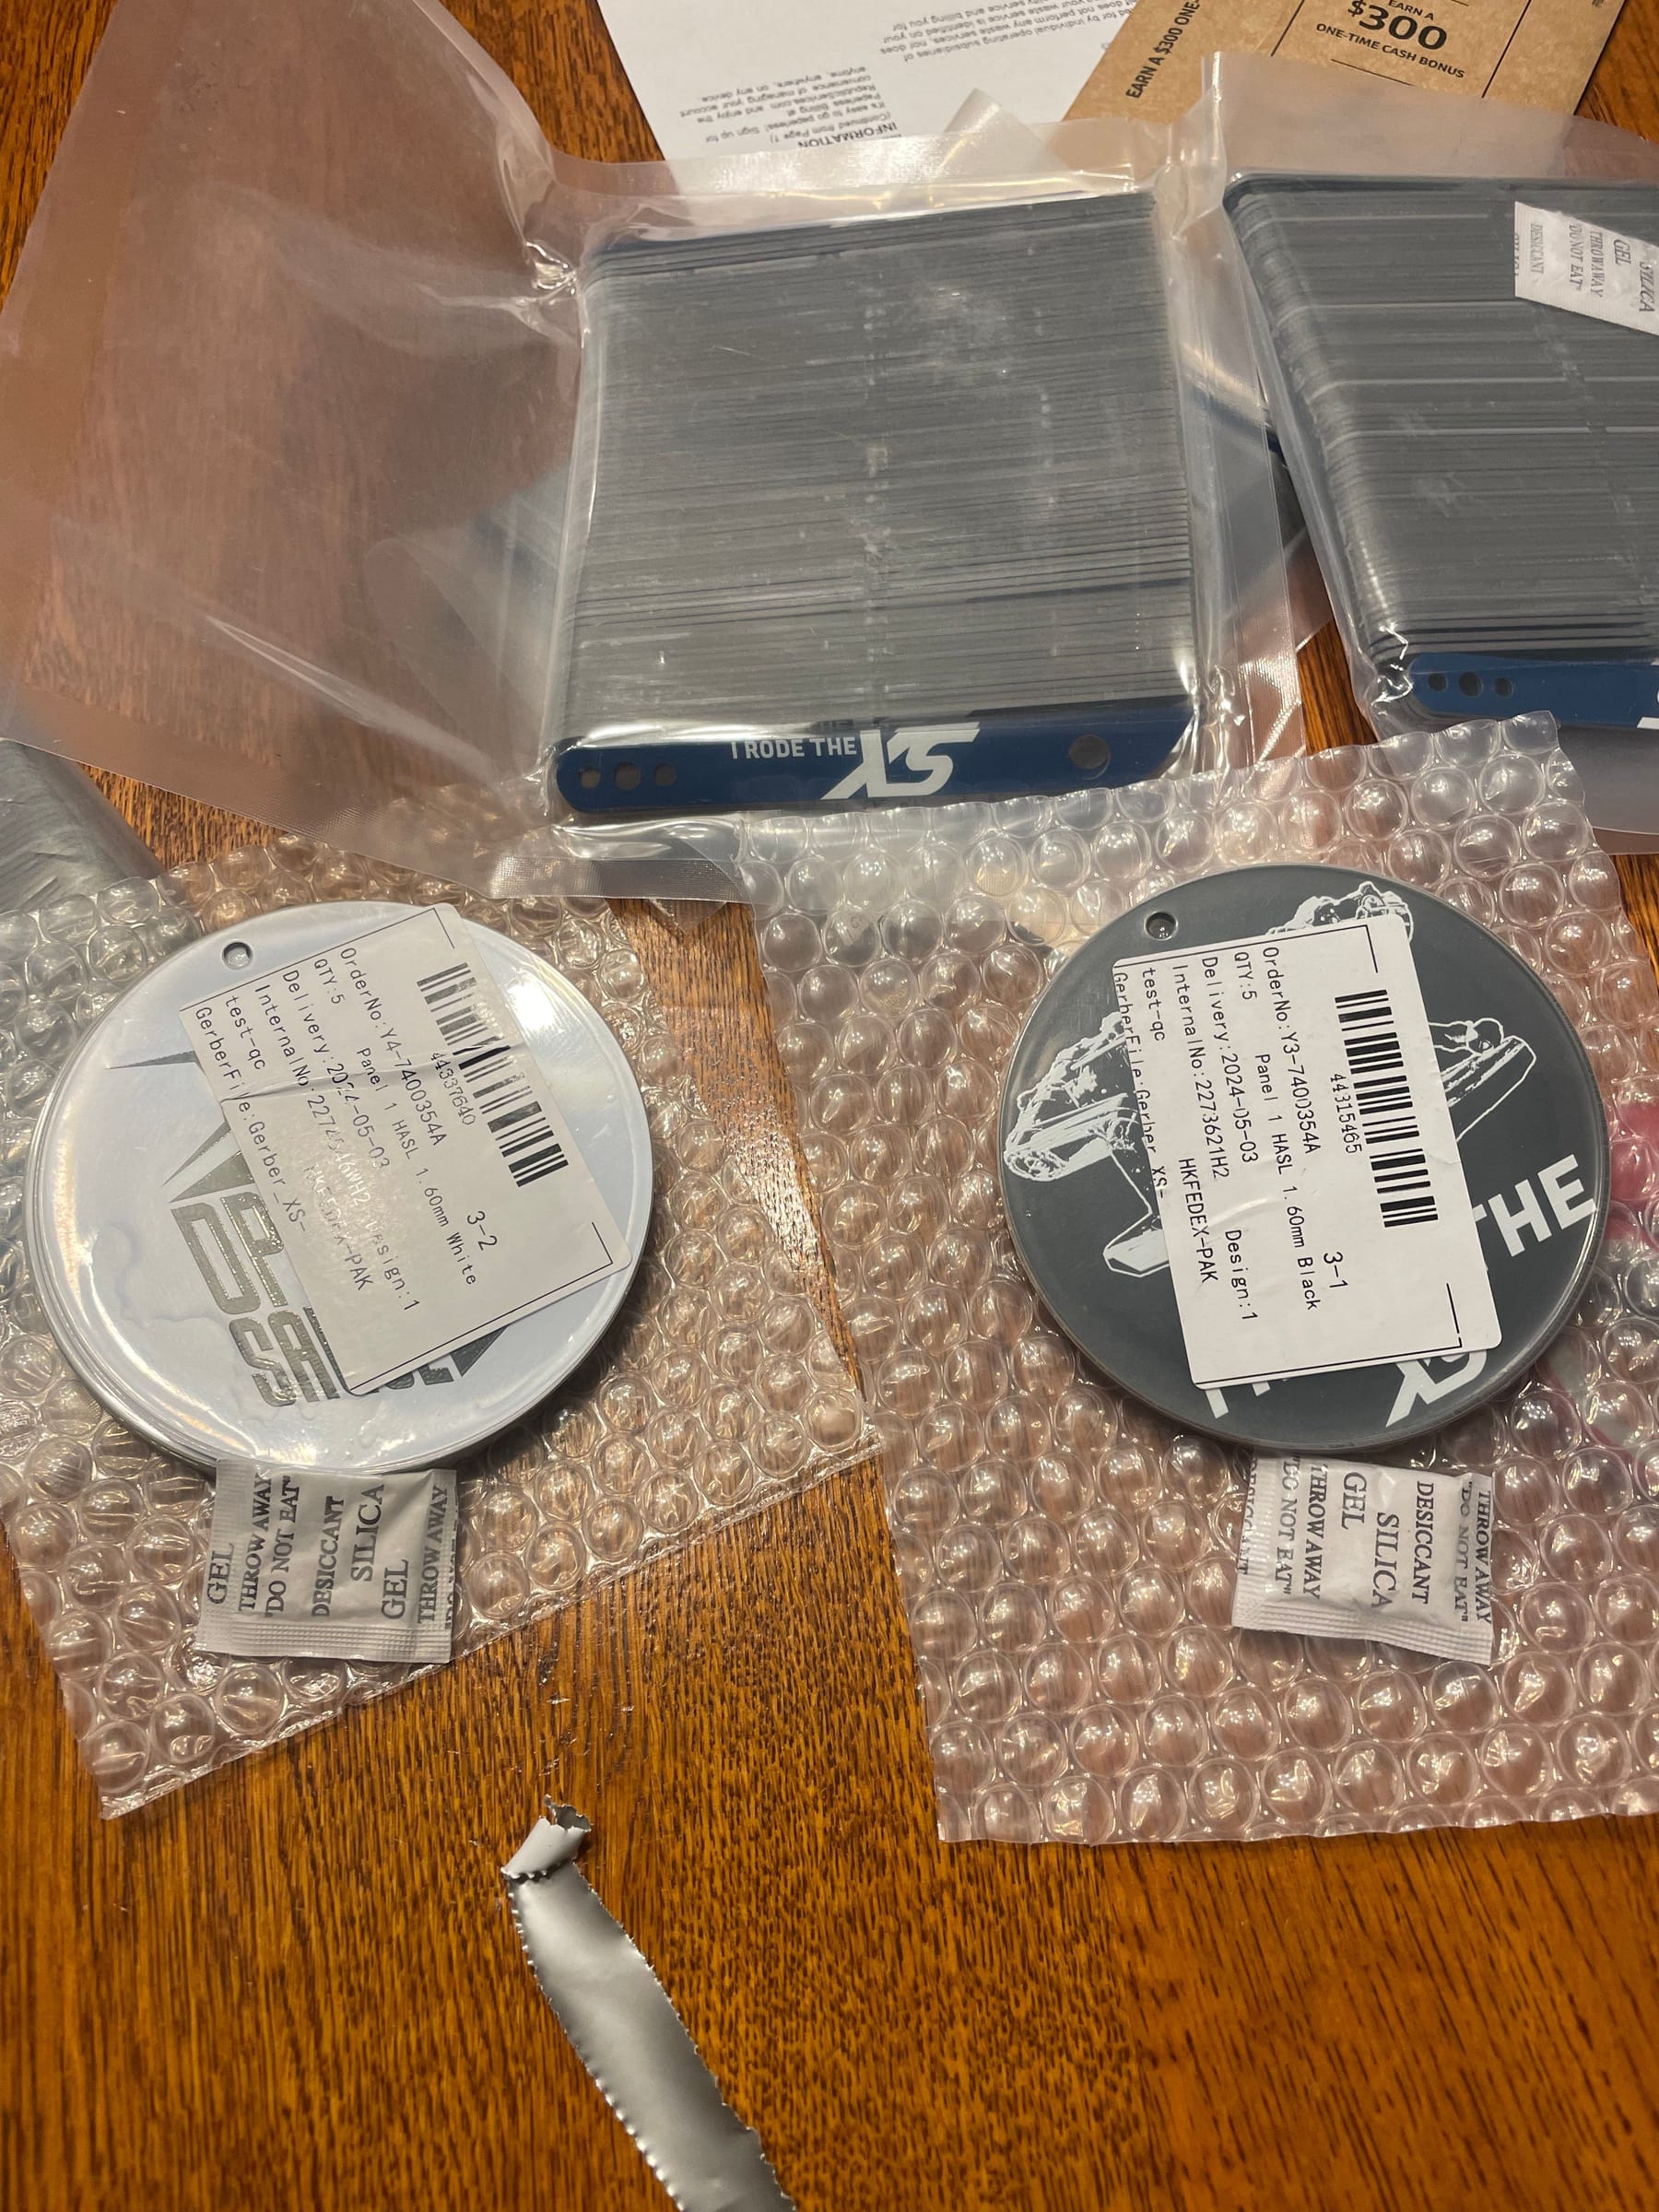
Also sneak peak at things we'll be handing out to people that come to our booth and give the board a go :3
No it's finally come time to cast the tire. My first attempt was a successful failure. Basically it came out great... accept I cast it of resin and not PU rubber. Anyway after buying the right stuff I found out this stuff is too viscous to do a normal pour so although I got a tire it has a huge cavity inside a thin membrane 😣 Looks great though!!! It's the right squish, has insane grip, good colour and definition and has a bit of bounce to it.

So here we are. This is where I'm at. Not much to do but also not much time left 😅
-
@lia This is just amazing! All this and you didn't even break a nail!!!
-
@onedangts I wish it were true 😭 I snapped my left thumbnail 3 days ago so it's gonna take like 5 months for it to get to where it was based on last time it happened :((((((((( Might try putting a fake one on top in the meantime.
It was so dumb. I just picked up my cleaning tub for the resin prints. I didn't have a great grip on it so it slid down, loaded the nail and then snapped. Thankfully it's a clean and painless break but like... my bootiful claw is normal and flat looking 😭😭😭
-
@lia Truly a work of art! Amazing!
-
-
@notsure It's pweddy :3
-
Working on those footpads that will add that finishing touch but found my plywood has been bending after ironing on a few veneer layers. Fortunately it's small enough for me to throw together a mini steam forming setup in my kitchen.

Yes I am serious this was the plan to get the kink out.And it damn well worked too 😤 Got a bit soggy but it dried out fine.

Also assembling the front pad. This time instead of just 2x 4040 sensors I'm using 2x 5050 and 2x 4040 sensors embedded in the veneer layer to create a flush griptape layer.
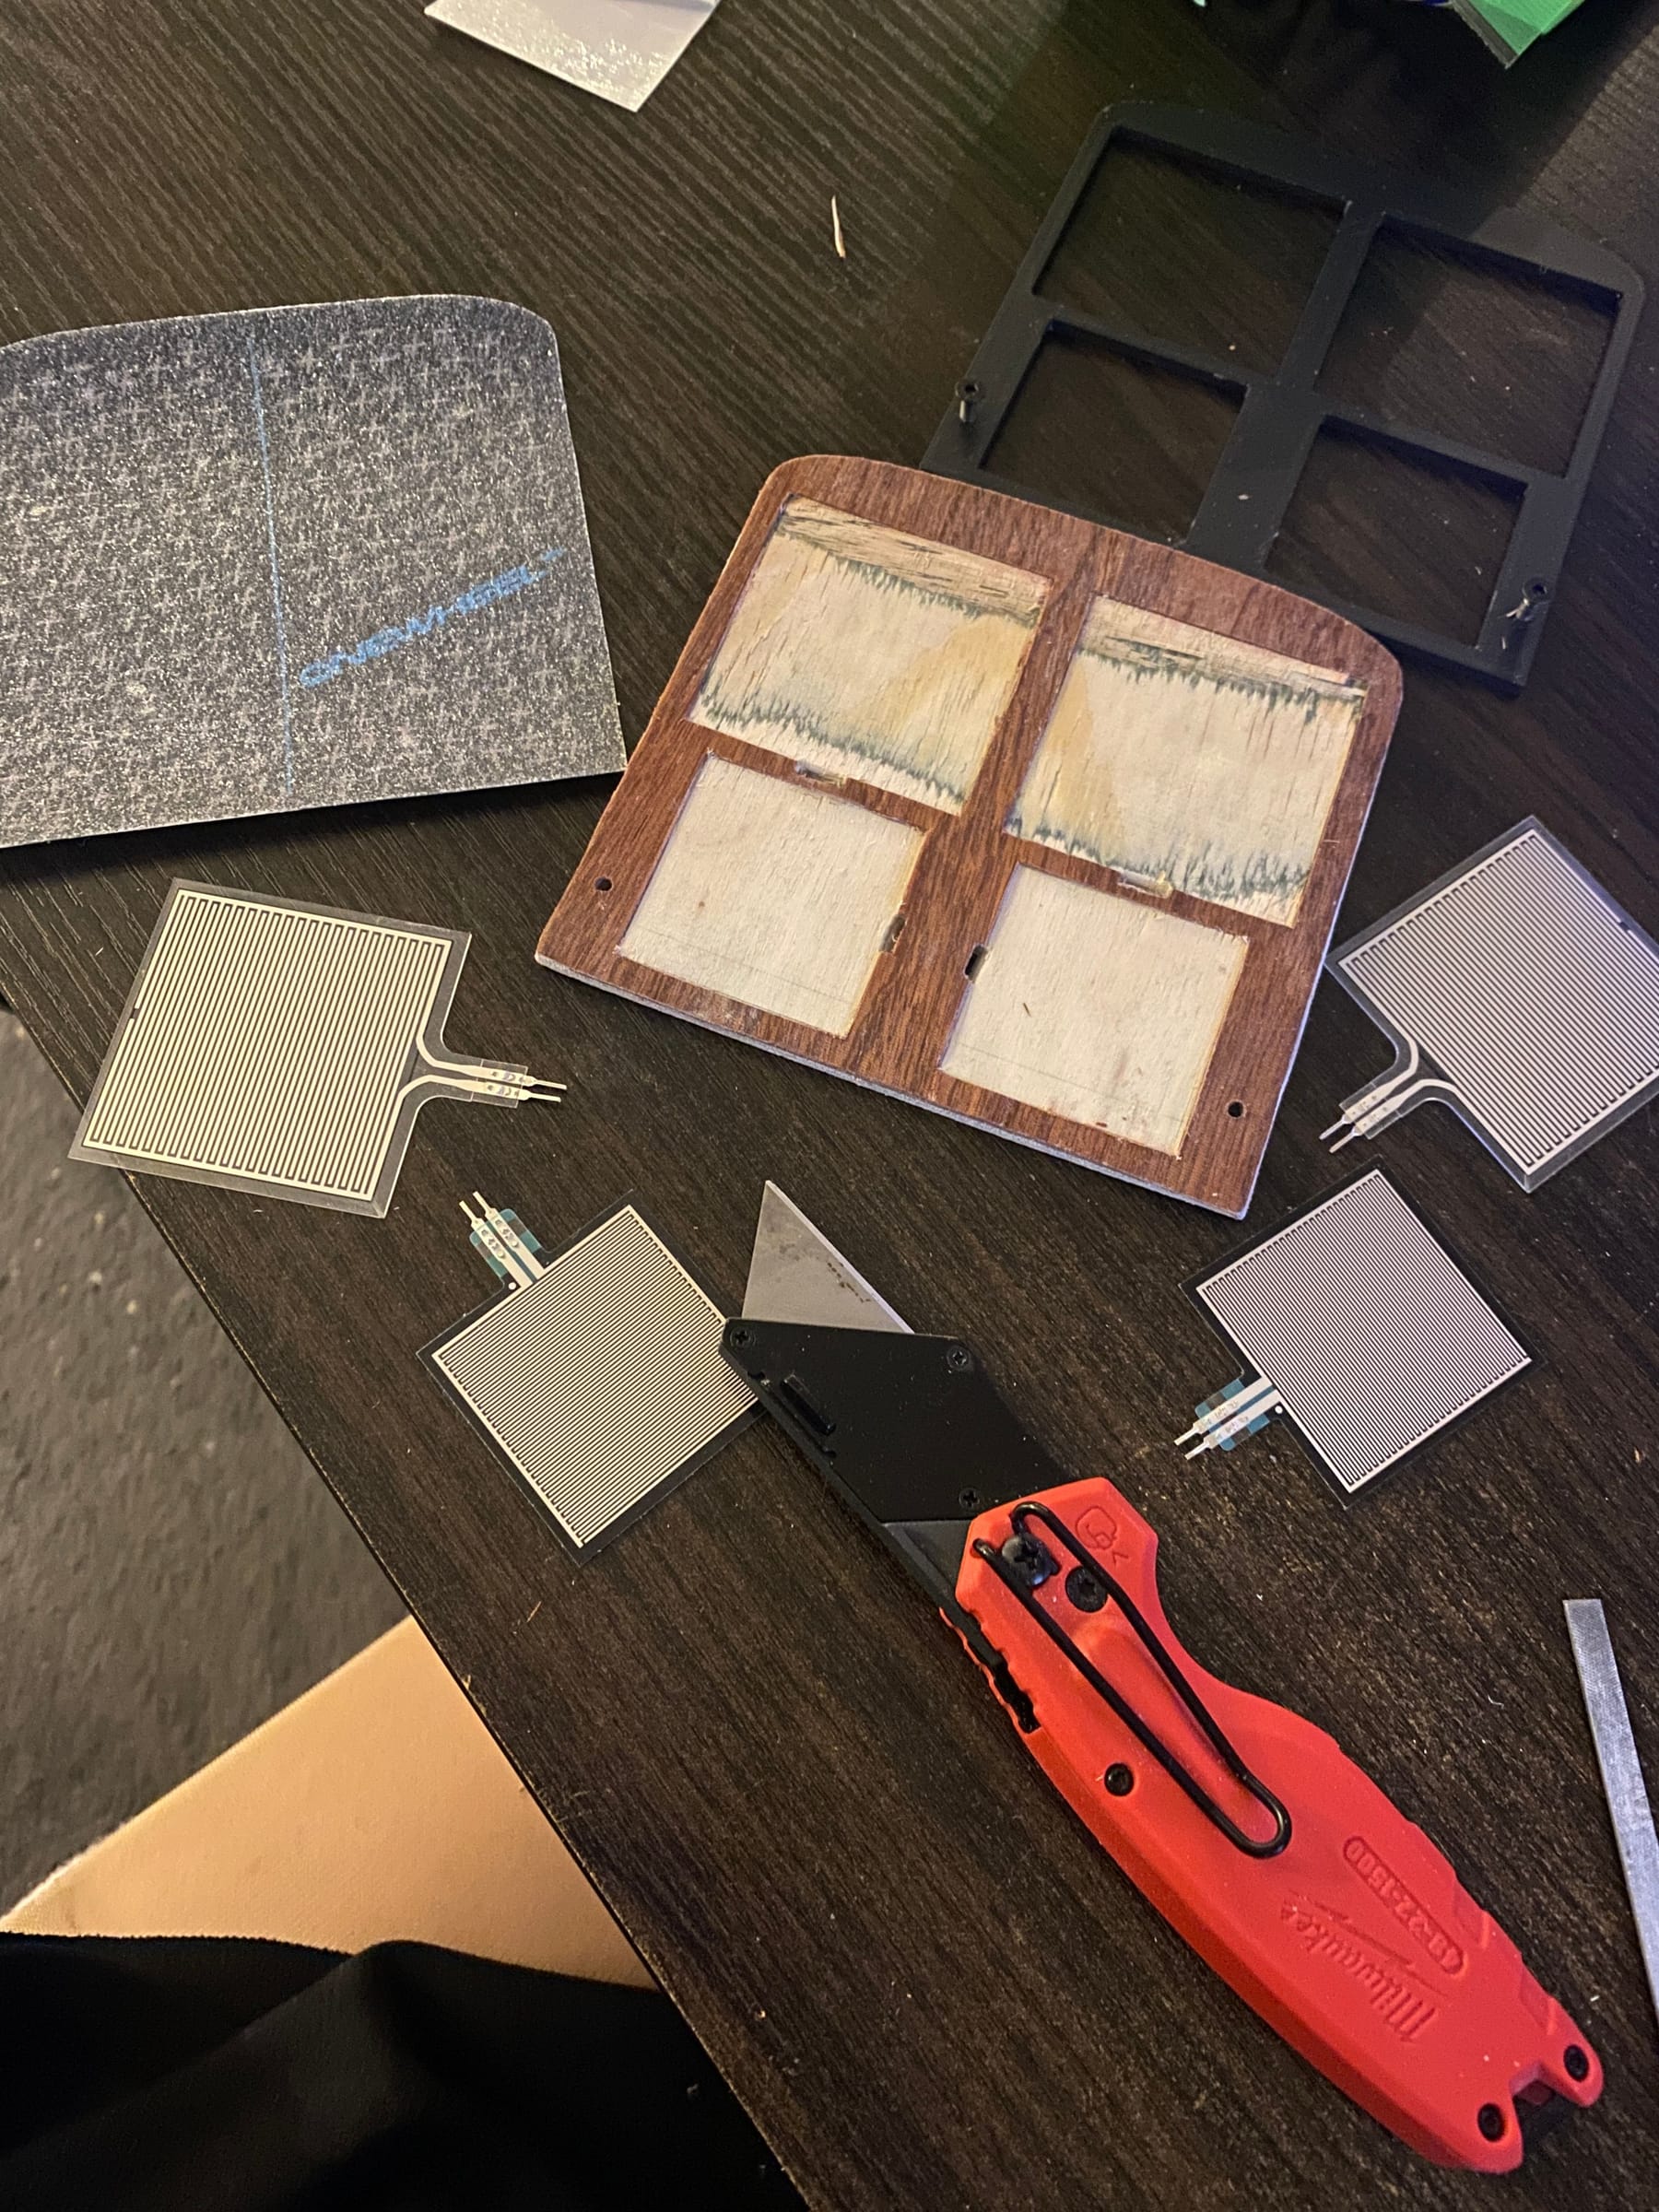
I still need to route out the wire channel on the underside but it's 1am now so best not get the big Bosch router out 😅
However it hasn't stopped me putting the final touches on the rear pad.
No you are not looking at a tock footpad.

Ignore the flashing on the tire. I haven't removed it yet since this one was a failure.
Engraving the lettering was a bit tricky but I managed to make a resin printed tool to stamp it in with my hydraulic press. Then a little touching up with some stain pens on the tool to imprint some stain in the groove 🥰
I was going to use a laser but I don't own one and didn't want to get the cr10 out of the cupboard to repurpose into a cnc laser. This worked just fine anyway which was a relief.
Hopefully getting the front finished tomorrow. Then I just need to make a good tire and give it a test spin!
-
Nearly nearly nearly done!
Works with my old charger. This one from memory is configured for 1amp but the new ones I will configure for 2amps. Although I won't build them as "hyperchargers". Too much feature creep and the dinky size of the standard one looks better alongside it.
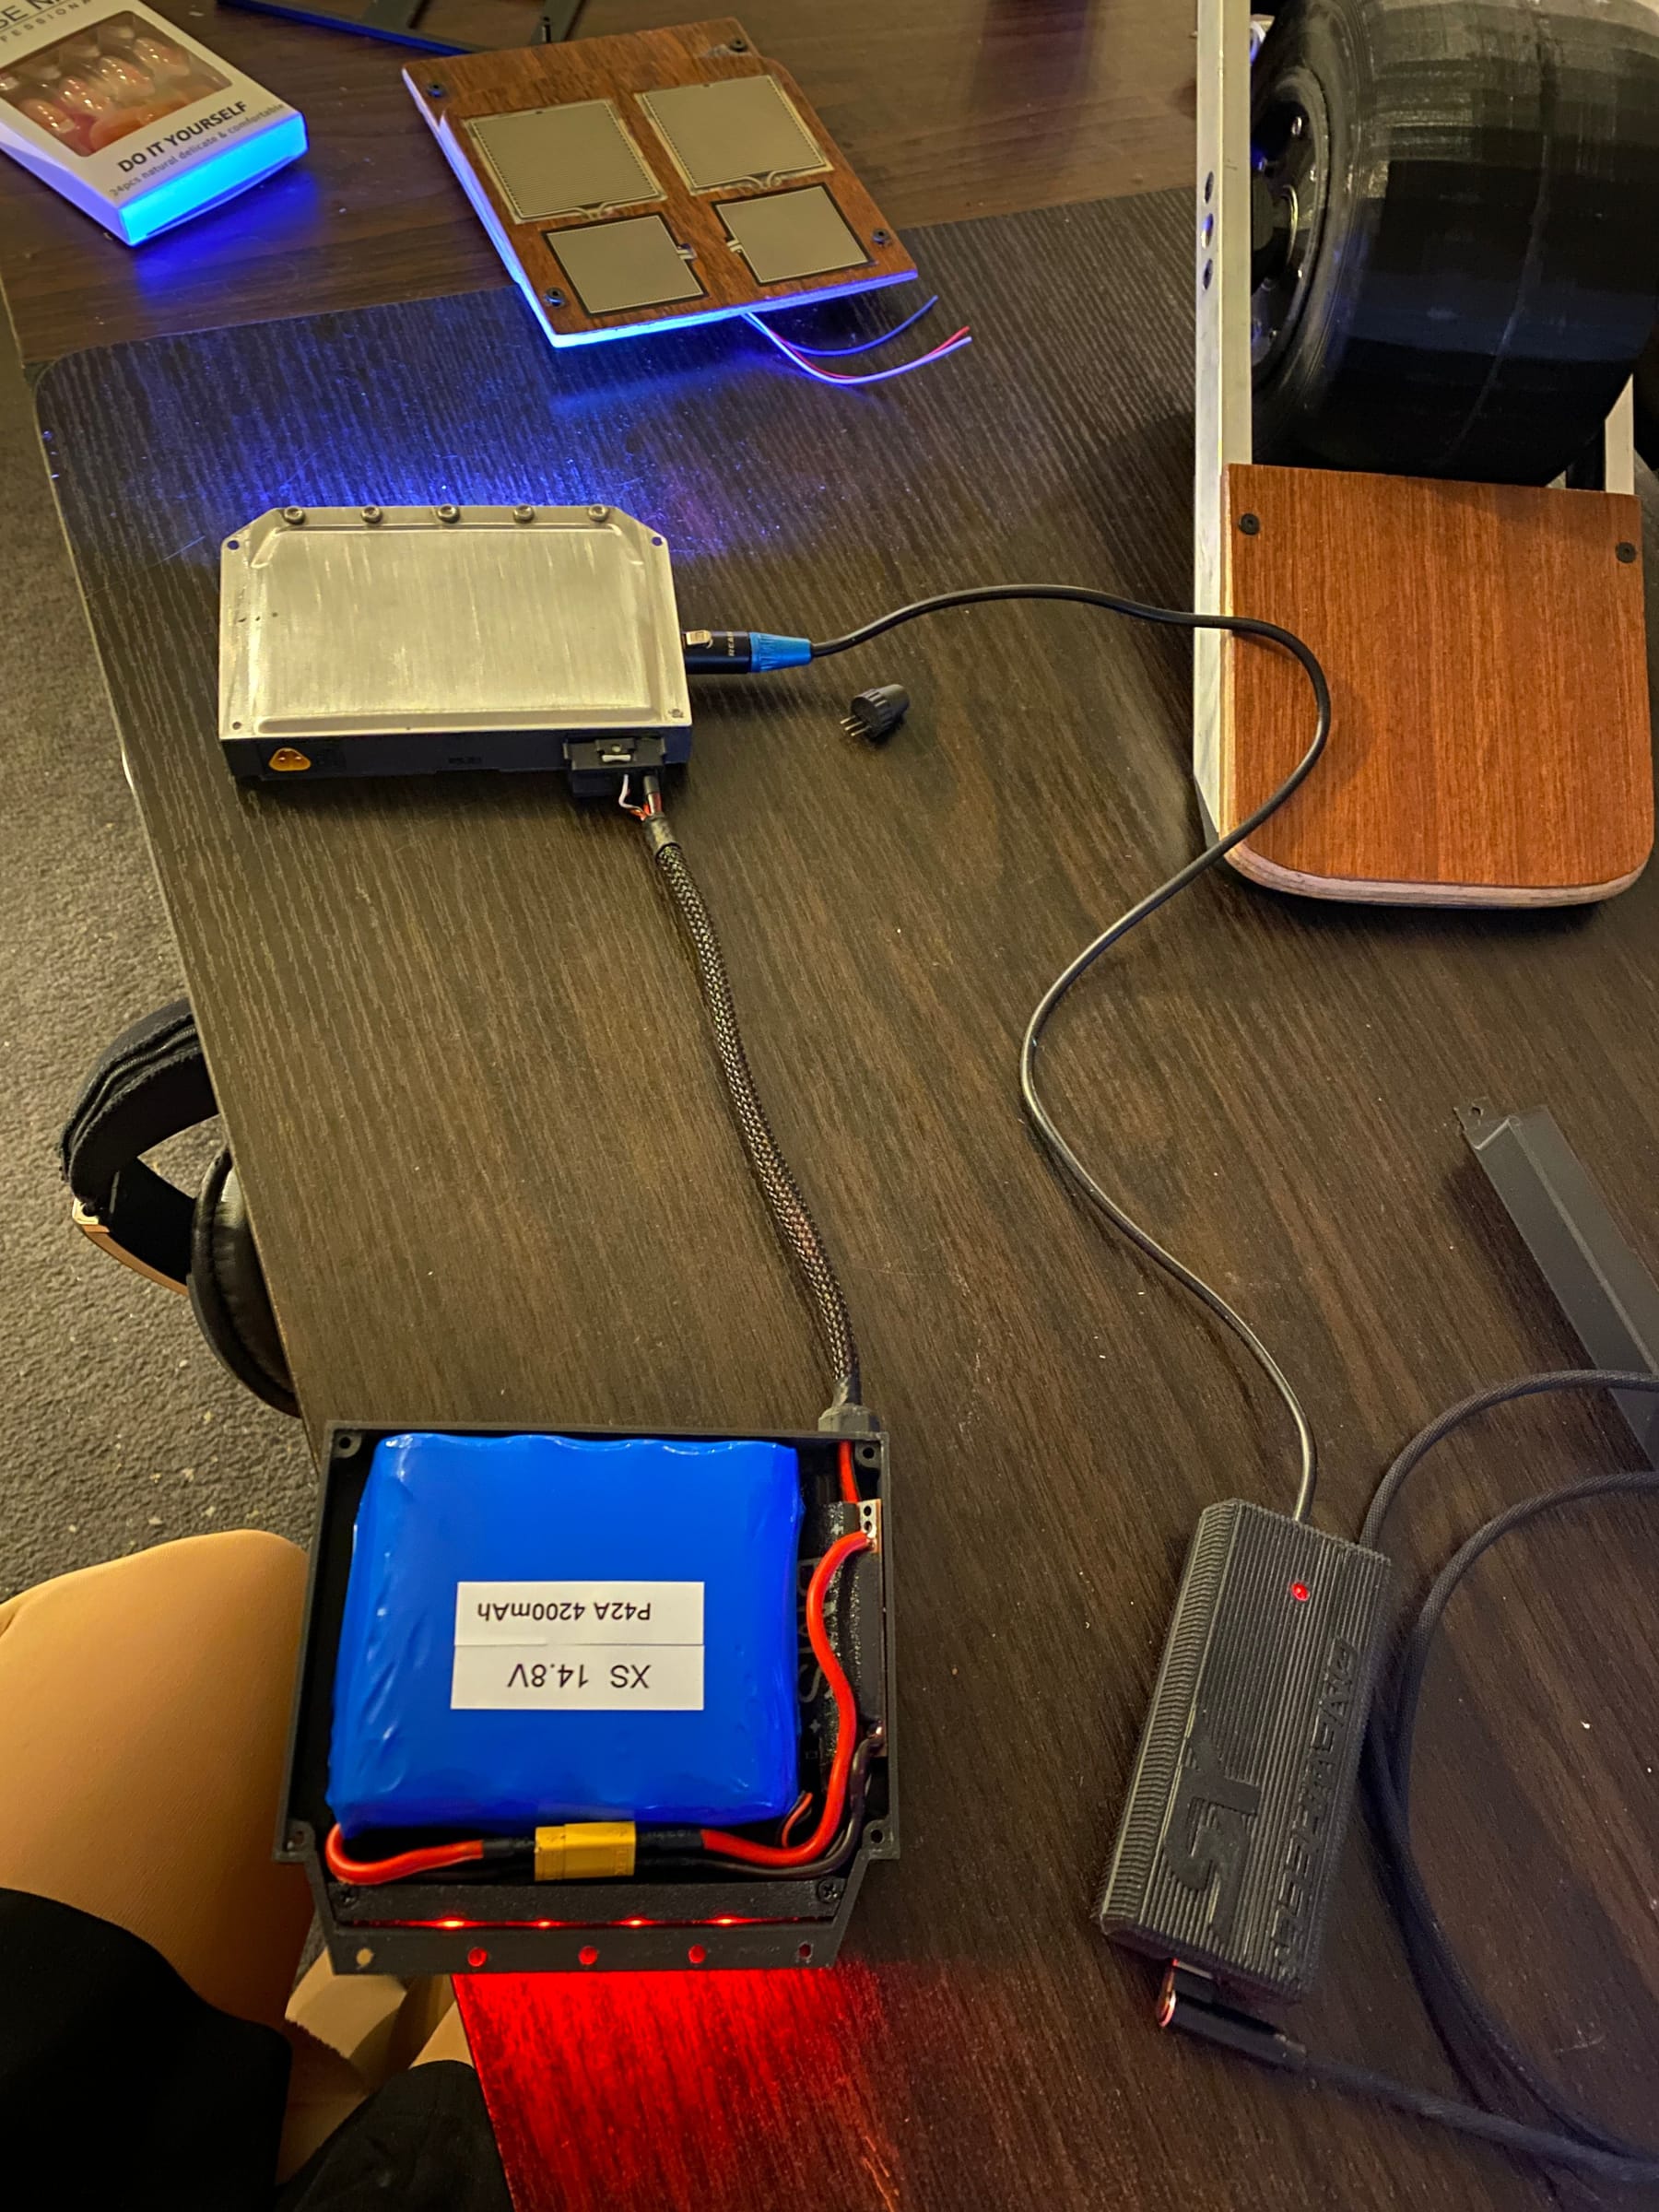
In the meantime I've been adding to the pile of parts for the twin build so it's sister is ready to roll too.
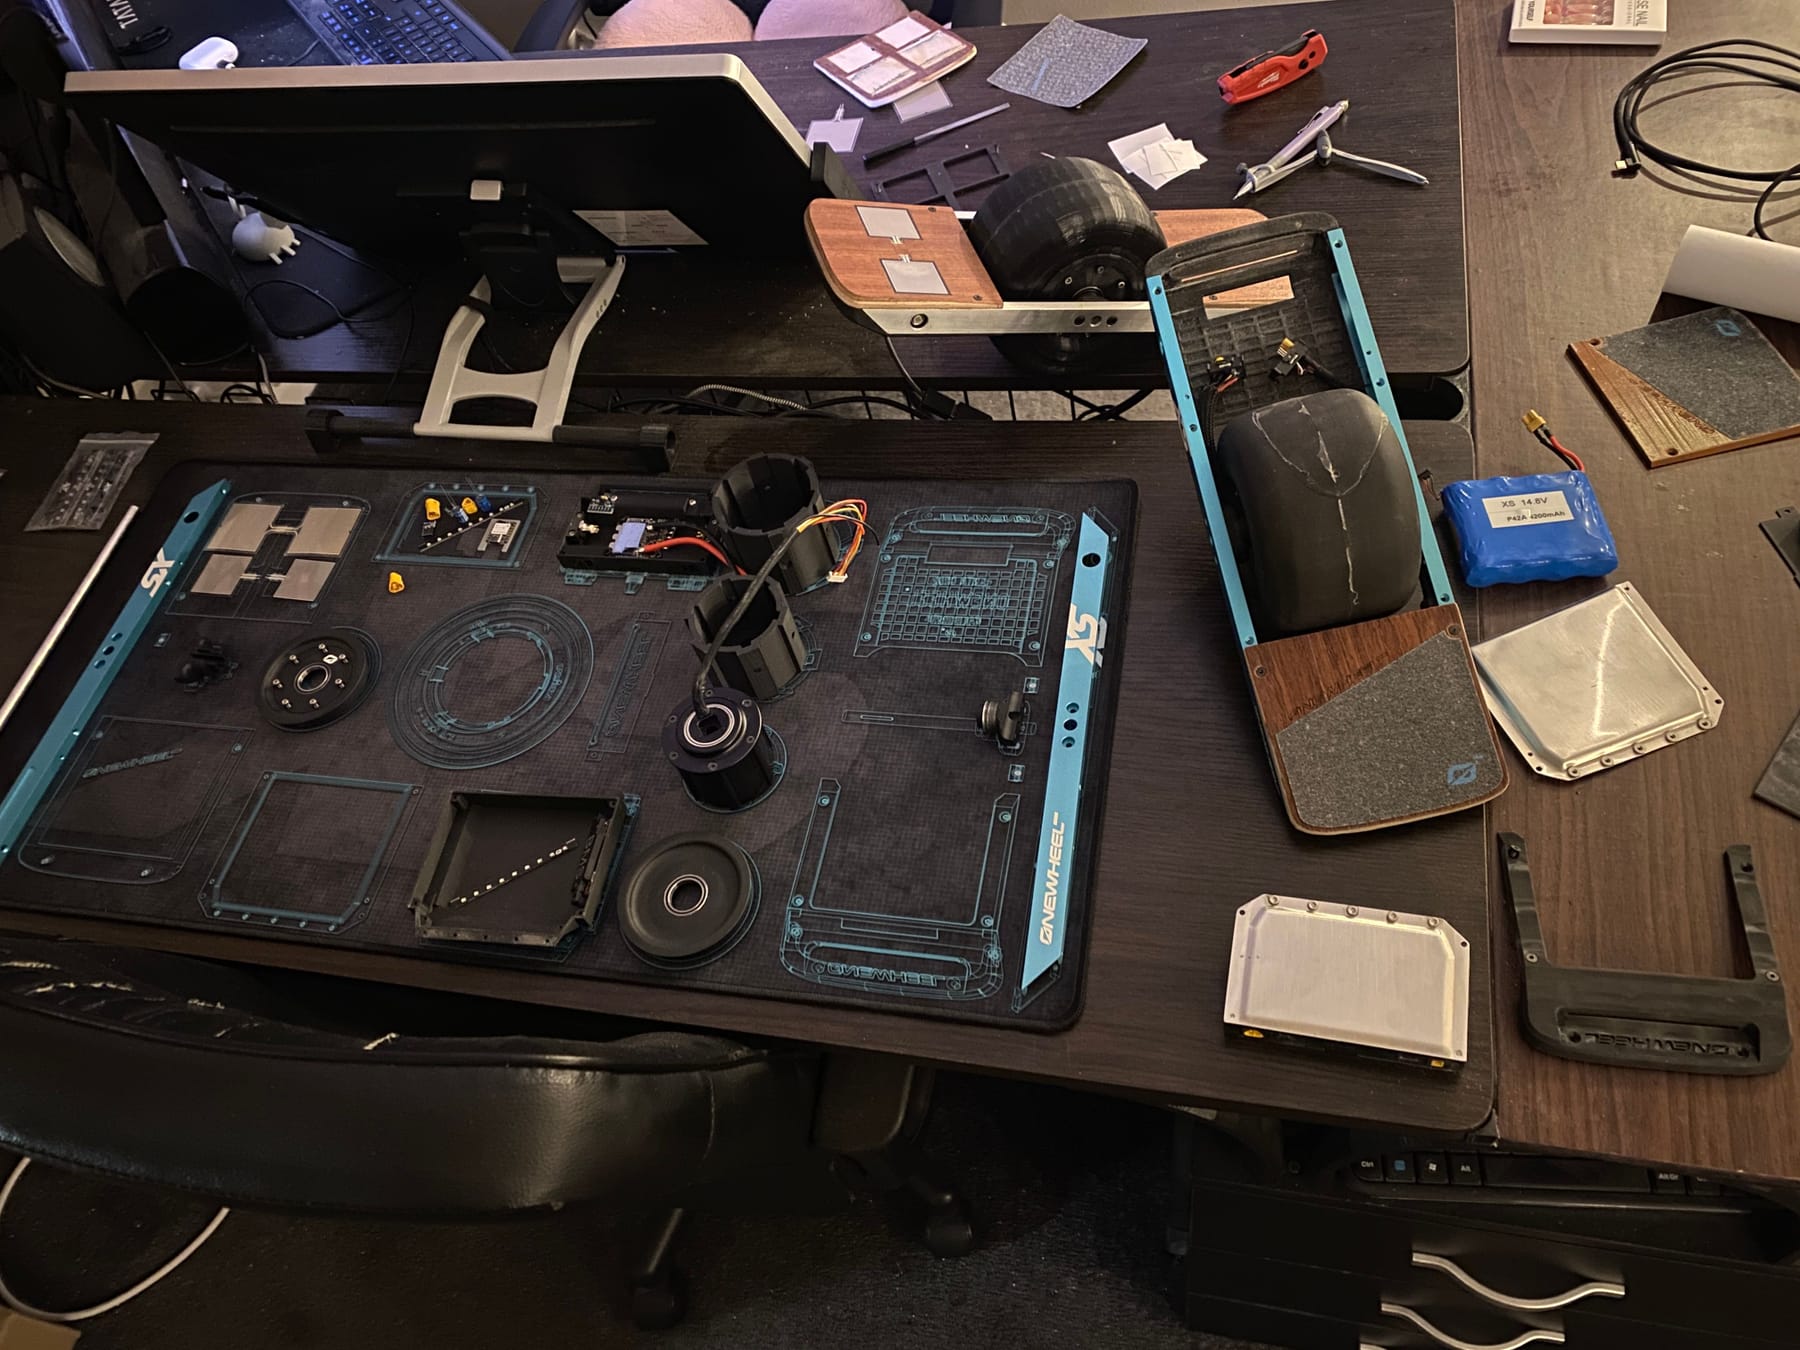
Sealed up the front footpad and took a pic. I think it looks suuuper good even though I haven't put the bearings on. They are purely decorative and don't really provide any structural support since the motor itself rests on the 8mm axle.
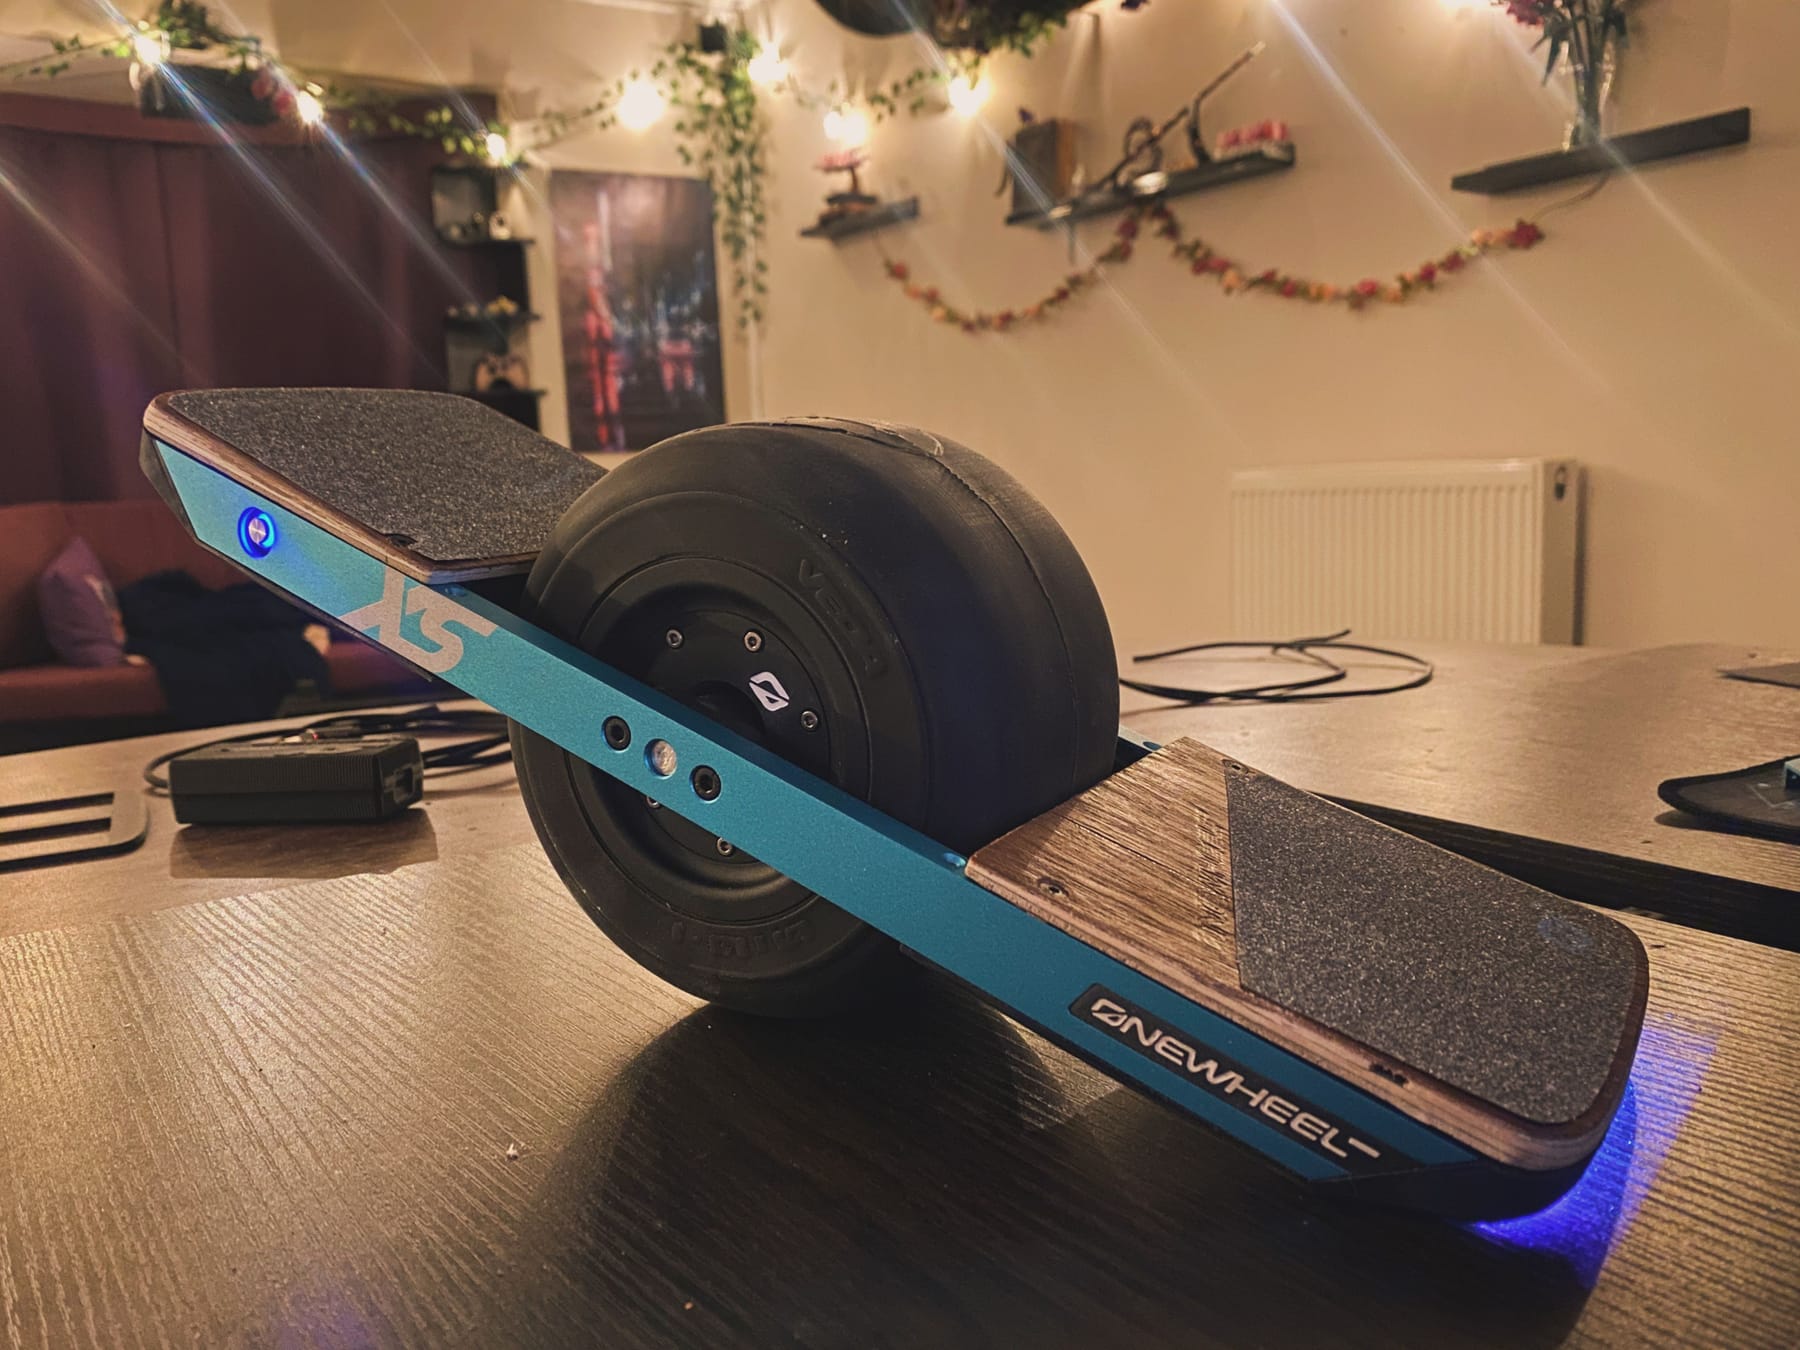
Here's a quick vid of me testing it under its own power even with the busted tire.
Ignore my broken thumbnail 😭😭😭I hate it so much. Gonna take months to grow that claw back 😡Managed to finally get another batch of PU rubber and set off a second casting. This time I tried another technique involving 3 pours one after the other to get a cascading curing process where the last one combined the 2 halves together.
It begins to cure after just 1 minute an has a pot life of 5-6 minutes. That's enough to dye, mix and de-gas just as it starts to set. Pouring takes about another minute as it's pretty viscous stuff. So if you time it right you can cascade the curing times to get a desired fill. I did:
1x 500ml batch and pour split between the 2 halves to create the outer most faces.
1x 400ml batch and pour split again between the 2 halves to top off both moulds.
1x 100ml batch and pour on 1 mould as I flip the other and squish out the excess and clamp it closed to combine the still not fully cured material.Sadly I didn't get pics or vids of the process as it's a very involved process with no time to mess with a phone especially when I'm using it as a timer 😅
My 2 clamps were not enough so a car battery was brought in to assist with pressure.
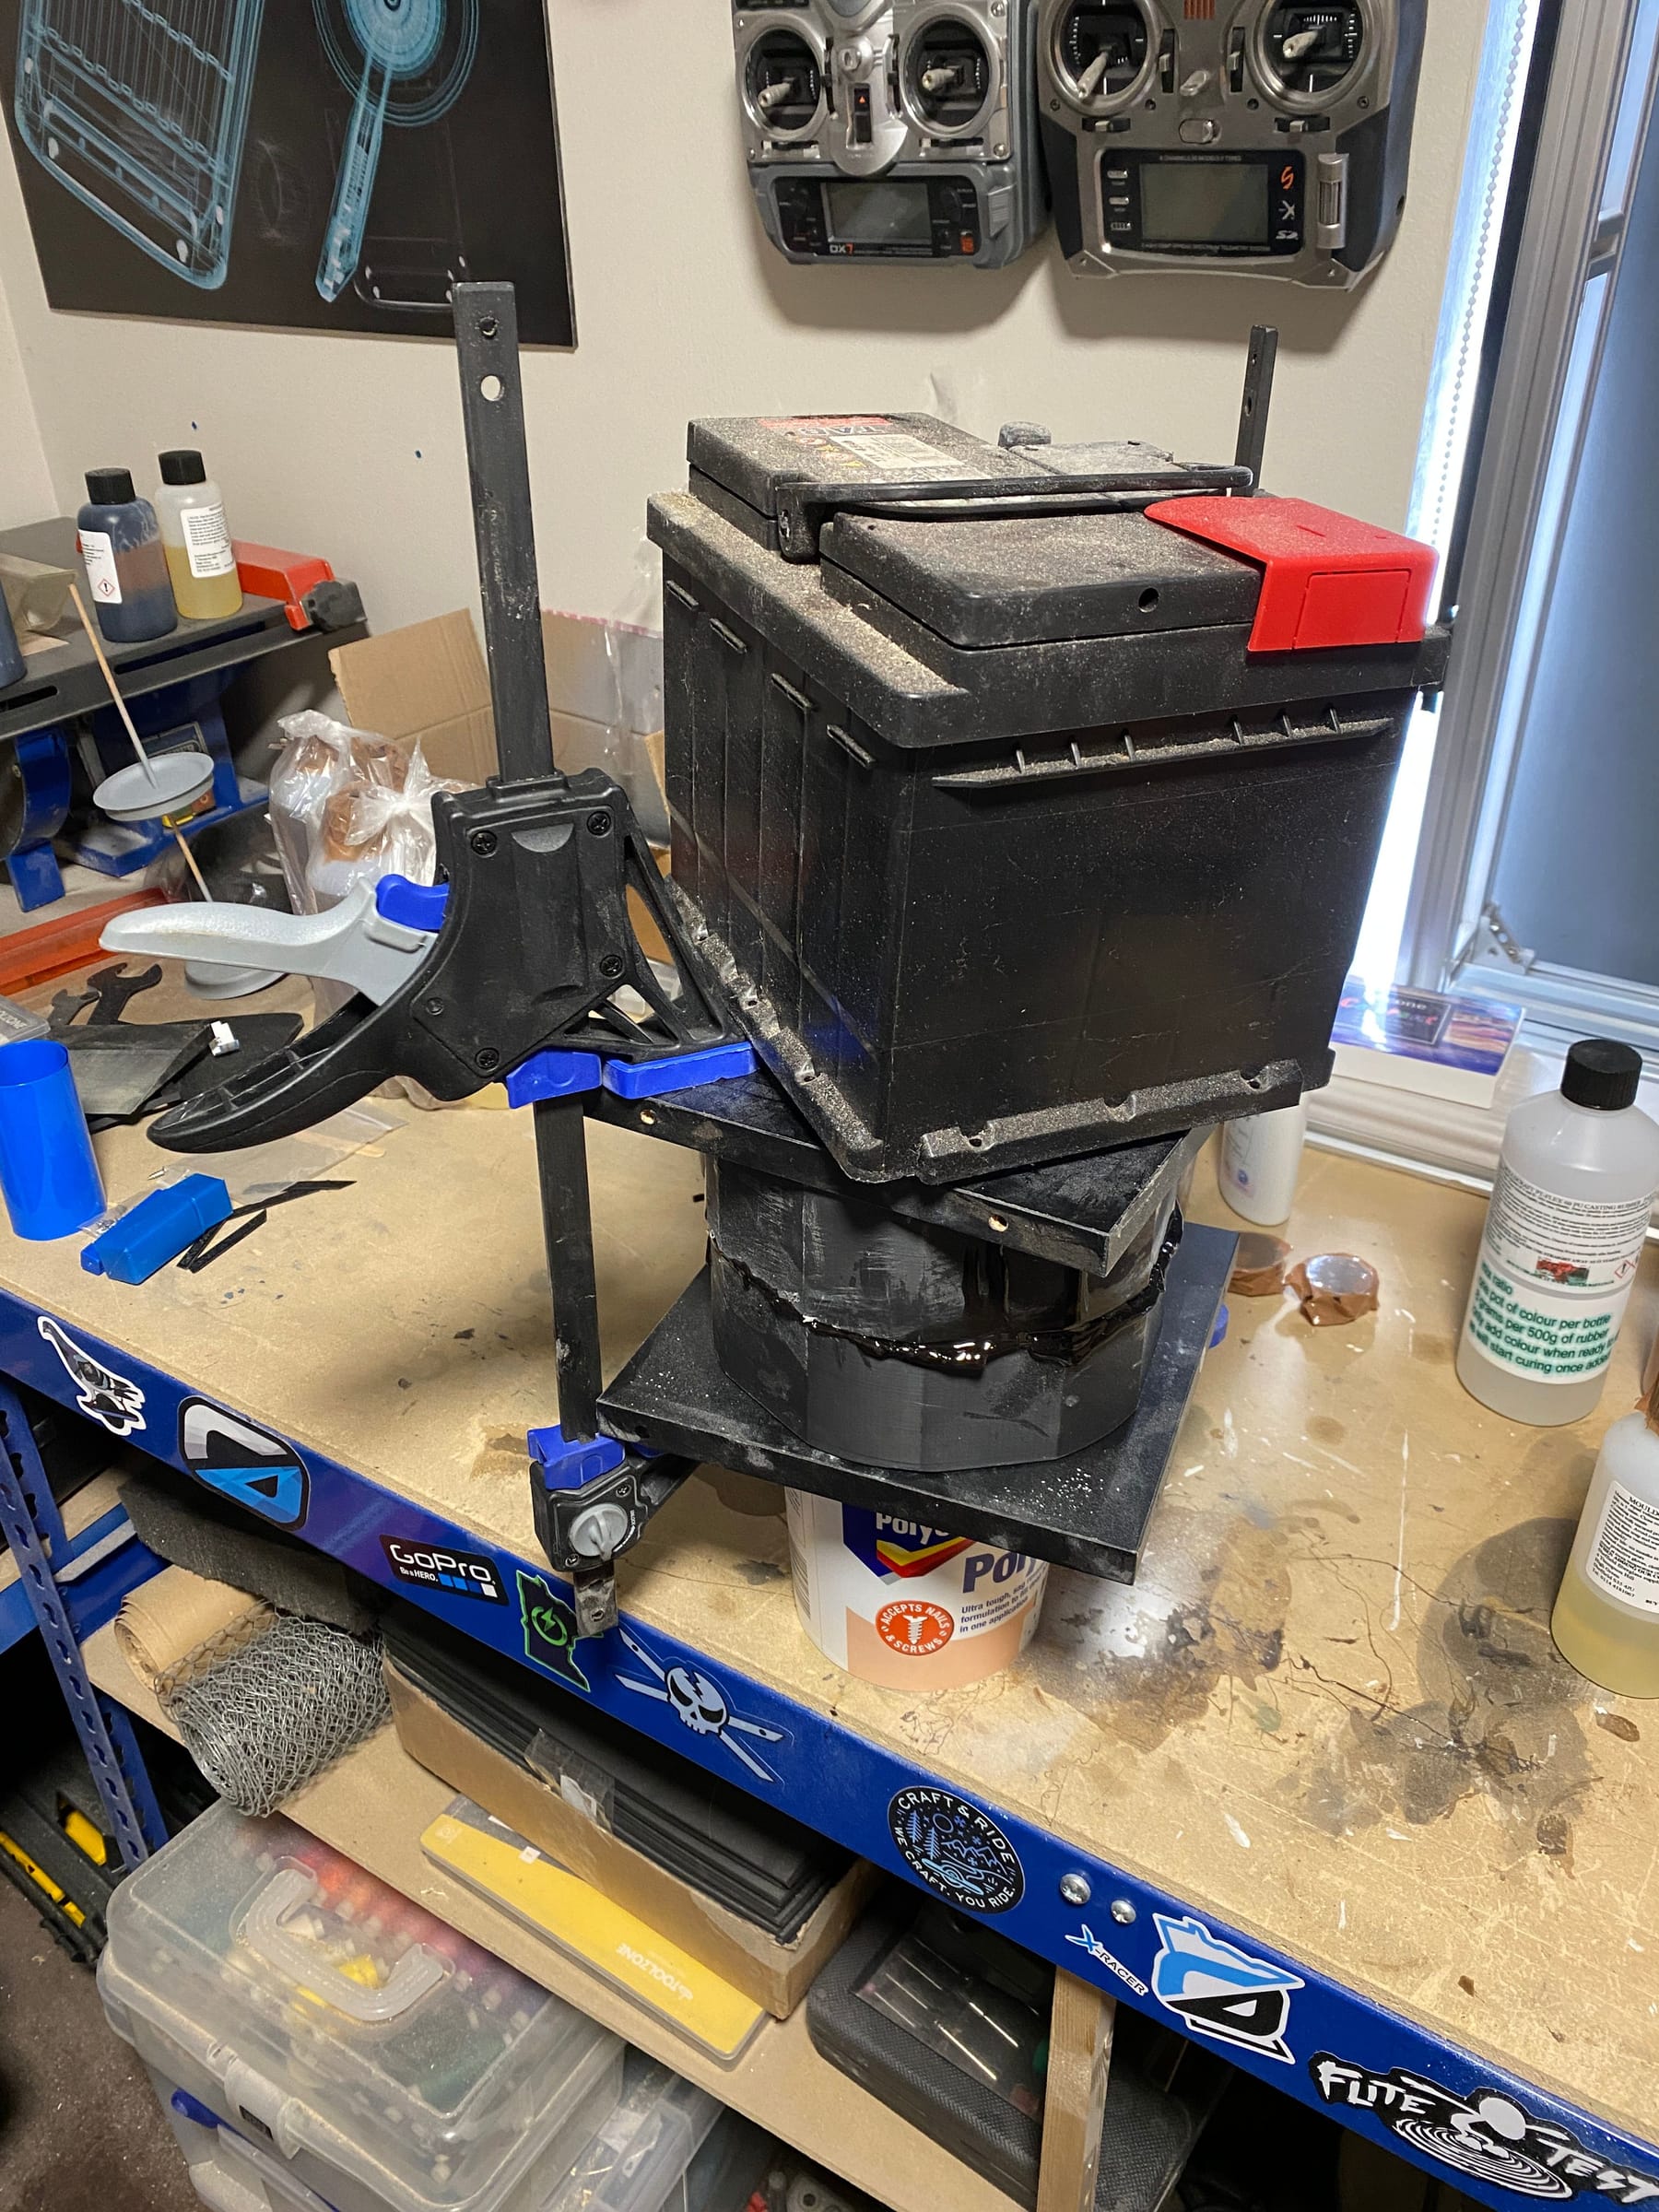
Regardless the tire came out fine minus a slight offset meaning some of the internal geometry isn't aligned but it still fits the motor casing just with more resistance instaling.
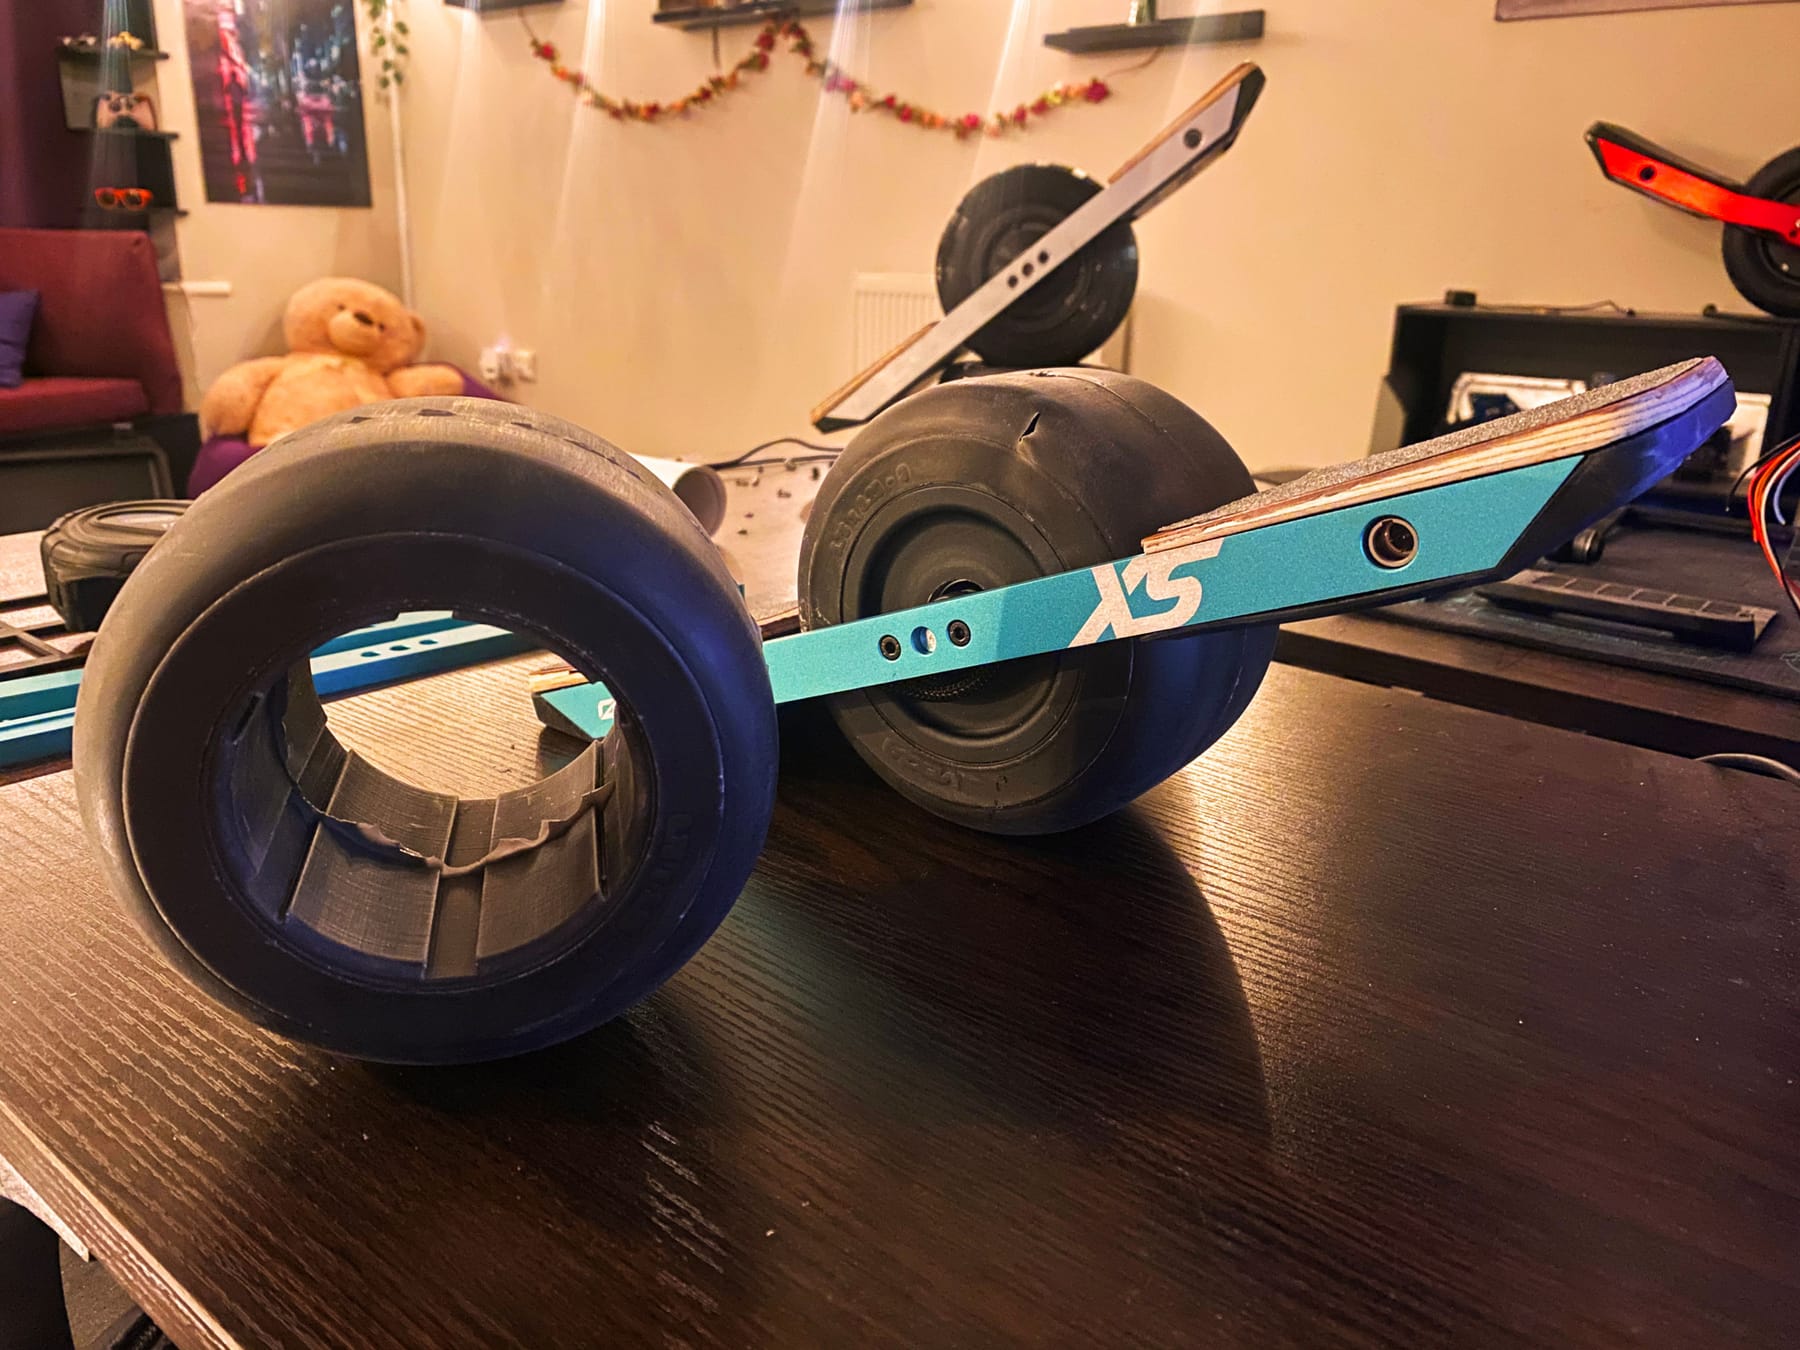
Also found the tires make a great display stand.
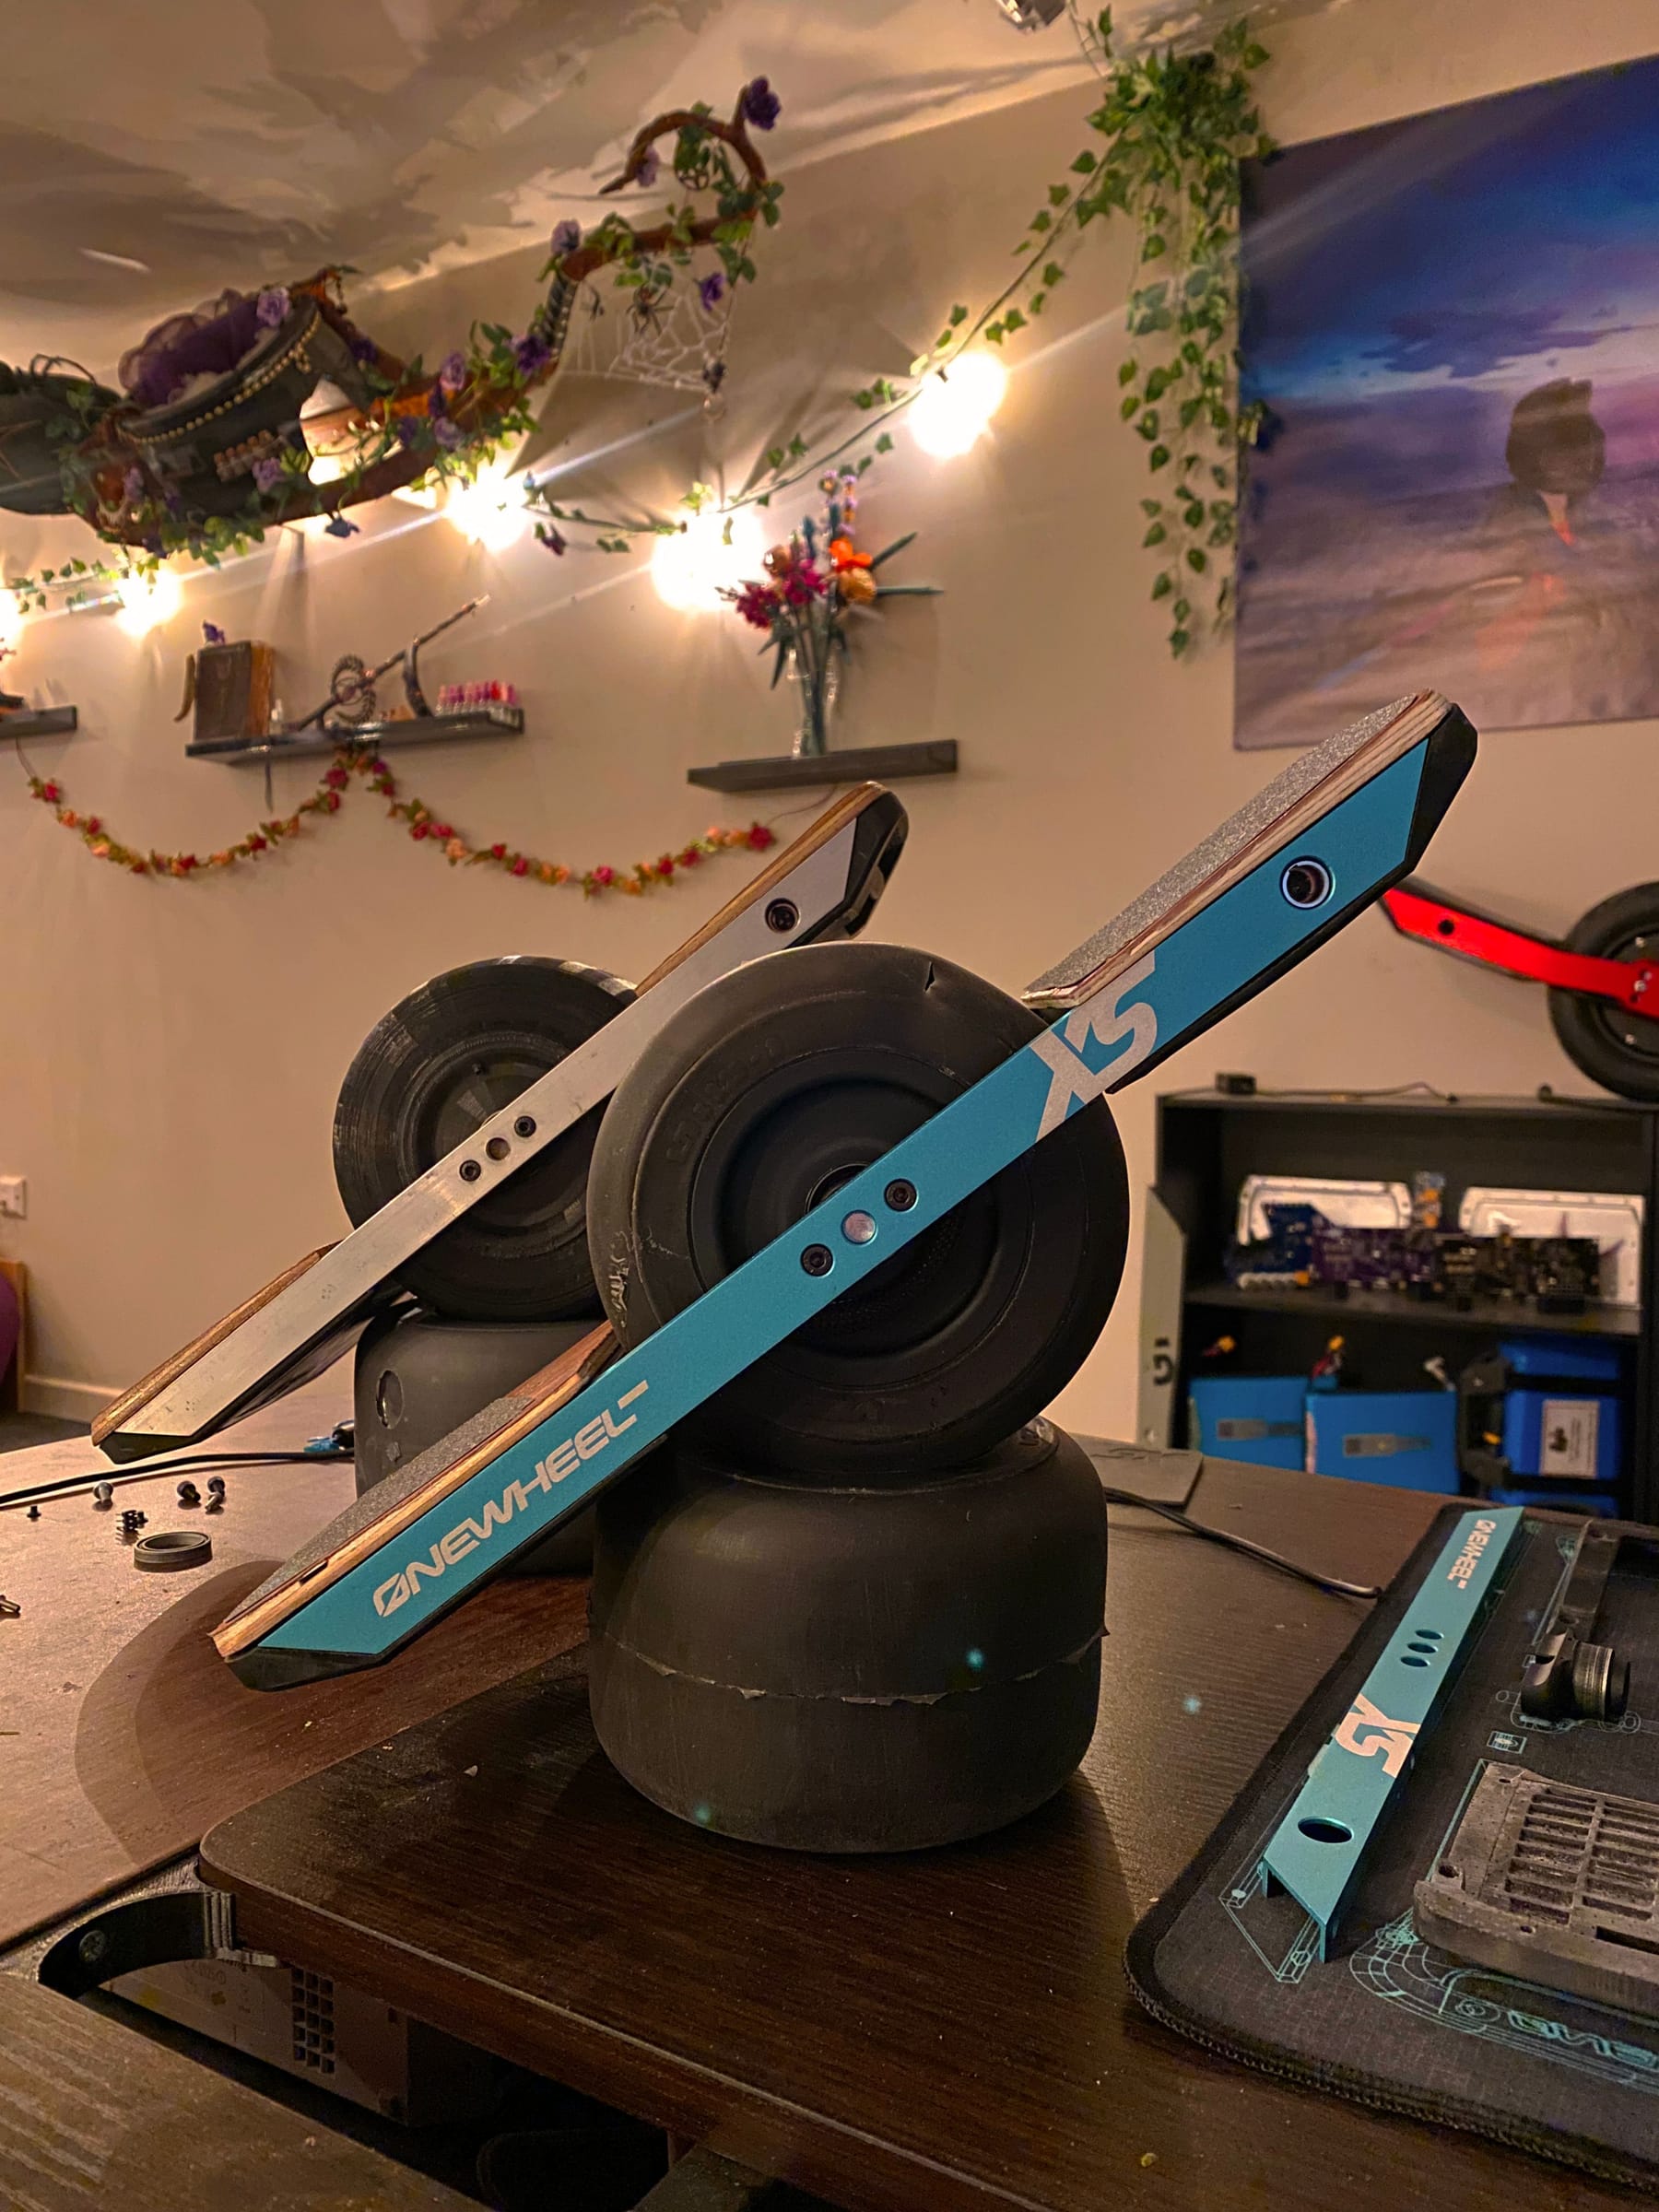
So I need to fit the new tire but I have another set of things to do so in order these are left to do.
- Install the bearings.
- Shorten the battery harness cable a bit.
- Adjust the LED programming so it's more consistent.
- Alter the footpad resistors so it is more sensitive at lower weights. Probably a 20k resistor instead of 1k by my calculations.
- Sand down the bumpers to line up with the footpads.
- Spray paint the bumpers.
- Add white colouring to the Vega logo.
Since the programming port for the VESC is still accessible via the back of the controller I'll tune the board once re-assembled as it's a bit looser than Mission and I want a more Delirium feel for showing it off.
Once I have this one done though I'll see if I can poke FM on insta and see if they'll swing by OpenSauce to see it in person. You know, to give it the official seal of approval 🥰
-
@lia I can't believe the amount of detail and patience you devoted to this project!
Do you think a person can ride your XS? -
@lemur Thank you! Part of me feels silly that a lot of the detail is hidden but I and you all know it's there ^-^
Funny you ask, Wren asked a few hours ago too. It can hold my weight like the first one but I have yet to try moving on it 😅 I want to so bad.
-
@lia I thought I saw a third XS in the earlier pics . . . I was hoping your own personal XS would be an homage to Slush, at least in its colorway. :)
-
@onedangts I do plan to when the event is done with :) I need to figure how I'm going to cast an Enduro too but that's assuming I don't shelve this for months after the event is done.
-
Final stretch, got those pesky cable clips done. Did you know these are both my least favourite thing on the OG boards and the half scale. Yes even frustration translates.
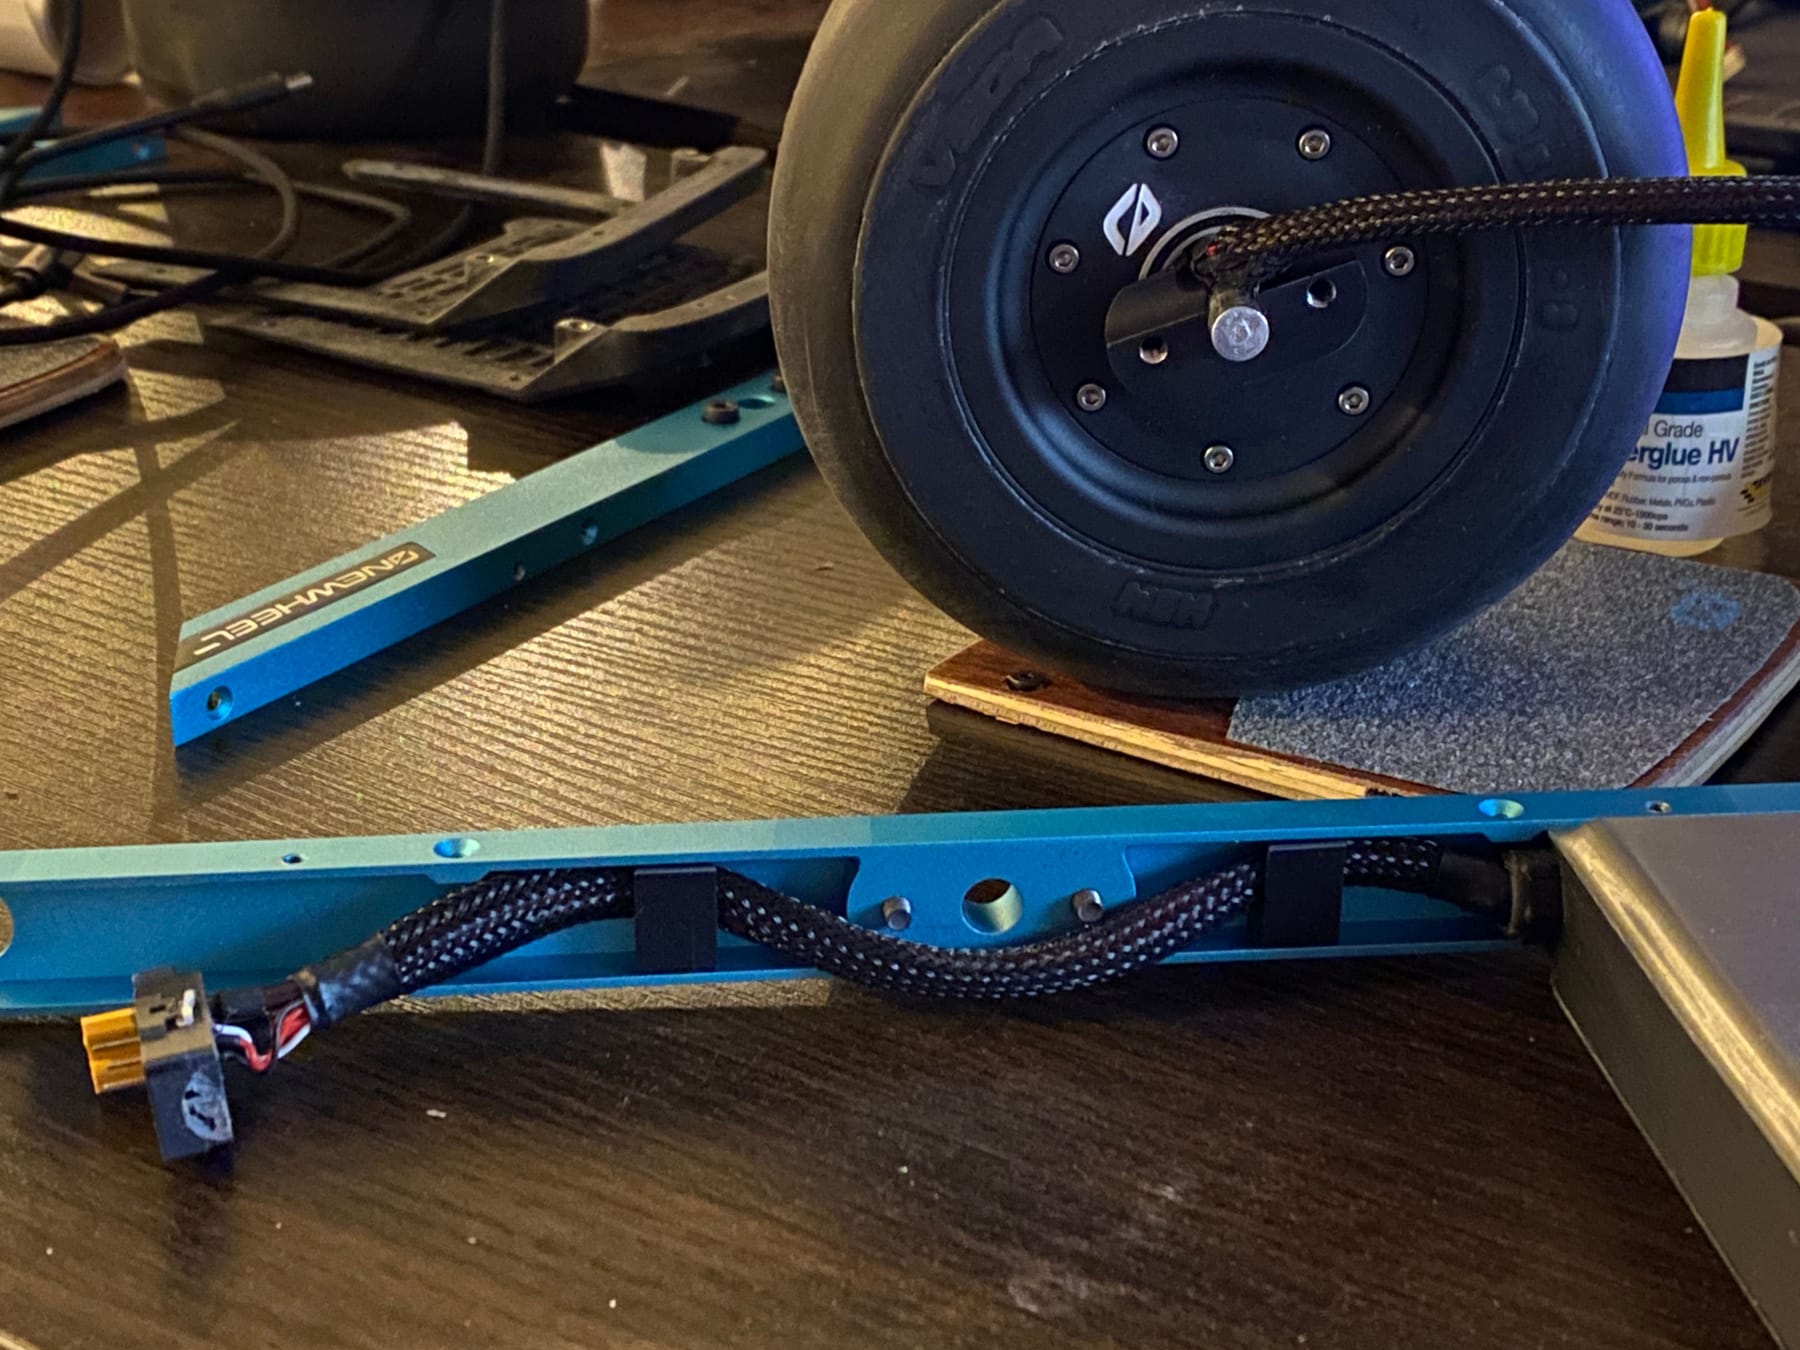
Also figured it might be fun to make that side stand just for fun. Will make the base out of actual wood but for testing this actually came out pretty good. Haven't cast the rubber grippers that sit in the holder but as is it works just like the real stand.
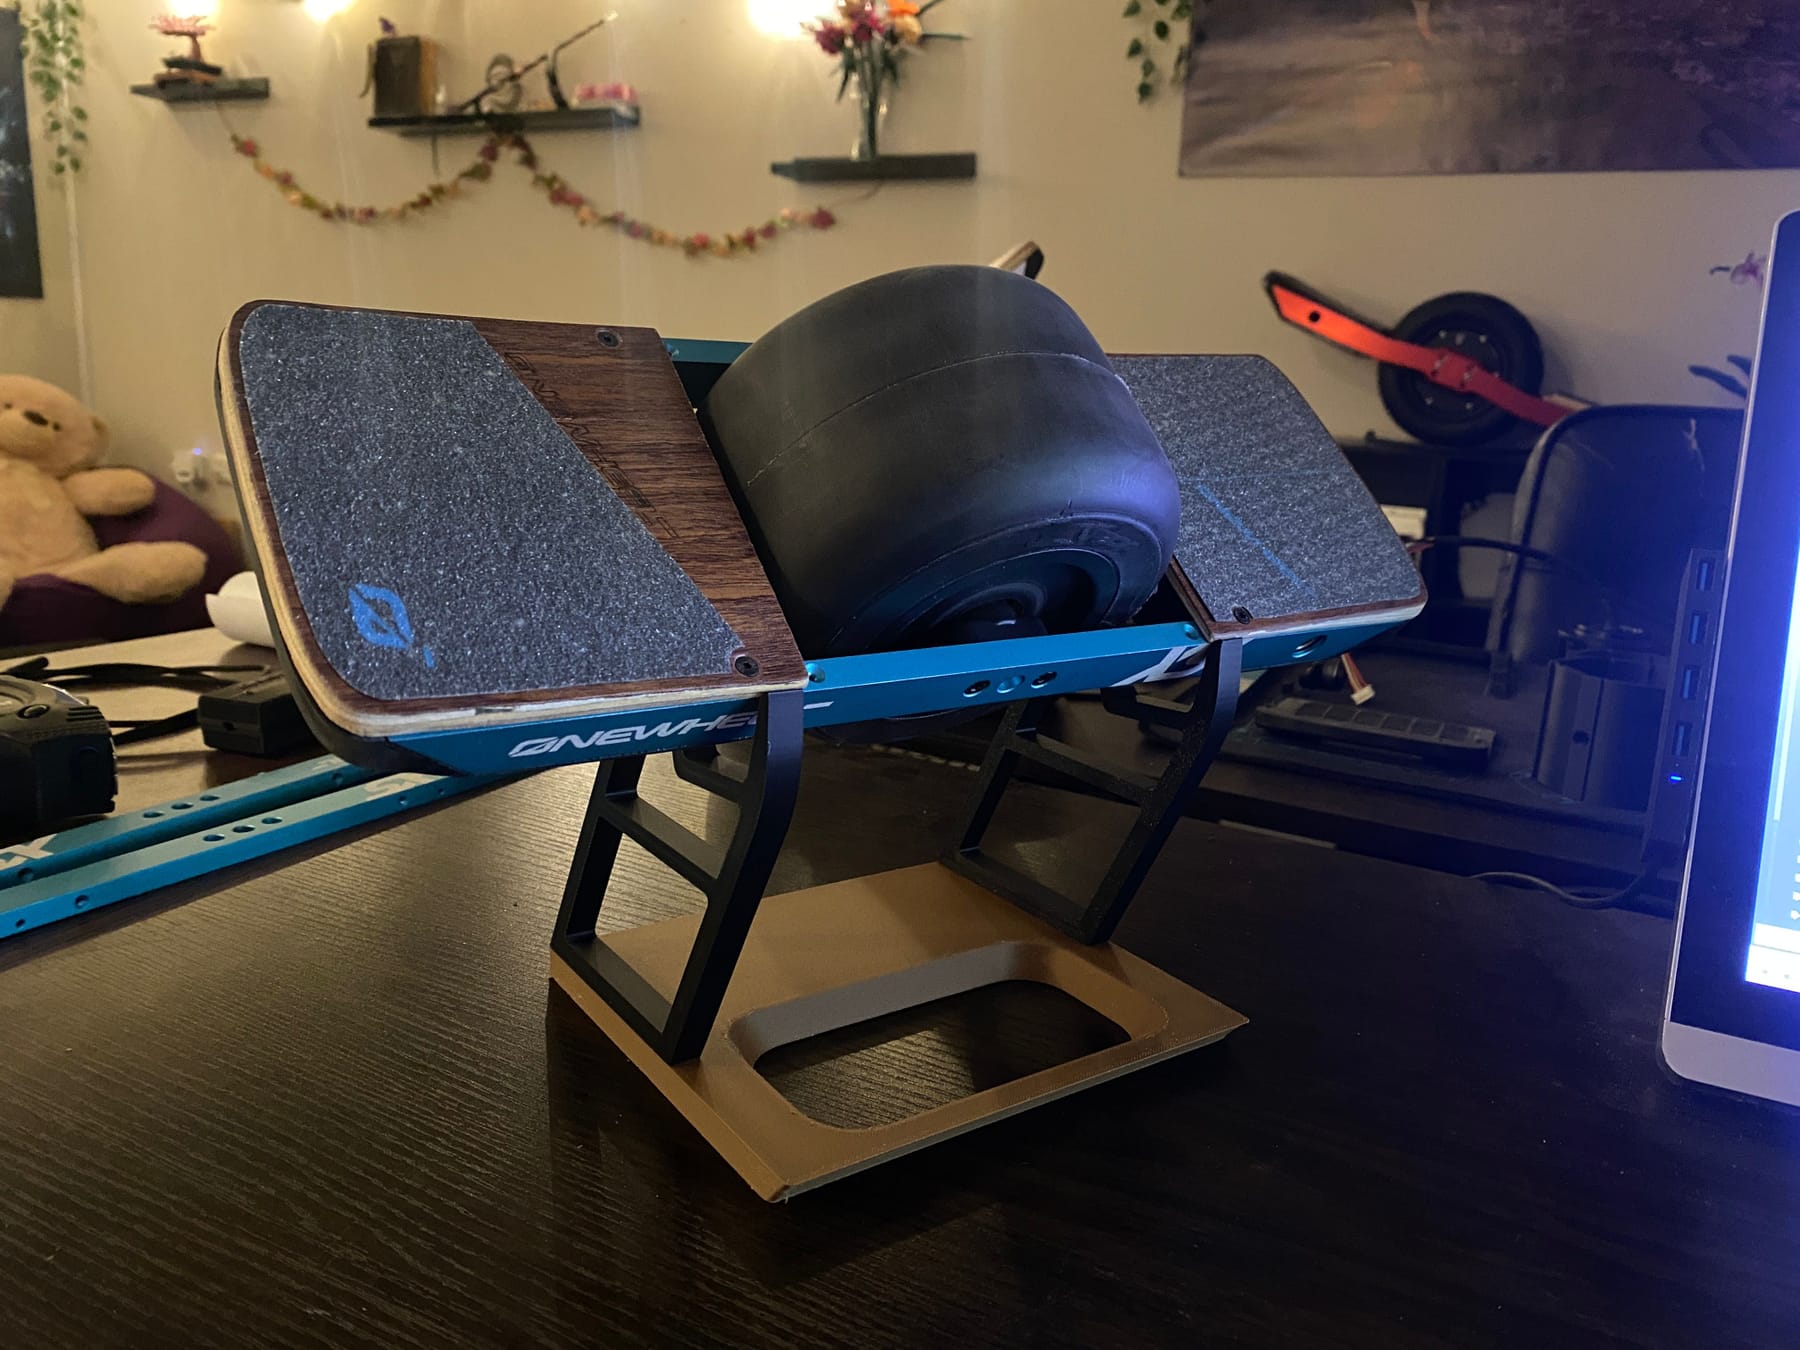
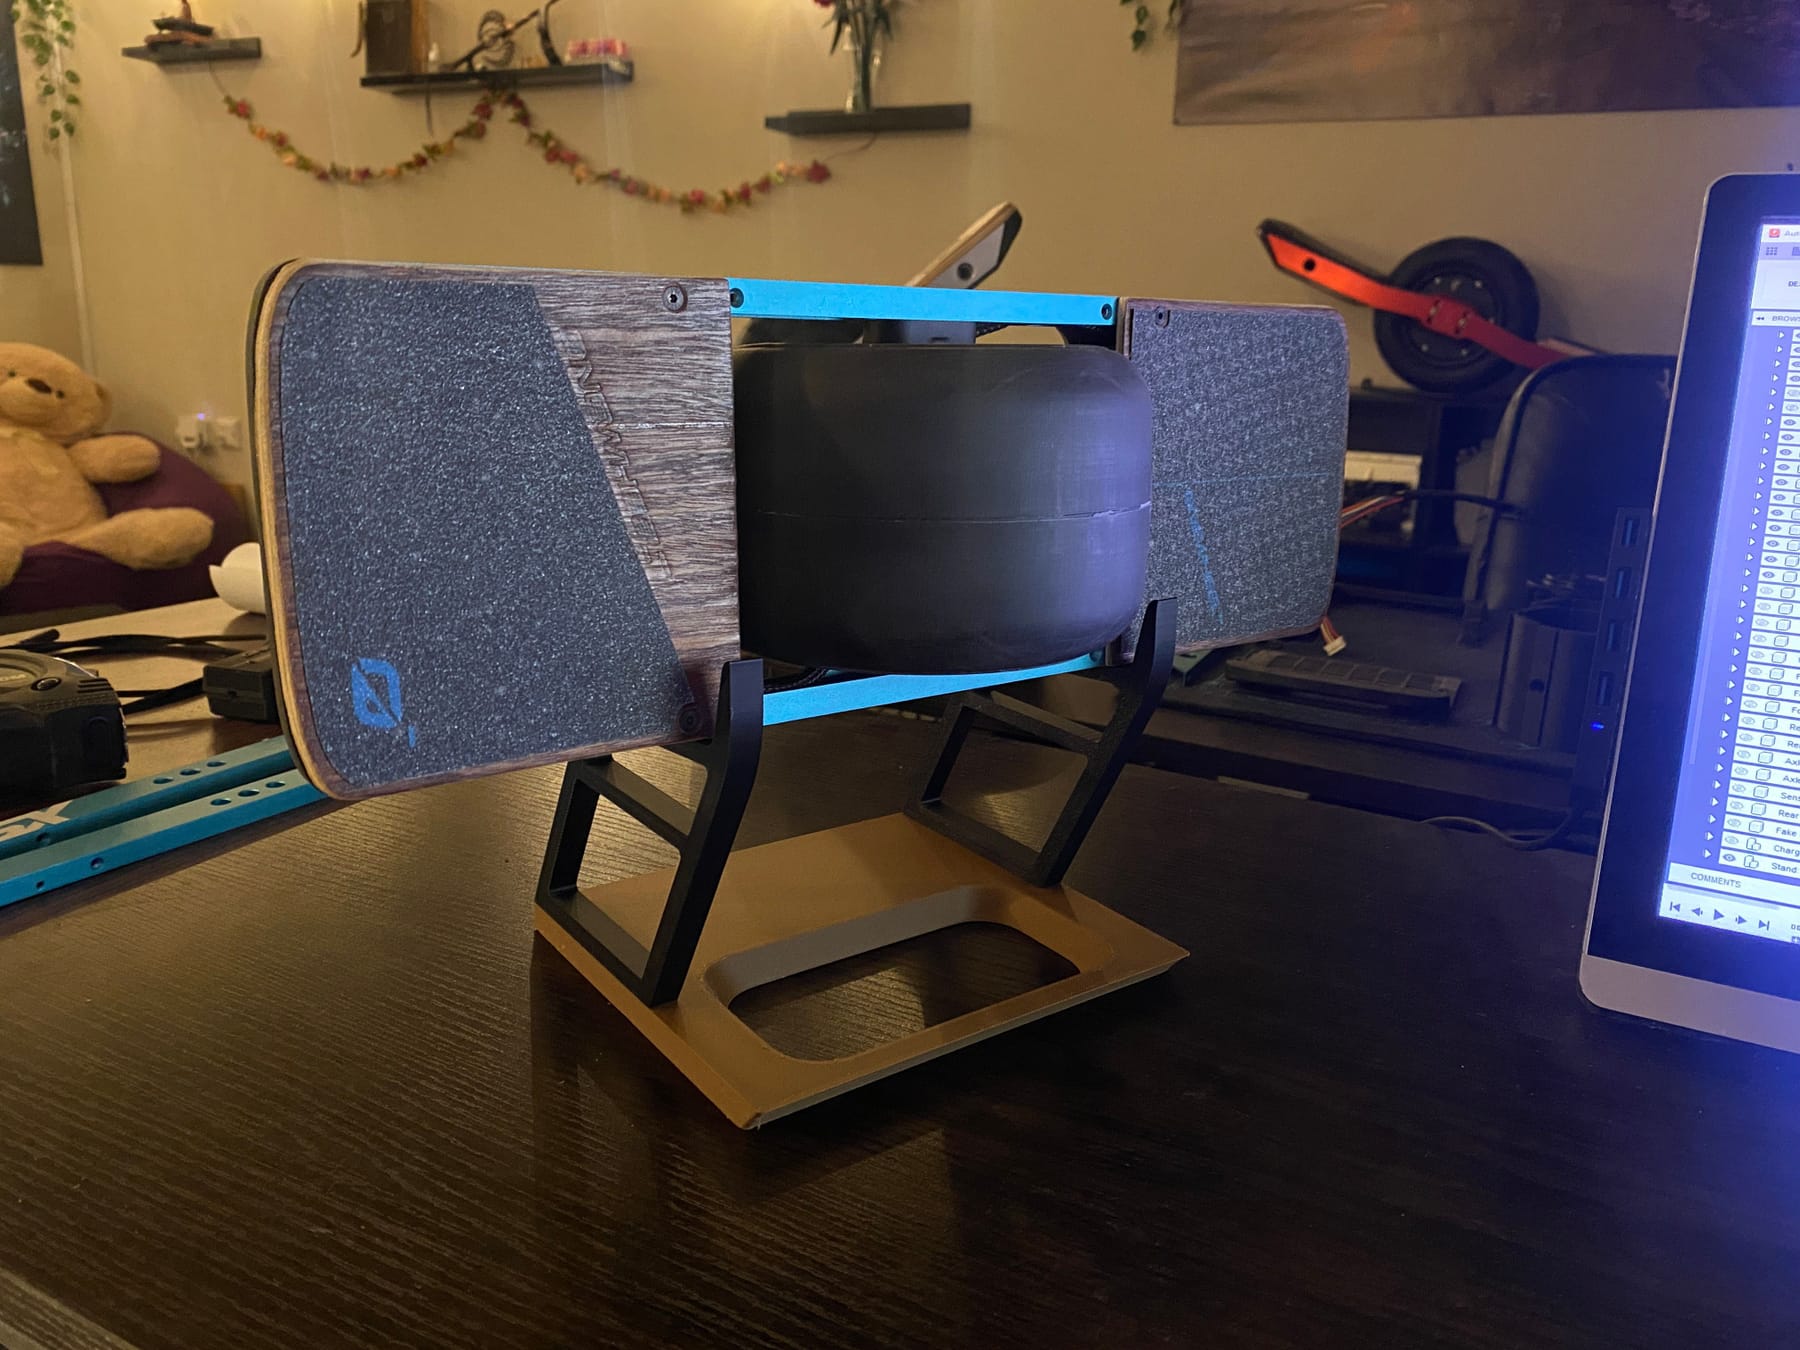
All assembled it was time to tune it. I spent a bit of time with the programming tether connected. Eventually I sat it on some tire replicas since it was gonna take off otherwise.
But er... well nothing left to say other than
It's dooone!
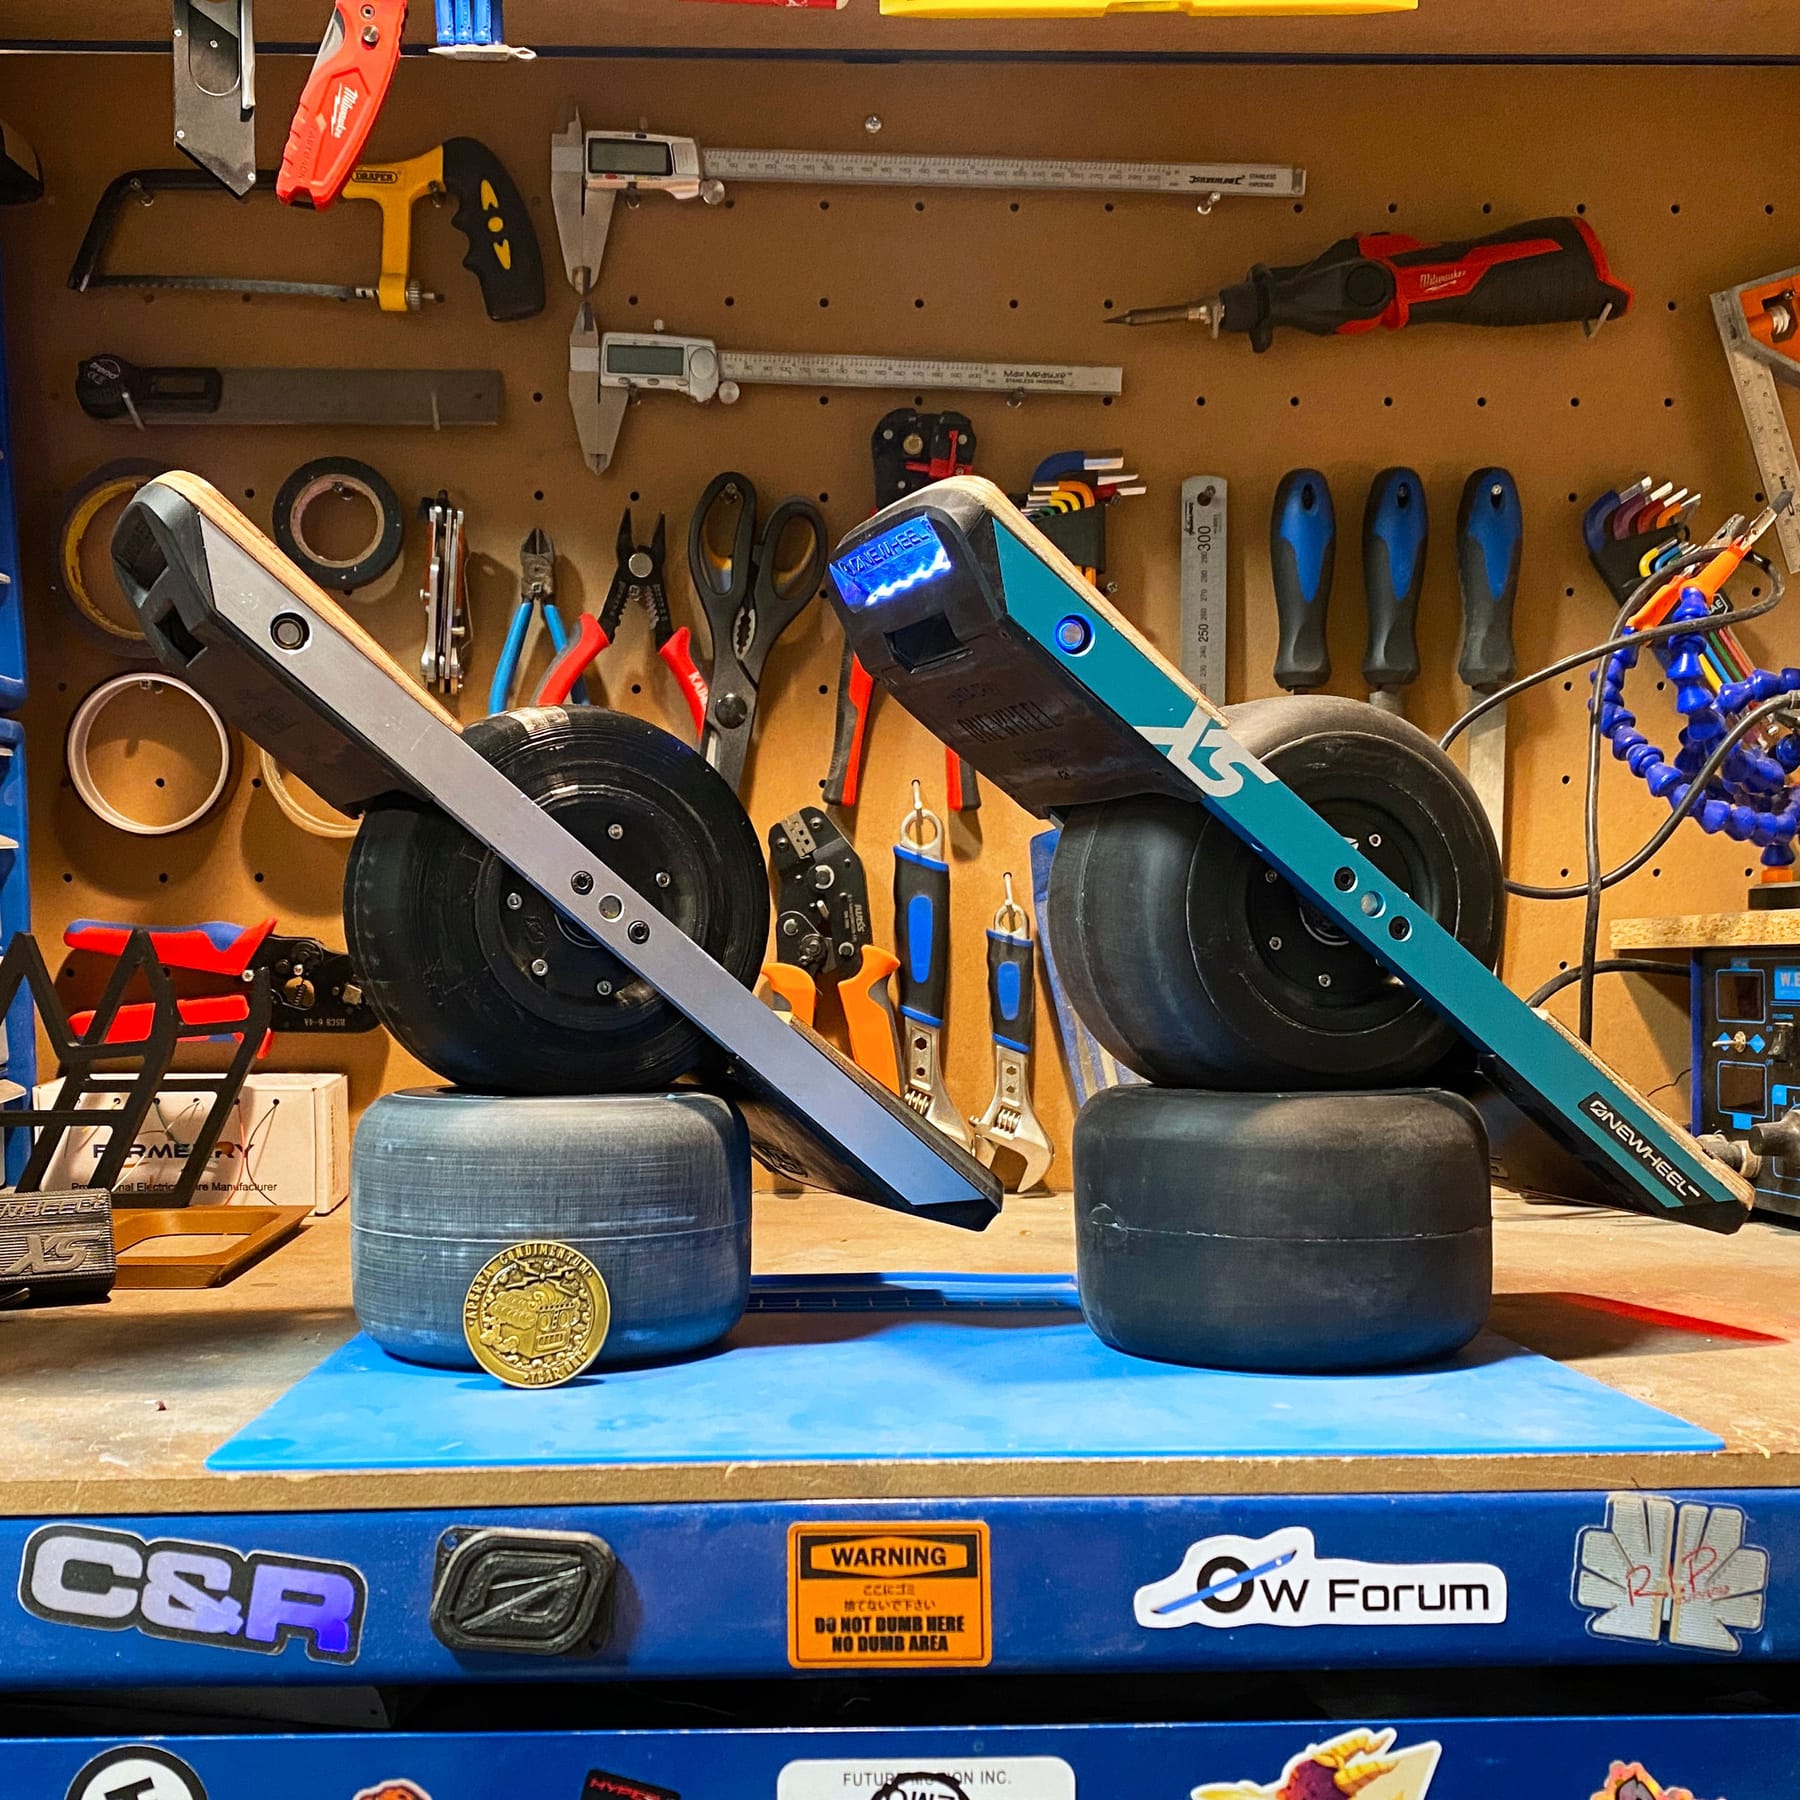
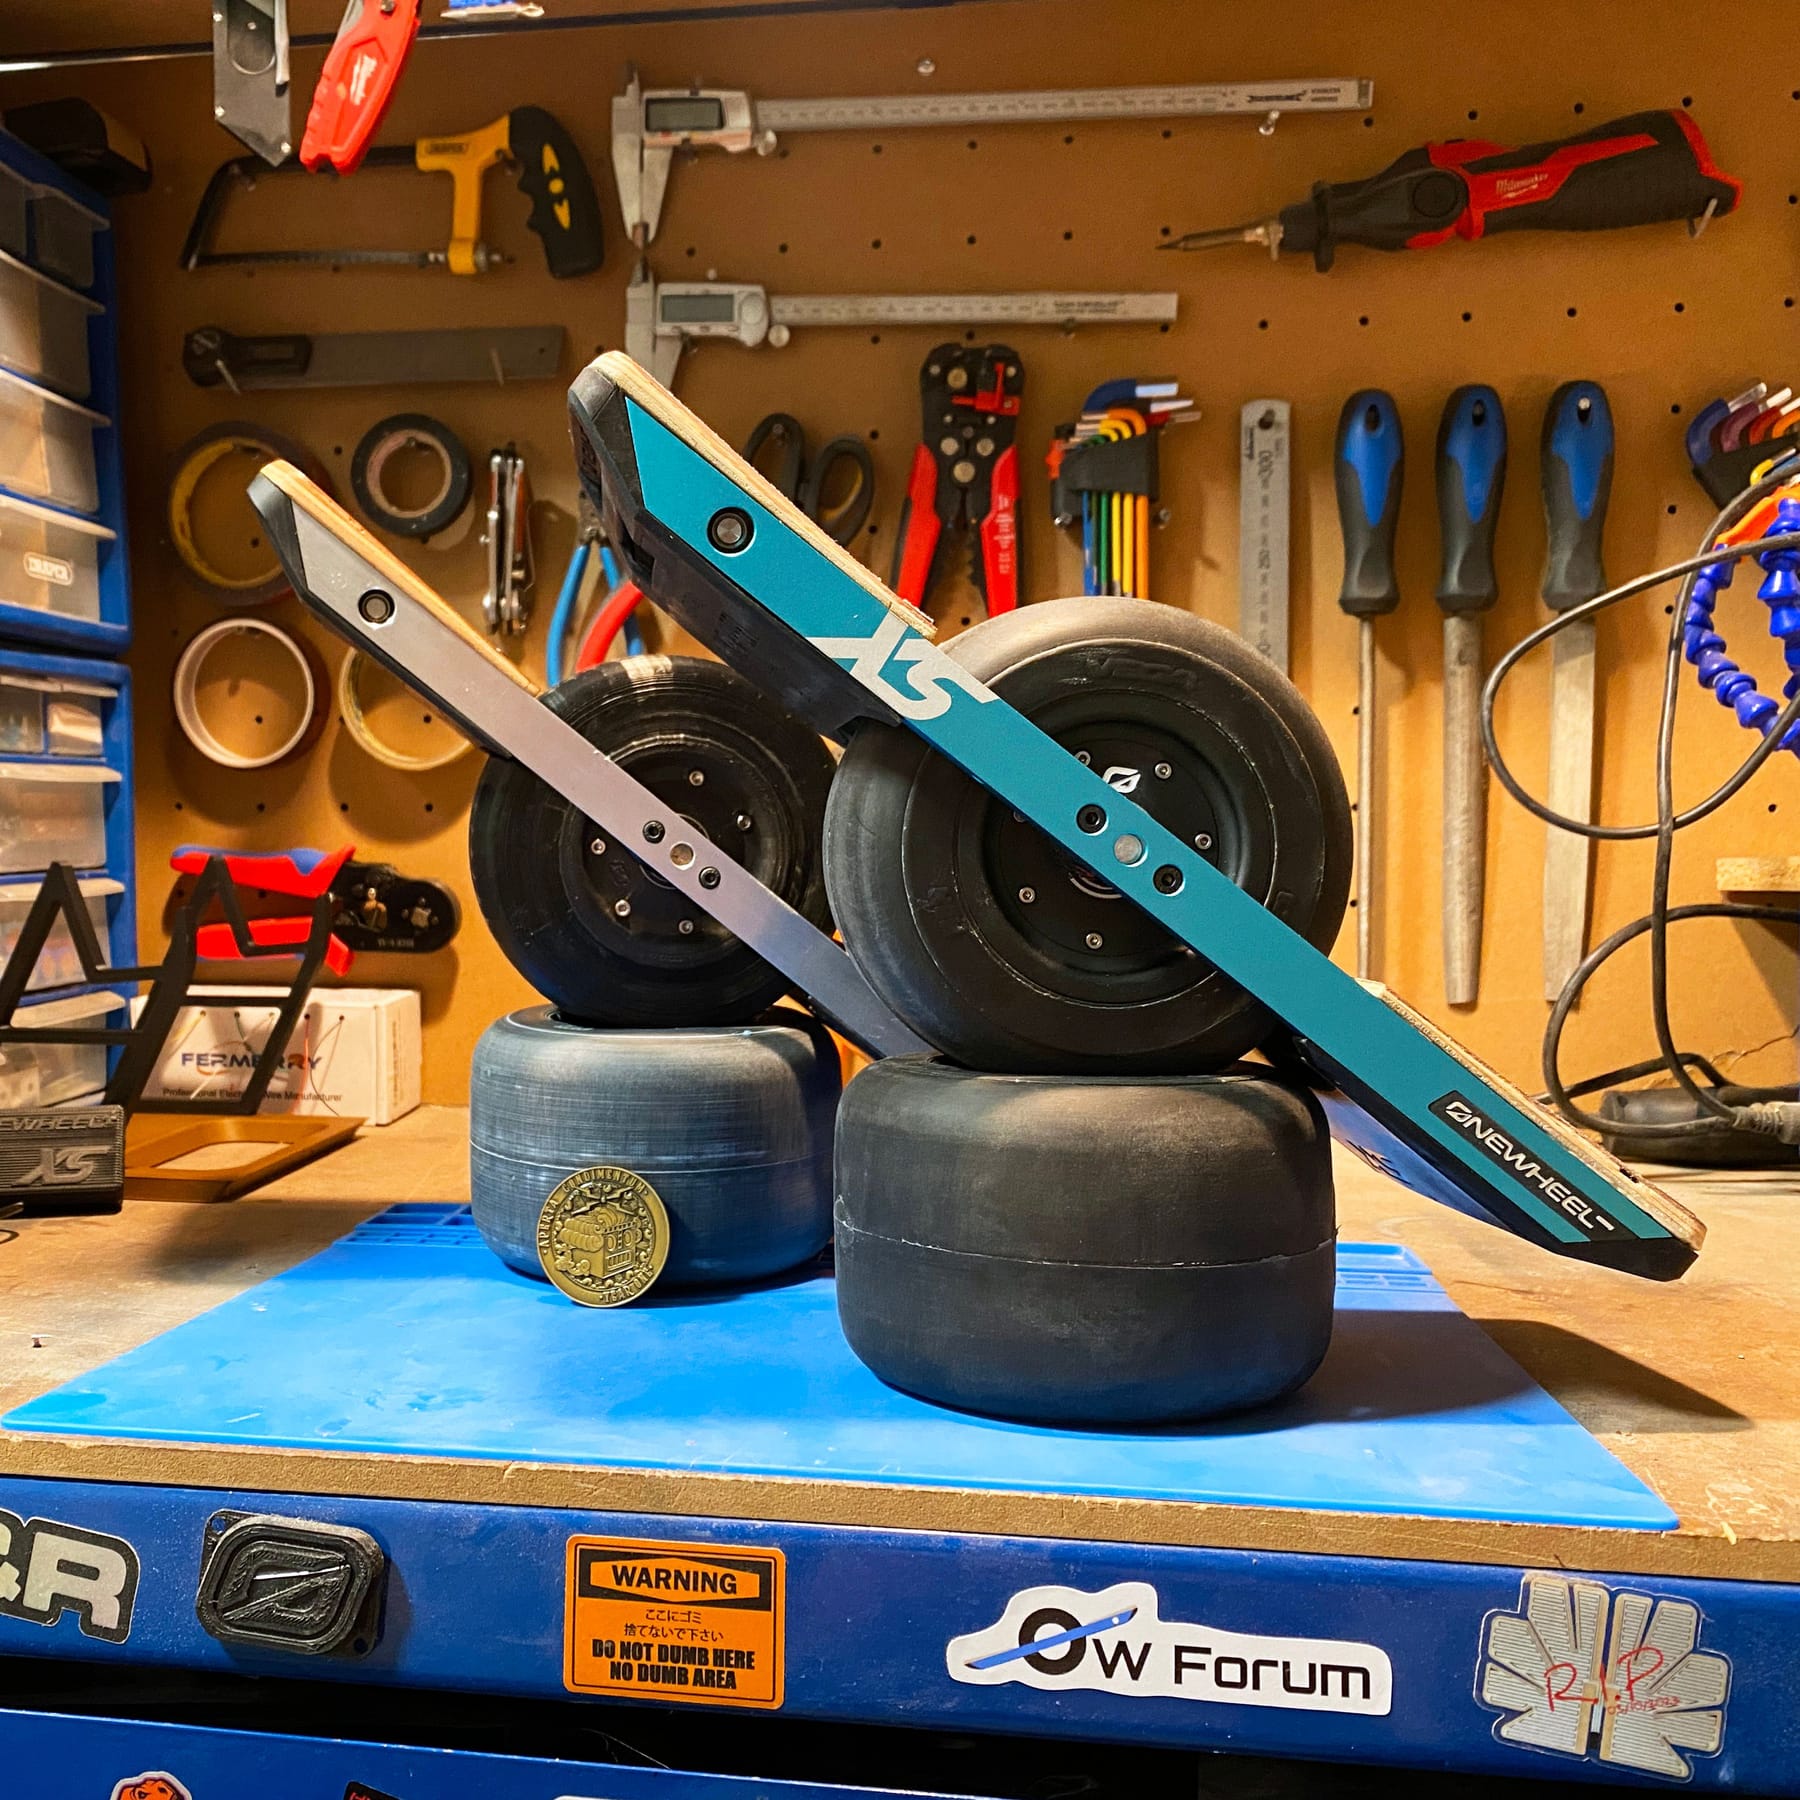
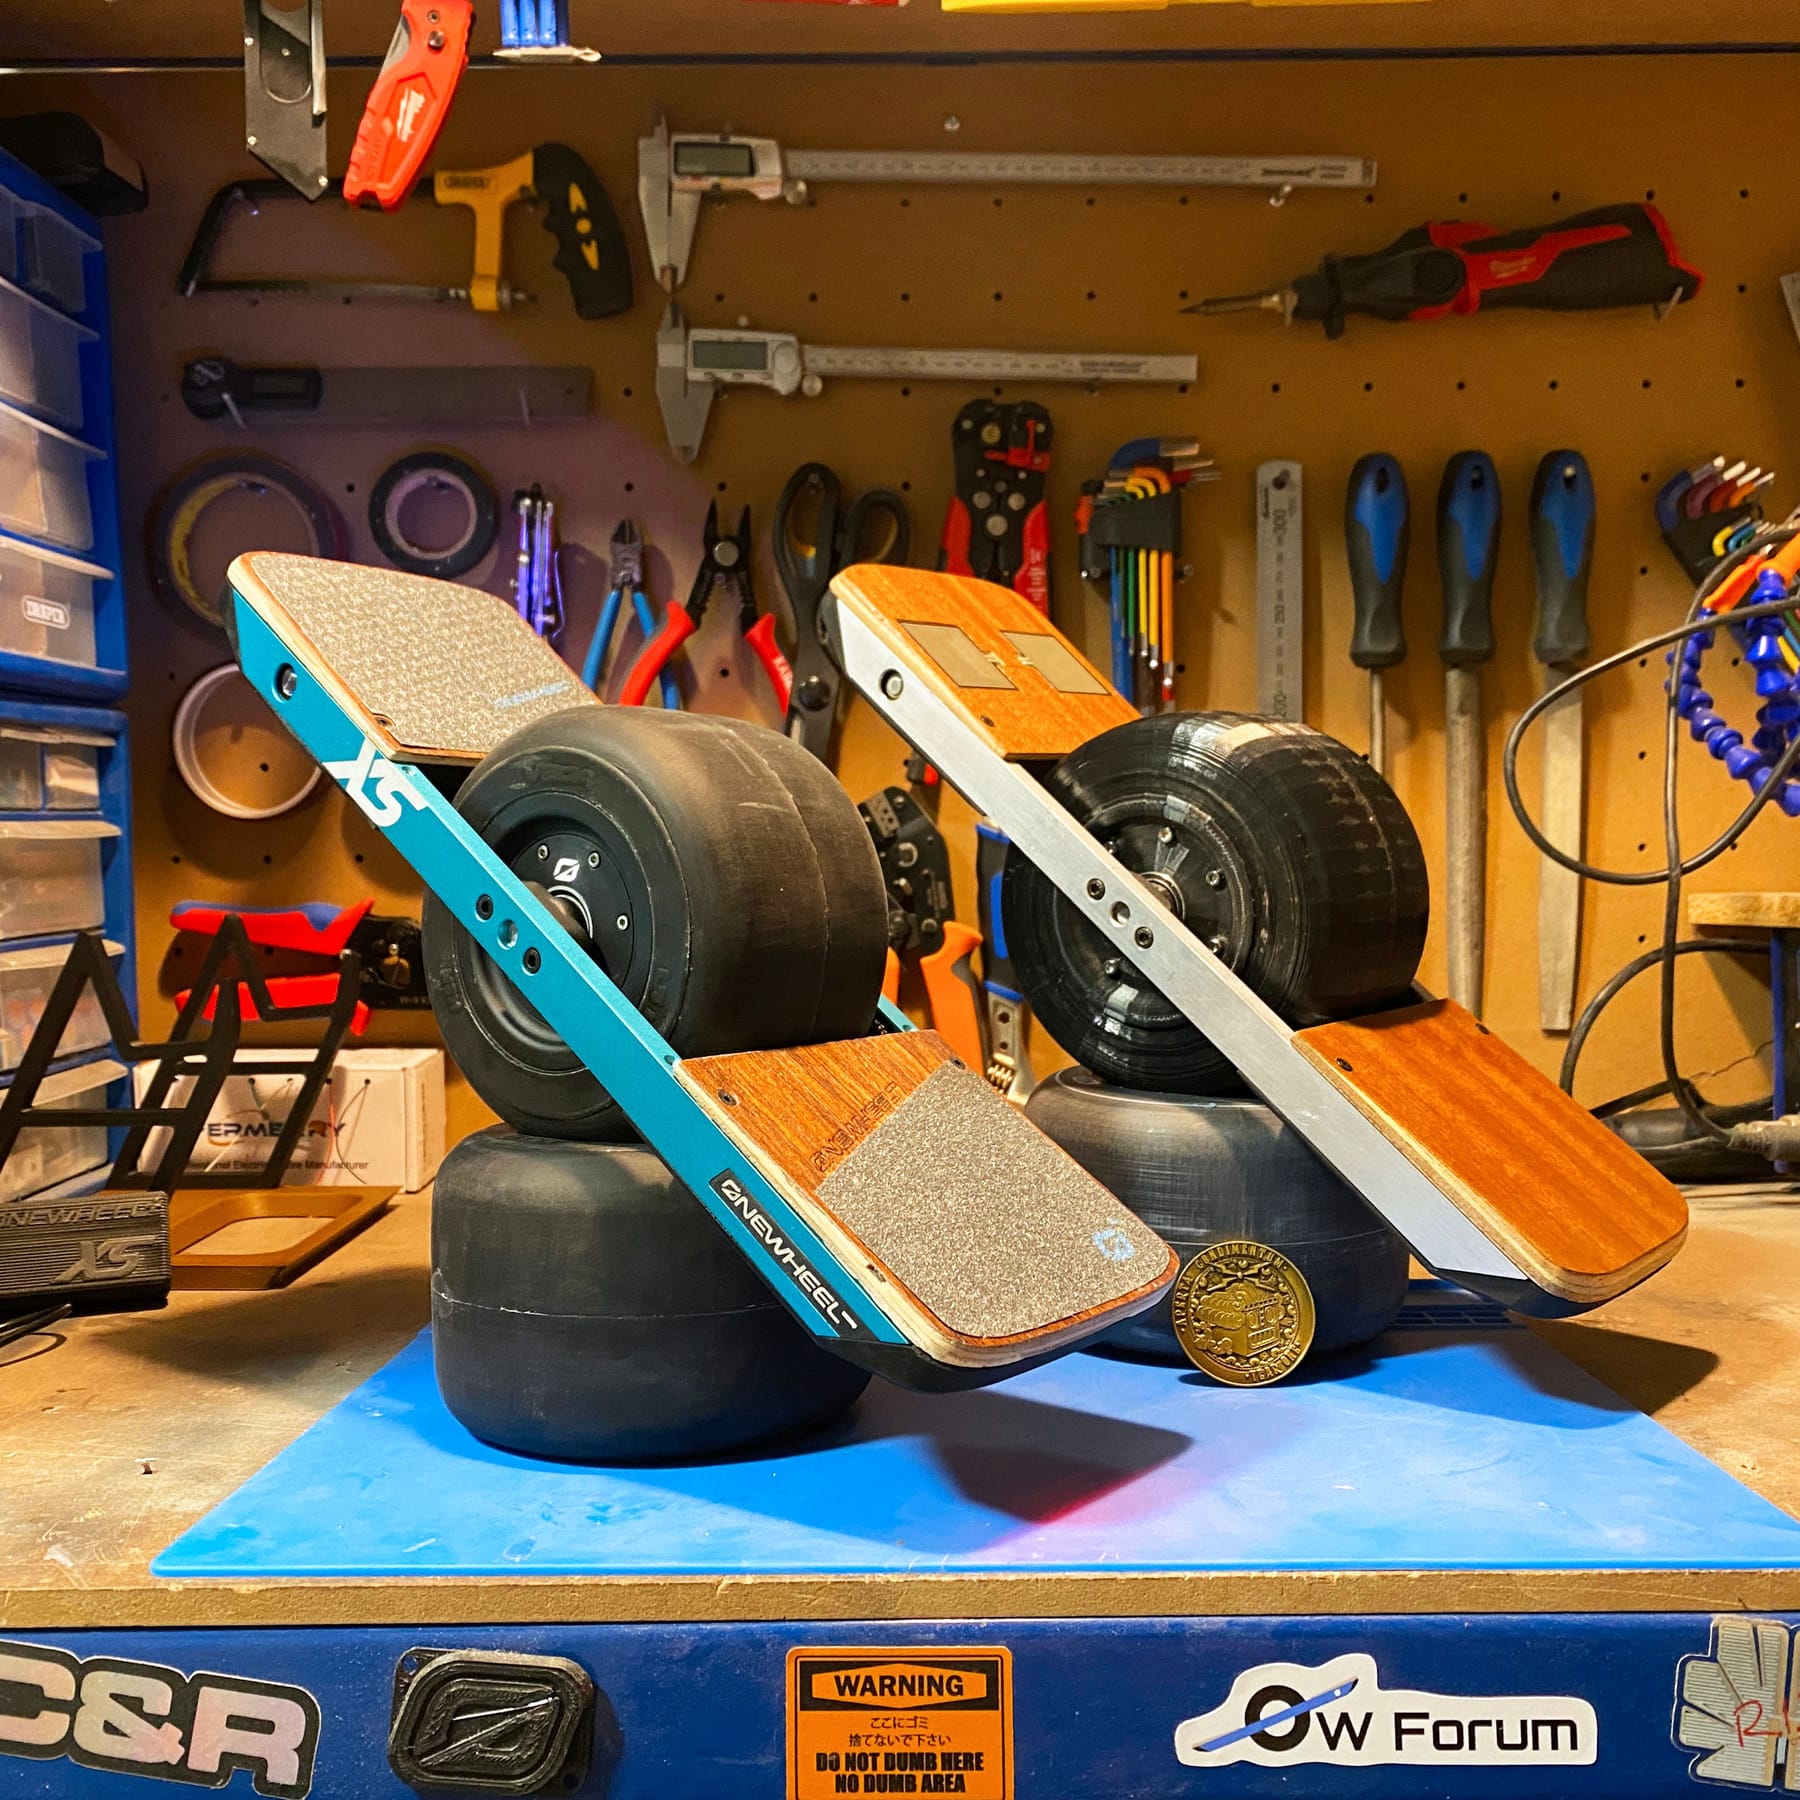
I've poked FM on insta with my post to see if they wanna come see it. Like the event is not that far from their HQ so hopefully they swing by. I think that'd be cool 🥰
I have tried to ride it with my full weight but she's not strong enough for me. However she does have a stupid amount of torque still. I had to set the p value to just 0.5 else she's just rocket away.
-
@lia Absolute work of art! If we ever get a one wheel museum, your XS build belongs in it. I love the "Onewheel -" branding you have on it, if it had a code name, it could be the "Minus".
-
@biell Thank you 🥰 I'd be honoured if that were to become a thing.
The minus was a fun little touch. Glad you noticed it 😊