Custom headlight and taillight (VESC)
-
@loaffette Me too... kinda. If I get an
obsessionvery cool hobby that I like I sometimes have multiple of it. In the case of the Onewheels they all are special to me so breaking one up to convert feels wrong to me. I probably have some unhealthy sentimentality to inanimate objects lol.
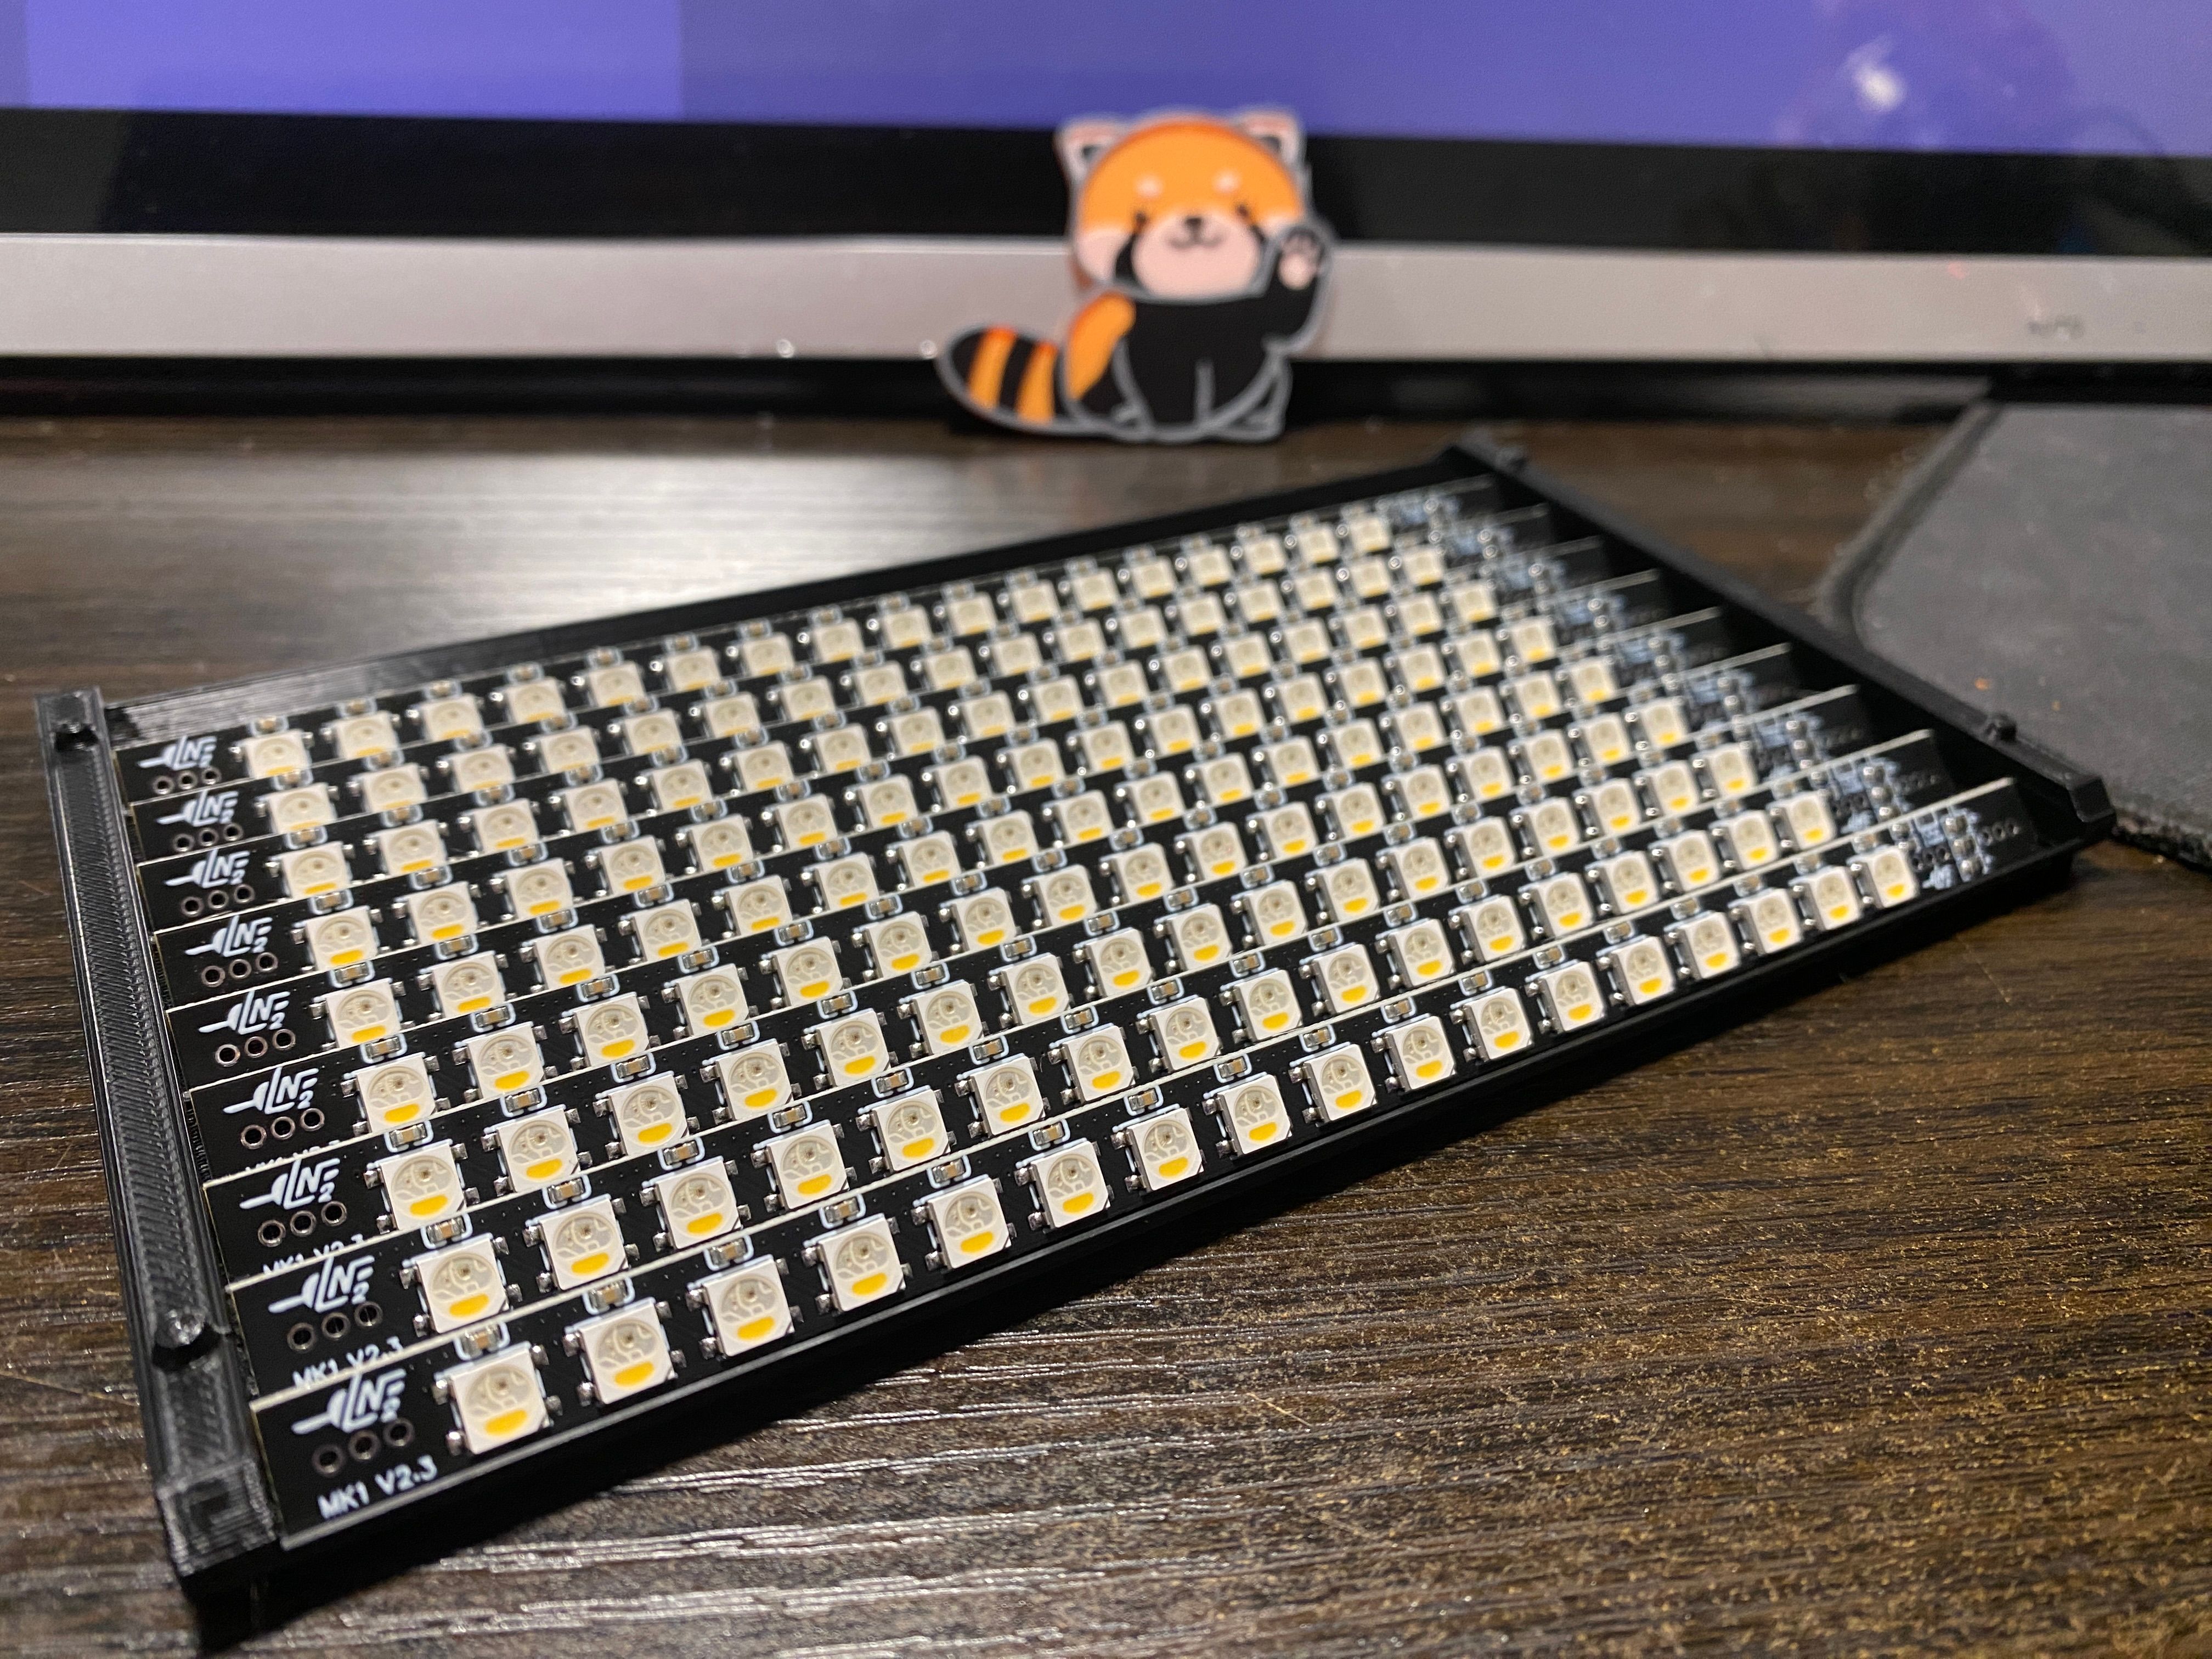
The LEDs work with rESCue however by default even if you select RBGW the W channel doesn't seem to get lit up.
I'm bad with code but I know how to fiddle so I downloaded it and spent a bit of time trying to find where I could inject some data. I managed to find some lines that were responsible in Ws28xxController.cpp that sent the values for the R G and B but couldn't see a 4th set for the W which explains why.
Below is an example of what I was seeing.

By contracst below is a snippet of the adafruit neopixel example code for RGBW. A 4th set of values are present which I expect to see for RGBW.

I didn't want to put more time than needed to prove it could work so I decided to bodge it by adding ", 255" to anything with "0, 0, 0" in and sure enough I was able to get it to light up my W channel :)

So rESCue is compatible with the LEDs BUT it looks like the actual software needs updating to make it work with RGBW (GRBW) by including the white channel when that needs lighting up. I'm too dumb to actually modify and suggest the proper fix though so I'll focus on v2.3 for now still.
-
The next version of the LEDs are still waiting to be sent off for production. Kinda delayed as I'm waiting on some more feedback before going ahead with the next set. However feedback is delayed because further development is needed on the software side it seems.

So far the LEDs have been rotated 180 degrees to optimise the white channel being completely unobstructed by the bumpers. In doing so the input has been moved to the other side which for the battery box is more beneficial.The next batch is likely to be around 65 sets and currently 23 are already allocated on a wait list.
In the meantime a Discord is being set up to deal with the showcase, sale and support with these which I'll linky here at some point when ready.
Still might alter it but a new Logo has been made to go on these headlights along with future things me and Nick work on :)

There's a bit of design philosophy built into the logo but I won't bore anyone with that because I will go on for days lol.
-
@lia clever
XR's got what plants crave!
-
@notsure Thankies x
I thought it was pretty clever. It's also very cool ;) -
@lia what is the controller you are using for the lights? I have everything I need except a controller, and that’s the confusing part for me.
-
@krysis Hiya :)
I was using a Seeeduino Xiao for testing the LEDs however other programmable boards like ESP32 or Arduinos can be programmed to control them.Some have been using rESCue to control LEDs like this although I do not own one myself so have only been able to replicate some of it's functionality with my ESP32 which it also uses.
-
@lia Thank you so much!
-
I've been feeling much better recently so I've gotten back into this.
I was made aware that the rear light needs special attention because the BMS would normally sit there and obstruct most connectors placed in there.
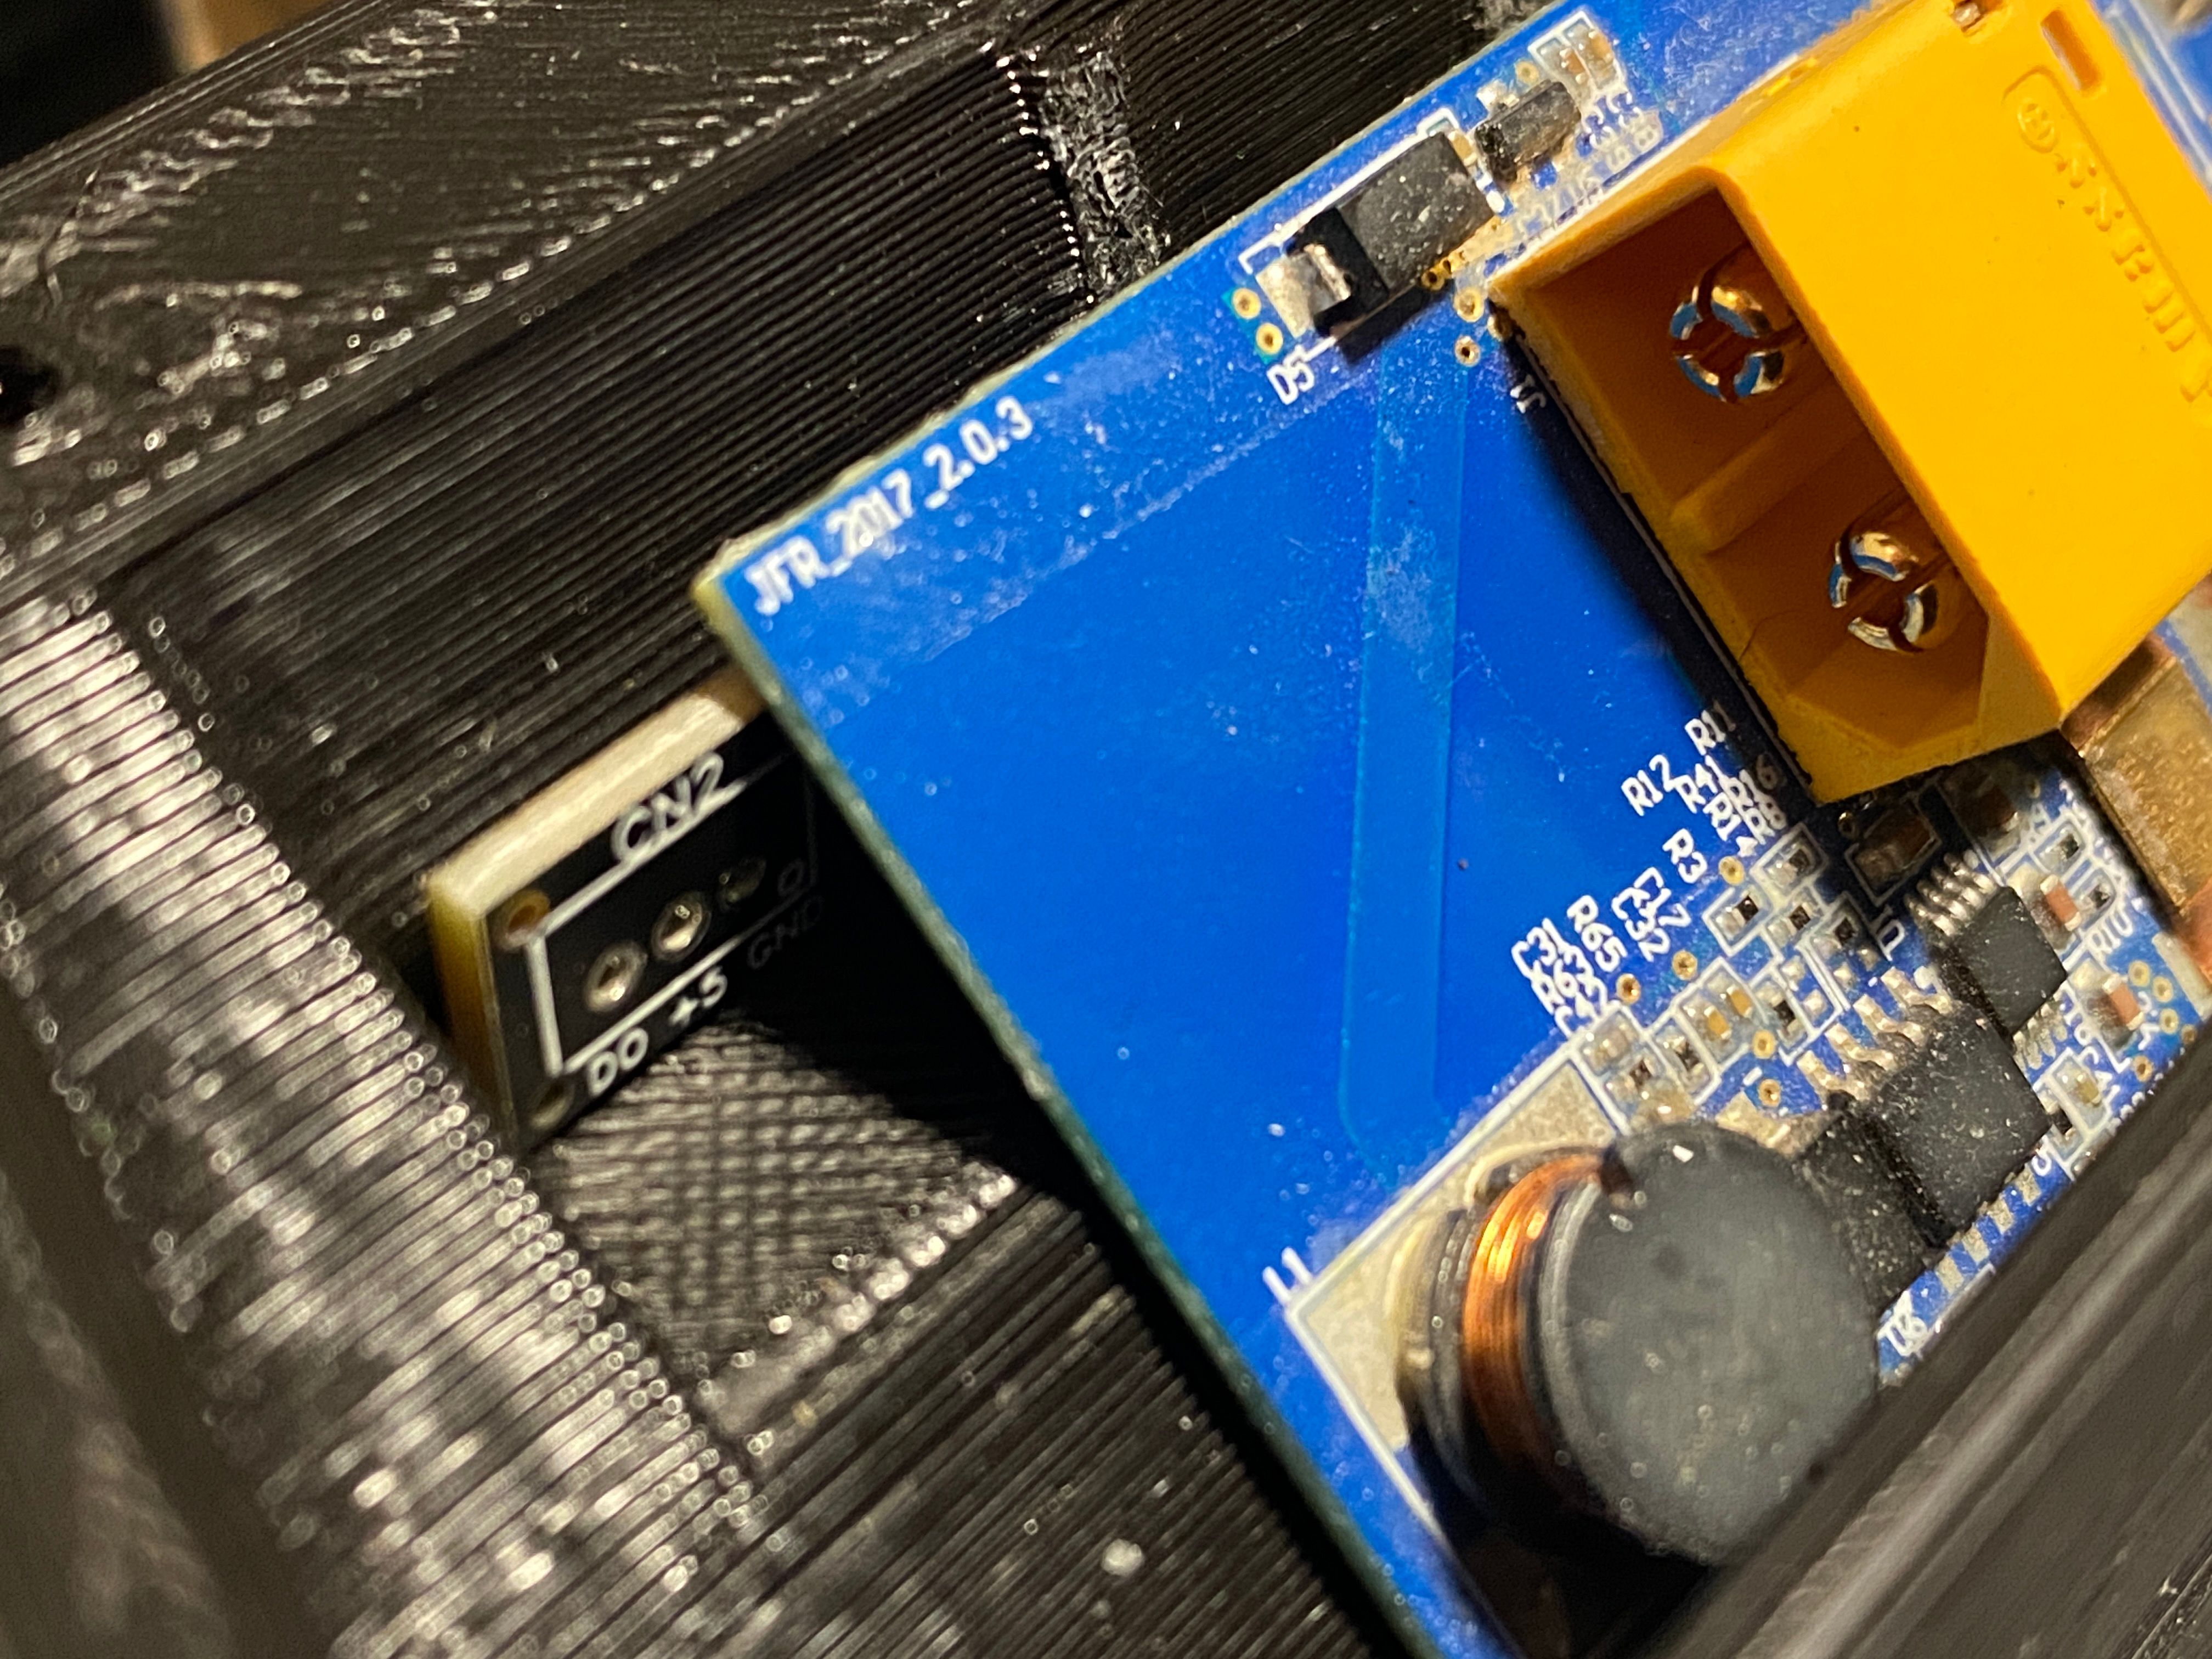
To make matters worse it turns out the rear light is 10mm wider on one side so that it can reach around the BMS. I hadn't noticed and instead assumed the printed battery enclosure I had was just modelled weird. NOPE.... that's how it is.
I don't fancy making 2 separate PCBs for 1 product. Frankly it's dumb so I've devised a super big brain solution.
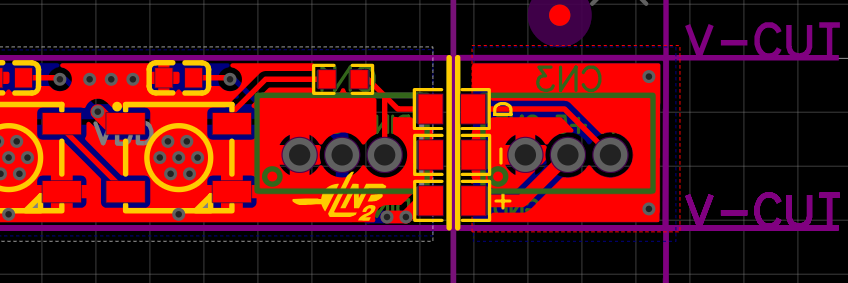
I have extended the PCB by 10mm and added a duplicate connector BUT with a V-cut along the usual width of the front LED with 0 ohm resistors bridging the 2 isolated sections.
You might be thinking "why not just run traces and cut it short?"
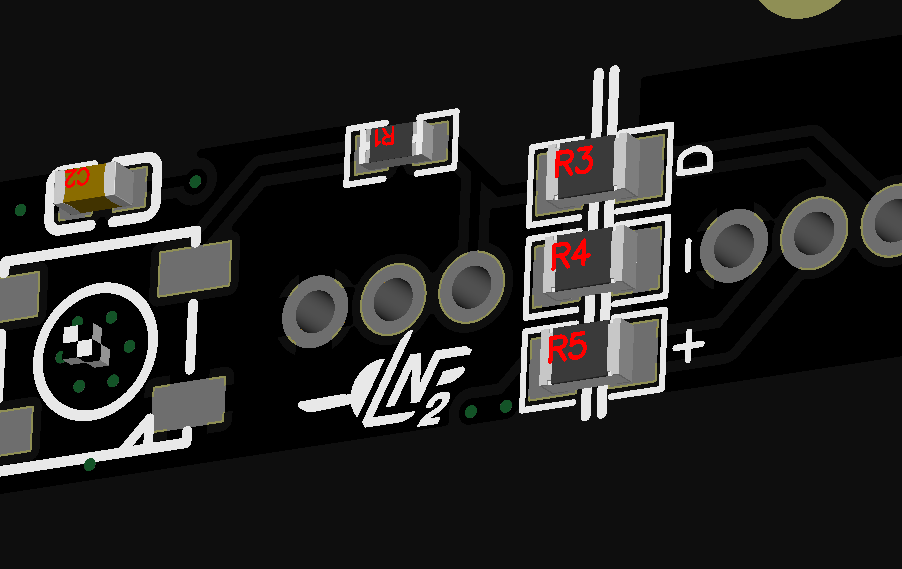
When breaking the PCB I want the edge to be clean with no conductive material present on the edge. If you have traces there will be tiny bits of material that poses a shorting hazard if placed up against a metal enclosure like the ELM box.To prevent shorting out on the walls I have made it so that there is a complete conductive dead zone near the V-cut to eliminate the possibility of that happening. The 0 ohm resistors are there to interface with pads away from the cut and make the bridge while also maintaining some structural integrity.
Clever right? I hope so at least. I considered solder bridges but those are unclean and I'd have to do those myself whereas I can get the PCB fab to pick and place these 0805 resistors instead.
All that is left is to spin those up and prepare to make the next batch. Question is do I pre-populate these with headers, hand solder them myself or leave them unpopulated entirely. Everything adds cost and being one person scale doesn't really work well in my favour lol.
-
Nearly done with the final touches. Apparently there's a desire to have a 5v pullup on the data to allow easier compatibility with native VESC use so I've added a pullup enable and 1k resistor to facilitate that with some advice from Pickles over in Discord.
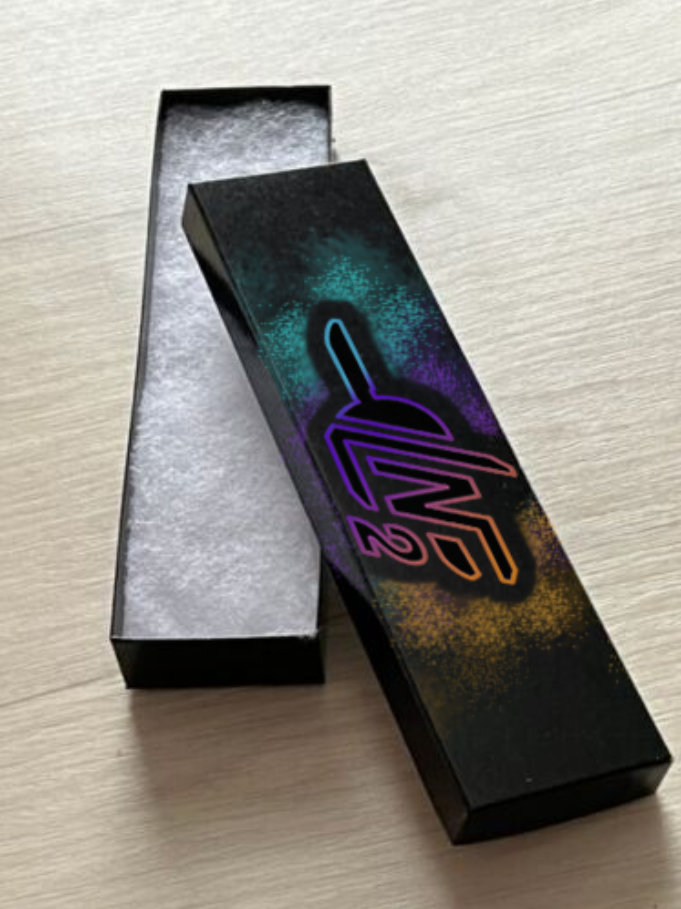
Here's some renders and a possible look at maybe a limited white version I might do.


And the white version, It looks kinda clean ngl.


Edit: Box design mocked up ^-^
-
@lia Looks amazing! Didn’t know if you’re still making these? Couldn’t find a website to get them. Hopefully you see this, I’m currently building my VESC! :)
-
@kemah123 Thanks :) They're still being made, Waiting on some bits to put the order in then can start boxing them up and figure out how to sell these.
I'll definitely announce it here once I'm gearing up to release, there are going to be something like 90 sets of lights this time so I don't imagine they'll all vanish quickly lol.
-
Discord server has been made public :) https://ln2.cool
-
@lia whats a discorrd?
-
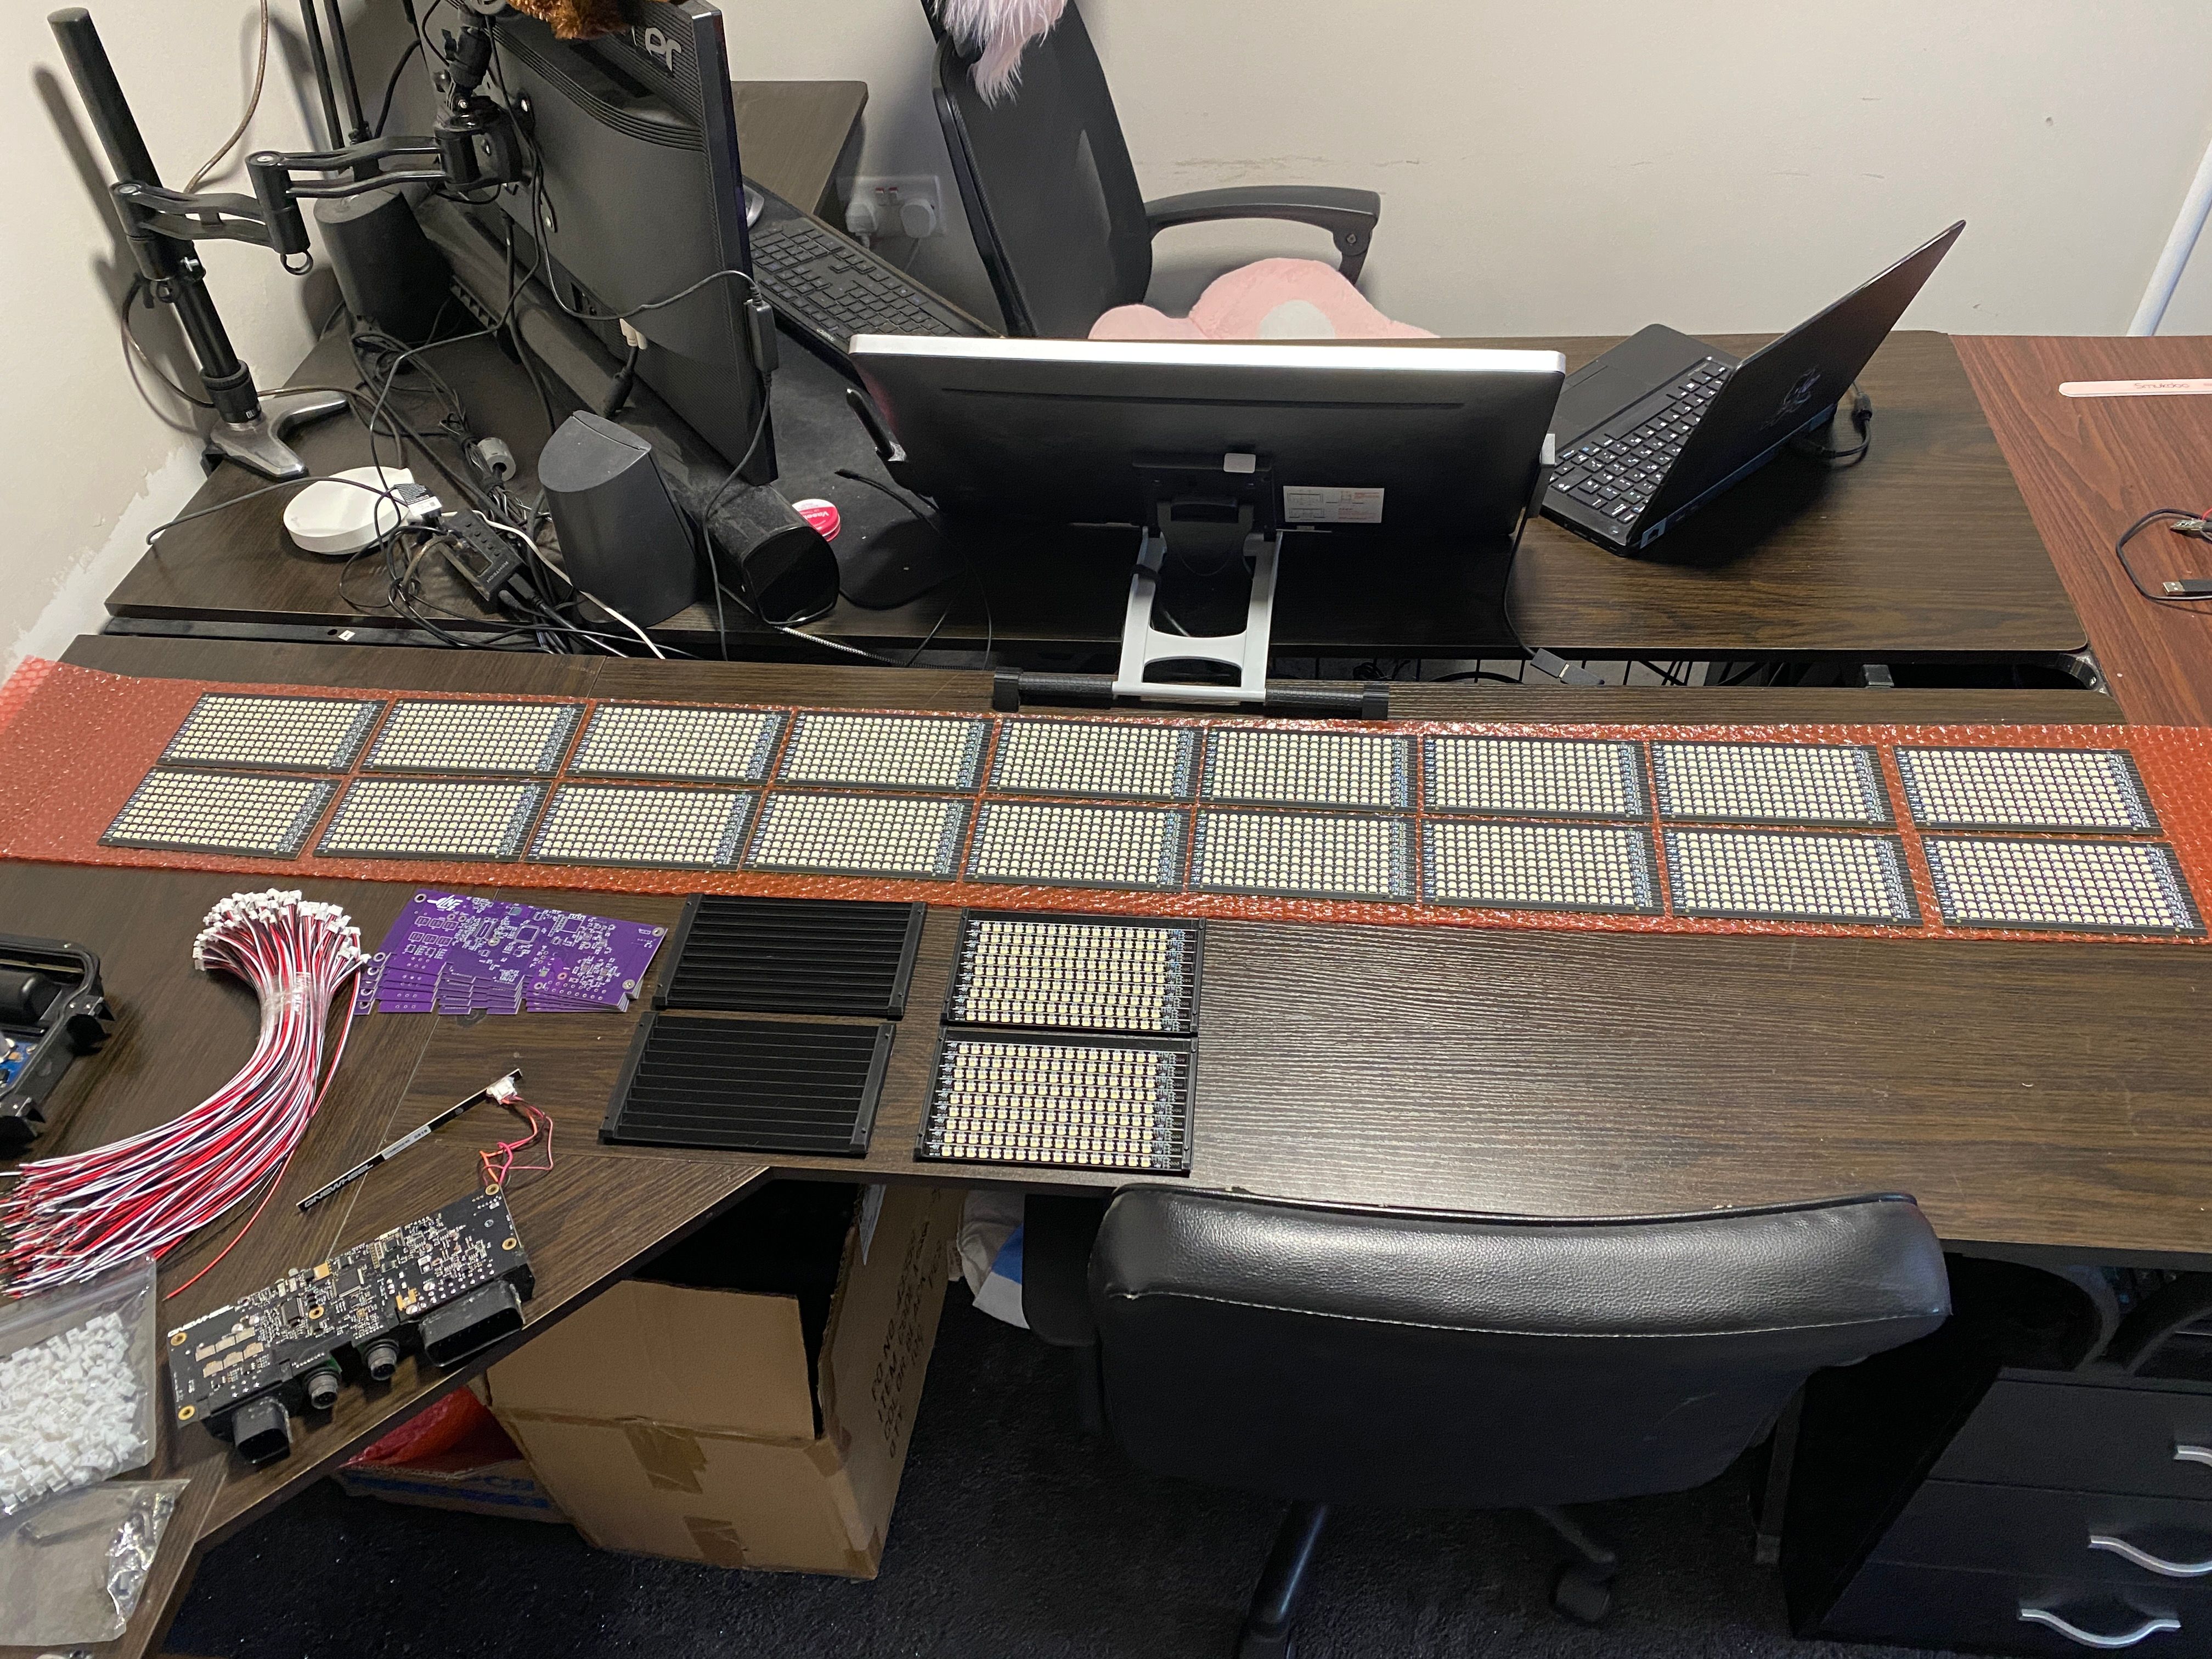
LEDs have landed ^-^

Also we got a cool domain https://ln2.cool with a placeholder linky to the Discord for now.
How that wasn't already taken is beyond me but... well... yoink. -
Beeeeeeen so busy 🙃
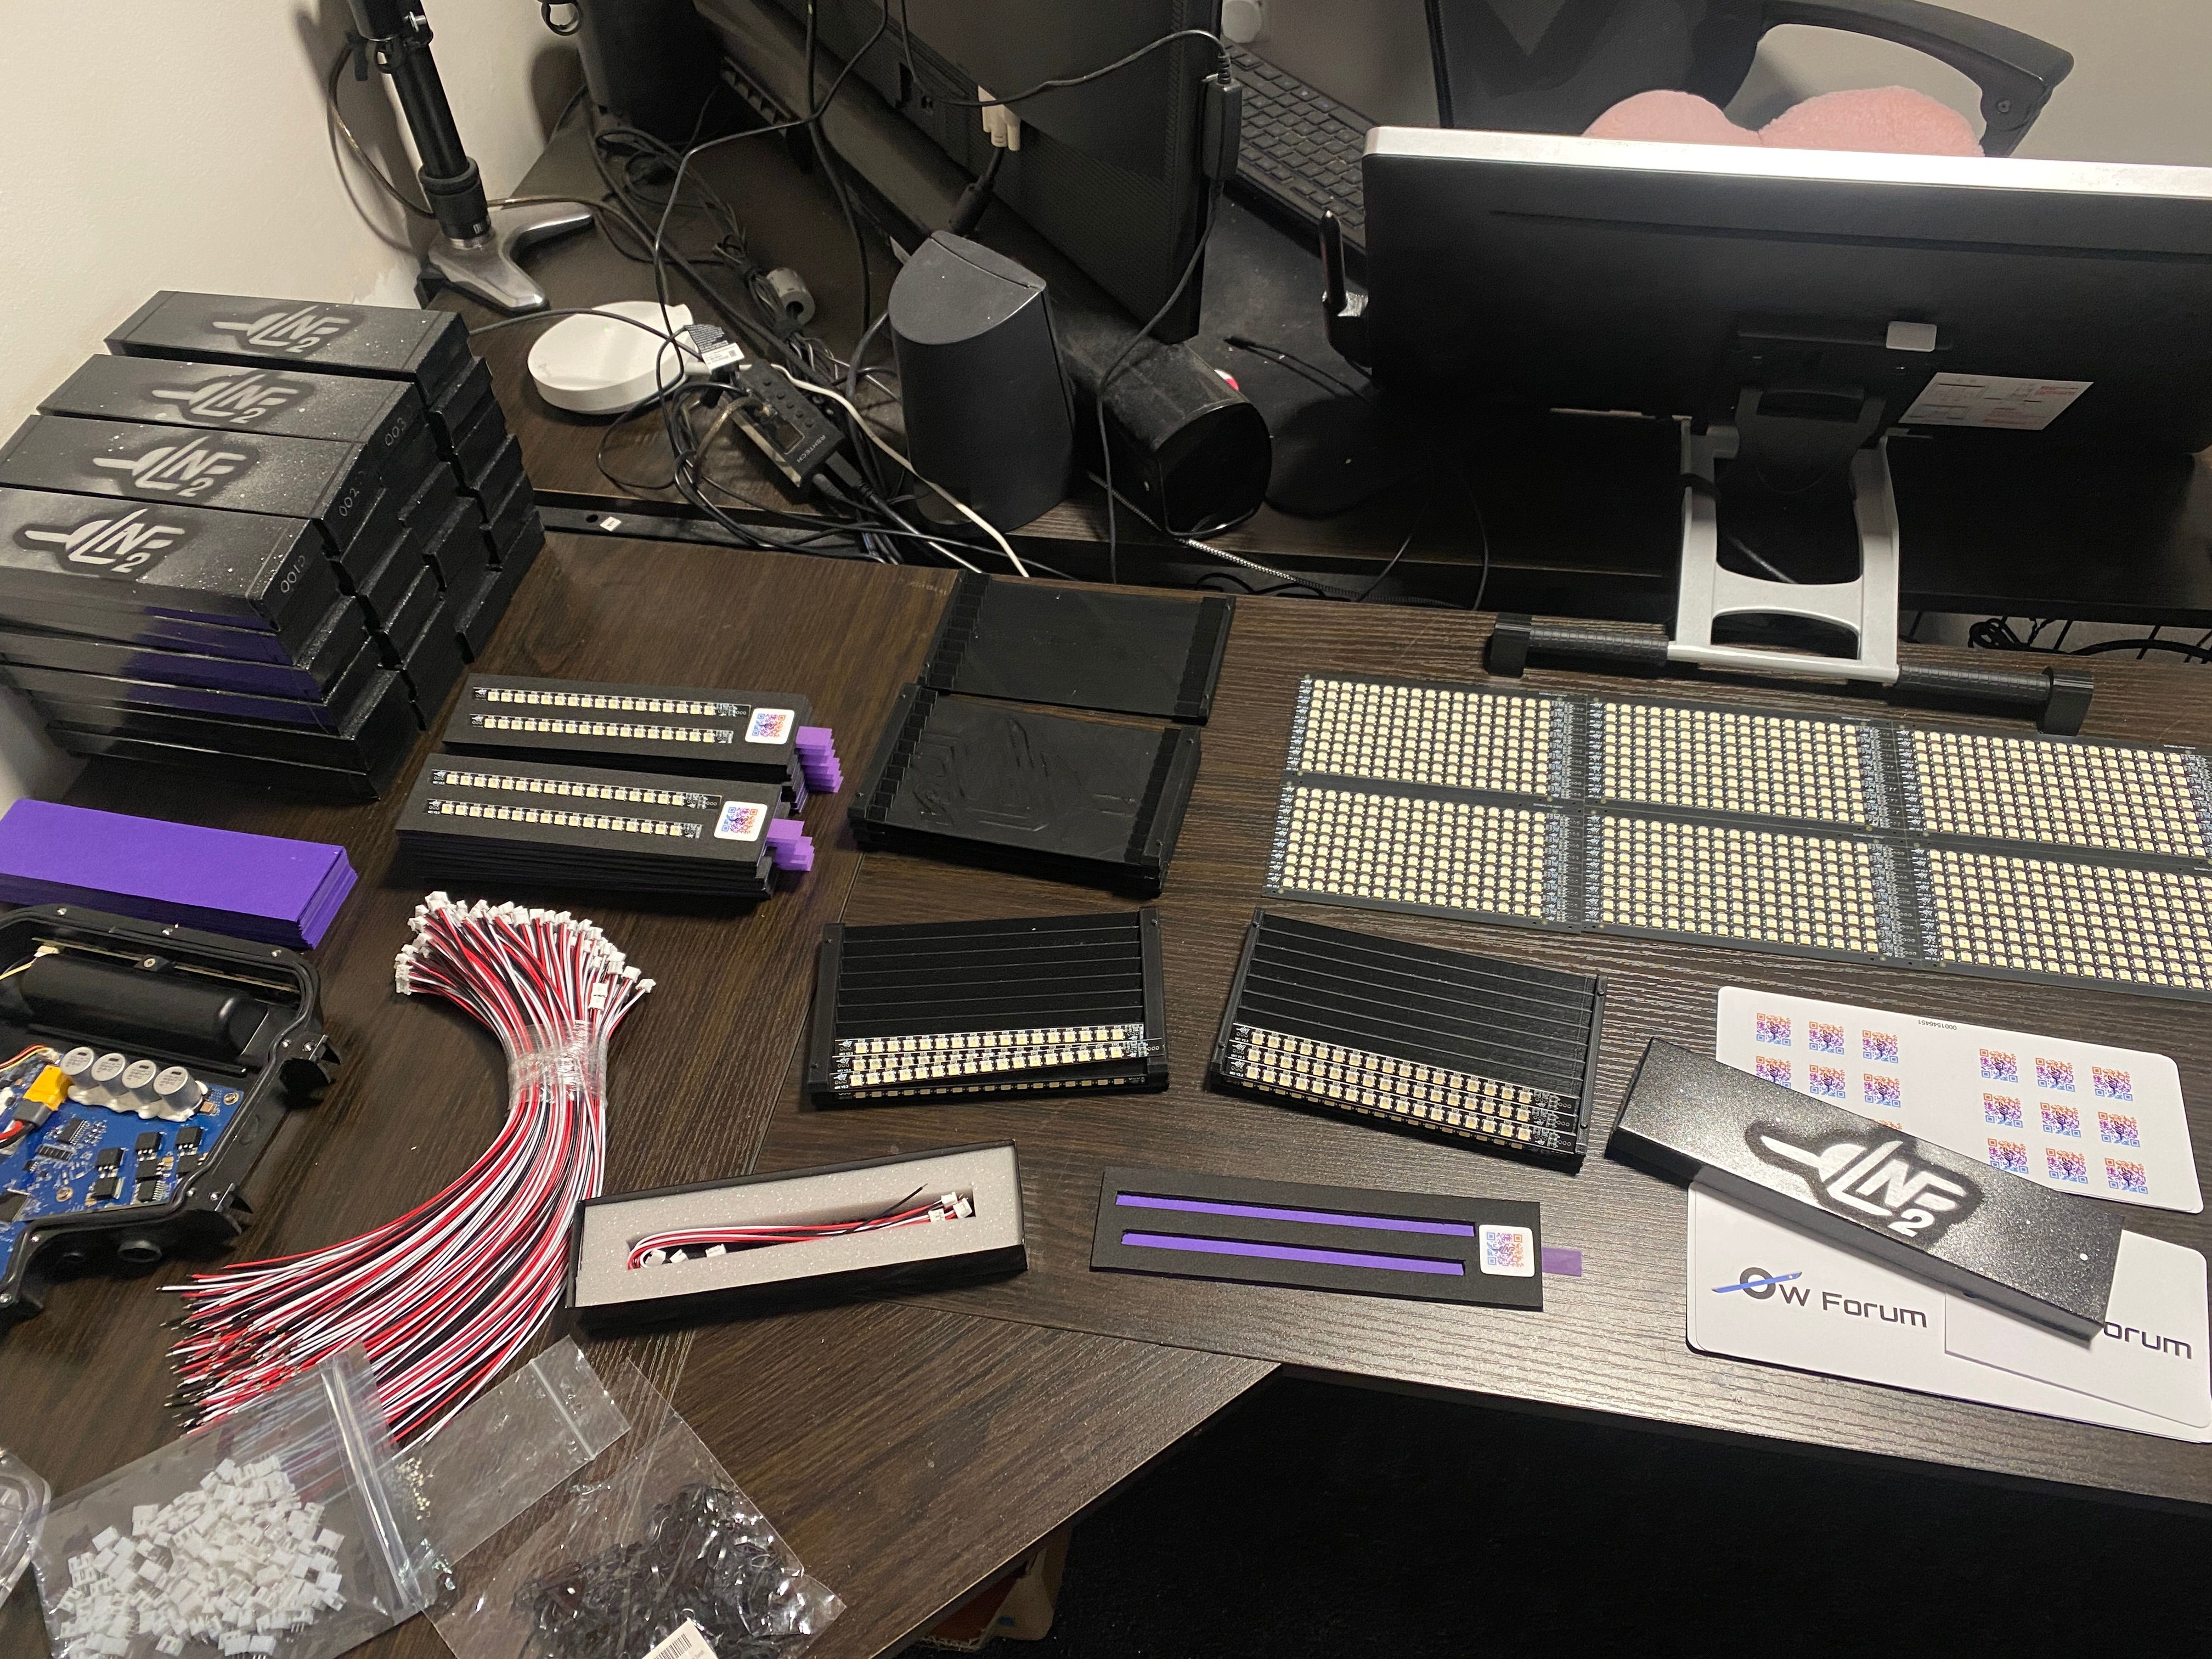

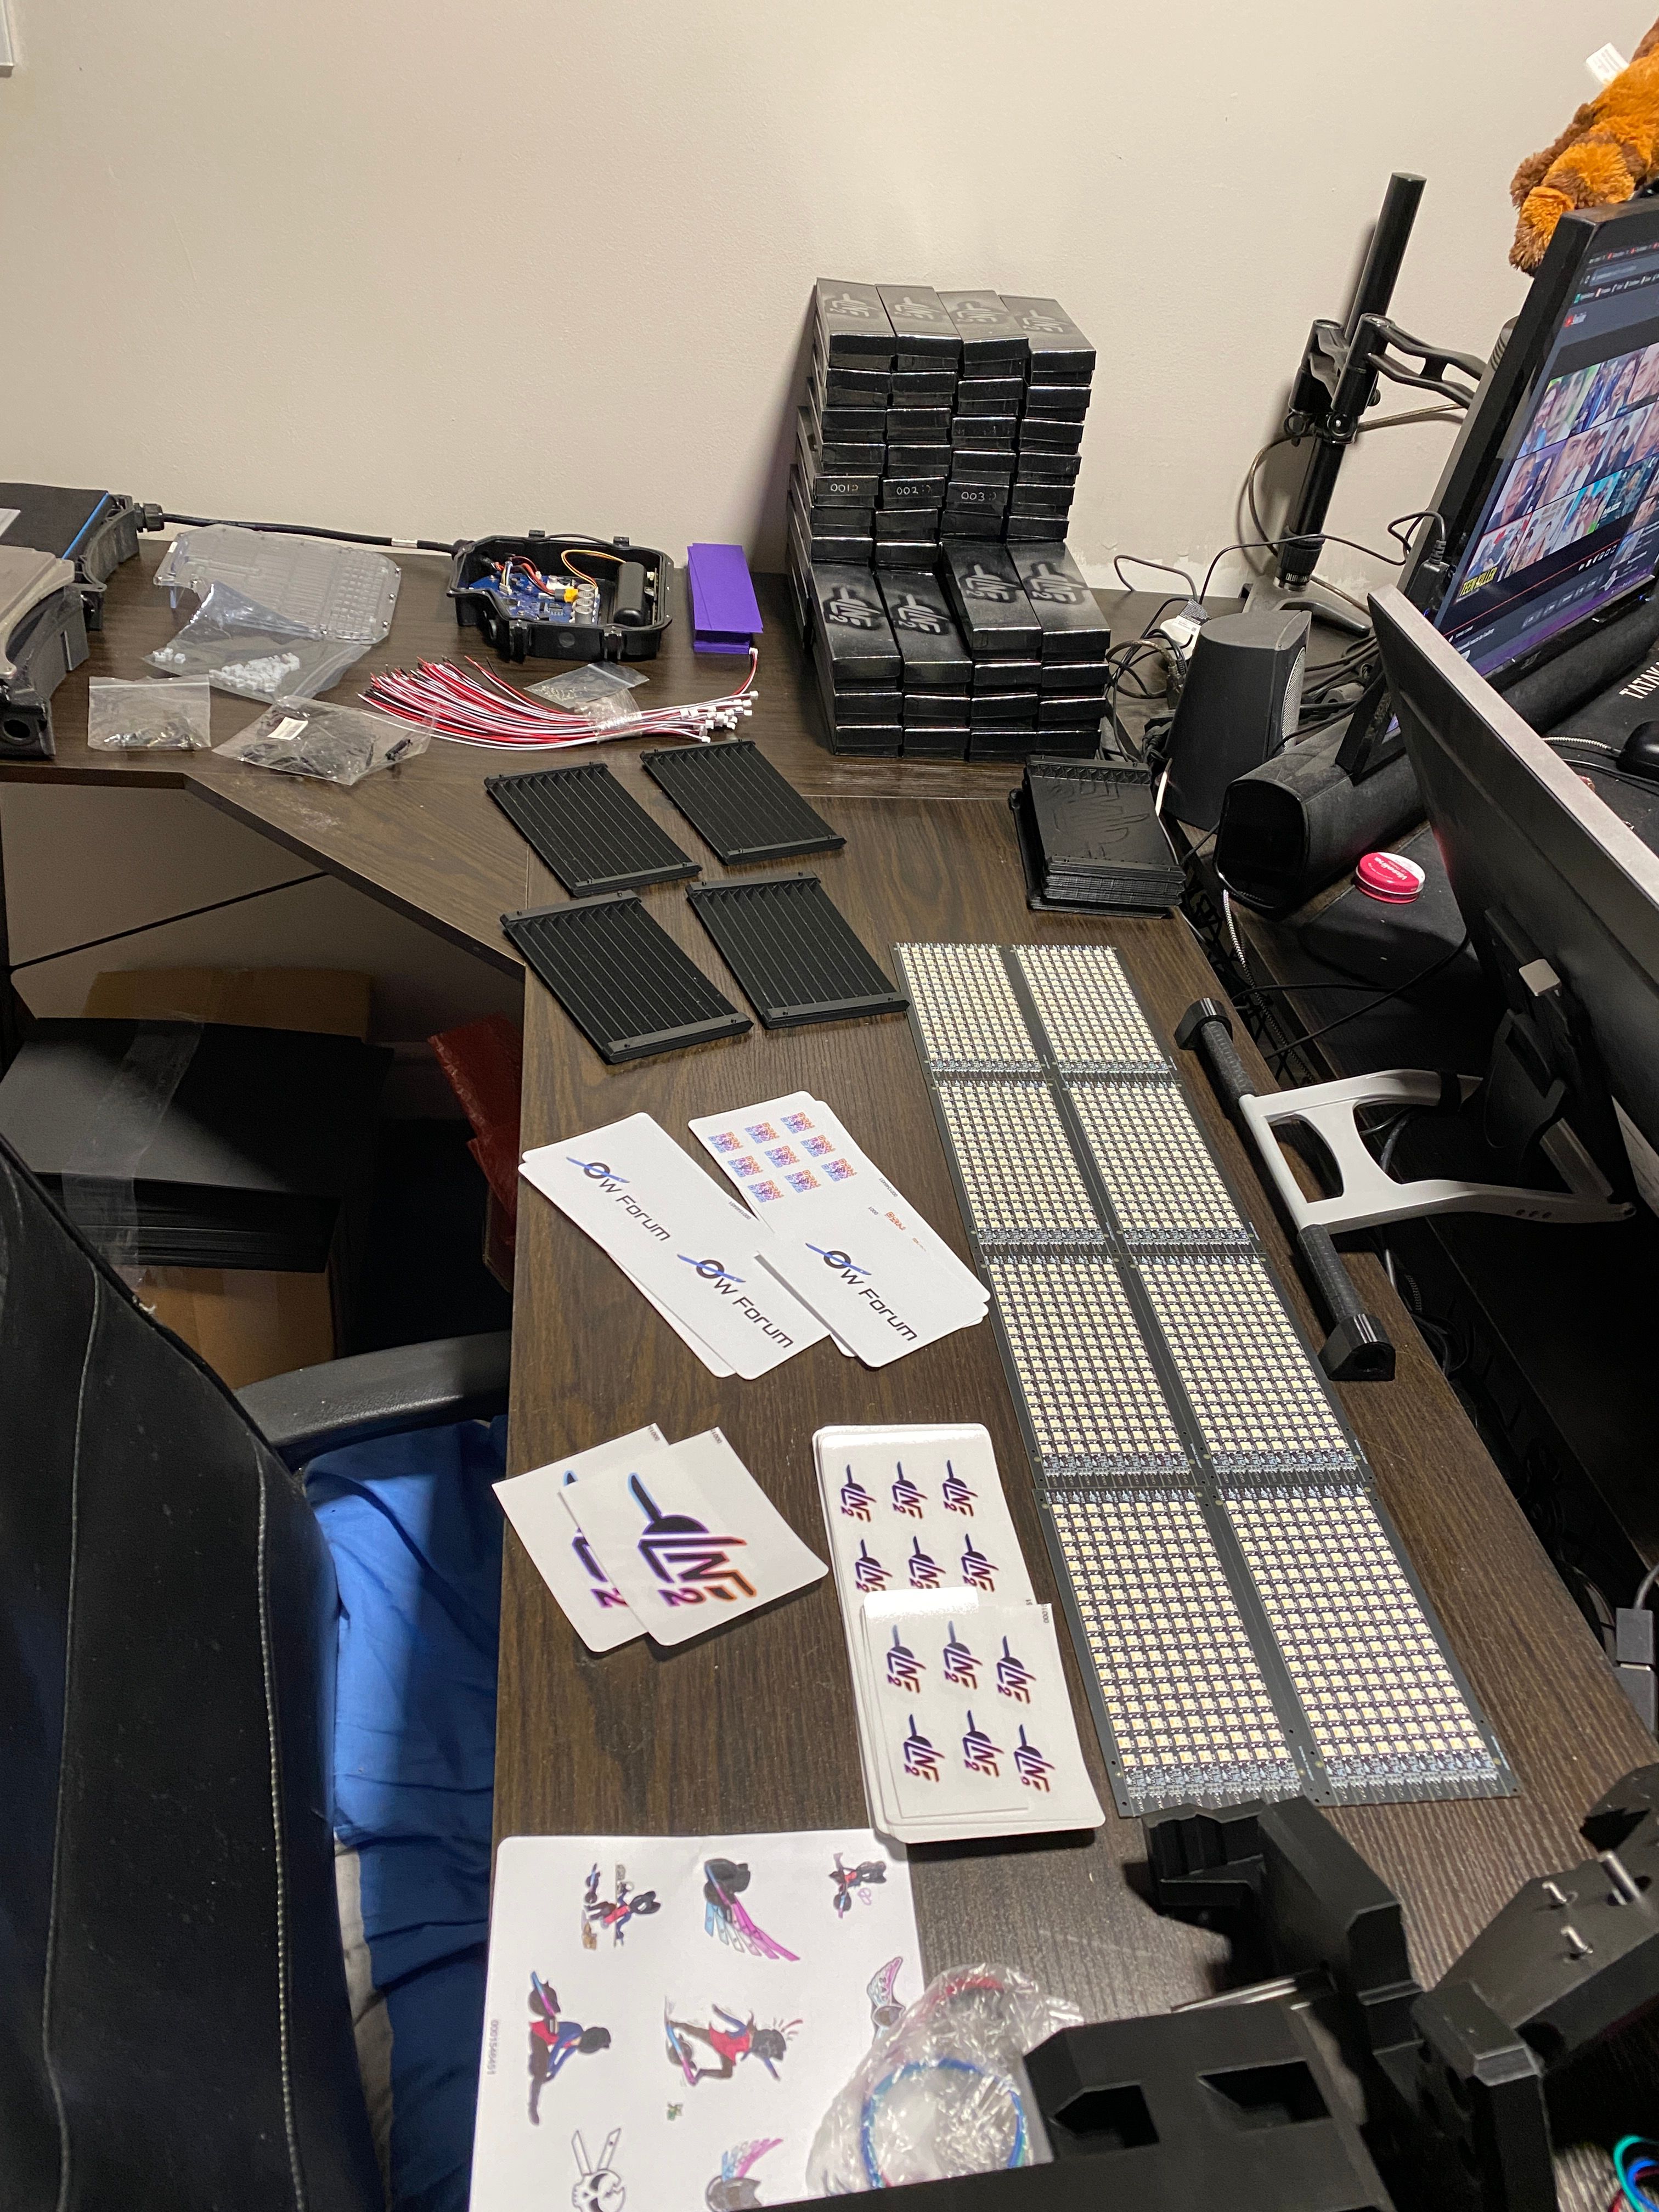
54 down, 36 to go!
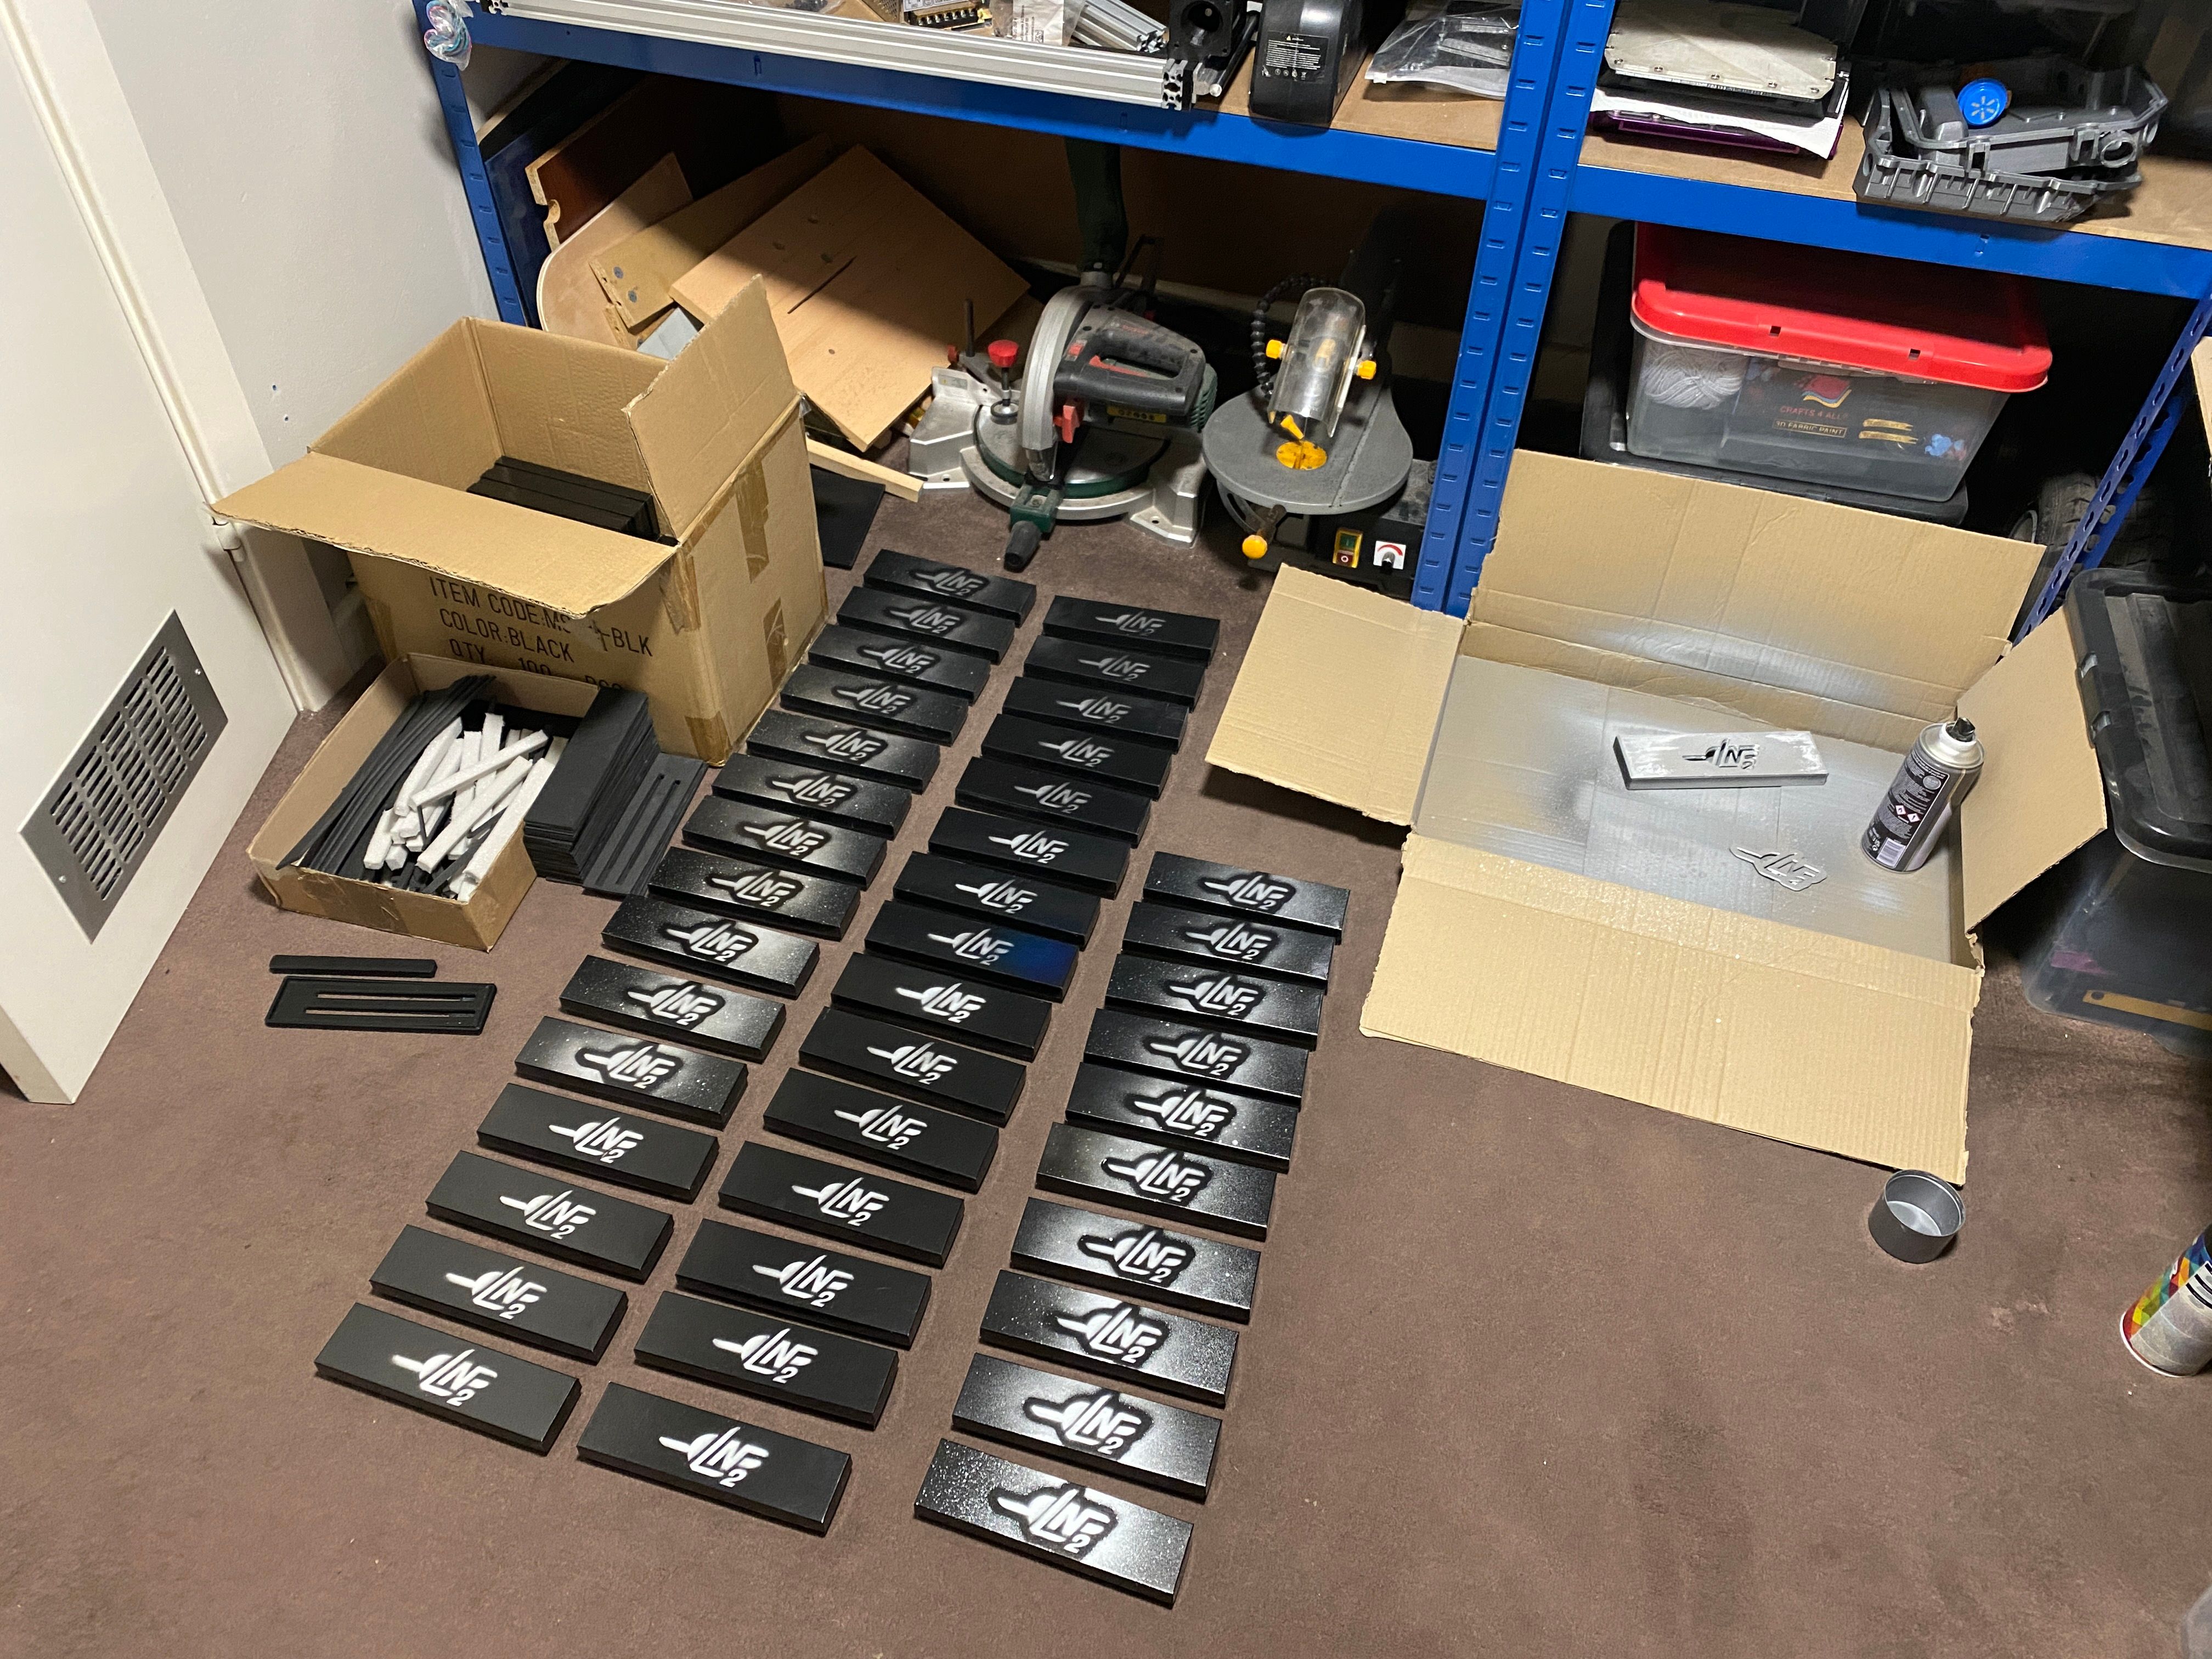
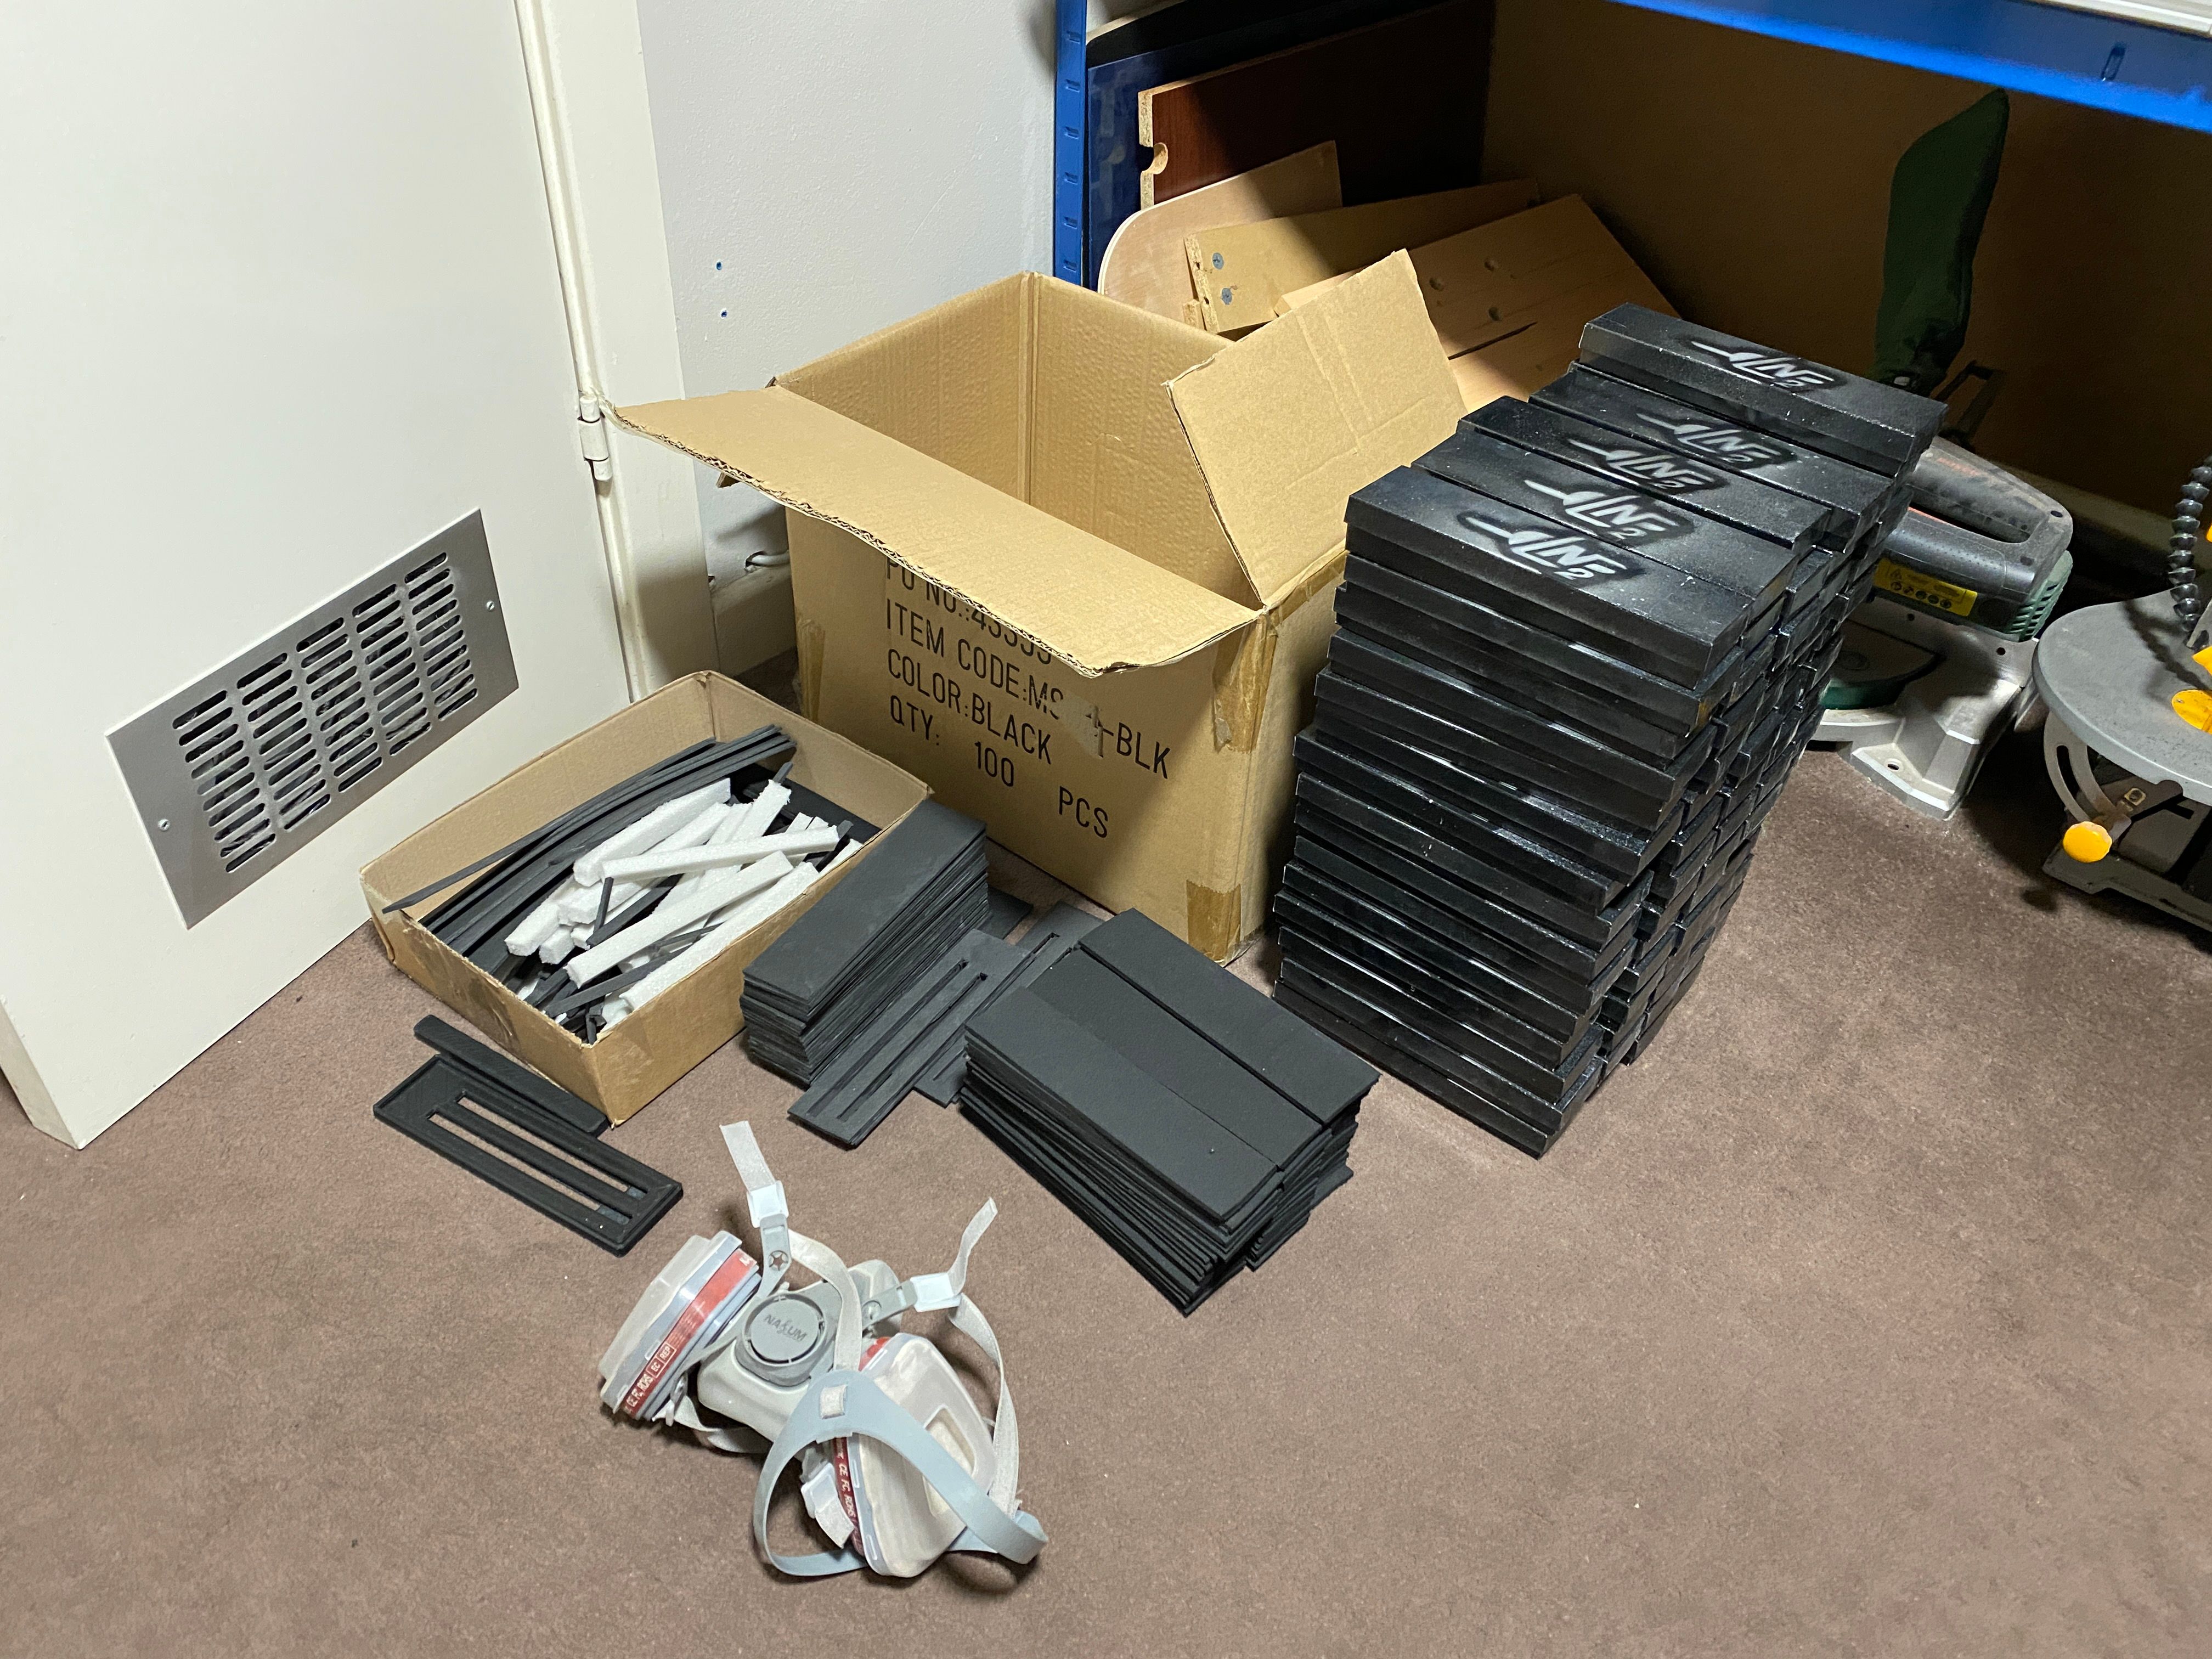
If I do another set I'm finding a way to get the packaging pre made so I can just assemble it 😓 I have spent so many hours scoring, sanding, cutting, gluing, spray painting and assembling. I still have yet to do the final sanity check and repeat test them all before taking orders.
Woe is meeeeee. My desire for pretty packaging has been my undoing!