OW Pint VESC Repair
-
Yesterday I purchased a VESC converted Pint (wip).
Had the same gut feeling when I saw my prior Pint and knew I had to have it.
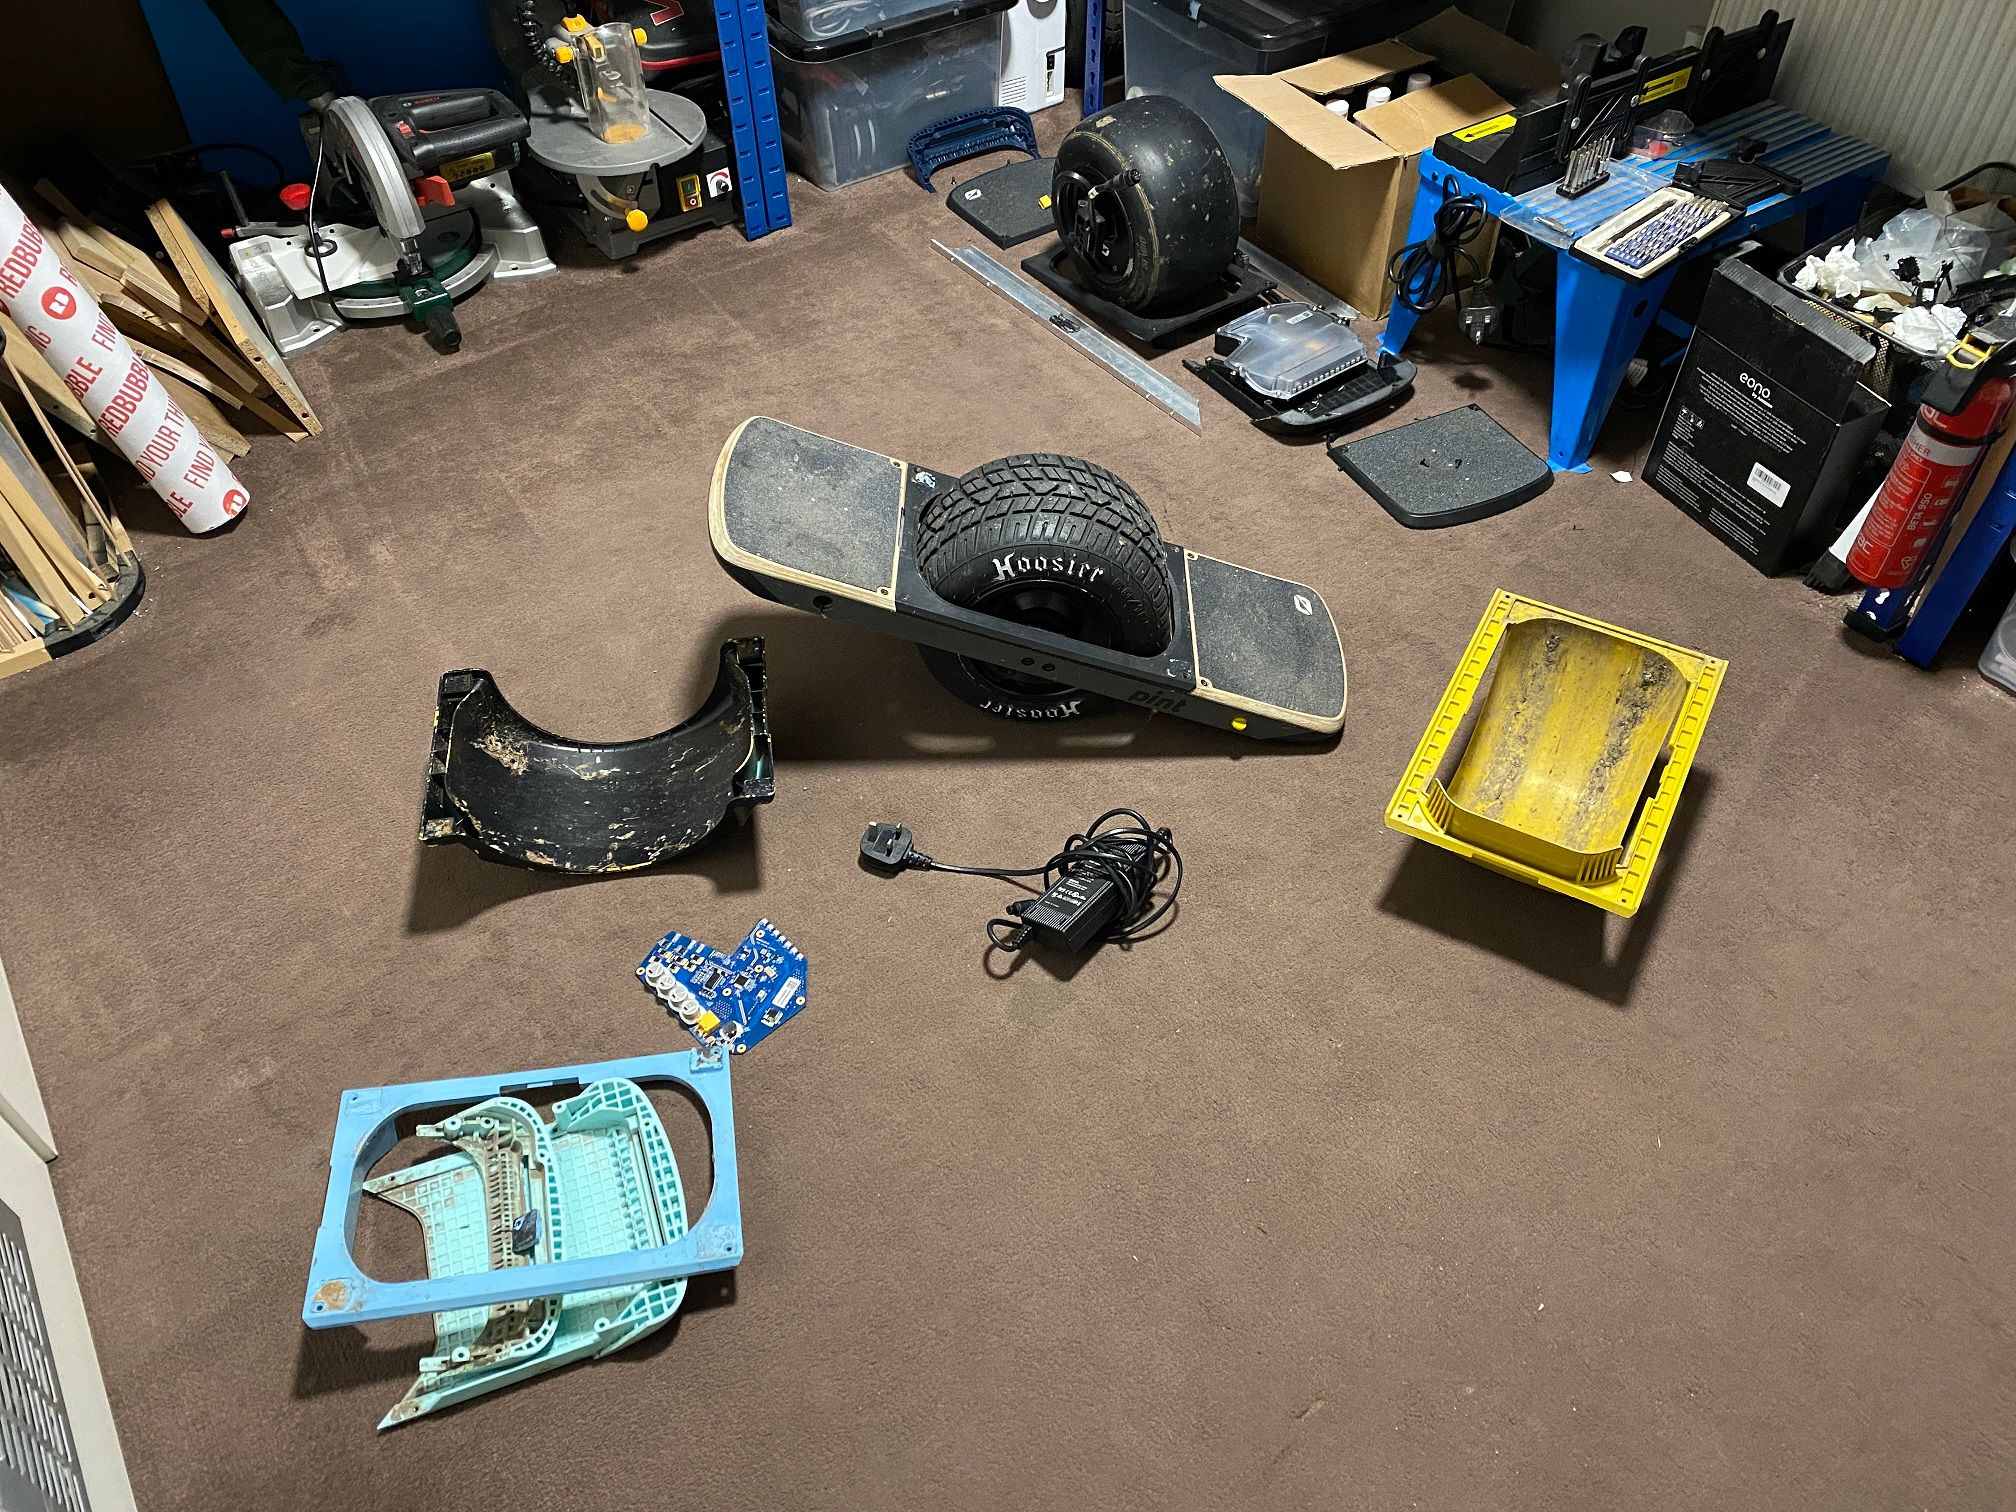
(Edit: Just realised It's been a year since I bought that Pint and fixed it. Is this going to be an annual thing, me buying partially working Onewheels?)Showed up this morning and it looks good, externally other than the missing power button it looks fine. Came with a bunch of extras too which was nice (Ignore Zag in the back, still working on the battery box).
Took it apart to see what I'm working with. Footpad is attached within the case through the lid which'll want patching up. I 3D modelled the footpad connector already so I can repair the footpad connector if I decide to.
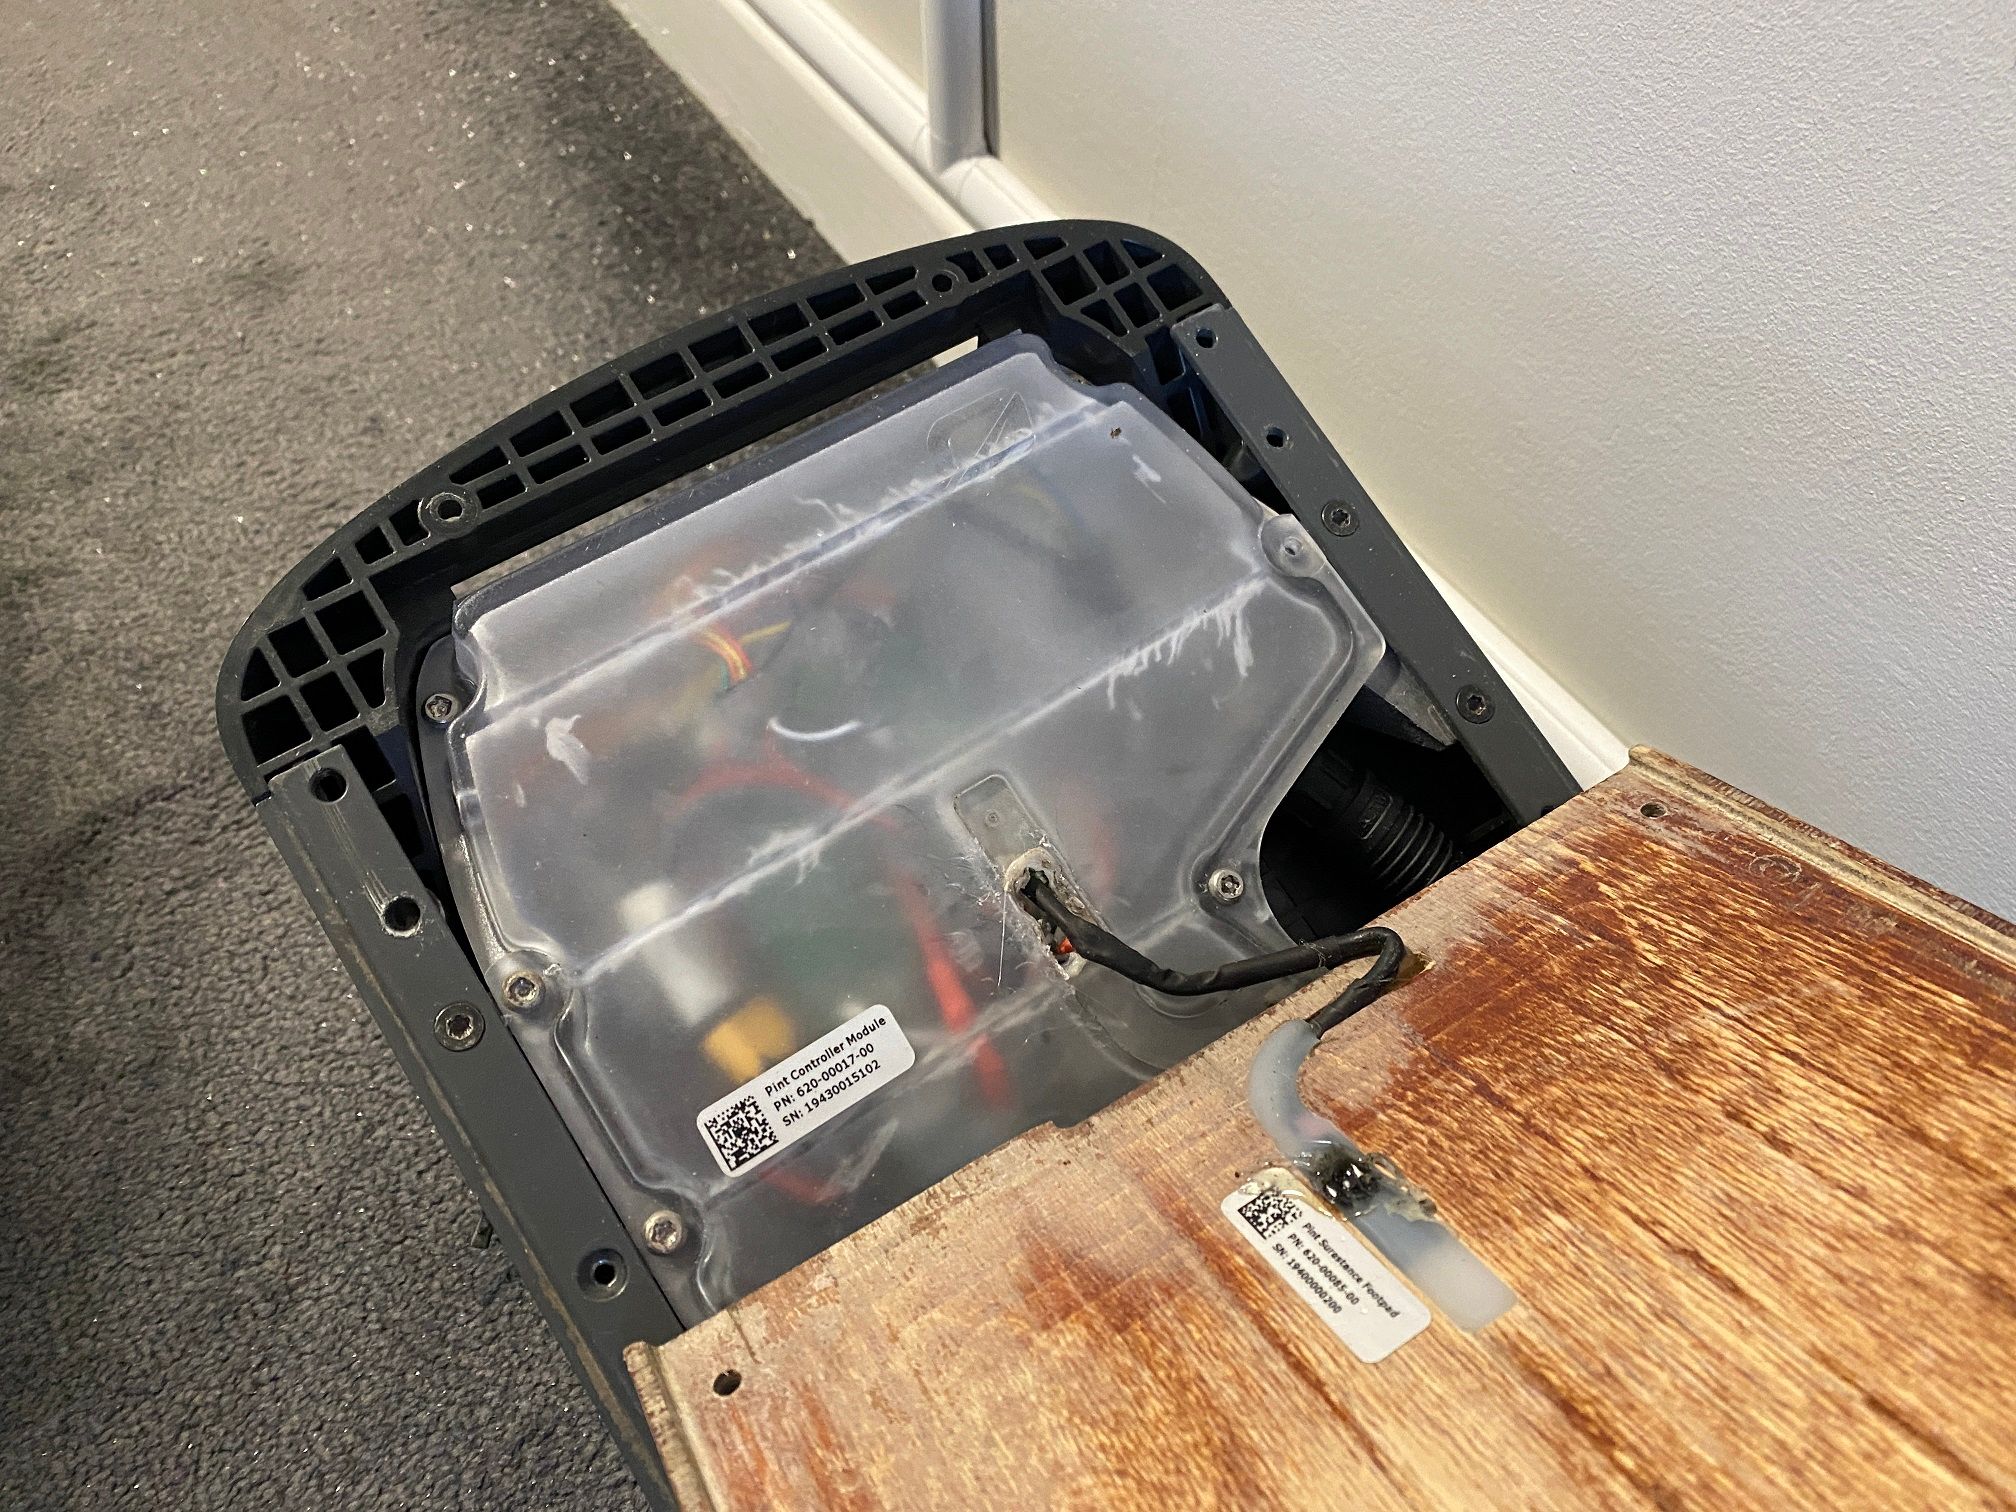
Managed to get the rails off. The rear left fender thread has been drilled through which has taken a chunk out the top battery lid and cut into the lower battery housing. Should be easy enough to patch up.
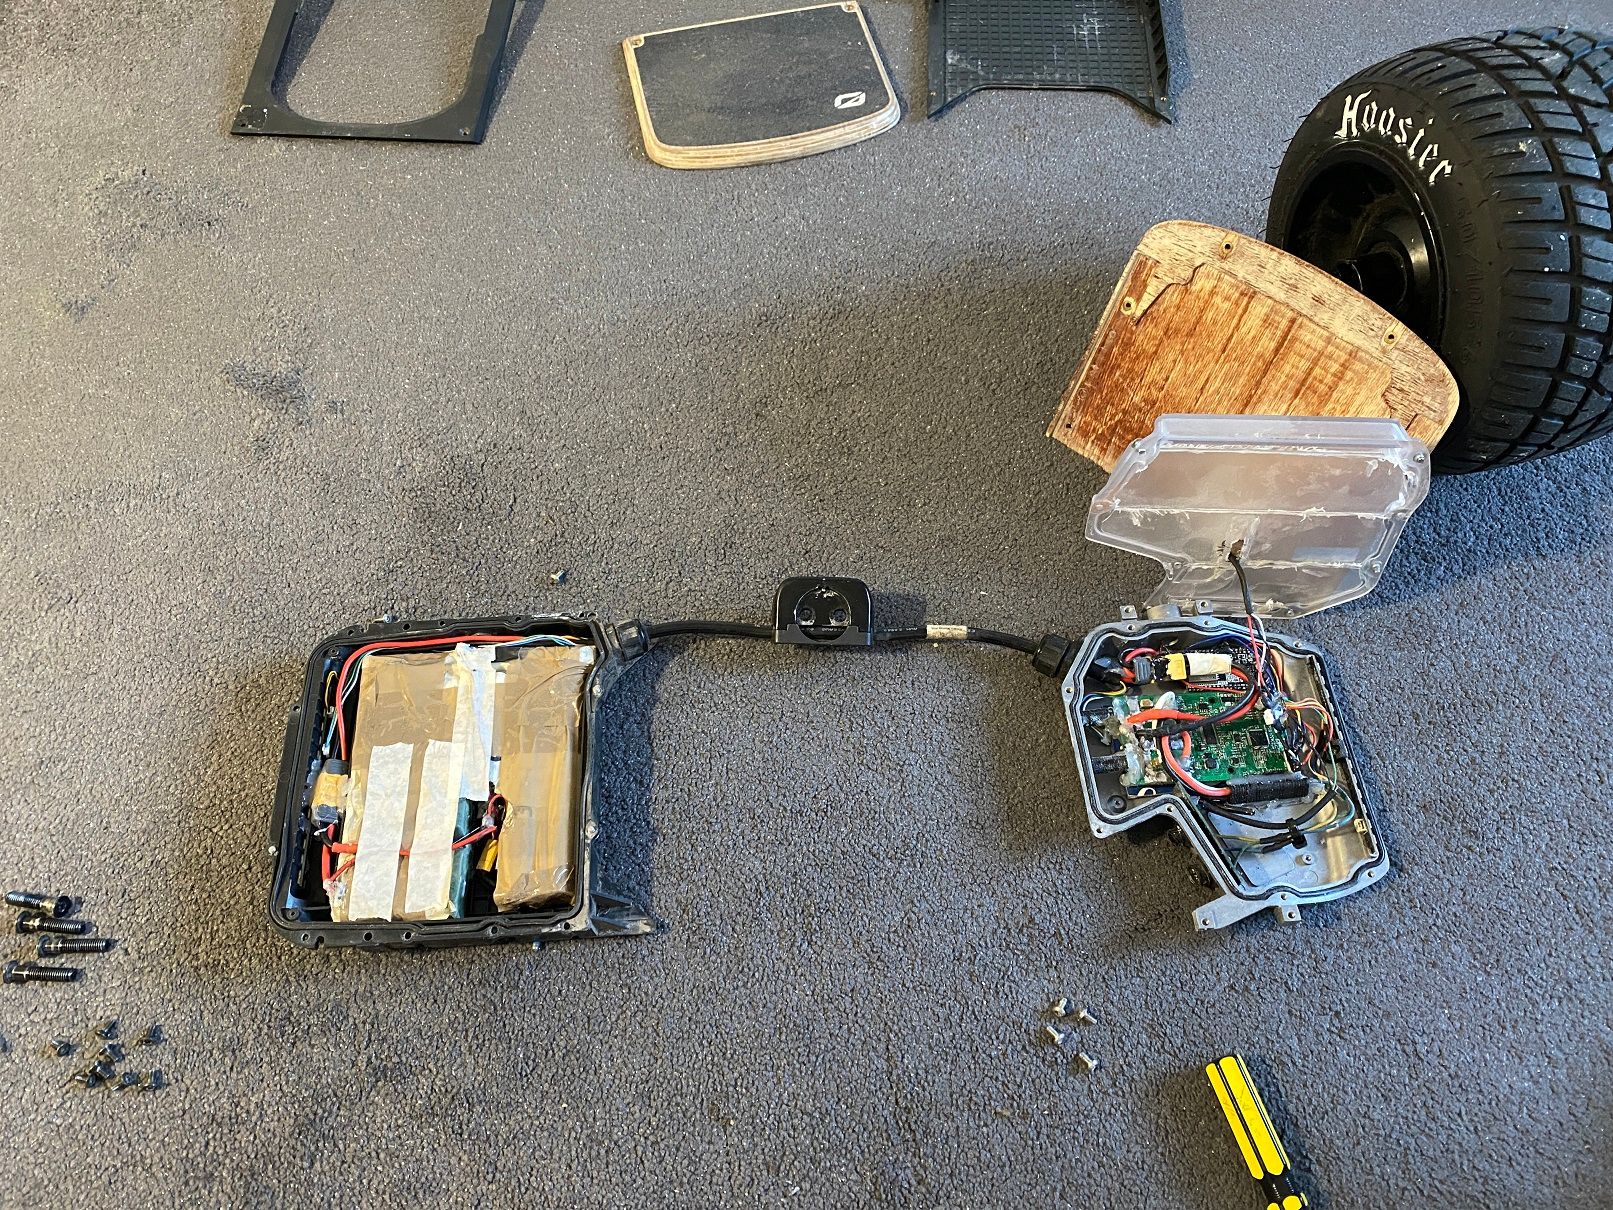
I haven't yet figured out what each wire is doing yet but the obvious few are connected up. Battery looks like it'll be fun to unwrap.
Can't see a physical means to power it on and 54v was present at the controller so I guess maybe it was turned on and off via bluetooth. Either way unplugging that and will look at what I plan to do with the existing internals.
Edit: Got the battery out, had to pry the hot glue on the connector but it's out. Cells are
Molicel INR21700 P42A 21700 as described and are surprisingly welded so I may actually re-use these.

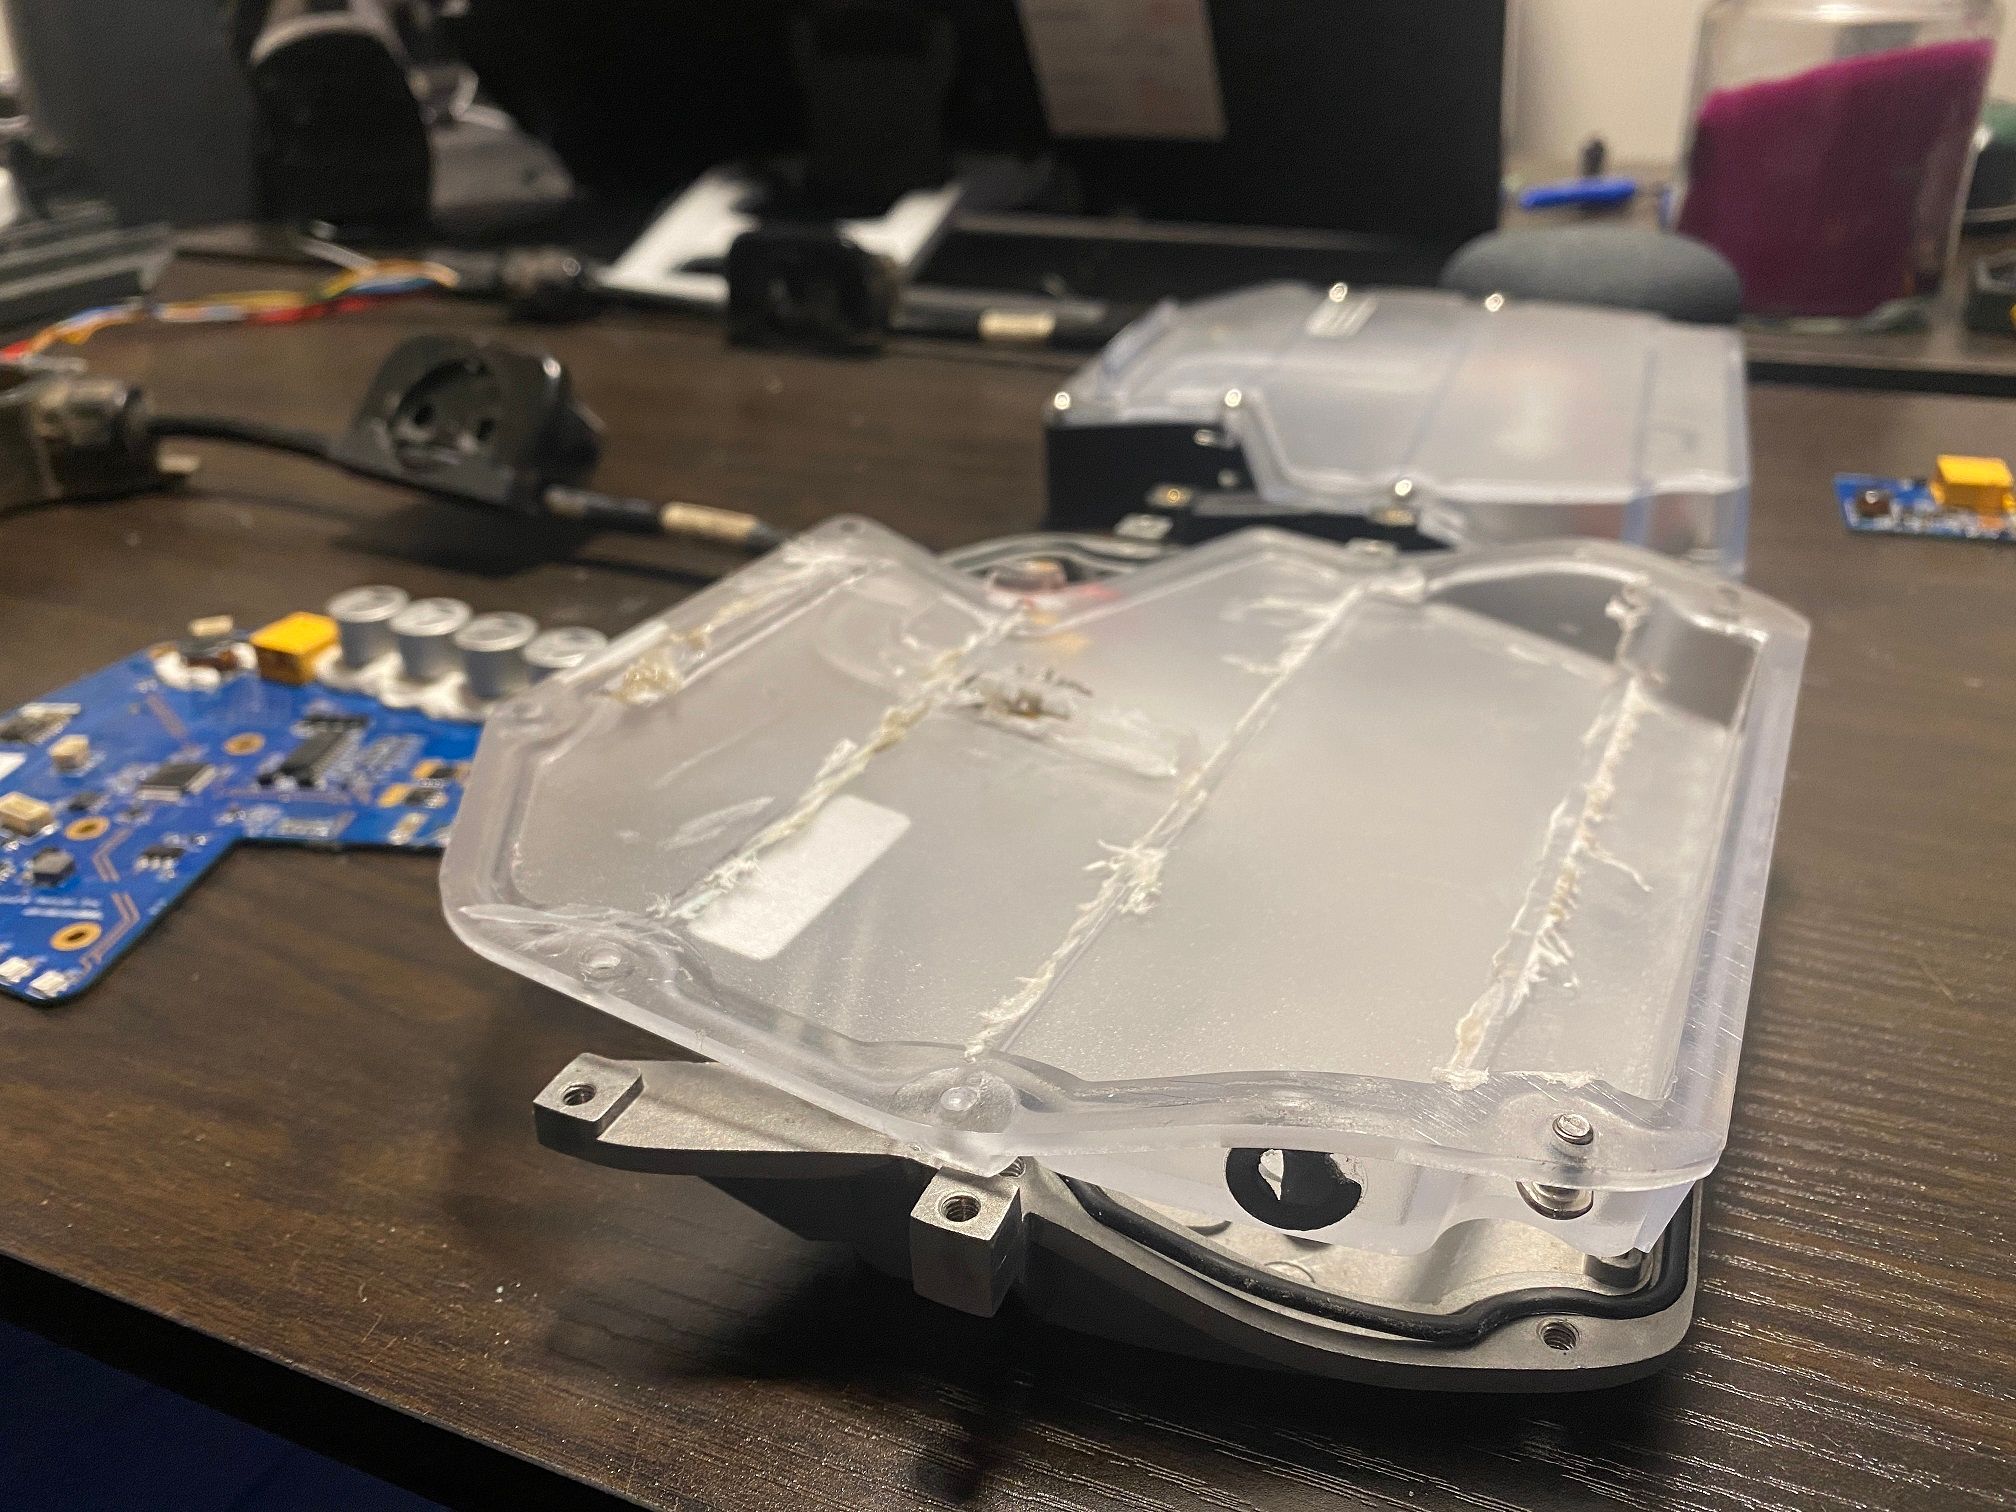
Edit2: It's apart, got the electronics out. Lots of hot glue to take apart. Although the ESC had been adheered to cardboard to isolate it from the metal casing the original owner said it ran fine so I assume the mosfets don't get too hot. Regardless if I roll with this setup I might hard mount it to the casing just to be safe.
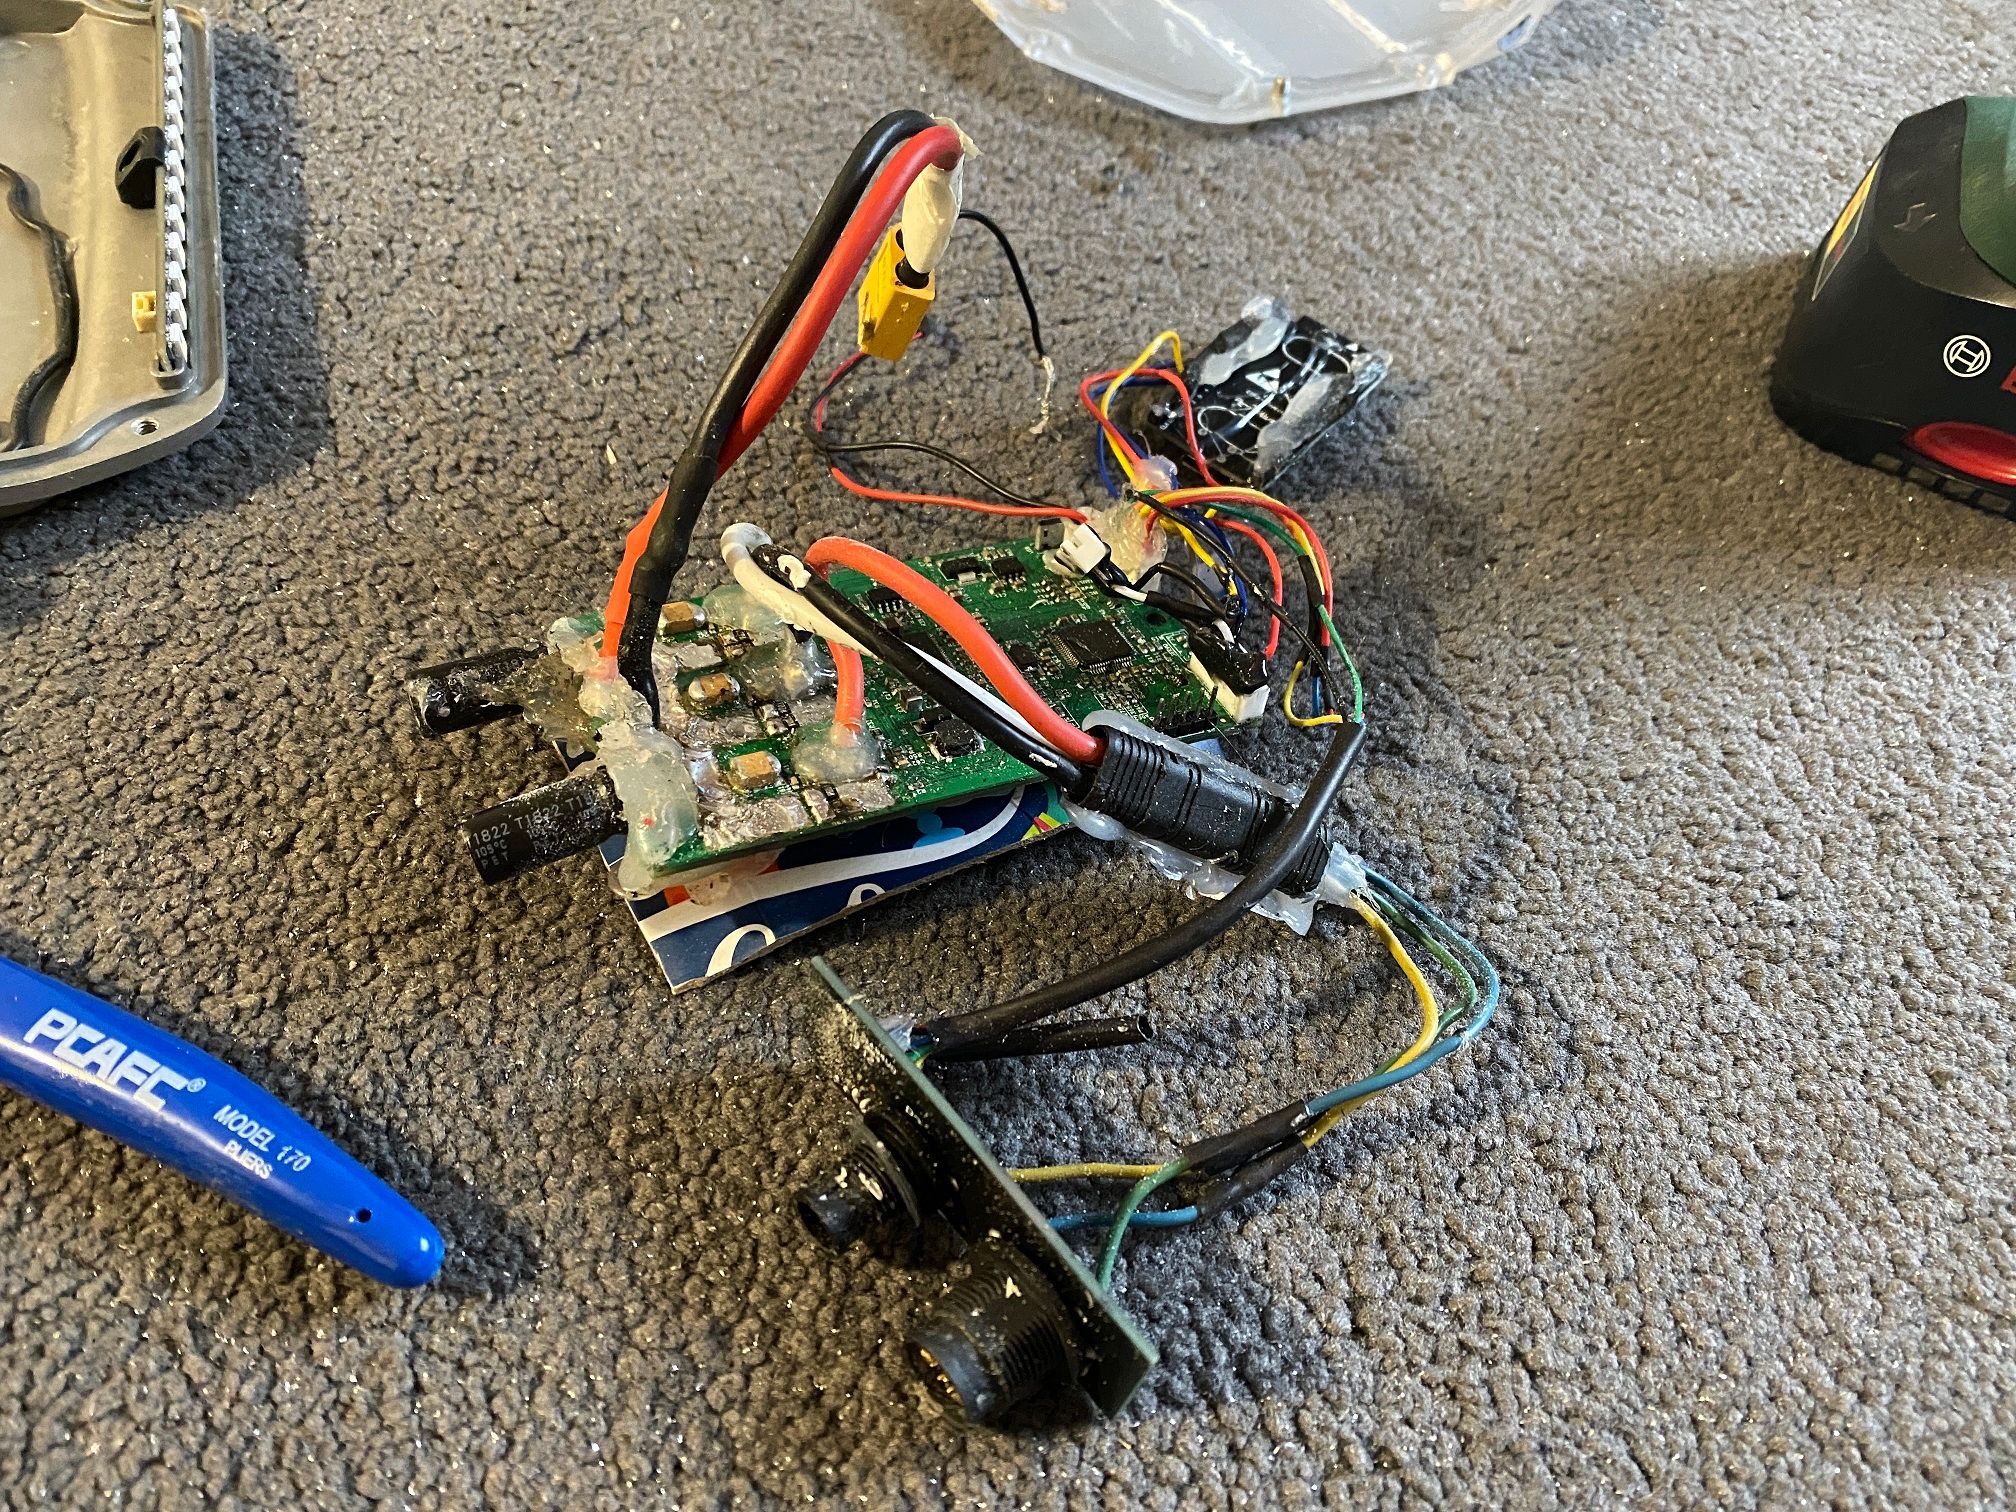
Think I'll clean up the boards and wiring then look at what everything does before powering it up. -
@lia All parts seem to be there. Great find! The cfocer vesc is on by default shorting the switch pins is off.
I'm sure you'll make it right, can't wait. -
@lemur Thanks :)
The cfocer vesc is on by default shorting the switch pins is off
Oh that makes sense, the pins were attached to a set of wires poking out the button hole taped together. As I was taking it apart I was wondering if it was in some sort of standby state.
Just looked at the silkscreen and you're right.
-
@lia If you going to test the vesc, use 12s, looks like the po has a 14s battery.
-
@lemur I'm down to 13s currently ;)
Was taking the pack apart so I could re-arrange the cells and attach balance leads. Looked like the former owner had started then later snipped the ones they put in. Guess they couldn't find a spot to install a BMS and ditched the idea.
In doing so one of the cells vented from a weld that went too deep. No fire, just a small hole in the cell at the negative terminal but I'm disposing of it anyway. Nothing quite like the sudden "Hssss" sound coming from 2x 21700's sitting in your hand as you carefully snip the welds with flush cutters.

Was the first cell in the pack so guess that one got the full juice of whatever welder they were using to cause the weld to go as deep as it had. Strip application varied as I got deeper into the pack so I assume some change in plans occurred during the build along with a few brown trouser moments as I found some of the masking tape was singed in various spots.
Going to rework the connections and layout then see if I can spin it up down the road. Good suggestion on a lower voltage too. Hoping to clean up the PCB's too as they're all sticky and caked in presumably shavings off the lid.
-
@lia -- I guess that is one way to get a thrill!
-
@s-leon Agreed, was doing so well too~!
-
@lia said in OW Pint VESC:
I assume some change in plans occurred during the build along with a few brown trouser moments as I found some of the masking tape was singed in various spots.
omg lol!
"ok new plan. im gonna sell it."
-
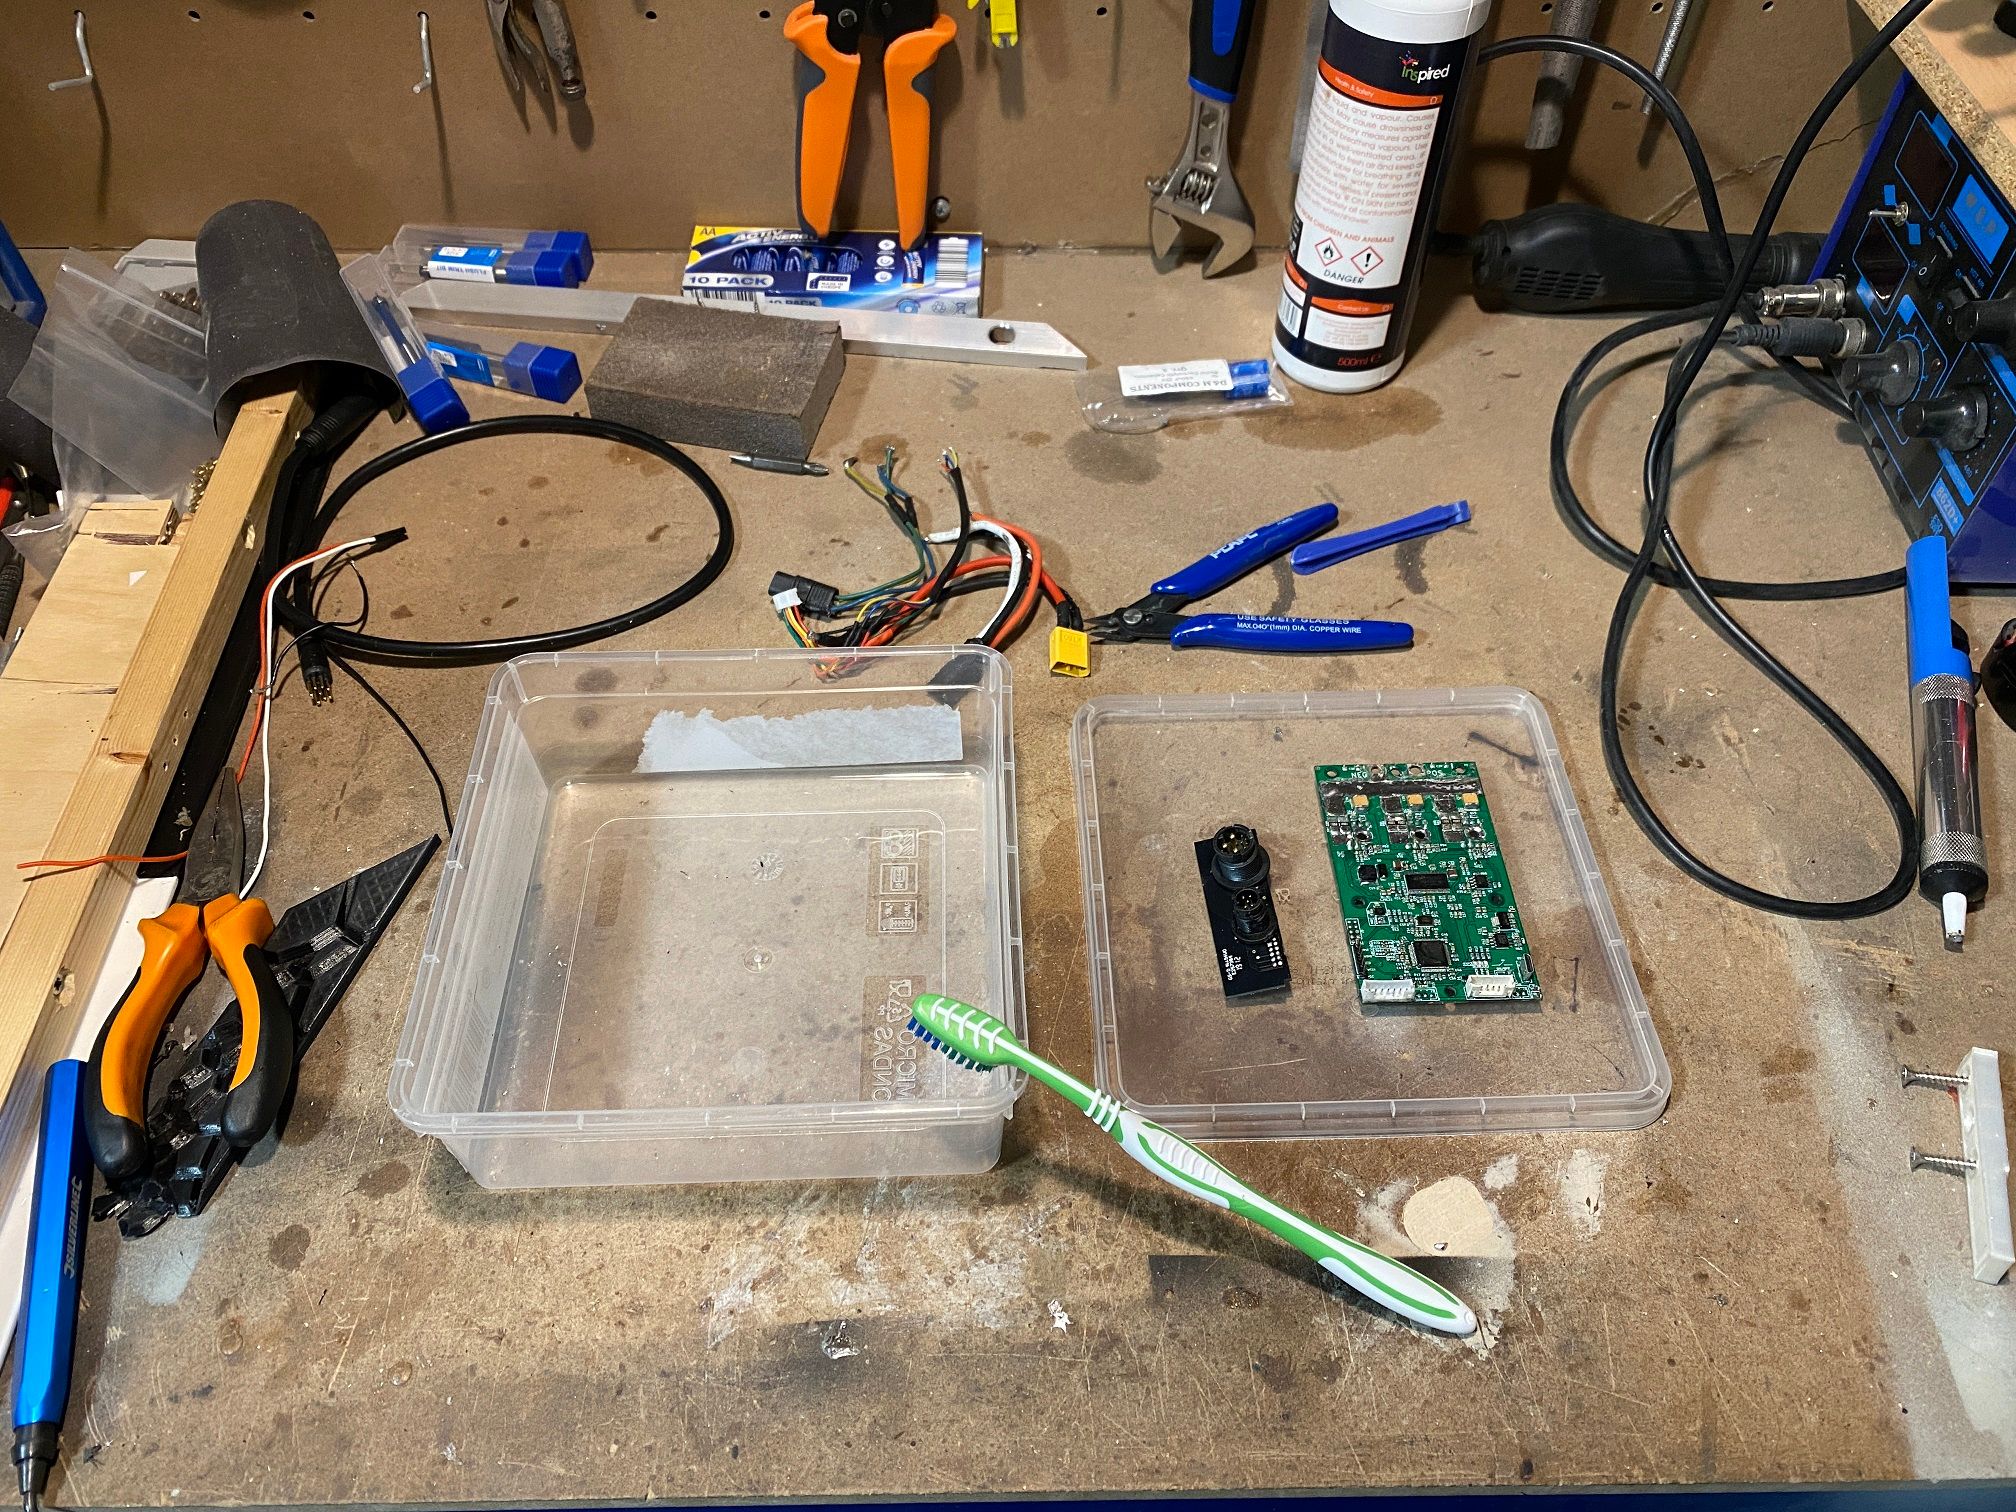
Tore down the electronics and cleaned them up.
The PCB's were uncomfortably sticky and caked in hot glue so took some time today to remove that as best I could. I assume the stickyness might have been some sort of conformal coating, either way it had to go.Gave the VESC and motor/footpad connectors a few isopropyl alcohol baths followed by peeling the glue off and removing loose components to have another bath with a toothbrush to help clean it up.
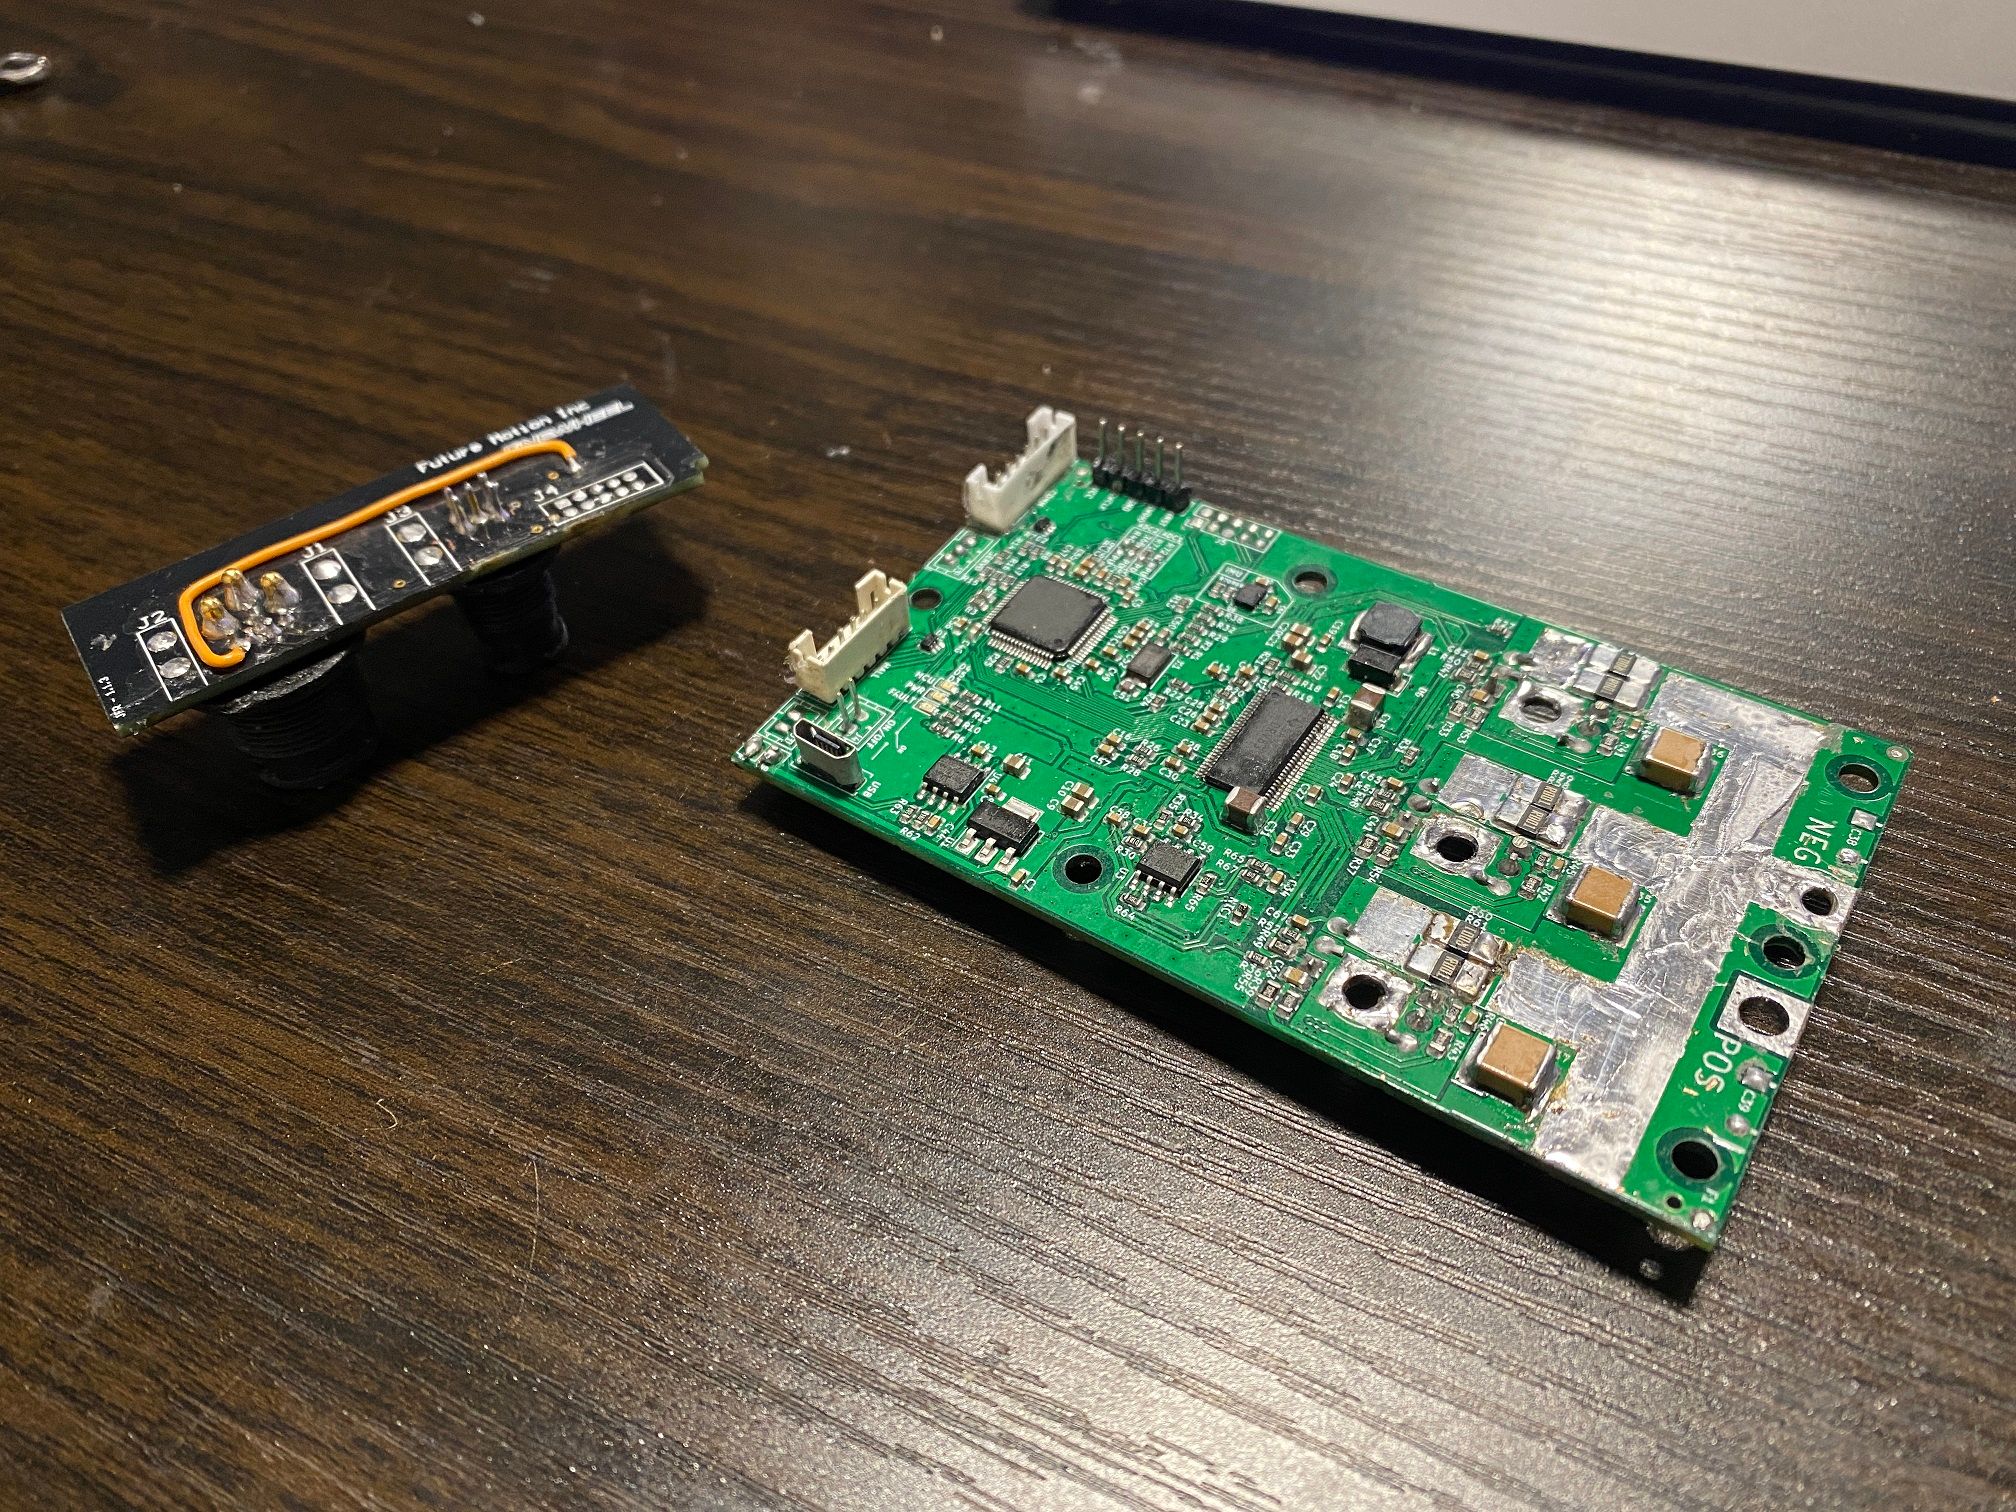
Motor/footpad connector had a busted trace when peeling the glue up, probably me that did it as it's one of the hall traces which would have made riding awful otherwise. Ran a bodge wire up and around for use later.
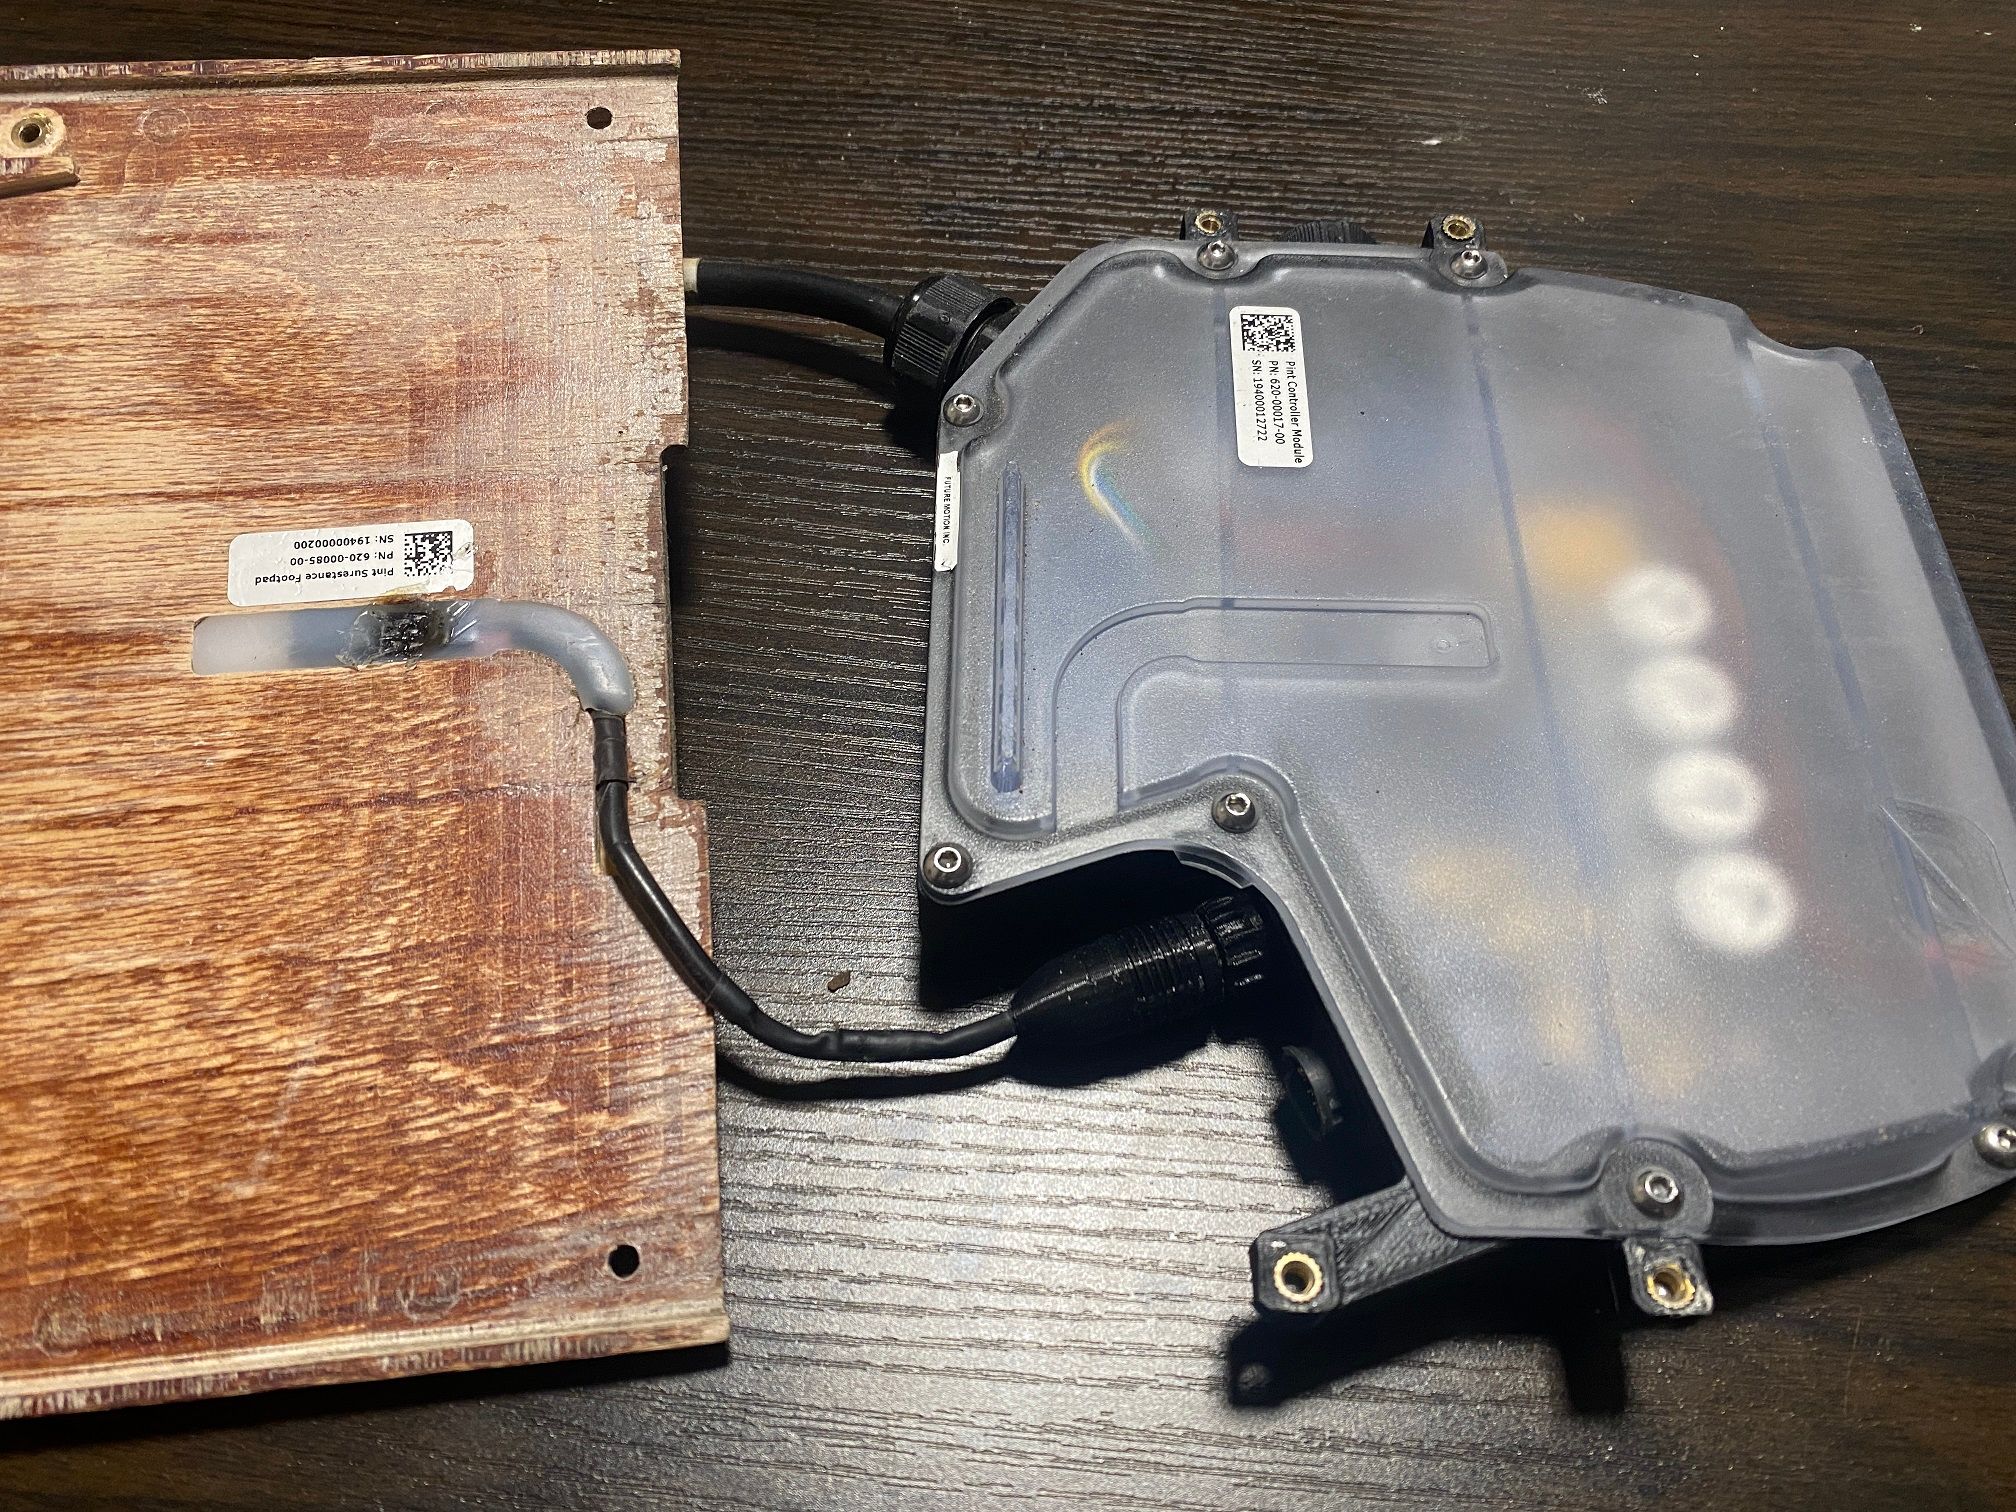
Going to work on converting the sure-stance footpads back to stock by printing a new connector so it can interface with the stock port.

In using the original footpad port I can work on sealing the top lid. I might cast a silicone mould of Zag's lid which is intact, then cast a new one from some sort of resin so I have a new lid identical to a stock one to work with since the current one has had a bit of work done too it.
I'm curious what HW version this Pint was too, can't see anything obvious but going off the SN it appears to be much later than Zag which was 5300.
Anyone know what HW revision FM serialised the BMS and Controllers together? Wonder if I can get the original brains running again.
-
@lia said in OW Pint VESC:
Wonder if I can get the original brains running again.
Yay! Onewheel necromancy might be favorite form of necromancy.
XR's got what plants crave!
-
@notsure said in OW Pint VESC:
Onewheel necromancy might be favorite form of necromancy
Agreed~ ;)
Want to get to know what sort of board I'm looking at, might help me figure out what sort of direction I want to take this in. -
@lia said in OW Pint VESC:
I assume the stickyness might have been some sort of conformal coating
Mountain Dew?
XR's got what plants crave!
-
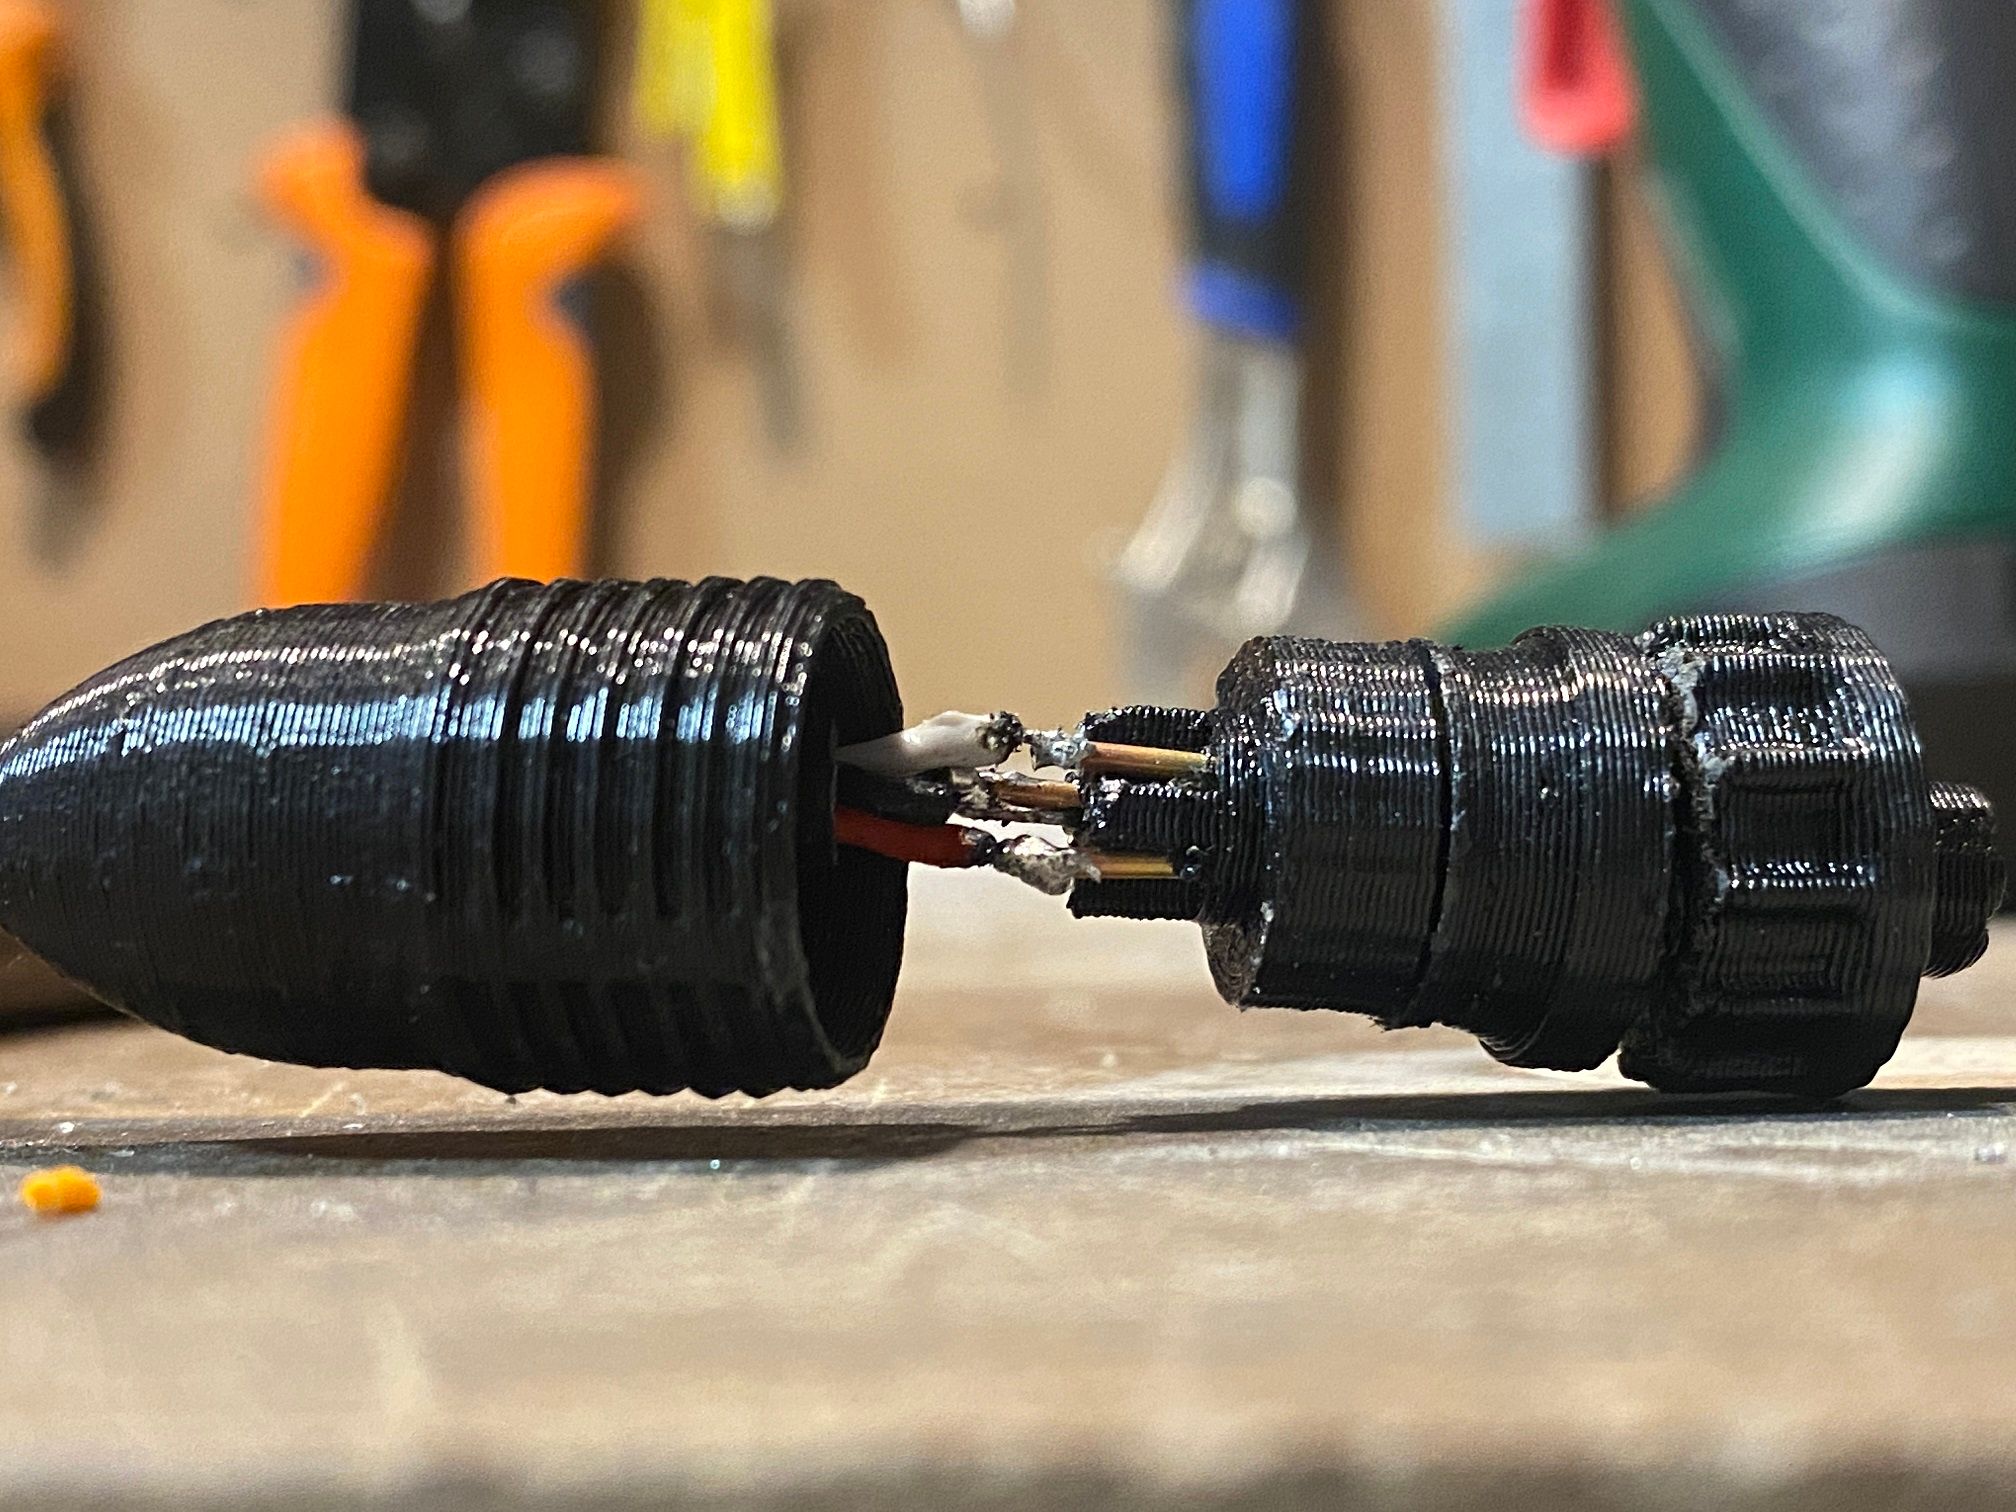
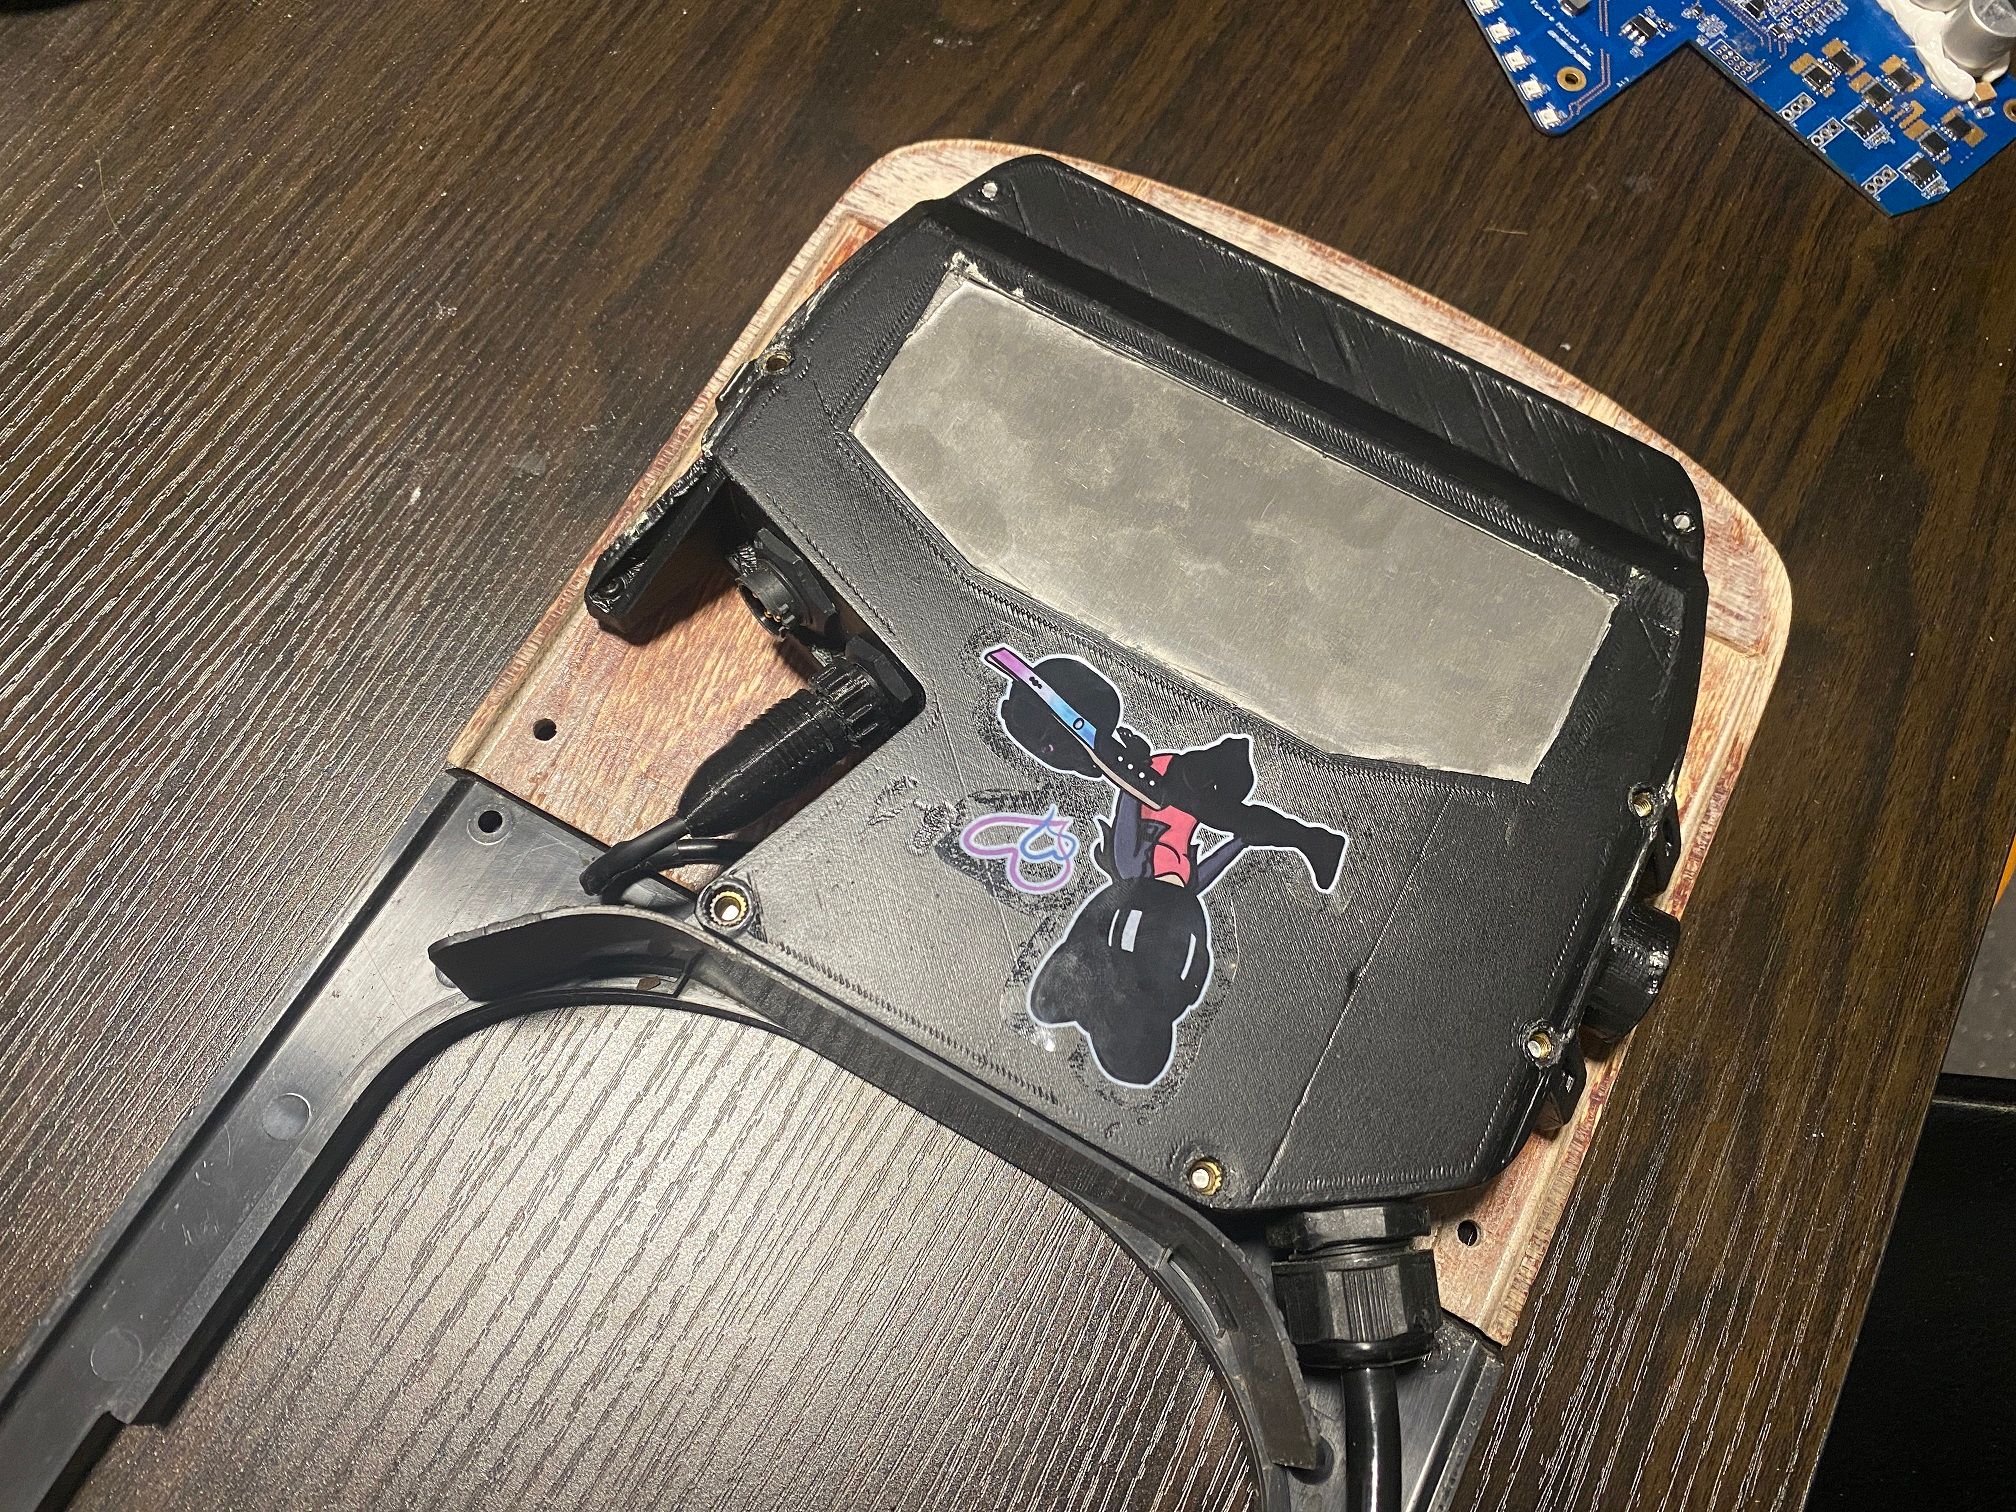
Rebuilt the footpad connector for the sure-stance pad. Knew that port I modelled would come in handy even if it was nearly a year later. I'll probably release it on MyMiniFactory at some point with links for the brass tubes I used since they can be a pain to size correctly.

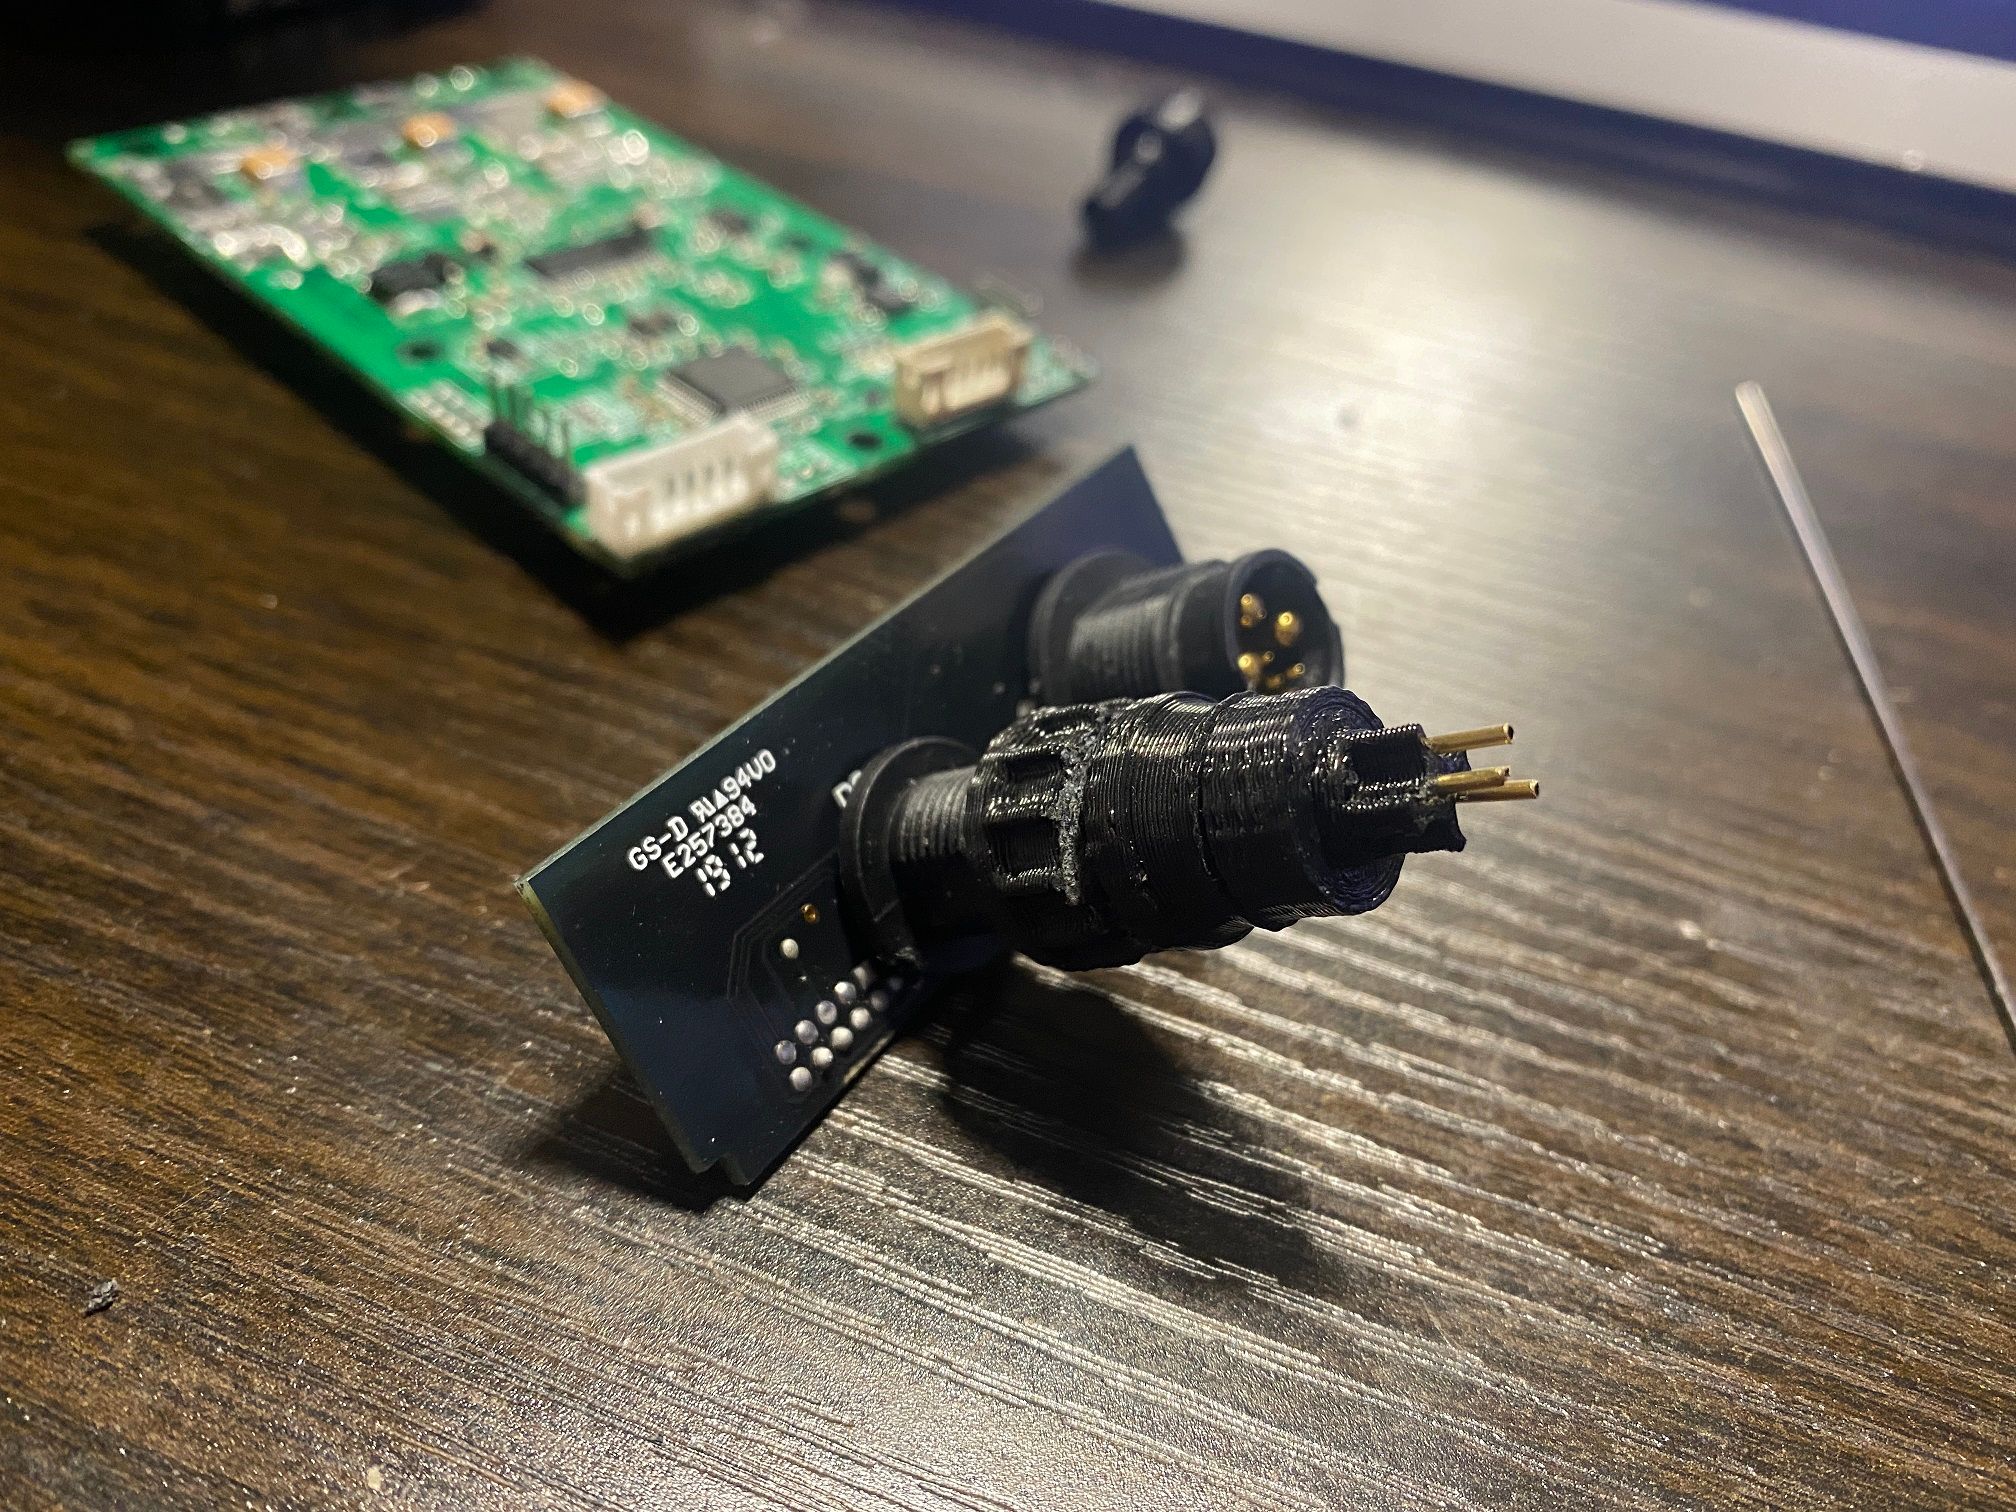
Used a 1mm steel rod in my drill to bore out the holes to make sure they were formed correctly ready to take the brass tubes that will act as the contacts for the pins. Once formed I'd put the brass tube in the drill and push it through then cut to length.Soldered up the wires according to the pinout.
Checking it fits on Zags setup as he's mostly all together still.
All fits correctly with the right amount of cable to make removal easy without too much needing to be tucked away.
Still waiting on PintX bumpers to come for the battery box modelling so I might re-assemble Zag and have this board be my guinea pig for testing. Will at least mean I won't have 2 Pint's laying around in pieces >.>
-
@notsure --Ten! Sticky conformal coating of dried Mountain Dew. Clearly related from your own personal experience overlain to my own personal experience -- from an immediate laugh out loud to chuckles going about my day just thinking about it.
-
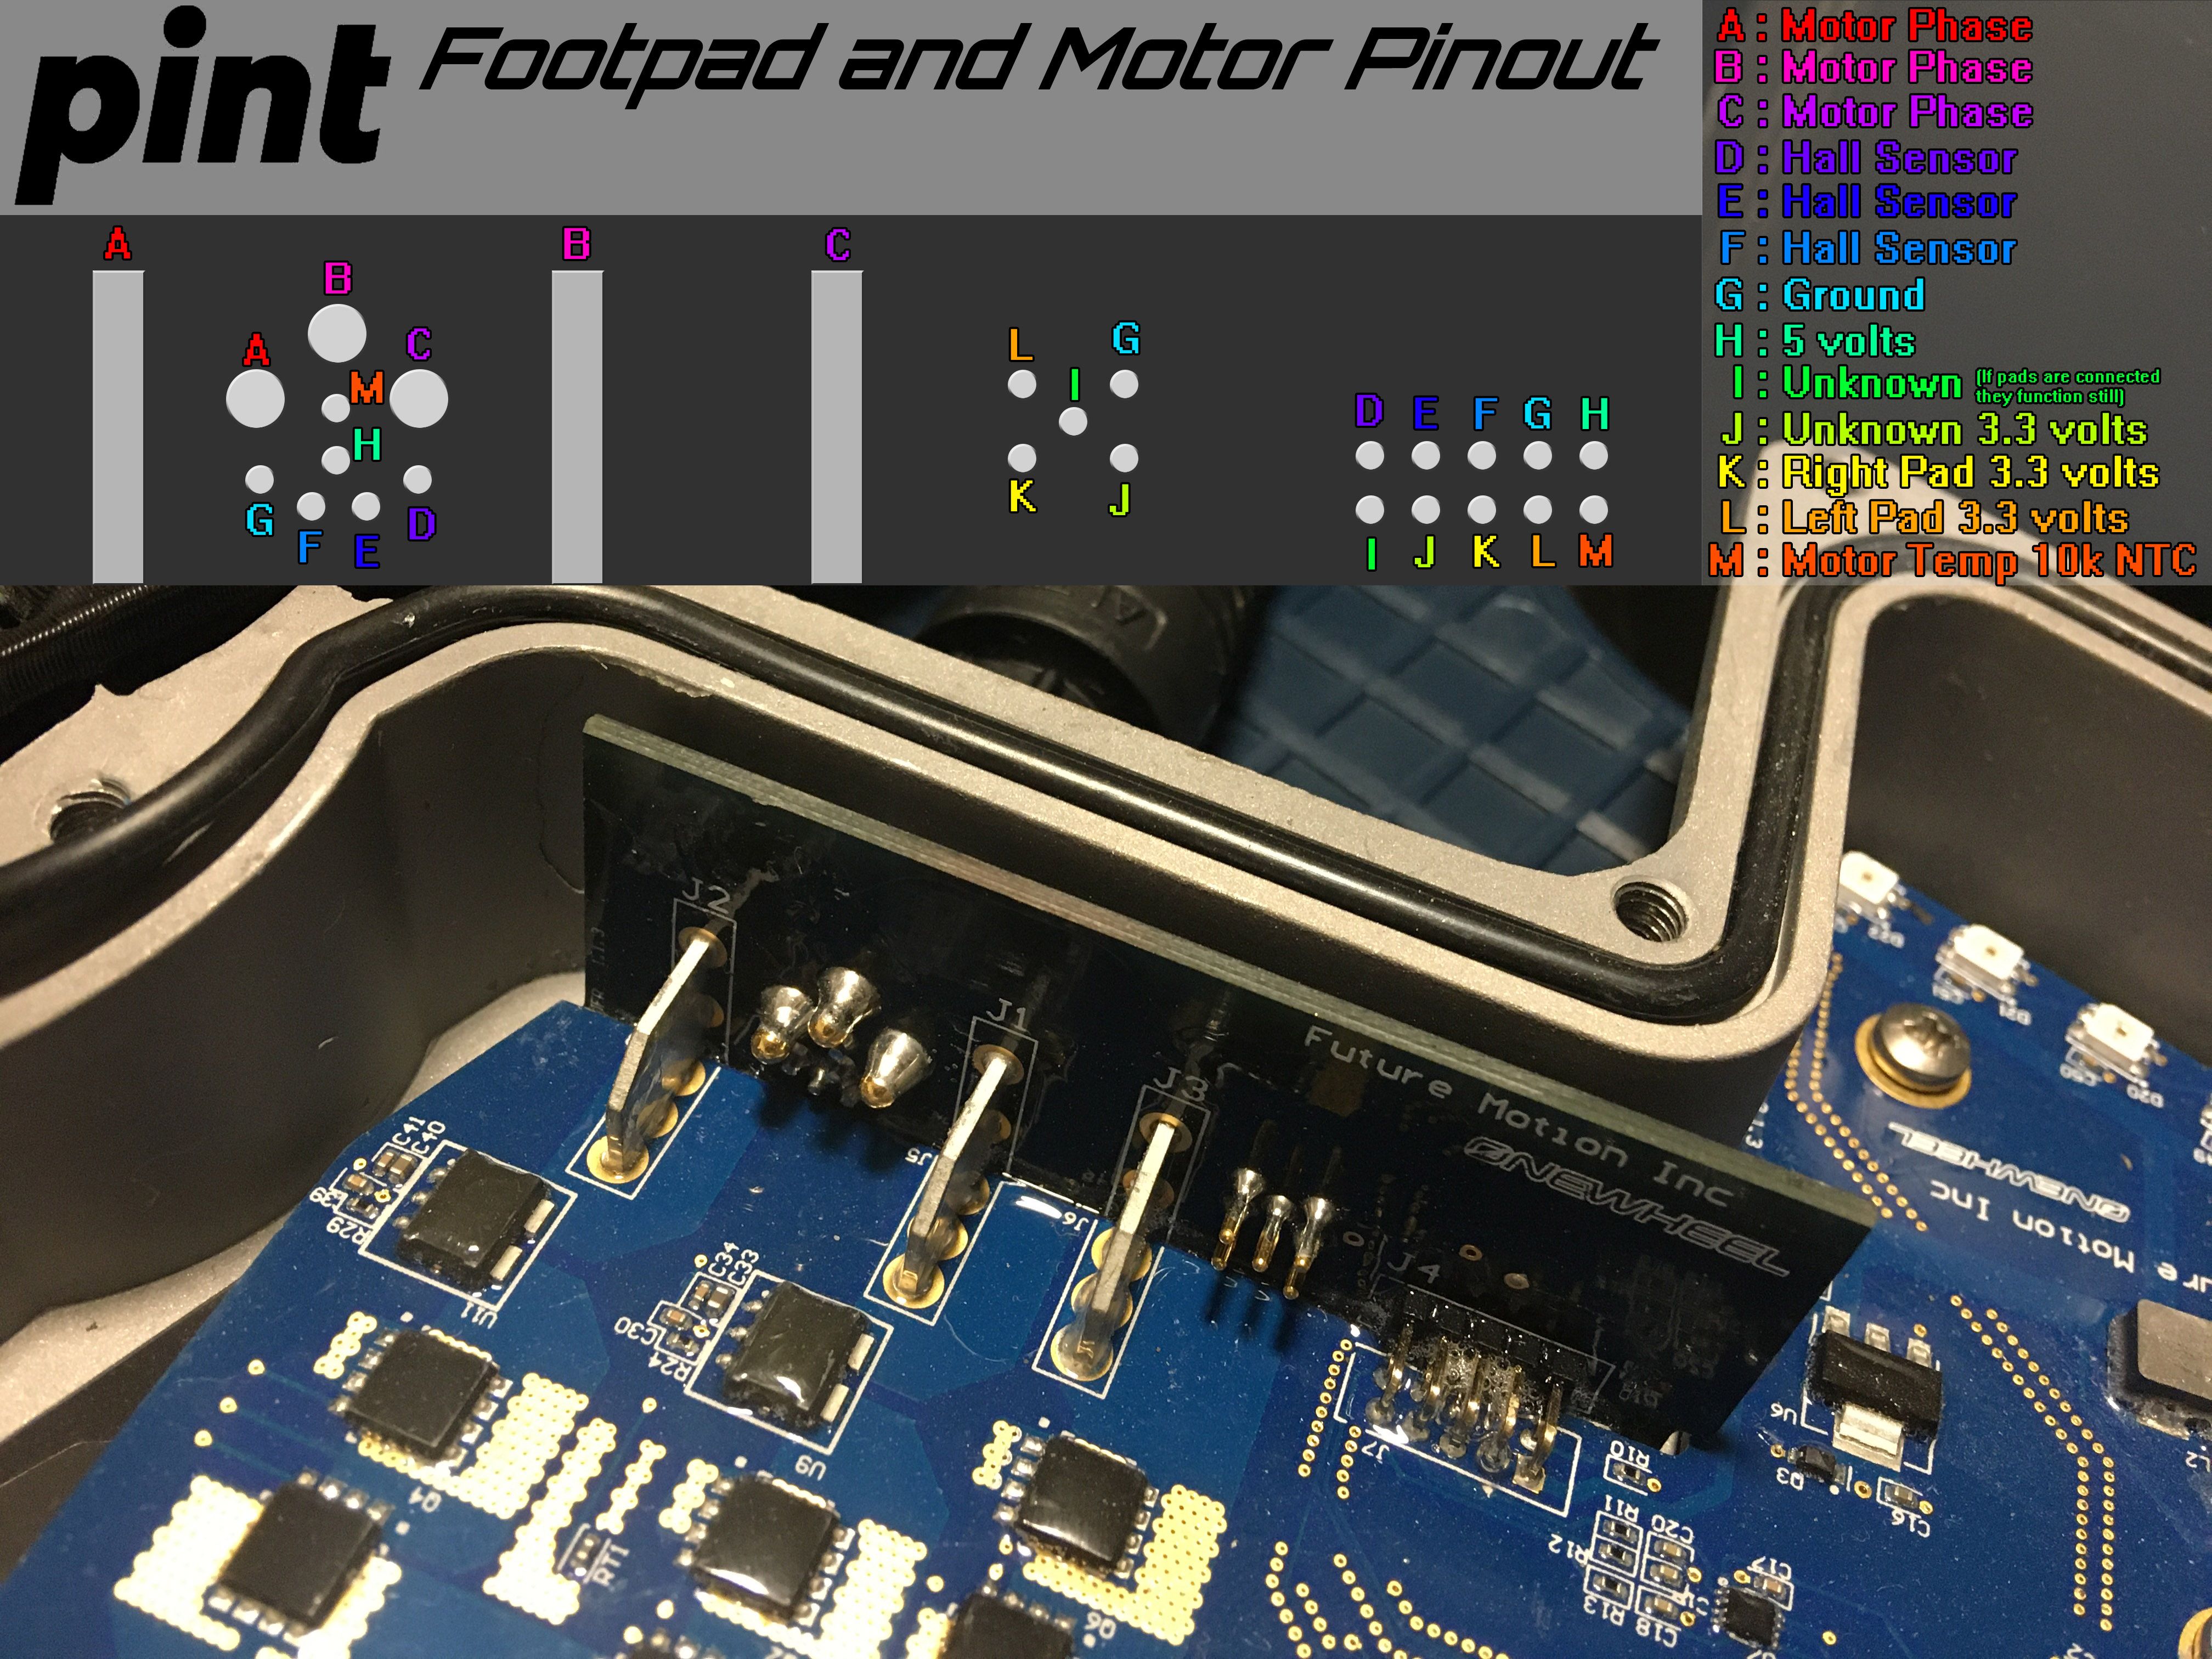
@lia Greatwork! Here's a diagram I sketched up for wiring. Your cfocer has the pull down resistors on the board already, so you don't need them(5-10k).

-
@lemur Thanks for the diagram, that should save me some time.
Pulldown/up resistors always catch me out.Going off the diagram I assume you have yours setup to have the footpad be one large sensor?
-
@lia There are two sensors(2 zones) Pints are opposite from vesc that's why that trace has to be cut otherwise the vesc 3v3 will ground out and fry your vesc.
-
@lemur Oh right thanks for pointing that out.
Haven't taken the time to lookup the pinout of the VESC yet but I'll keep that in mind.Uploaded the files for the footpad connector if anyone wants it.
https://www.myminifactory.com/object/3d-print-206107 -
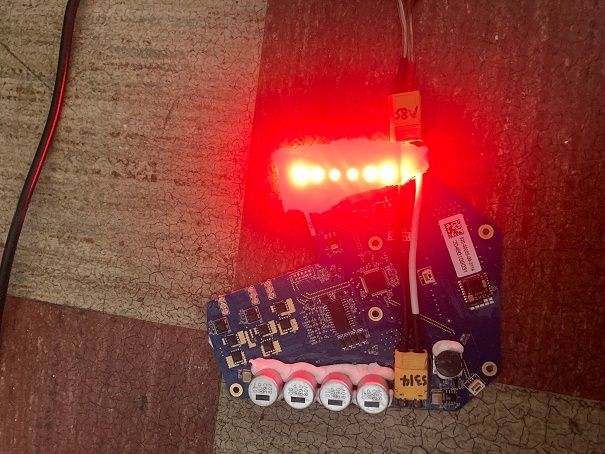
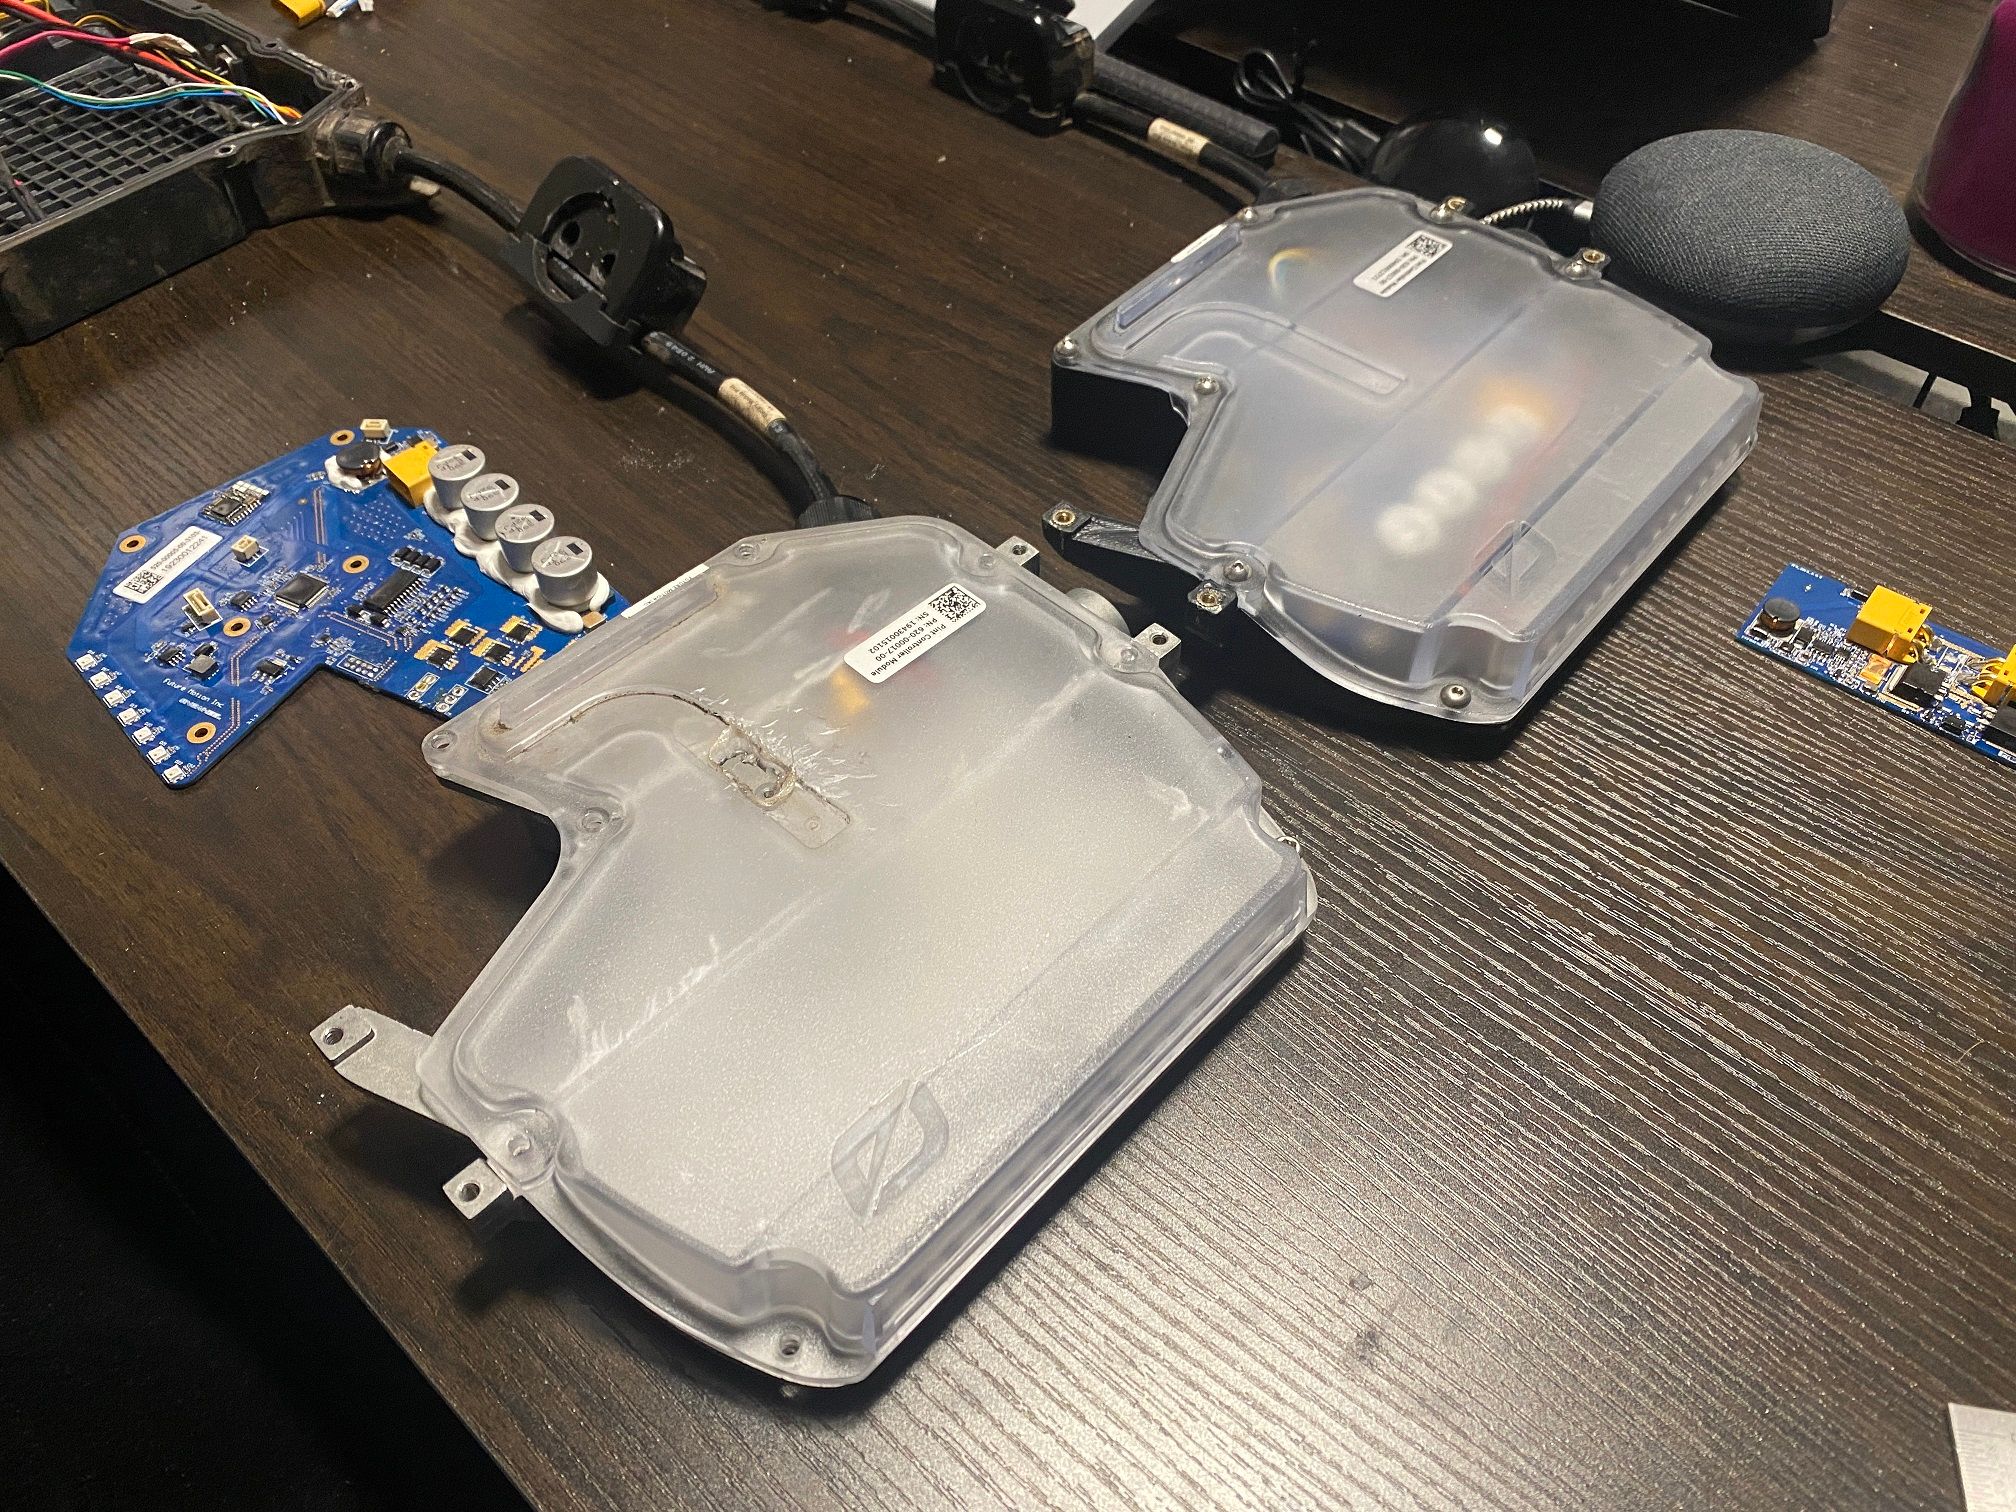
"Hey, You. You're finally awake"
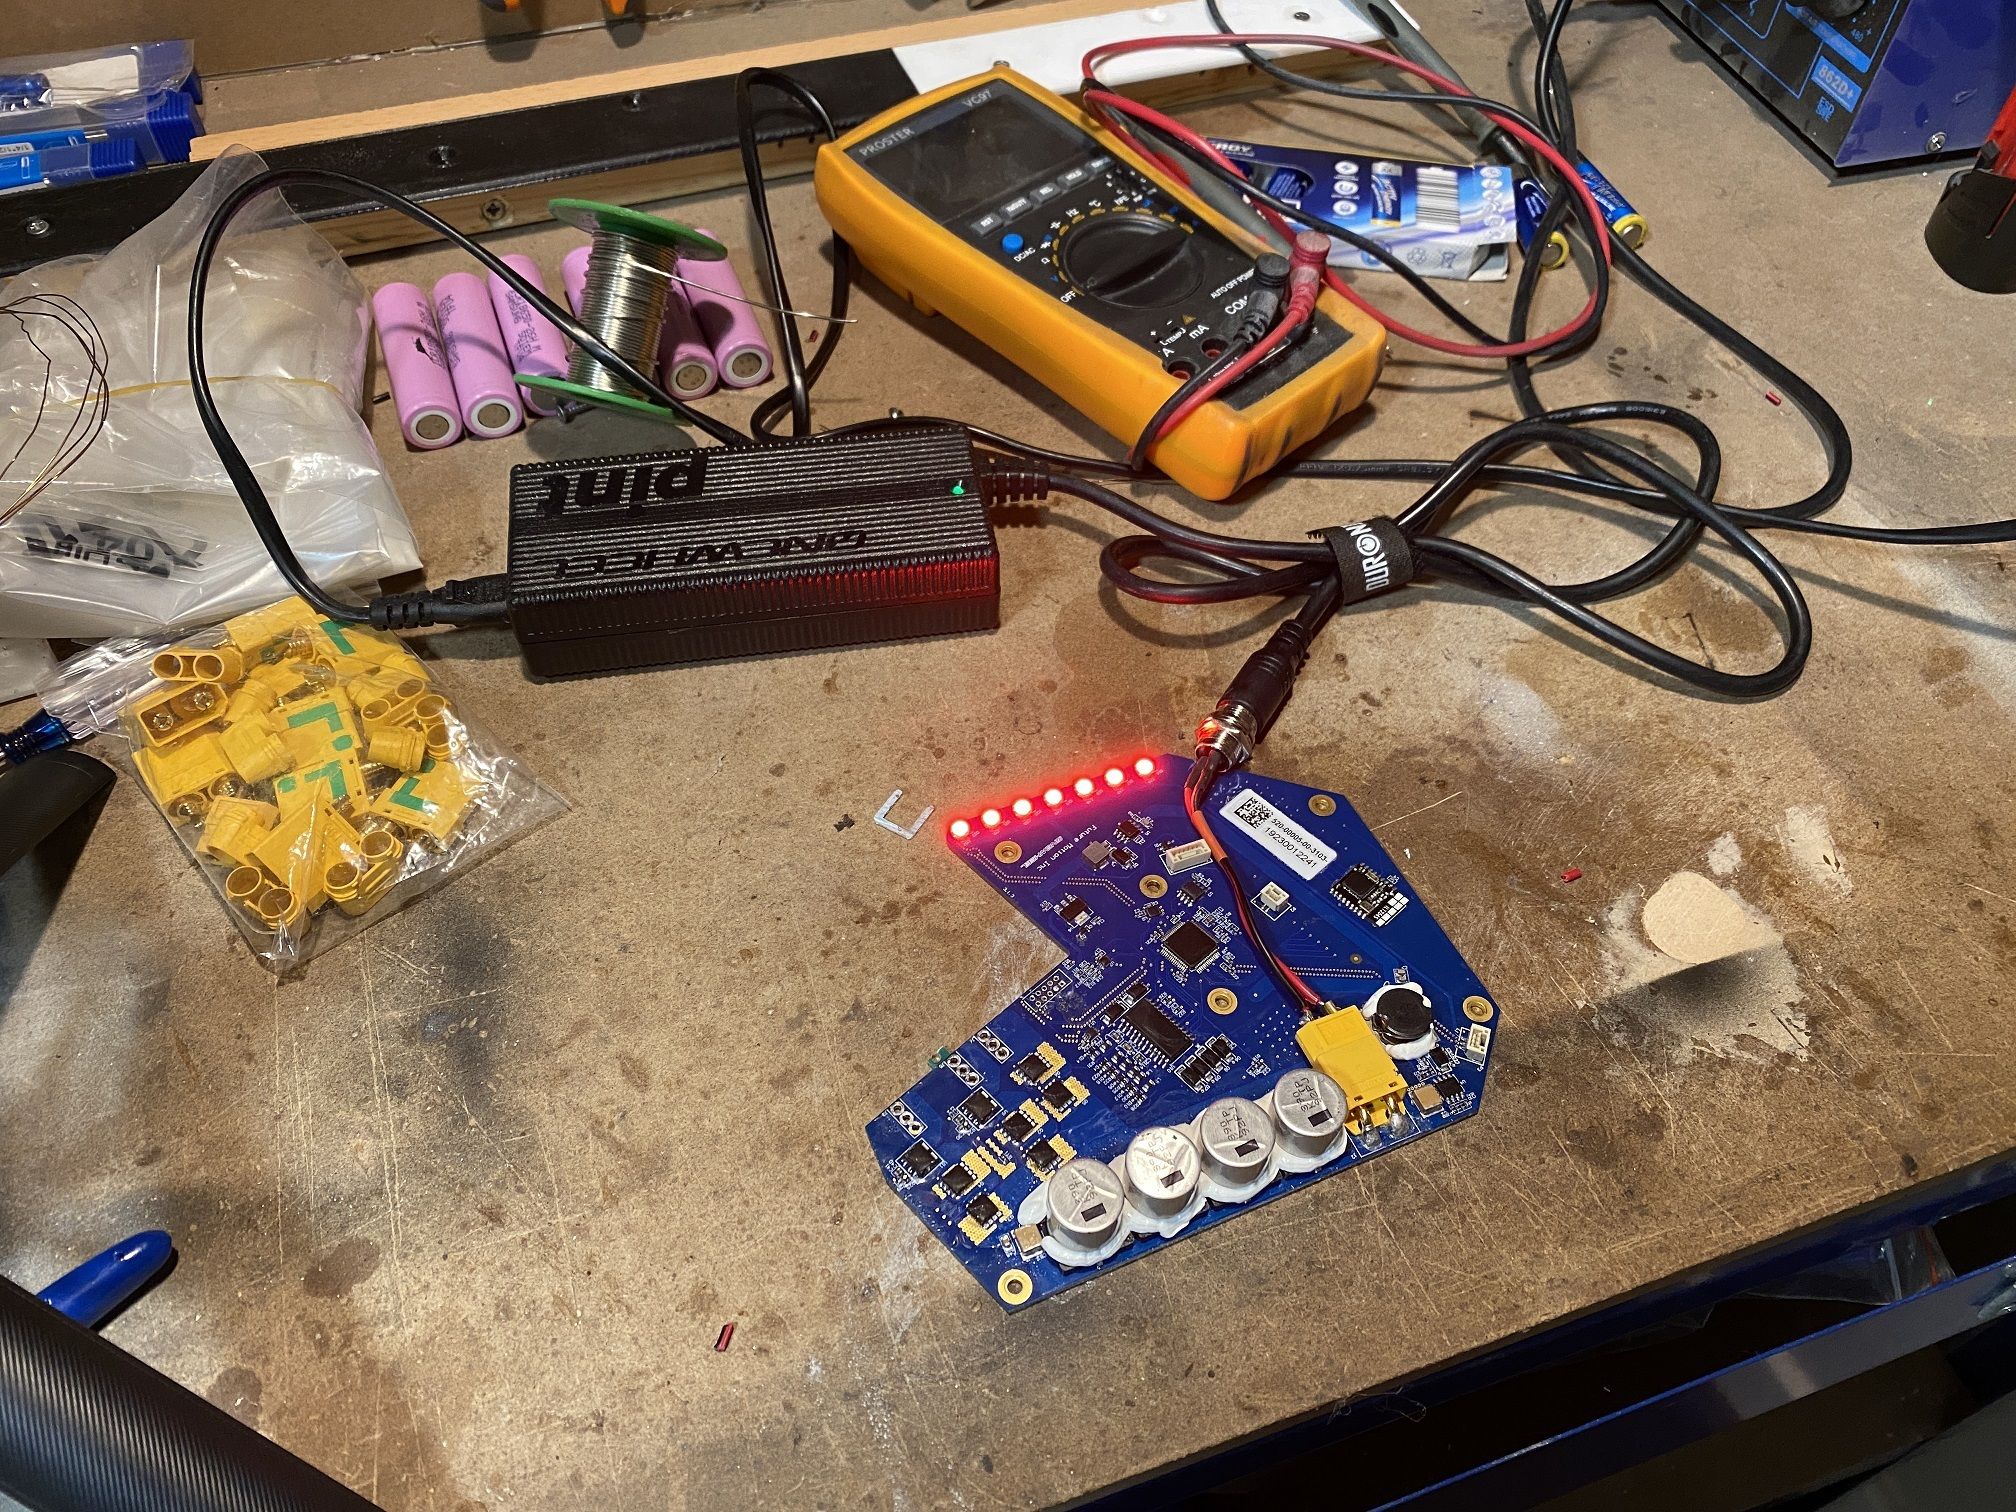
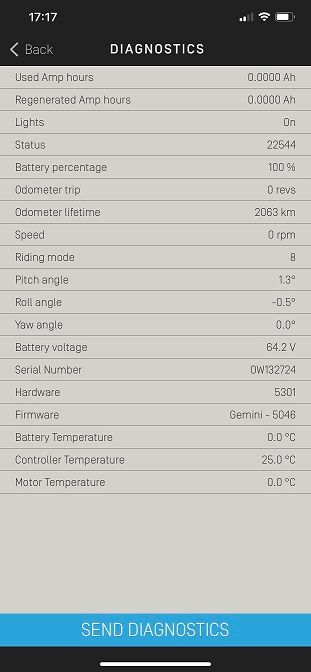
Quick and dirty adapter to connect the charger to the controller. It turns on and if I ignore the E16 it looks functional. So good to know I have another working controller laying around. 5301 too which is cool, early gen gives me the best possible chance of tweaking things if I ever want to use it.
2063km too, lived a good life prior to being converted.
-
@lia Thanks, I checked my cannibalized Pint board, and it gives a code 16 too with 5314 and gemini 5050. No idea what we can use the board for unless we can find a way to run without the bms.