Hacks & Odds
-
@notsure this sounds so crazy it probably works as advertised!
-
@notsure I am in awe at this. It feels like a long lost life hack rediscovered.
-
This week I had the plastic pin I had holding one blade of the EGO adapter shear while pushing a battery on. I searched through a tray of odds & ends finding short metal screws to take the place of the plastic pins -- yet not to touch and short out with the pinning screw from the other side of the EGO adapter. So far, so good.
-
-
Seeking advice on opening a Onewheel Plus controller. This is the first time I have tried to open one (my spare) -- and it is not cooperating.
I took out the five screws on the leading edge. I took out two screws on each side. I took out the screw in the middle nearest the electrical connectors. The aluminum separates from the plastic box on the leading edge, and on the sides -- but does not let go on the side with the electrical connectors. Before I get frustrated and force it, I am asking here -- what do I need to do to get it apart?
My goal is to see if I can tap into the power leads on the inside -- as I do not have a spare cable/connector to plug in and tap from the outside.
If I can build a working Onewheel Plus out of this controller and parts I have around, I could ride it, too, and possibly, conceivably get to places #1, 2, 3, 4, & 5 on the Leaderboards. At the moment I have #2, 2, 3, & 4 -- trying for the #1 with my V1. Once before I tried to place two V1s on the Daystreak Leaderboard and was not allowed. But that was before the app listed all the Onewheels I am riding. So, maybe it would work now.
Again, I could use advice on getting the controller open.
Or... does anyone have a connector cable they could part with? Even an Error 16 cable would work fine for my purpose. -
@s-leon That rear section is a nuisance. It’s likely the adhesive gaskets around the power and motor connector.
Adding some heat with a hairdryer on that rear panel then gently pressing the ports (not the little footpad motor sense ones as they’re delicate) should separate the adhesive and let you push it all through and lift it out.
-
@s-leon i was out tonight gettin totally rad when this happened.
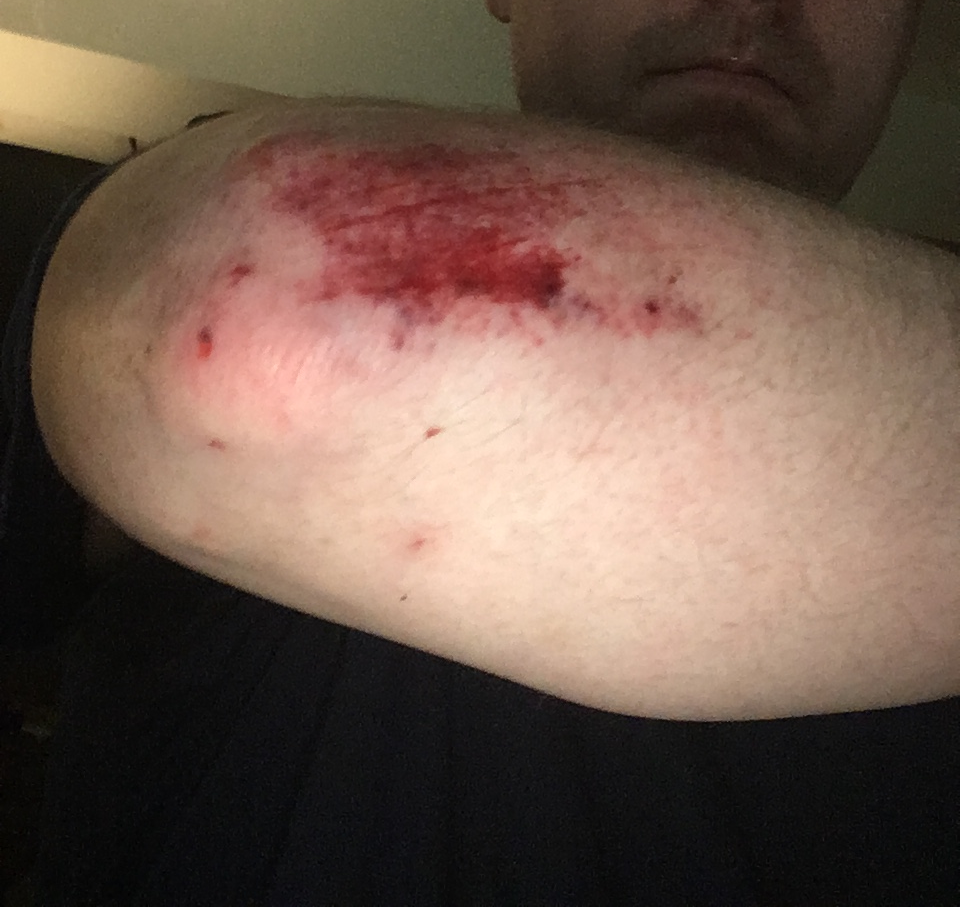
Seemed to have misplaced my old wrap. Chopped the toes off an old pair of Burton's.
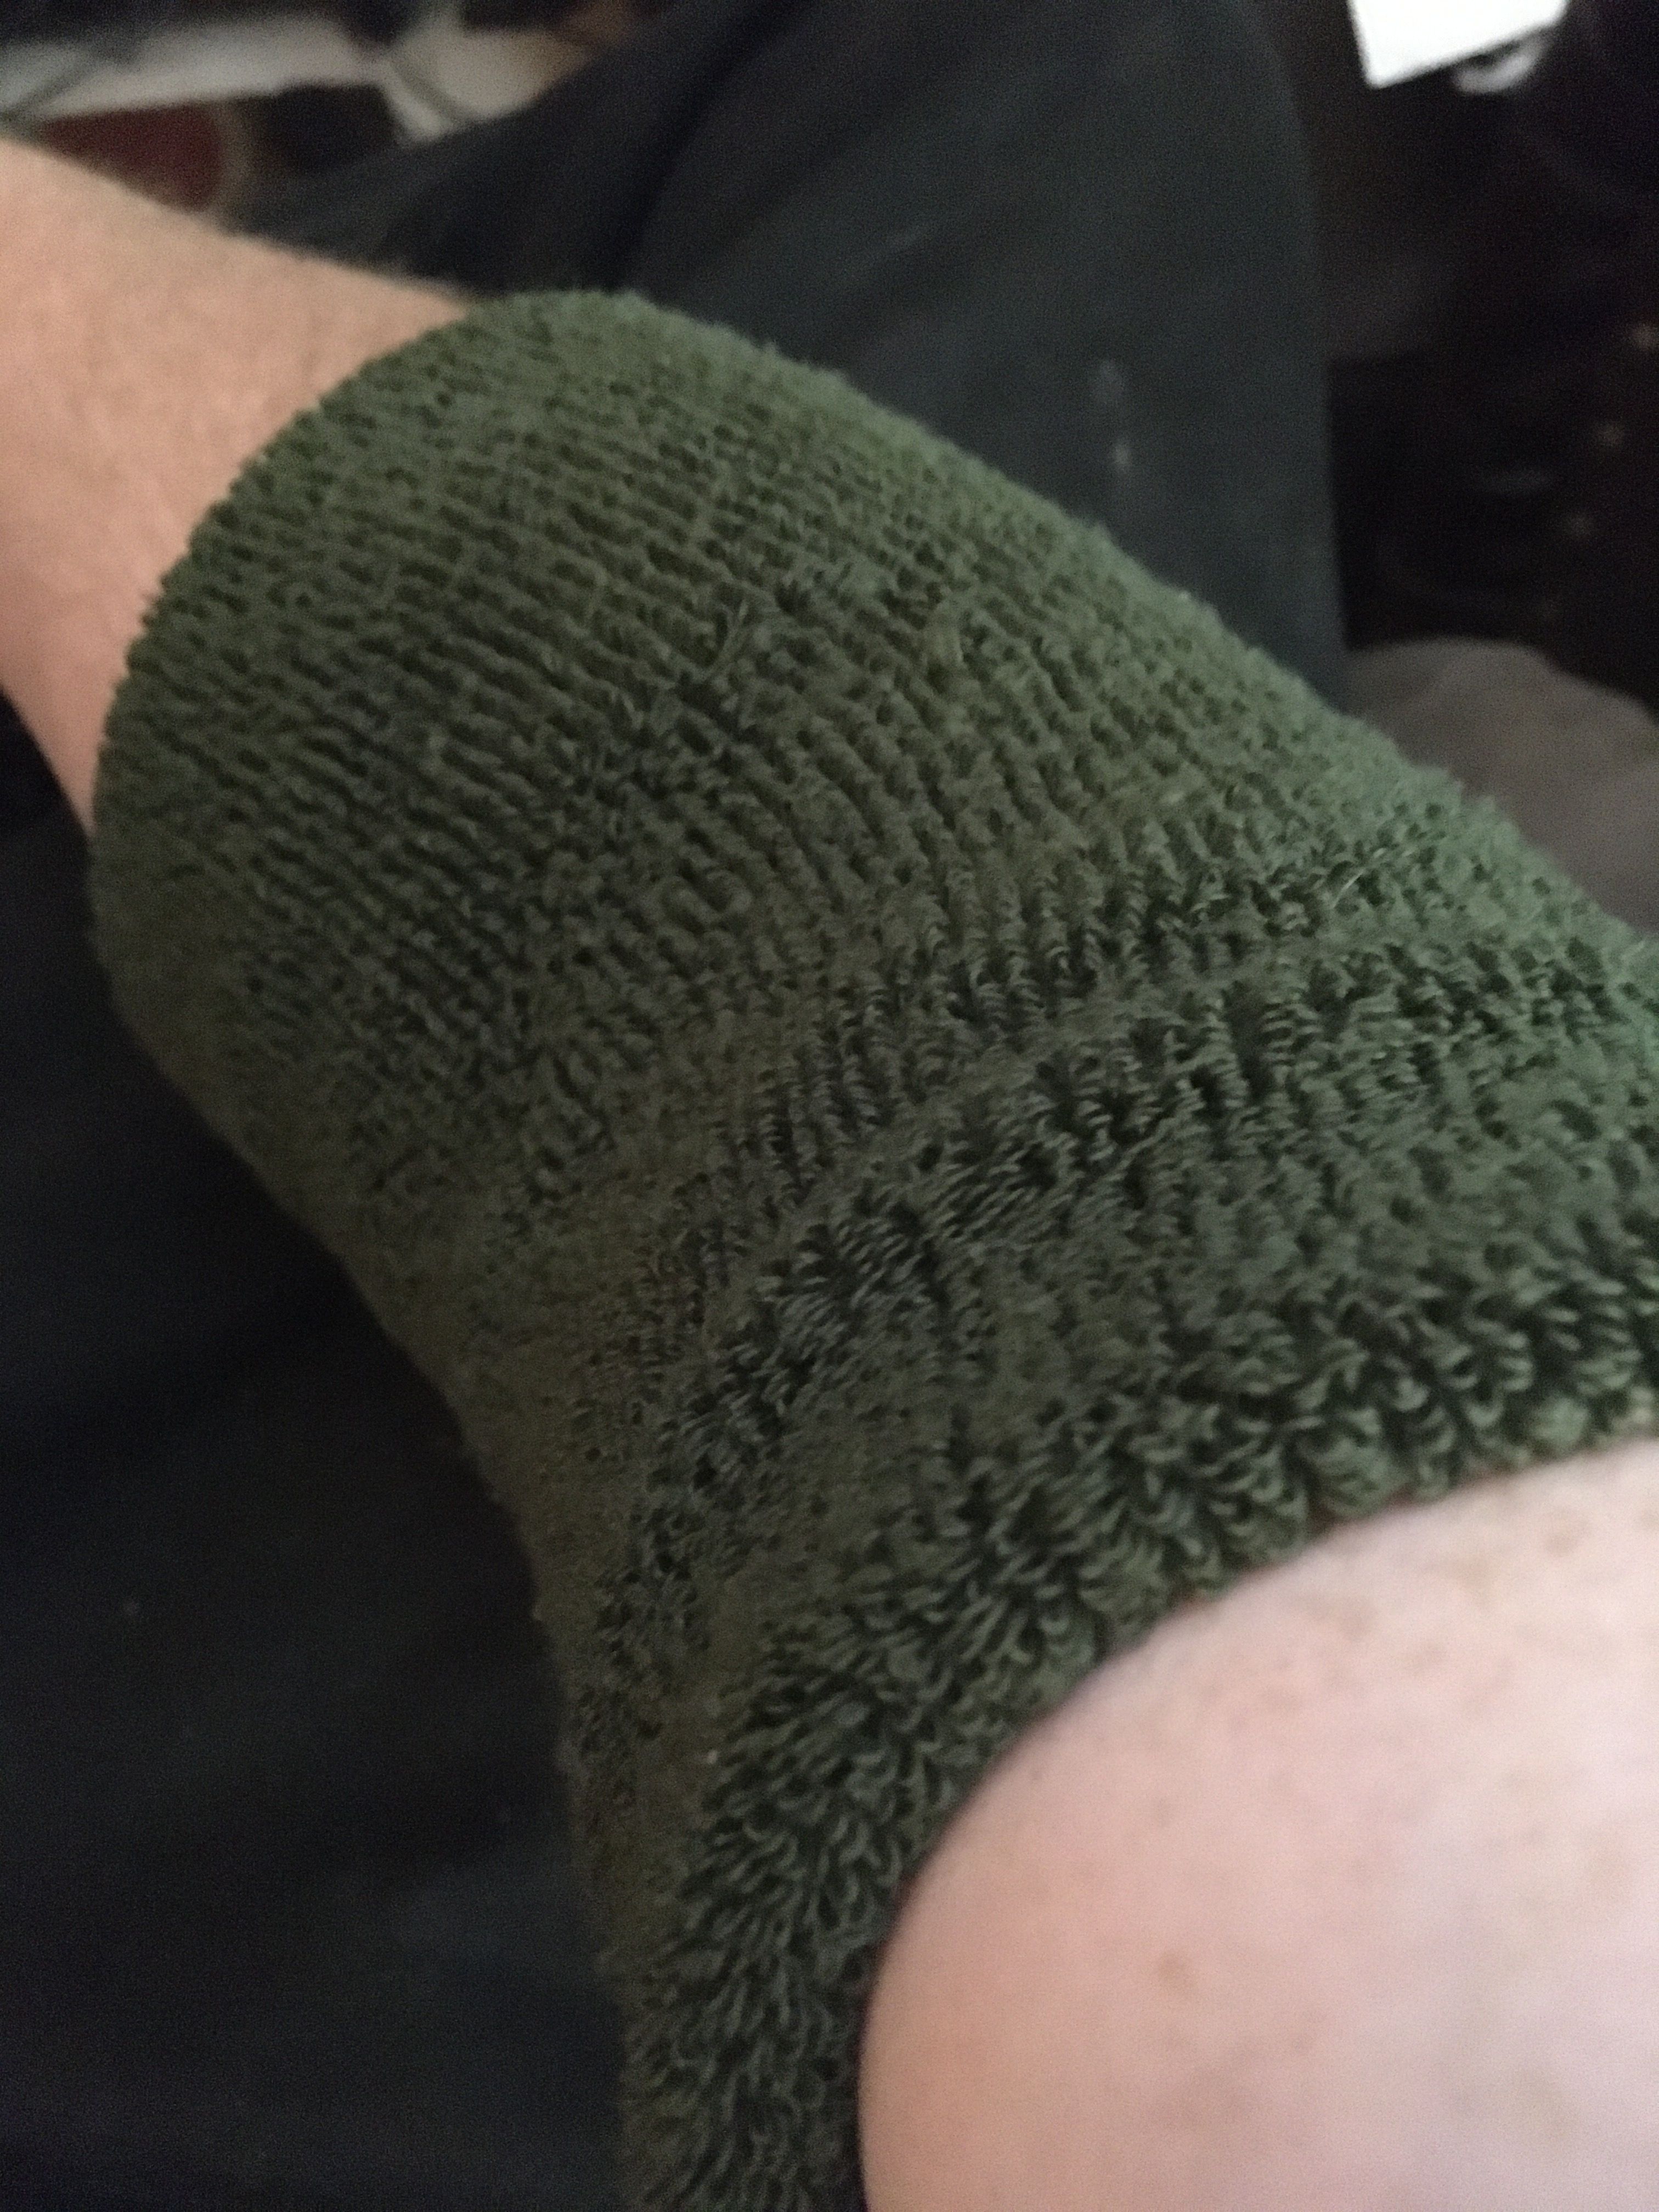
Back to gettin totally rad! -
@notsure ouch !!!
-
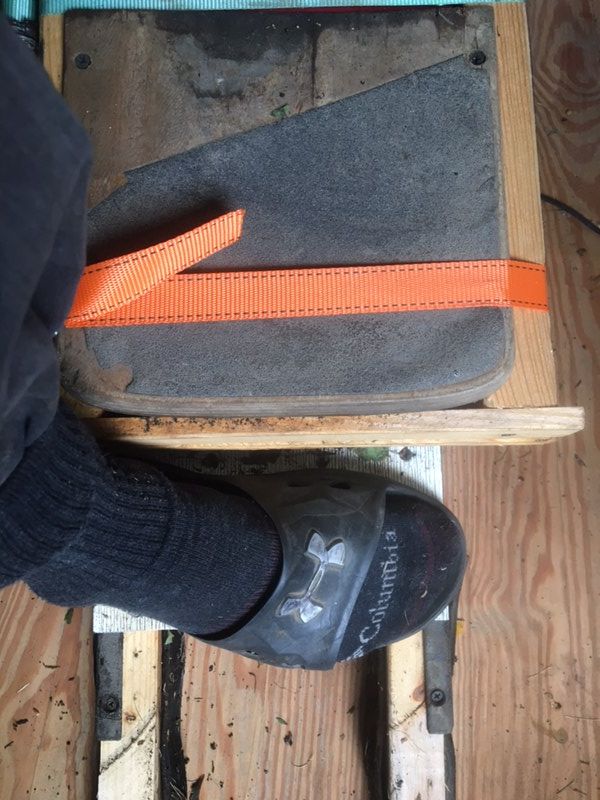
Today I cobbled together a different Onewheel Plus from the one I usually ride. It looks similar to my V1 and Leaderboard Onewheel Plus, with an EGO battery hanging over my lead foot, a crude wooden fender/platform, a "shorty" trailing footpad (as I cut the plastic wood pad of my other Plus in half to share), and freewheel brakes. I borrowed the connector cover from the OneDanXR, and I used my extended steel Ruckus Rails. The sensor footpad is from my original V1, and I hope it works well with no issues. Oh! And the top cover of the fender/platform is the old V1 rear footpad screwed onto the resized 2x6 sides.
A tornado watch in effect until tonight, still I'm going to strap the cobbled Onewheel Plus on the back of my Nakto Camel and pedal to the Greenway to test it out.
Edit: No tornado -- yet, anyway. Actually, the sun was summer shining most of the time out -- although threatening dark clouds hung low and wide on the way back home. The cobbled Onewheel Plus acted as it should -- a pleasure to ride -- no visible daystreak, though. Edit, yet again -- I think I will drop off the Daystreak Leaderboard with that Onewheel Plus to see where this one ranks.
Edit, again: A look at the shorty footpad (white plastic wood), and at the fender platform using an old trailing footpad,
-
@s-leon using that footpad as the lid of the fender messed with my head for a moment….
Maybe you could cut a wedge shaped piece of wood, screw it to the fender and make a home brew flight fin :) -
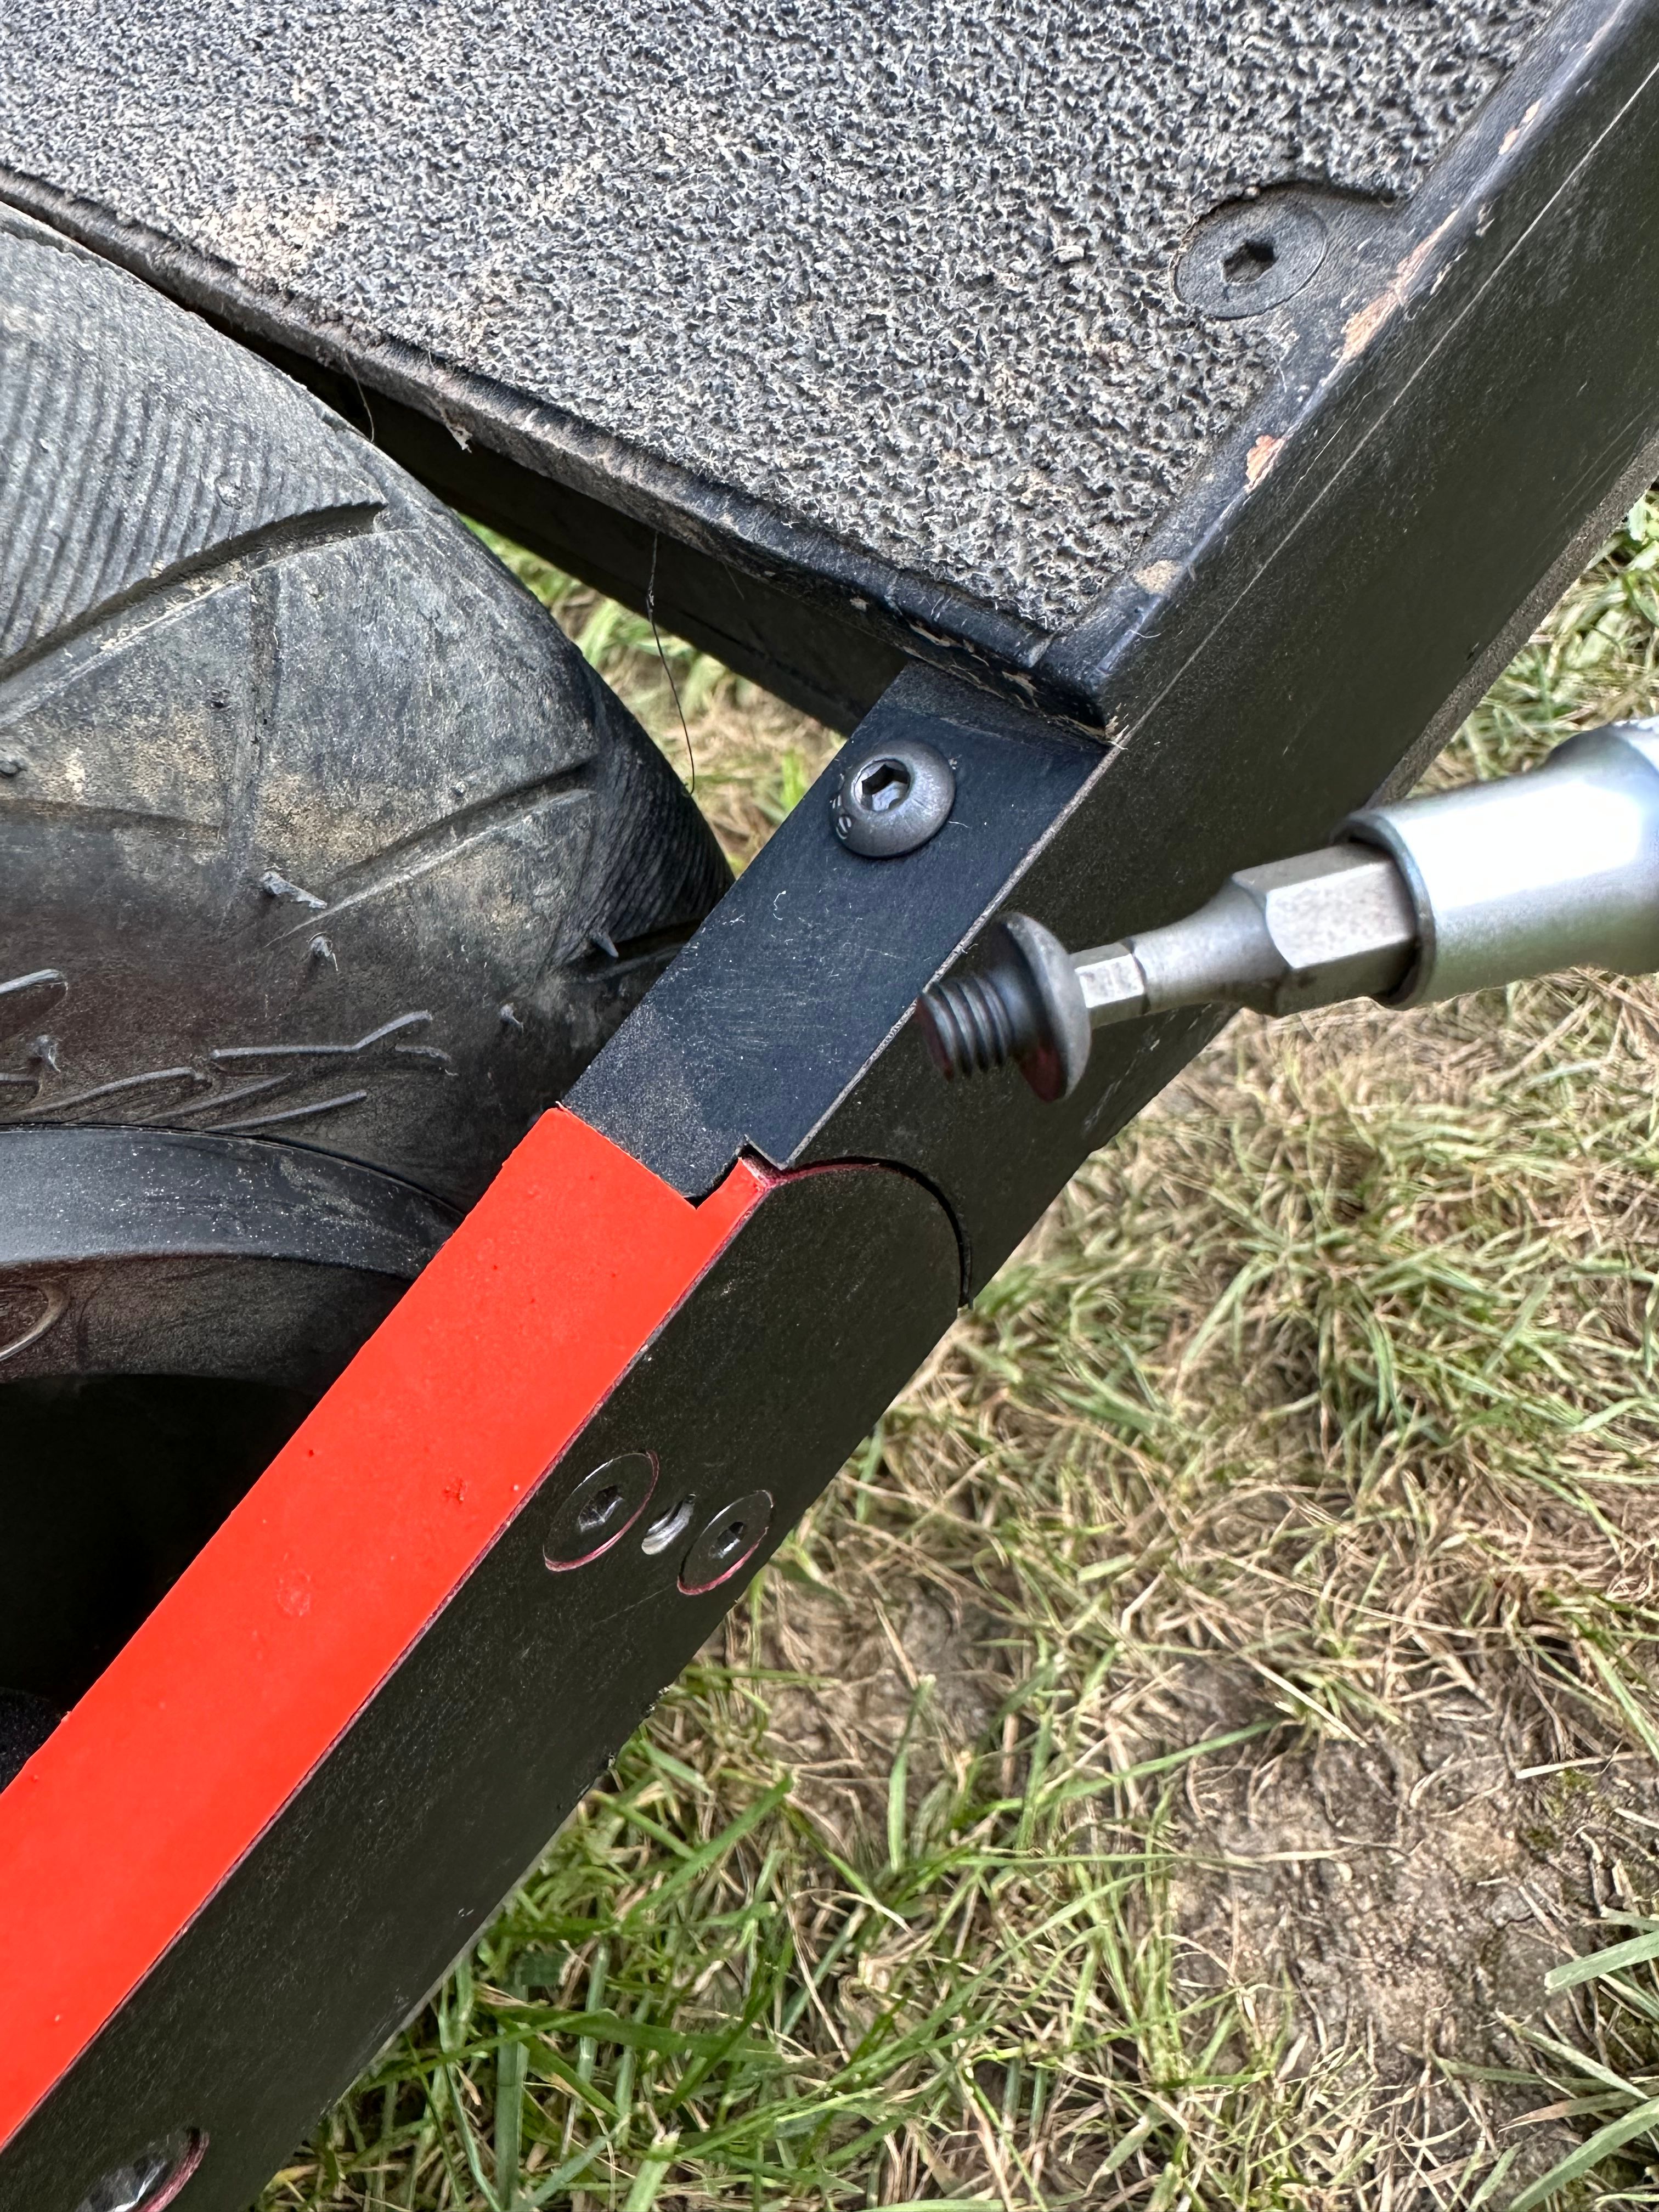
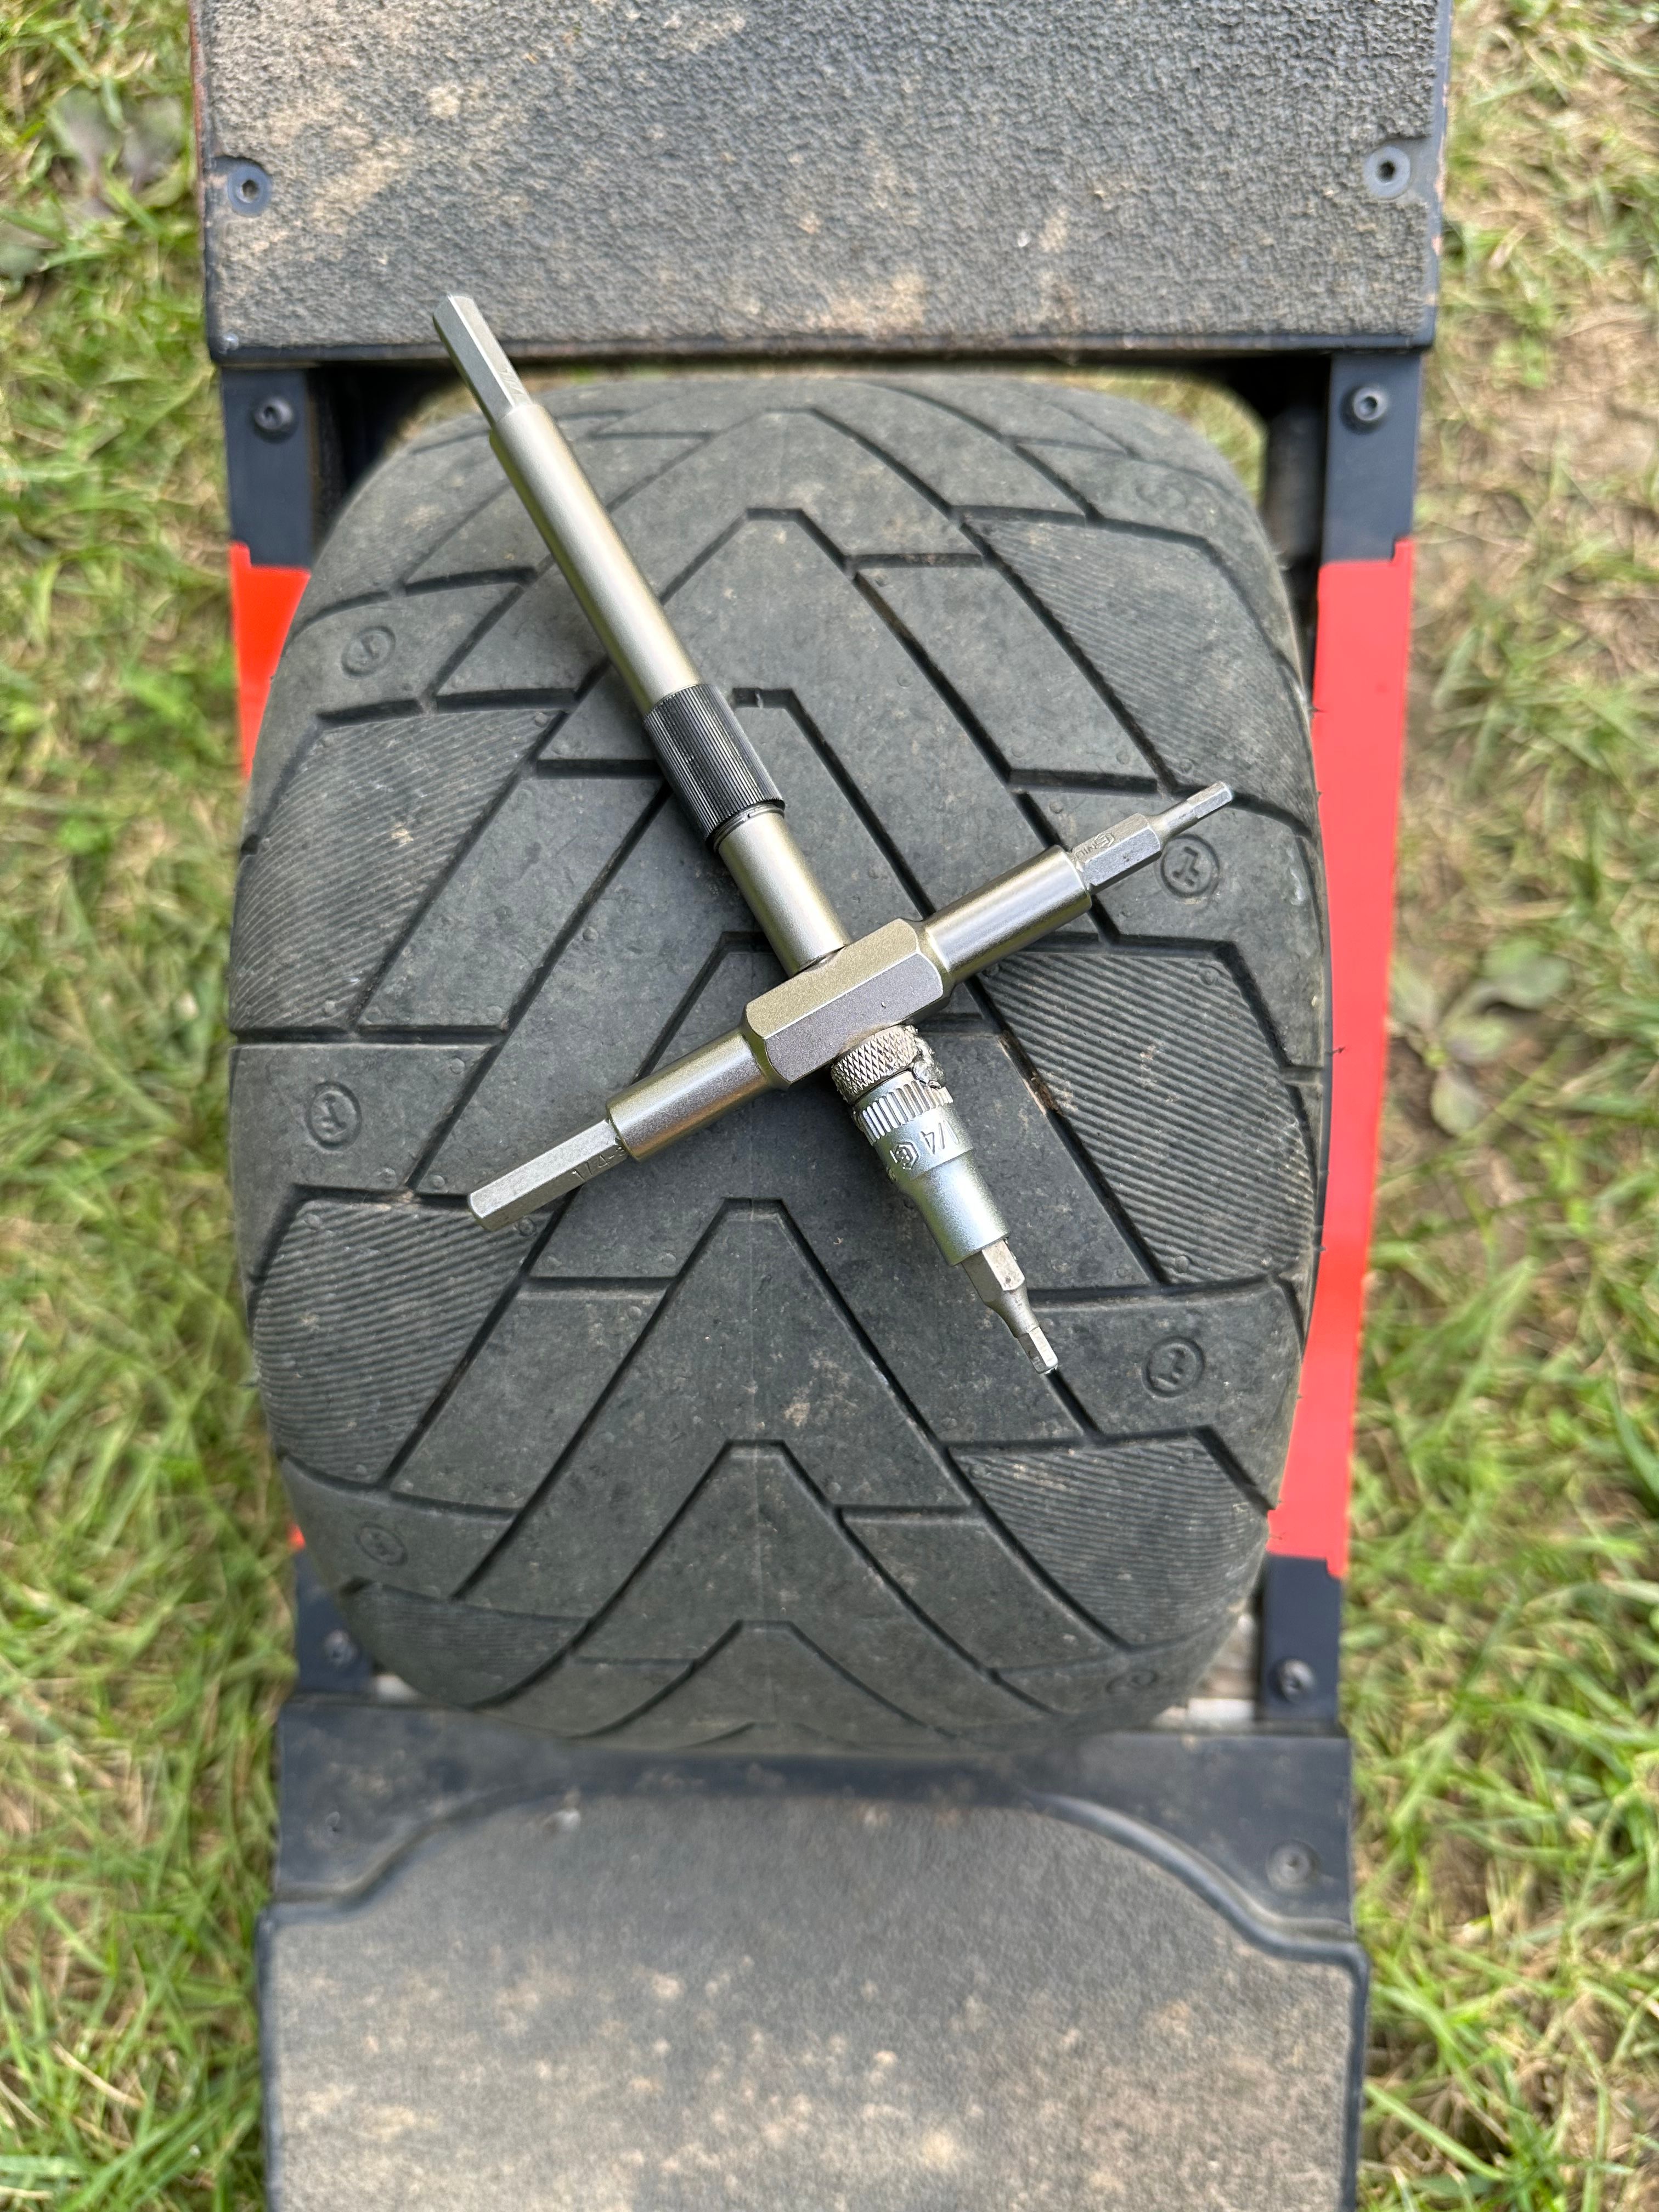
This is really odd but today I put some screws in my fender holes with my hacked together OW tool. Decided to go fenderless and was always staring at the void. When I wrap it again, I'll probably just cover them up.
-
@blkdout That's neat.... A fender hole delete :)
-
@blkdout thats a cool tool!!
-
@puzz360 said in Hacks & Odds:
@blkdout That's neat.... A fender hole delete :)
I almost didn't post it, it's so silly lol, but I was in a silly mood I guess.
@cheppy44 said in Hacks & Odds:
@blkdout thats a cool tool!!
Highly recommended, even without my little socket hack. Enough leverage for the axle screws and all. There's a cheaper, fixed version but the modular one that breaks down is nice for travel: https://www.amazon.com/Fix-Sticks-Modular-T-Drive-Wrench/dp/B08S6P4LSB?th=1
-
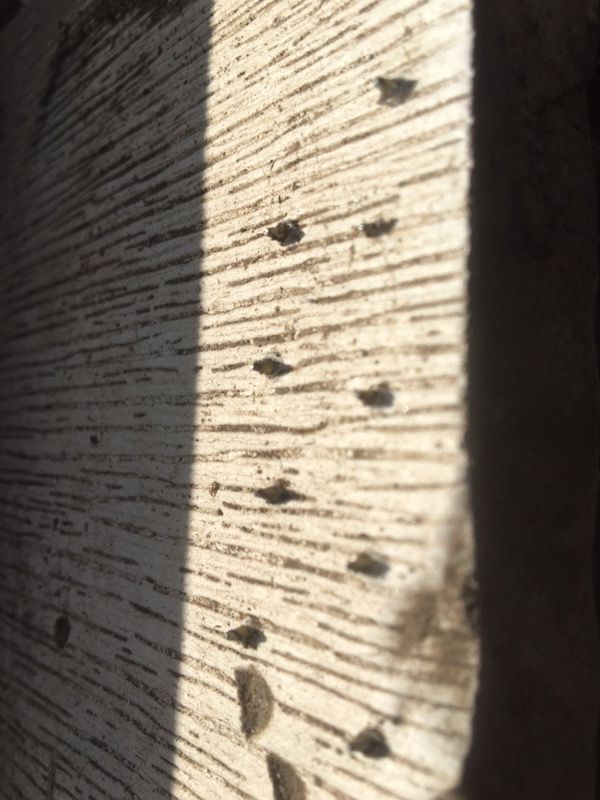
On my shorty back footpad made of plastic wood, wet weather was making it slippery footing -- not extremely slick, but I would have to stop and reposition after going over bumps in the Greenway. So, my solution was screws up from underneath poking their points a bit above the surface. Works great!
-
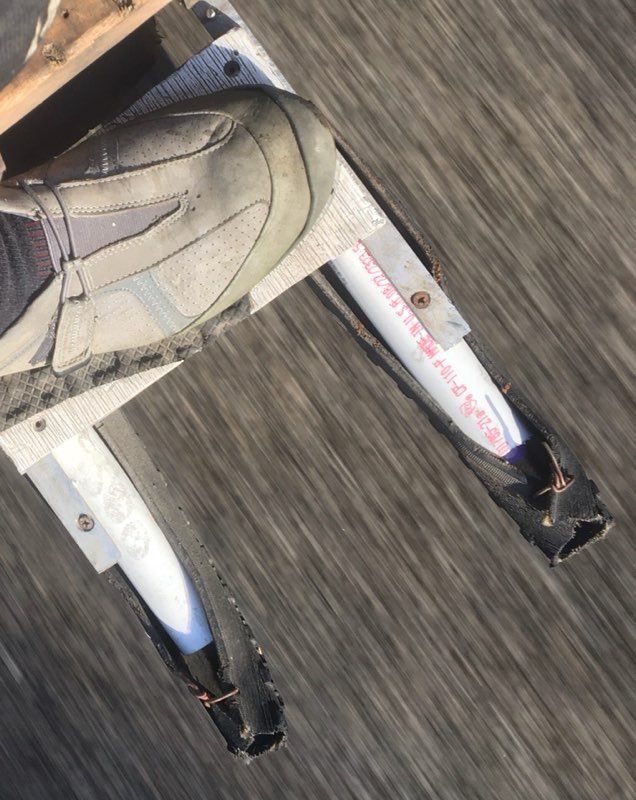
On Saturday when I went down and my Onewheel Plus tumbled end over end, the wooden freewheel brake bar/rail shattered with the cartwheel-type impact. Still hanging on, not really interfering with anything except for making mounting the board a bit awkward, the broken freewheel brake bar/rail has stayed that way until today, Wednesday.
Remembering a scrap of 1" pvc around, I wondered if it might solve the problem of wet, deteriorating wood -- from the weather, rain and snow on the Greenway. Turns out the 1" pvc fits in the channel of the Skyjacker rails nicely, sticking out beyond the rails about two and a half inches. To give the screws something more to bite into I added scraps of 3/4" cpvc, sliding them inside the 1" stock then running screws through the rail holes. At the same time I wrapped the undersides with about 10 inches of bicycle tire scrap section.
Somehow, visually, the effect is a little like dual exhaust pipes on my funky, homemade-looking Onewheel Plus -- not that that was the intention. Another day, when I am ambitious to do so, I might angle the ends of the pvc for better pavement/ground contact during use. Photos? Maybe to come.
-
@s-leon leon... it's time...
-
I'd love to see a time-lapse of this Plus through the years. From this pic it's like a snowmobile with the skiis upfront ^-^
-
Lately on the Greenway the still water ponds, lakes, and swamps have been thinly glazed over with ice. So, here's a solution of mine for cold batteries. Riding my ebike to the trail, then it sits in the cold for an hour or more. Similarly, riding to the trail the EGO batteries I use for my Onewheel had been subjected to the cold of the trip.
Solution? I mounted a beer cooler to the rear rack on the ebike, behind the Onewheel. In the cooler in a towel I put a couple of warm red clay bricks straight off my fiery, active wood stove. Then for the trip out, in the cooler I put my EGO batteries. When I park and lock the ebike on the trail, I trade, and put the ebike batteries in the cooler. The heated bricks keep everything warm -- for the trip, and for hours.
