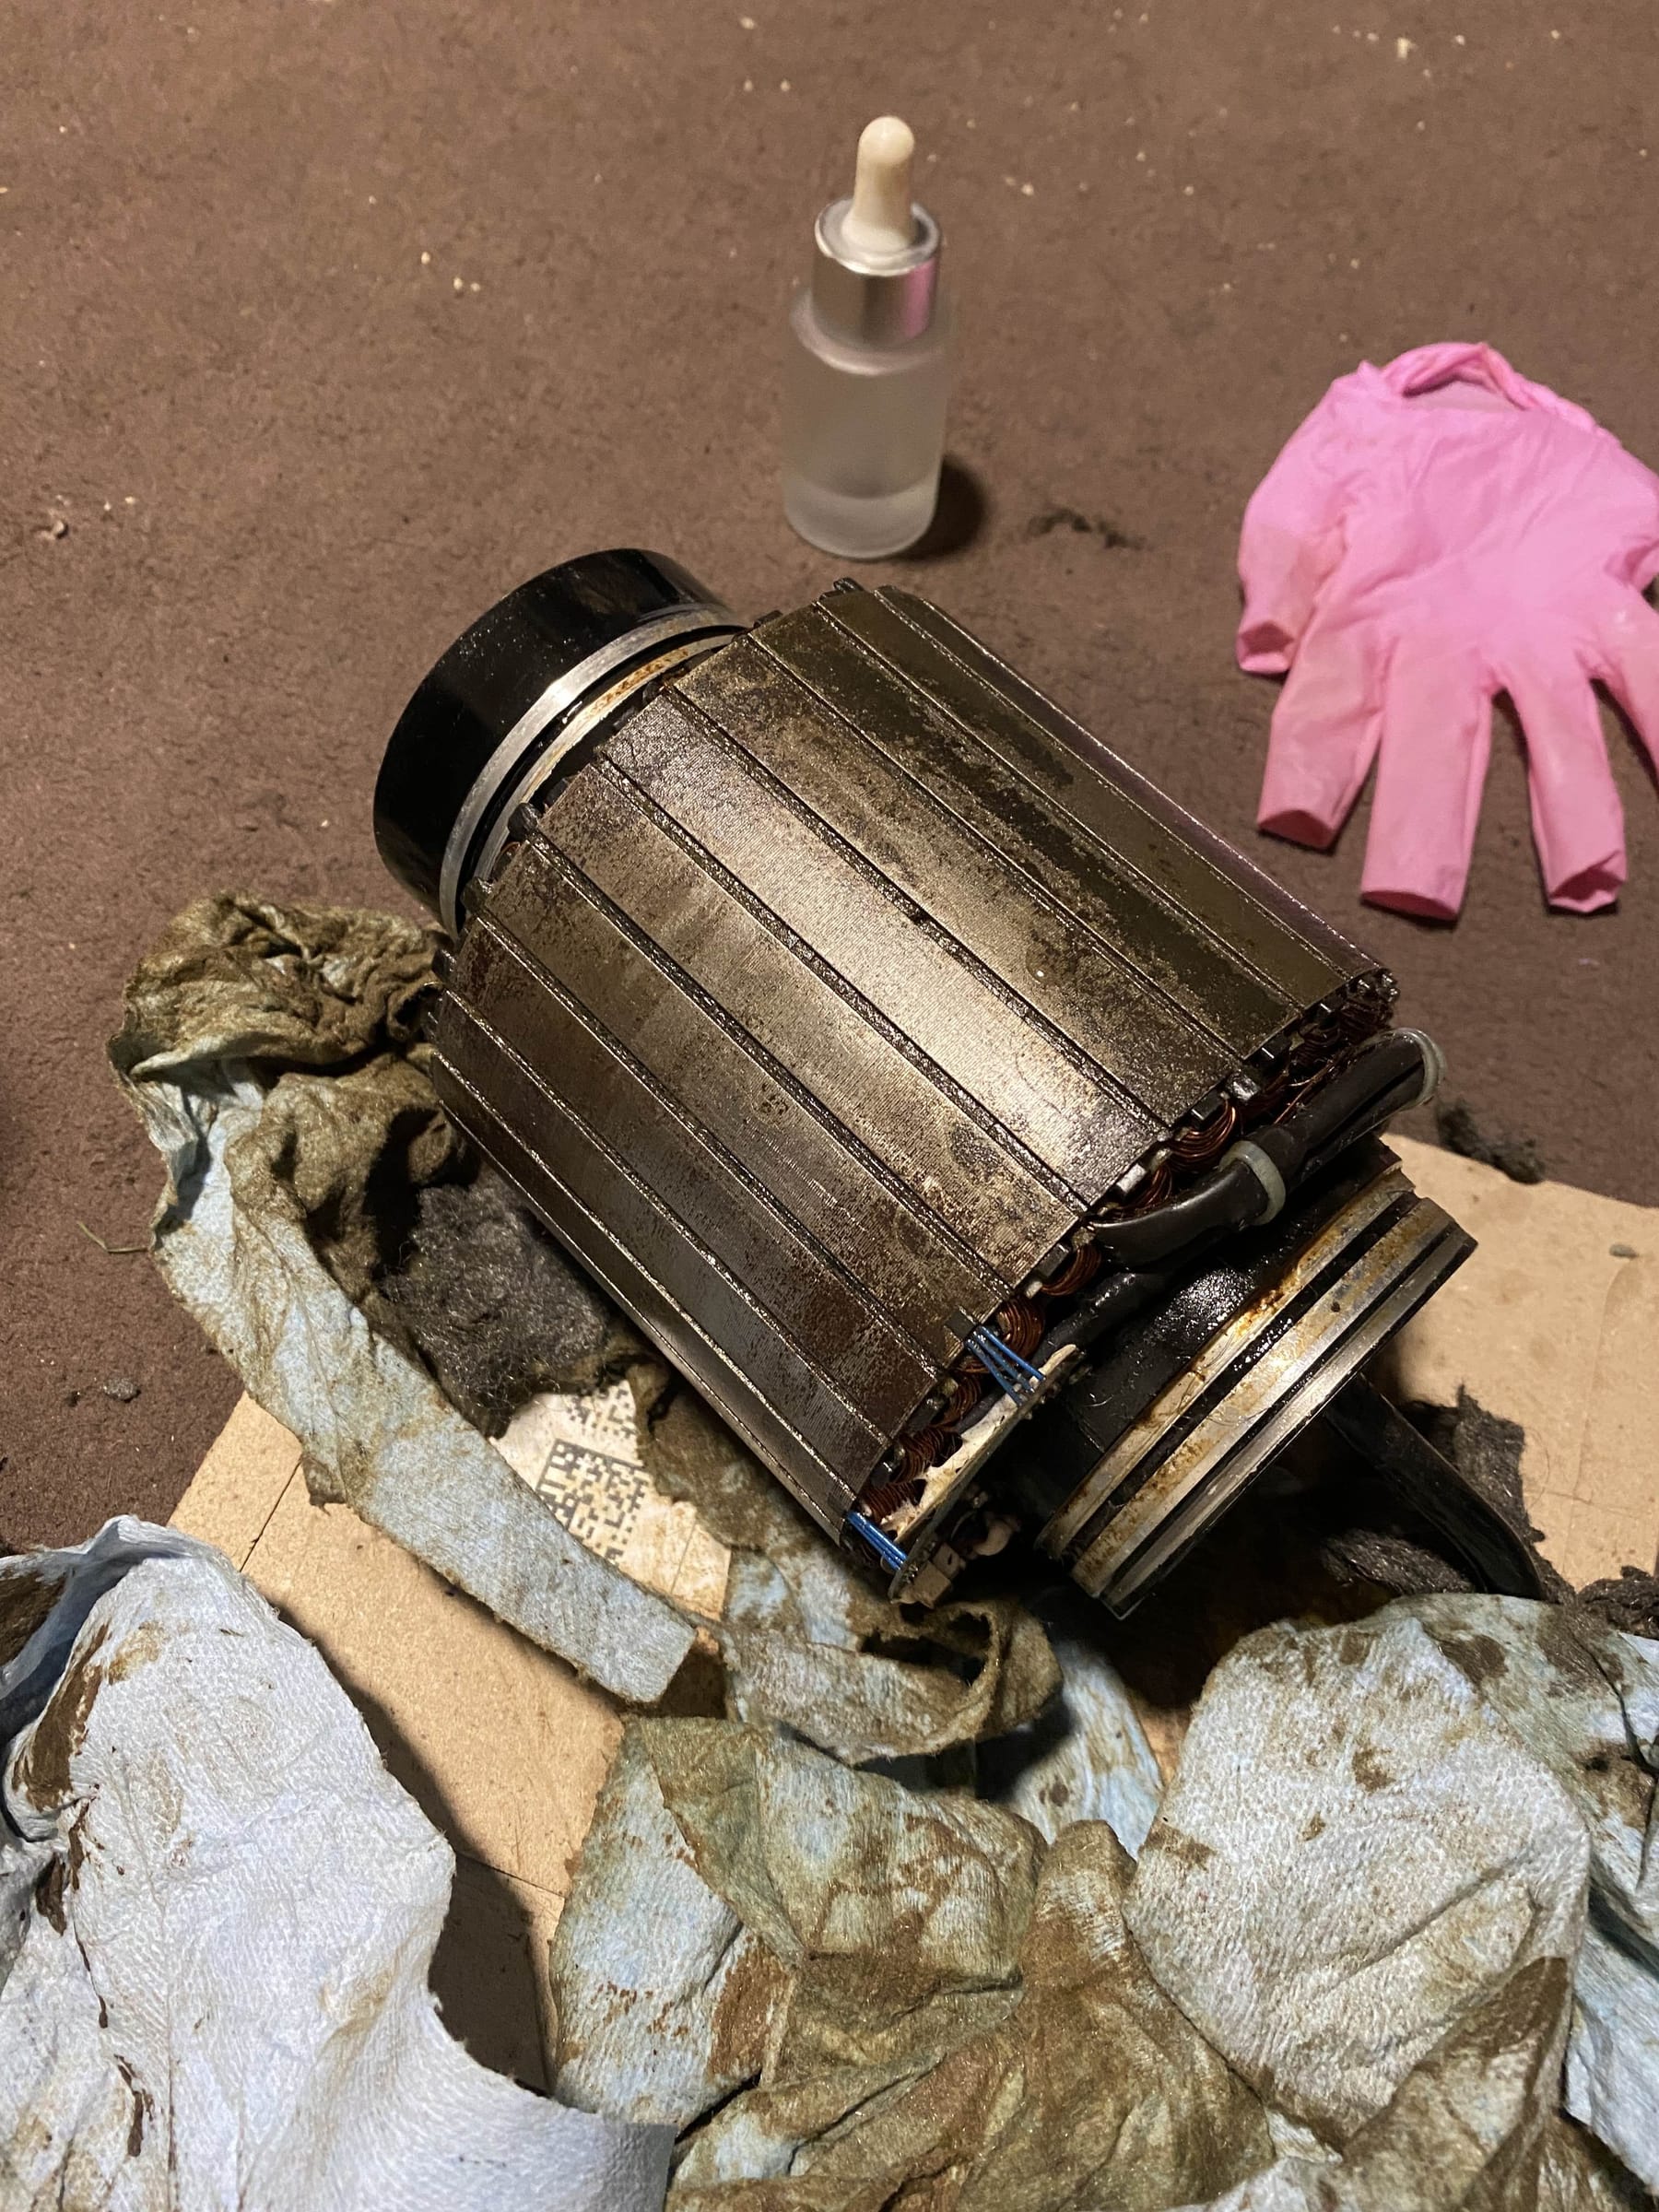
Rusty stator repair
-
Me and the rust are wearing each other down. War of attrition but I think I'm winning 😤
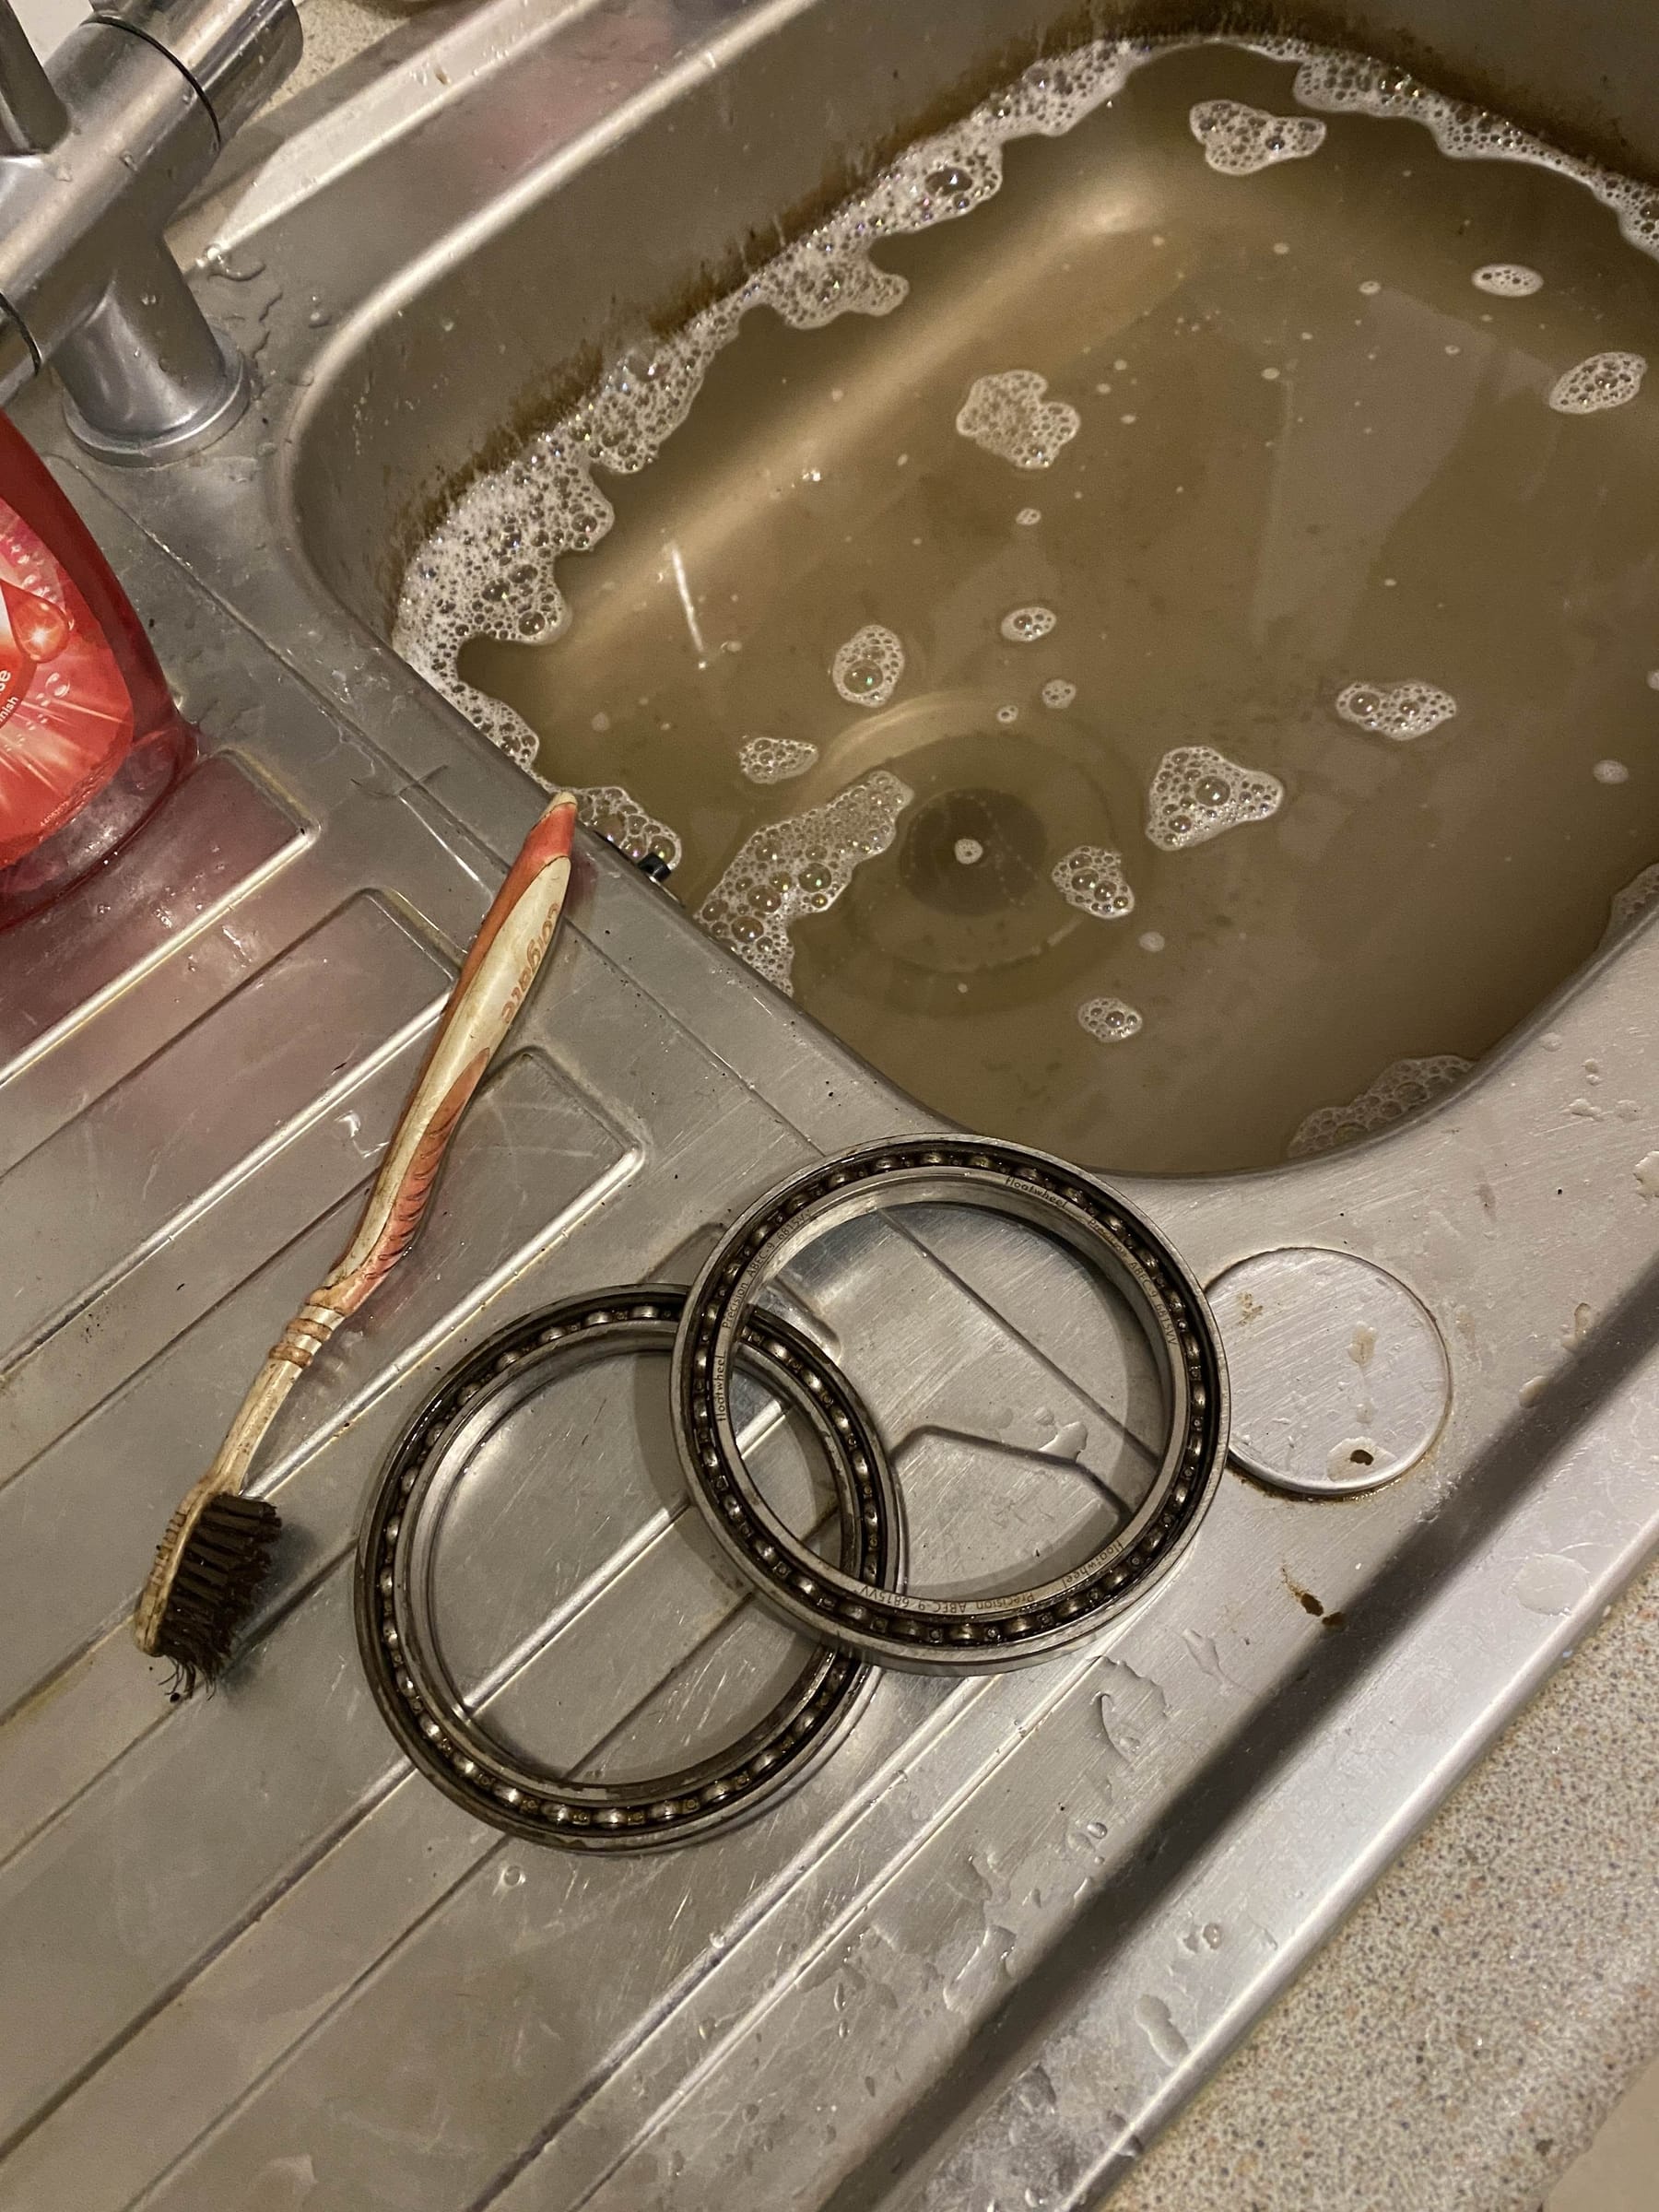
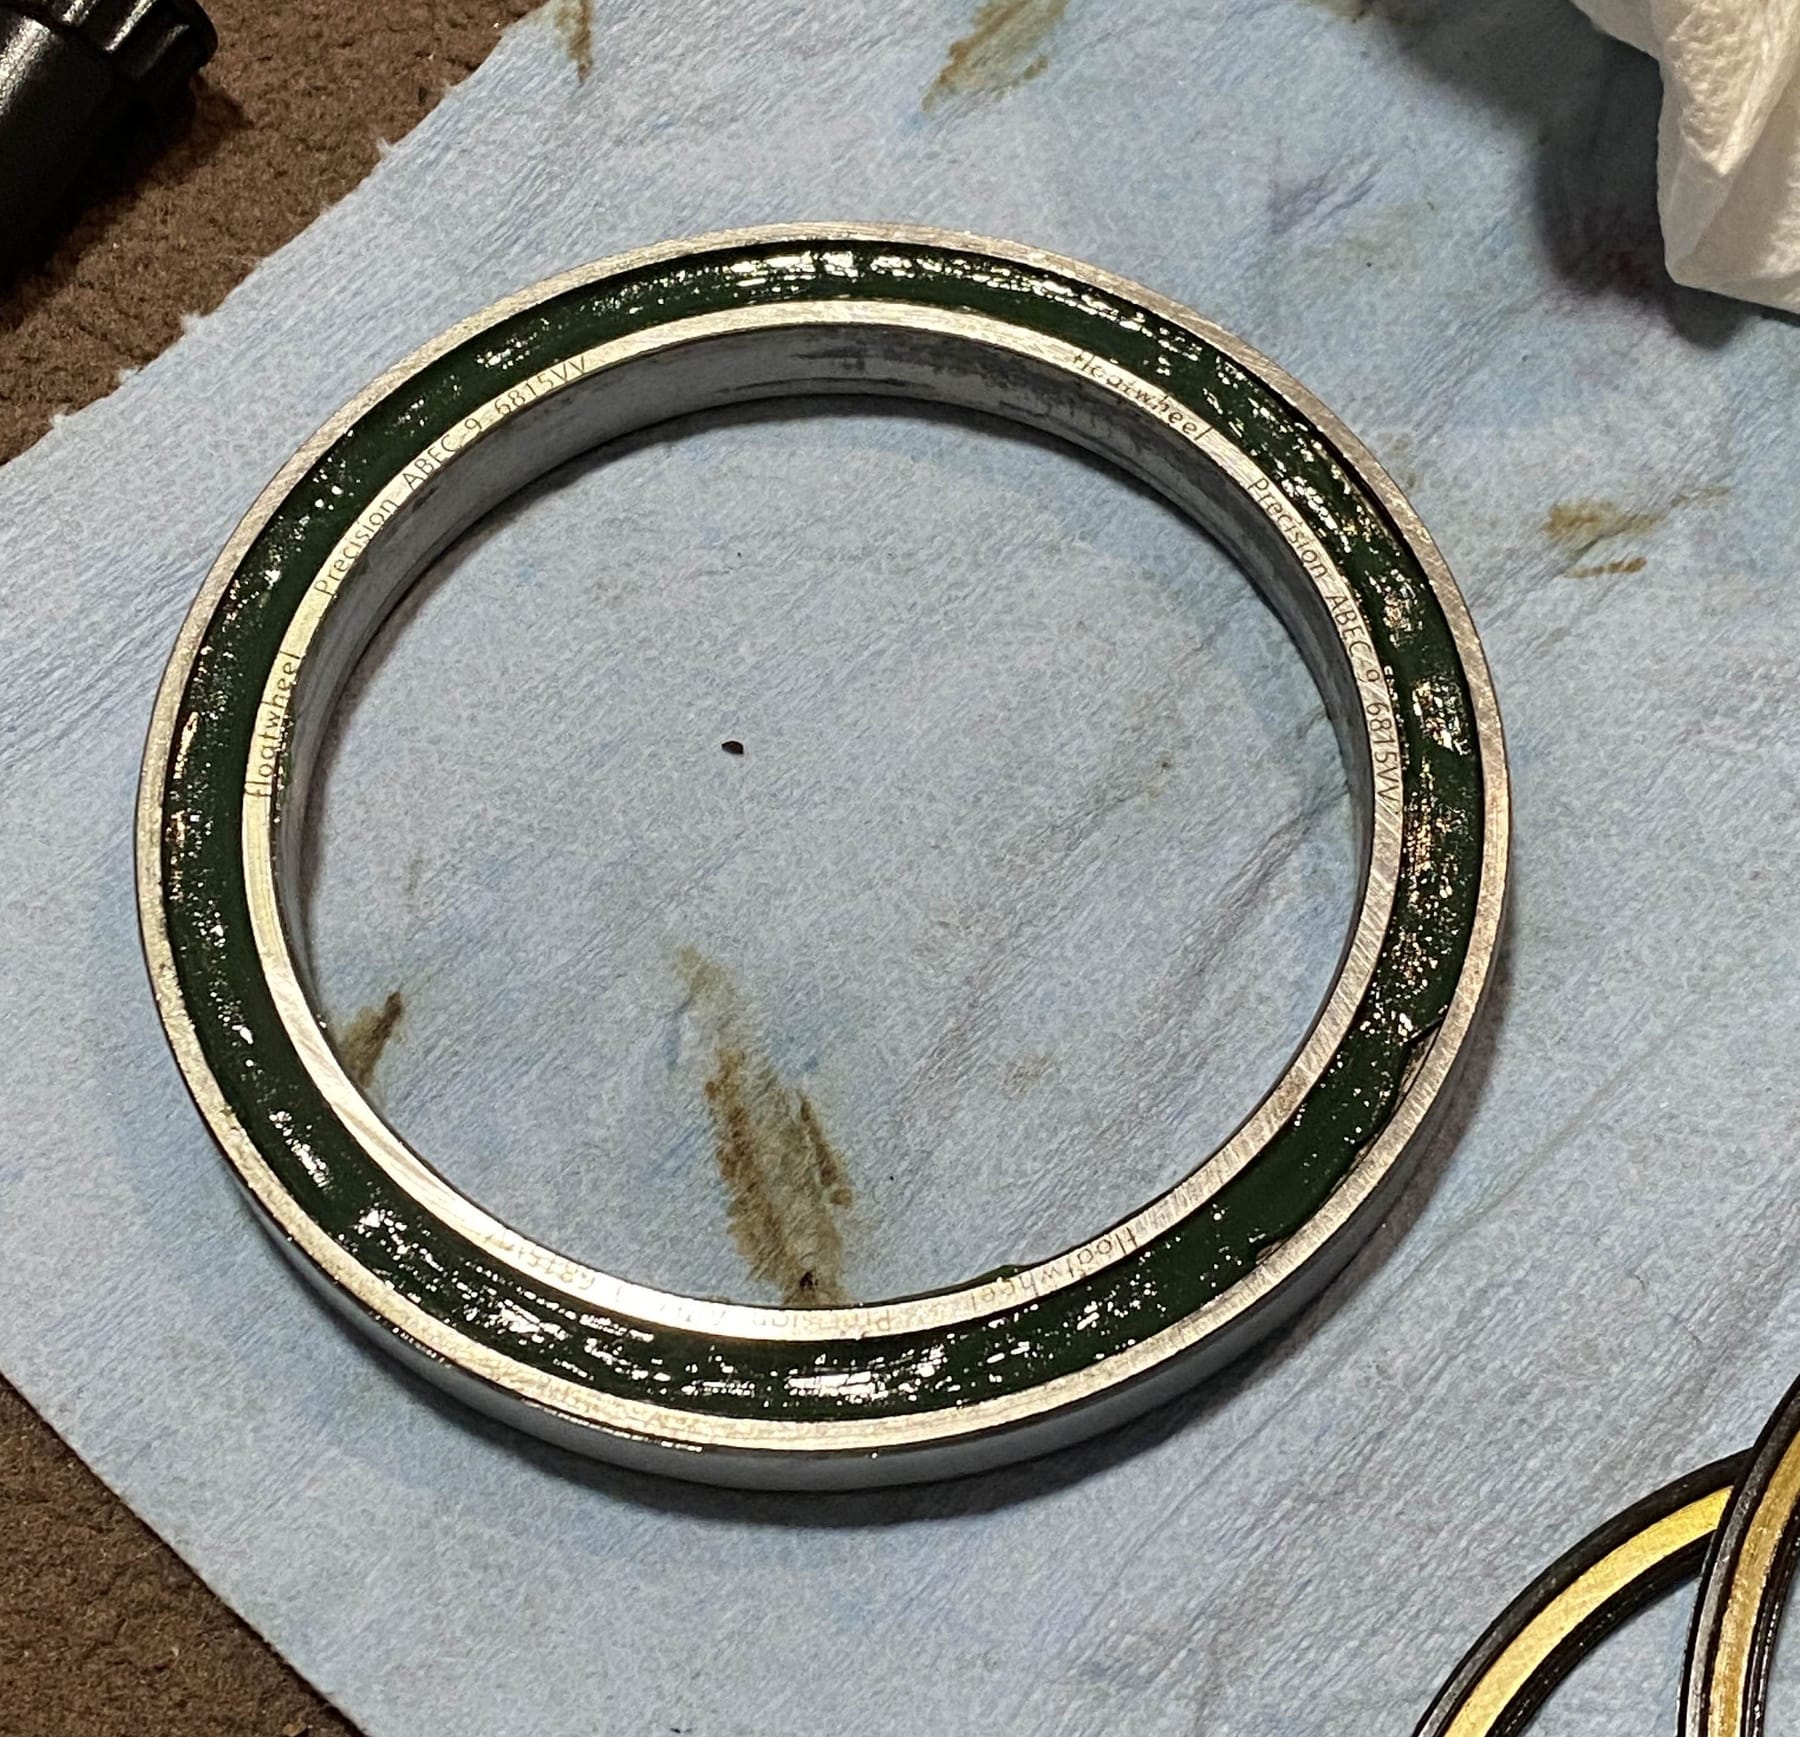
It's taking a while and honestly been taking little breaks to see if I can repair the bearings. These are so damn expensive and ngl I feel like they're not as disposable as we're treating them. So I've been whittling away with a toothbrush and dish soap.
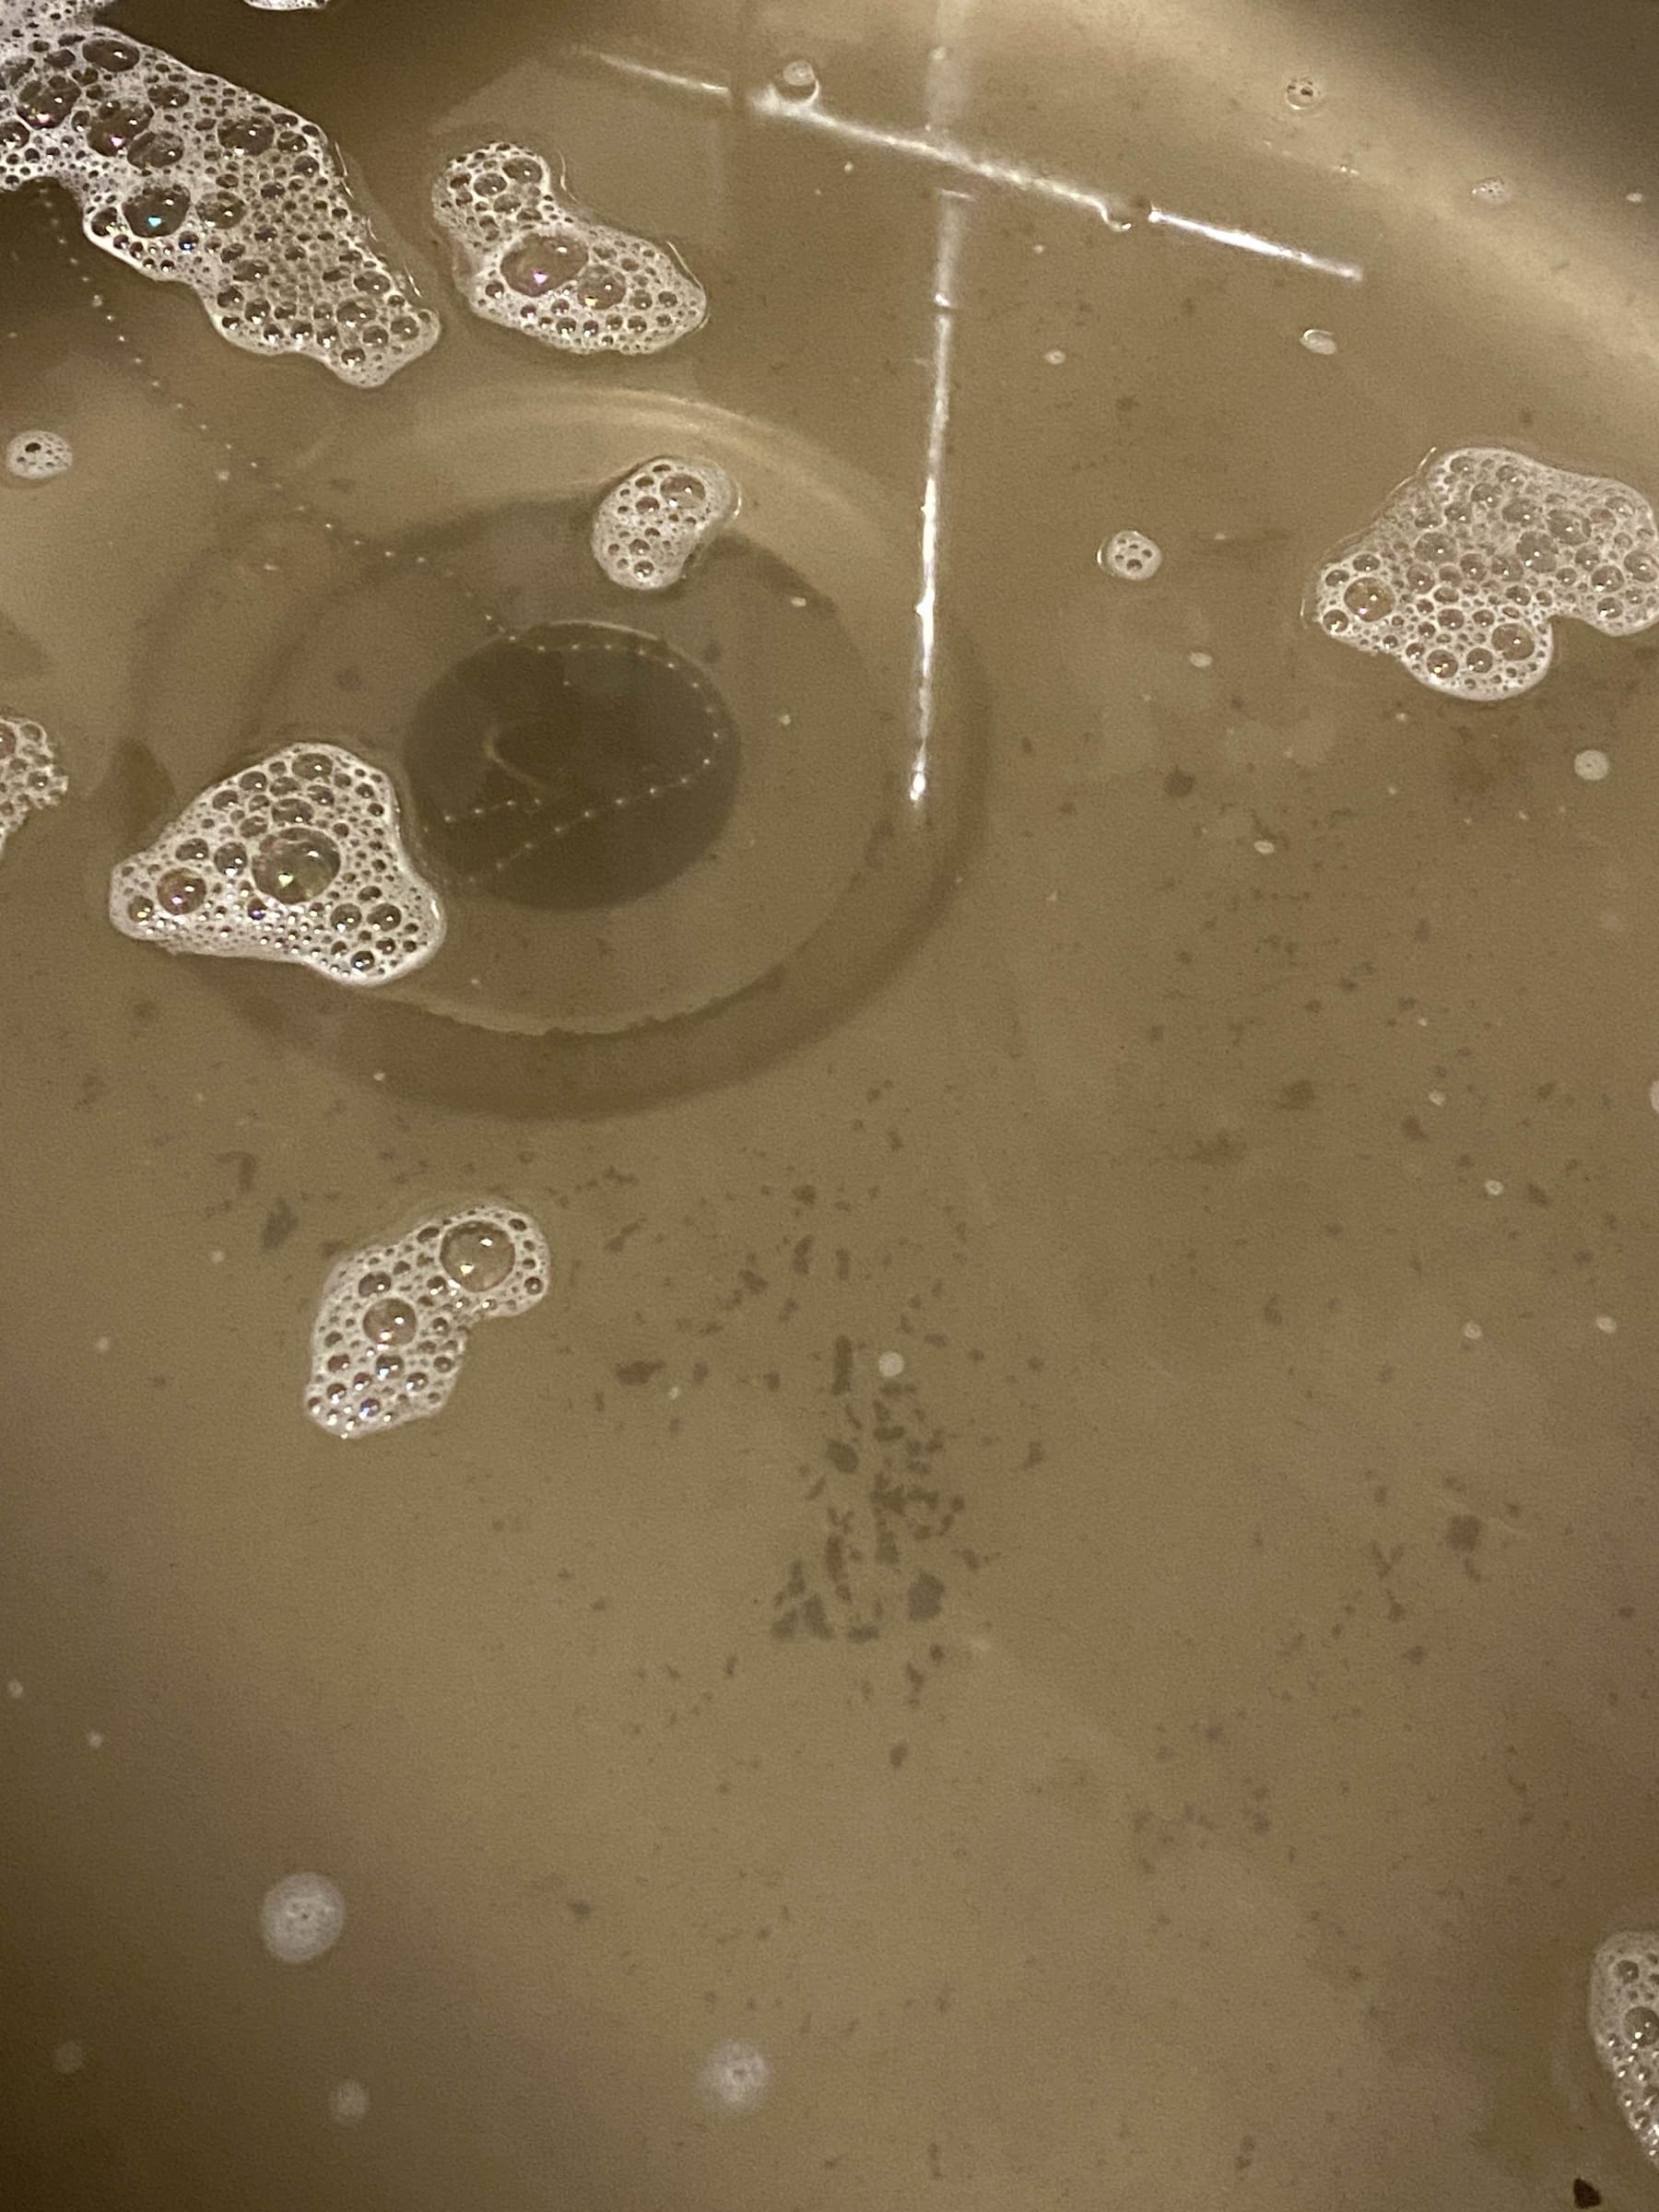
There is a shocking amount of stuff that I slowly managed to work out. Like without pulling the cage and peaking at the balls it's hard to tell what was truly causing the issue since this clearly isn't just water damage. Silt maybe? It wasn't crunchy like when you get sand in the bearing and the colour was brown like mud so maybe it was that. Pretty bad regardless to completely lock it up.
Anyway I finally got them to spin. Not perfectly so I'll see if I can keep cleaning but this is progress. I wonder if I can actually restore these to a usable standard.
These were completely seized before so I'm a little surprised they spun at all. Especially since there seemingly wasn't any amount of force you could put into these to rotate even a little.These are now sitting in an isopropyl bath overnight with a little agitation now and then. I may result to using some more harsher chemicals on these for some of the nastier looking corrosion present on the exteriour if I can't clean those off with some #0000 steel wool.
-
@lia
Damn she was crusty -
@beardonaboard Ikr. I was in shock at how bad it looked!
Also hyped to see you here <3 -
@lia this is looking from your description like it ended up in a river or pond at some point
-
@lia I'm everywhere, I'm in your walls 🤪
-
@wheelwizard Seems like it. It's been confirmed it went through some mud and I've been finding it in the stator still.
Rust is now mostly gone after a LOT of scrubbing with a toothbrush, WD contact cleaner and #0000 steel wool.
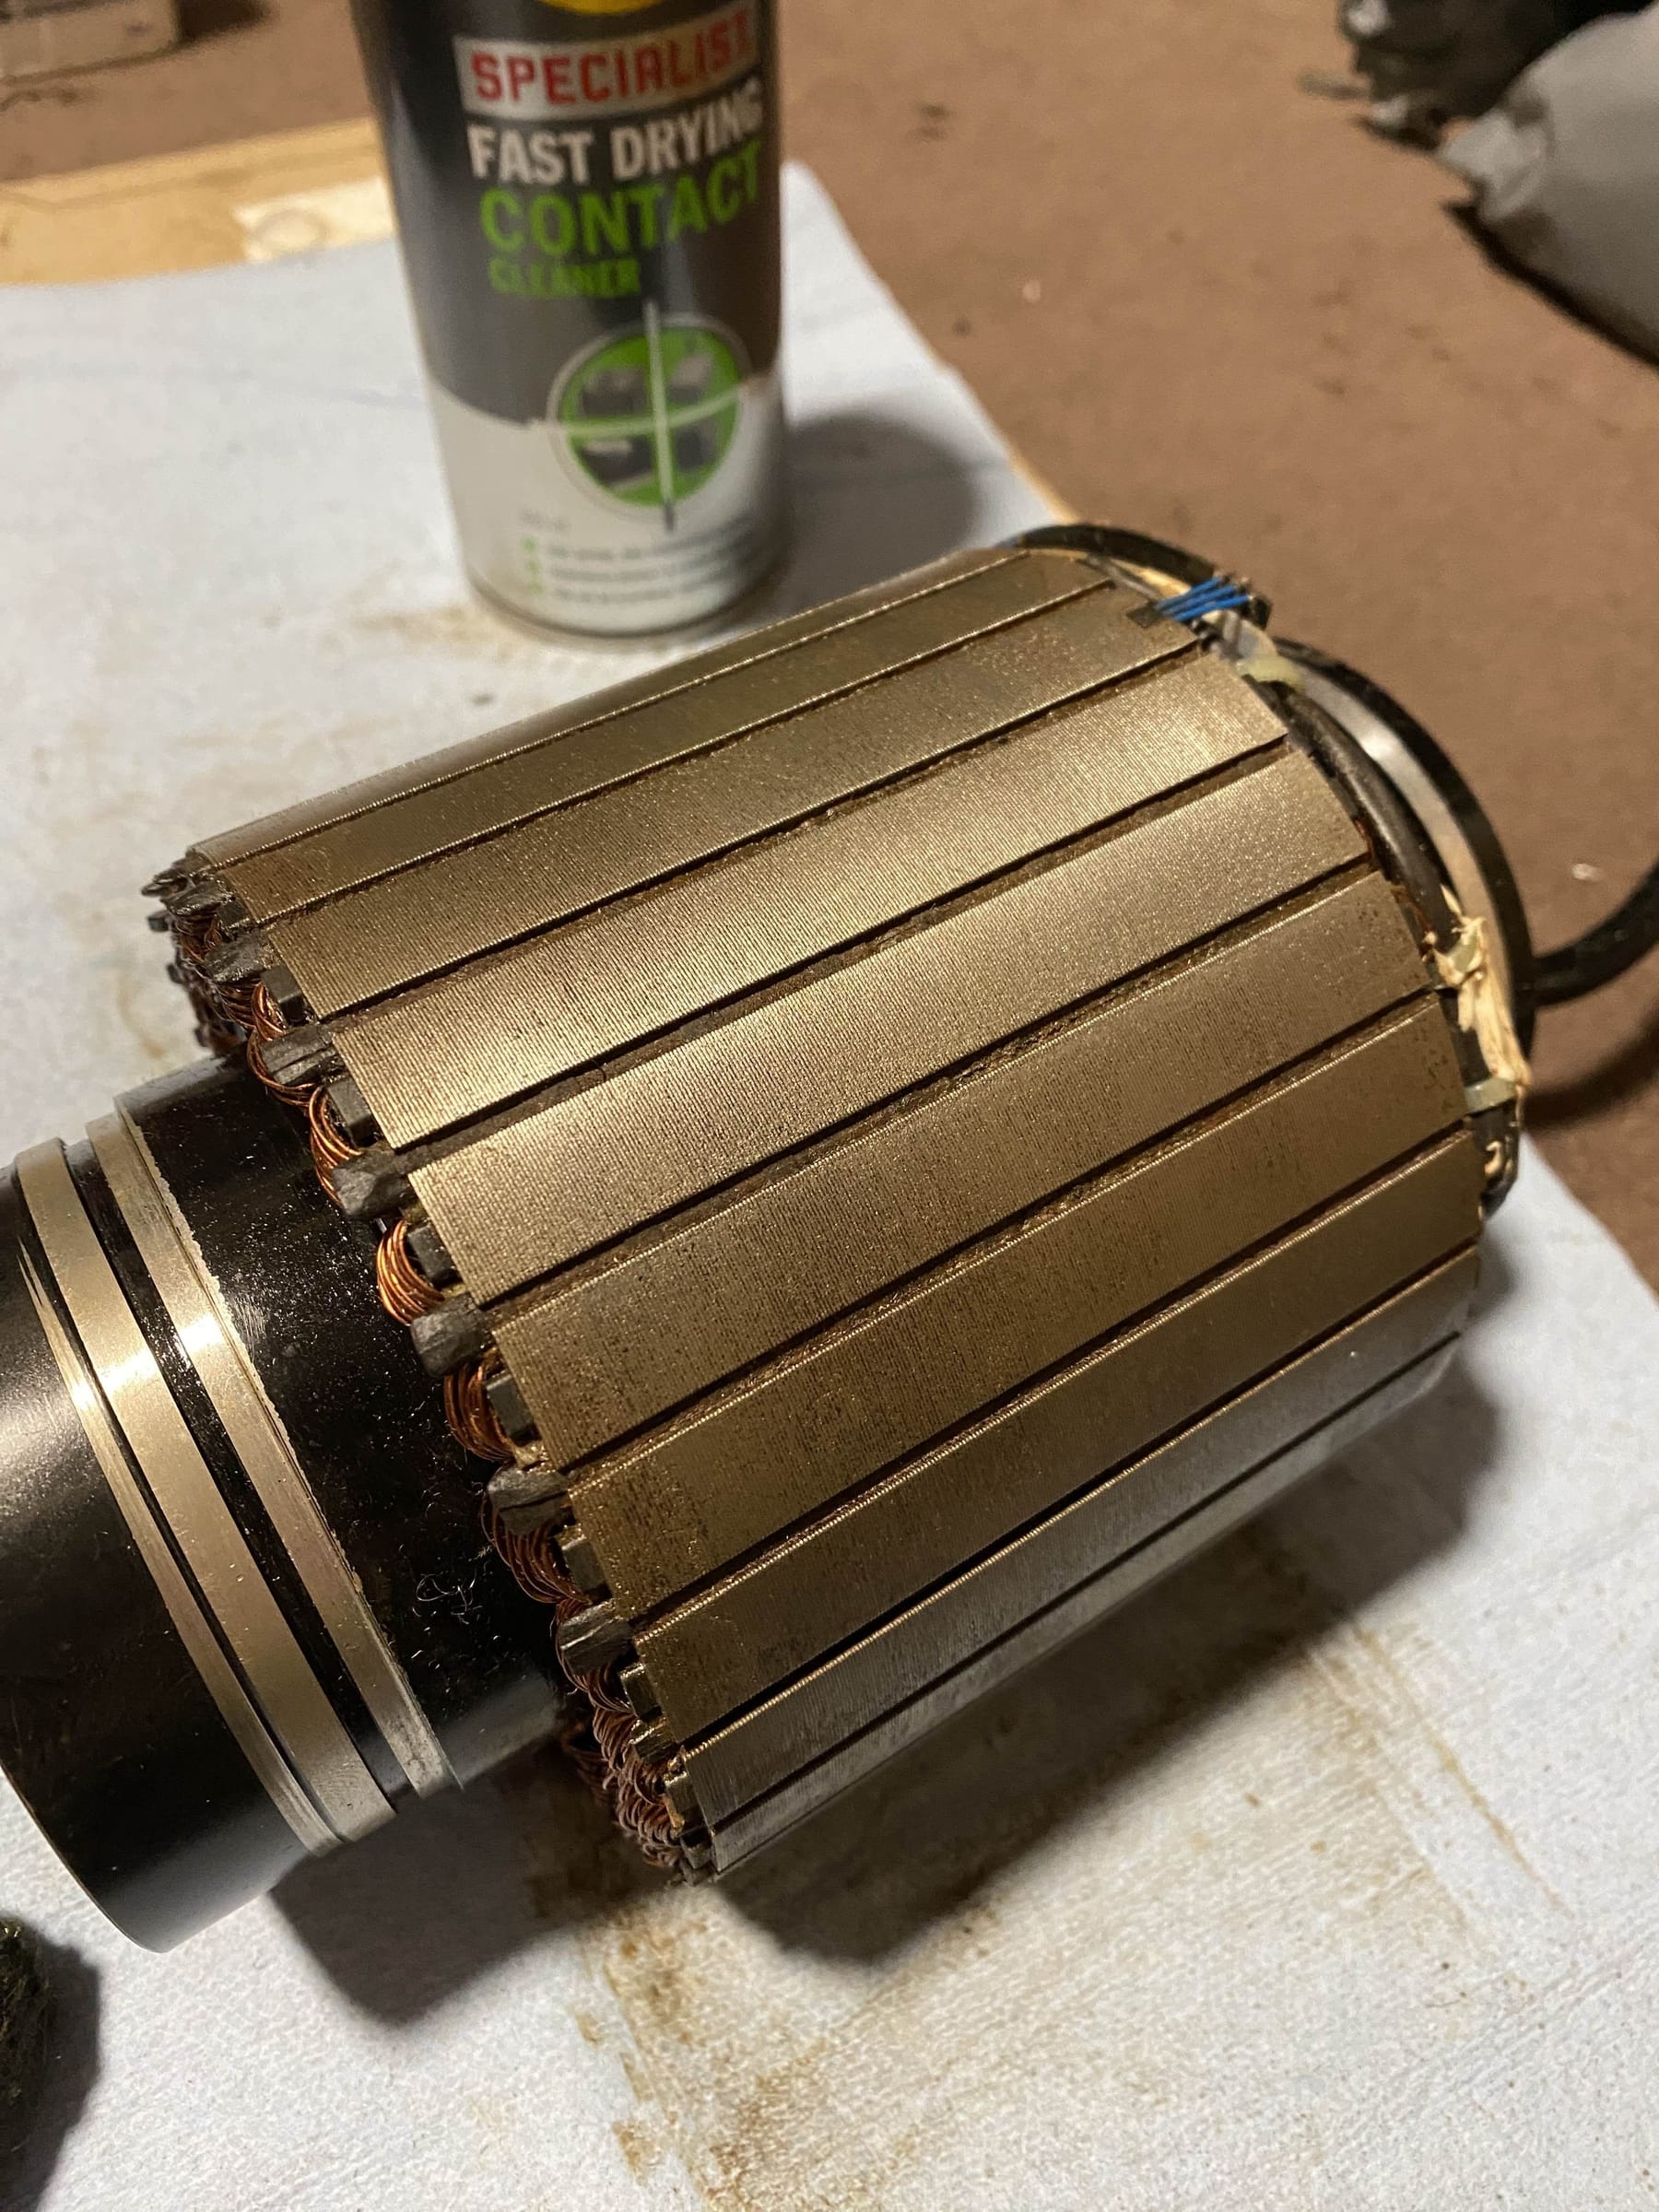
After constantly rotating the motor, adding cleaner, scrubbing and seeing brown keep appearing in bits I'd already gone over I realised there was actual mud between the plate stacks. I managed to sweep out one and sure enough... clean. So went through and did the rest.
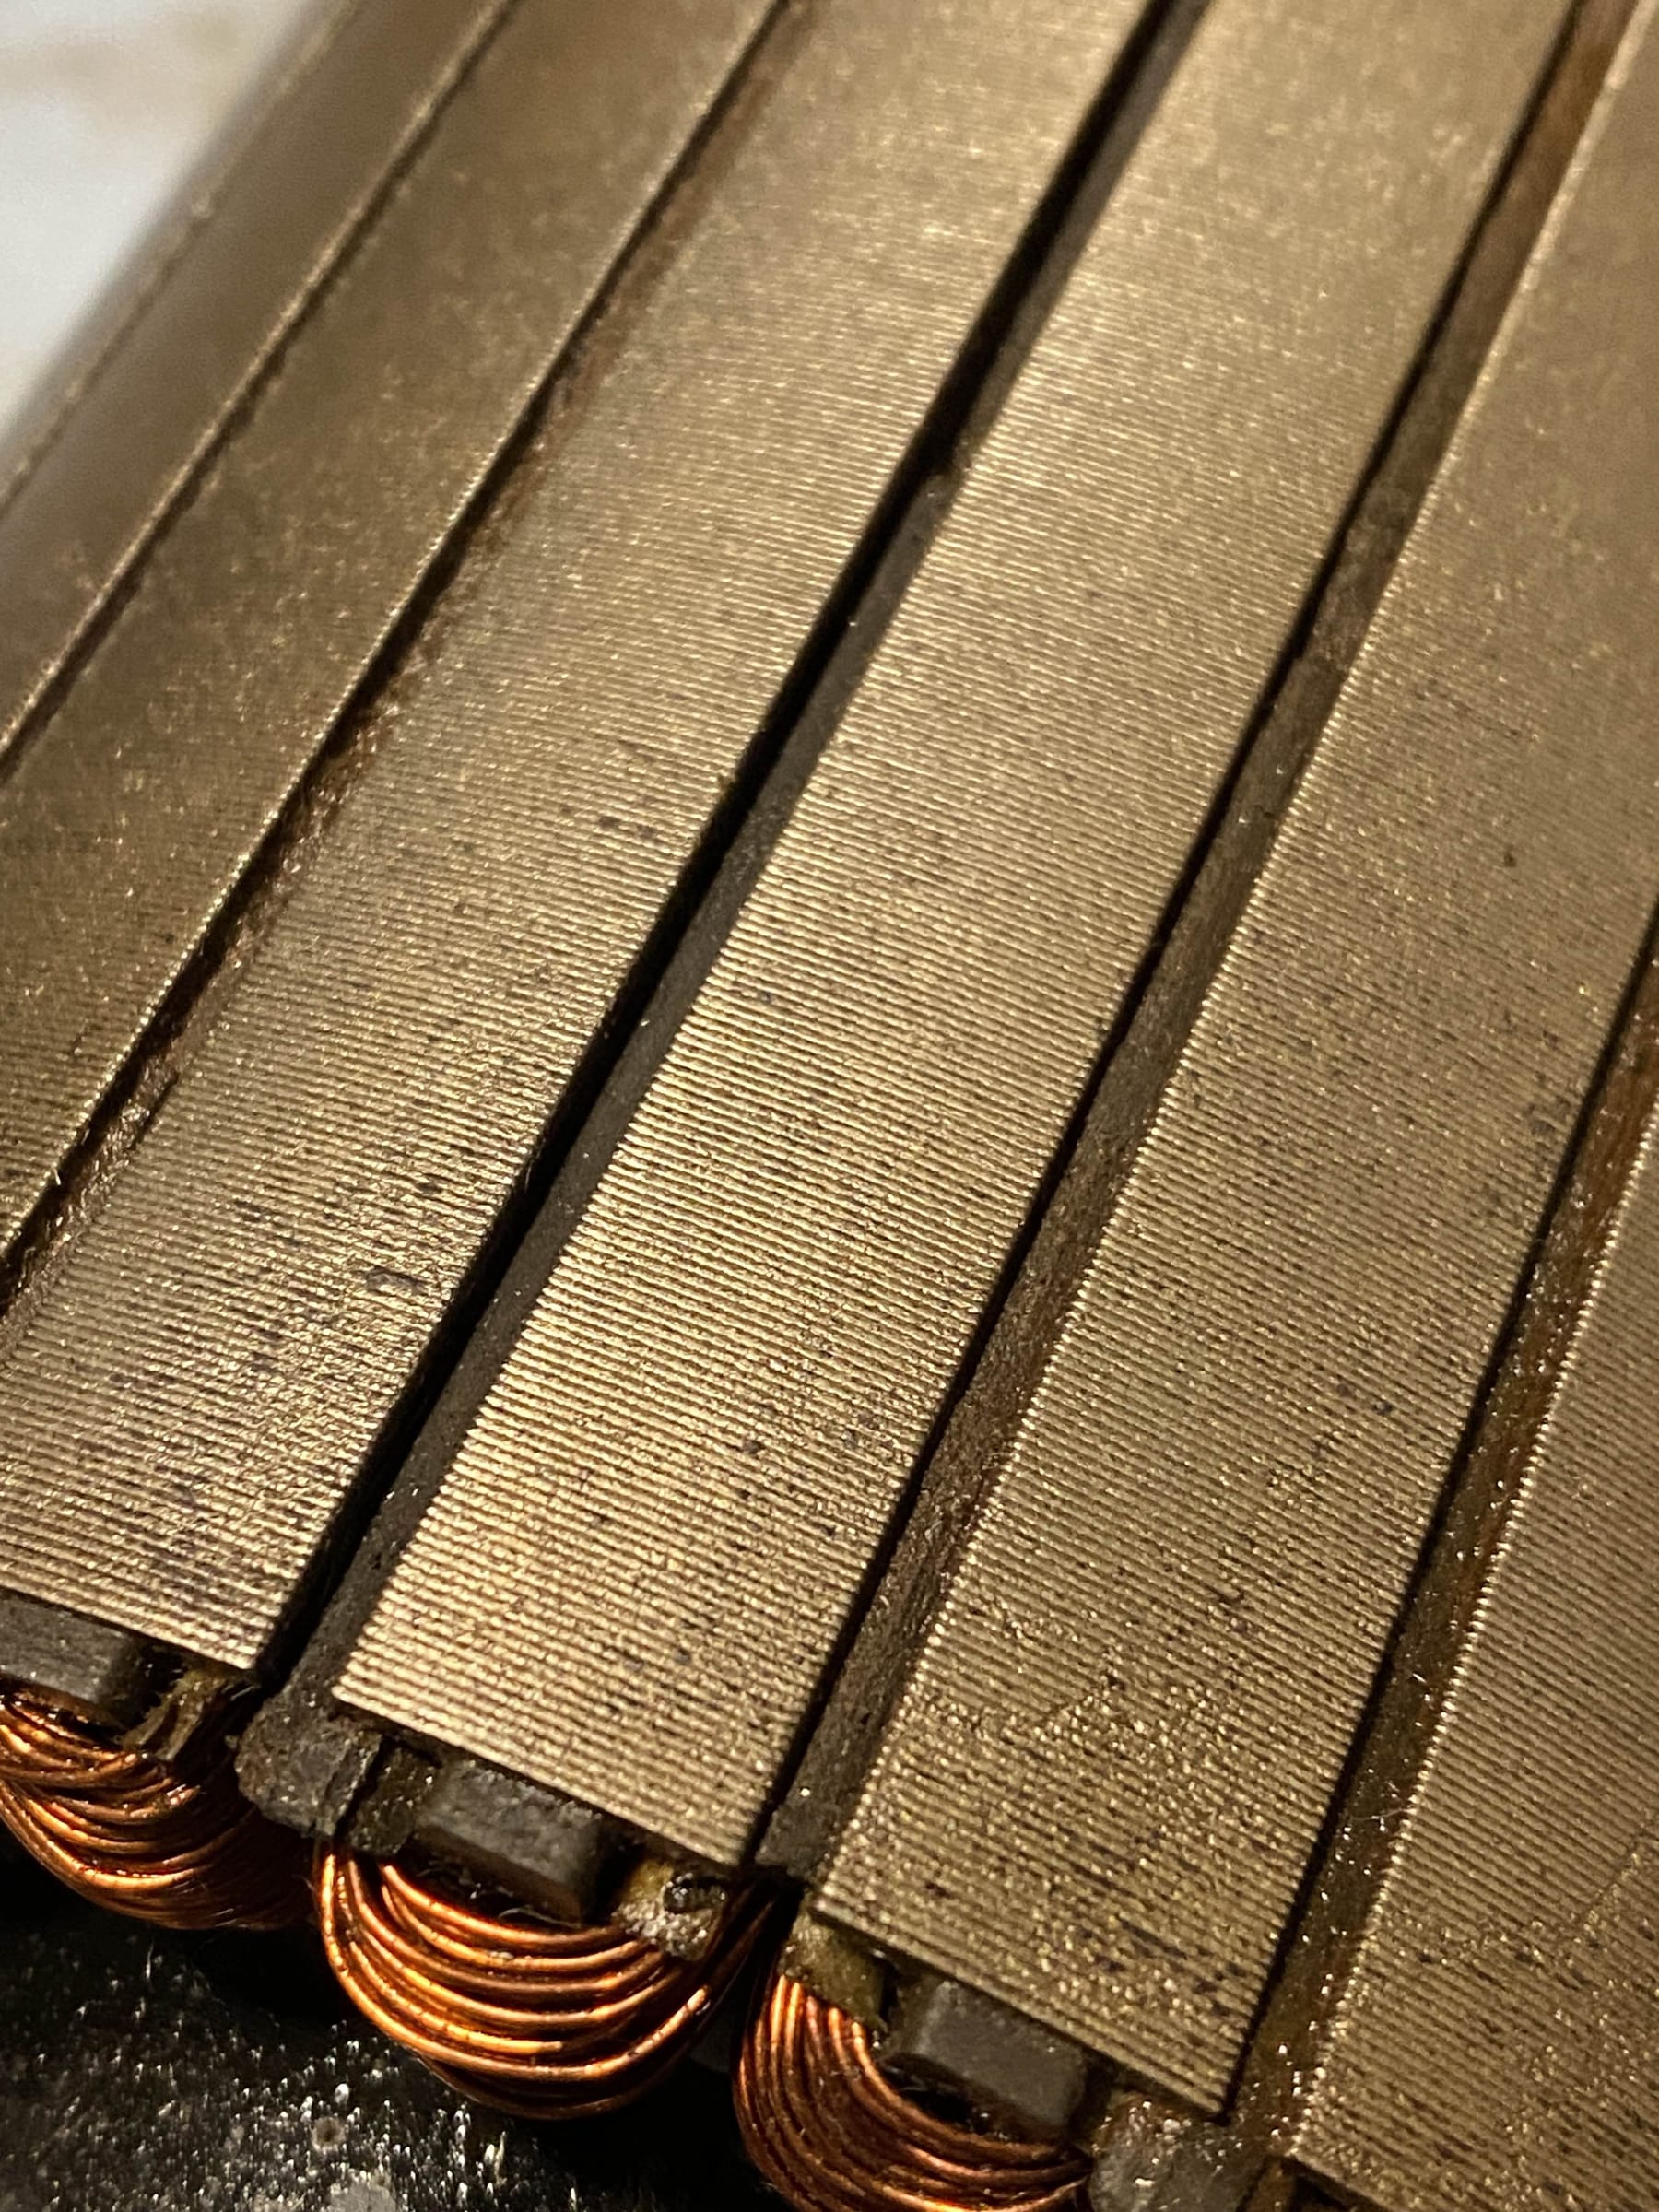
Will have to wash the motor off after to make sure no steel wool or stuff is still just floating around on the motor before assembling but it's on the home stretch ^-^
-
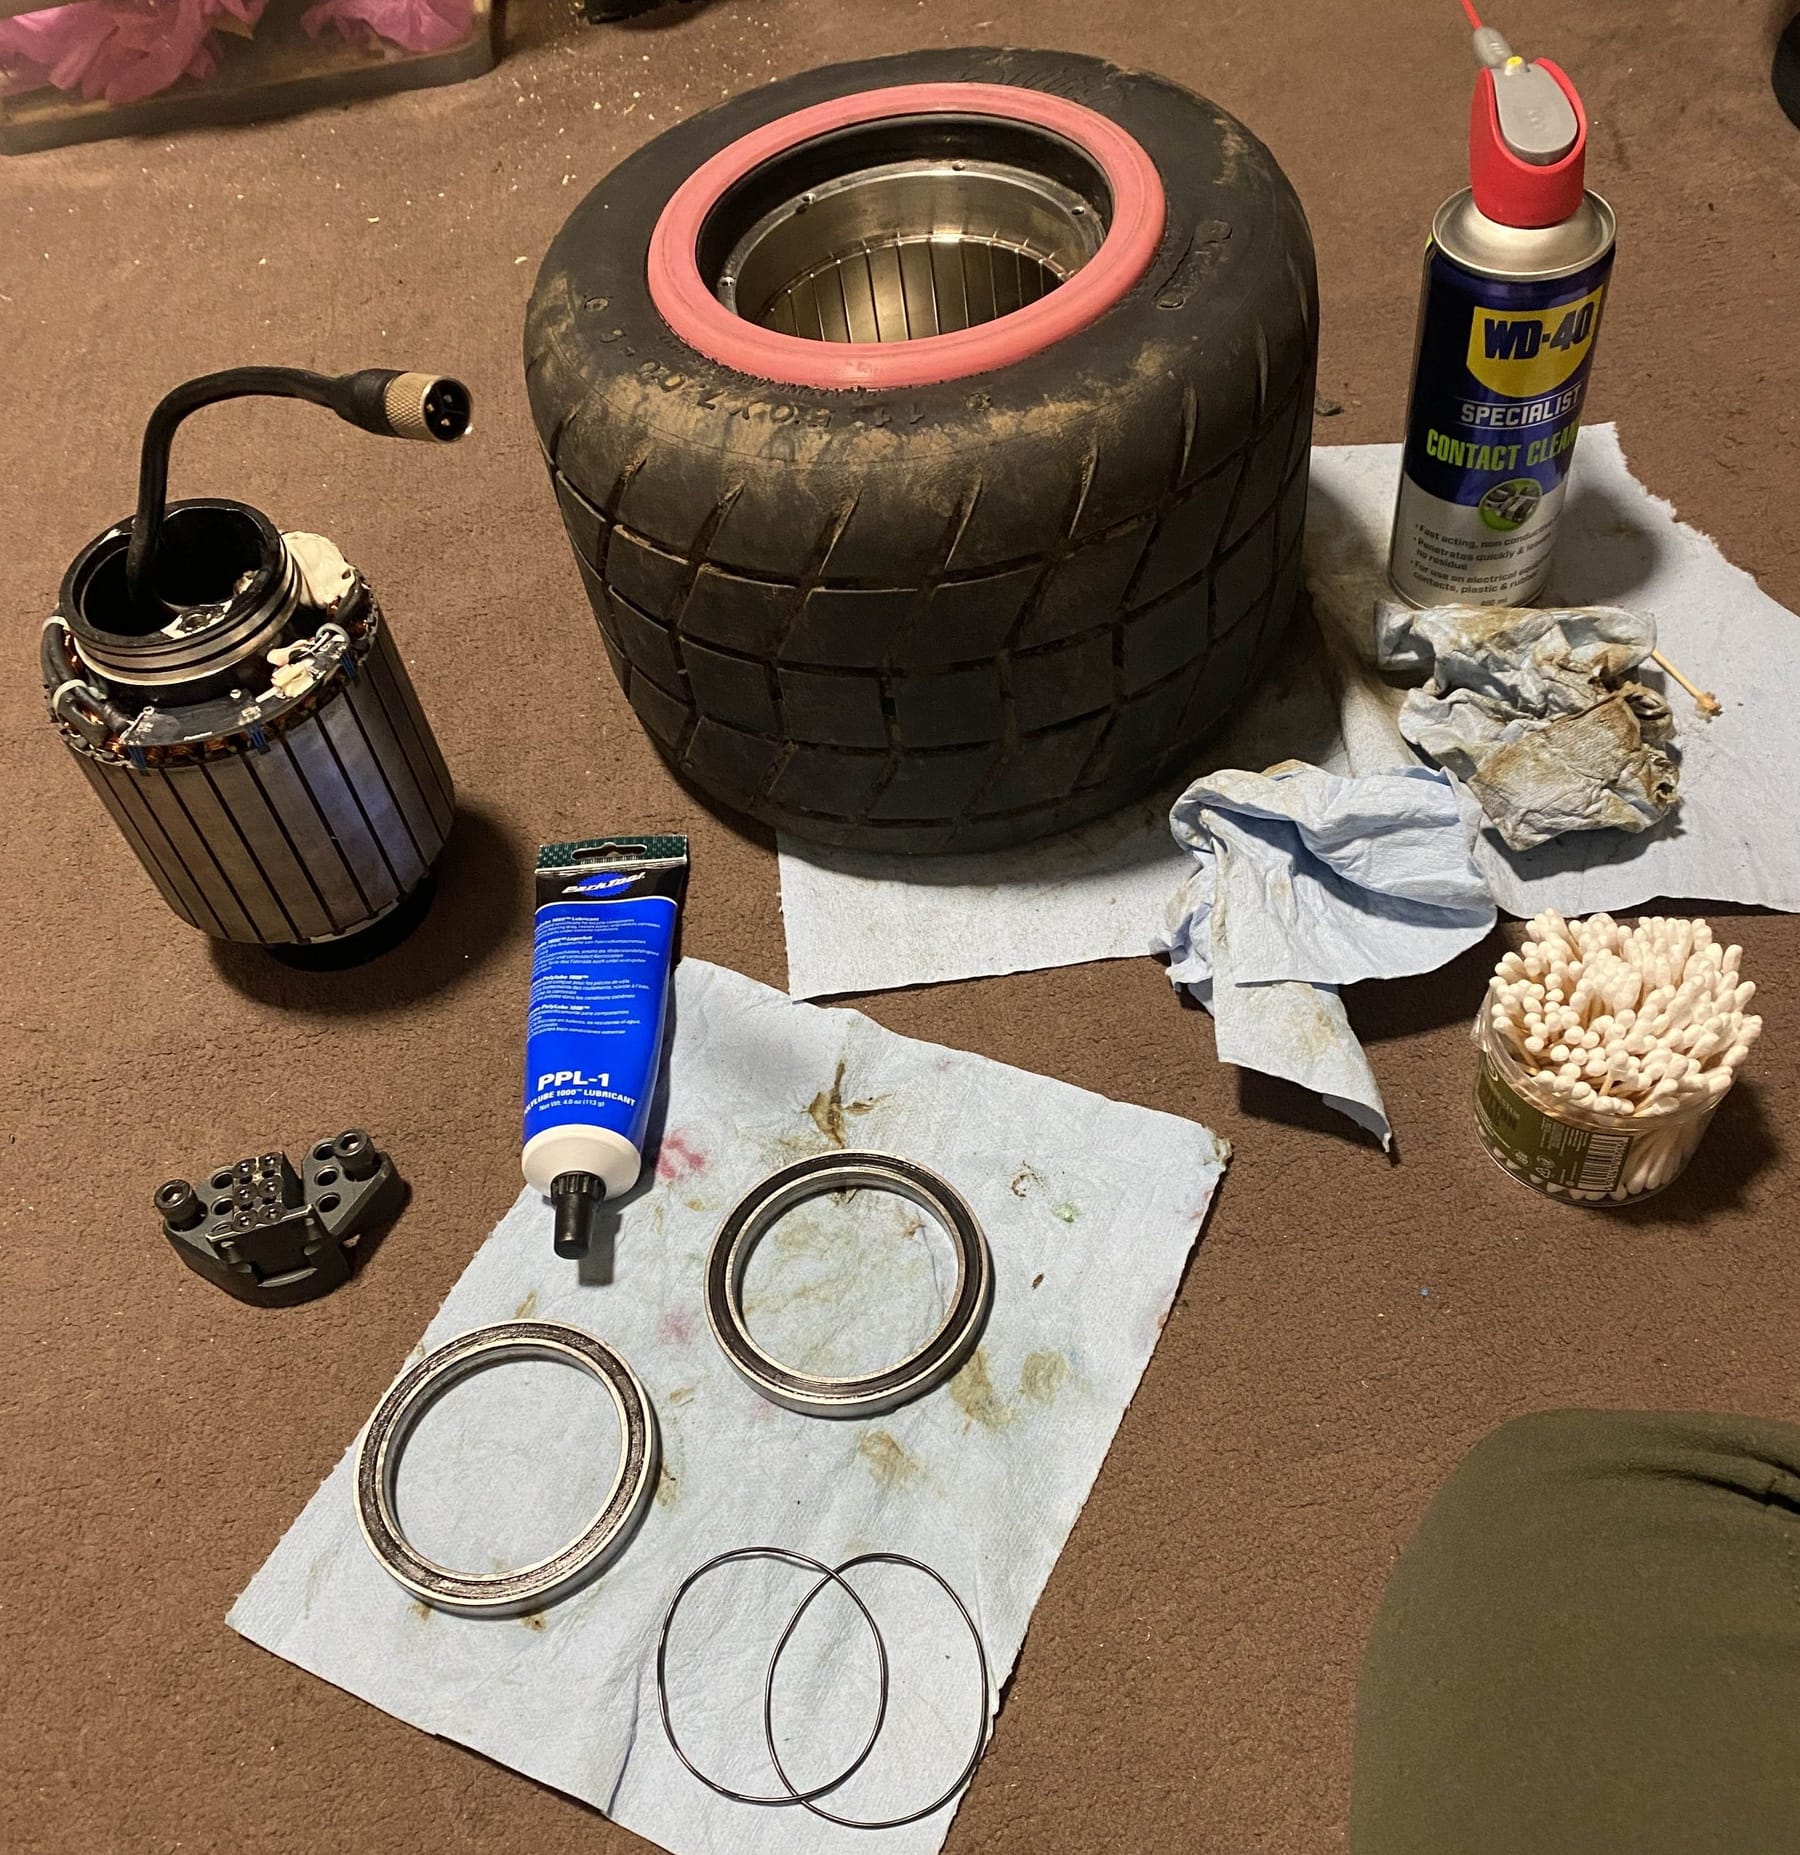
Bearings came out great after a few more cleaning soaks and scrubbing. Repacked them with grease which as expected made them no longer spin freely but they're smooth and clearly going to last longer now.
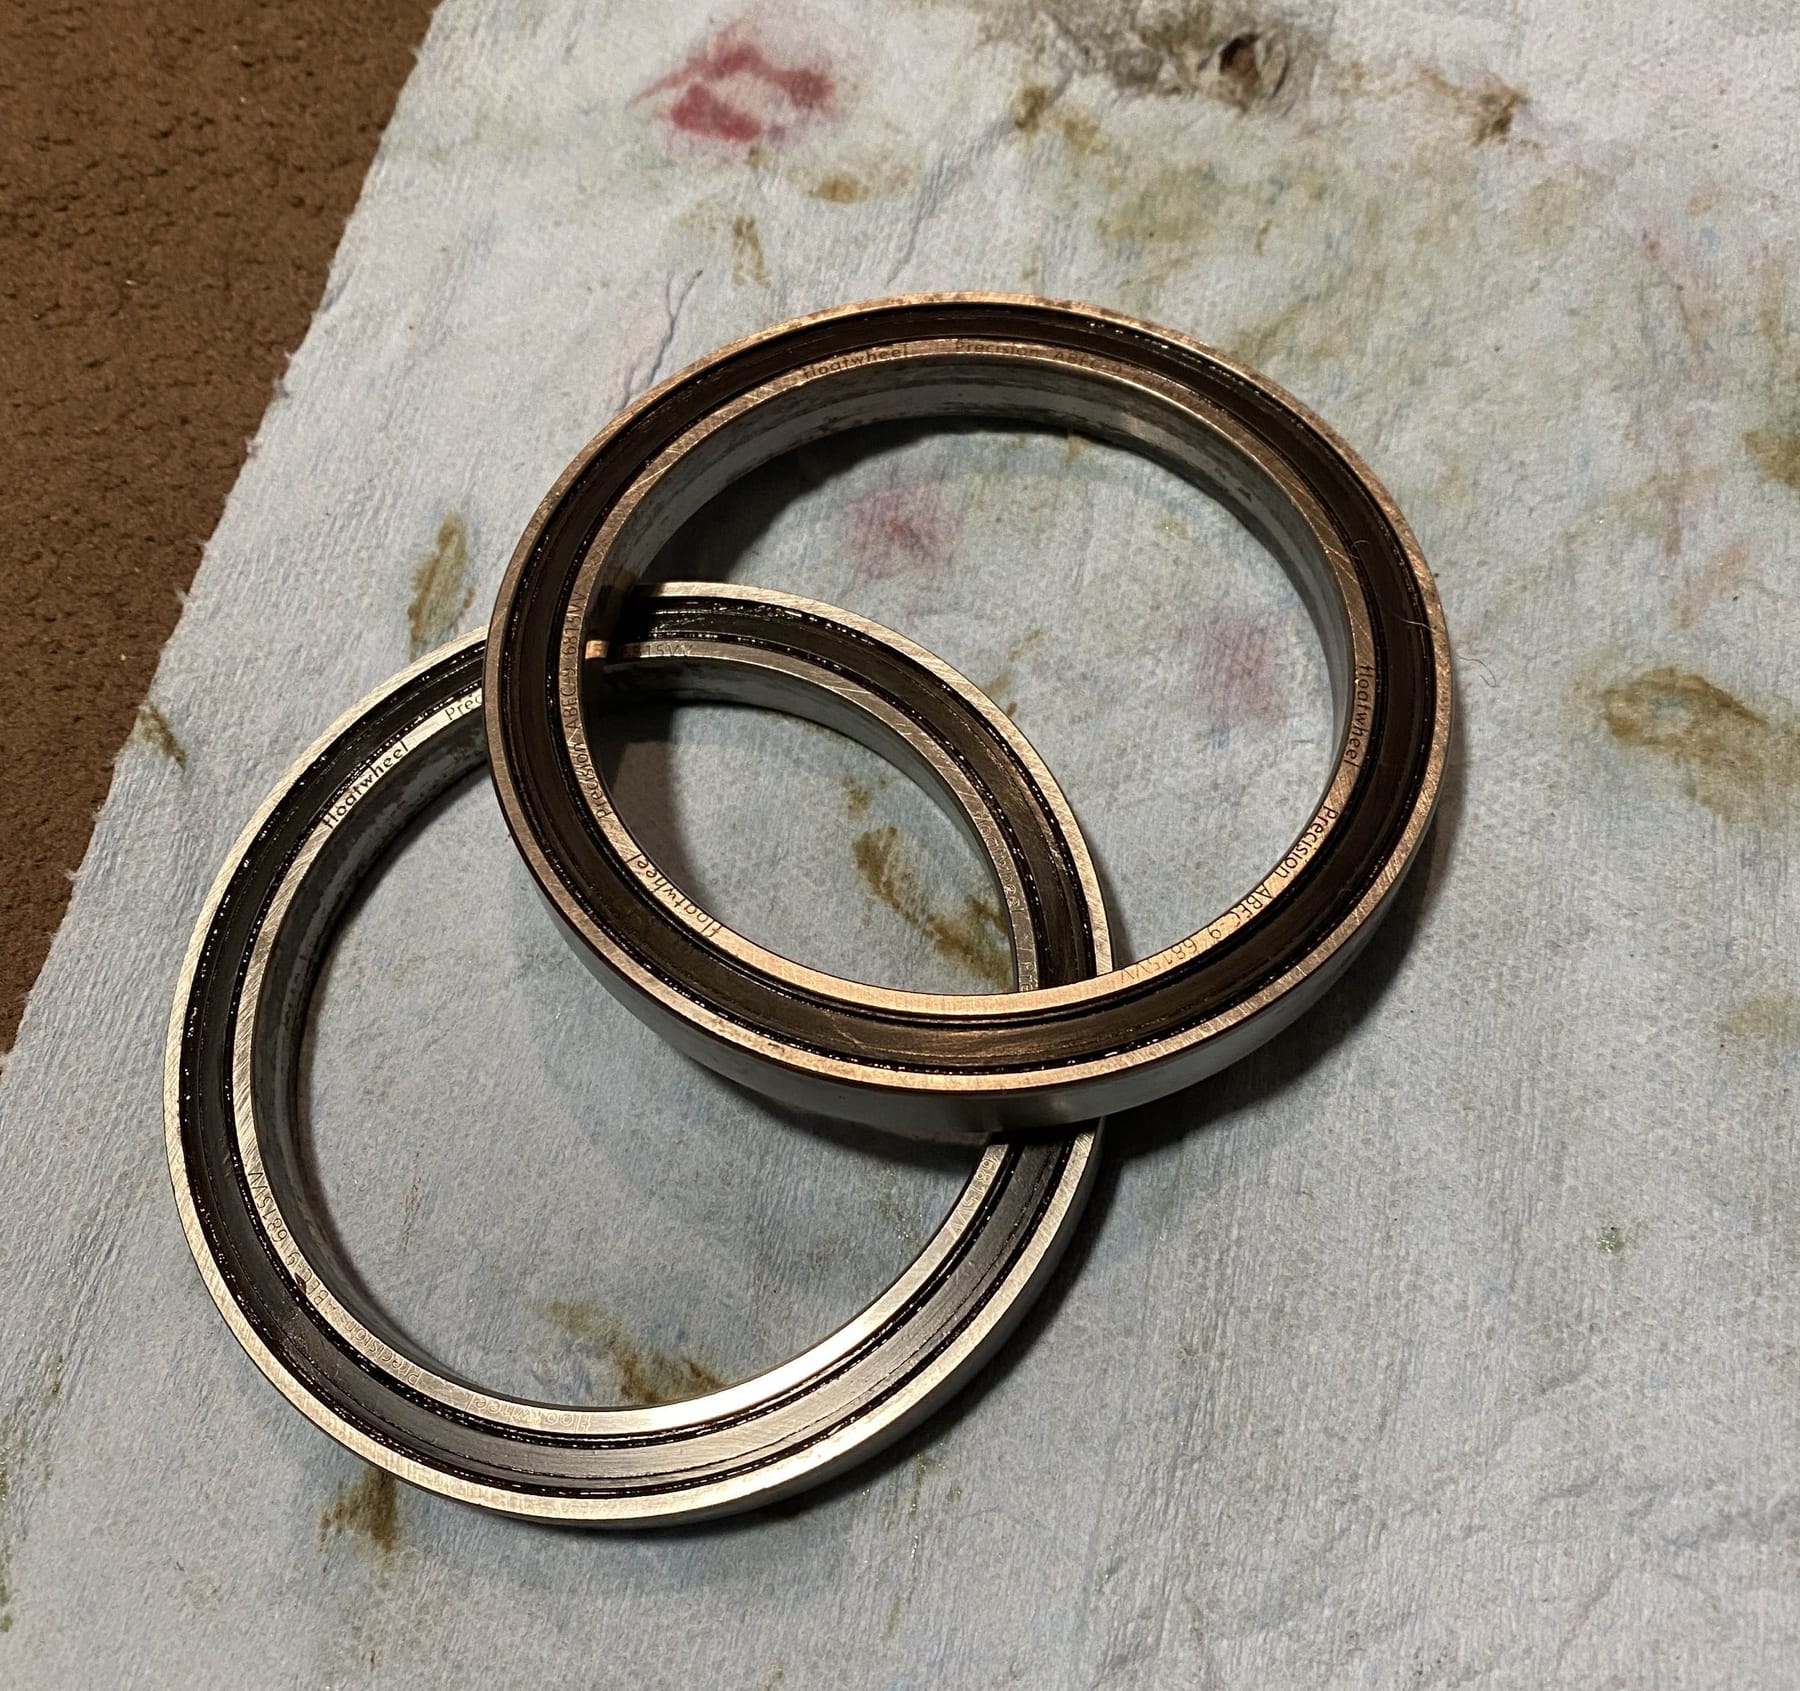
Cleaned up the magnets too while I was at it. There was a few bits of dried gunk and some corrosion stains on them. Thankfully those mostly came off with a bit of vigorous scrubbing.
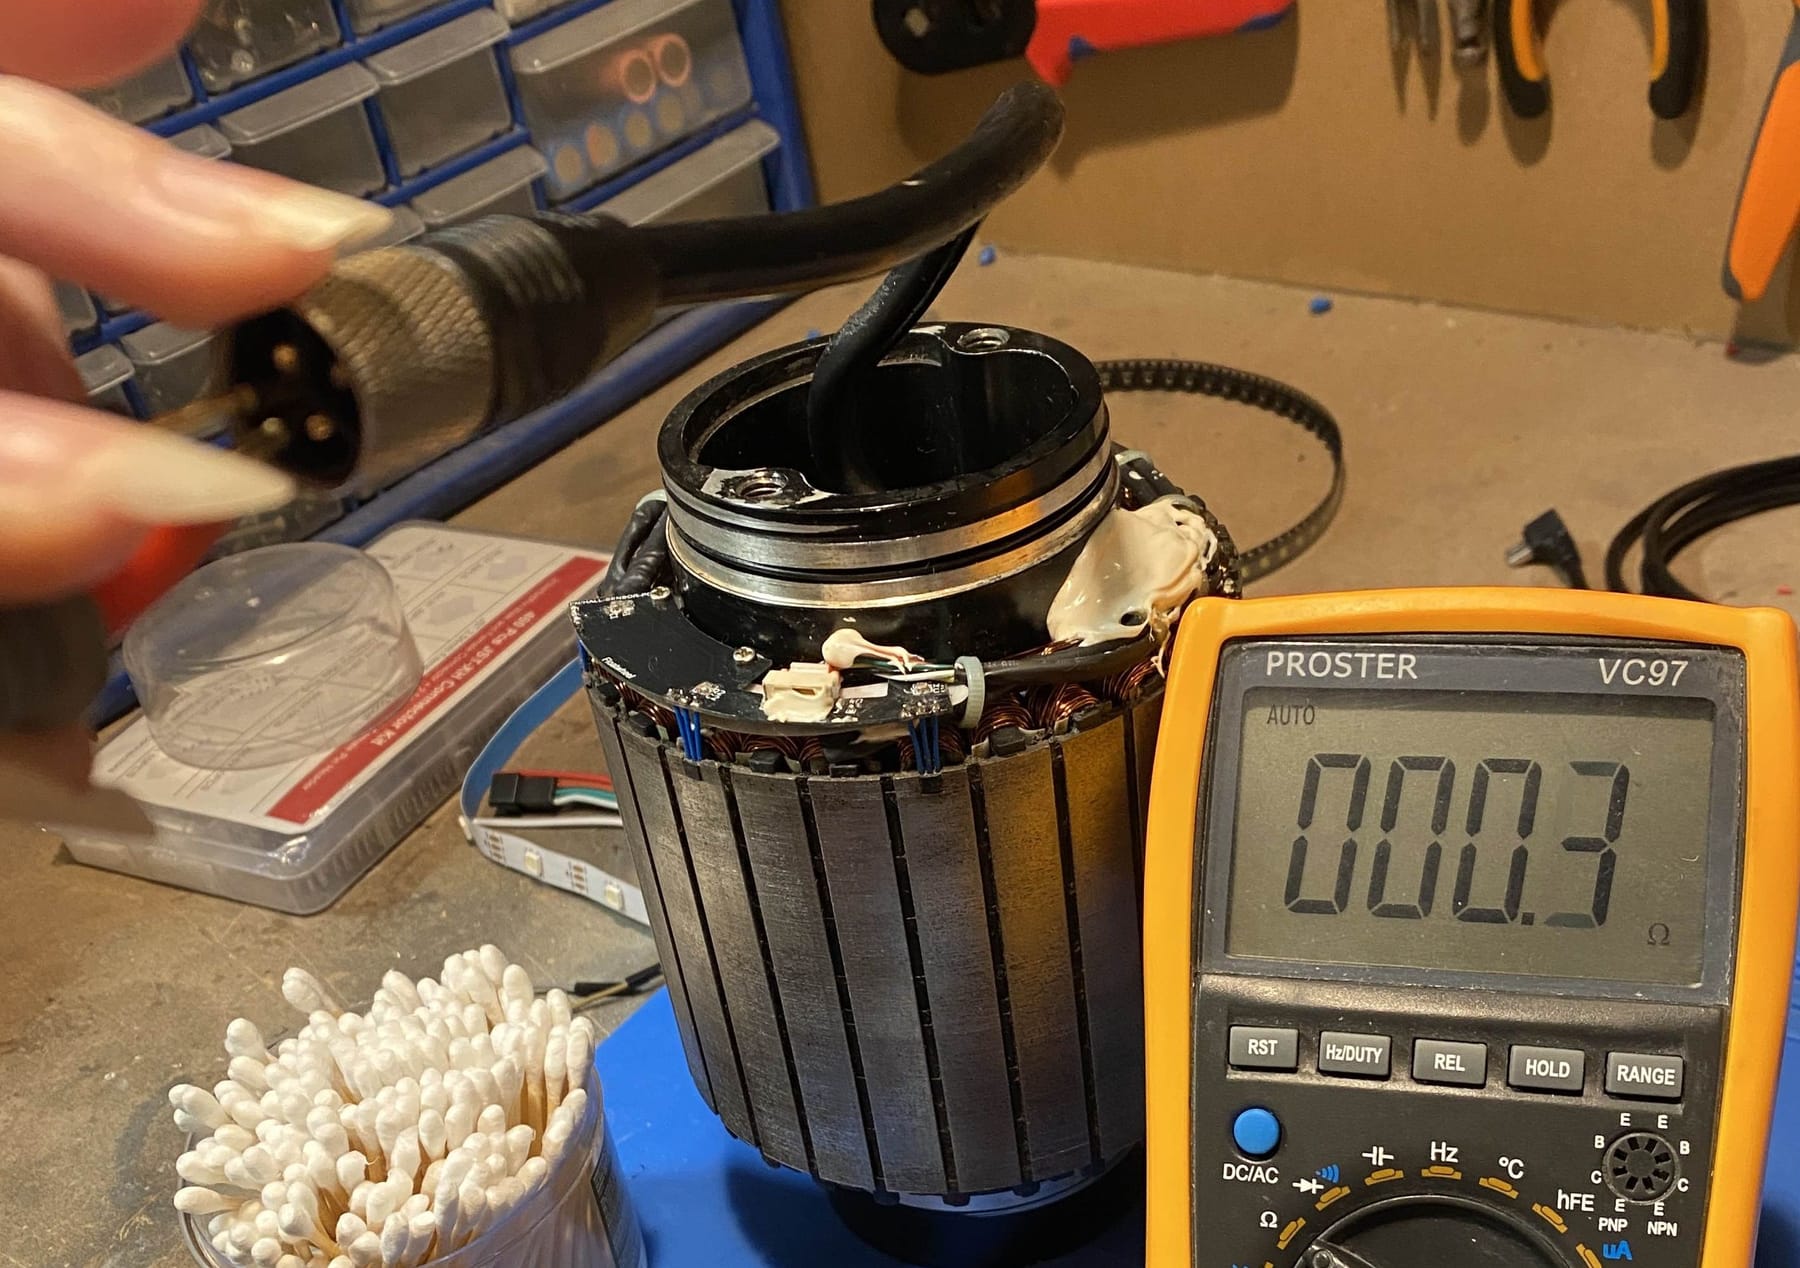
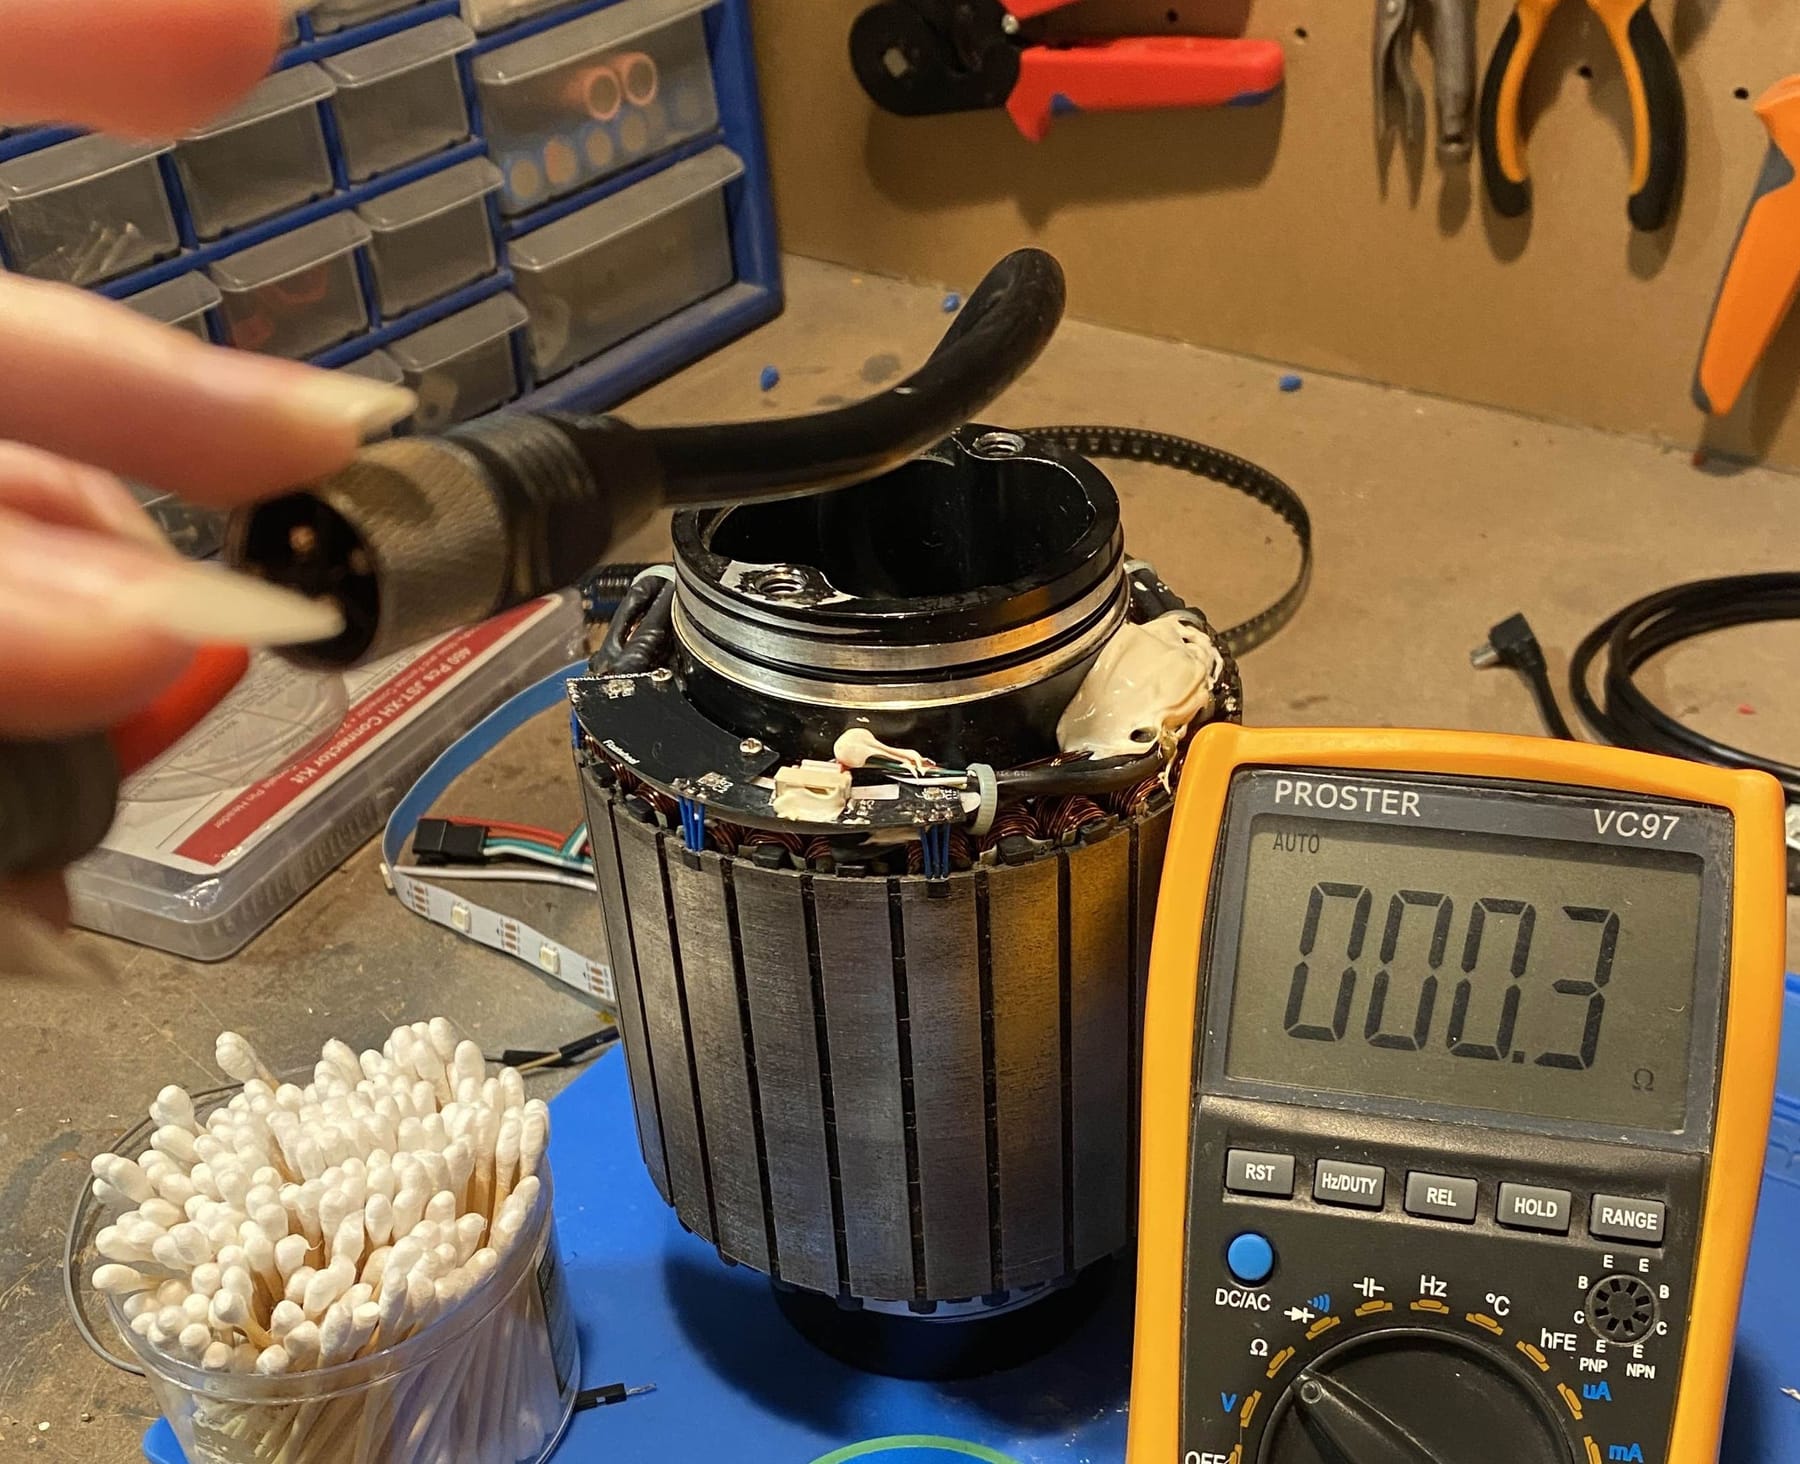
Touched up the hall joints as they seemed a little off. Redid the other joints too just while I was at it which made them easier to check. All seemed to measure right after doing so which is good since I don't have any spare.
I finally got that phase pin that was blackened clean and measuring fine too. I don't have a floatwheel motor connector to mate it too and test it but I put my probes in relatively loose and they all measure when testing between all 3 combinations.
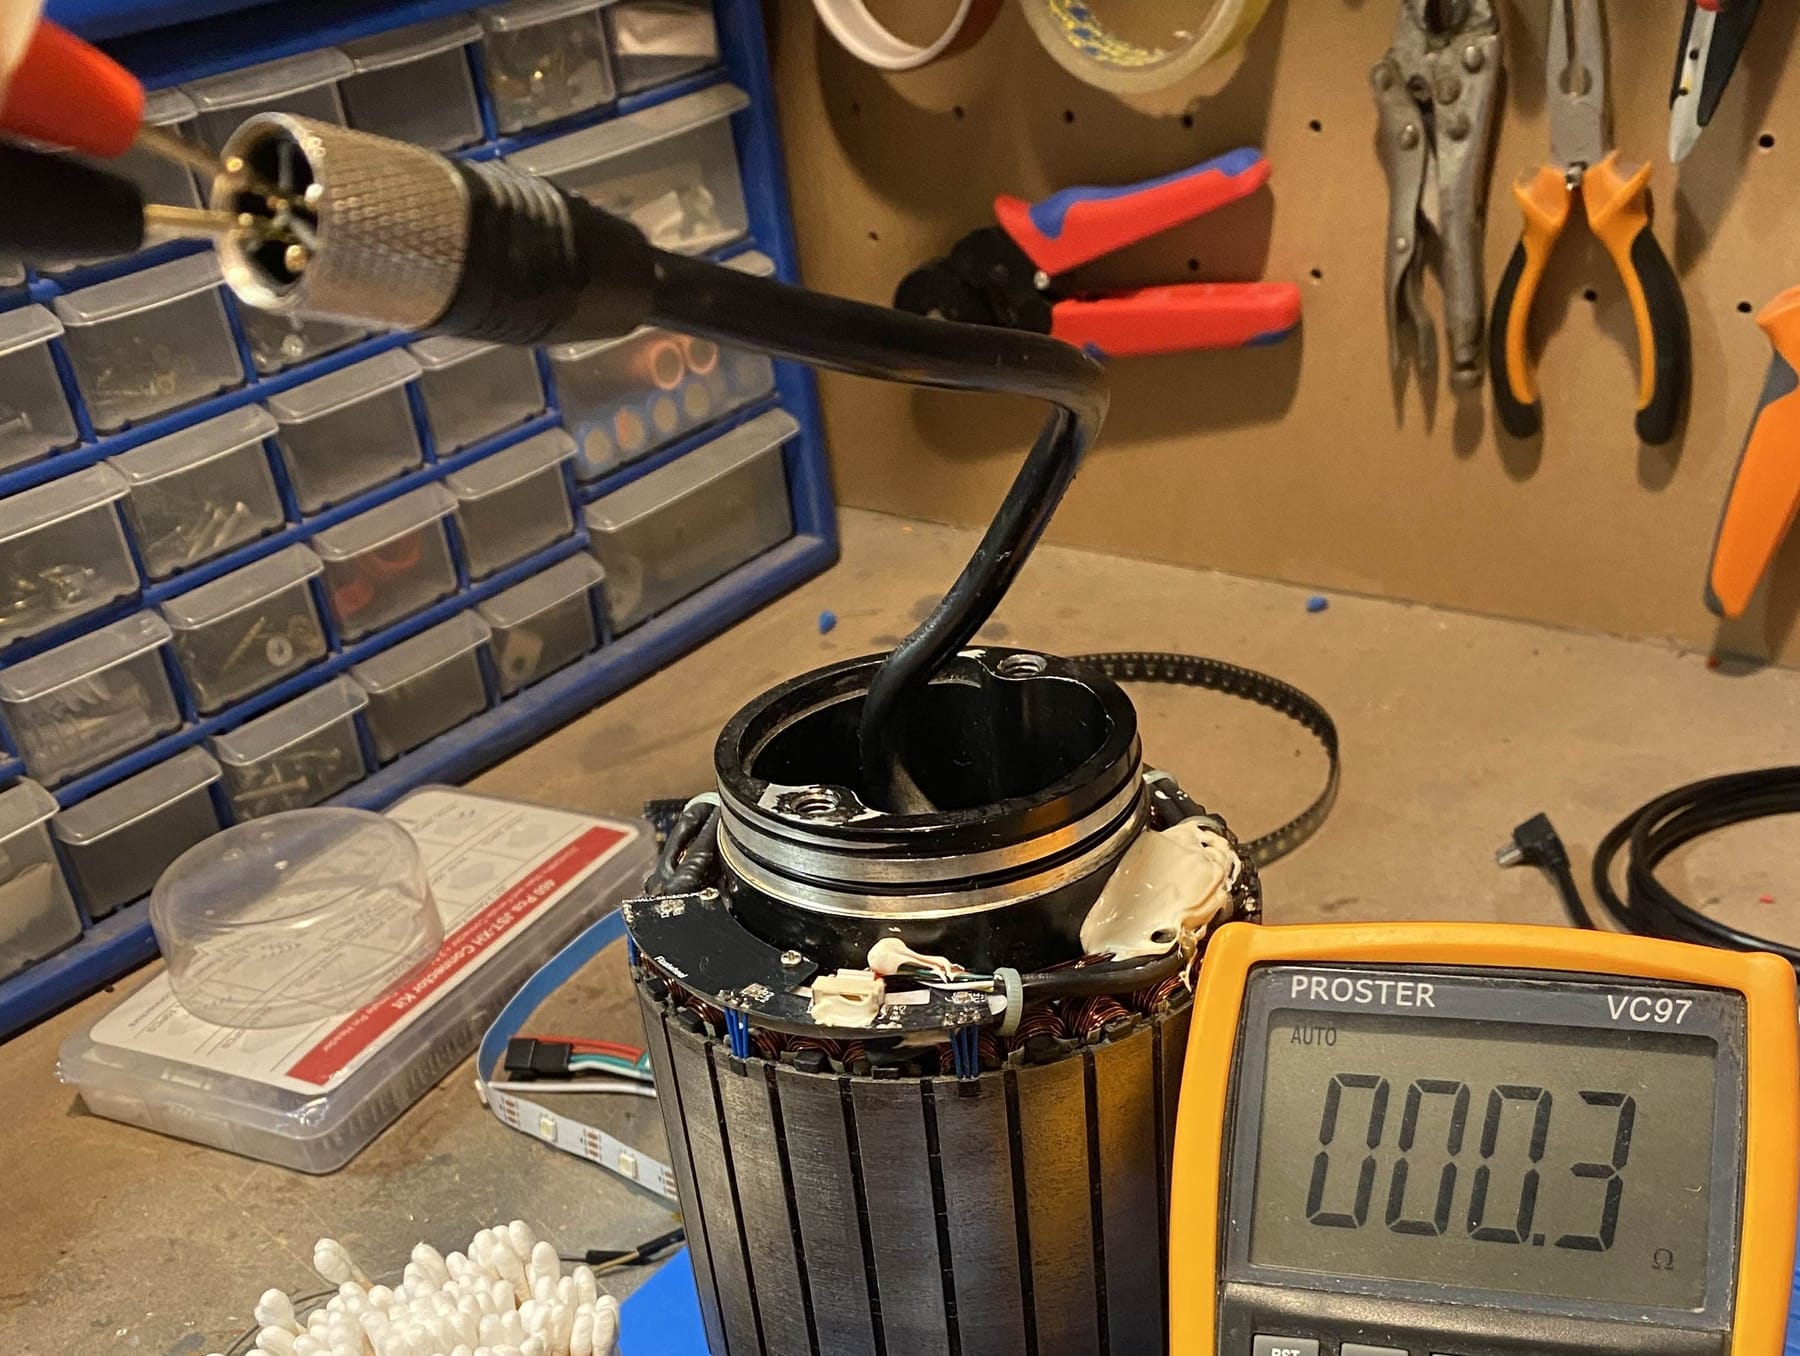
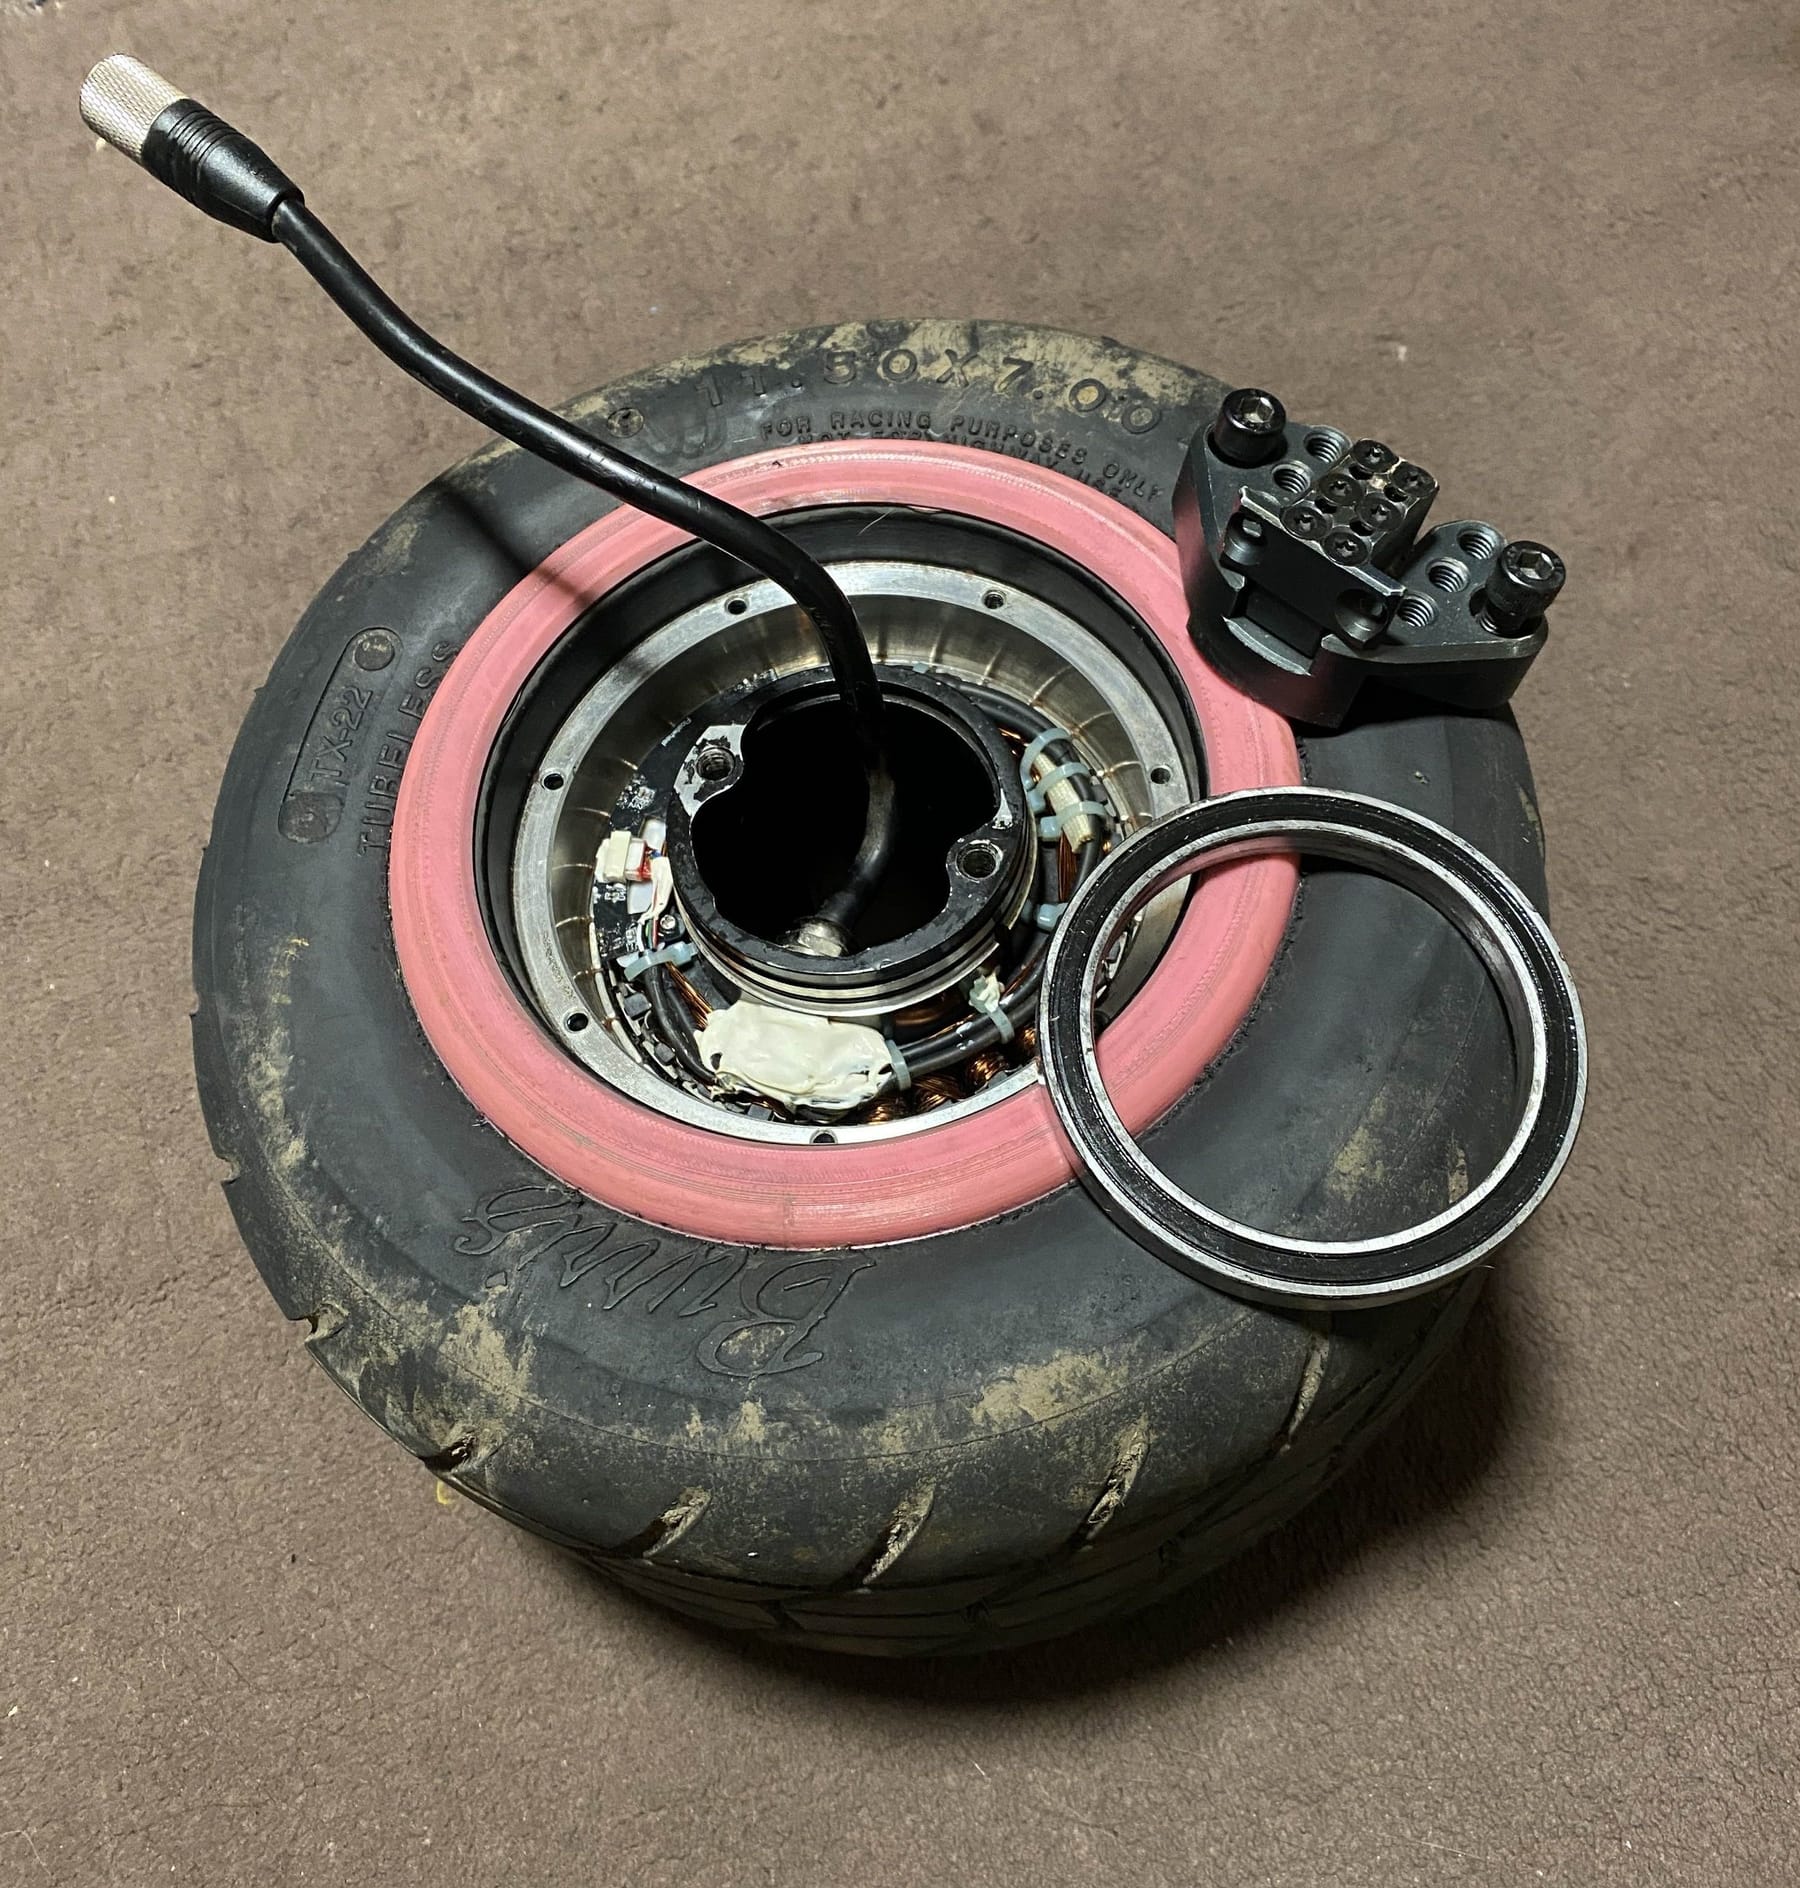
So with it electrically and visually looking fine it's time to put bits back together.
I'm only putting the hub bearing in for now while I wait for the owner to say if they would like me to completely re-assemble it or leave the stator out so they can check my work first.
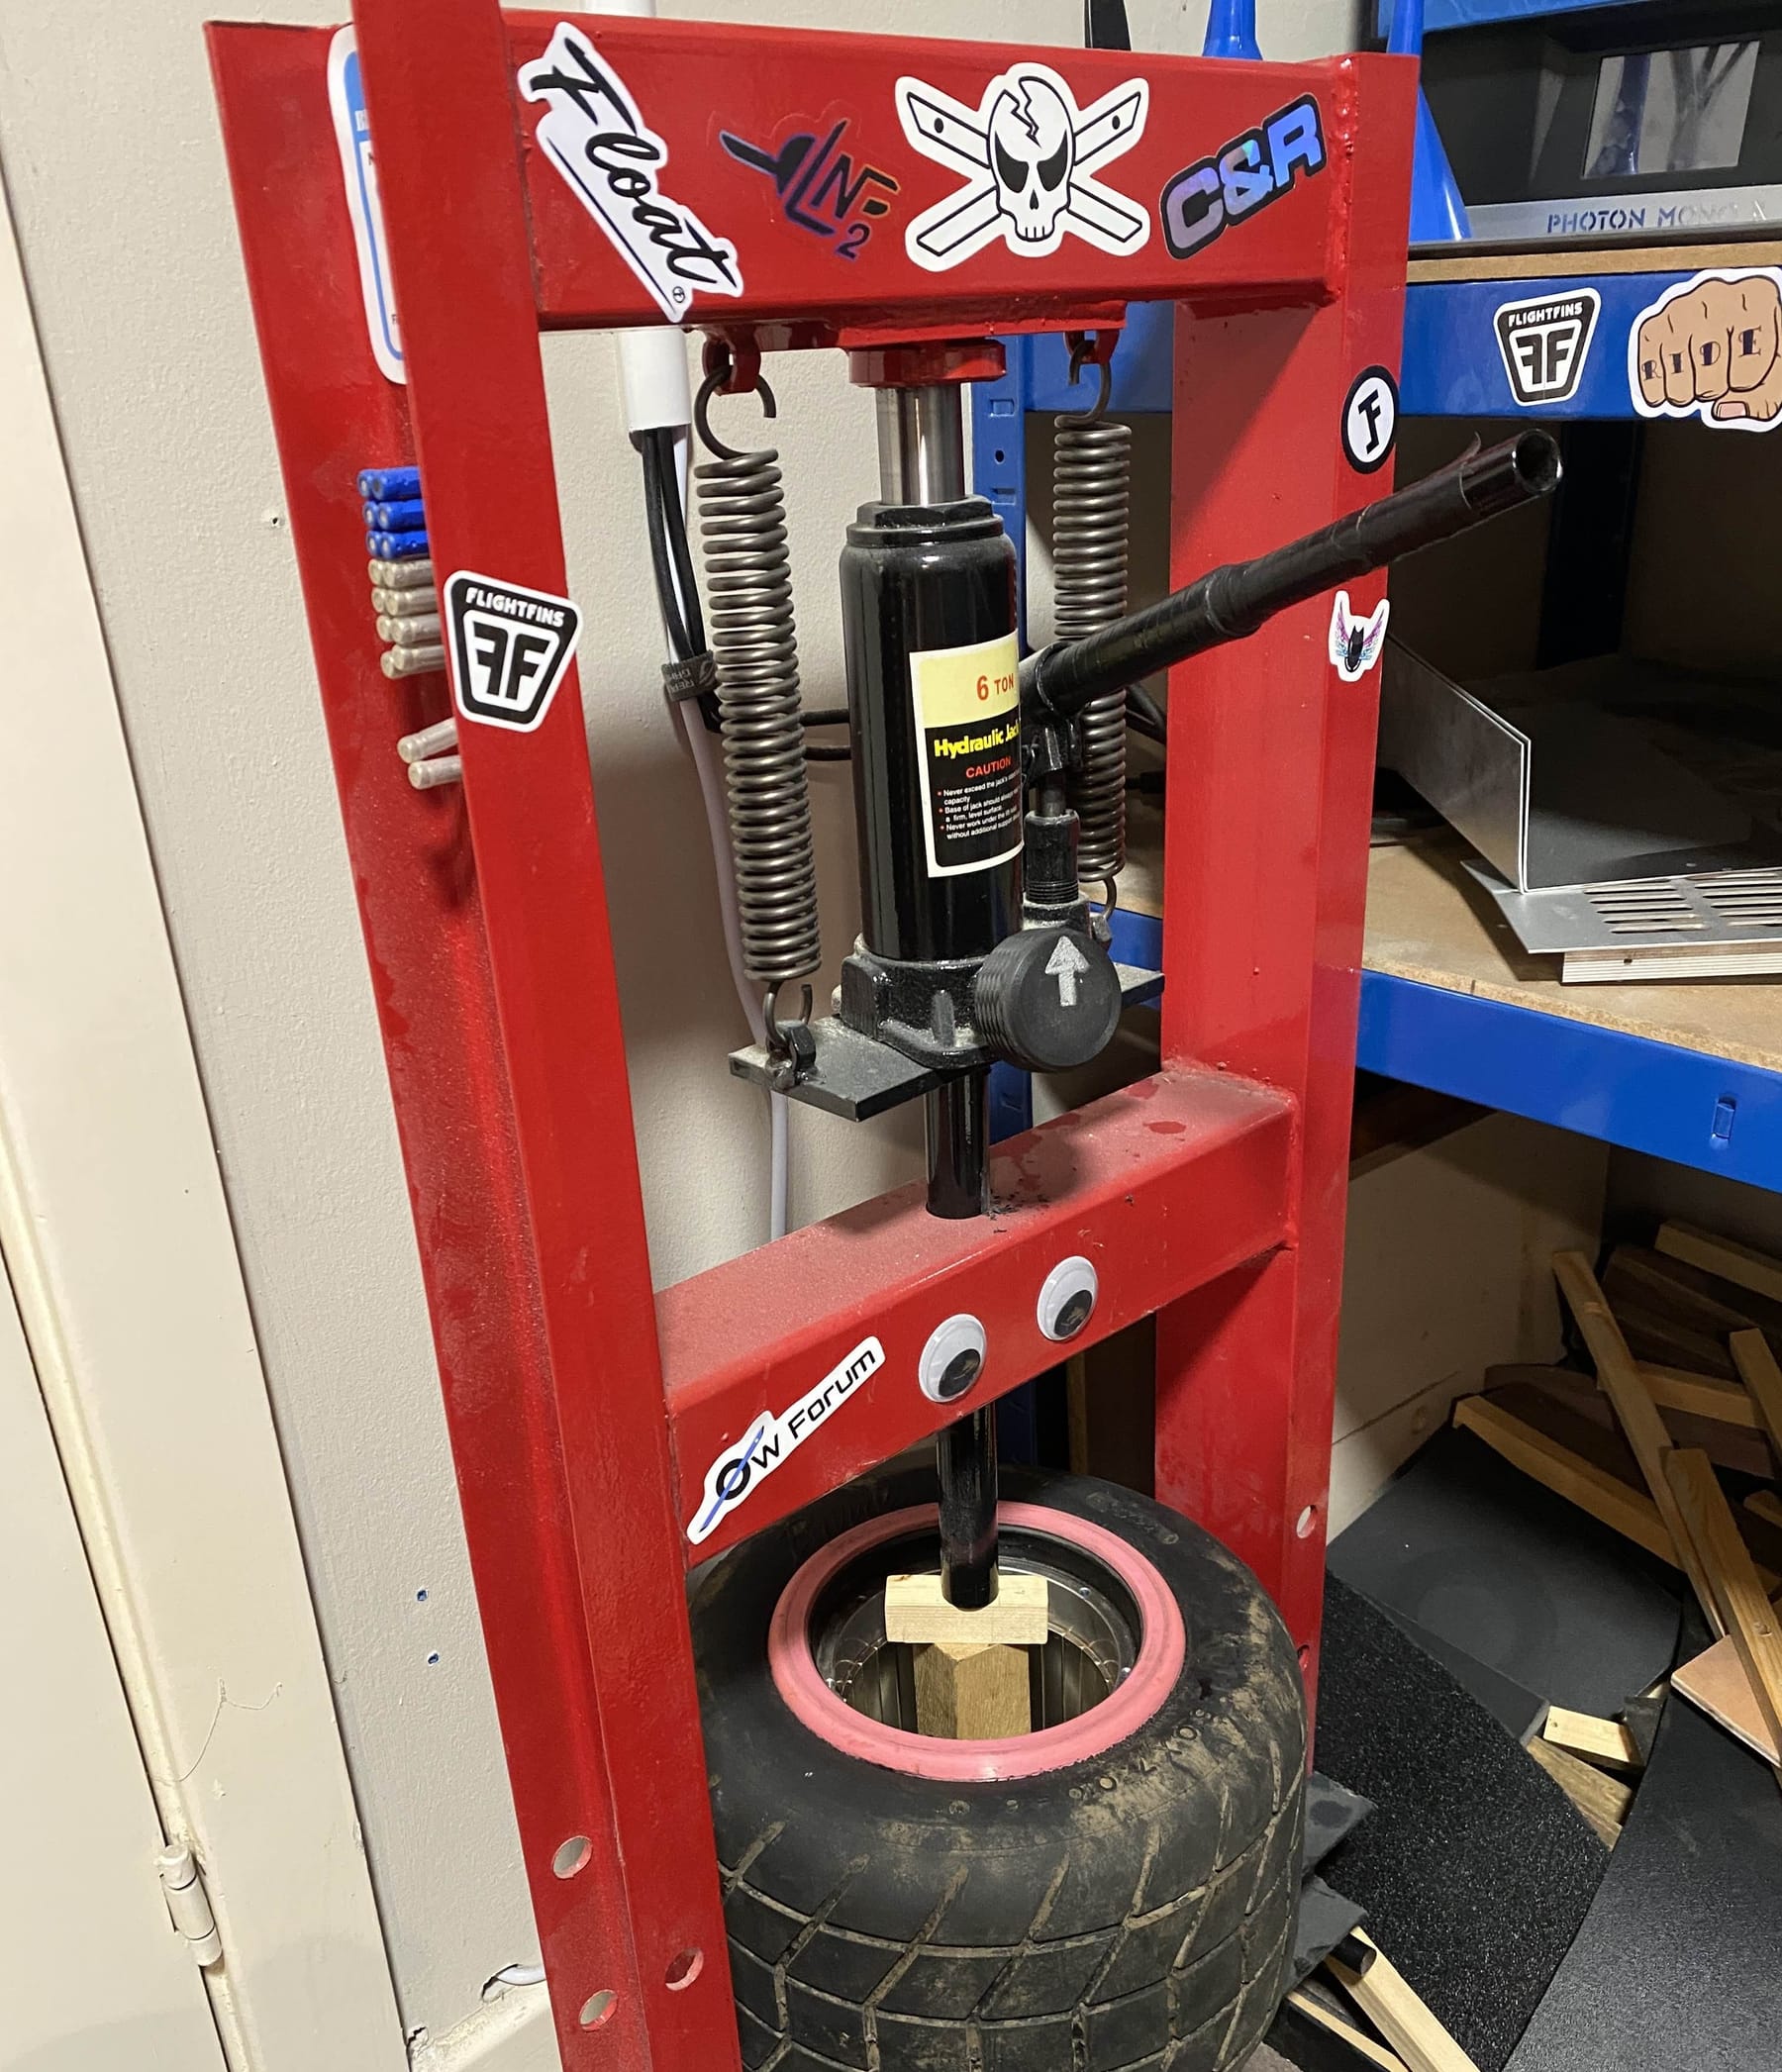
Been getting a lot of use out of this press. Definitely got a good feel for it despite what people say about using these for seating bearings.Hope to let y'all know soon if it works or not once they get it back. If it does I might pop open my old XR that I used to submerge while riding through streams. See how bad it is and refurbish it given I know I can do it.
-
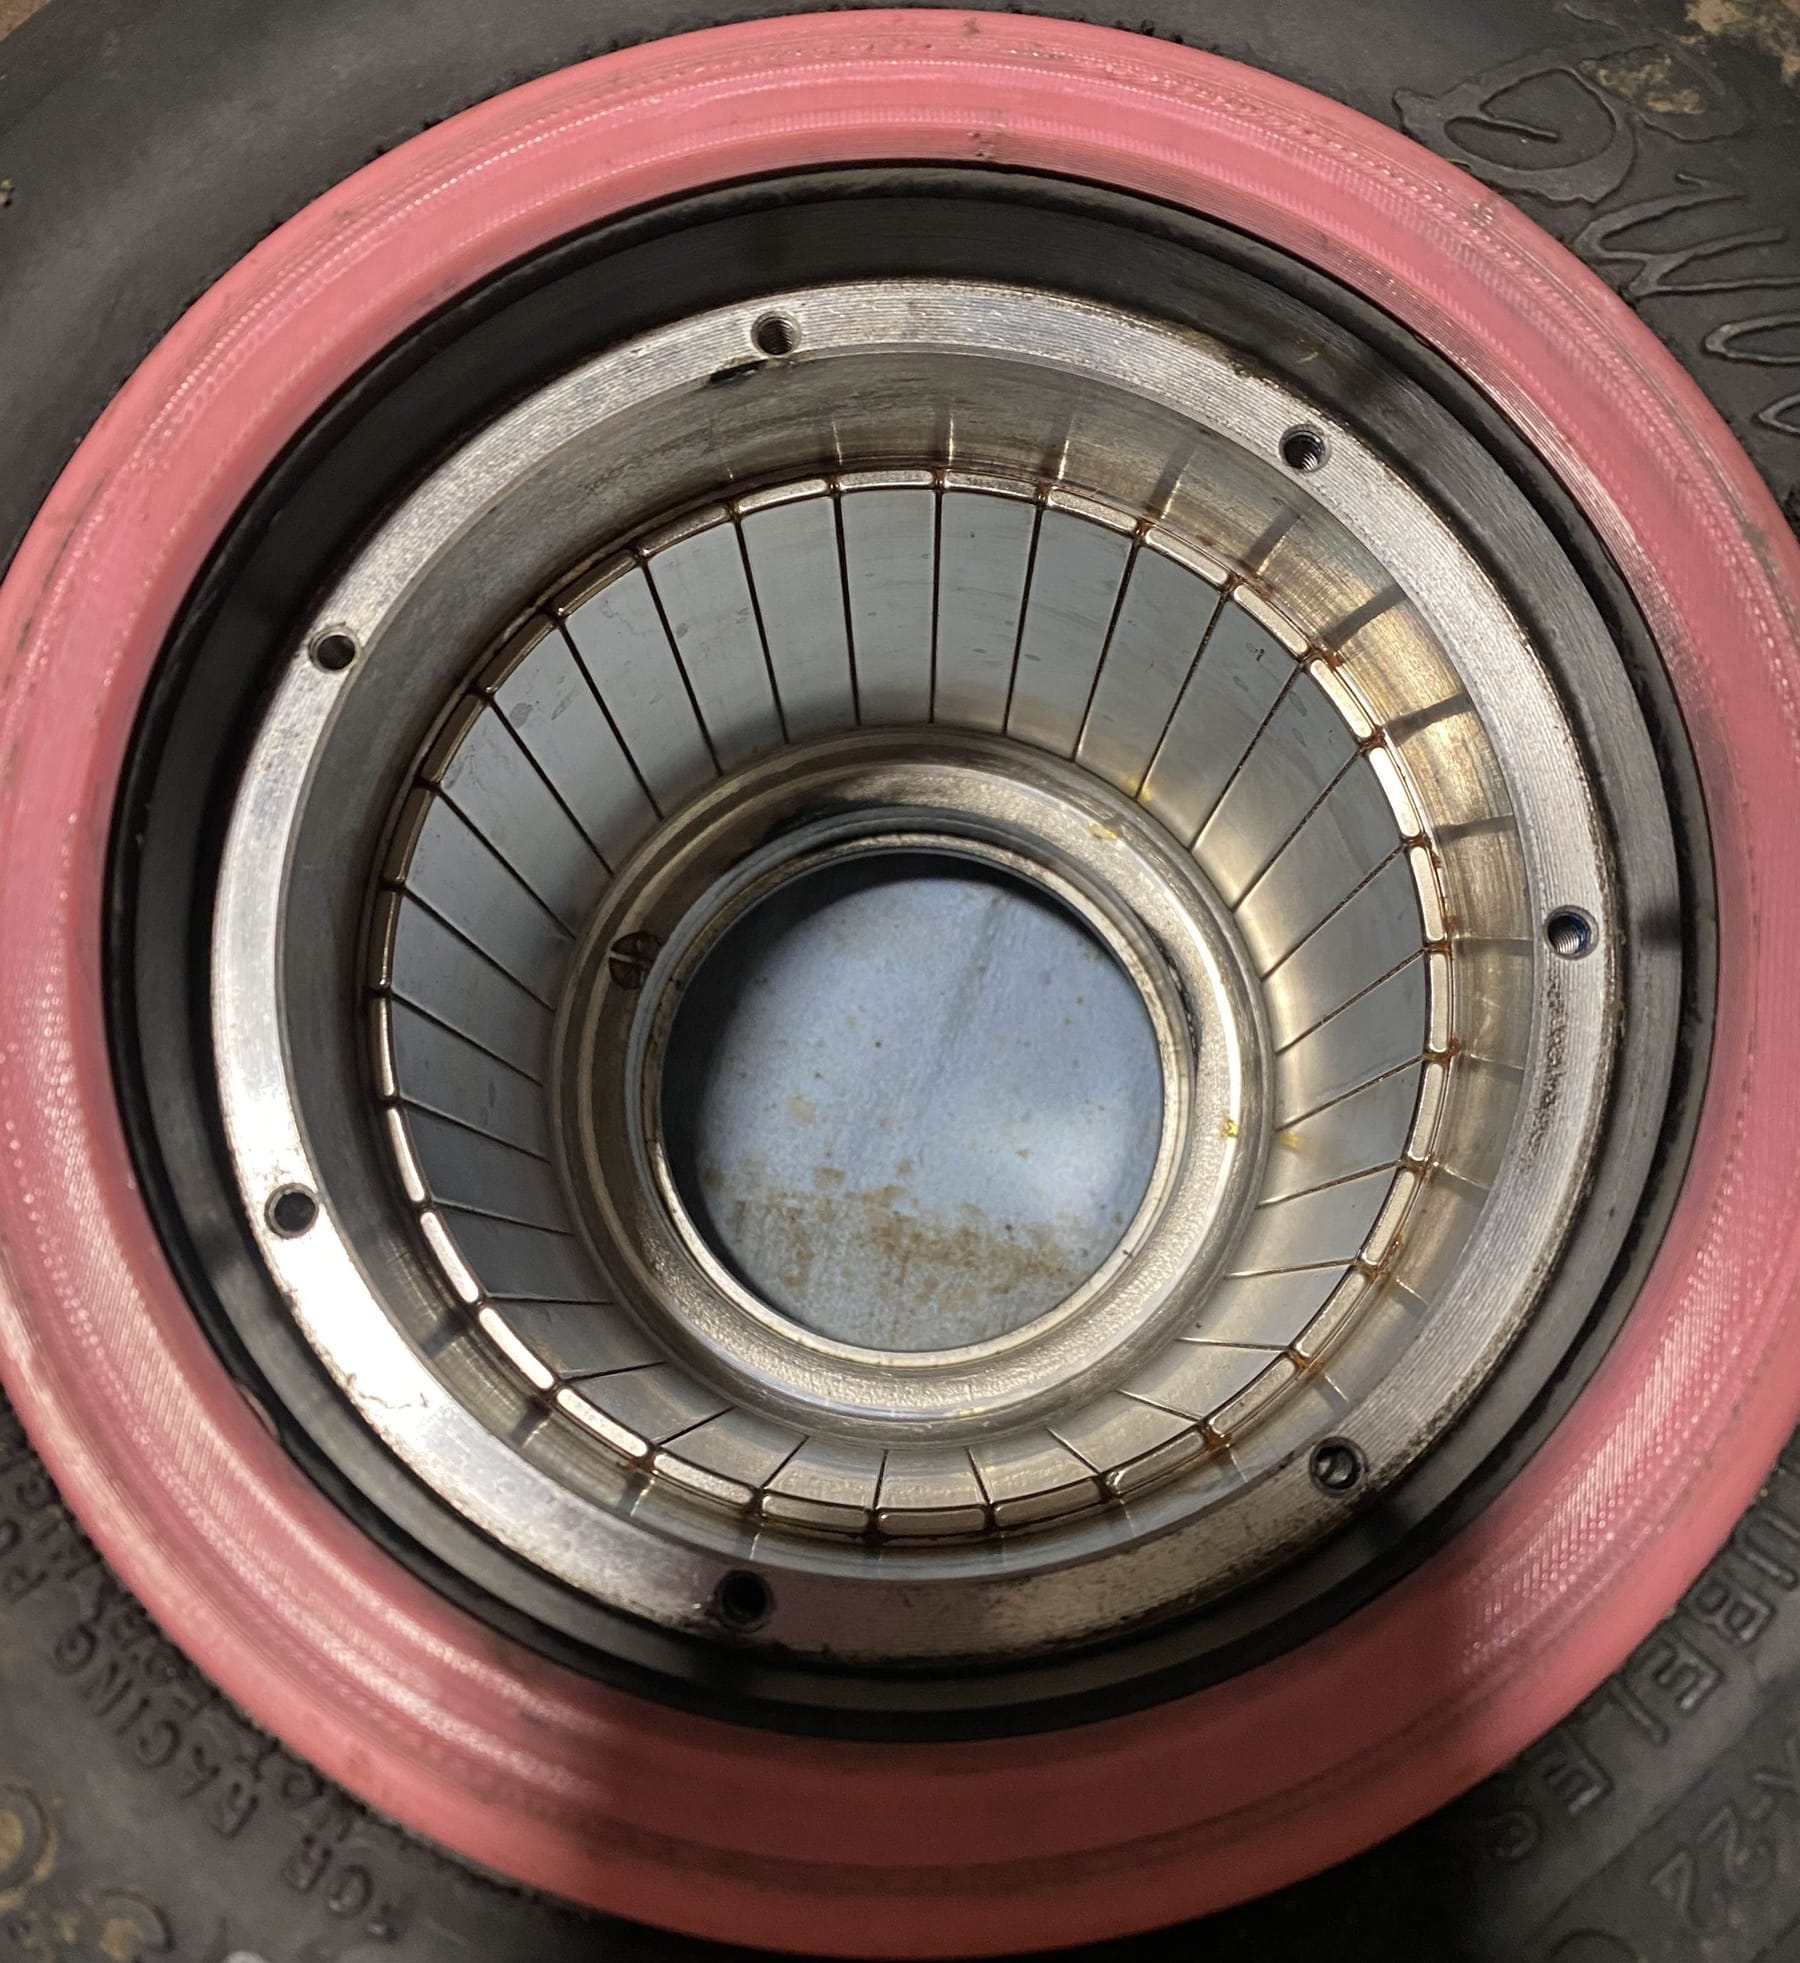
They were happy for me to re-install it since popping stators back in is a bit of a hairy task. Gotten a little used to it now so happy to do it.
However I don't have the rail to actually handle this properly... but I do have a lot of scrap wood.
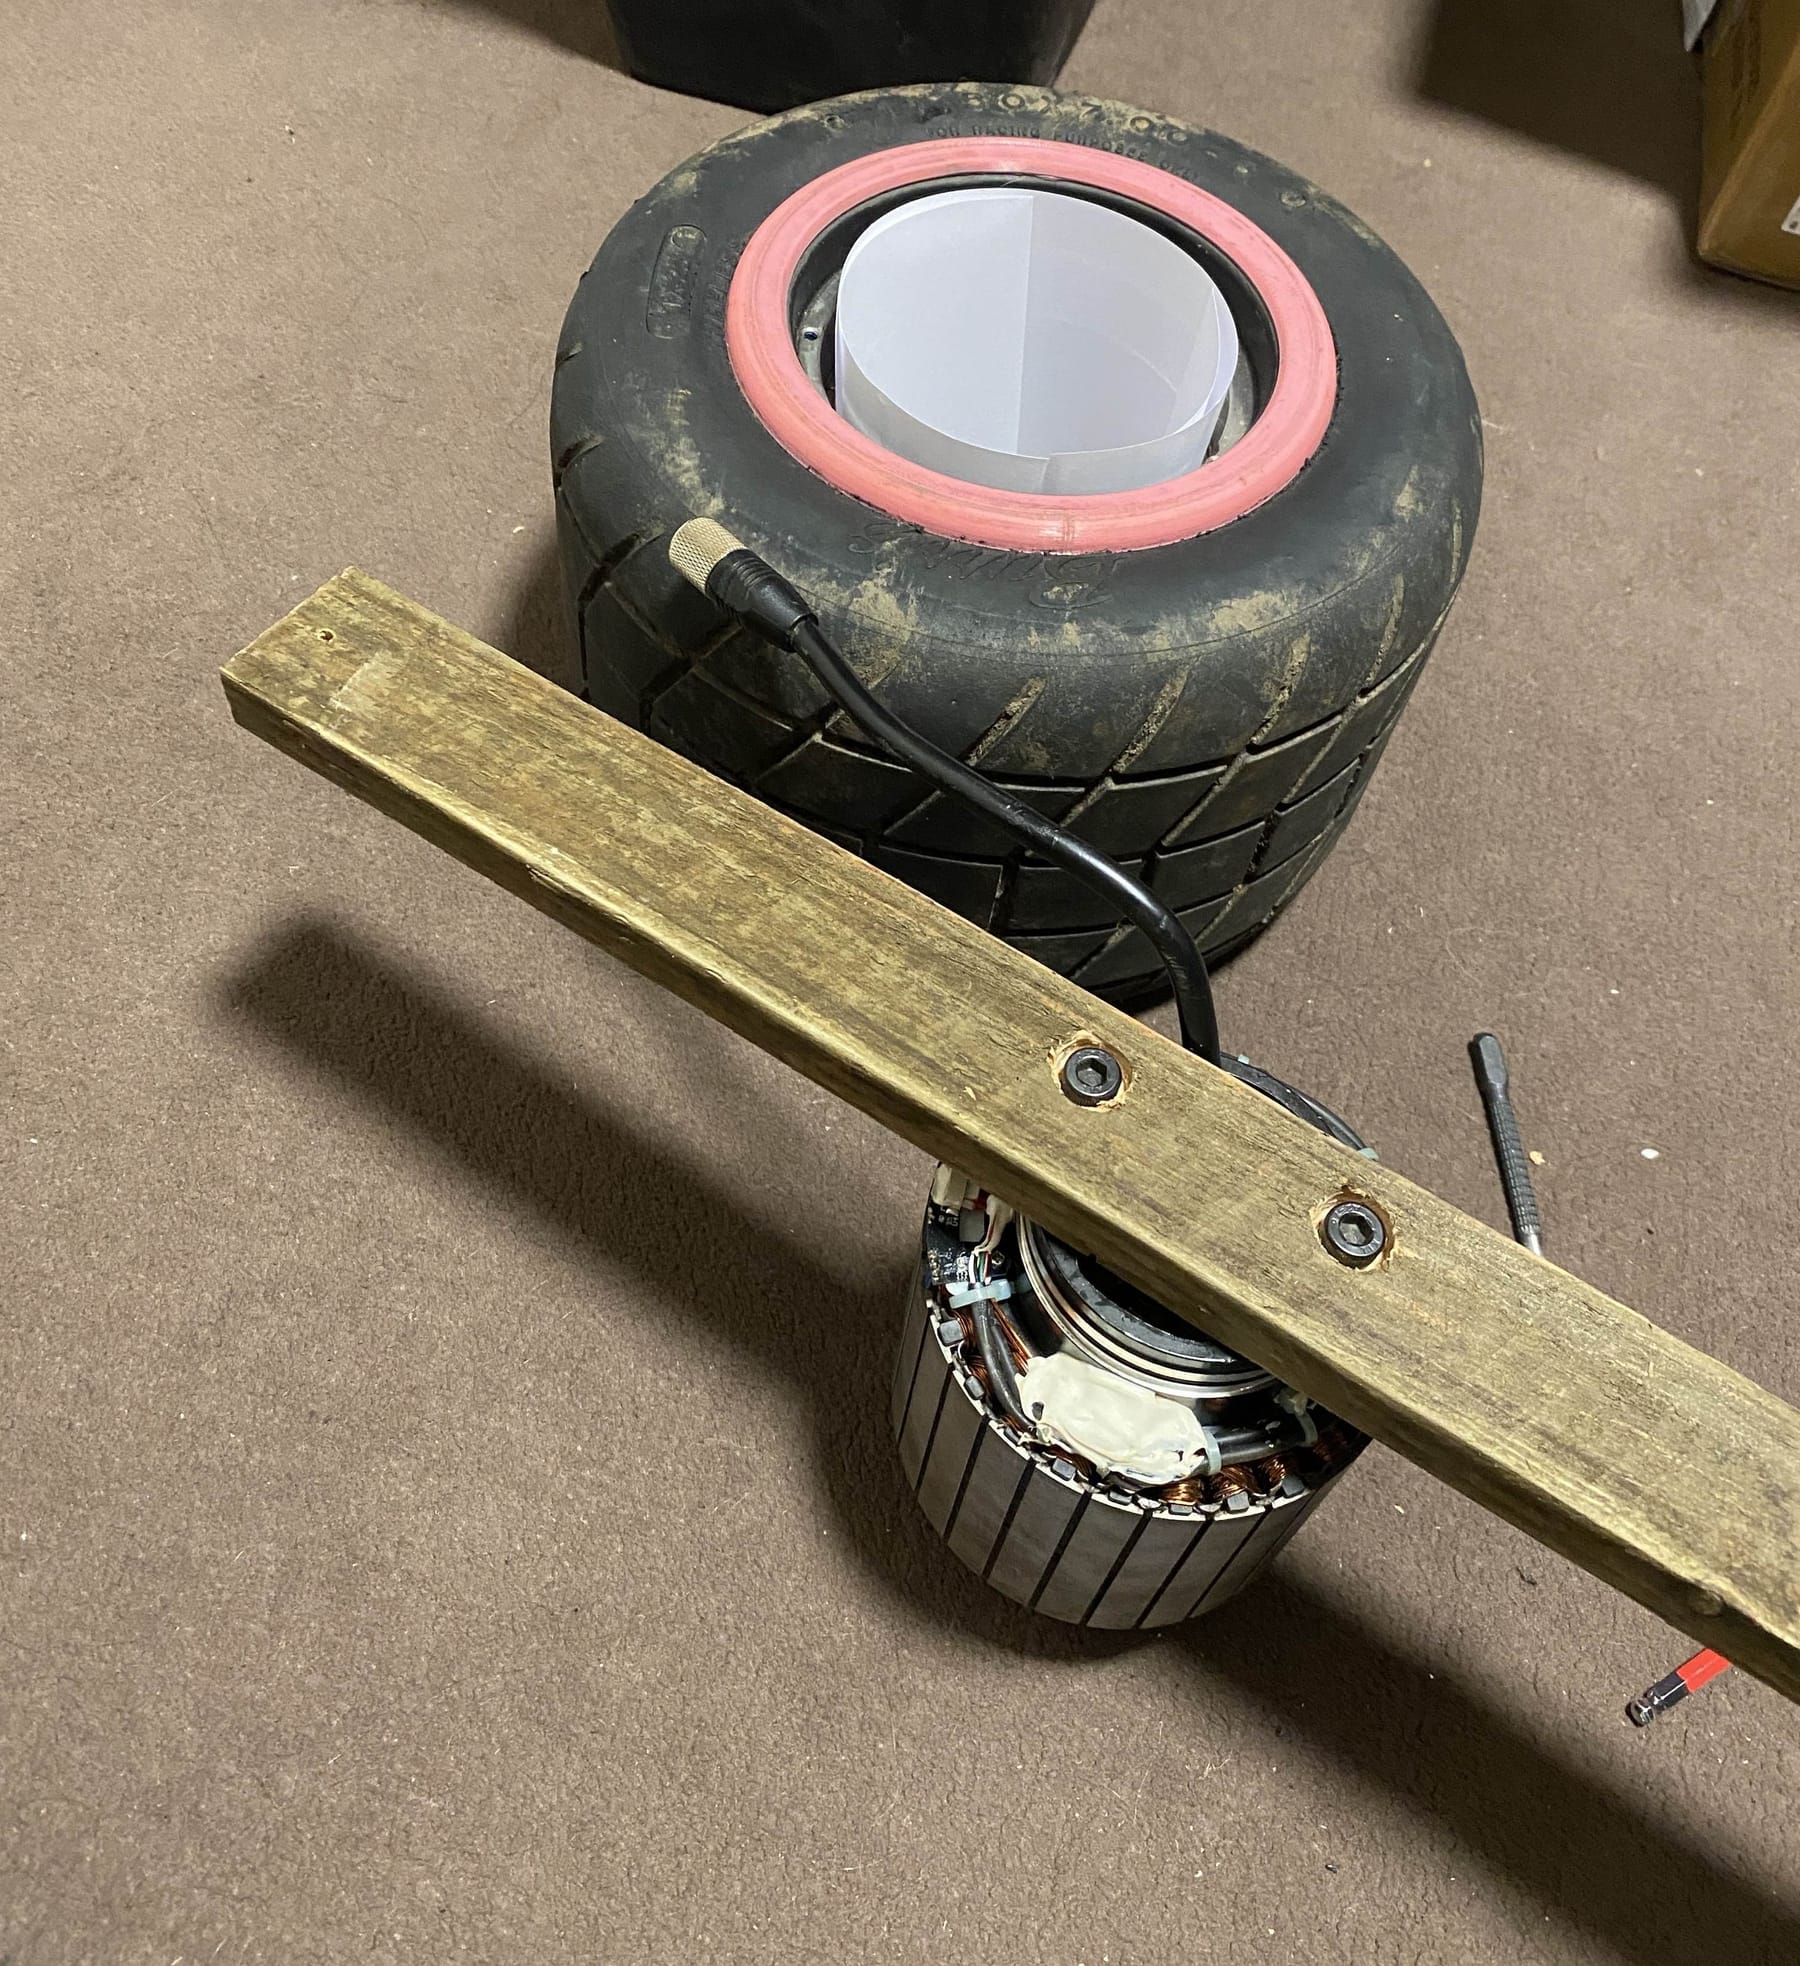
Card around the magnets as a barrier for when it inevitably wants to scrape on it's way down. Stupid easy drop in with a little extra convincing with the press to seat it onto the hub bearing properly.
And there it is. I don't have the plate either so left the bearing off the other side. It's easier and imo better to mount the bearing on the plate then slide that onto the axle. It'll hopefully get collected at some point and be put back to use. Hopefully this time not in water 😩
I'll let y'all know if this truly was a success once I hear back. But based on measurements it seems all good.
-
Damn, this is a repair that is for the history books!
Hopefully it works! This reminds me when I did my motor cable swap -
@Lia said :
Also hyped to see you here <3
Aaa ... may I join the hype club by seeing @Beardonaboard here on forum! I think I bookmarked stuff off FB and Reddit when this huge XLV build first hit the scene.
@Lia what's the particular make of that dark green grease you chose for these bearings? Any deeper insight with it by past experiences?
-Overall another awesome thread! -
@LOAFFETTE The cable swap was mint! Looks intimidating at first but I guess if you defo have the right pinout then it’s just a case of patience and heat.
@Sirgu I went with some generic bearing grease on Amazon as I didn’t have a whole lot of time left to wait for any specialist grease for the specific application. Afaik for this use case it’s mostly about keeping water out so the thicker stuff seemed appropriate. High speed grease maybe if you wanna ensure no performance loss since normal greases increase the rolling resistance a fair bit once packed well.
-
UPDATE!
It works! The bearings unfortunately did need replacing in the end. Just too far gone sadly despite getting them spinning freely and smoothly. It did however need the hall sensors replacing too but other than that it's happy.So yes, turns out a motor as rusty as that can be restored.
That is of course if you're willing to spend hours with penetrating fluids, ultra fine abrasive scrubs and a bin full of rags. -
@lia The things we do 😉
-
@puzz360 Aha right? Do like a good challenge.
Makes me confident I can do the same to my old XR that is bound to be in no better condition 😅