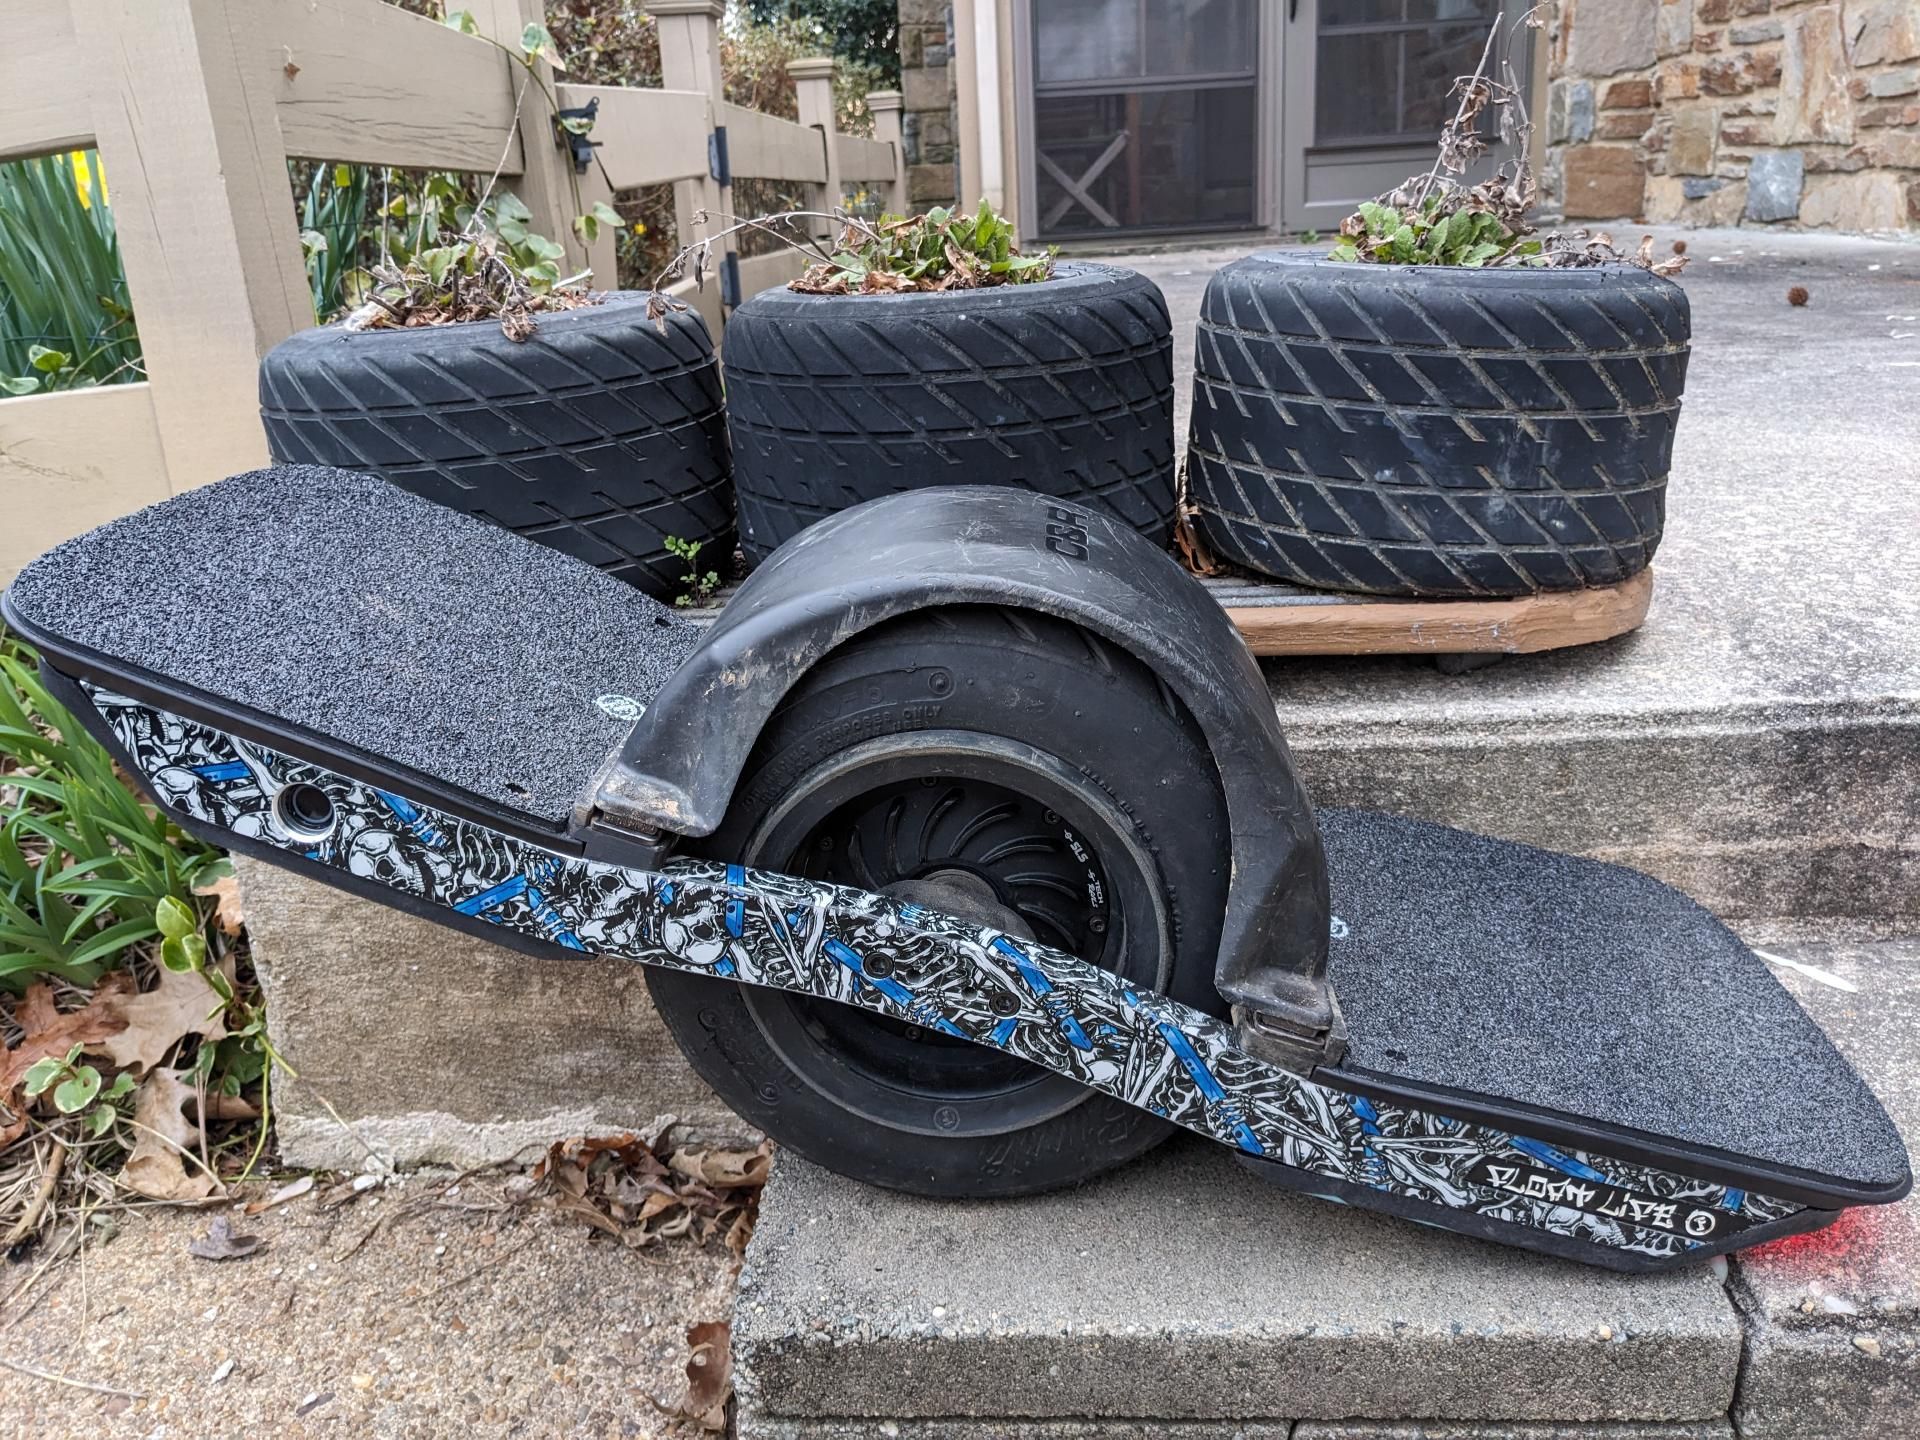
Slow and steady wins the race
-
I have finally finished my VESC build. I started buying and planning around November last year. After very many hours of researching, reading, and watching my board is done and running great. Here are the major components:
- ZESC
- 12v Buck converter
- Maker-X BLE (probably, it might be a knock-off)
- ELM/AV-wheel box
- Hypercore
- Board Garage 18S2P of Molicel P45B
- Ennoid X-Lite BMS
- TorqueBOX
- Halo foot pads / V4 Force Sensor
- BANG Bumpers
- WTF Rails
The board seems to be working great, there are a couple oddities with the ZESC, but they are workable. That said, I can't recommend anyone buy this controller. The BLE module wouldn't work and I could only configure it via USB-C. After all attempts to blame it on me failed, they ghosted me and I had to pick up a replacement module. So, I went to buy a Maker-X module; what I got doesn't look right, but it works, and that's what matters most.
I finished waterproofing this past weekend and got to really playing with it. I think I have a tune now that I can ride for a few weeks to get used to it, then tune further from there. It rides so great, it almost feels like a chore to get on my GT. I decommissioned my CBXR system to swap my WTF rails and hypercore over to this build.
More pictures and additional info to follow.
-
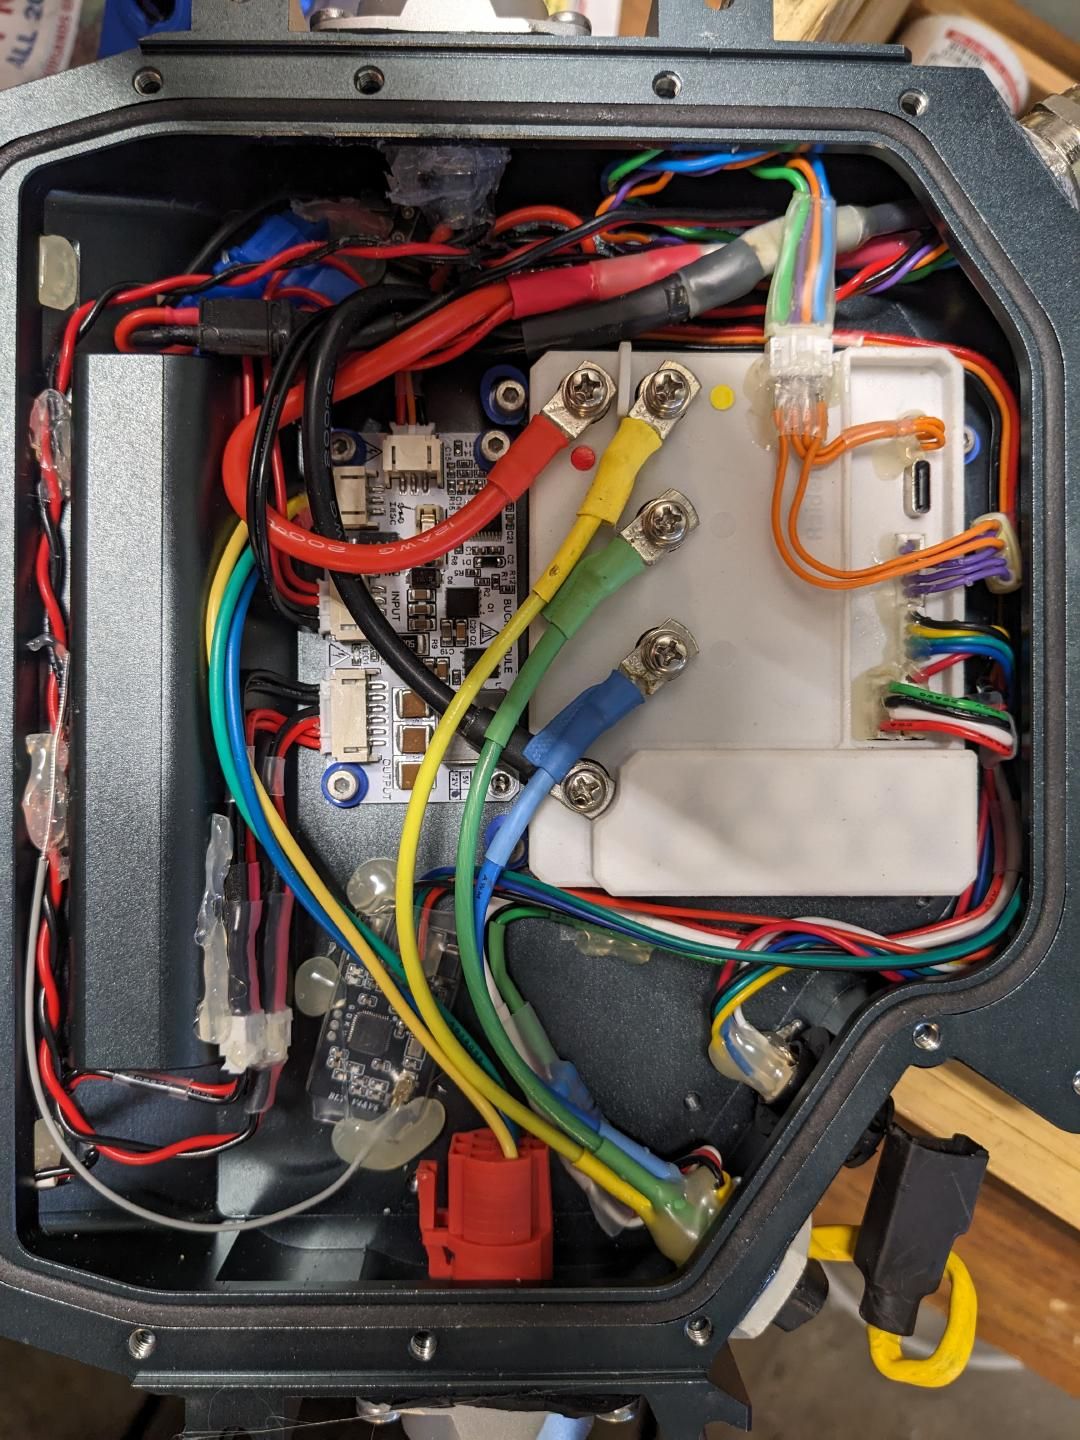
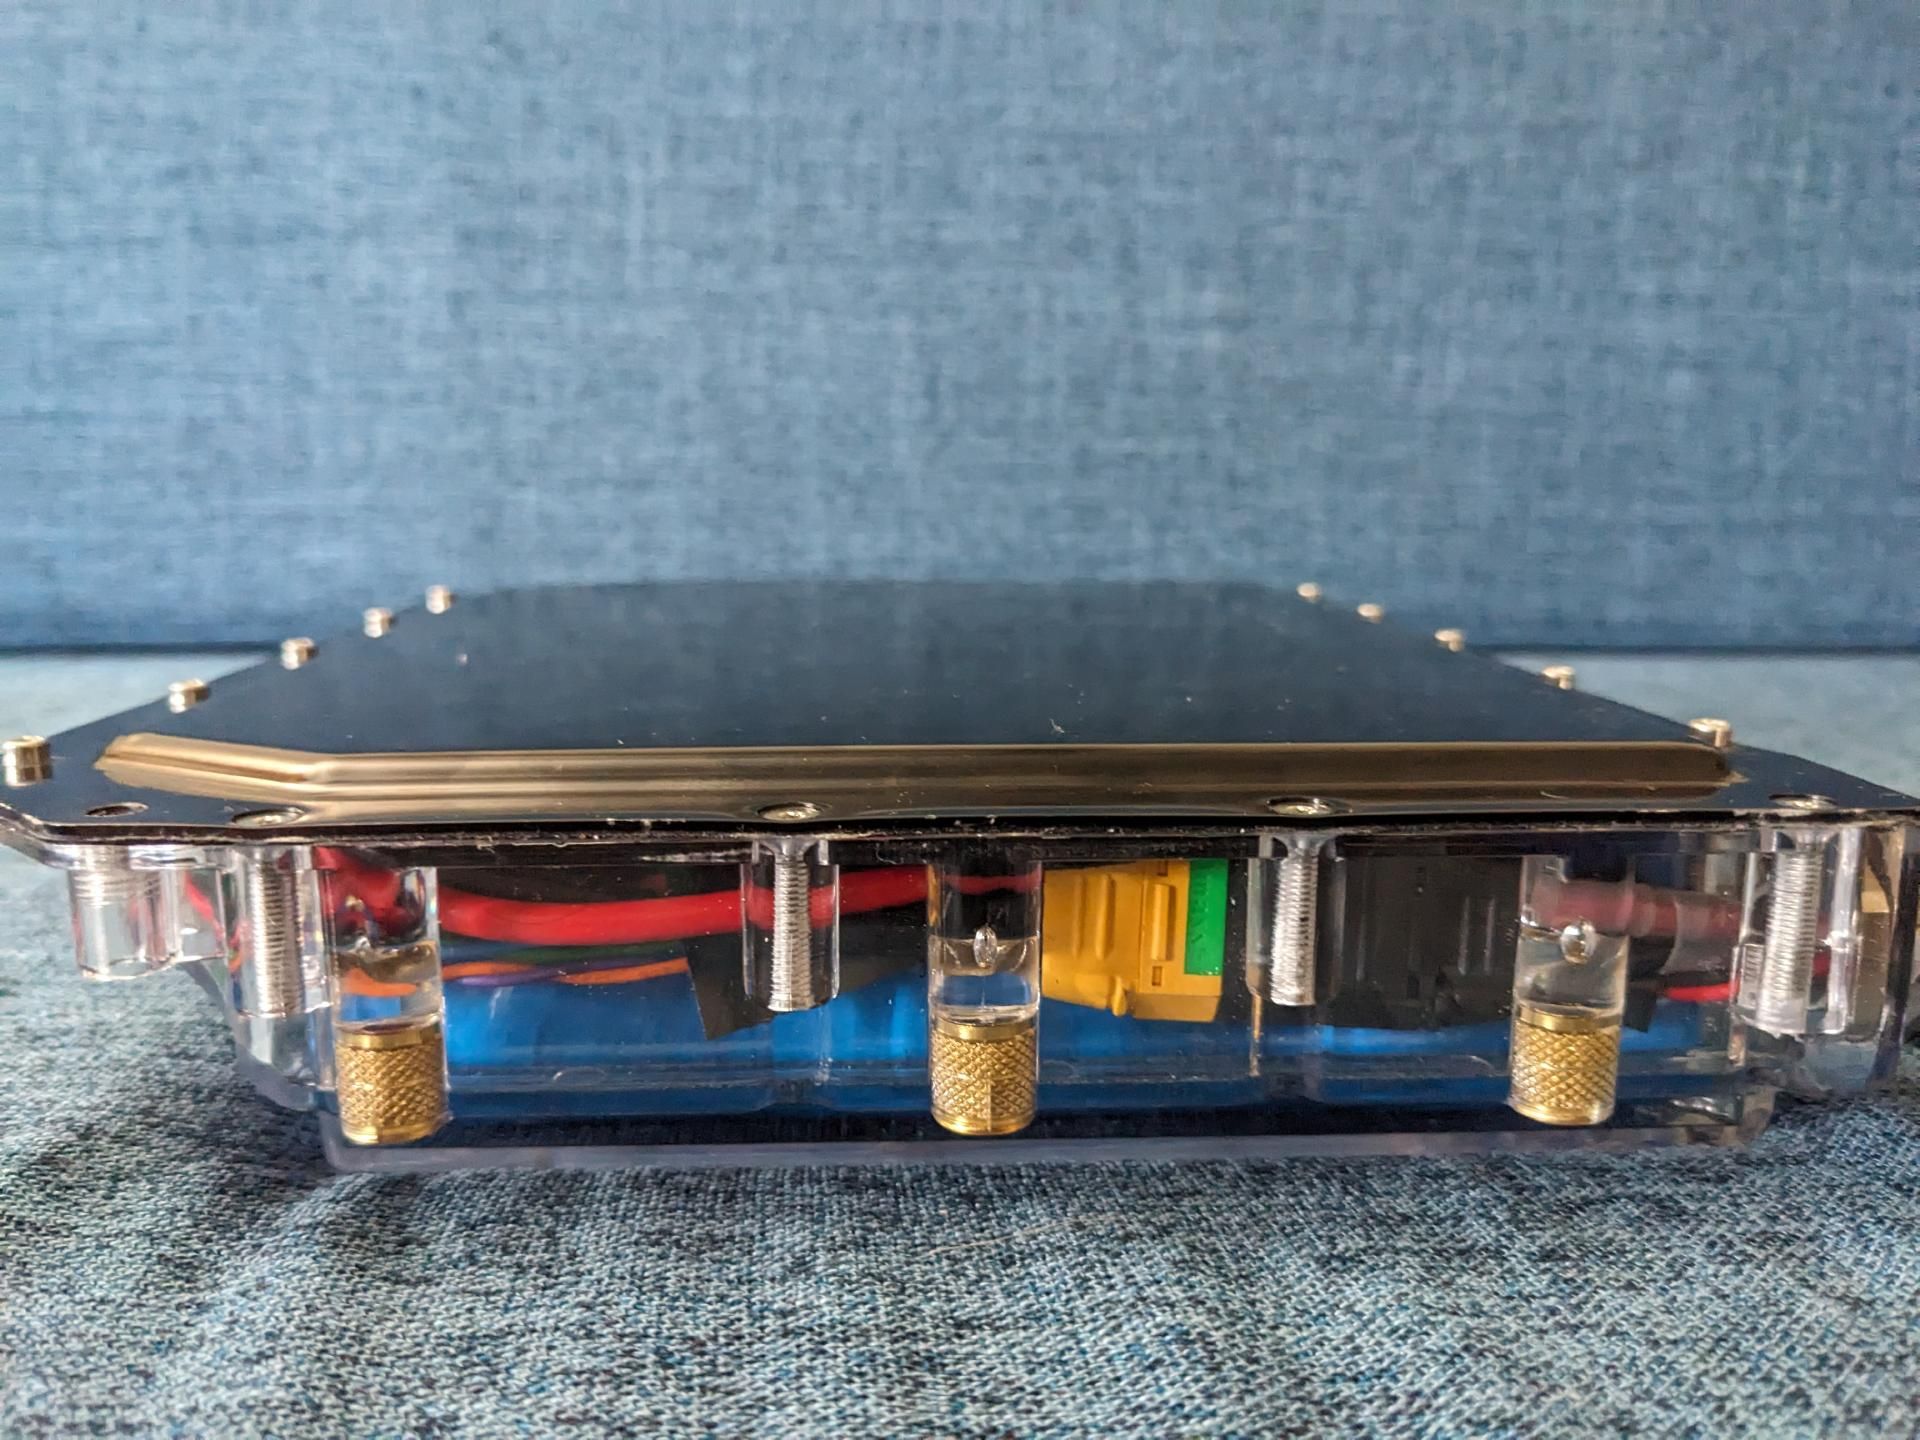
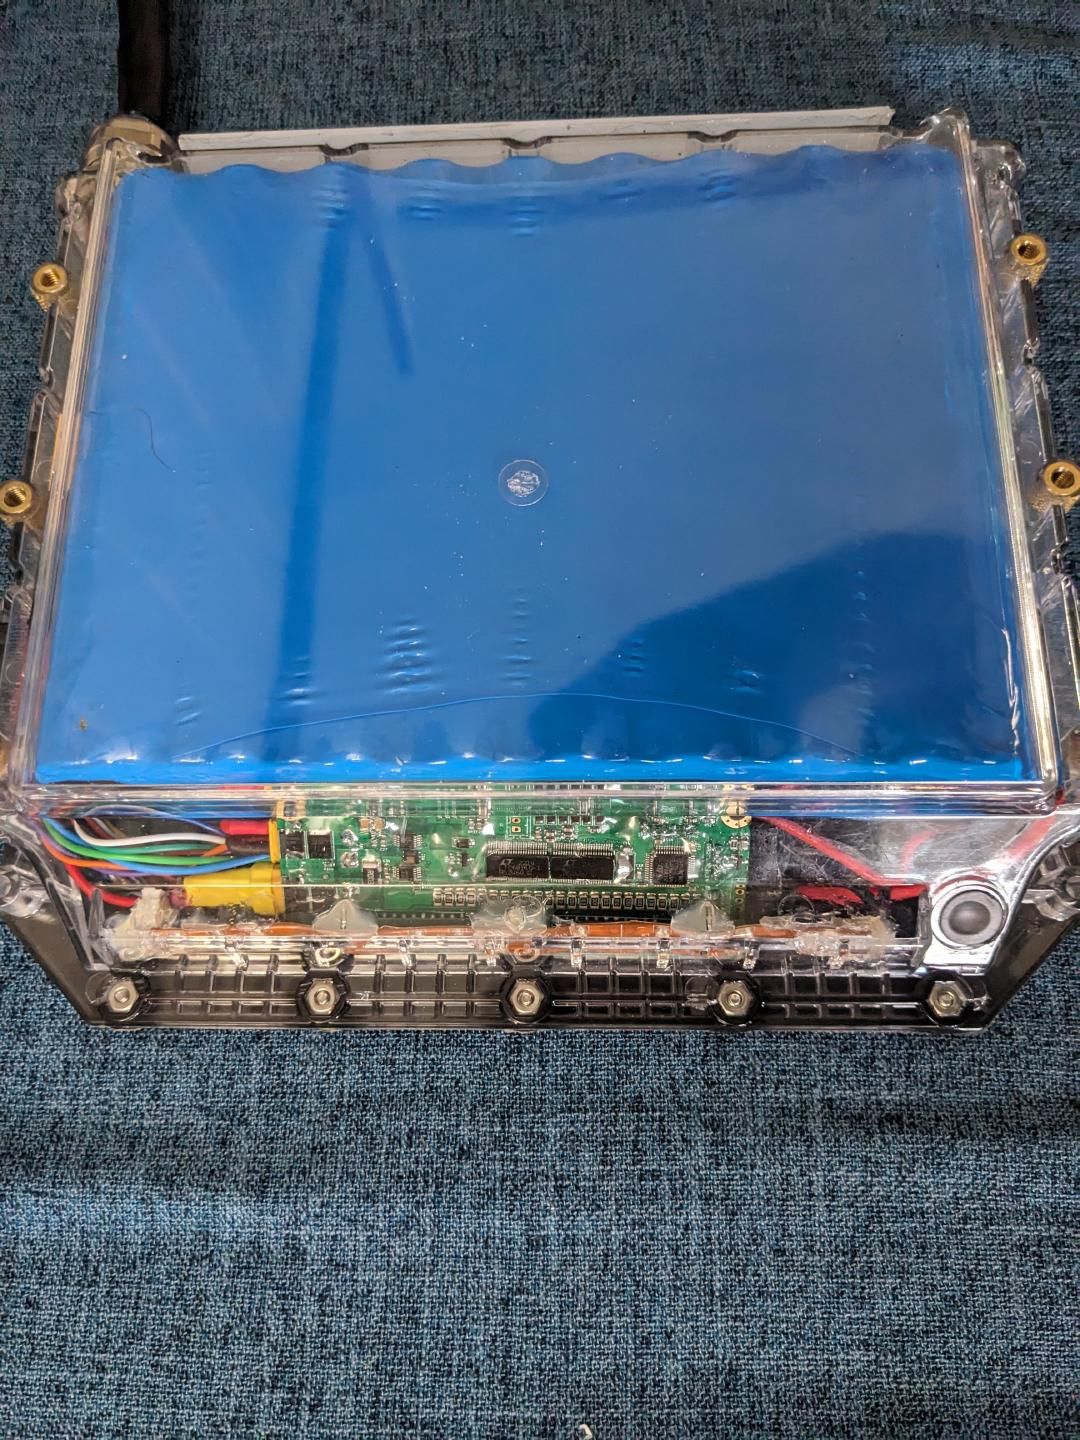
I bought the ZESC because it had the cover and looked nicely self-contained. When I had to open it up to start checking leads and resistors for ESD as part of their "troubleshooting" I found it's built-in heatsink isn't really special and it it uses the same transfer pads that I would have used had I just bought a little FOCer.
The BMS connections lack power and ground to wake up the Ennoid X-Lite. So, I had to pull those from the UART. The Buck is wired in series with the power button and ZESC, it provides direct, constant 12v to the lights. Nothing fancy here, just always white in front and always red in back.
It does look clean, though, and I like that.
-
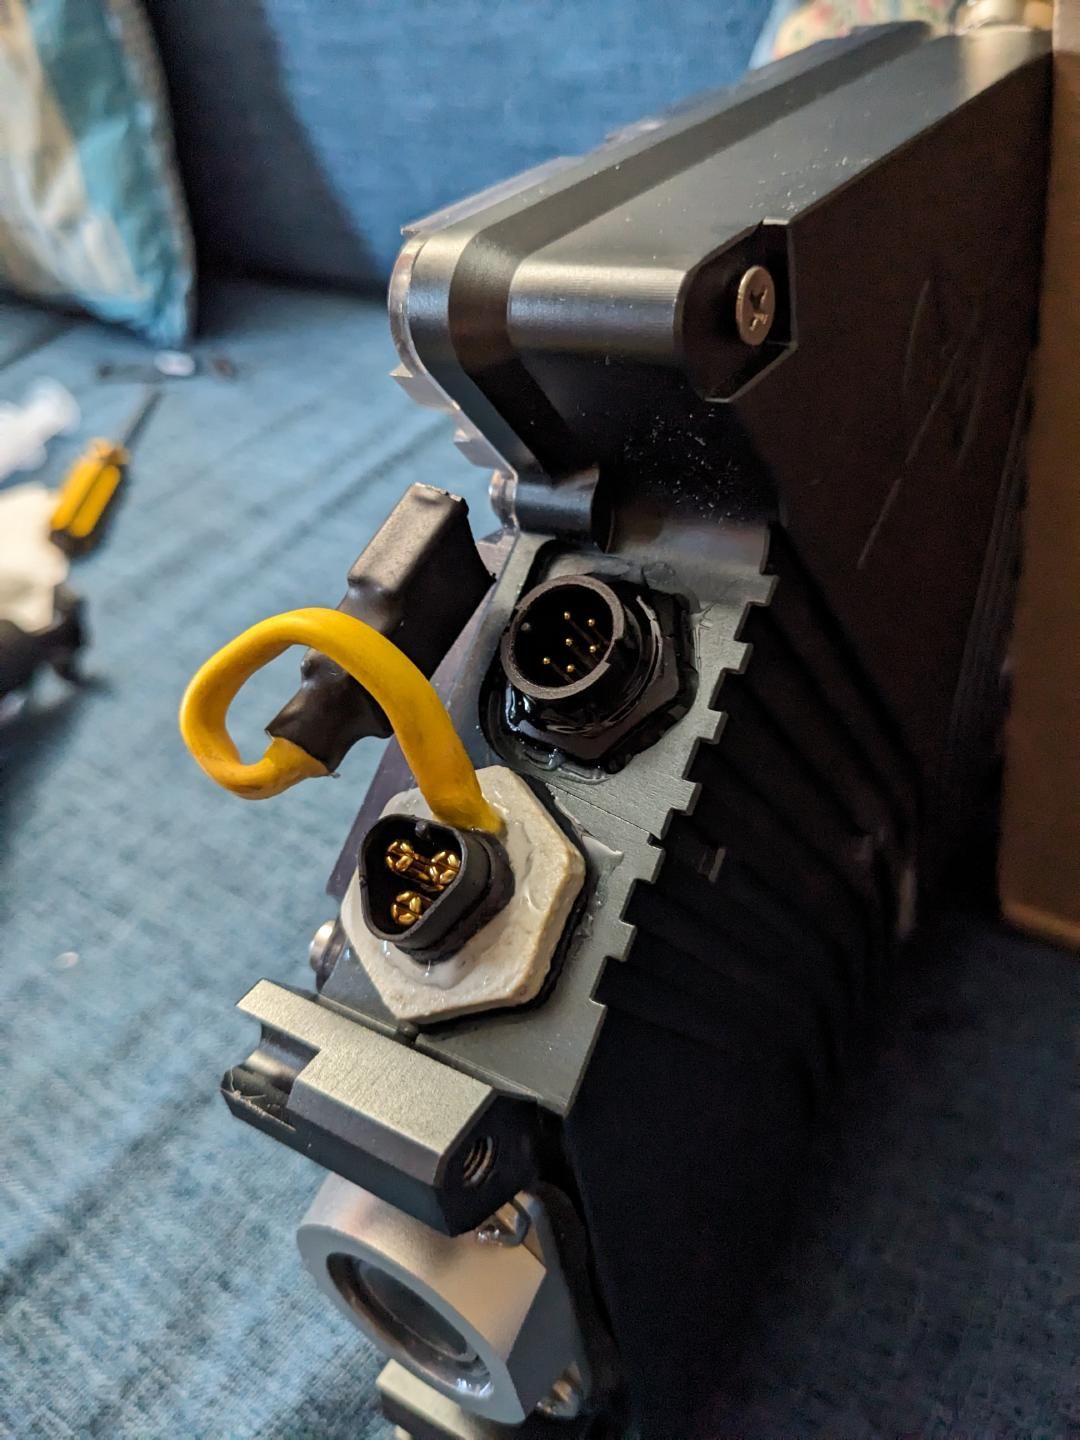
I made the motor power out of an MT60, used the Switchcraft for the hall sensors, and created a footpad connector out of a 3-pin 3M connector.
I could not figure out where the air was getting in from, so I went crazy with the flowable silicone. Finally, in deep frustration, I took a step away, came back, and realized it was the LED window that I had forgot to seal :( The extra silicone all over the connectors isn't going to hurt anything.
-
The TorqueBOX fit's Mario's battery perfectly, even with a nice anti-spark connector. Absolutely no fitment issues.
-

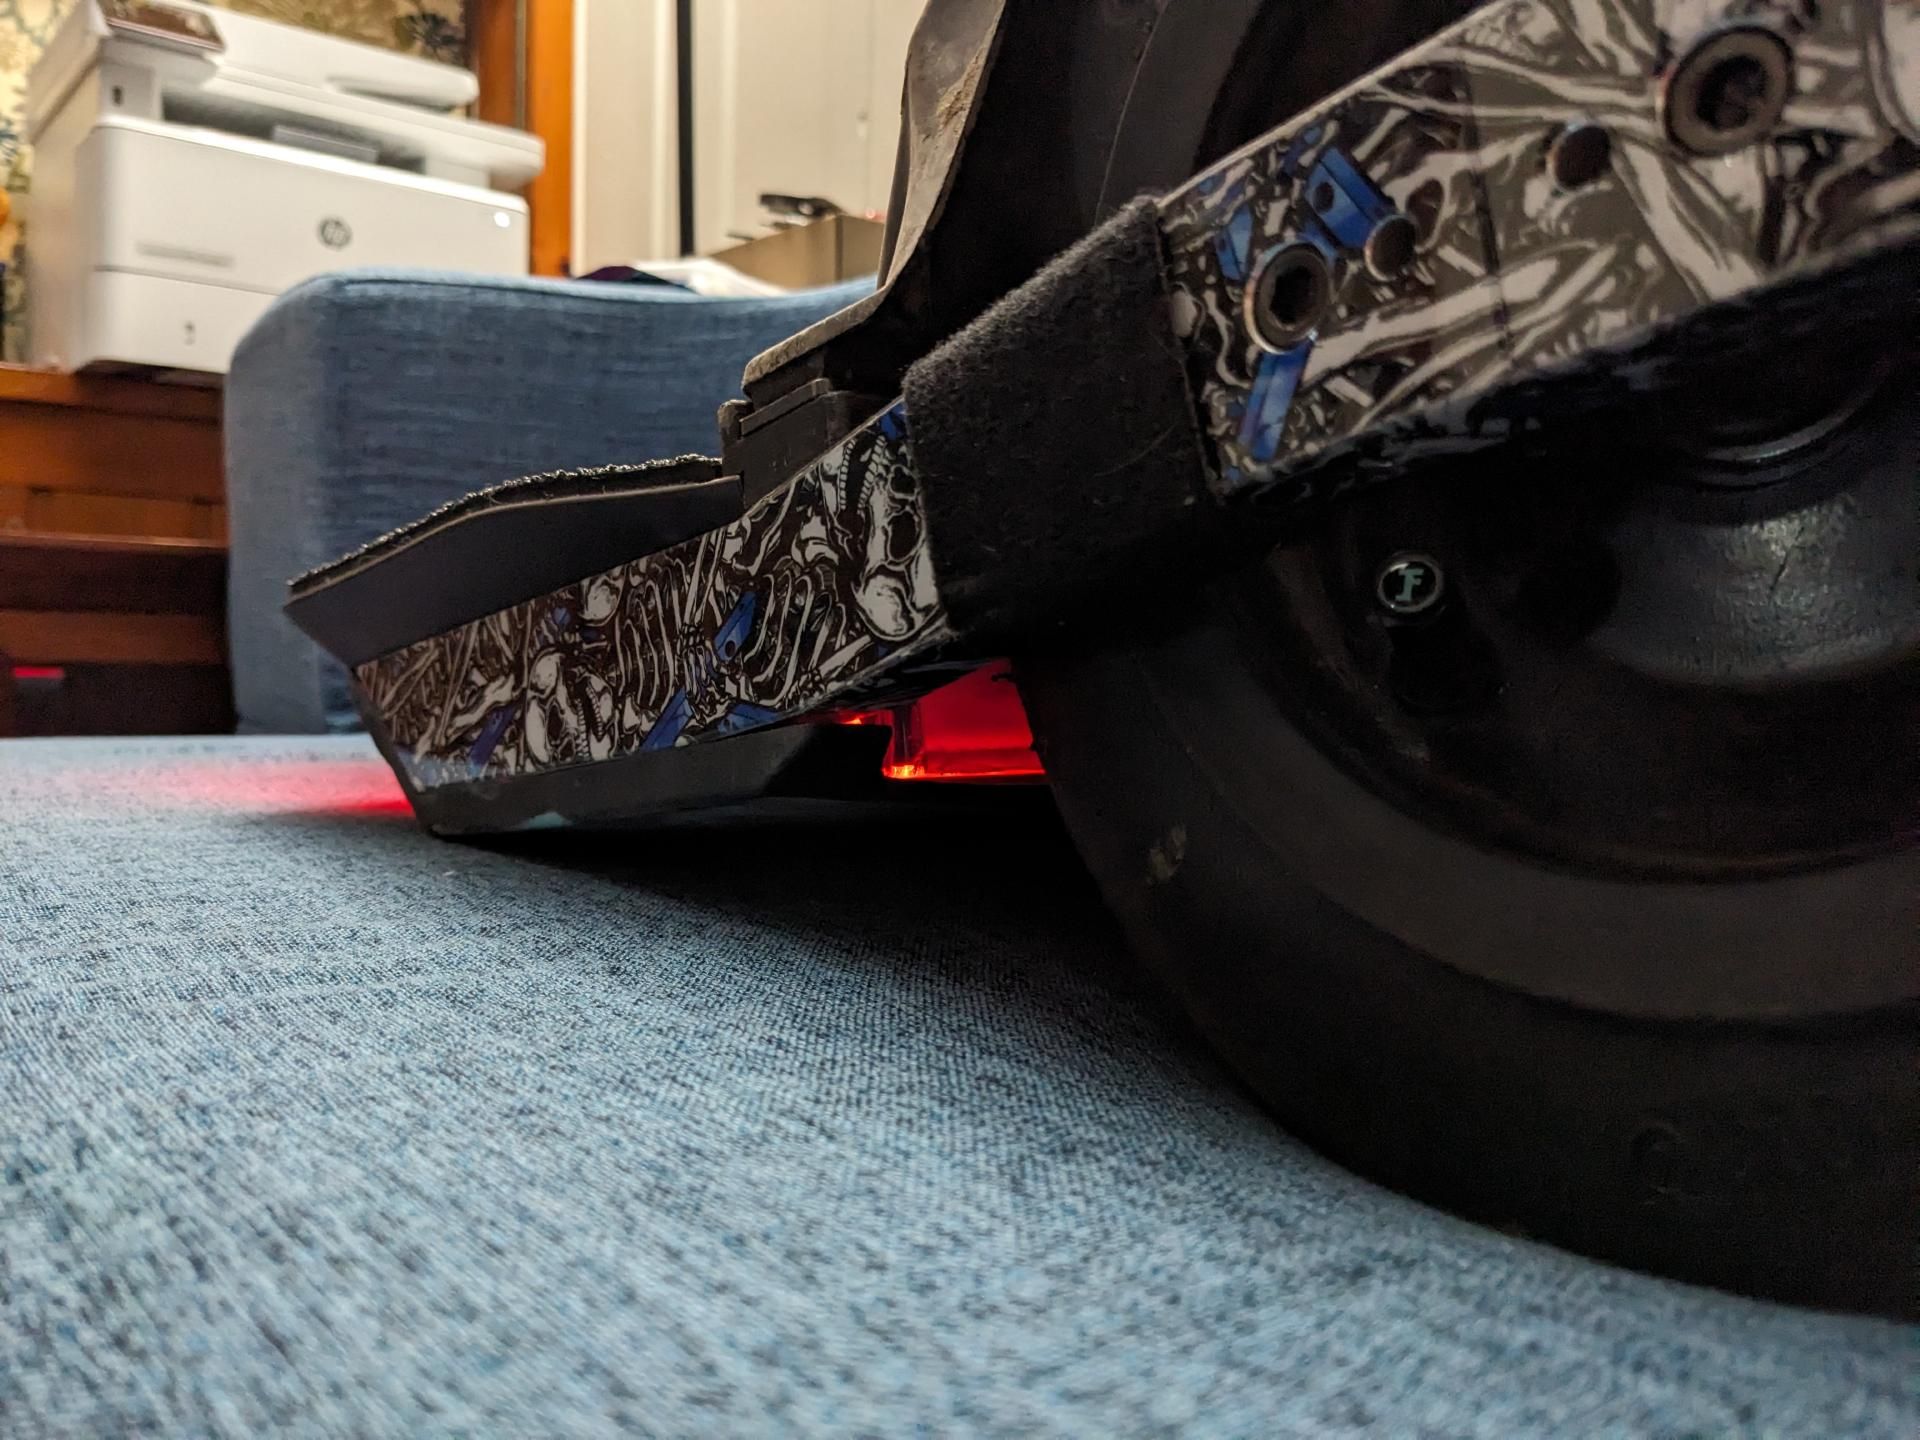
I just used cheap high-density stick-on LEDs in the front with only a + and - terminal. Sticking them on the aluminum should give me good heat control. The red one in the back is low density. I really wanted lights, but didn't want anything fancy. I was going to run the lights at full brightness all the time anyway, so no reason to use power on another controller for my first build. I am sure I will get more fancy for the next one.
-
I'm not sure I am going to love the Halo footpads. I need to give them some time. I'm not deciding until I get them on the trails for a bit. They are definitely interesting and worth a try. The biggest downside by far is that they are sooooo heavy. I died them black with Jacquard iDye Poly Black, which came out great.
The Halo's don't fit great at all. And, I am really not happy about that. I have to barely thread each screw, put a little pressure on the foot pad to line up some of them, and then finally tighten them down. I've had things be off before by a smidge, but never this bad.
-
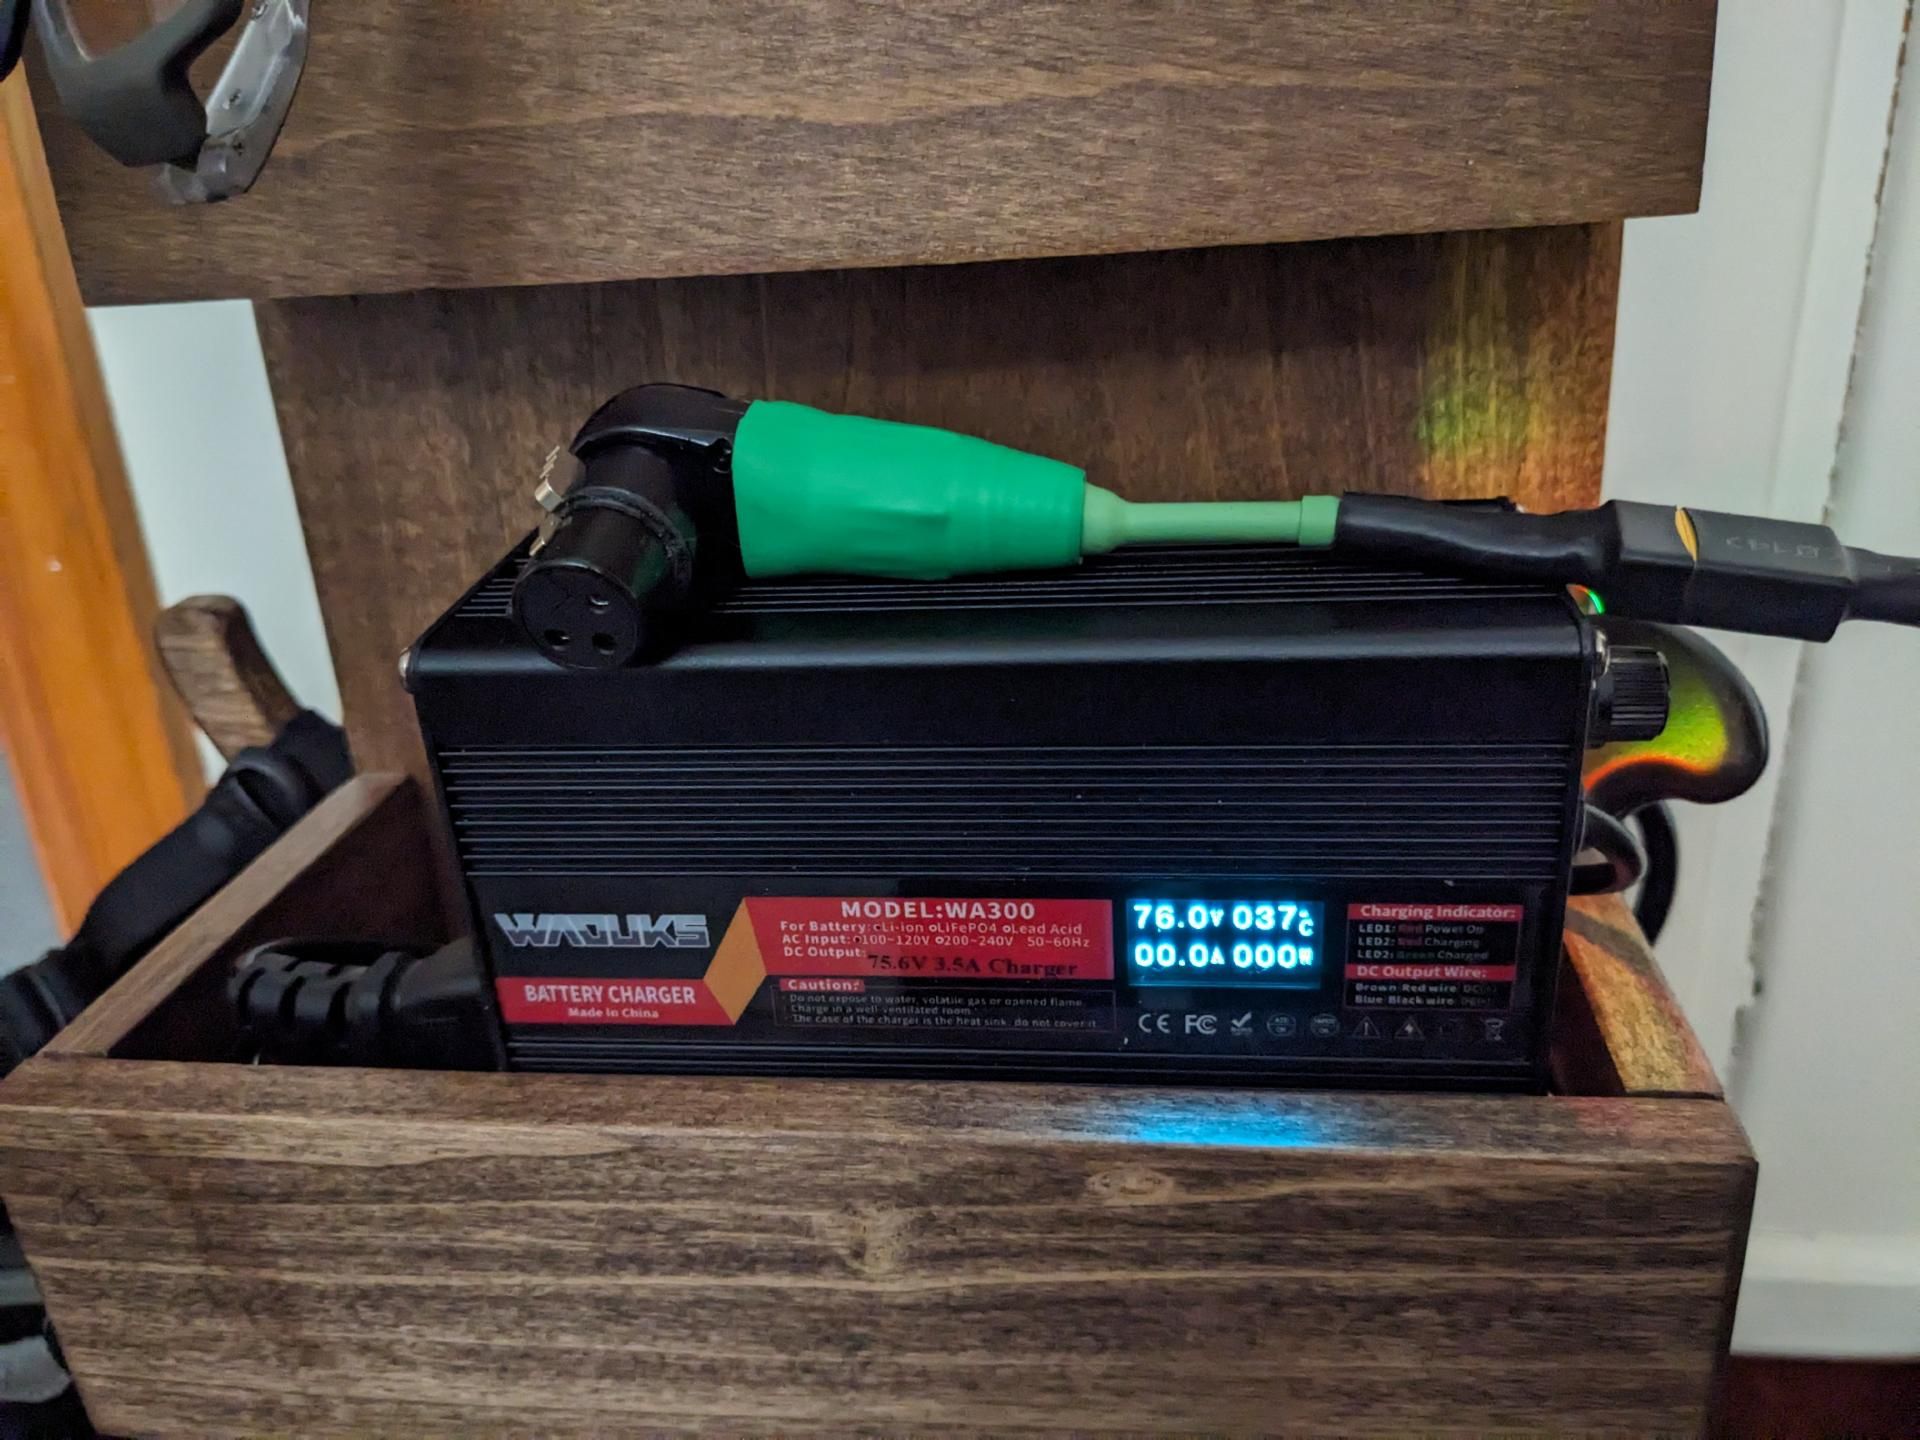
I got two chargers, this is my preferred. It runs at 3.5A, which I think is the right size for my battery and extending its life. It comes with an XT30 connector, but that gave me the option to buy my own multi-position XLR and offset it in a really cool angle. It's easy to grab, hangs nicely, and I am proud o fit. I decided to color code my chargers. Black for Plus voltage, Blue for 63v, and green for 75.6v. I kinda wish we could convince the community to all follow the same color coding by voltage. It might save someone's board.
I opted for the P45B cells because I wanted a battery that lasted, and their cycle life far out paces that of the 50S cells. This thing is going to get charged 500 times easily. I had to reach out to Mario, and he opened up this battery on his store long enough for me to order it, and I am glad I did. Having the P45B's in there gives me a good feeling about my build.
-
@biell said in Slow and steady wins the race:
I decided to color code my chargers. Black for Plus voltage, Blue for 63v, and green for 75.6v. I kinda wish we could convince the community to all follow the same color coding by voltage.
Me too. I have my Plus and XR charger labelled just in case.
I like the little display on that charger! That'd come in handy to know how much power the pack is actually taking on a charge.
-
@lia Yep, after seeing that some chargers have that, it became a requirement. The display, and the 3.5A were the deciding factors. The small size was a plus, and the XT30 was initially thought of as a downside. After getting I realized the XT30 was an upside. If I could get a working GT charger plug, I could attach it to this charger also.
It is louder than I would like, but still within the parameters of what I can accept.
-
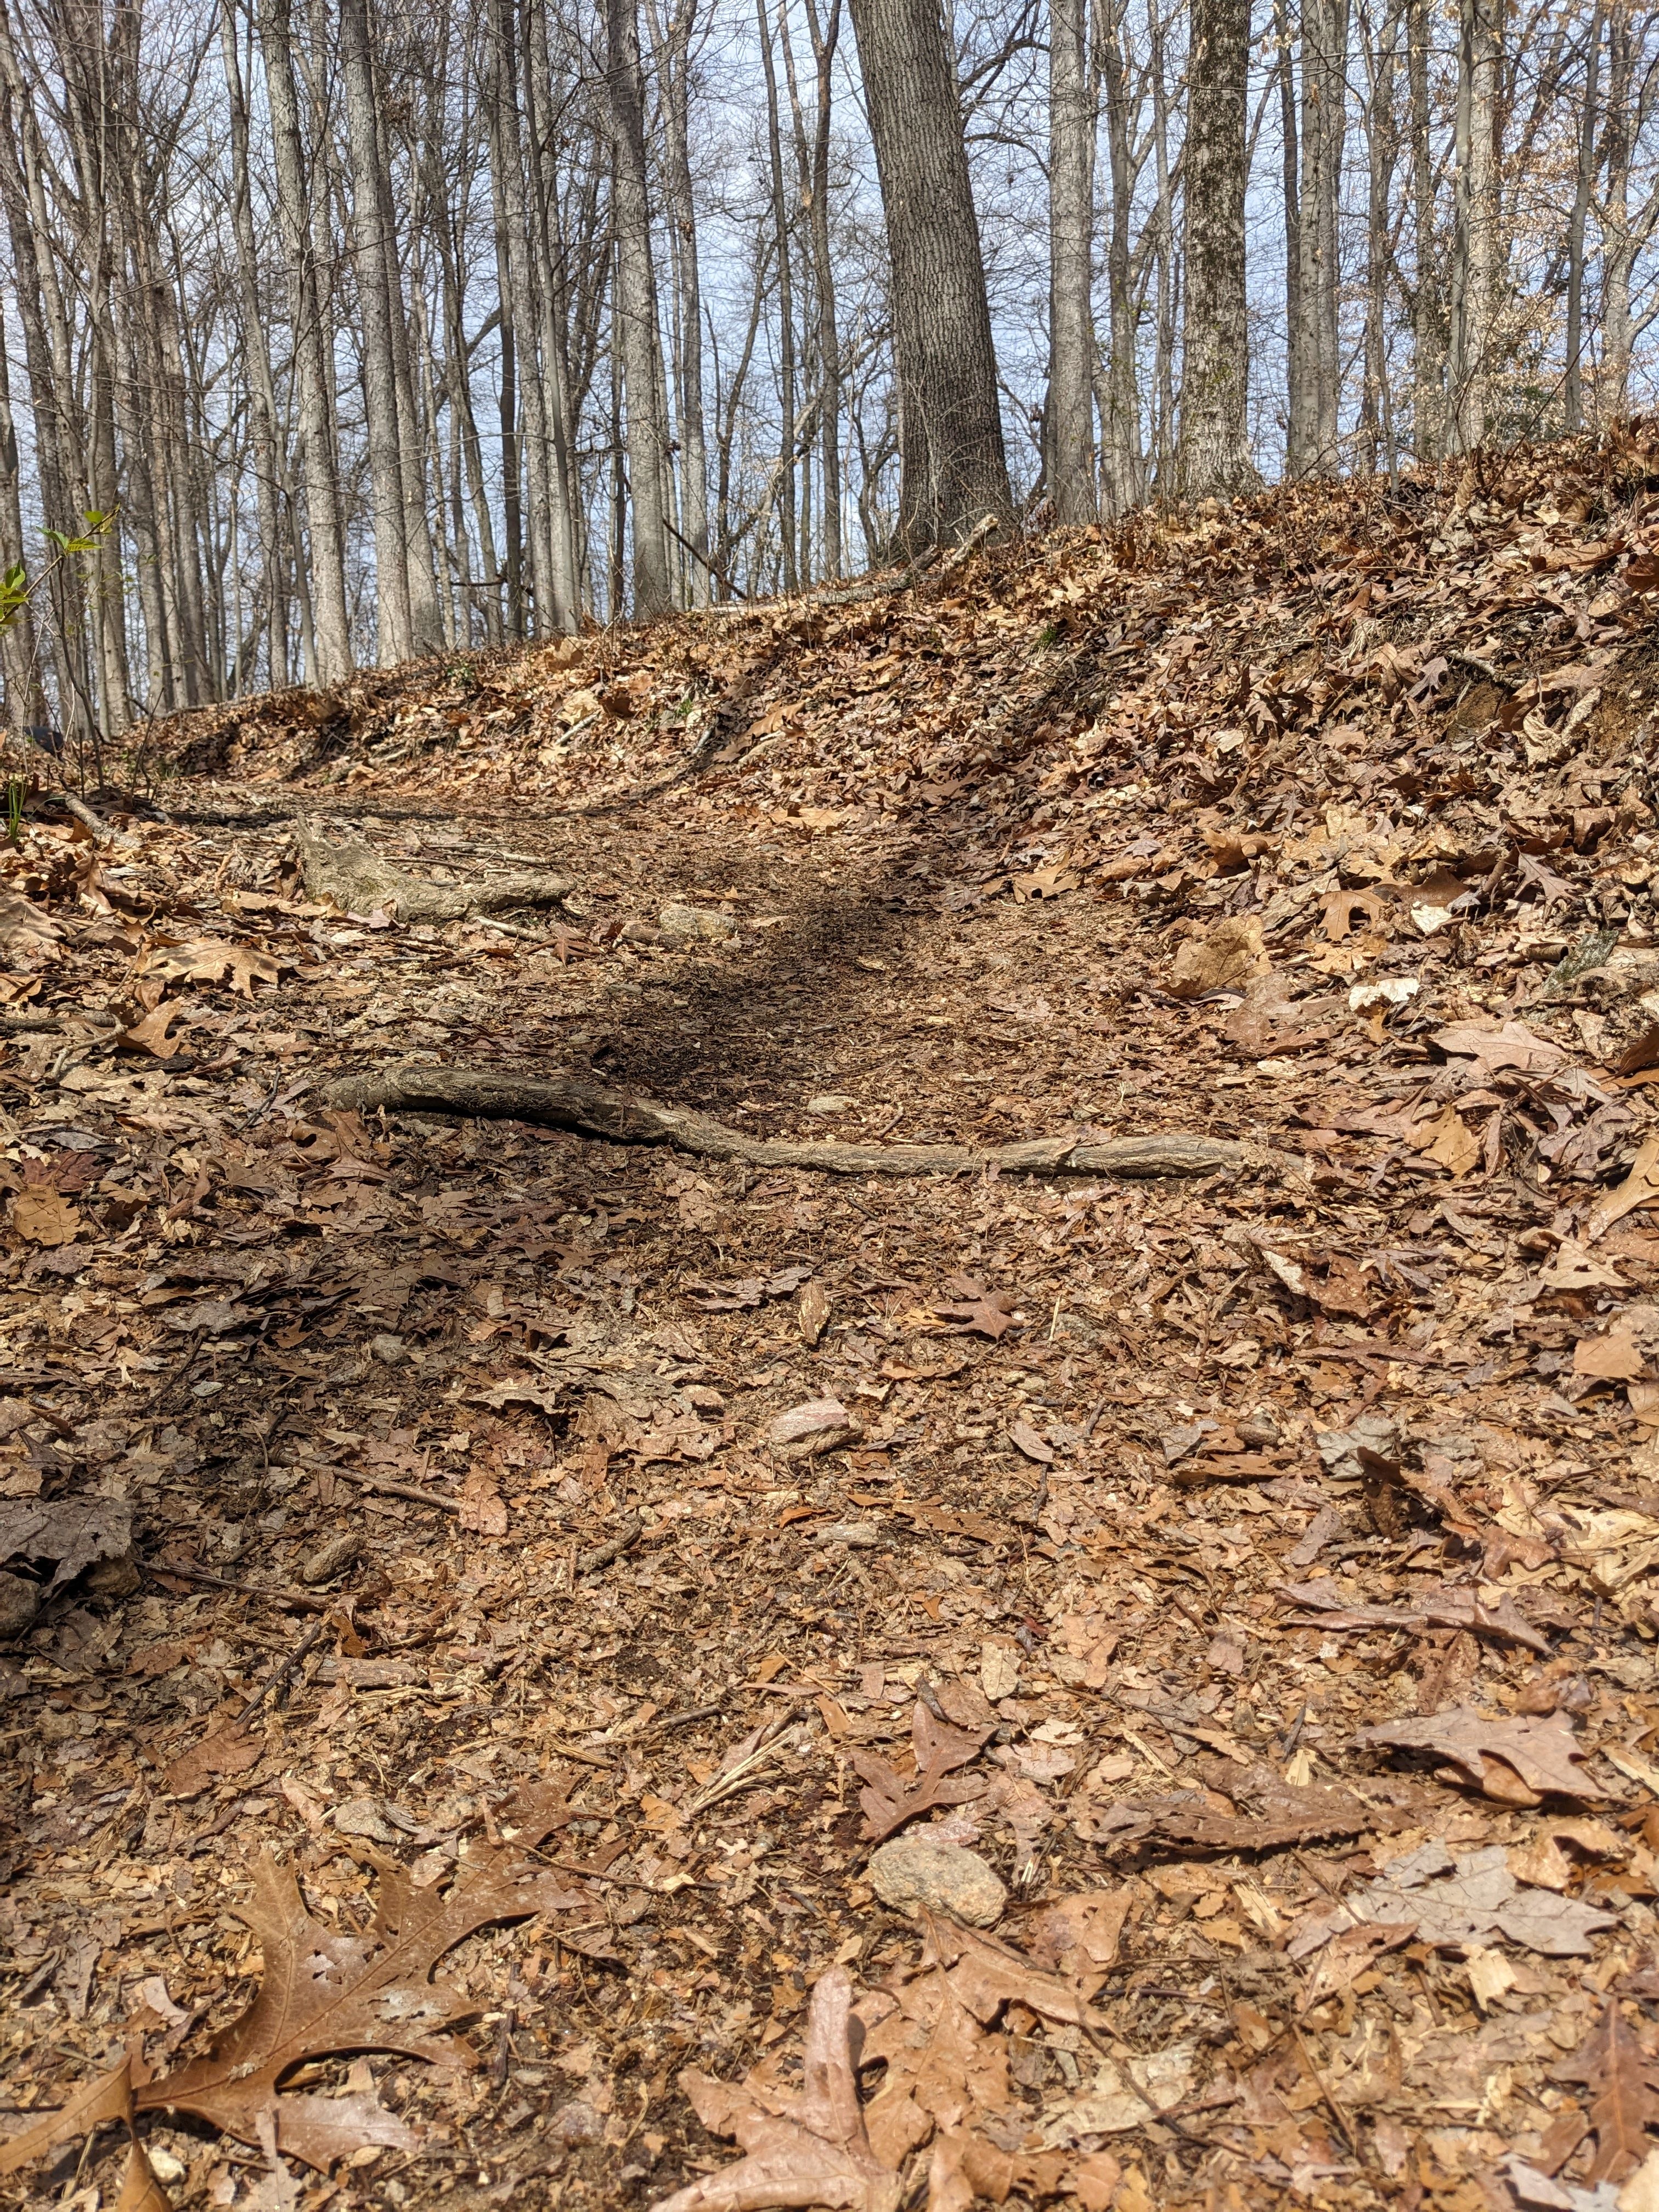
Today I went up a particularly steep section of trail that my old CBXR could just barely make. There is this one root where it is best to deweight over and push the nose down with your toe. I did the same routine today on my 18S2P VESC, and it had enough power that I ended up getting air and bonking it! Probably only a couple inches of air, but that felt exhilarating.
I have tried the hill on my GT, but it struggles due to clearance issues.
-
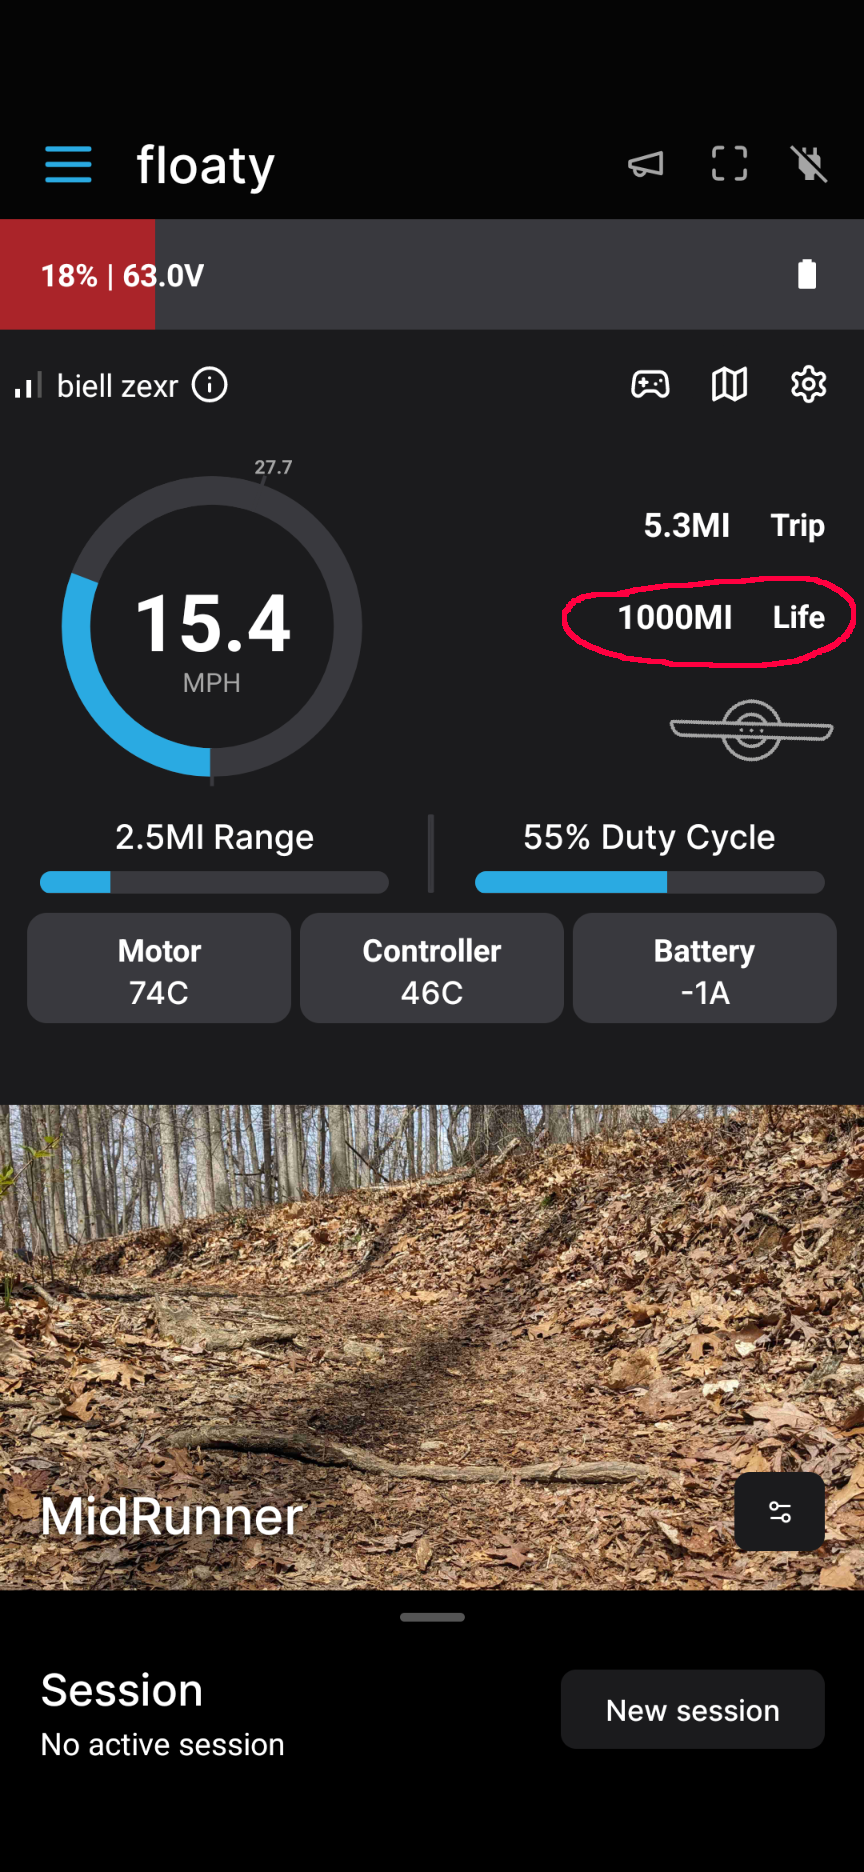
The last 4 months have been a blast, and I crossed the 1,000 mile mark today! I'm still tweaking my config and dealing with overheating when the temperature goes over 90°F and I am pushing the board hard on uphill trails. I've lowered my motor current, my ATR boost, removed my Float Life Savers, installed PubHubs, and removed parts of my rail guards. I'm almost there, afraid I will have to remove the rest of my rail guards.
On a non-heat related note, I really just didn't like the Halo footpads. I'm now using Kush Hi on both front and back and I'm loving that.