Multi-Modular Onewheel Stand
-
@lia said in Multi-Modular Onewheel Stand:
@notsure I liked the look of those but there aren't many studs in my walls to make placement practical. They're really cool though, super clean look!
i discovered ur secret to boundless productivity btw...
[drinks simultaneous blend of all 39 monster energy drink formulas]
-
@notsure You got me!
I've kept at least 1 can of each flavor. Exhausted all 9 flavors my local shop sells though. -
-
@notsure You have no idea how often I try to work the 100 coffee clip into a meme. One of these days...
-
@lia said in Multi-Modular Onewheel Stand:
One of these days...
-
Picked this one up again now that I got some more 20x20 pine.
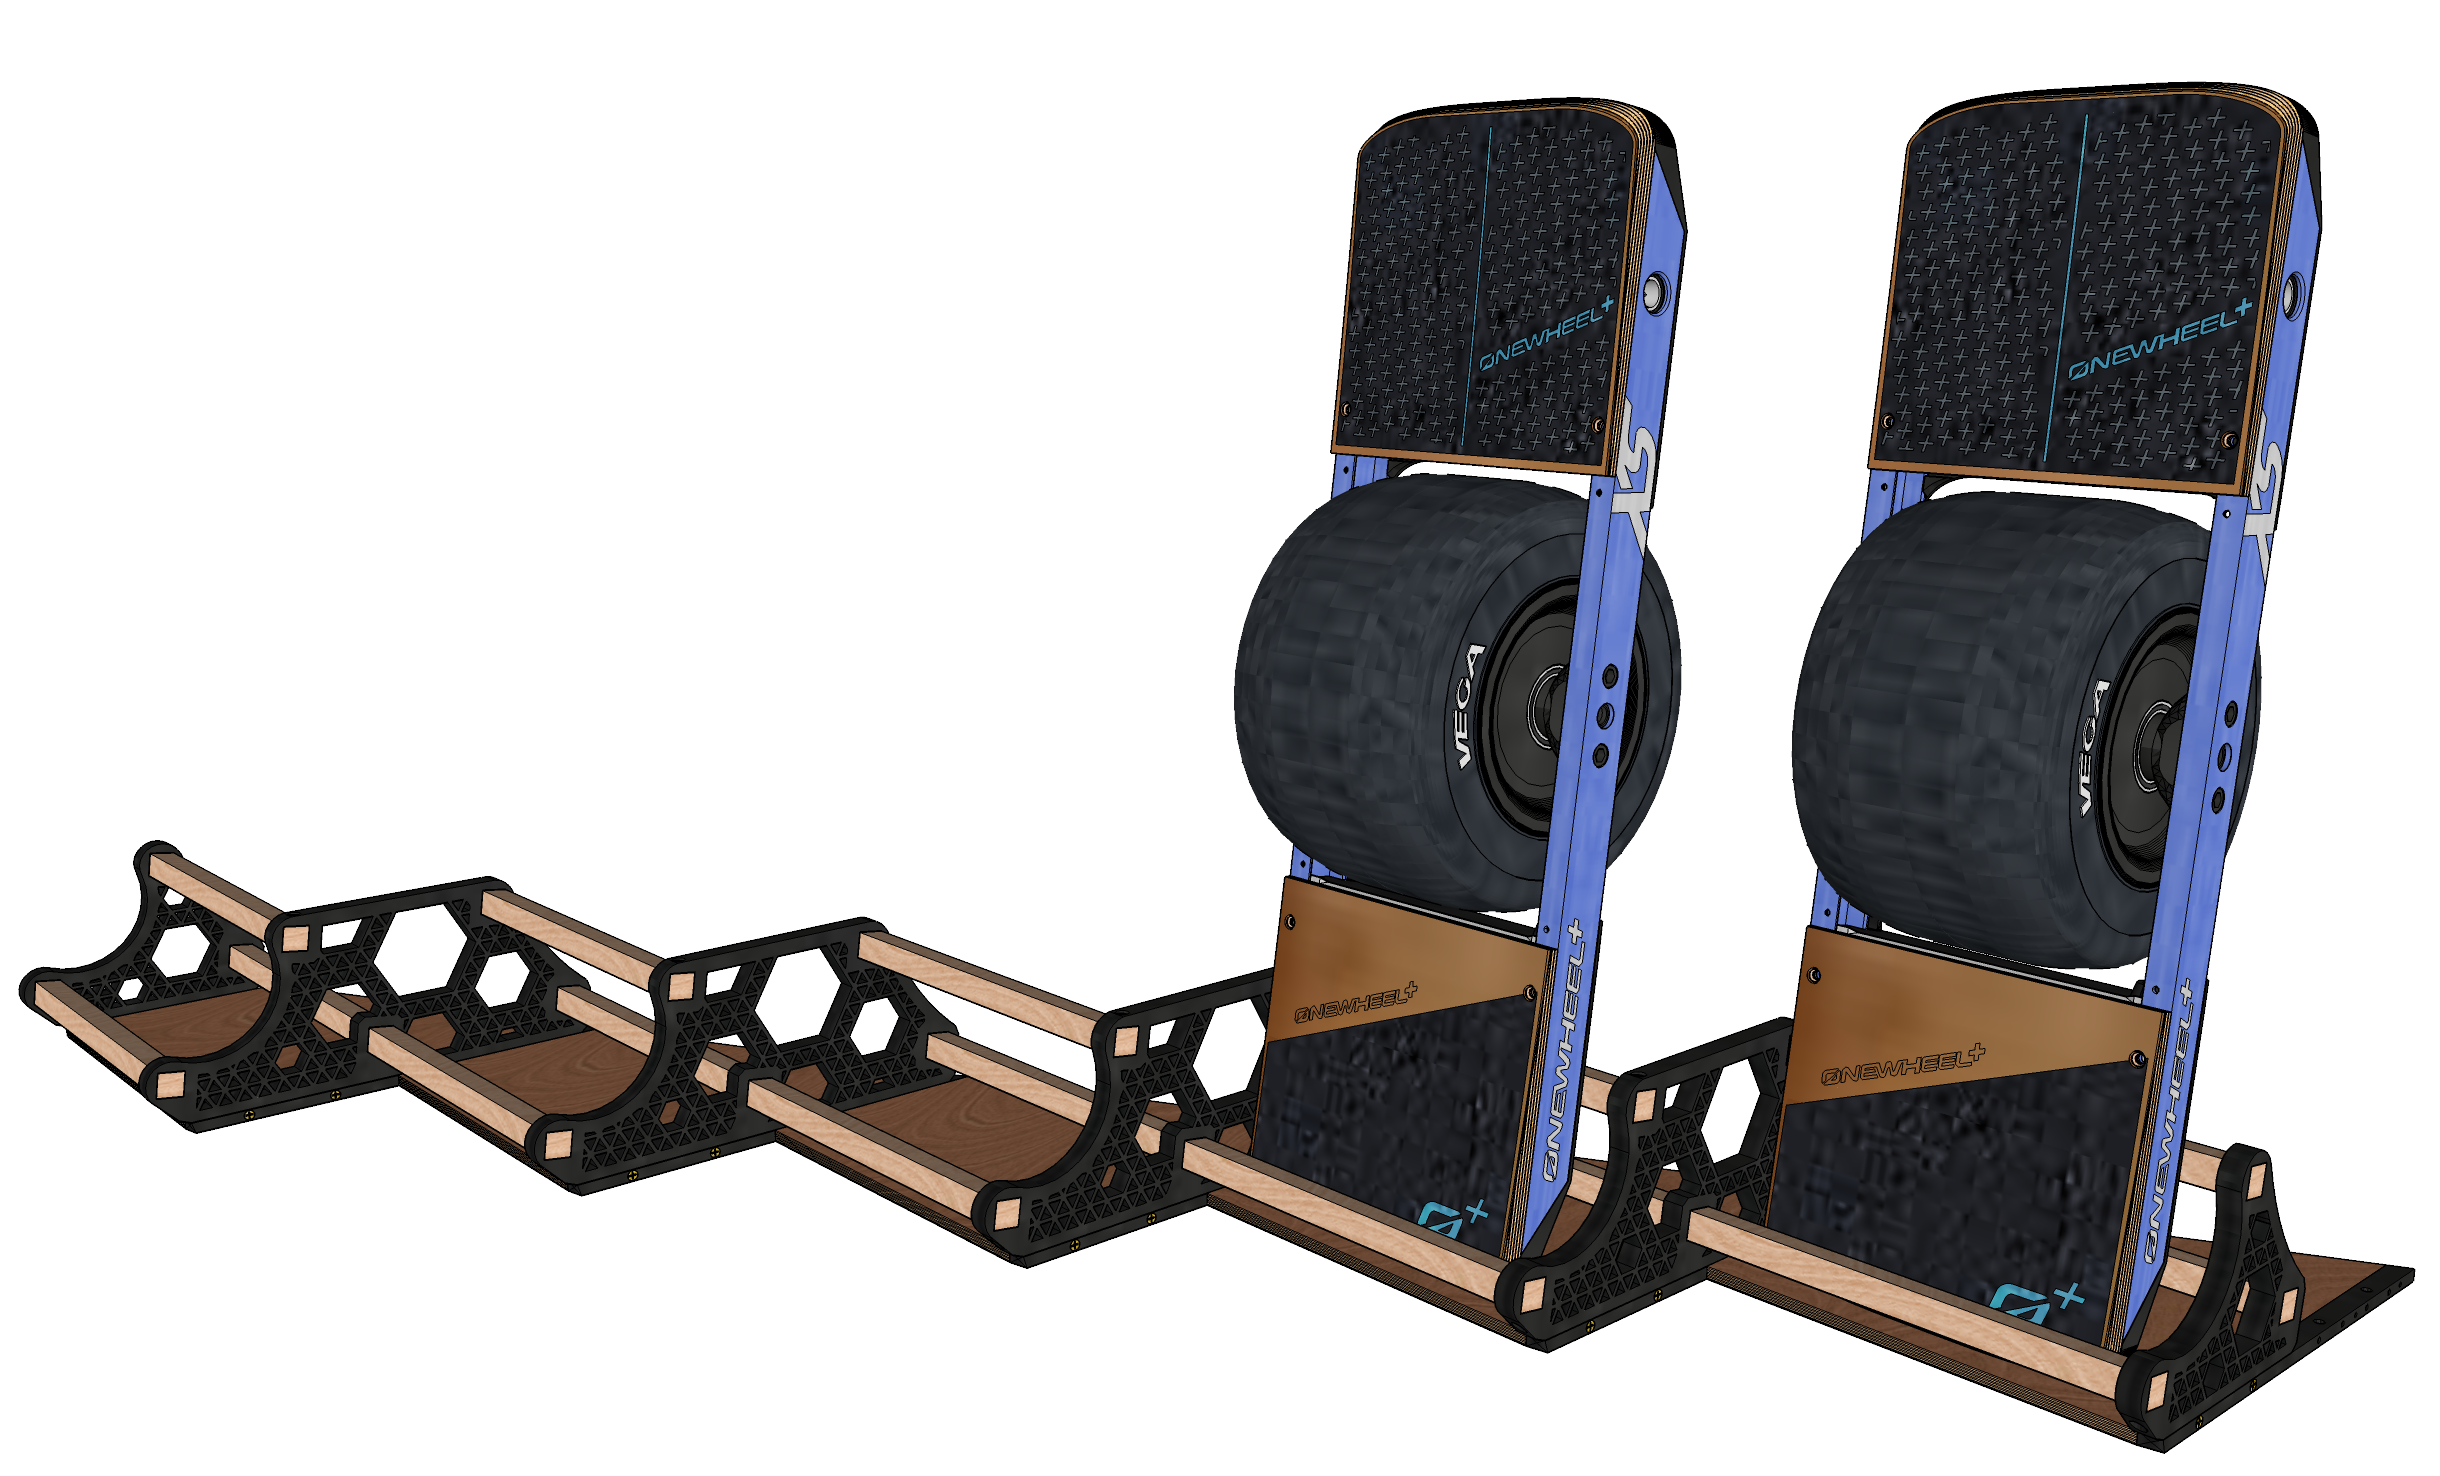
Decided to do away with the cradle idea since that'll just break and require more bulky prints. Instead a common sized sheet of plywood (300mm or 1foot x whatever length needed) will cover this design.
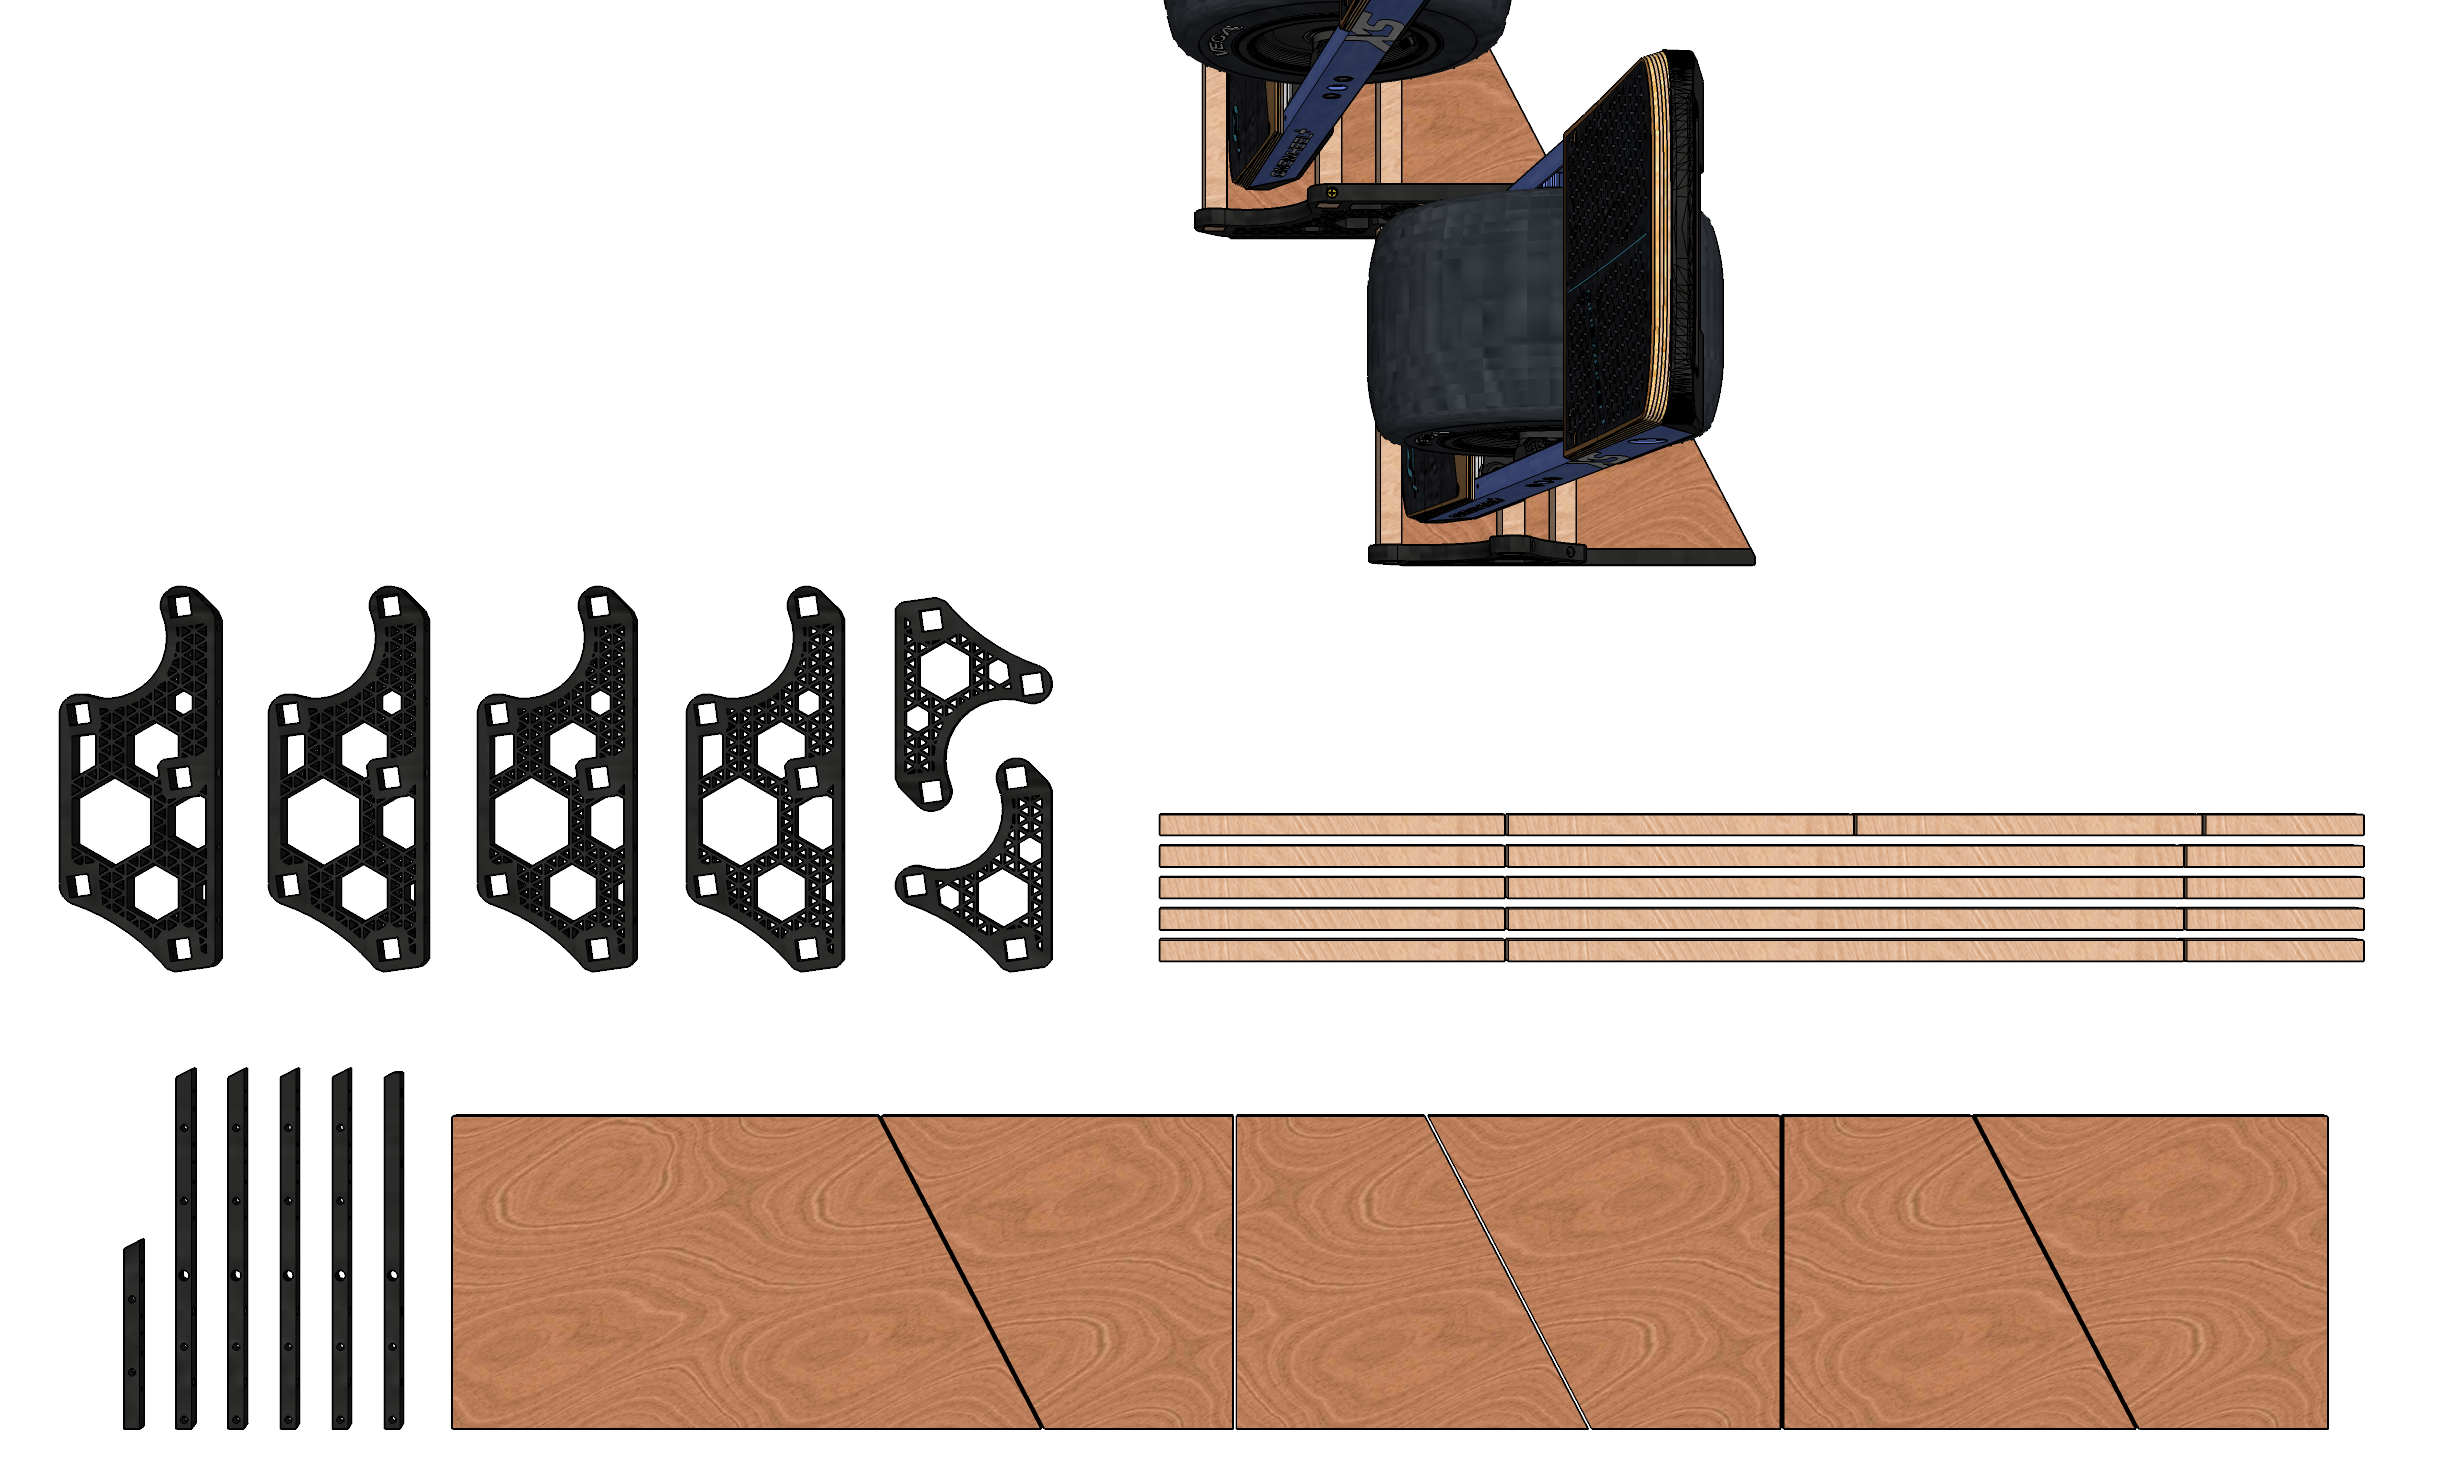
Started assembling some of it, works okay and once I start making the slot in spacers to keep all board types at the same angle (since their thickness alters and changes the angle they sit at) I can start adding the finishing touches like maybe some pretty lighting to backlight the boards ;)
Sort of wish I only printed 1 of the larger pieces since I've redesigned it to look nicer. Prior to that I wanted to get it ready for the GT... which is gonna take a bit longer so no rush now :D
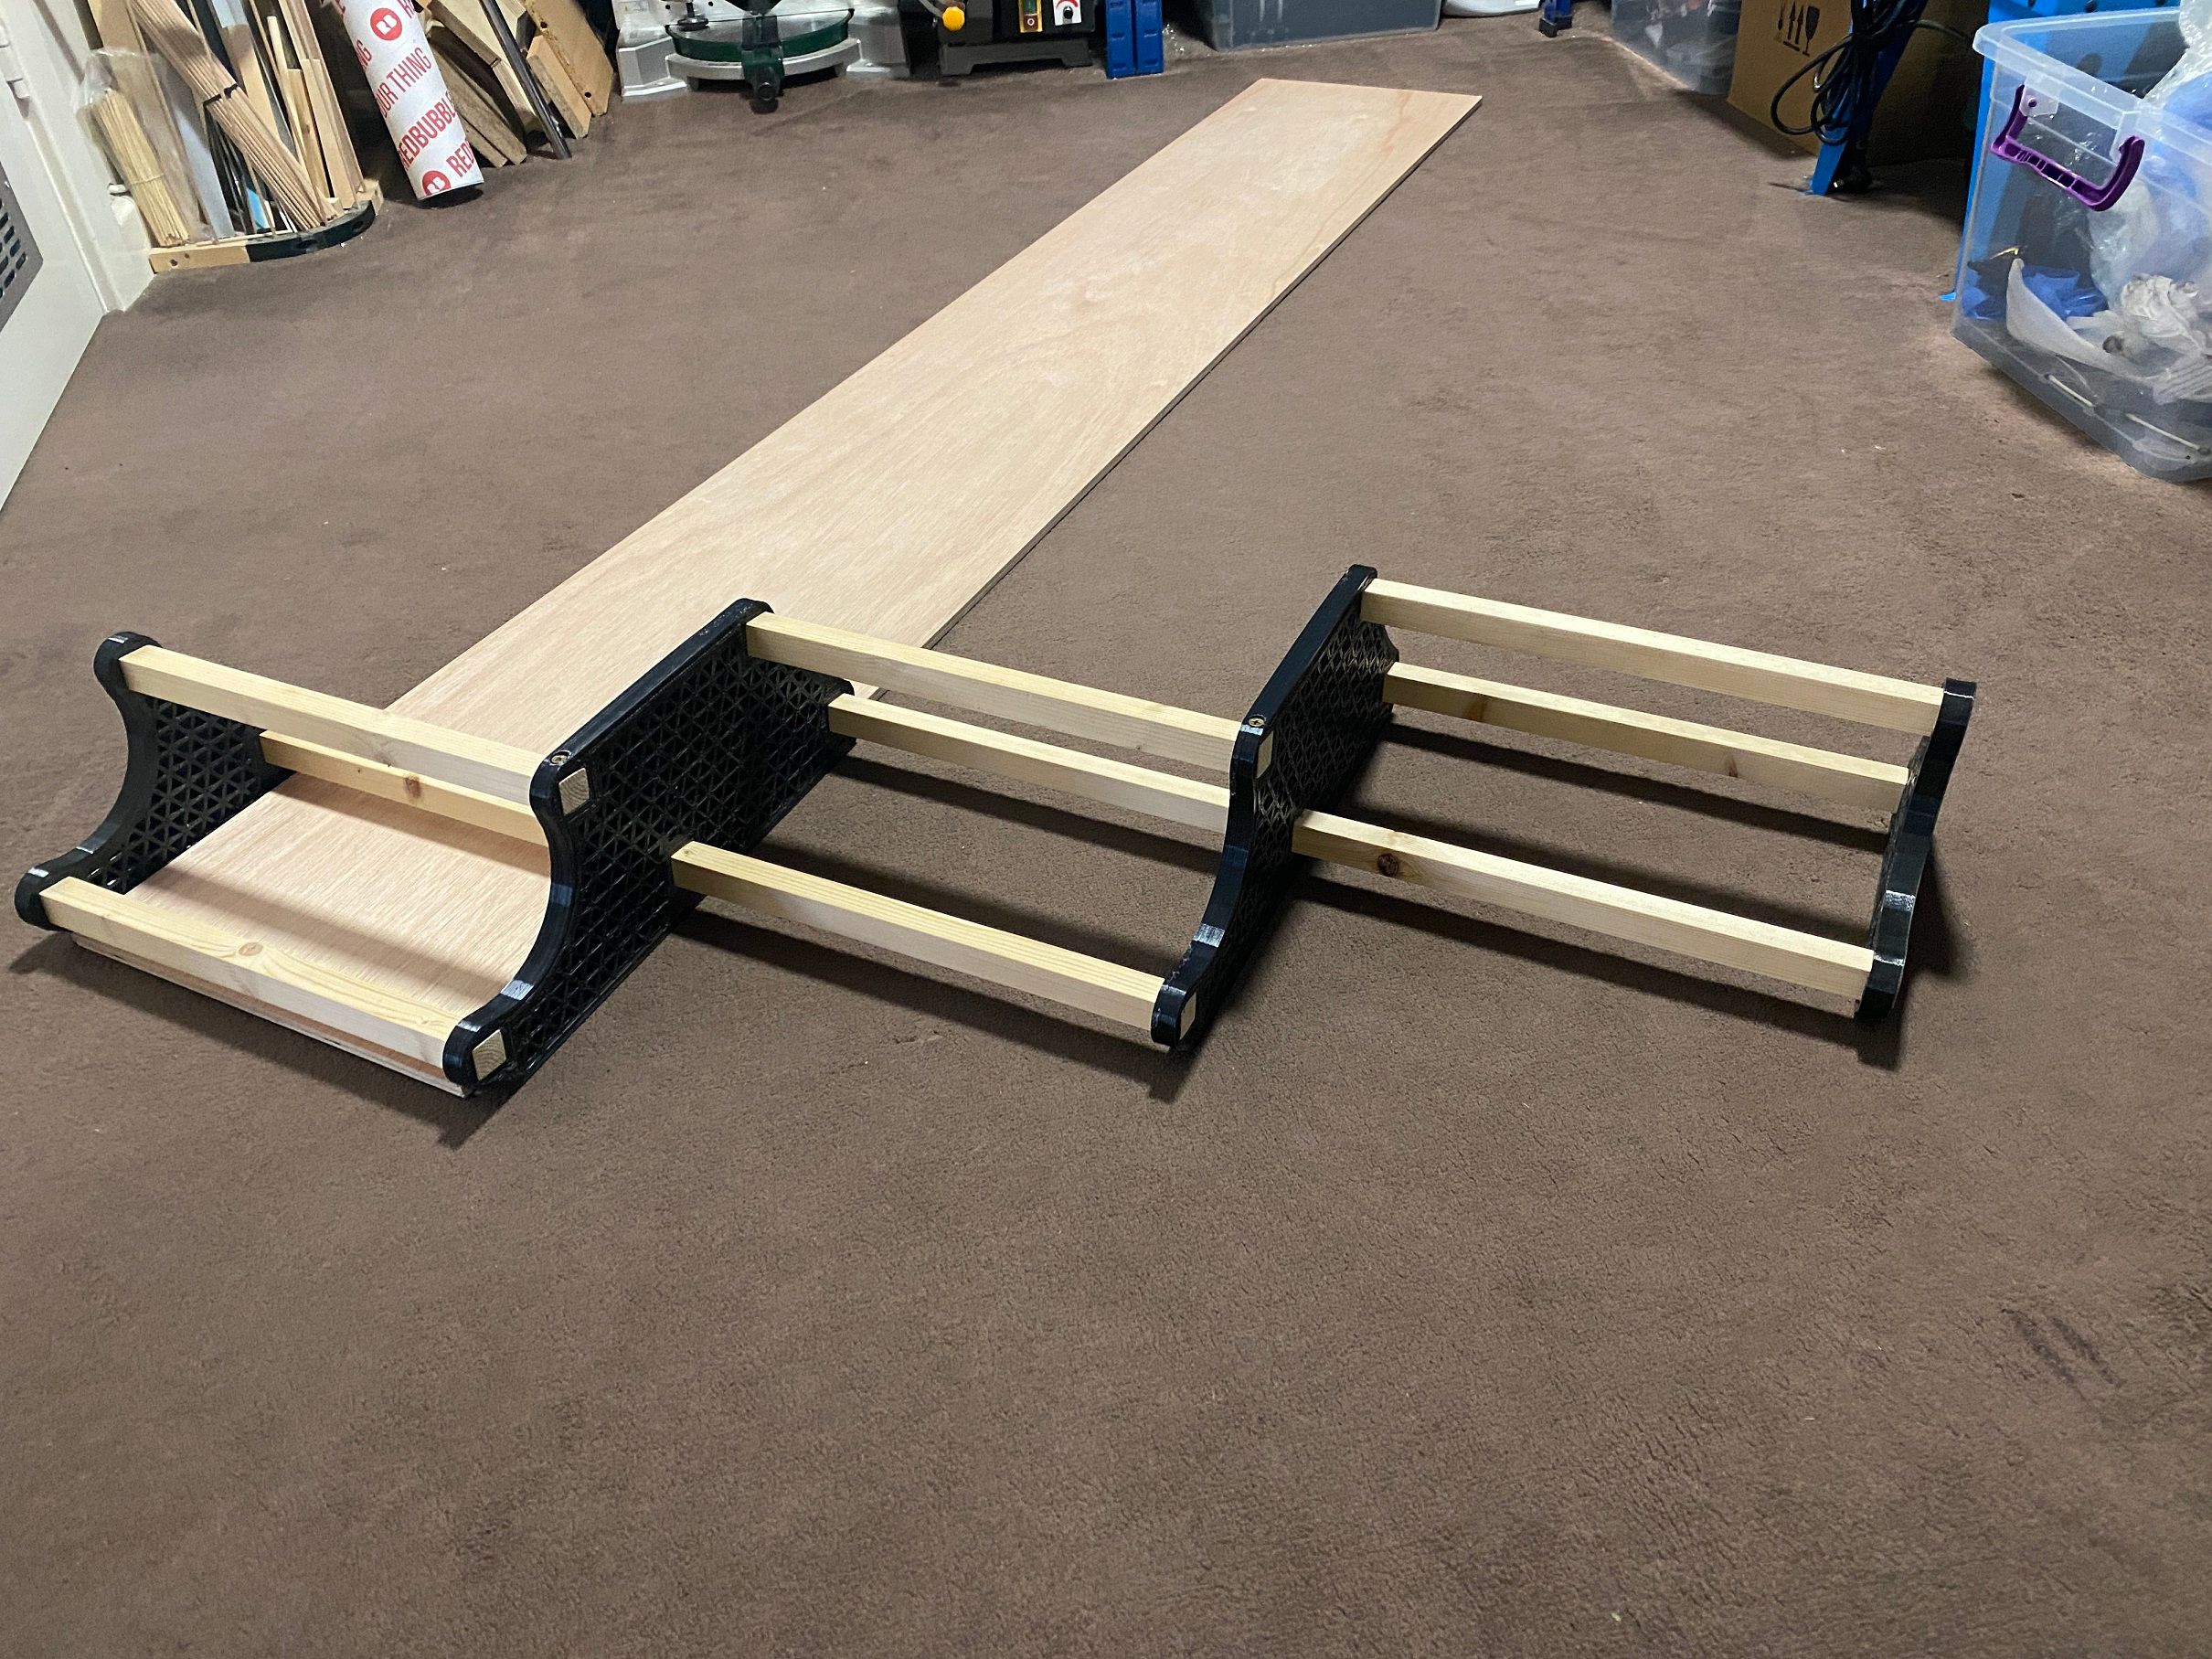
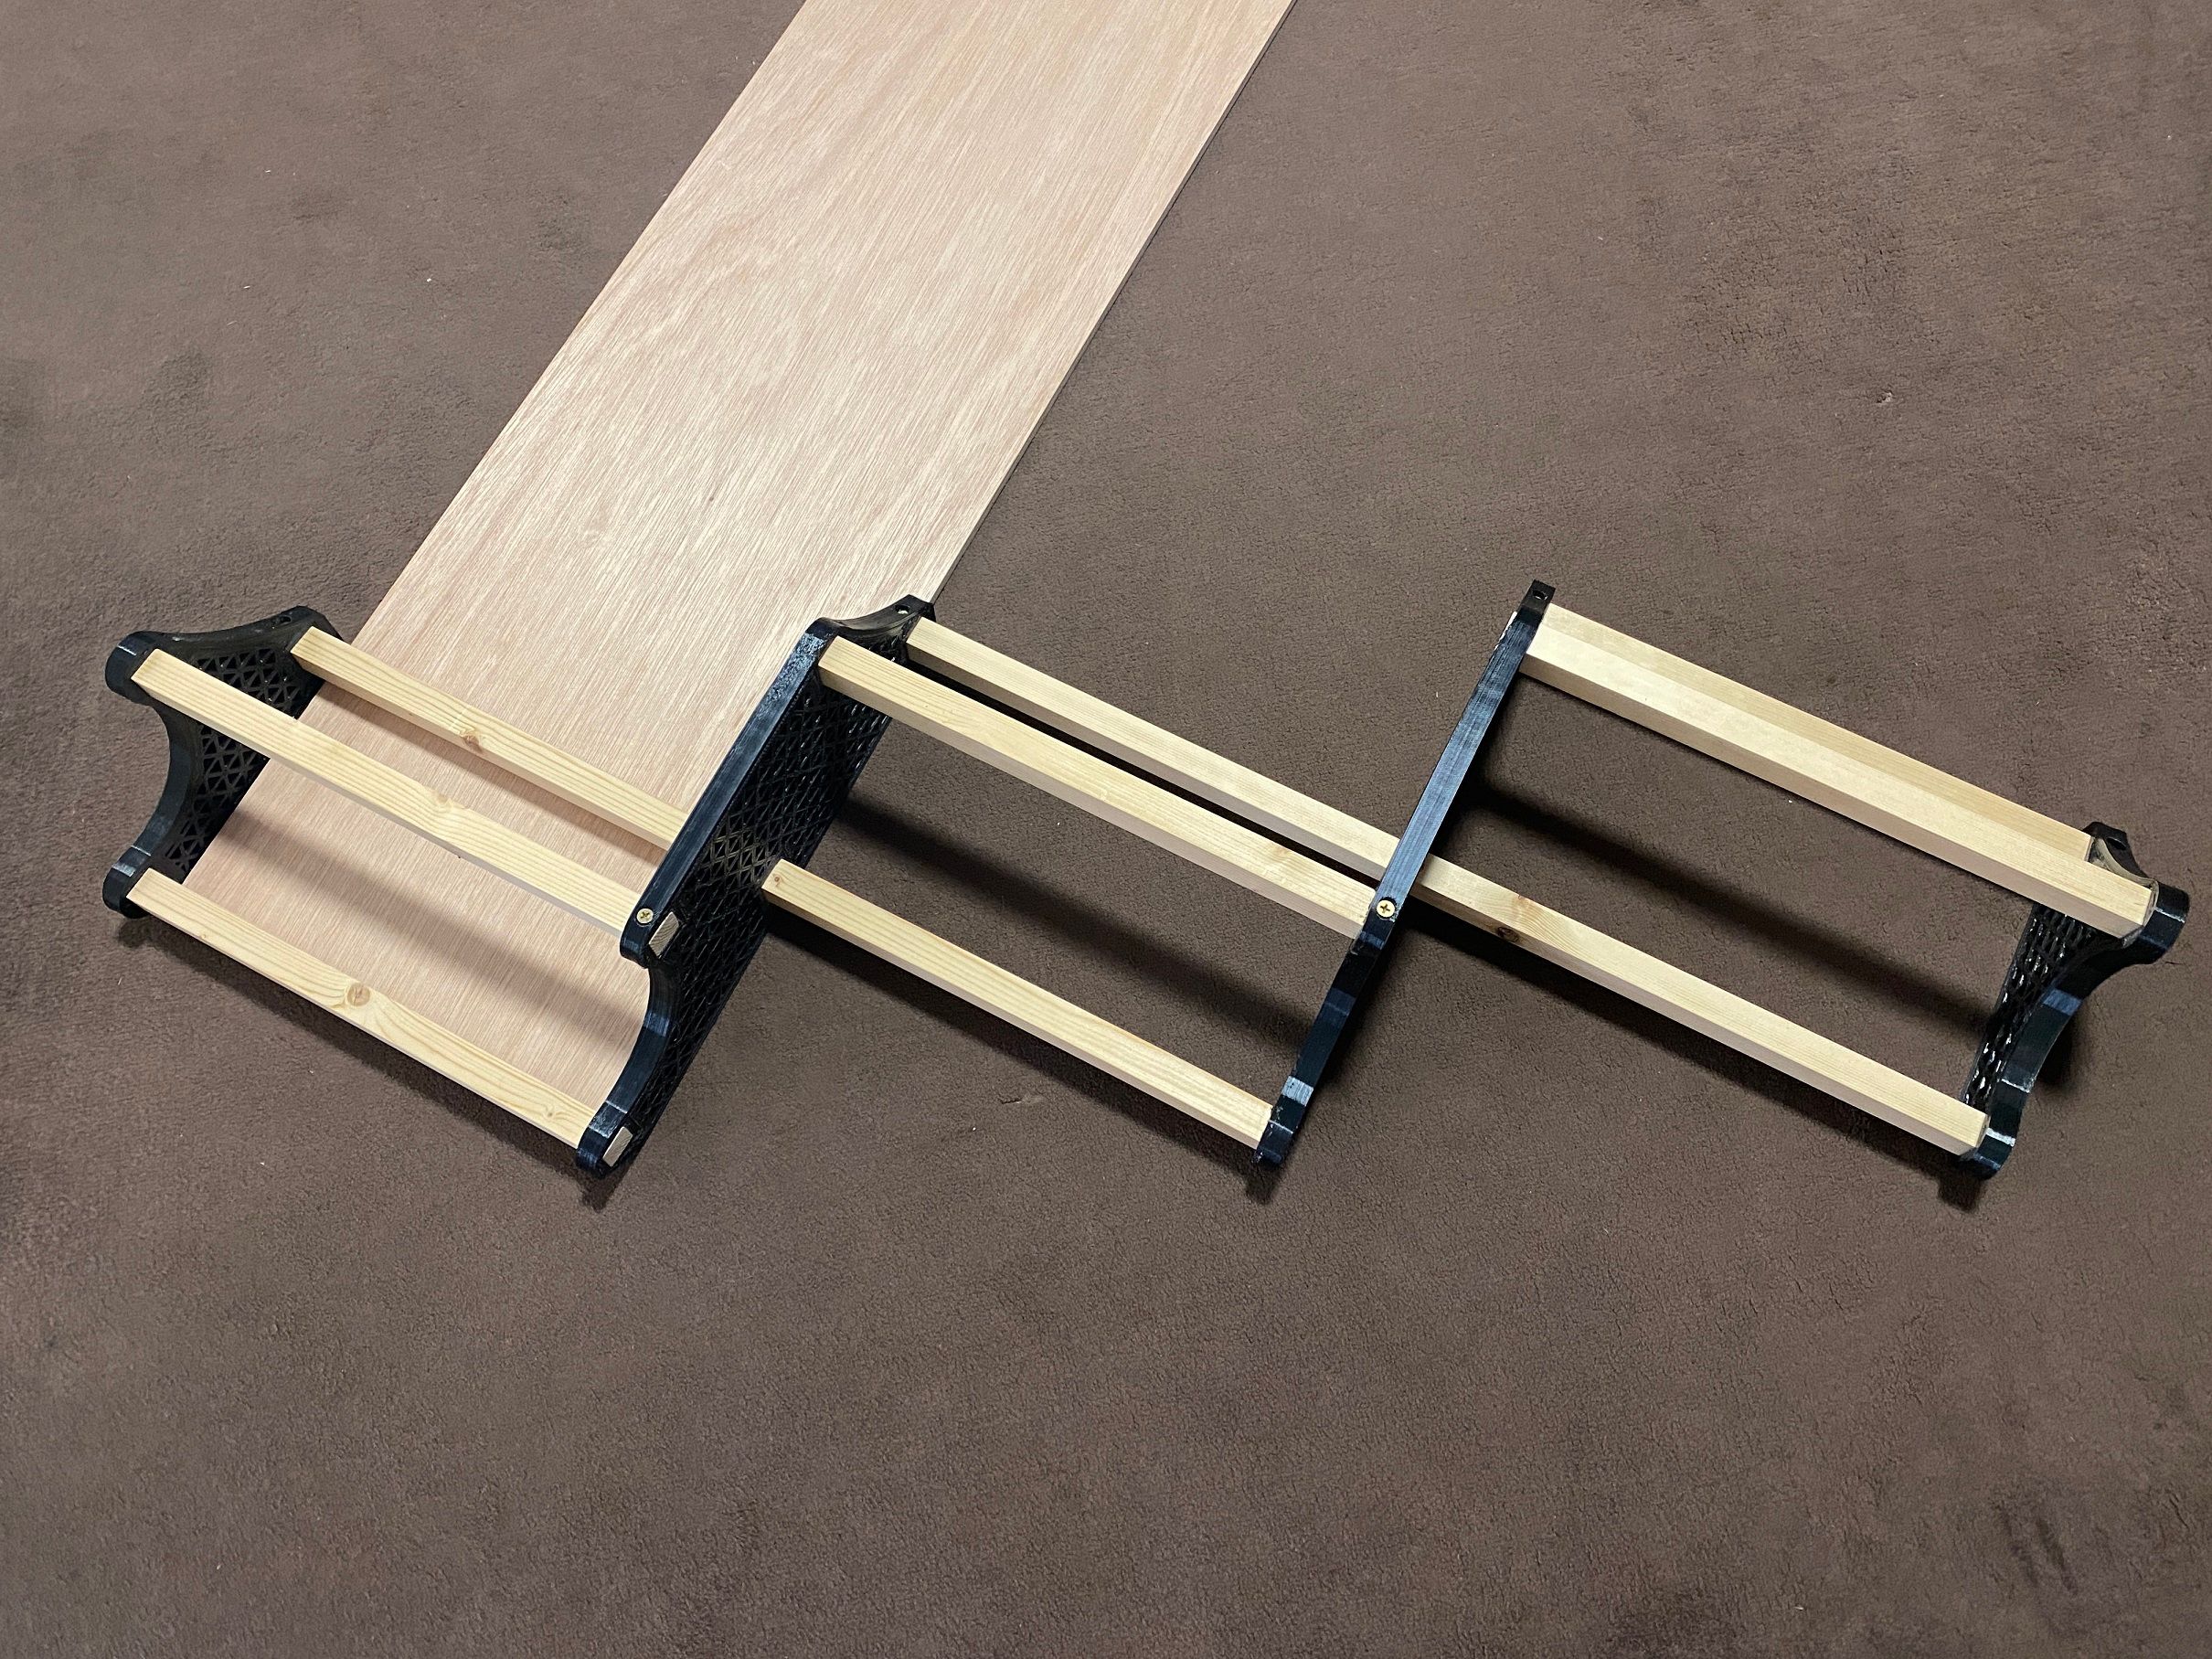
-
Yikes it's been a month. Nearly done with this one :D
Was waiting on more filament. Have it scheduled to come each month so I save a little money through Amazon scheduling.
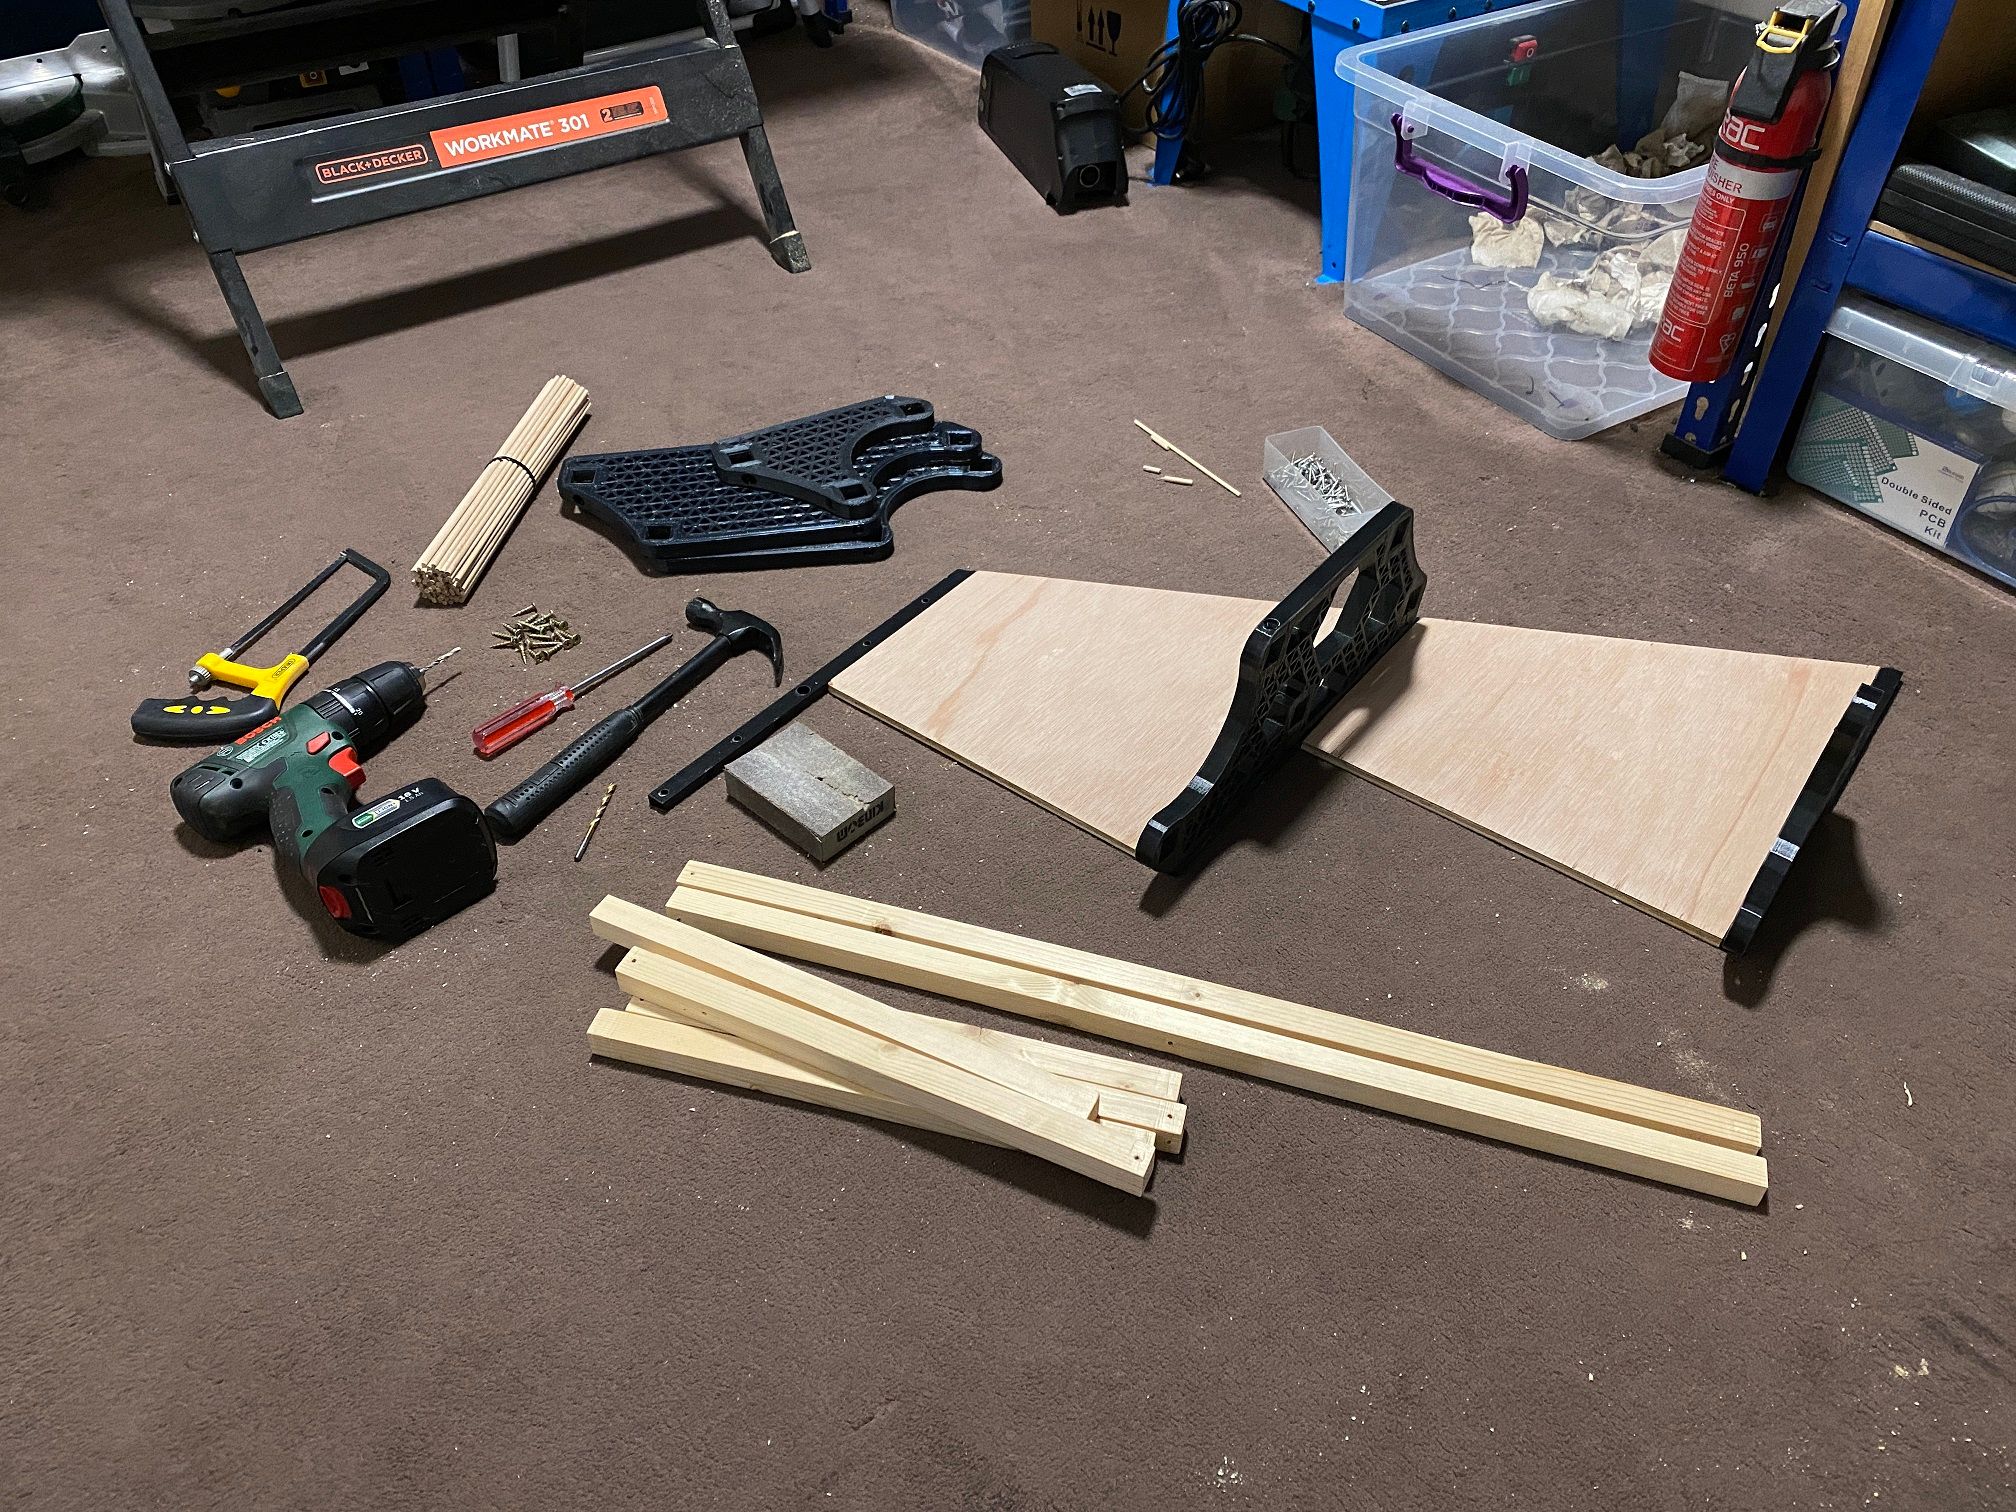
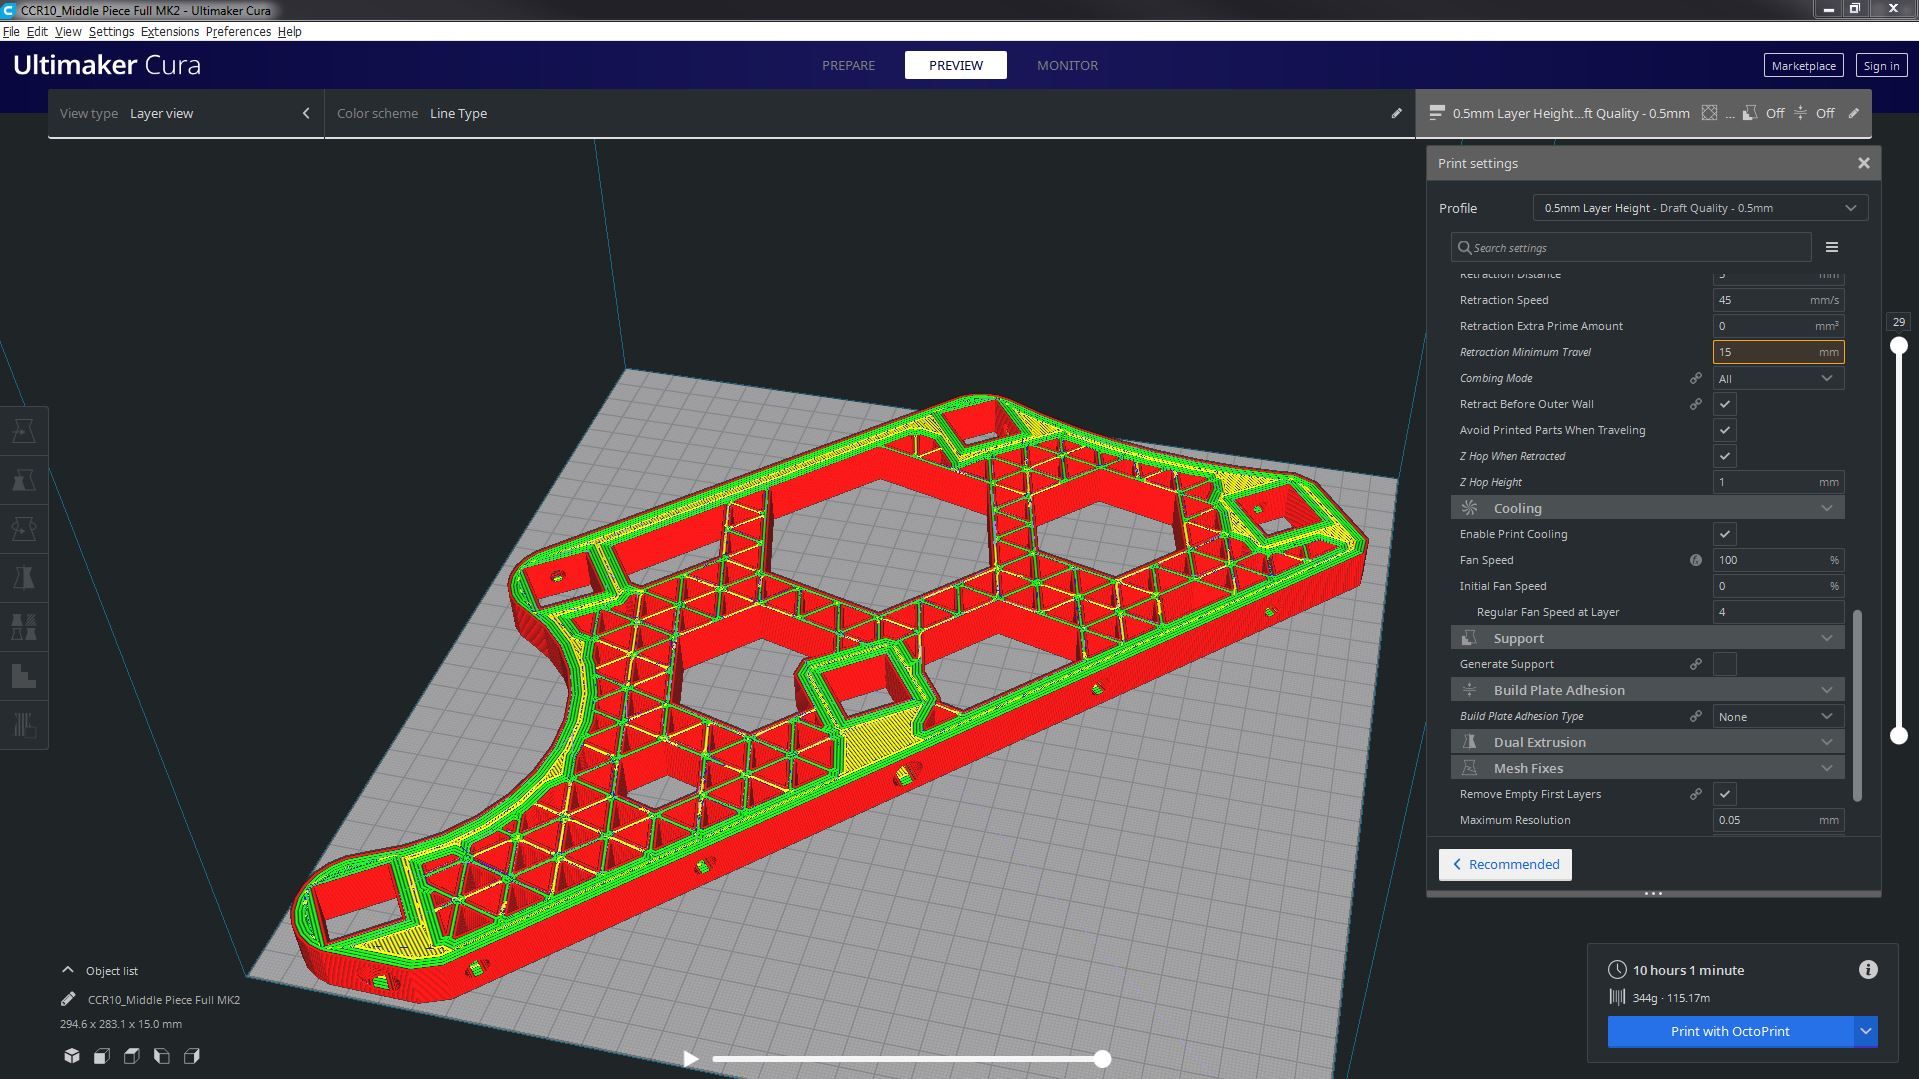
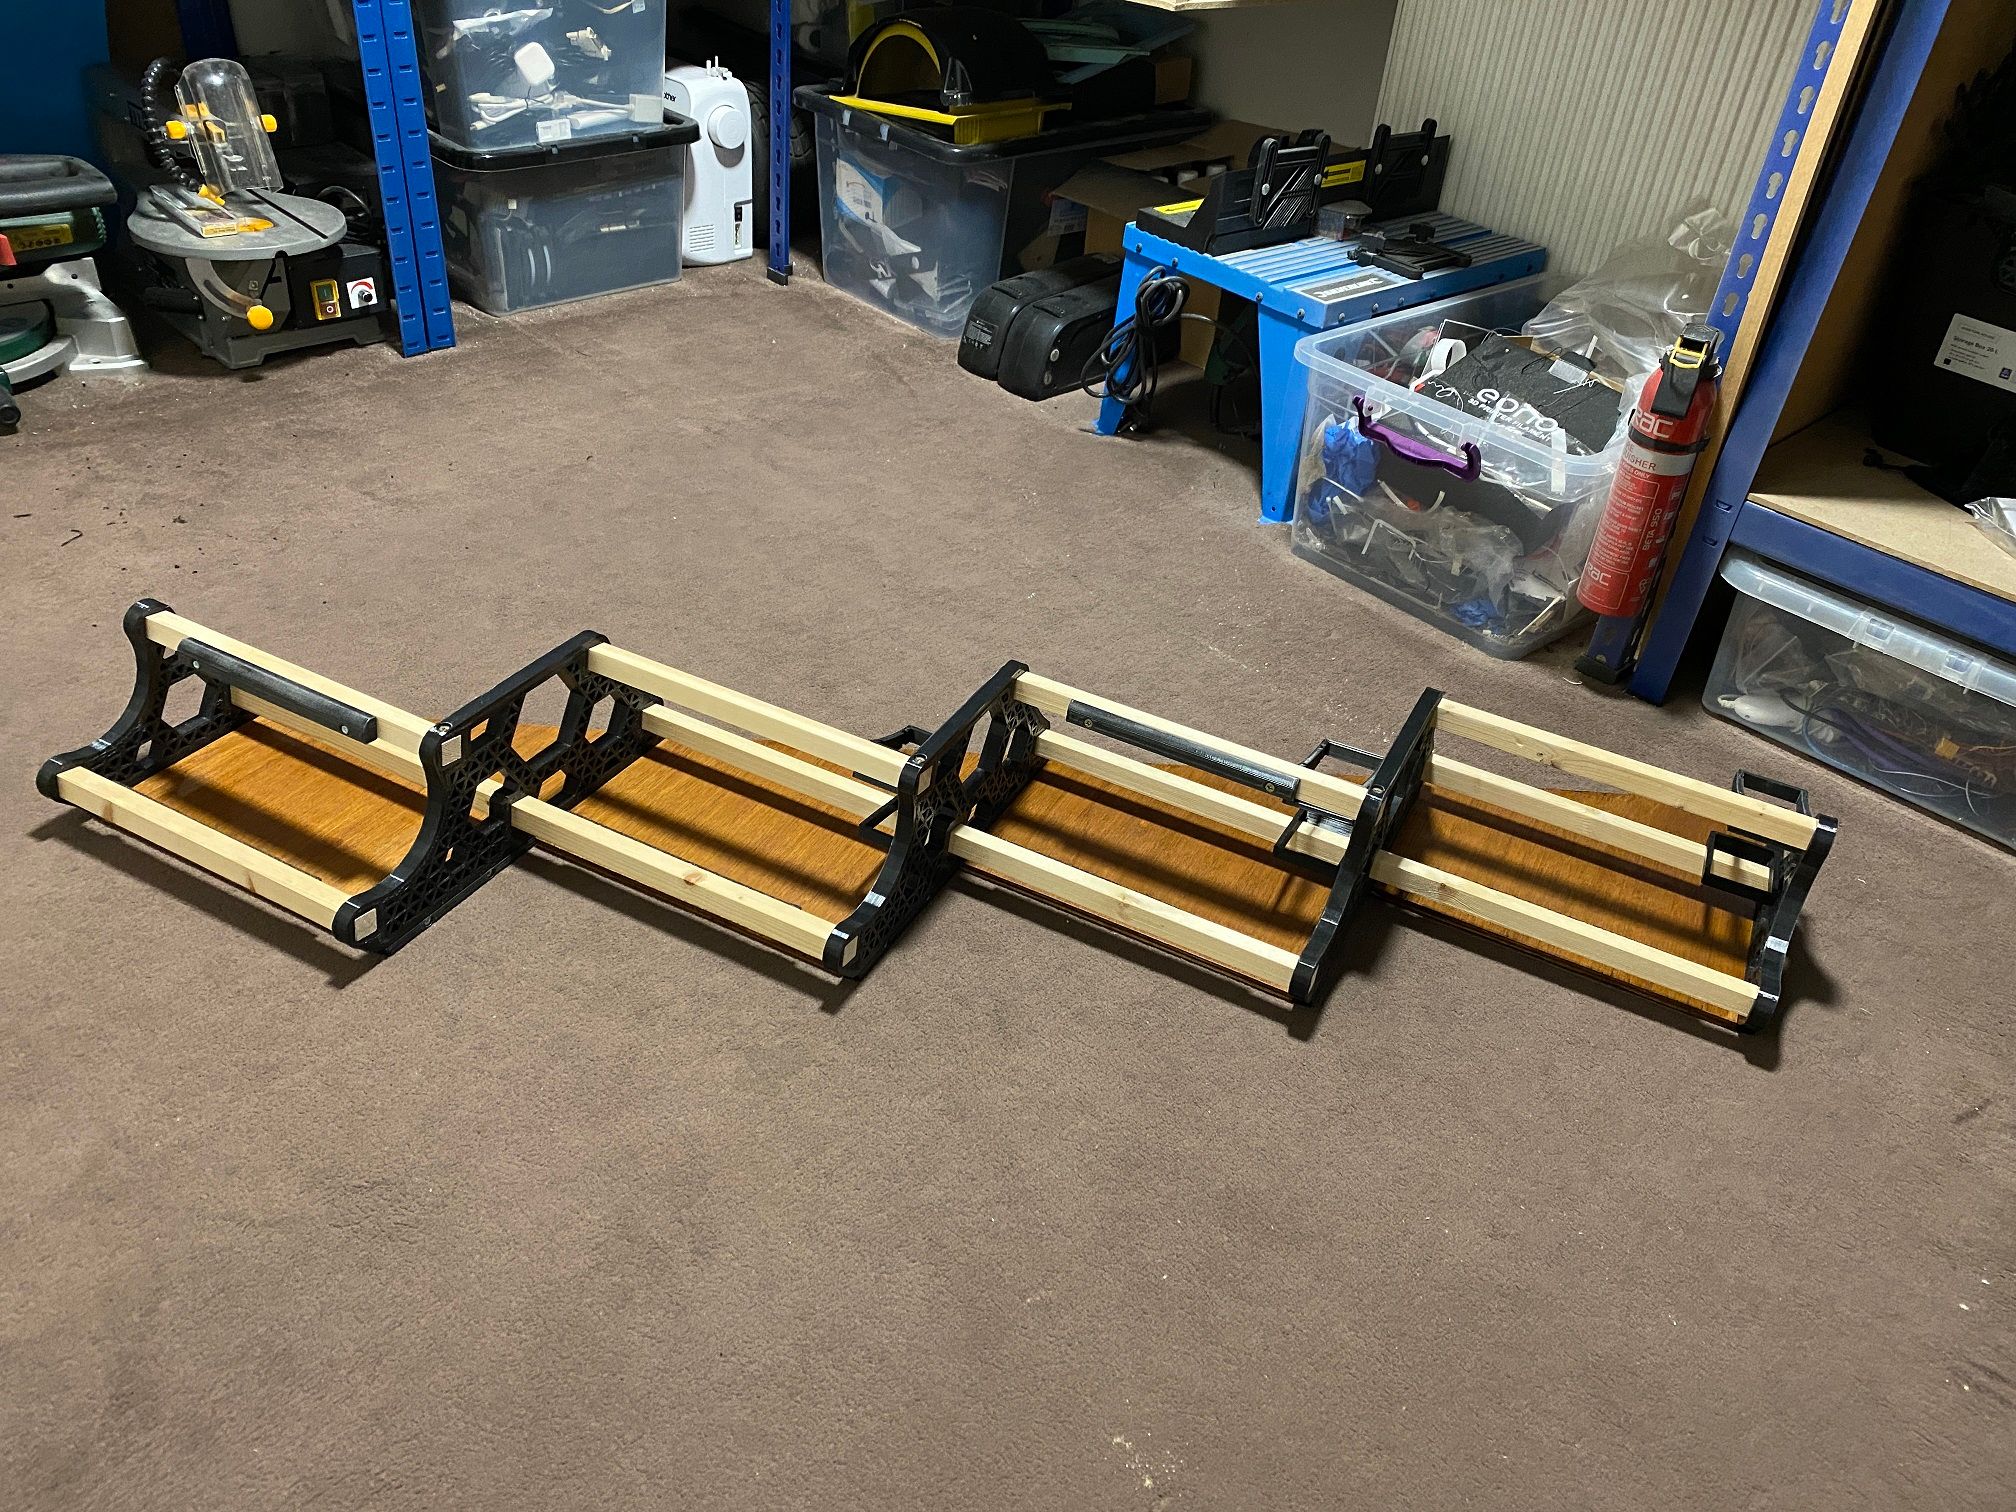
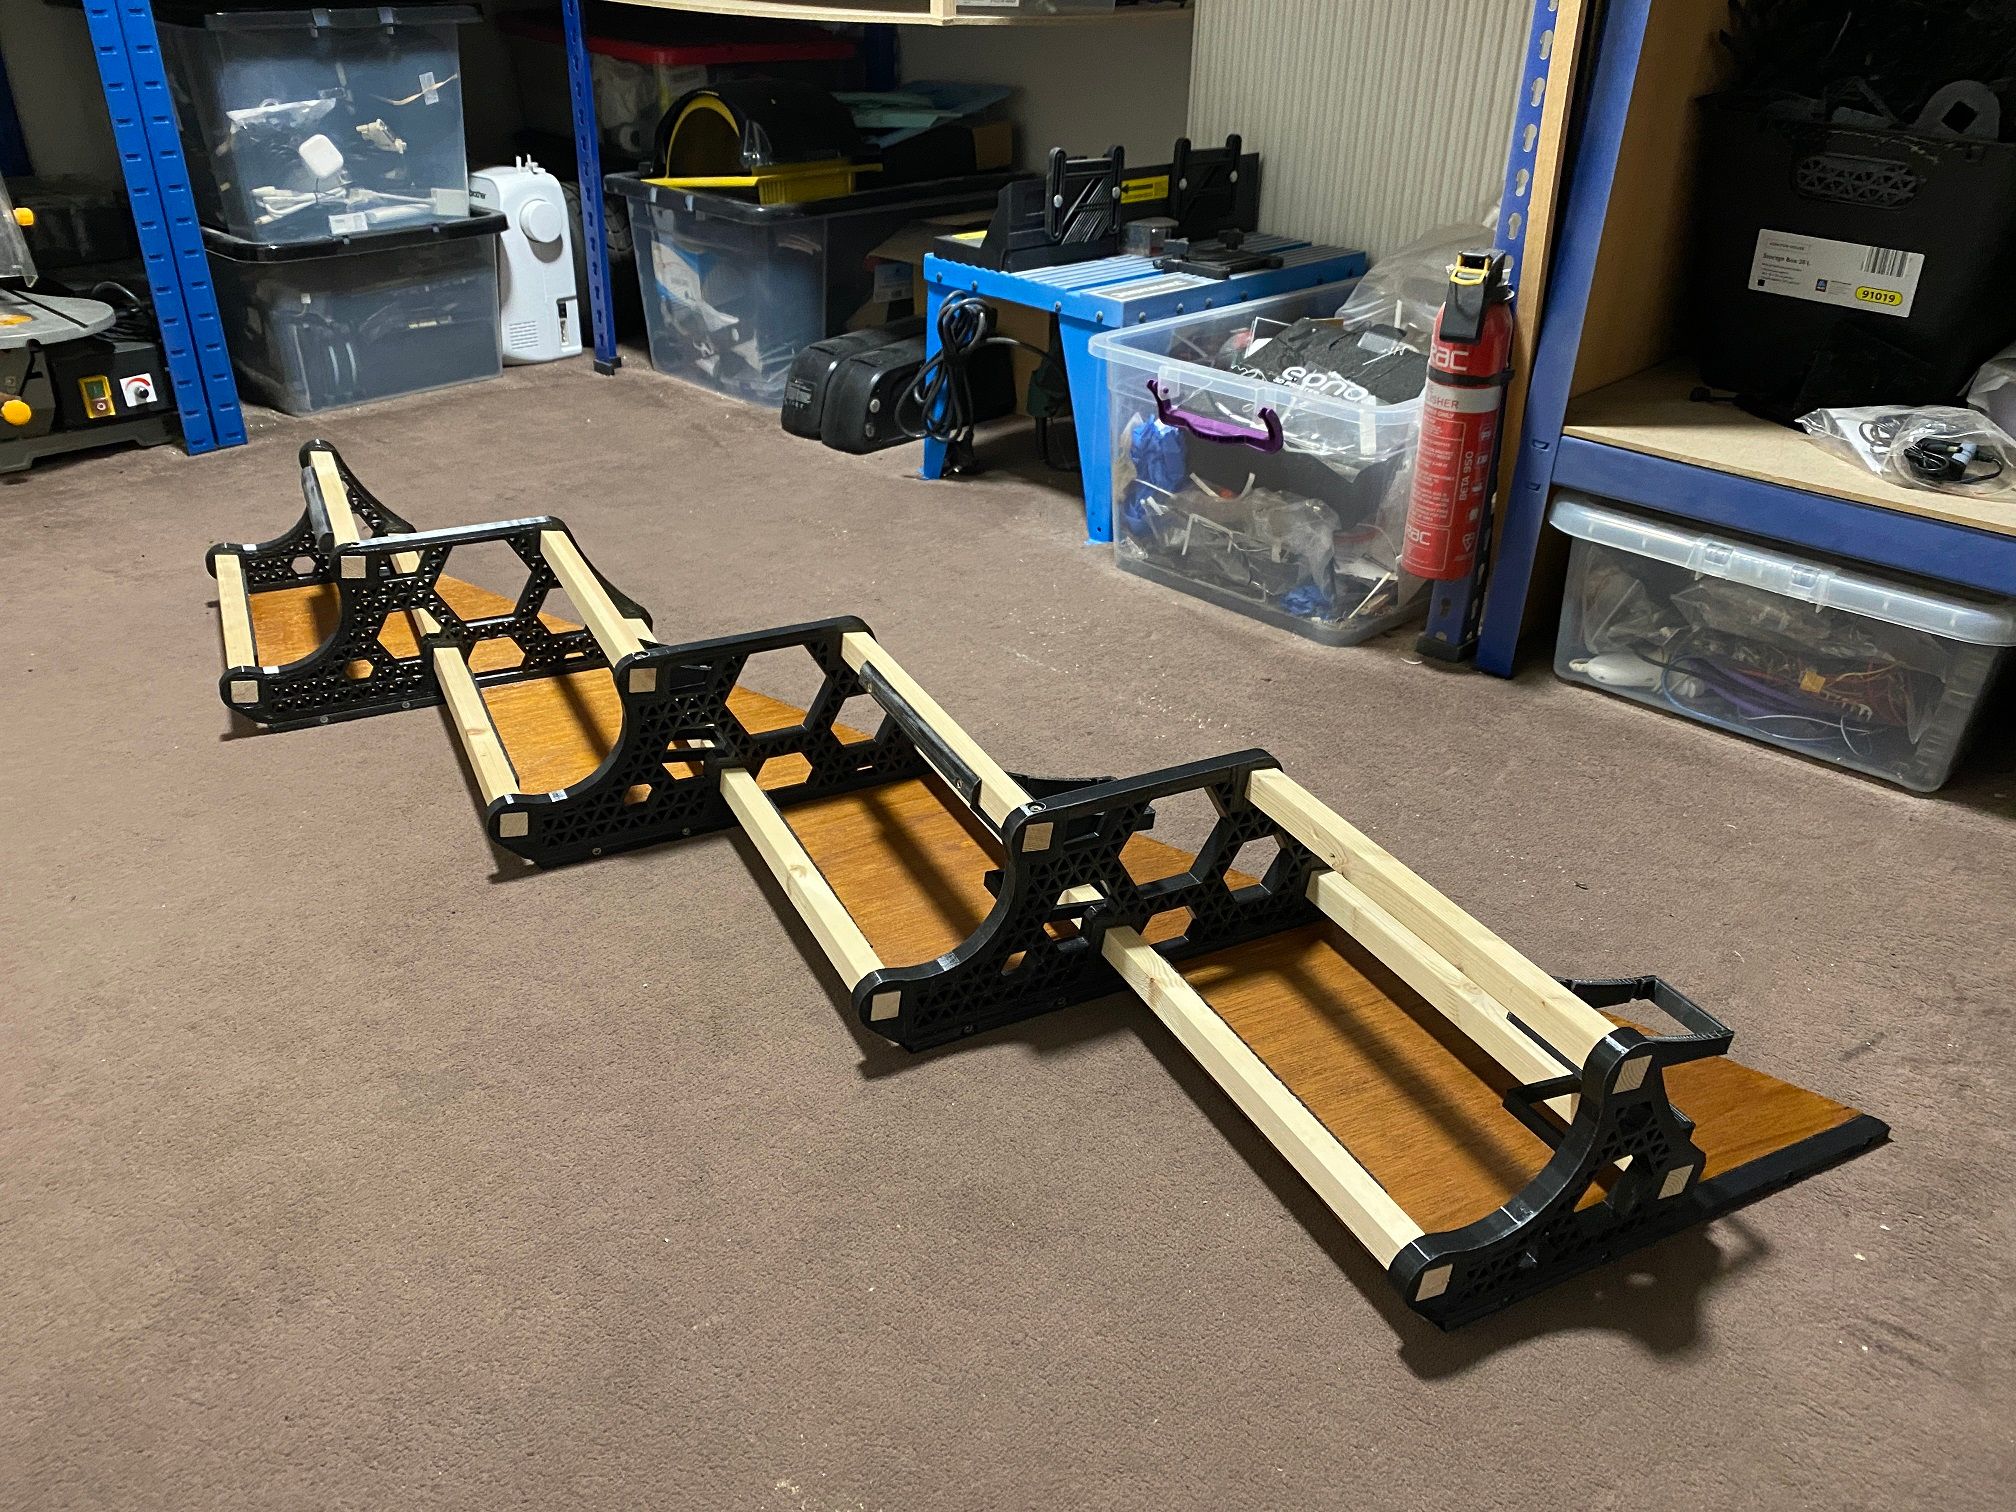
Fitting all the base sections together took some time. Between the alignment, dowel fitment and screws to help keep it locked together I spent a fair chunk of time doing it.
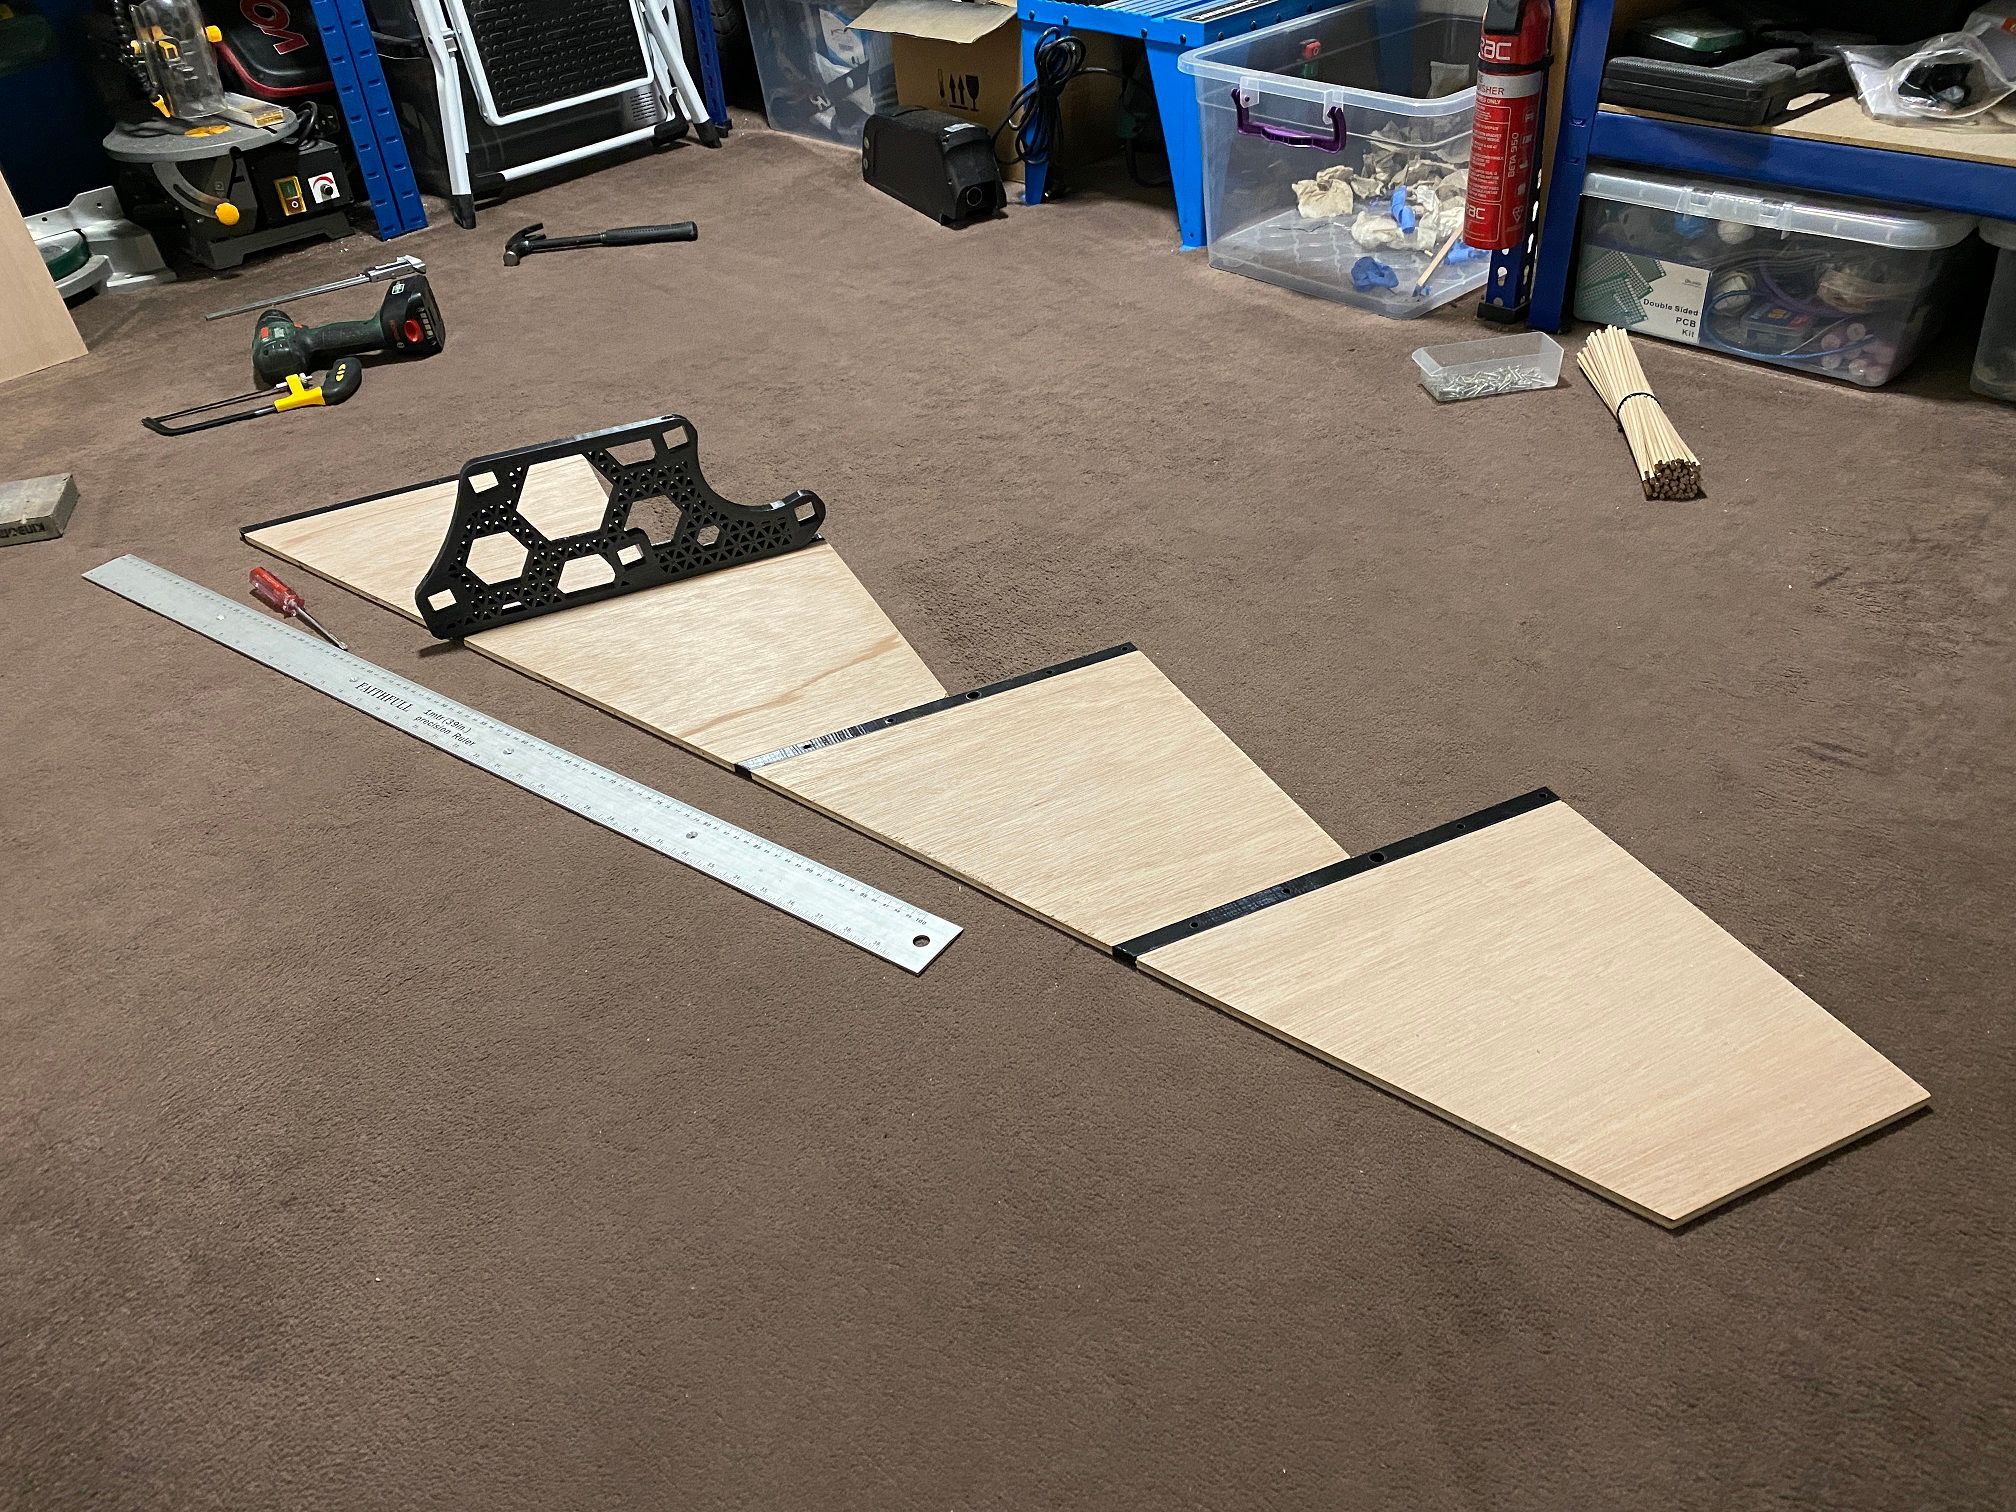
Needed to cut more 20x20 pine to finish all 4 stands. Got the Pint(X) to check how it sits.
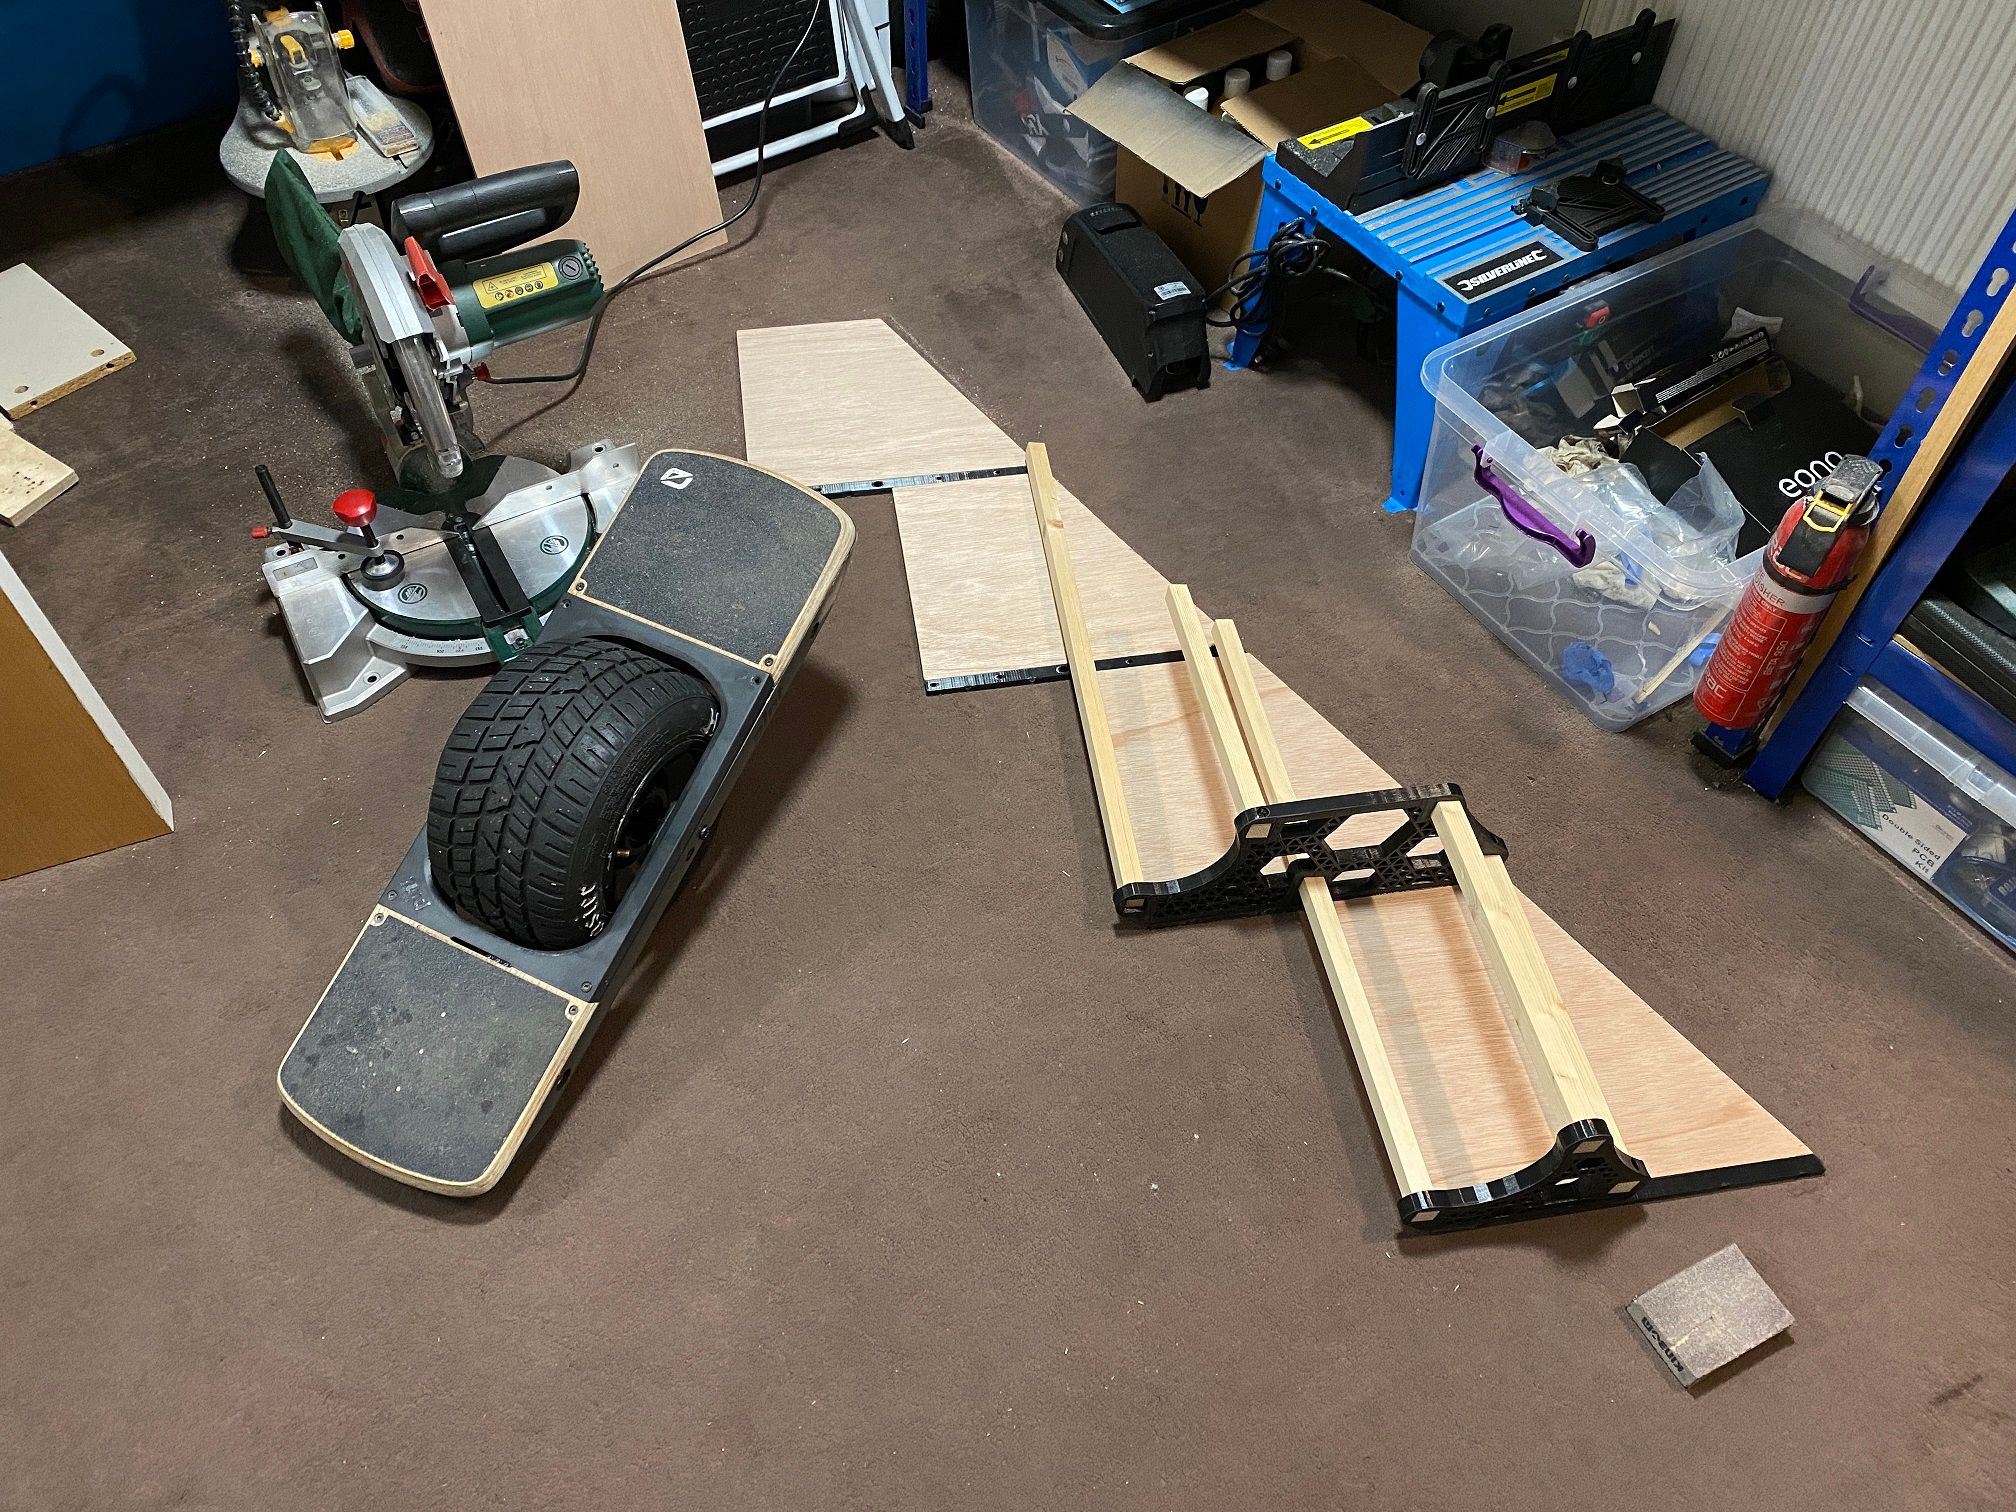
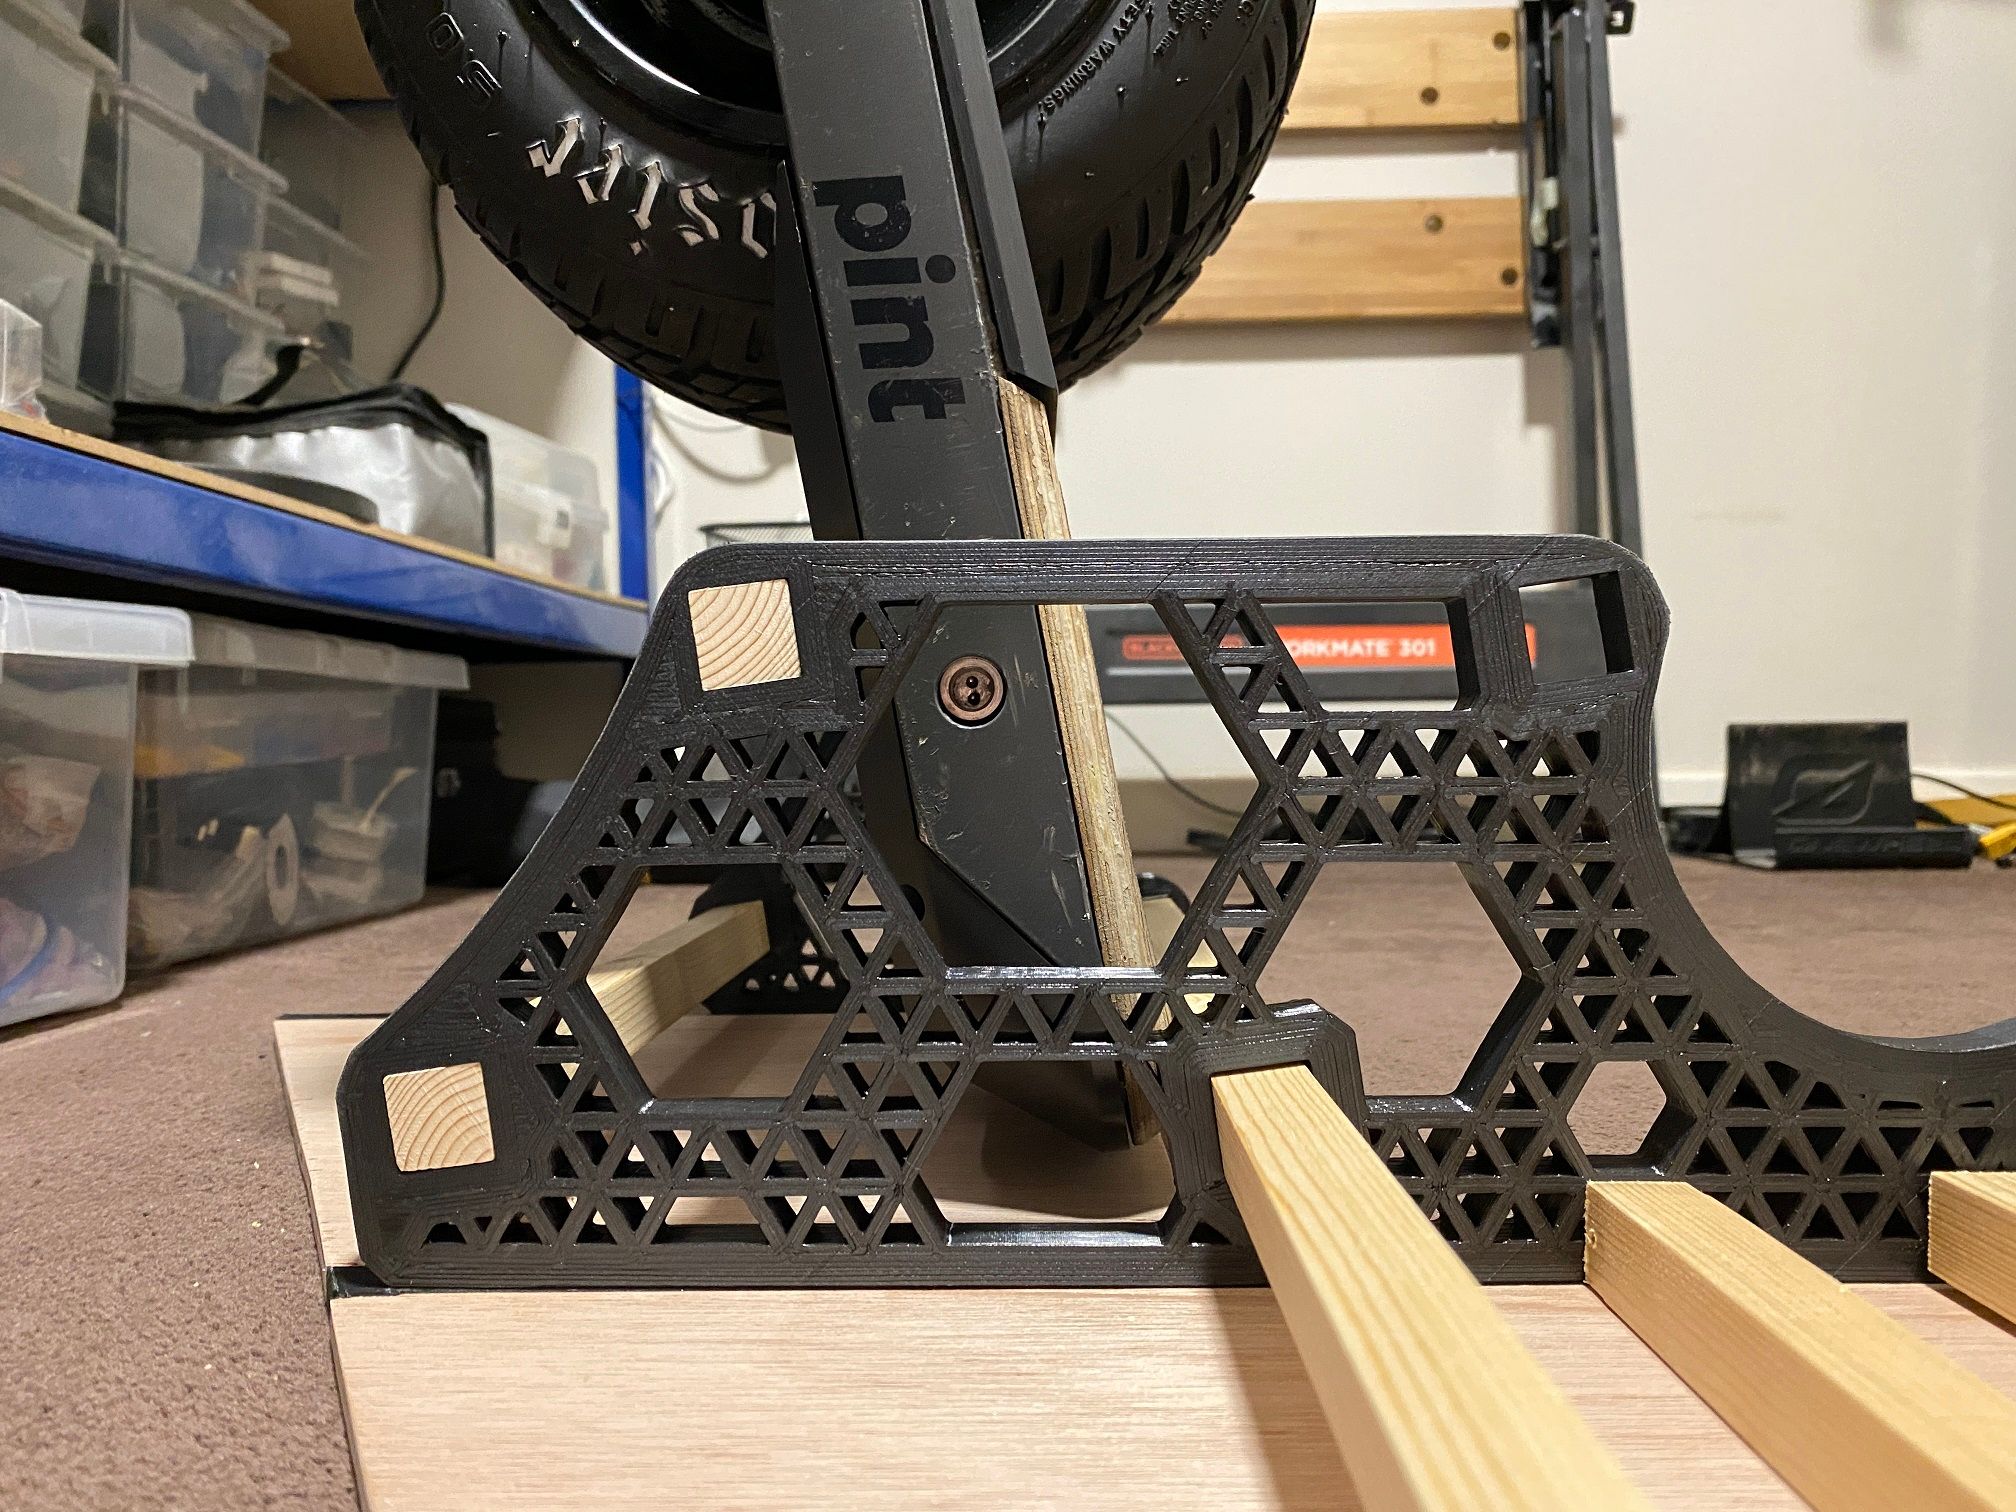
Made sure the large hexagon left room to put a charger through it if needed. I could have lined it up dead centre but drawing all those triangles and hexagons was a pain and in this config less end up obstructed by the pine framing.
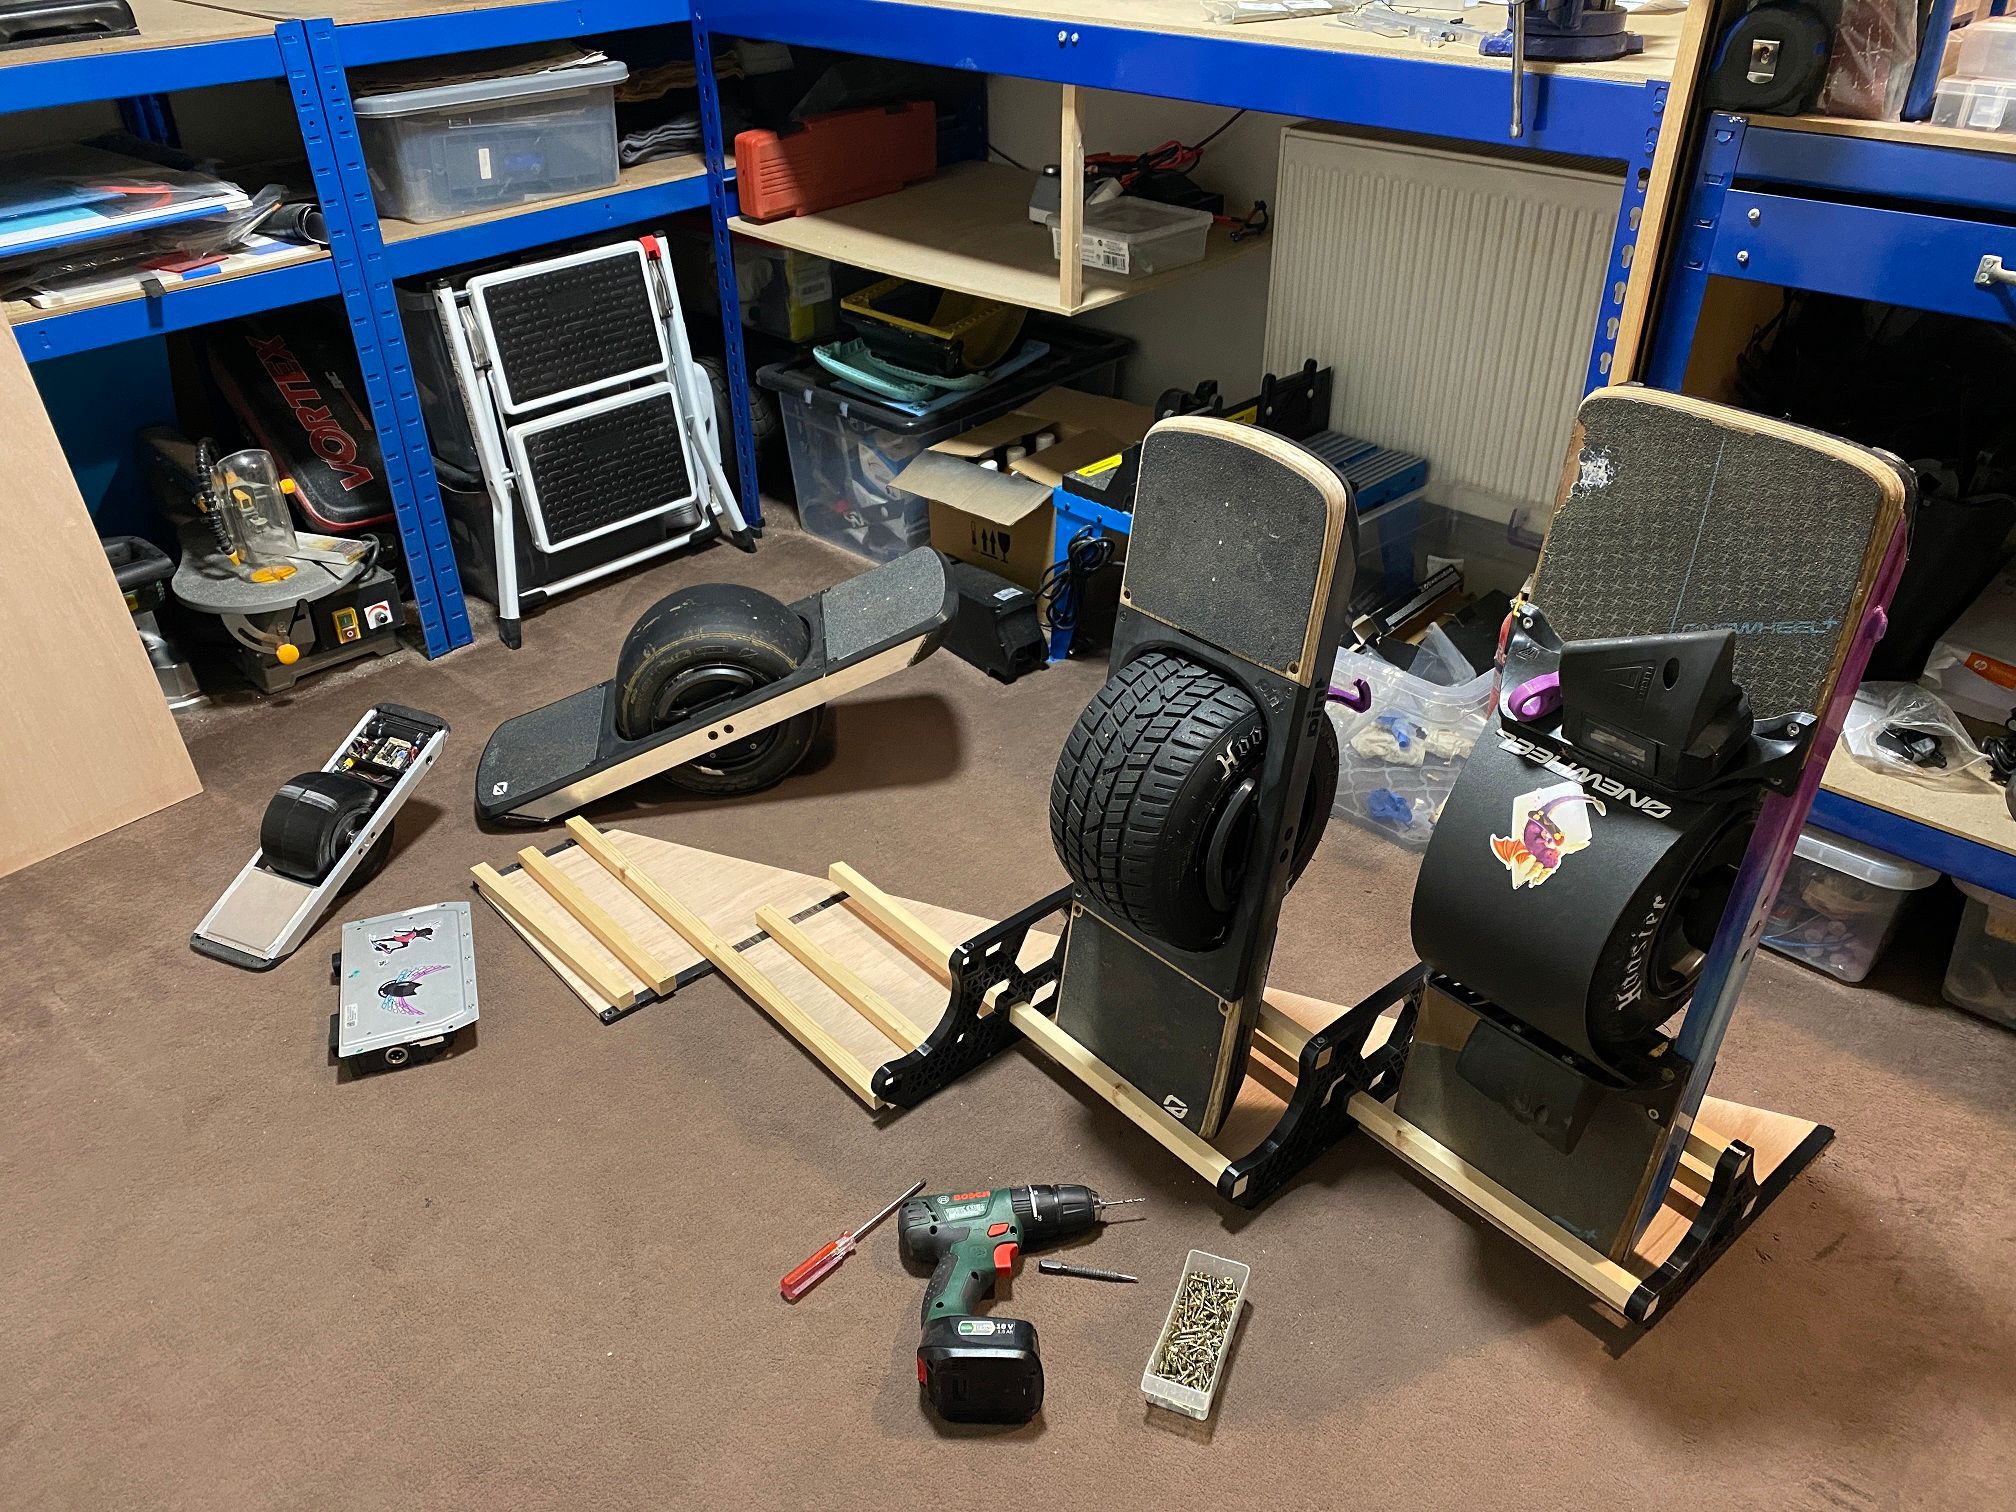
Holds the XR and Pint(X) so far, still need to do 1 more large bracket and a small end one to finish it in it's current form. Since it's modular I can add another segment... if I end up filling all 4 slots.
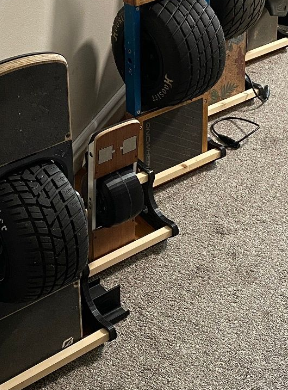
Designated spot for the boards moving forward. This angle leading into the bedroom where I can easily see and grab whichever one I want.
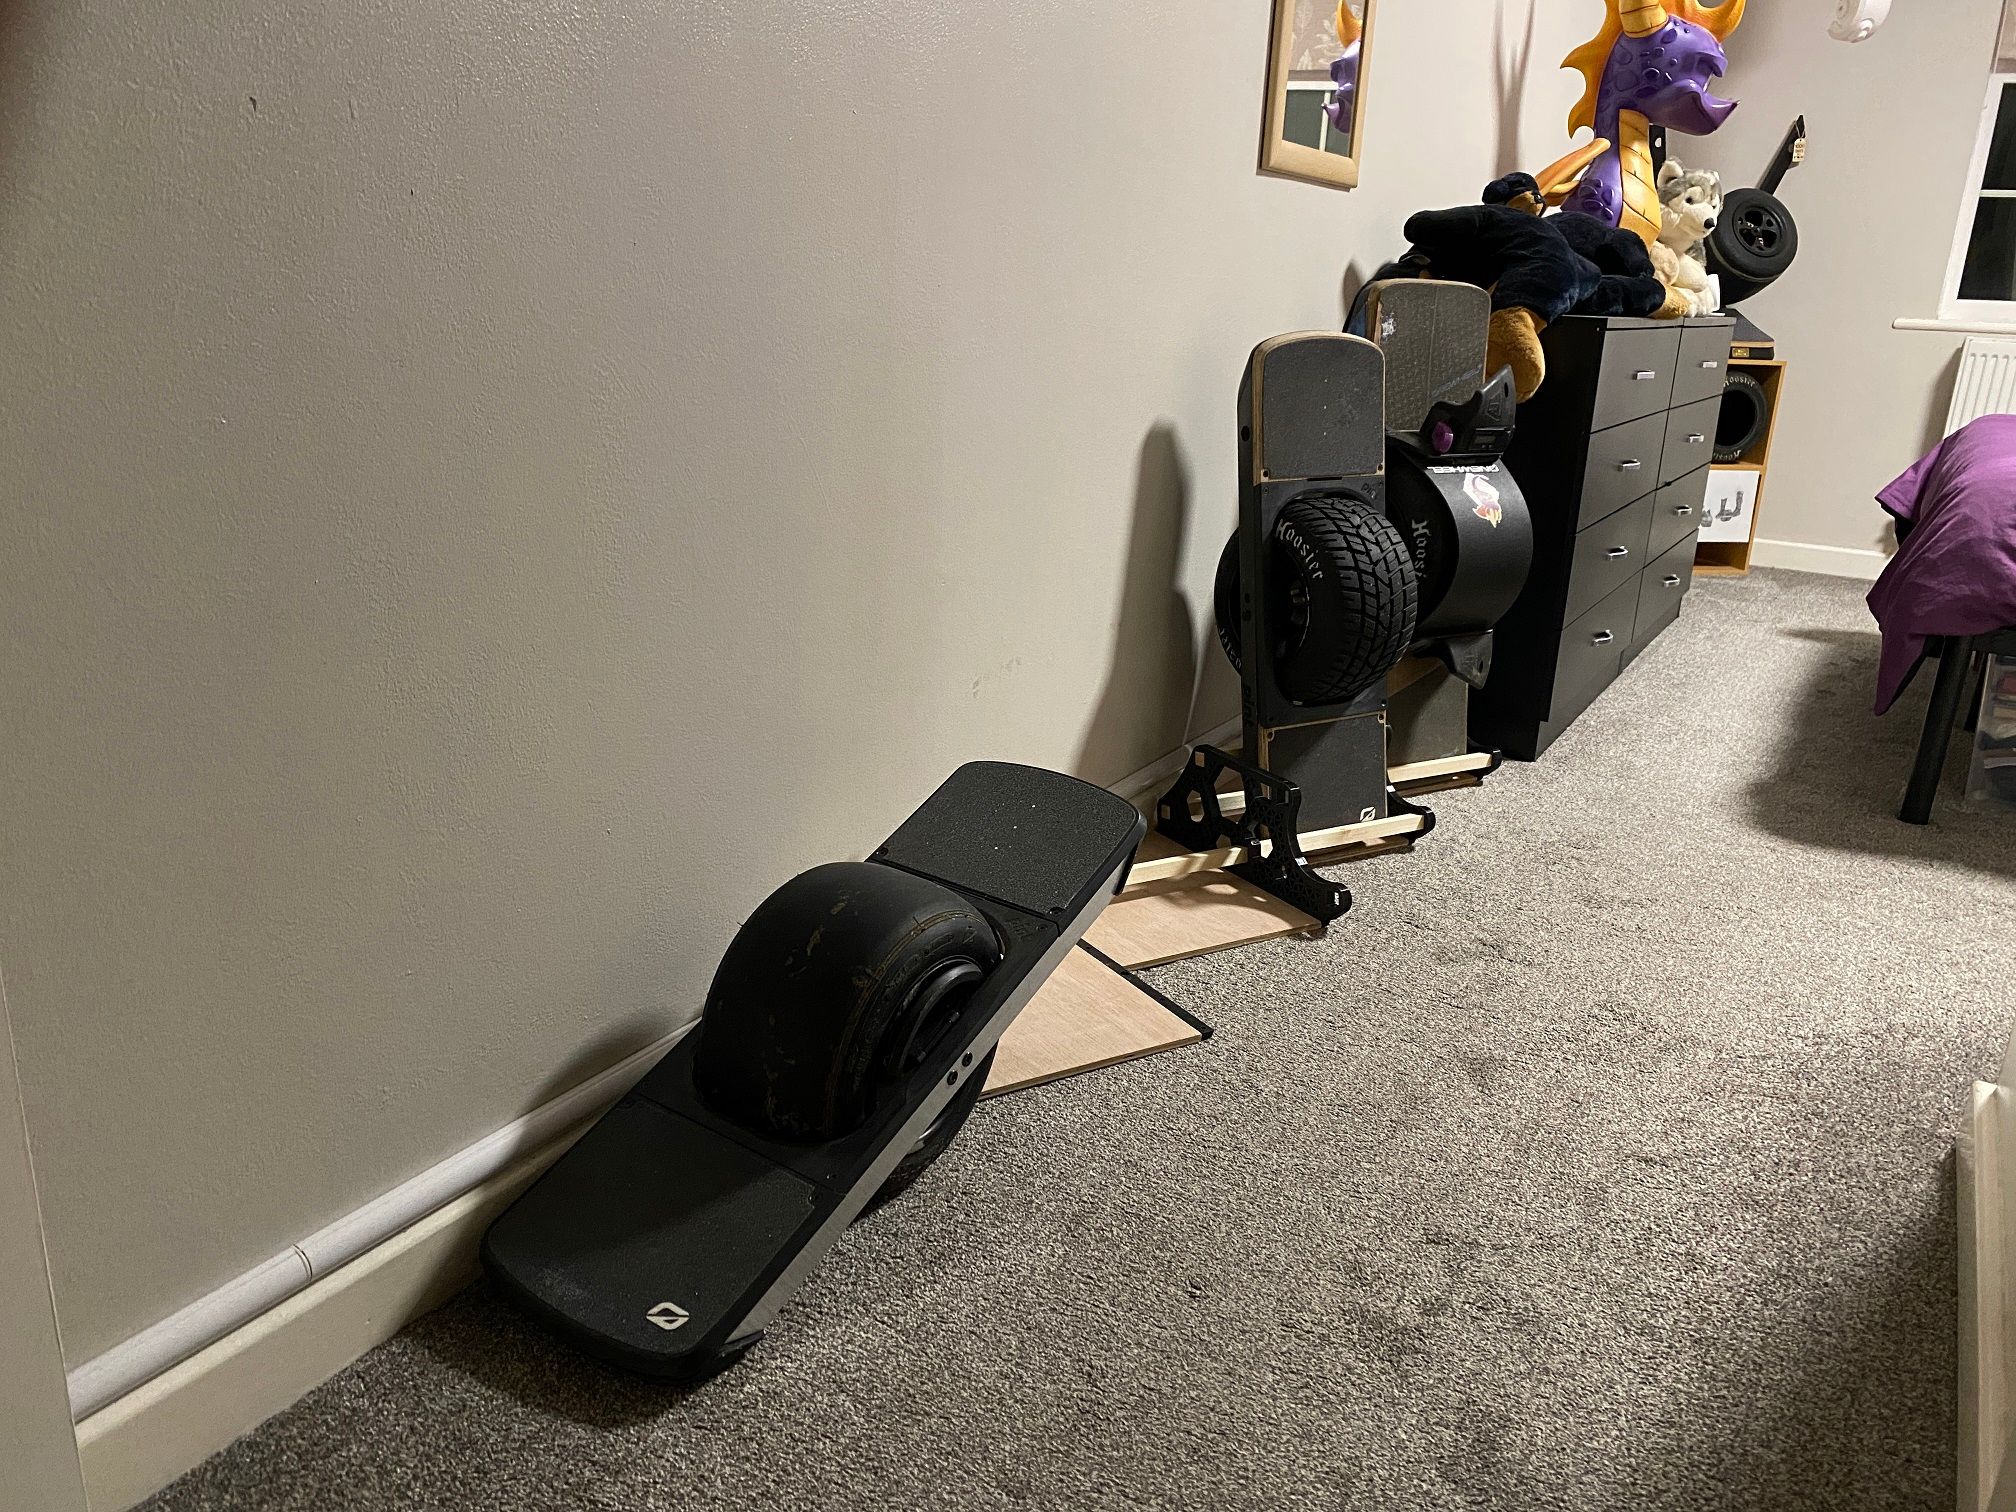
The other viewed angle from the bed. Can easily see them still and get a decent angle of them rather than the usual head on view from normal stands.
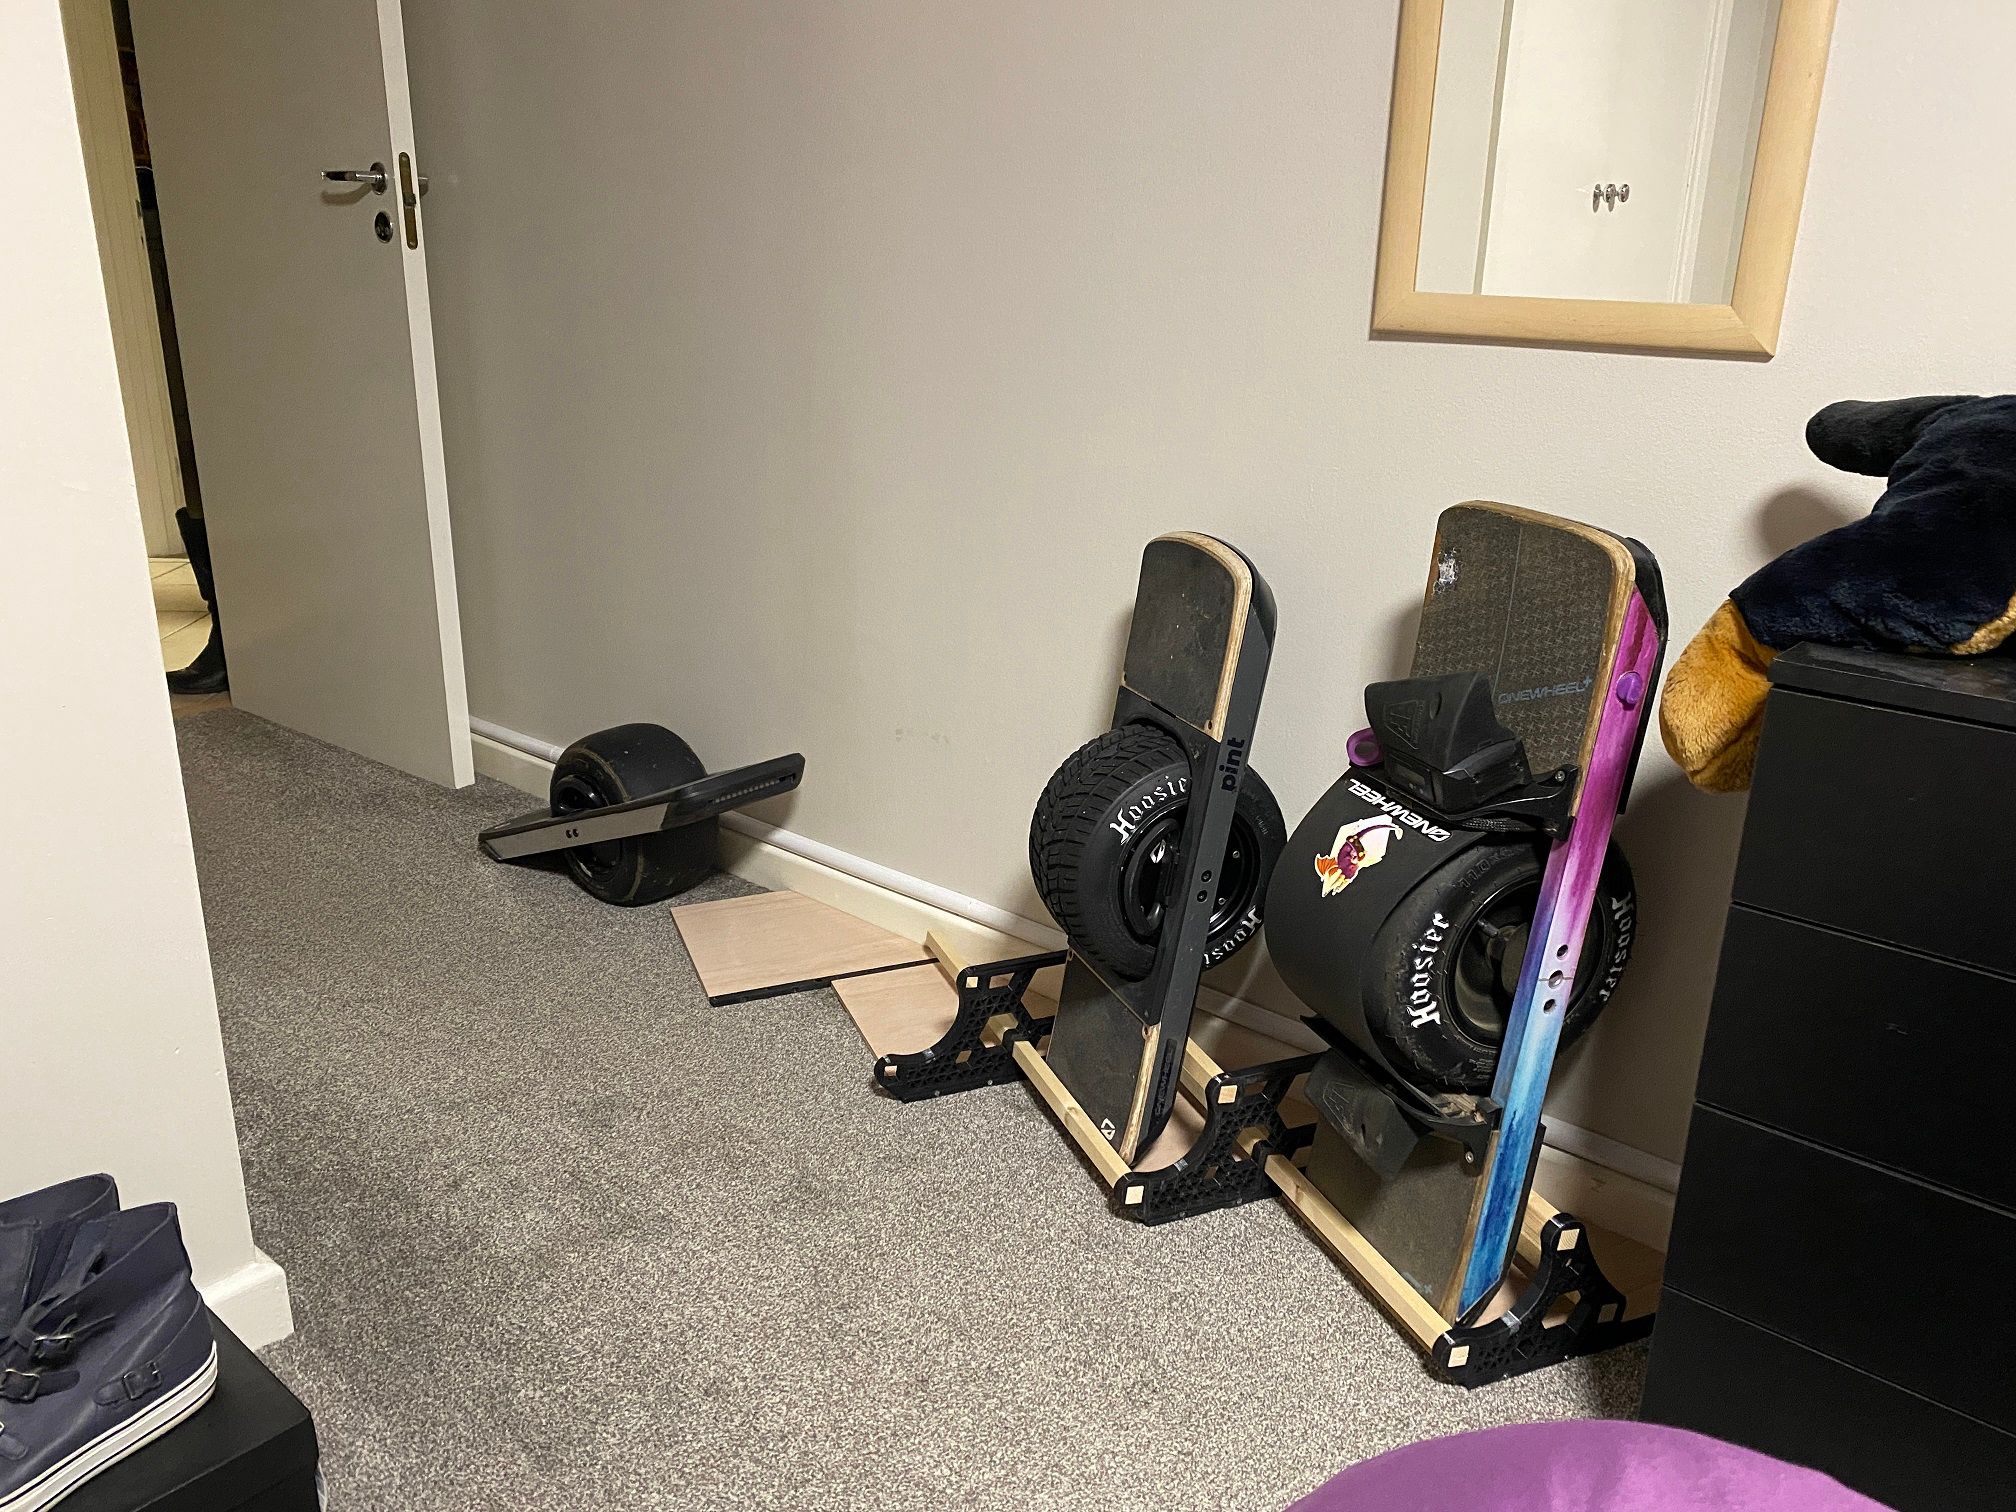
-
@lia -- Love the photo with the scale XR included!!!
-
@s-leon Glad you spotted it :D
The XS and the XR controller will fight for the empty spot ;) -
Finally finished and uploaded the design in case anyone wanted to make one too :)
https://www.myminifactory.com/object/3d-print-221518
BOM and relatively simple visual instructions included. This design can be later expanded which I'll likely need to do now ;)Added support to hold the chargers with the LED visible. A right angled C7 power lead is required but other than that it's a simple install.
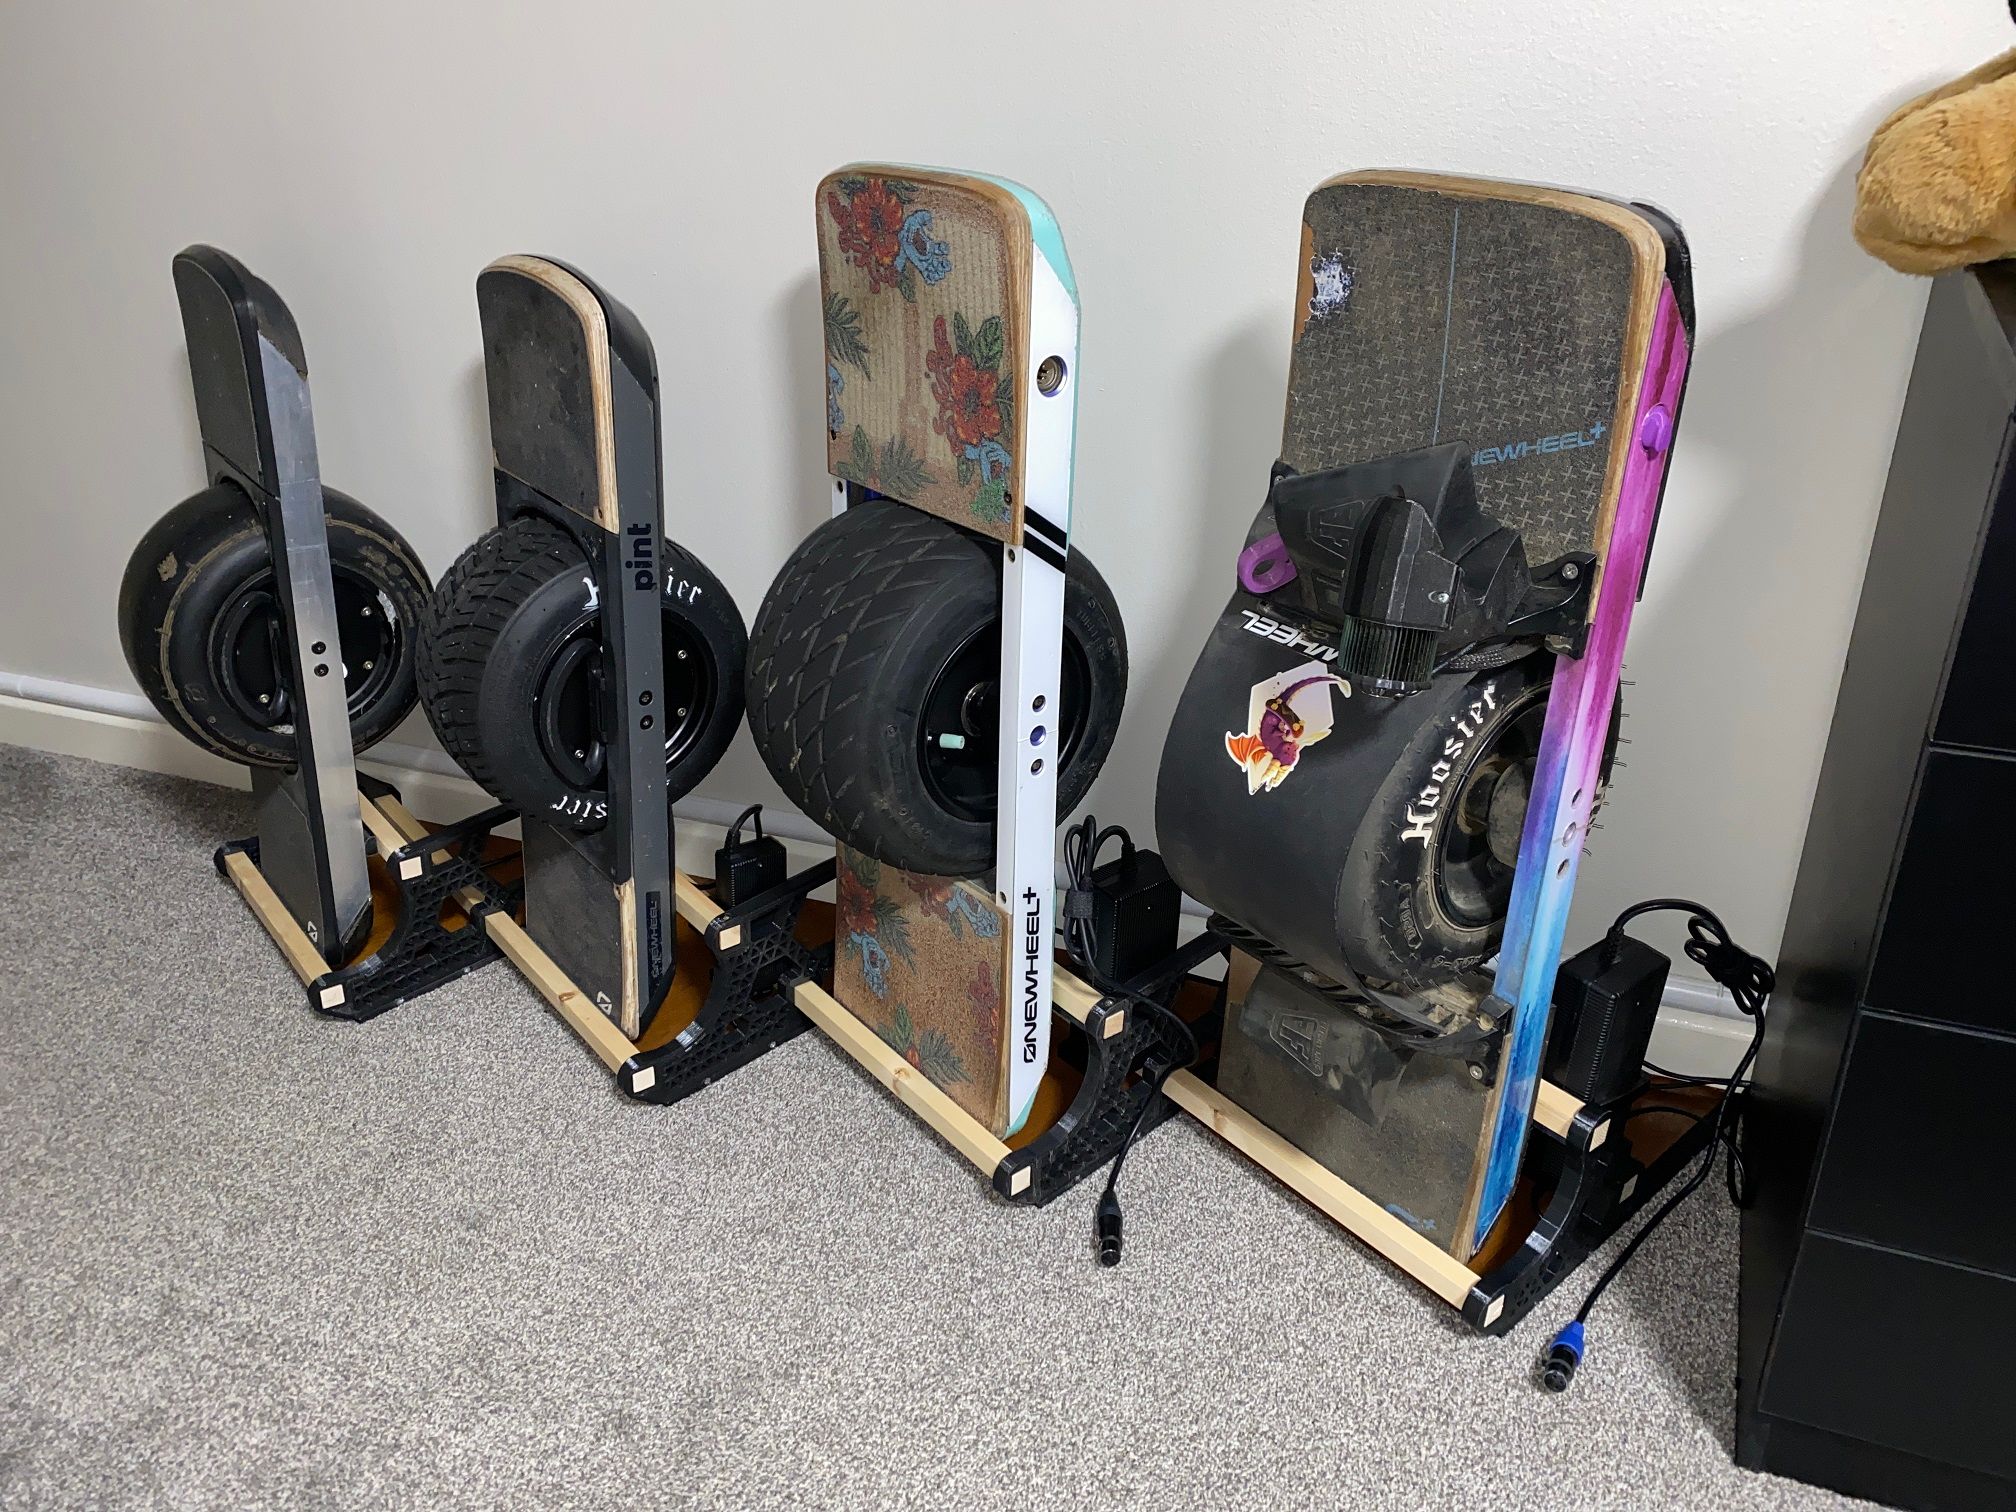
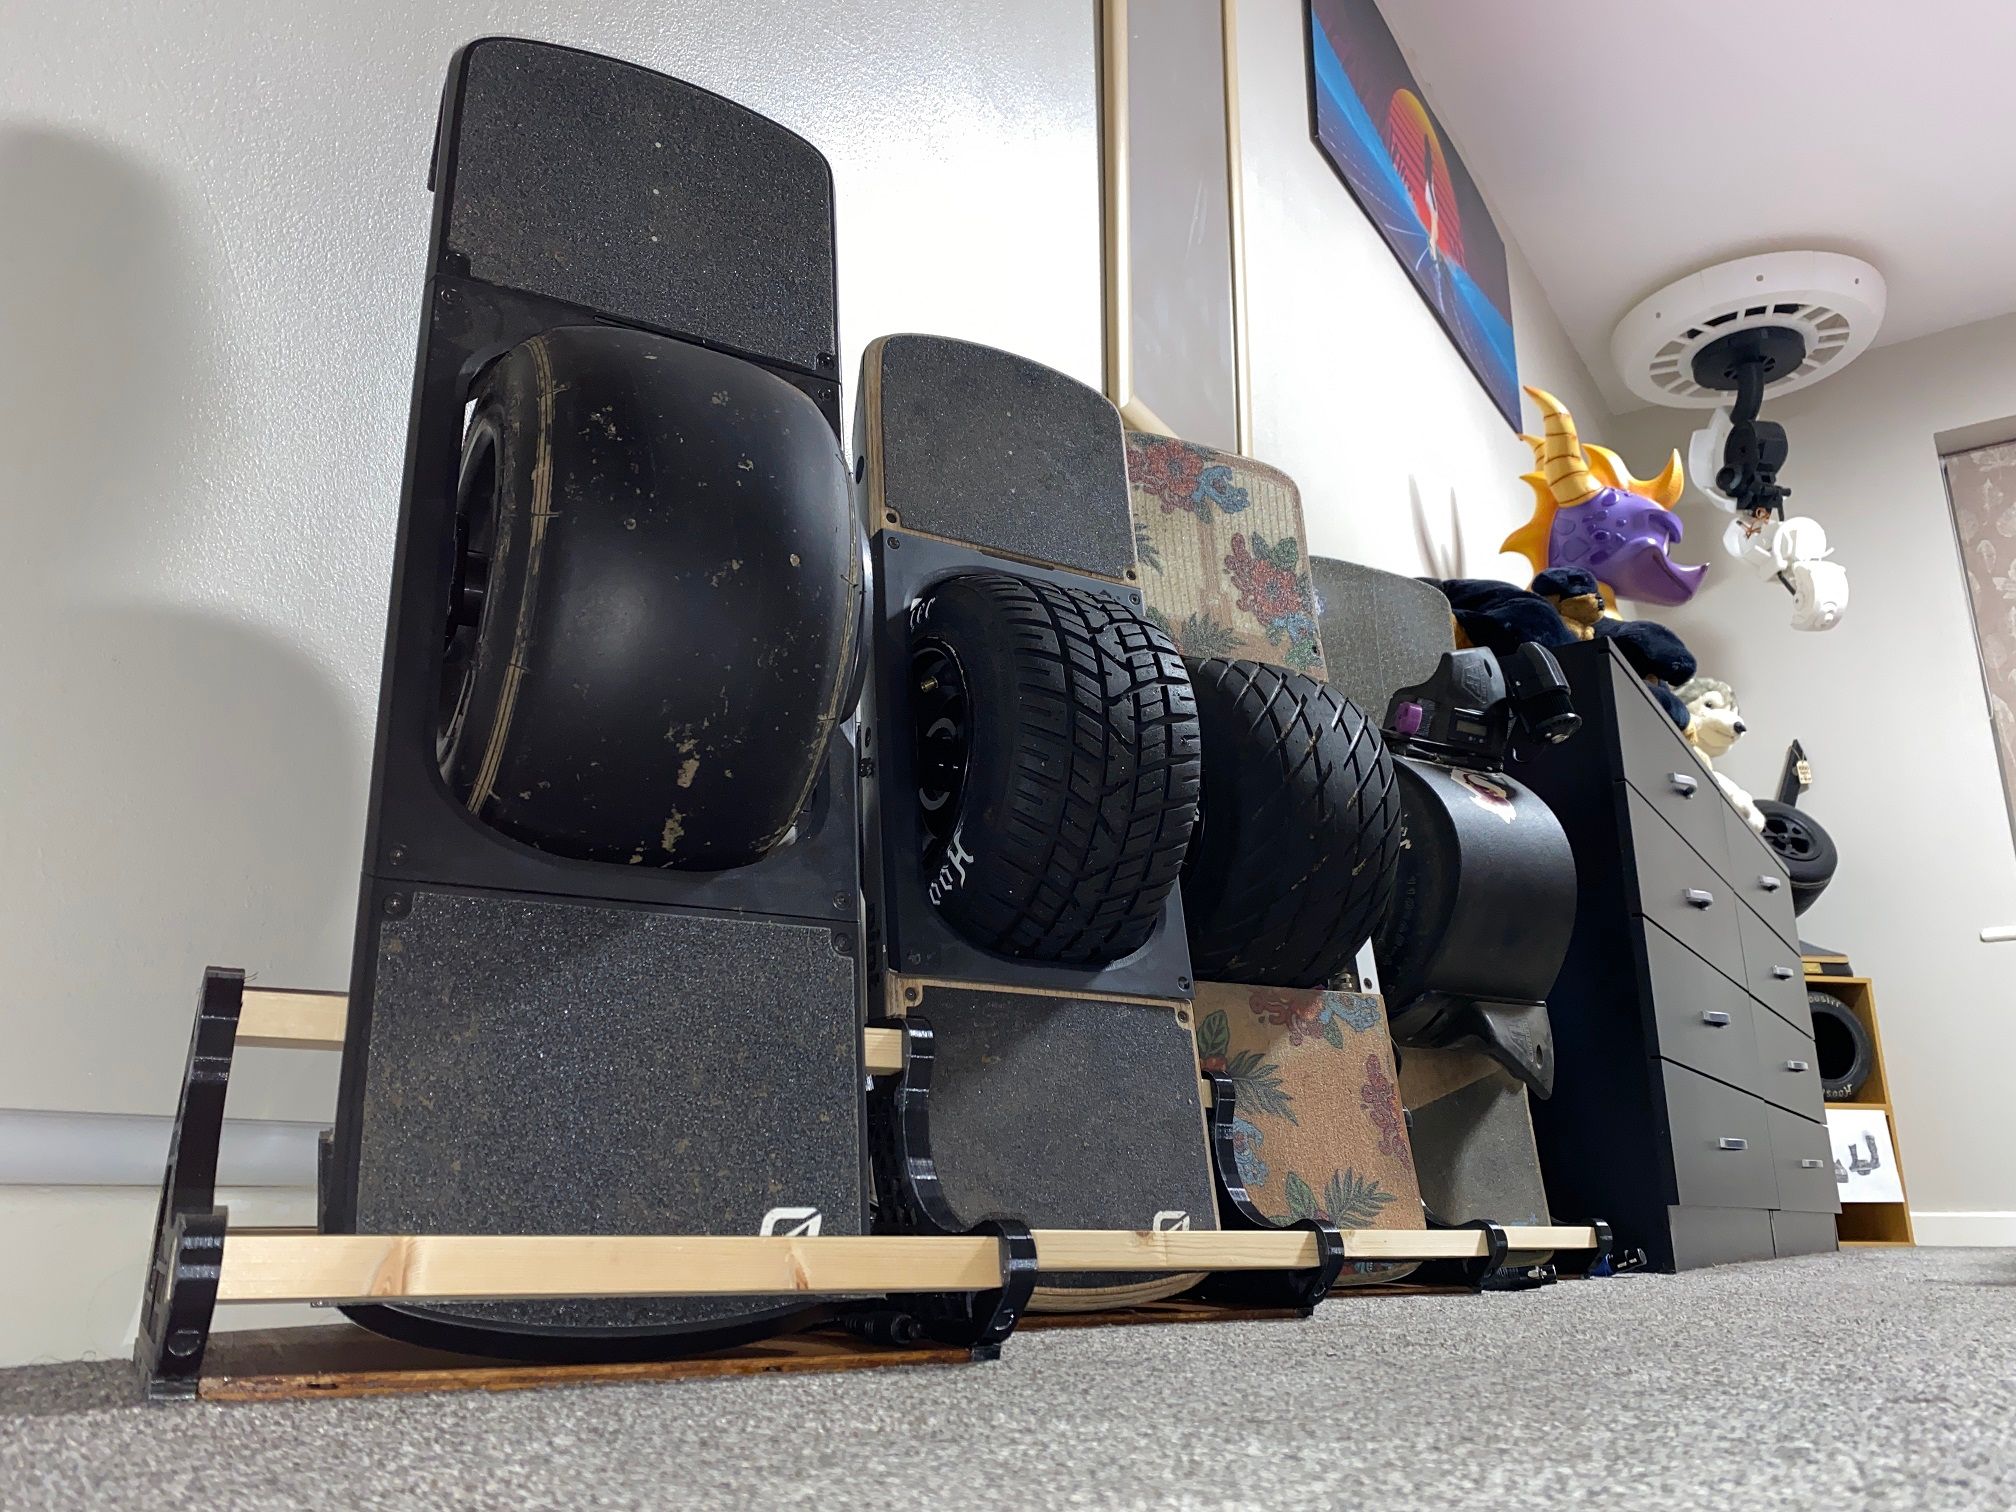
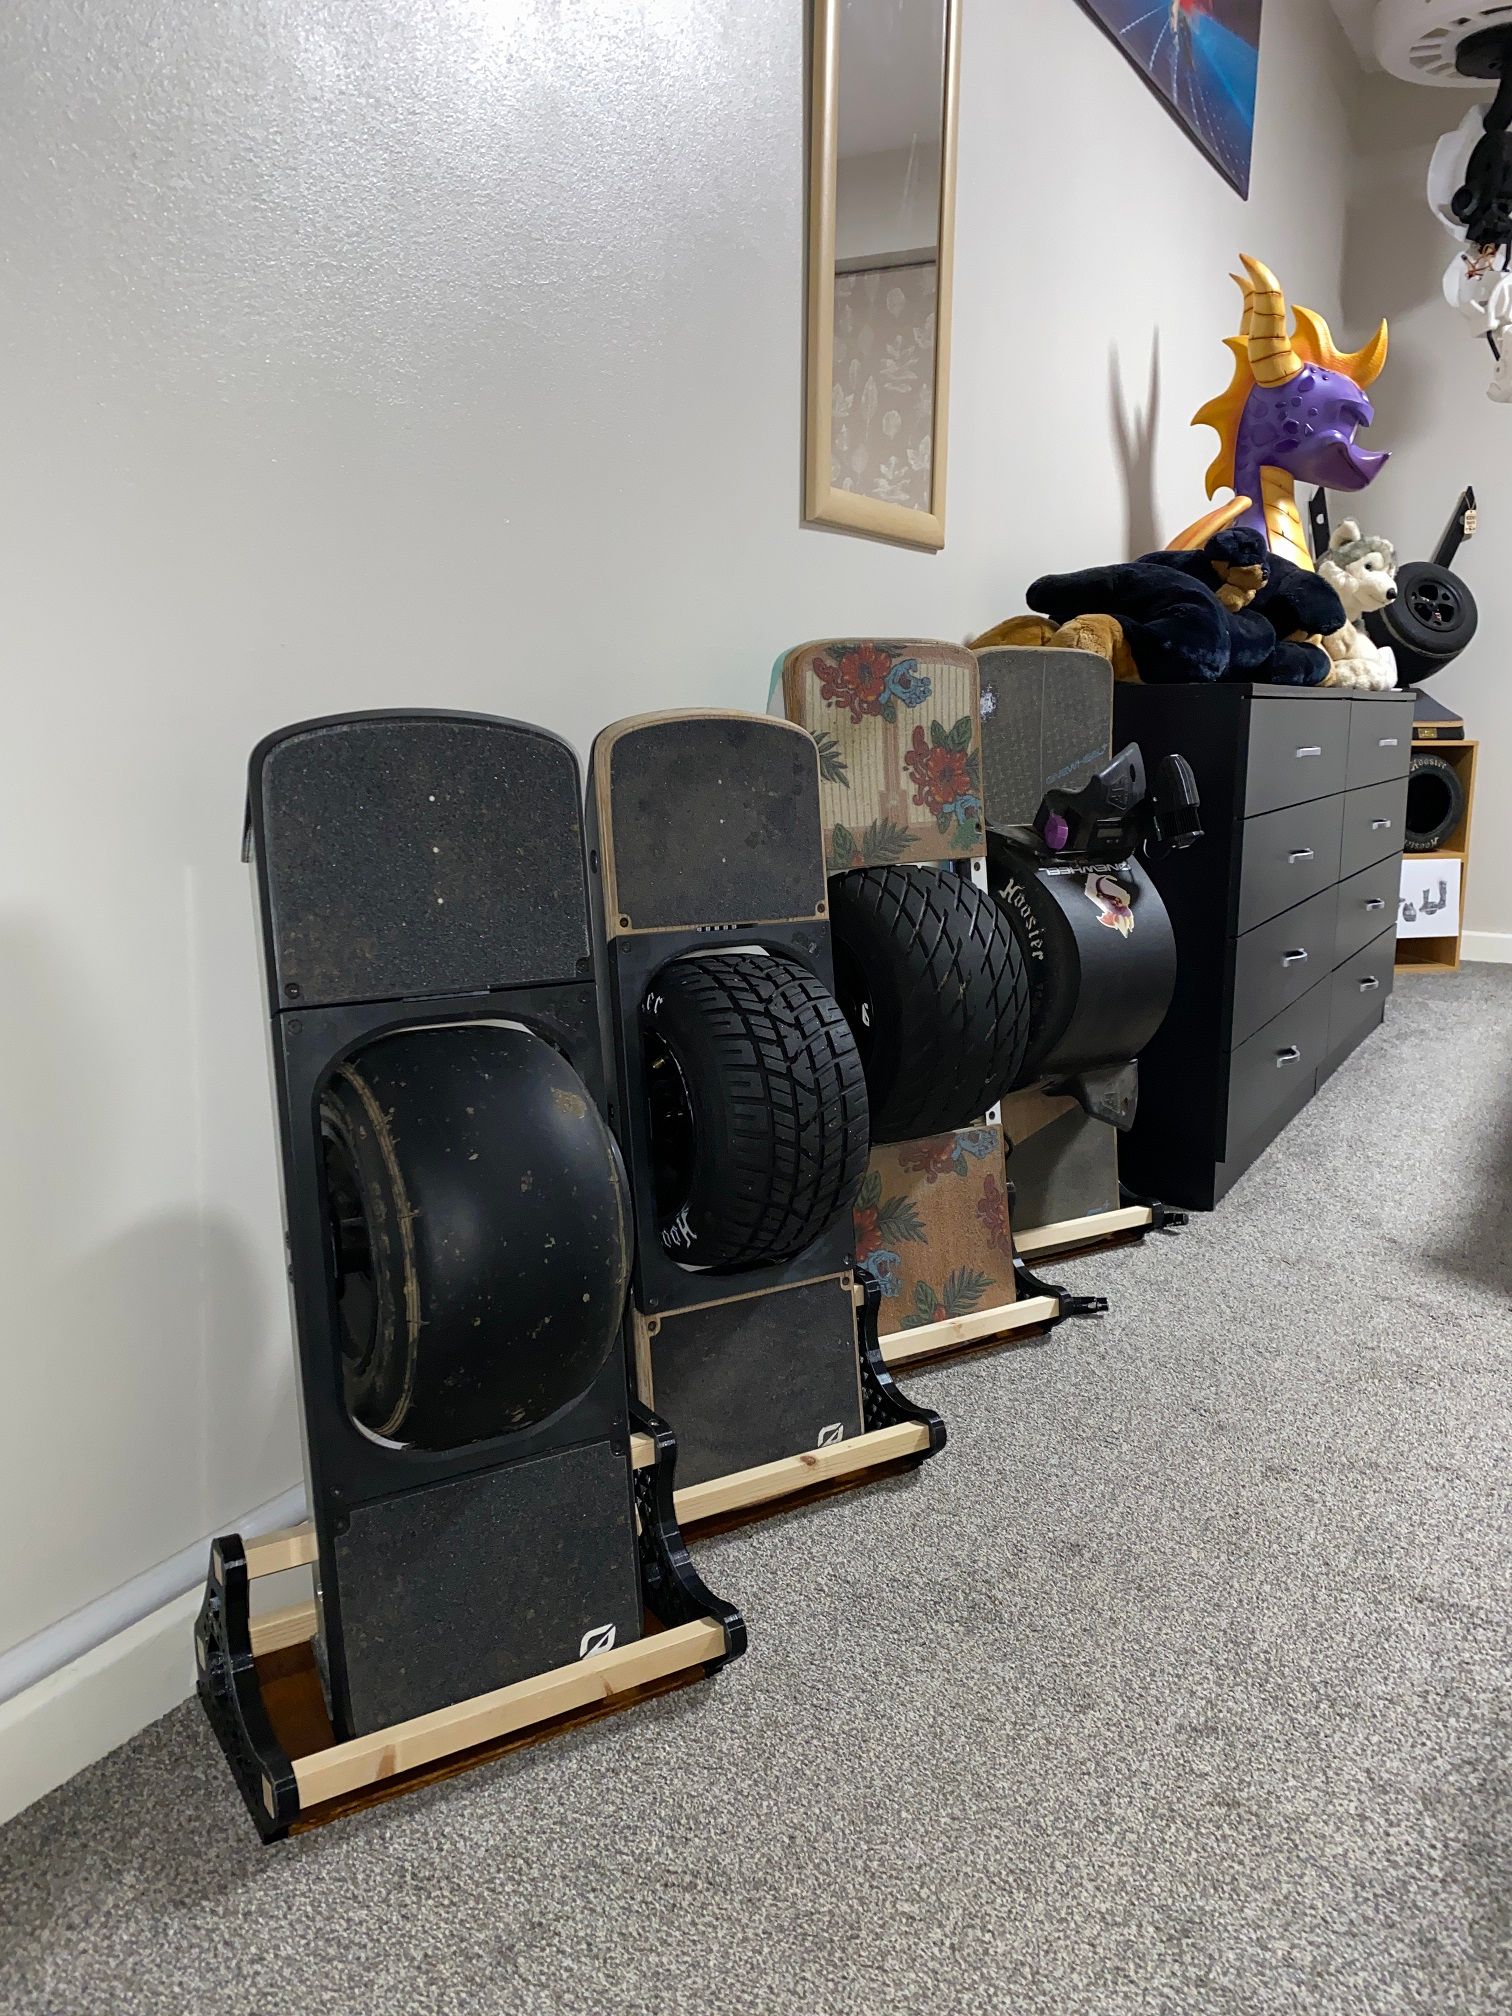
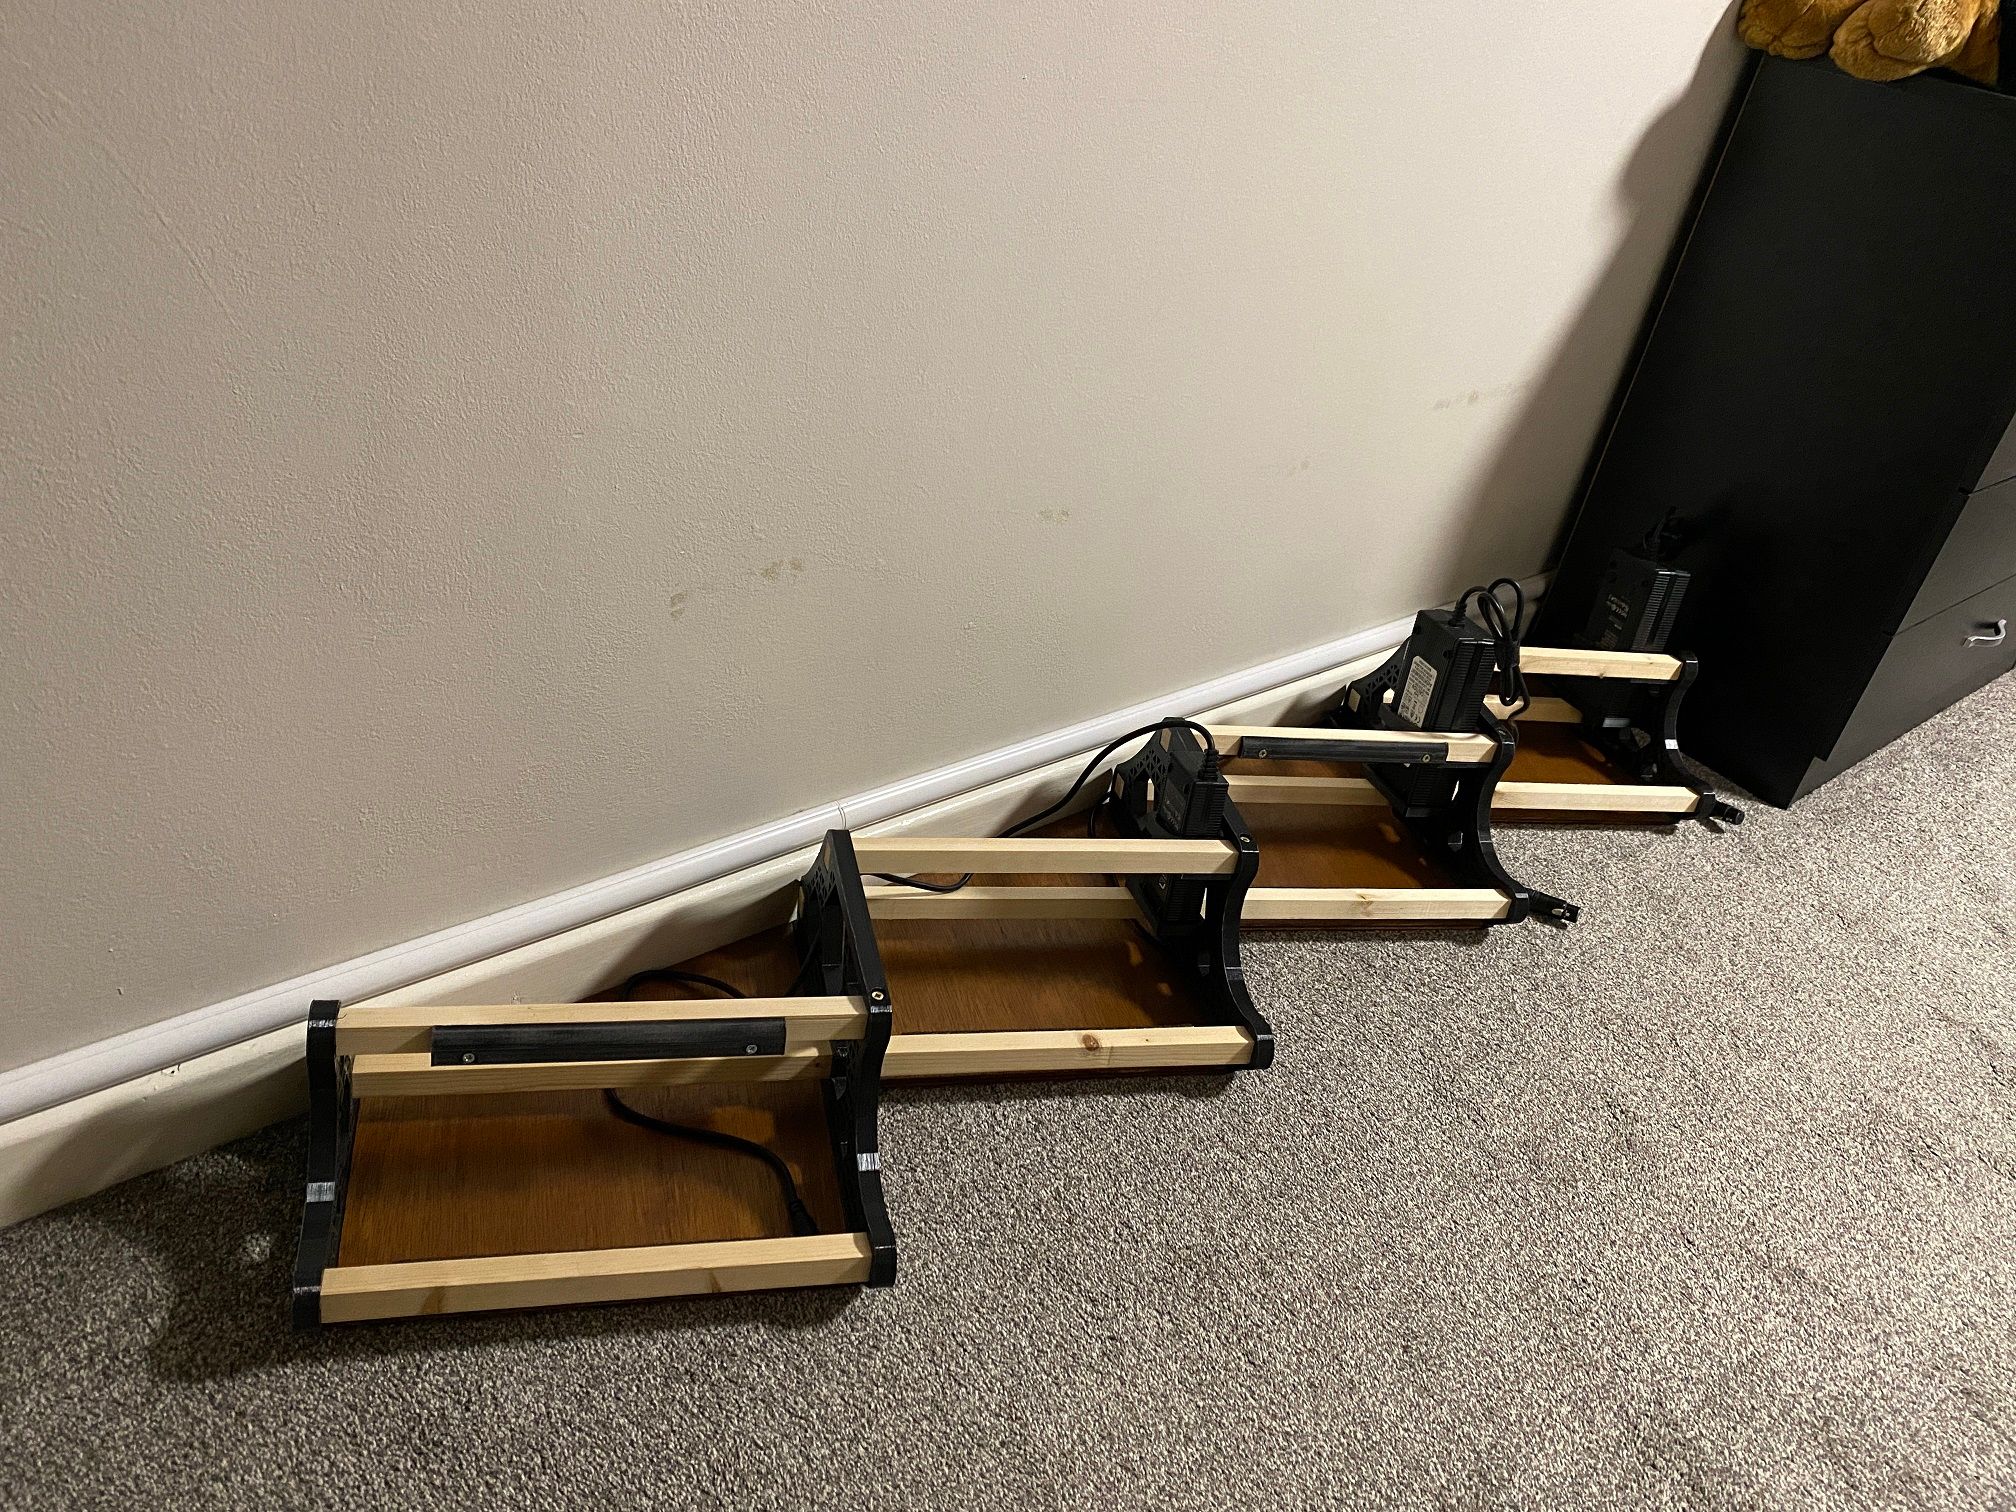
Have Google setup to charge the boards depending on which I ask her to charge, thinking of also adding some addressable LED's on the back to have a nice light show emit behind them but that'll be a later thing to add.
-
@lia That is genius! Great work.
-
@lemur Thanks :) Hopefully it'll fit a GT. I'll have to see when I finally get one.
-
It has been extended!
Had to fix my printer first as it decided it instead only wanted to draw straight lines, more on that in the spoiler, otherwise here's the extended stand :)
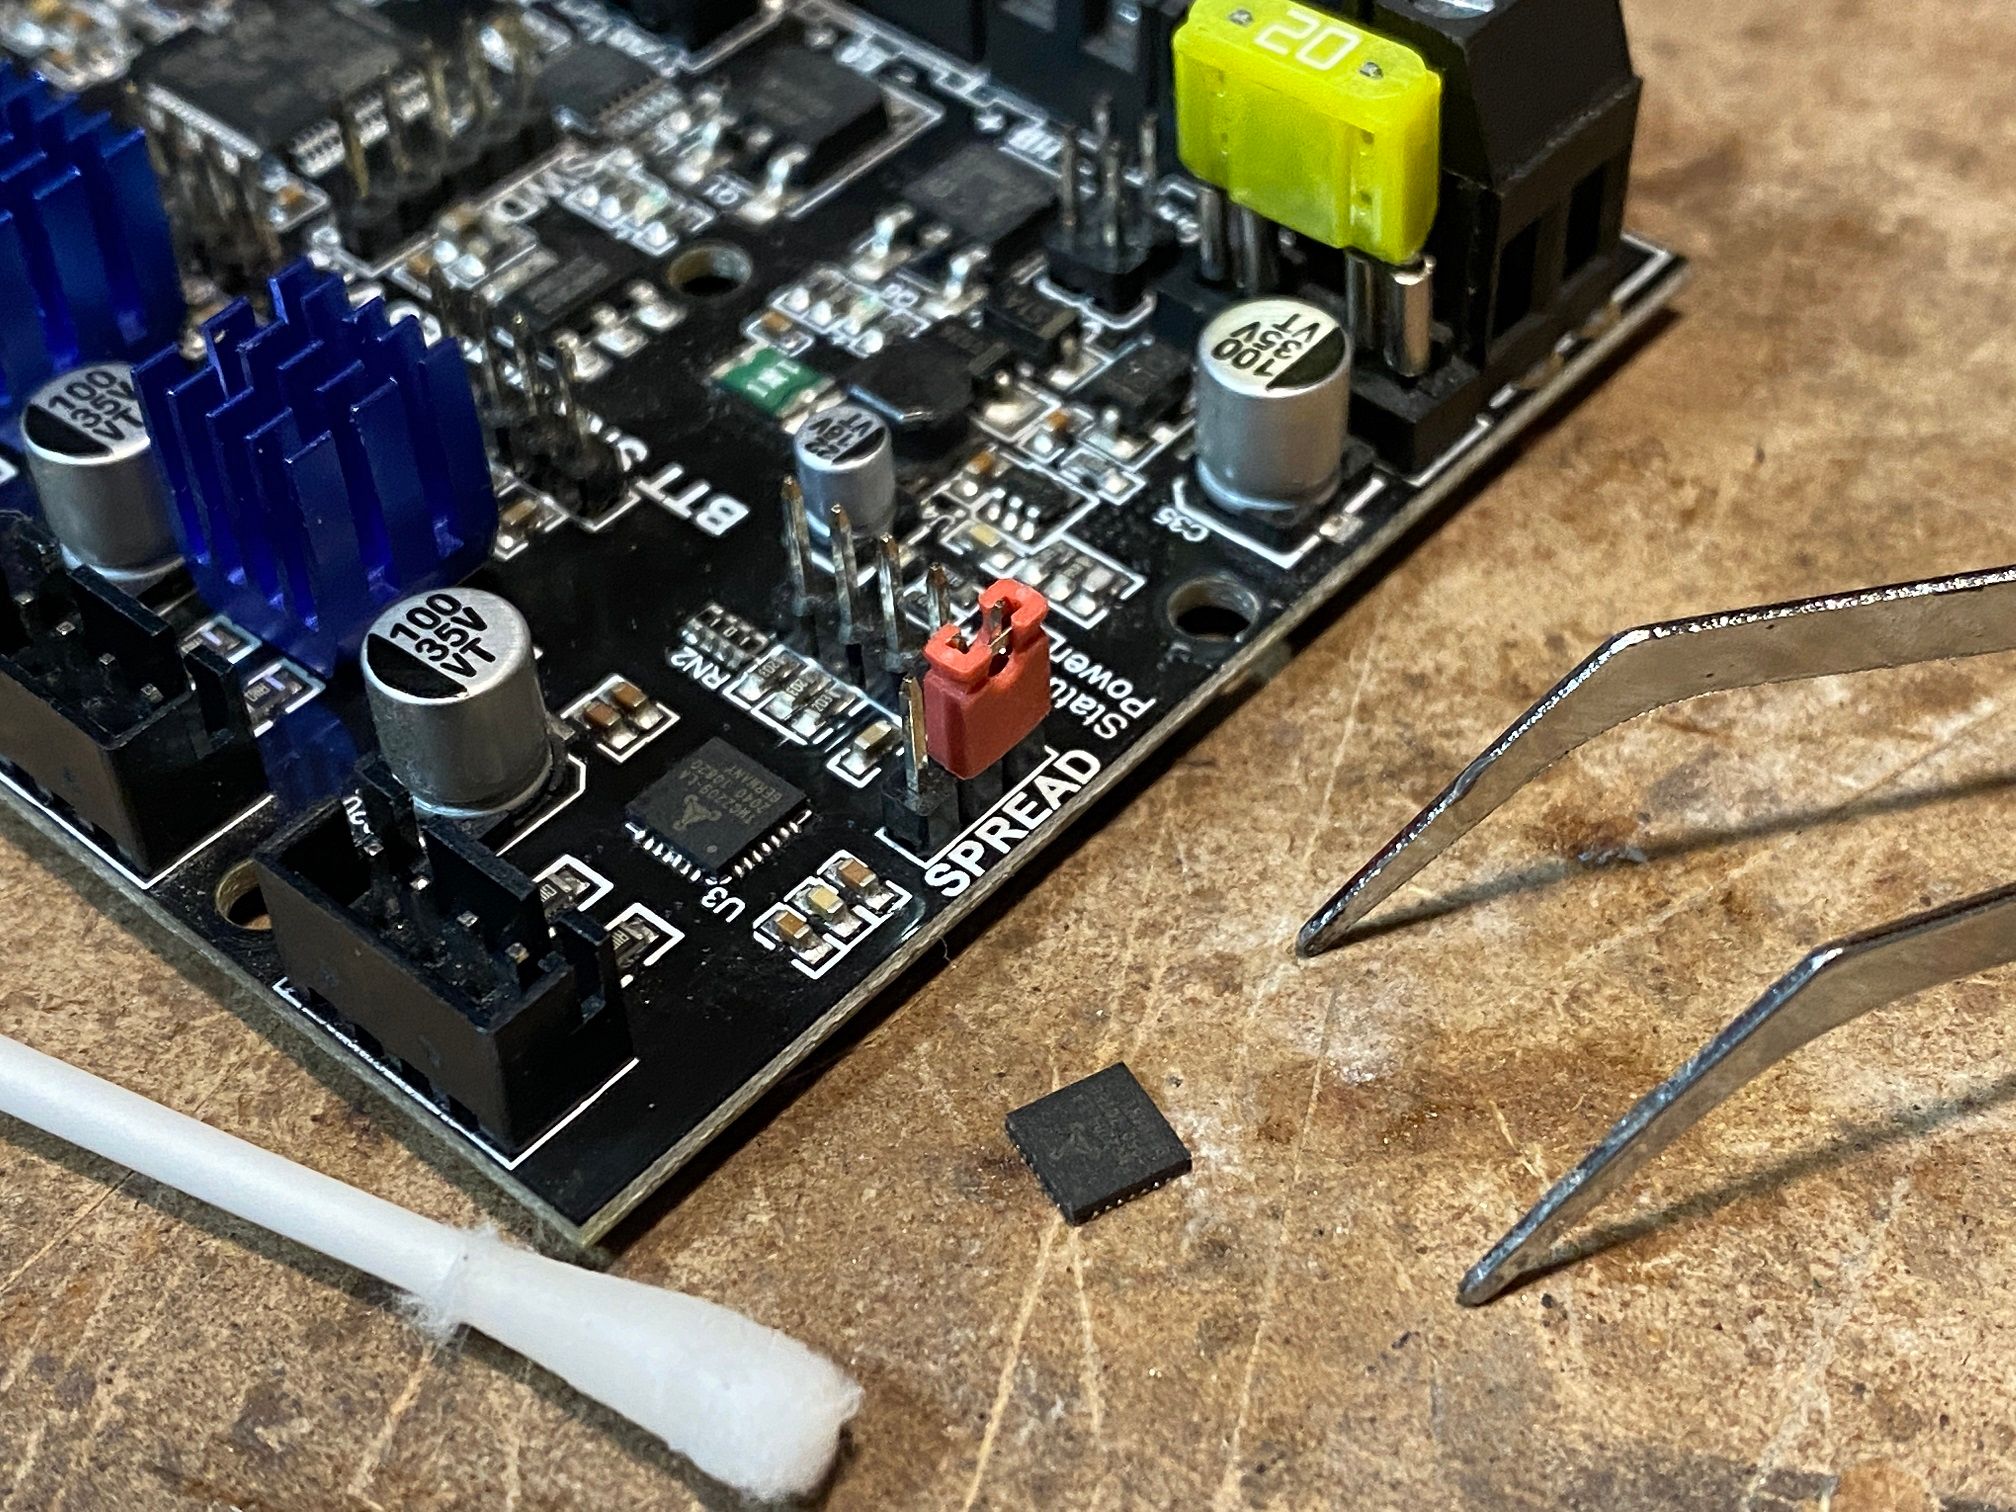
Printer decided that the X axis was no longer real. All the voltages were present and no shorts across caps so that left me with either a broken main IC or just the X axis stepper driver. Some printer motherboards have swapable stepper drivers but I bought one with them integrated for like £40 2 years ago. Newer replacements now cost £80 for comparable function and I'm looking to save money currently for personal matters.Took a chip of a TMC2209 module. My motherboard has them integrated so bought this for like £5 only to remove the chip and put it in place of the existing IC. It's tiiiiny...
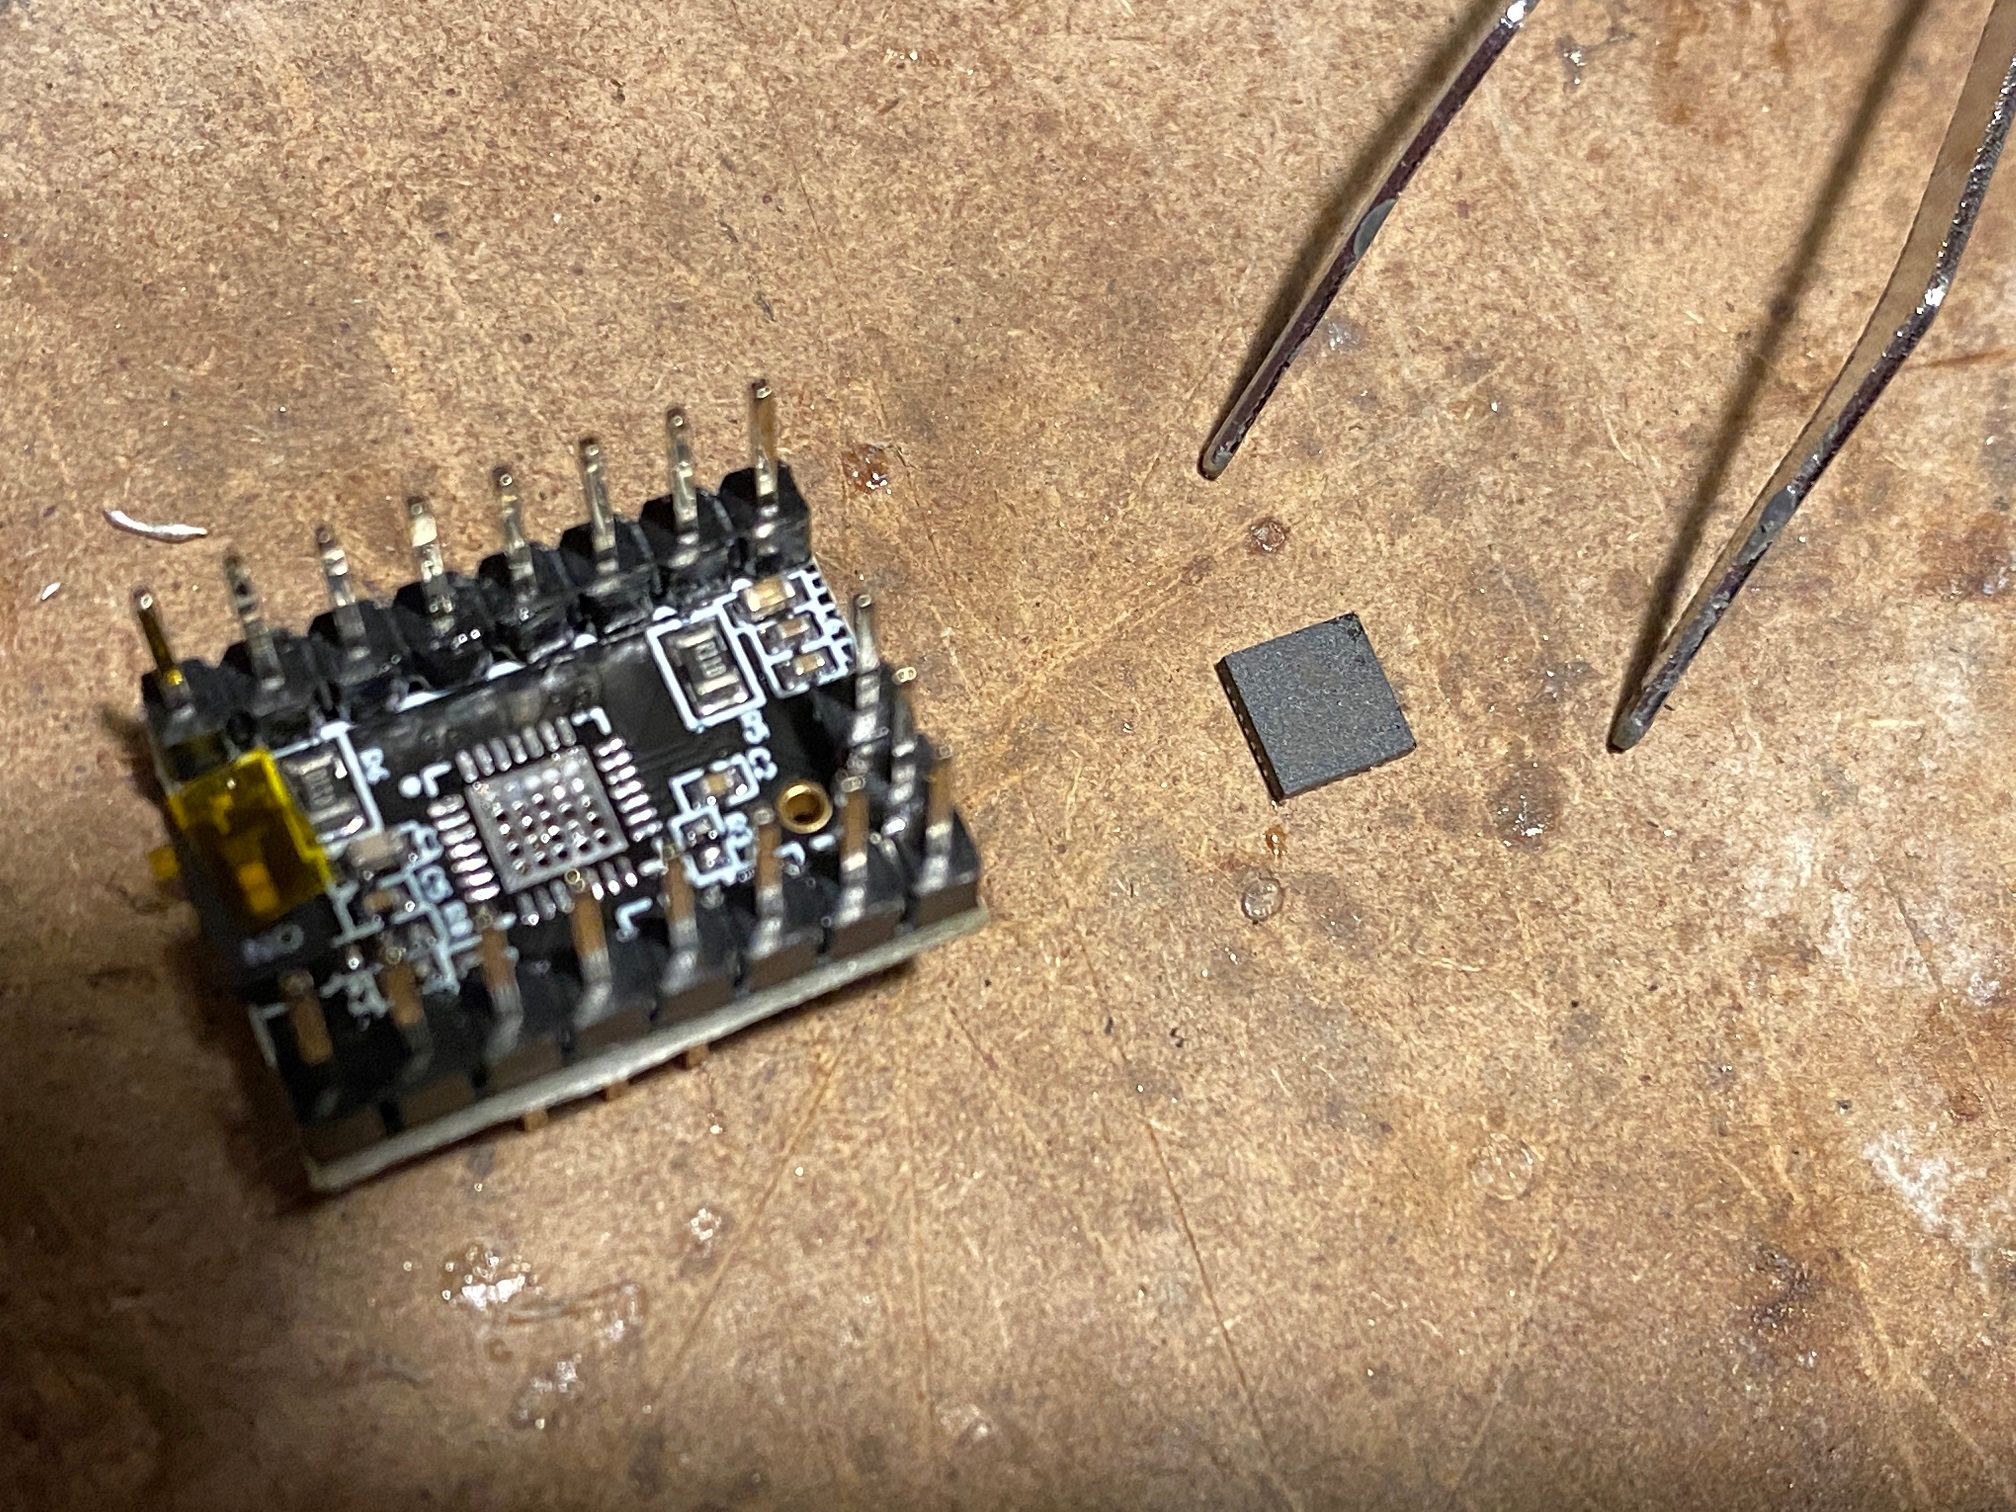
Swapped and cleaned. Props to Jessa Jones at iPad Rehab for making videos that gave me tips on how to successfully use a reflow station effectively on chips like this :)
Aaaaaanyway...
First step is to pull off the end. The extended parts will go between.
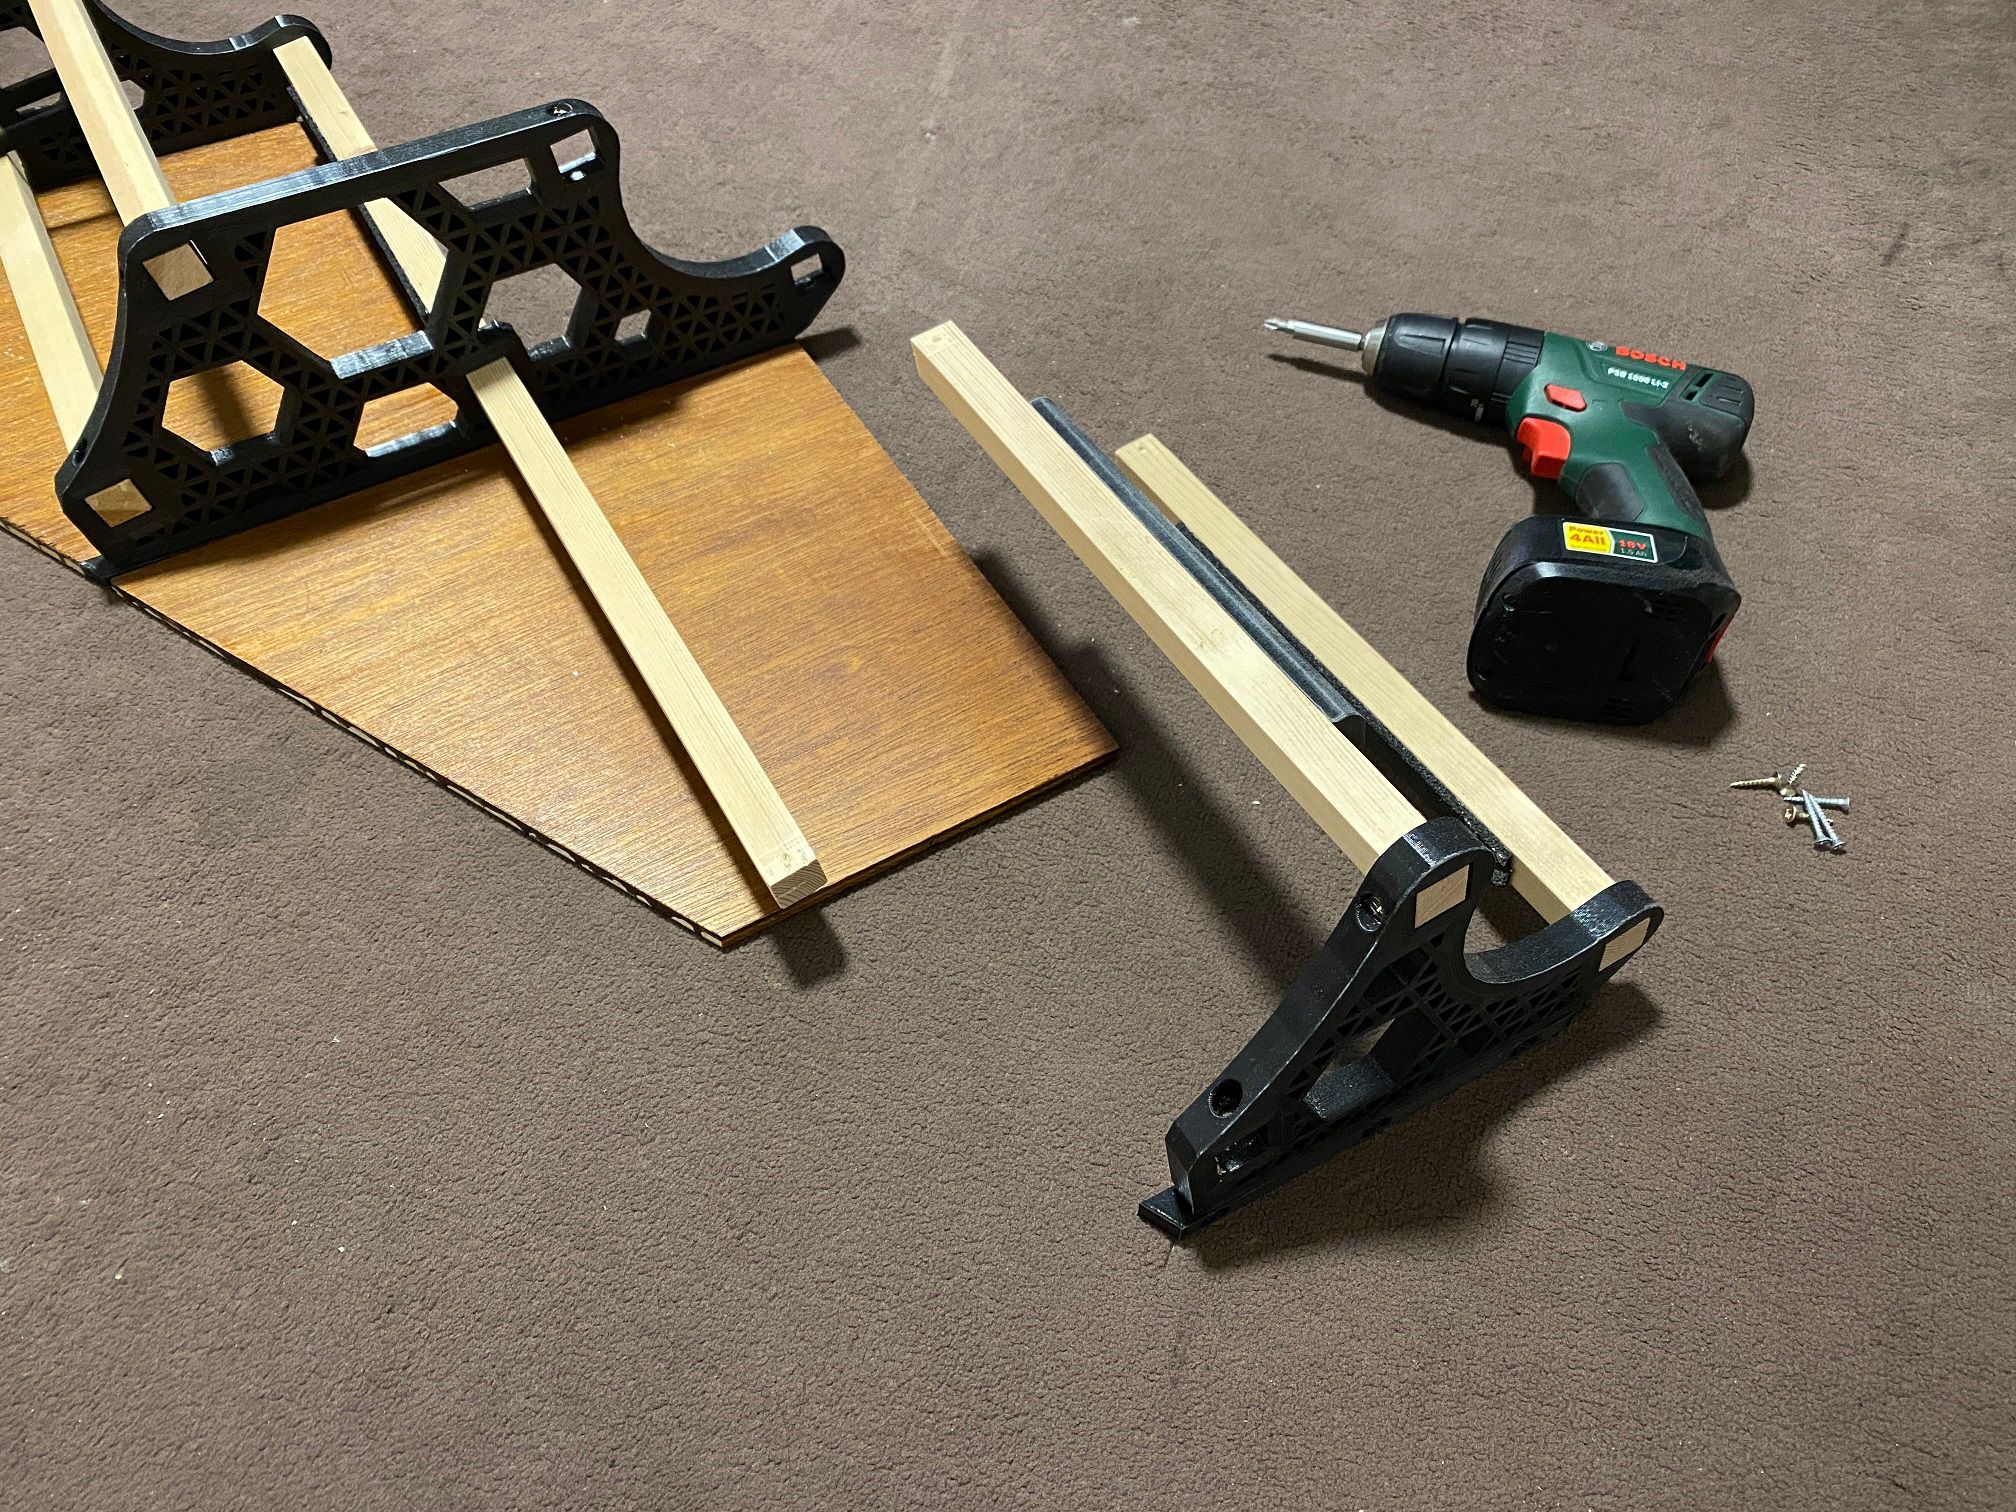
Simple case of replicating the prior steps to add the additional stands. No need to go over that again.
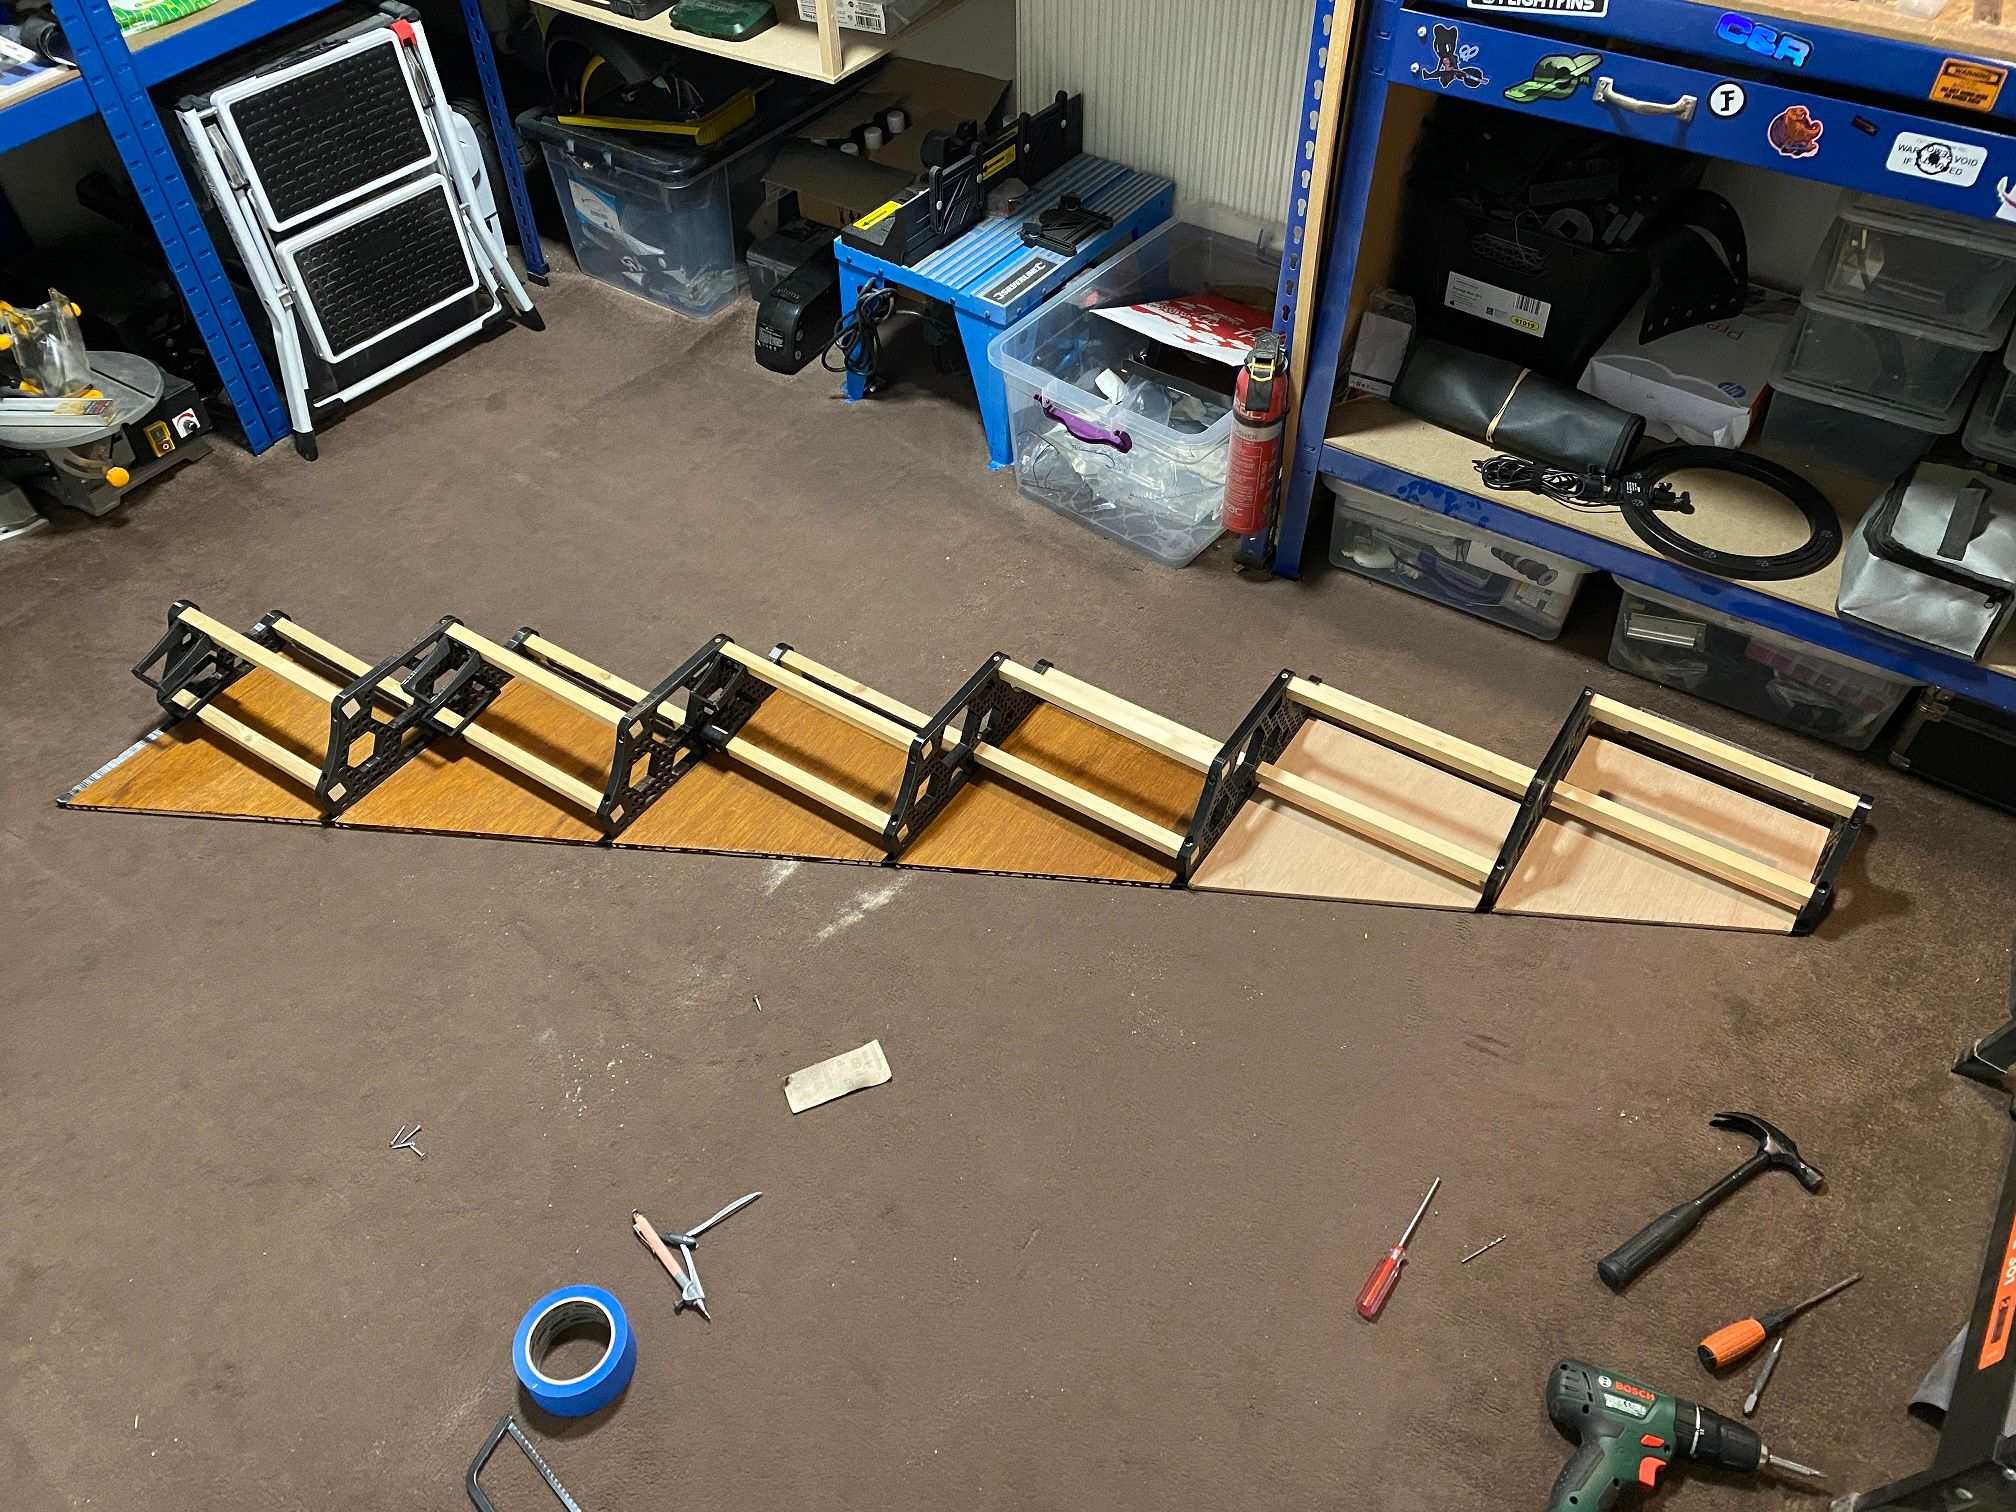
And of course some stain to protect and add color to the stand :)
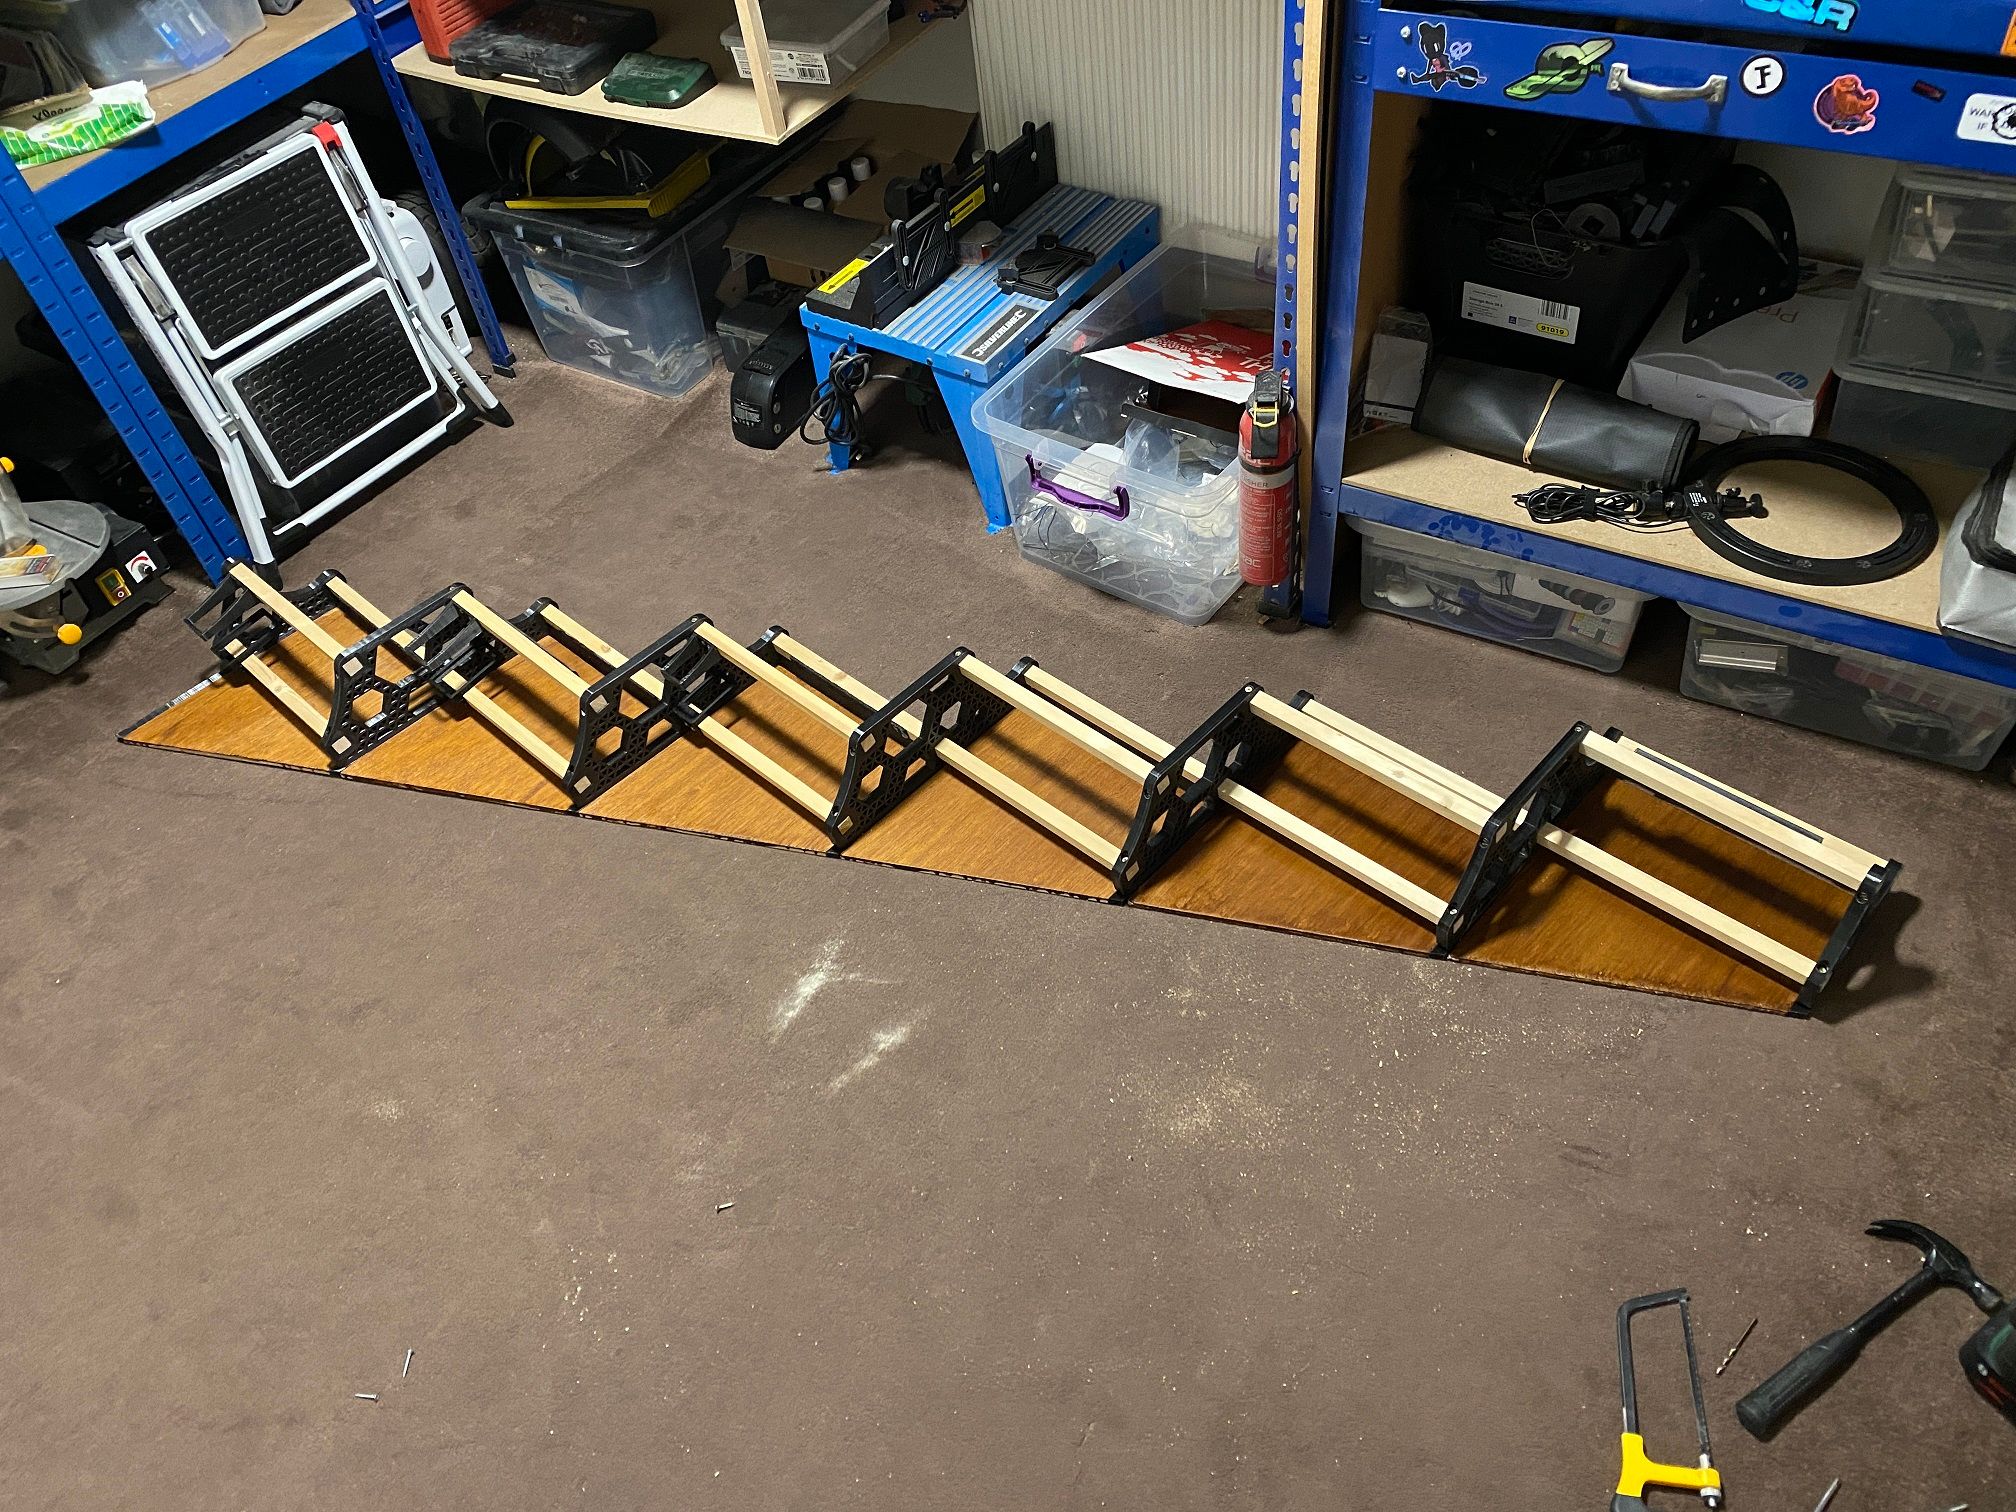
Back together, barely just fits to allow me to close the door. Not that I do anyway.
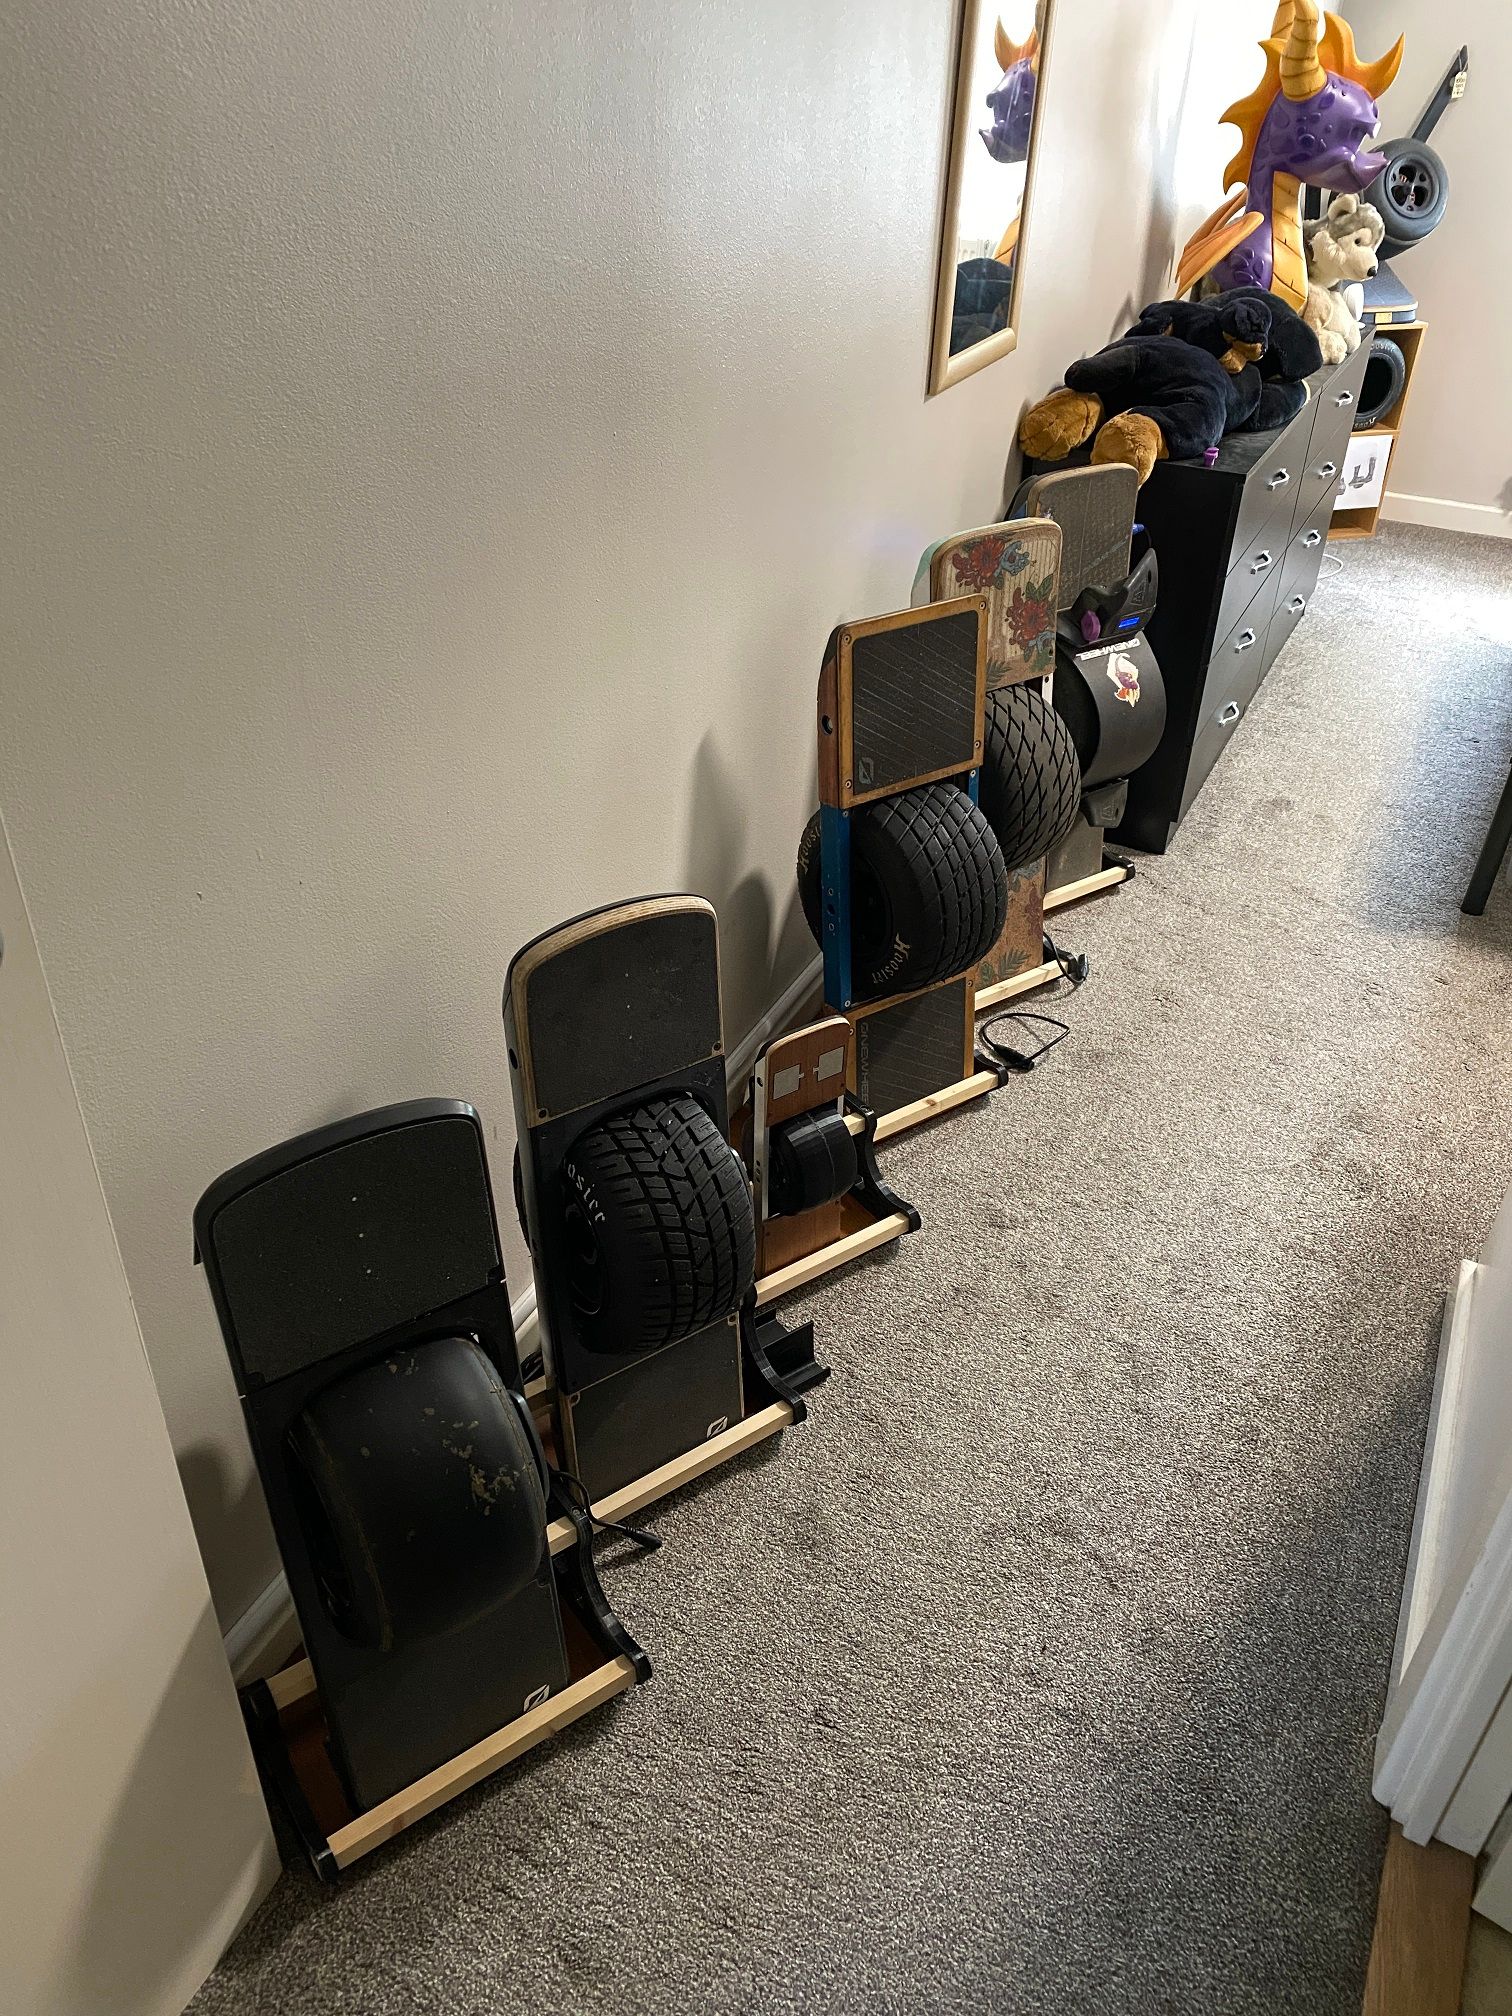
(XS will grow into it ;) )
-
-
@lia -- Great line-up! -- And a nice variety of tires, too.
