XR Controller swap question
-
This might sound kind of dumb, but I just wanted to see what y'all had to say.
I recently bought a broken onewheel XR with controller issues, so I ordered a replacement controller and slapped it in, but now the board is acting weird and not turning on.
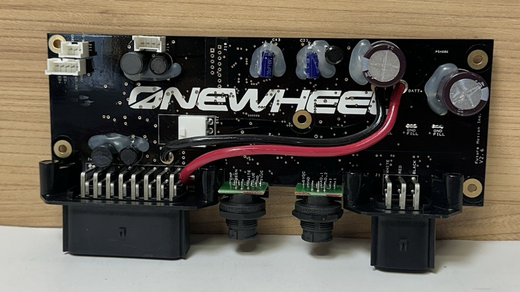
This is an image of the replacement controller
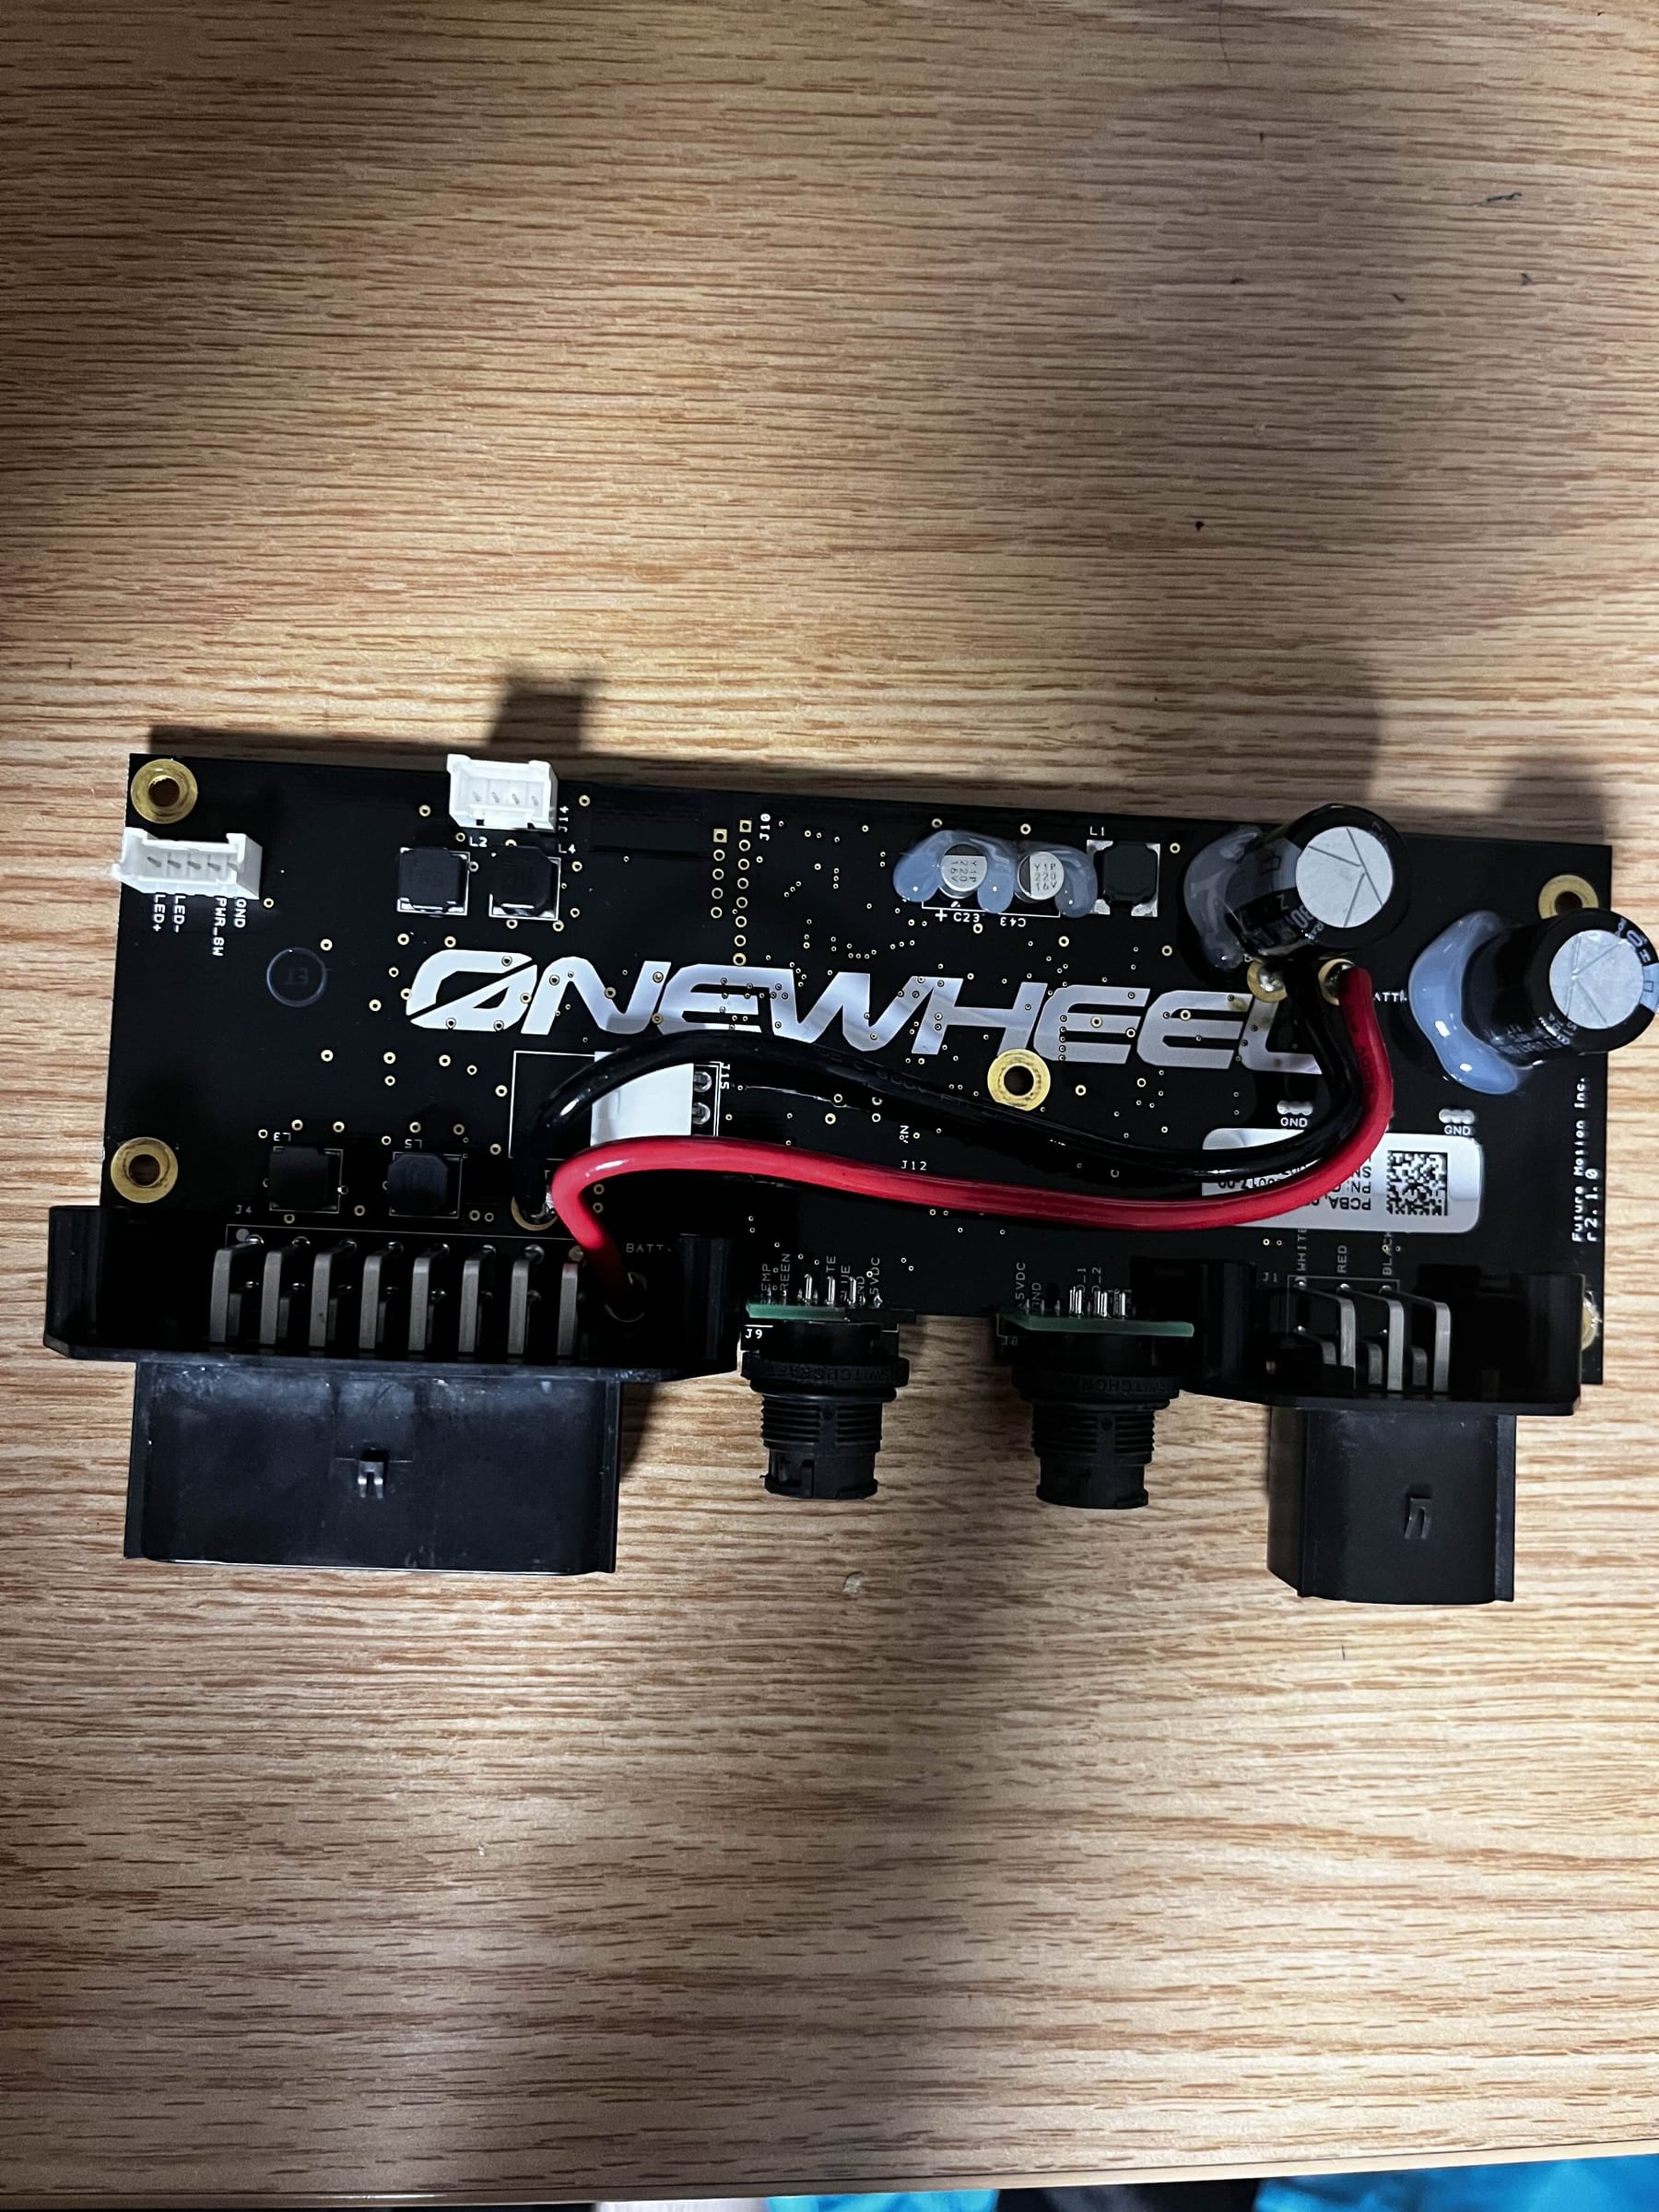
And this is the broken controller I took out of the board
I realize they look different but I kind of assumed that if they are both meant for the XR that it shouuuuld work fine but I am now seeing that is not true. I was hoping if anyone here has any experience with these controllers if theres any way to get it to work for my board or any comment really
Thanks all!
-
@cw_o Did the seller say what hardware revision it was. It looks like it's pre-serialisation but the 4210-4213 models complain about mismatched BMS's. It can be worked around with additional modding but it's a factor.
4206-4209 are fine so if it's one of those it'll be a simple swap.
-
@cw_o The replacement looks more like a Onewheel Plus controller, check the big capacitors, they should be marked "80 volts'' for a XR , if they are 60 v then it's a Plus controller.
A later 4210 and up Xr controller will have 4 silver 80v caps instead of 2 caps.
Pictures of a Plus contoller and a Xr 4210 controller.![IMG_0210[1].JPG](/assets/uploads/files/1757515320833-img_0210-1-resized.jpg)
-
@lia The guy said he is going to see his friend who sold them to him on sunday, so I will let you know then.
-
@lemur Yeah you might be right that looks just like the replacement. Once I get back home I'll open it back up and check -- maybe I can get a refund if it turns out to be the wrong controller 😅
-
@lemur Welp, it looks like you're right. The capacitors say 63v. I think i'll try recalibrating the original board tonight as you reccomended in the other feed.
this stinks!
-
Quick update for those interested-
I just tried the recalibration on the wonky board with no cigar, it actually ended up just messing up the roll somewhat, so I do think that the IMU on that board is toast.
Sooooo that kind of leaves me back at square one..... with no leads on new controllers.
However I am in college right now, so I may be able to find some workshop or something to help me replace the IMU - so if anyone has experience doing that tips or a guide would be very appreciated!!
-
- If they have a reflow/hot air station then that's the tool you need :) Air for the chip and an iron to touch up the pads.
- Before removing the chip make note of it's orientation for when you replace it.
- Use some isopropyl alcohol and a cotton swab to clean the area and remove some of the conformal coating. It'll get in the way otherwise and possibly compromise a good solder job.
- 180c-200c on the hot air station should be fine to get it off without putting too much heat in the pcb. If you find after a minute it's still not showing signs of moving you can carefully increase the temp but not by much.
- Airflow setting somewhere in the middle. Not so much it flings off parts but not so slow it doesn't put heat in fast enough to fight the power planes heat dissipation.
- Don't hold the heat in one spot as you can popcorn a PCB. Rotate it around the chip so that you get a more even distribution of heat.
- Flux is your friend and will help get under the chip to get the solder molten.
- Don't pry it off, wait for it to be loose and lift up gently with tweezers.
- Once off clean up the pads gently with some solder wick and then use some cotton swabs to take up some flux before cleaning and visual inspection to make sure all pads are good.
- When wicking it's best to cut off a small section and press the iron onto the wick. You can move gently over the top with the iron or if easier use tweezers on the wick.
- Don't pull too hard as the pads can momentarily solder to the wick and tug which can result in a torn pad. If you find the wick has become soldered just apply flux and hold the iron there for a few seconds then try to move it sideways gently while still applying heat. Never pull the wick up.
- As the pads for this chip are under it you'll need to prepare the pads with solder before placing the chip. Go over with a soldering iron and pre-tin them so that they are slightly raised enough that they'll contact and flow onto chip. Not too much that they might squish and bridge. Bit of an art to knowing how much is right. Make sure this iron doesn't get too hot. The pads are delicate and too much heat from an iron can cause them to de-laminate.
- Apply some flus in the middle of the pads where the chip will sit and place it on top as centered as you can get it.
- Bring the hot air back over. The flux will melt and pool around the chip. To stop it shooting off I prefer to try hit it with heat top down so the air doesn't try to blow it away wince we're not holding the chip.
- Eventually you should see it wiggle into place as the solder and flux pull it into alignment. You can give it a gentle tap with the tweezers to make sure it's actually soldered because it'll snap back when slightly poked.
- You can press down a little on top to squish the solder and make sure all pads flowed to the chip. Don't do it with force, just a little to press it down and remove the heat. Hold that for 20-30 seconds to ensure the solder ahs set and you can let go of the chip.
- Use another cotton swab to cleanup the flux and then isopropyl to get the rest of it.
Before powering on I recommend grabbing a multimeter and checking the voltage rails and some of the capacitors for shorts to ground. The caps should have 1 to ground and the other to data so if any are bad then you may have a bridged solder joint under the chip and will have to repeat the process with less solder.
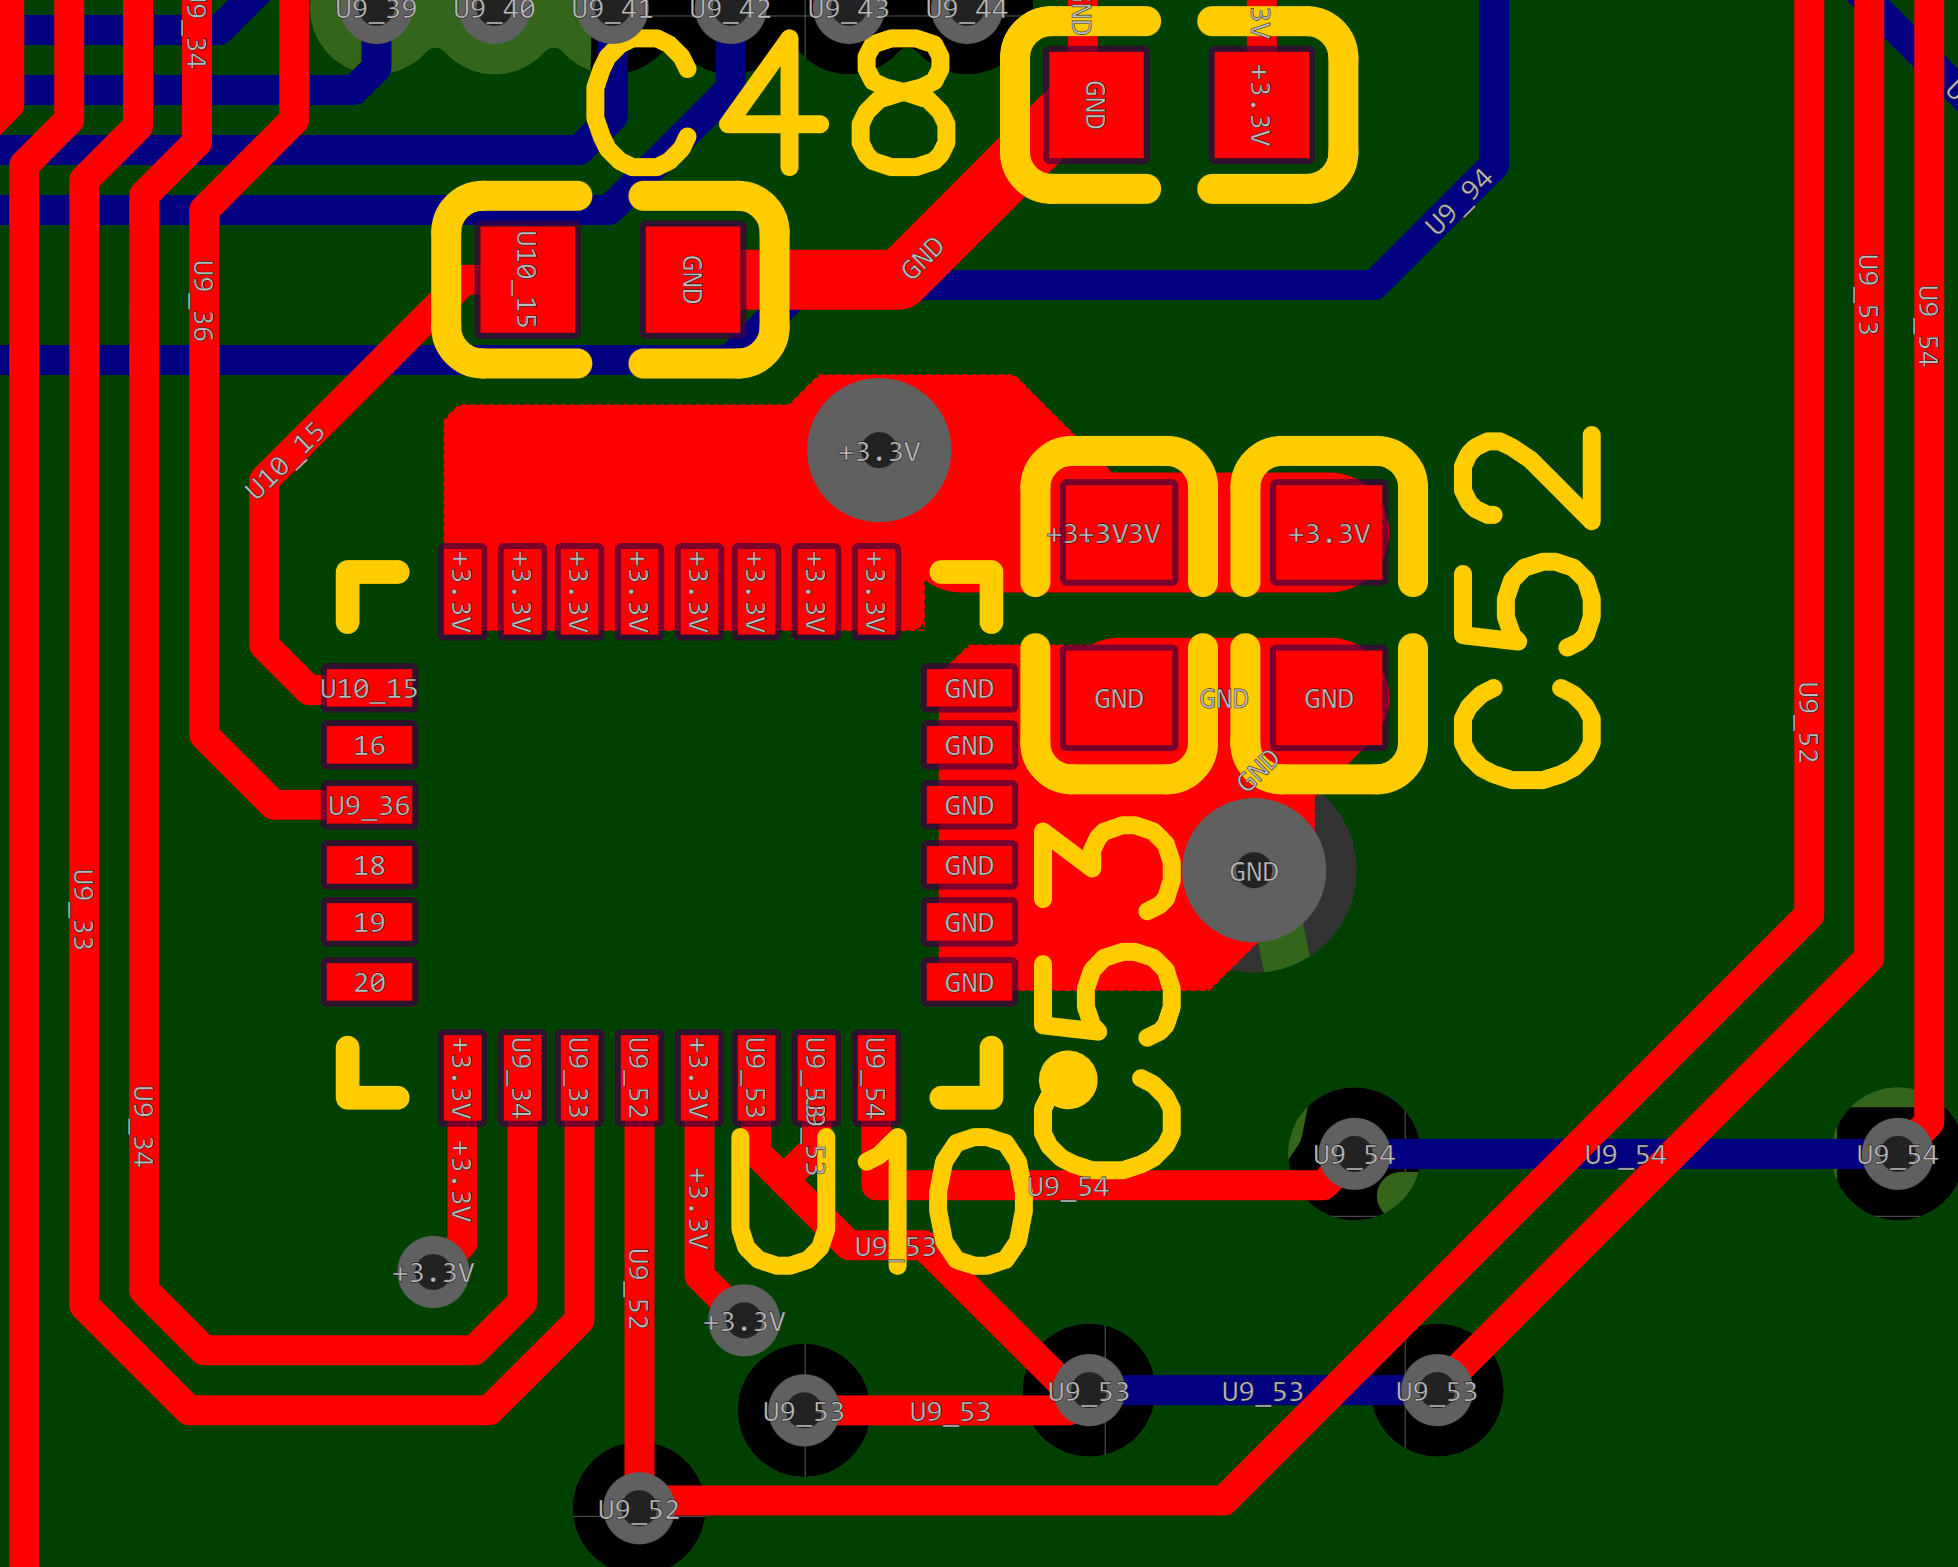
Below is a reference for the traces in the area if it helps at all.
-
@lia Wow, this is amazing, thank you so much!
I've reached out to a few people and am making progress towards finding an open workshop where I'll be able to attempt this repair.
On a side note, where would you recommend I get the chip? I've found an ebay listing that seems somewhat sketchy but the seller top-chips has a lot of really good reviews. I couldn't find any other companies that seem to sell them non-wholesale, but I thought I'd ask.
Again thank you so much for your help, this is really incredible!!
-
@cw_o Welcome :)
If the price is okay I'd take the risk. Getting actual chips from companies like Mouser, Digikey and LCSC can be pricey once you get to the shipping screen. I've gotten chips from eBay and AliExpress (likely the same source) without many issues for things like IMUs, Mosfets and a handful of logic ICs.
Get multiple though just in case you need to redo it. No more than 5 should be fine. IMU's are fragile so you may need to try a few times.