Upppppdates!
I haven't updated this in forever oh no... okay sparknotes version here we go!
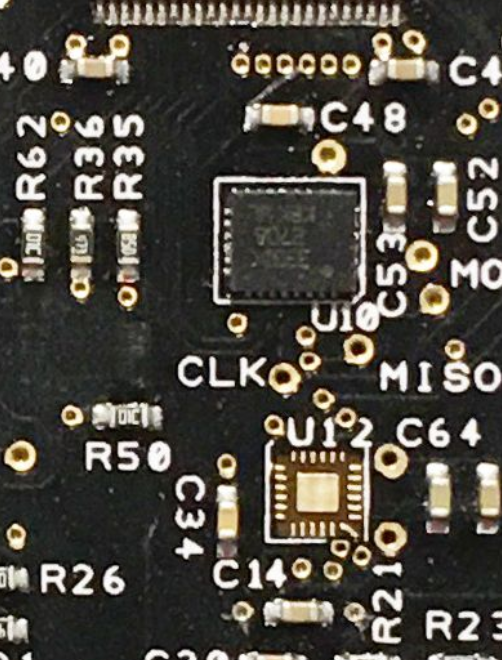
PCBs came and look fab! Like better than I thought. At a glance they look like unpopulated GT controllers till you realise they're tiny!
But I had to make some minor changes so this one has been put in the prototype box. I have a hard time throwing things out and these are too pretty to go in the bin. Maybe a future art project!
The PCB use the Cheap Focer schematic but modified so it's appropriate for this build. As such I can do tests on changes with the Cheap Focer I yoinked from a VESC board that I converted back to stock.
I wanted to use this tiny BT module so I wired it up, flashed it and was able to verify this does actually work. I tried a few others and they didn't work so this was a relief since space is a premium and I want to keep it on the mainboard if I can.
I'll be using ReFloat with this setup as it has decent LED control baked in. The old float package had an issue where activating LED's triggered an error. The error being FAULT_CODE_DRV .
I traced this back to this line in the float app that set the CPU pin B7 to the LED data pin (servo) but if you check the schematic for most VESCs that pin is fault on the mosfet driver. B6 is servo which it should be assigned too instead.
So you need to reassign this in the code or use ReFloat instead of the float package as it's assigned correctly there with the option to adjust it.
This solves me needing to learn to compile a custom package thankfully...
... yeah nah I still need to š
I need to make a custom LED profile for the headlights as I plan on adding configurable main beams. This means I need to make changes to the package and recompile then flash it to my VESC. I hate... and I mean haaaaaate software so this pains me to have to do.
After some utter BS figuring out all the nonsense required to do this I got Ubuntu18 LTS to run under WSL on Windows and compiled my own changes to ReFloat. I will get more into this when the time comes.
If you need to compile this yourself you need to be on Ubuntu18 LTS or lower. Some of the dependencies needed are not available on later versions and refuse to install so don't waste 4 hours like I did trying.
Back to something I'm more comfortable with. The real world... not stinky software!
(those that do it for a living are gods idk how you cope š)
PCBA is gonna cost heaps so I'll be soldering this up myself. As such I got myself the right gear for it. A big hotplate and digital microscope :3
I accidentally cooked a BT module when testing so I used it to check if my custom footprint for that module was accurate and if I could solder these components. Thankfully it looks like I'll be good!
Some amazing peeps on insta have offered to send me some of their dead focers for doing prototyping on so I'm waiting on those to arrive. In the meantime I've been test fitting some components not native to the focers like a USB C port and the side mounted XT30.
The USB port took some doing as the available footprints for them on EasyEDA do not match what USB ports I can order. THankfully I managed to modify one to fit š
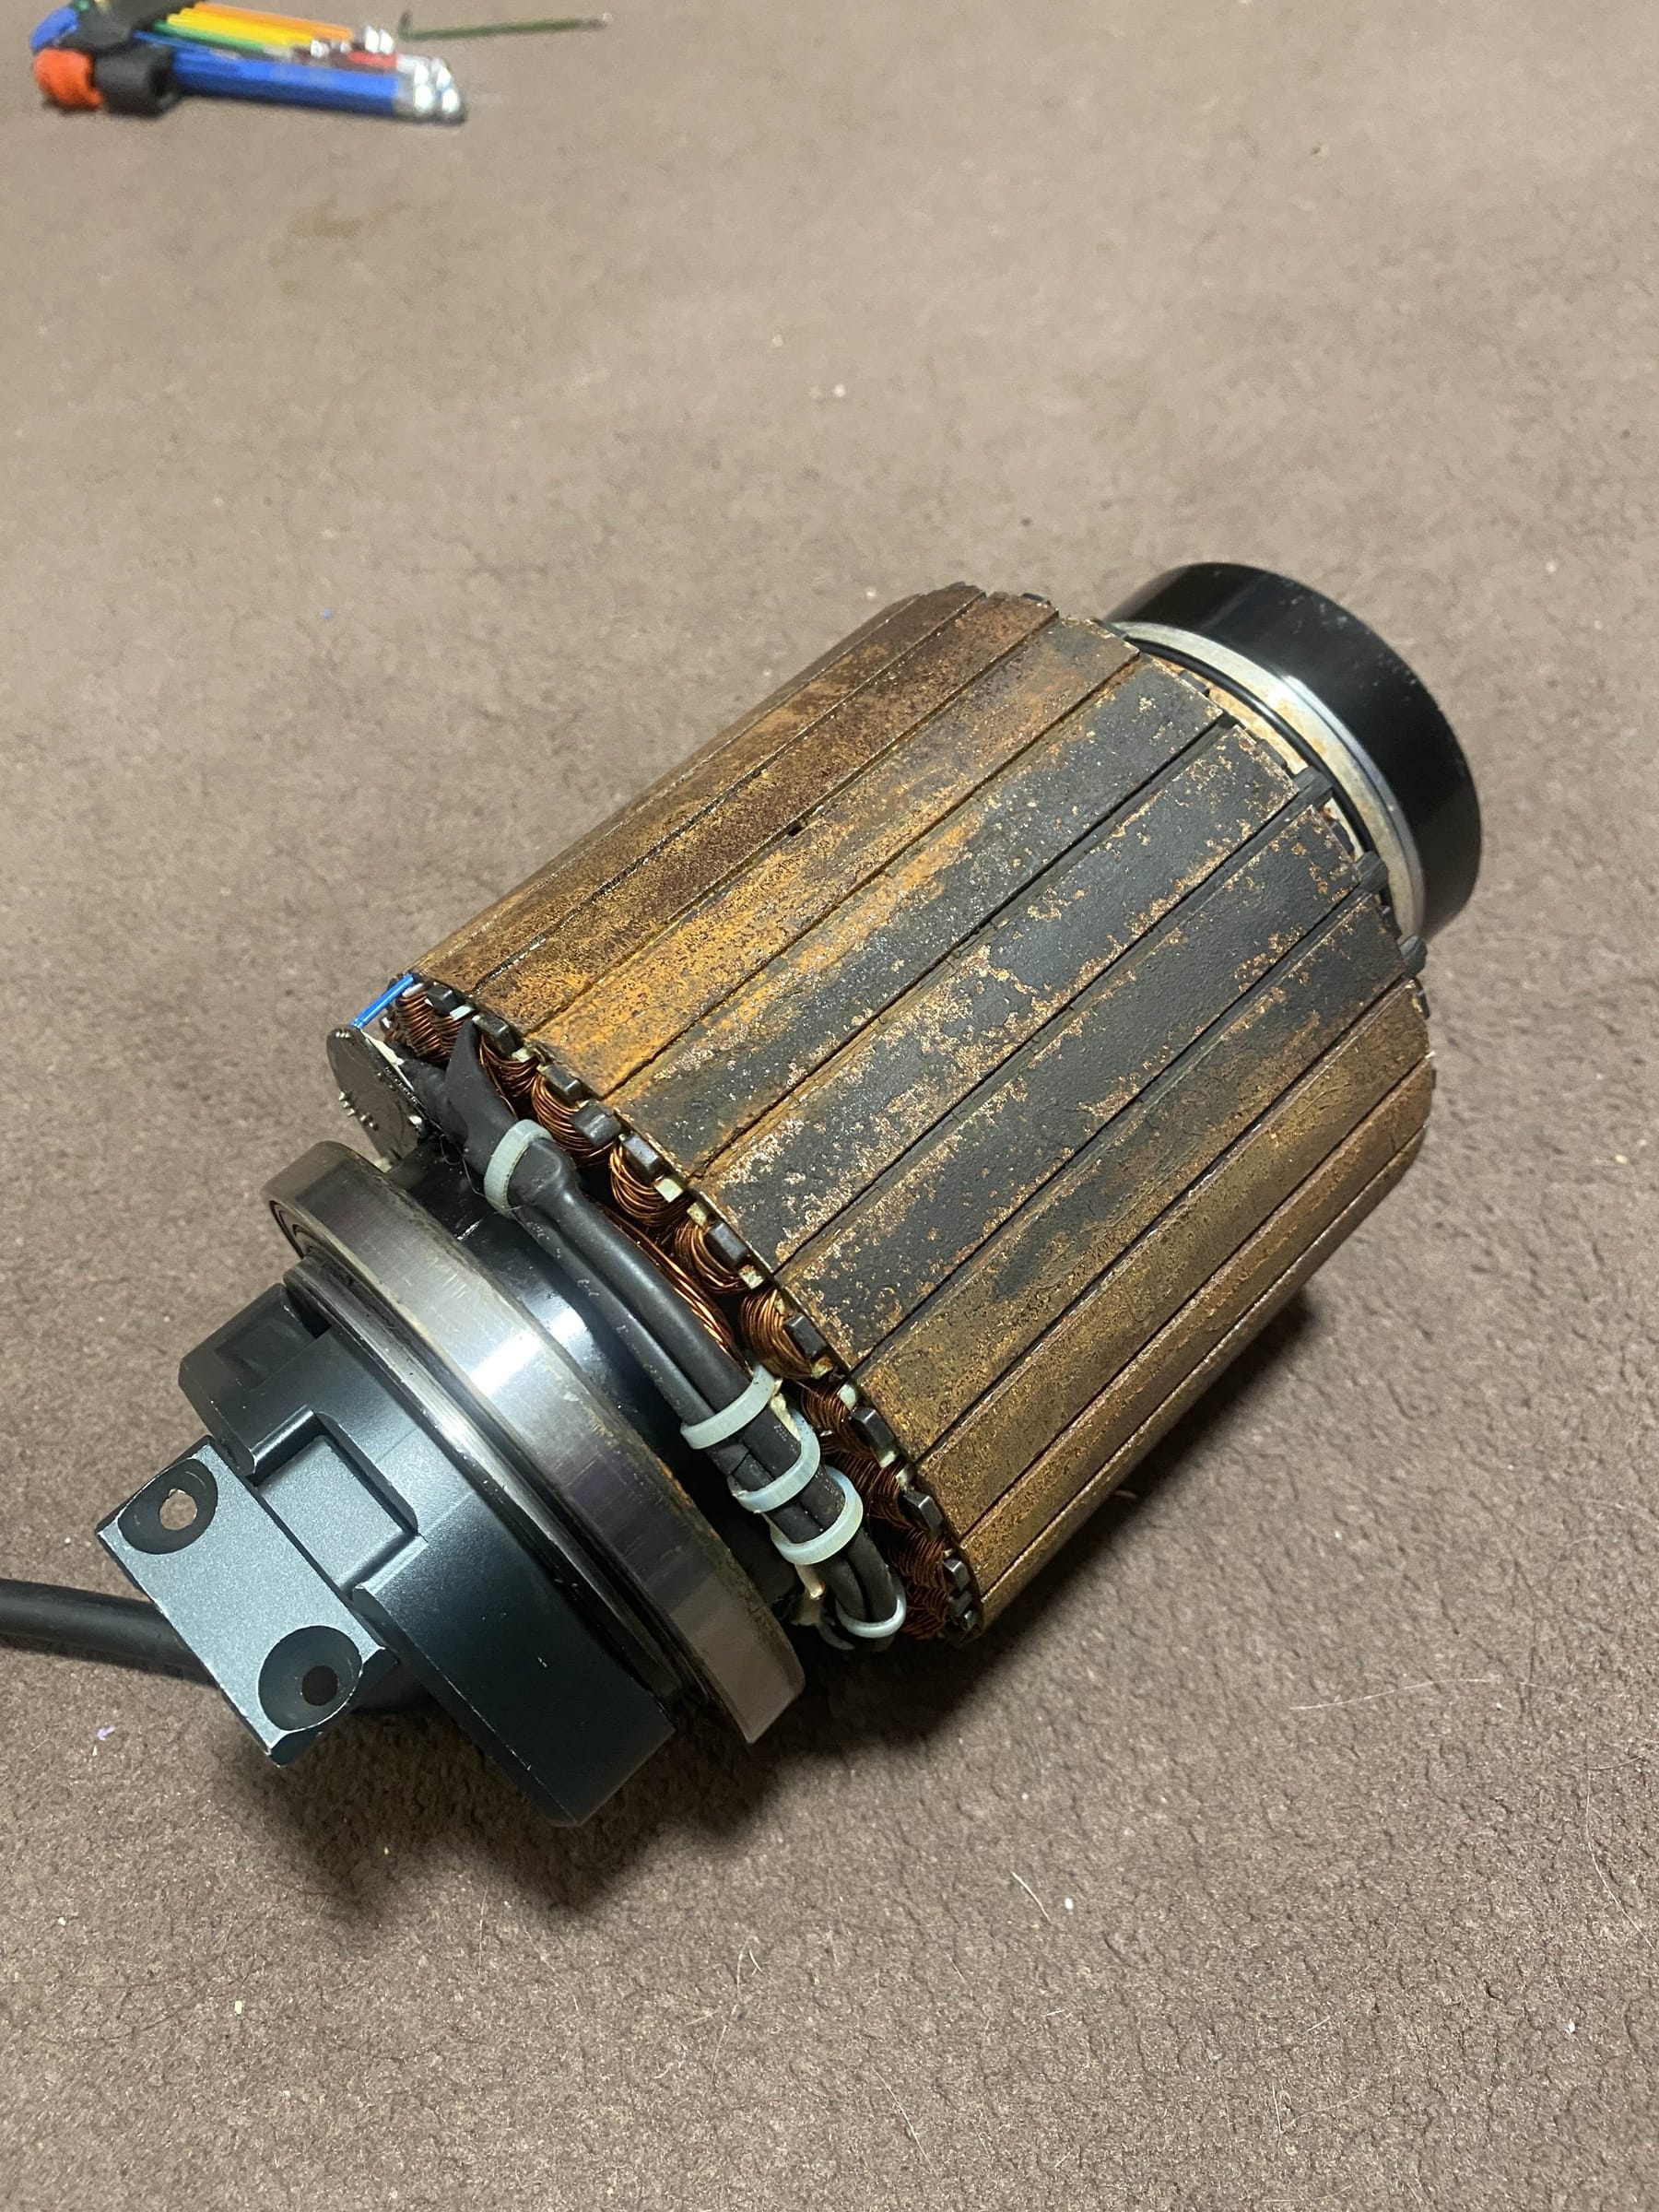
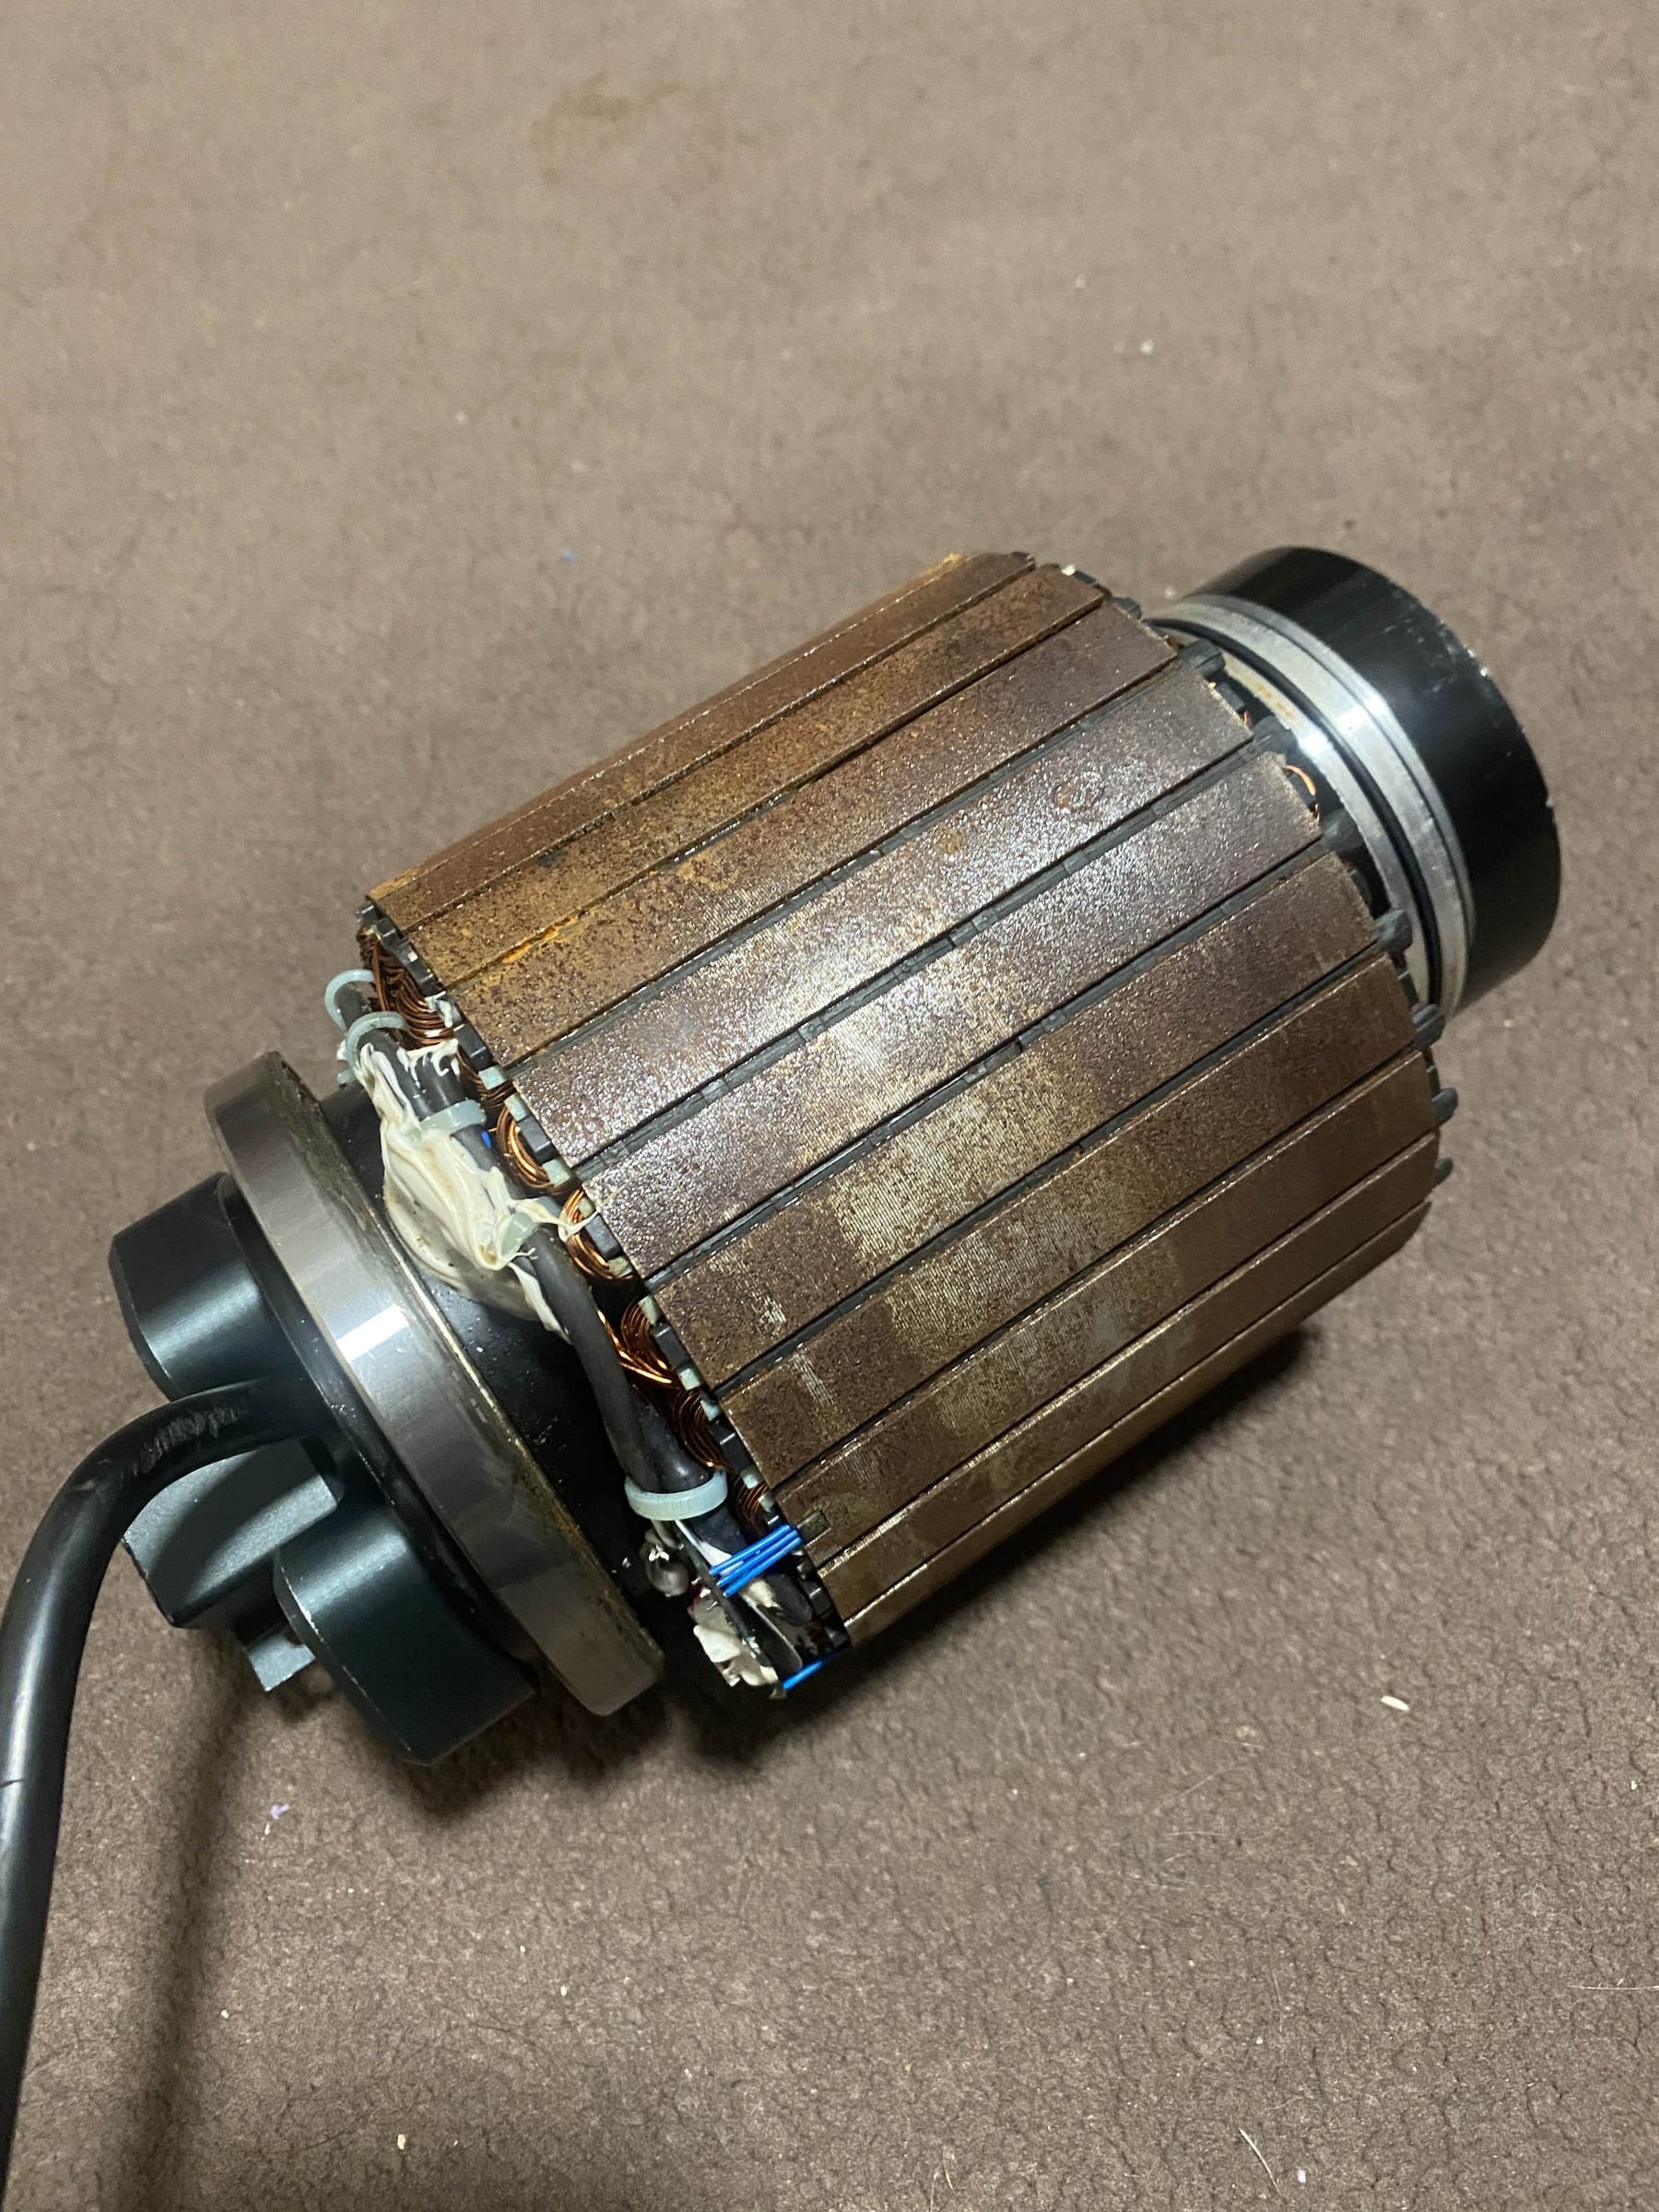
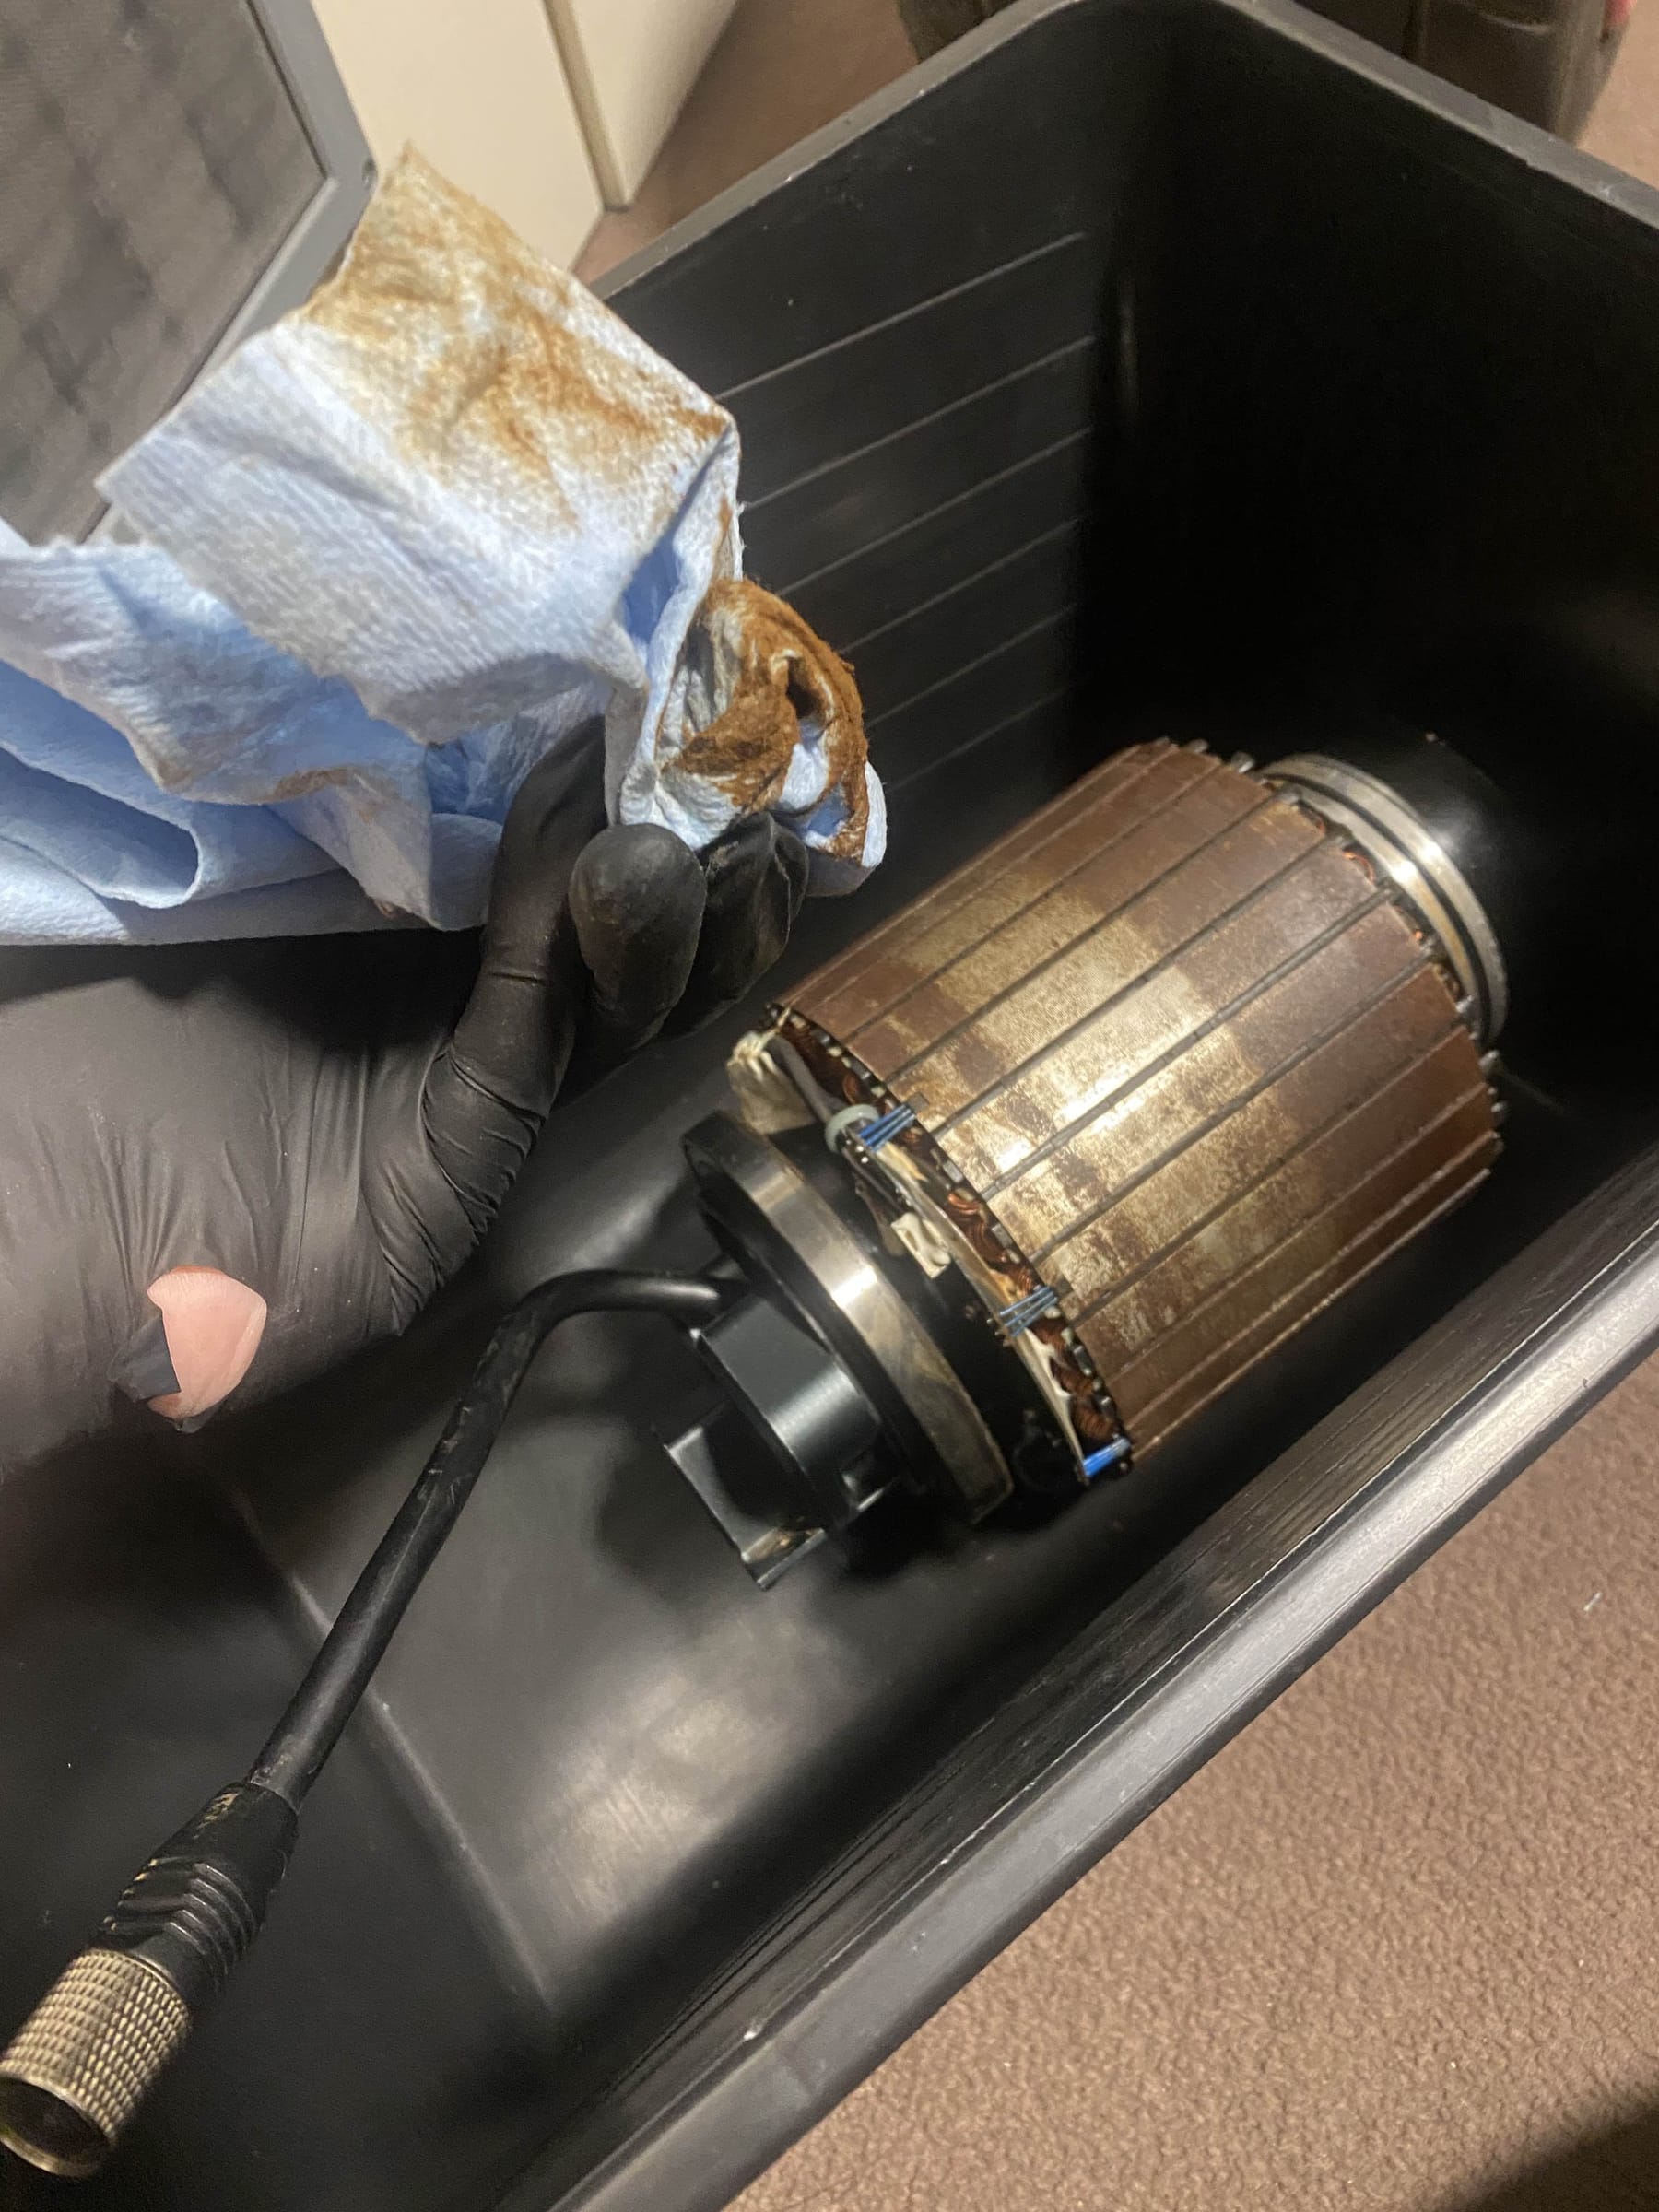
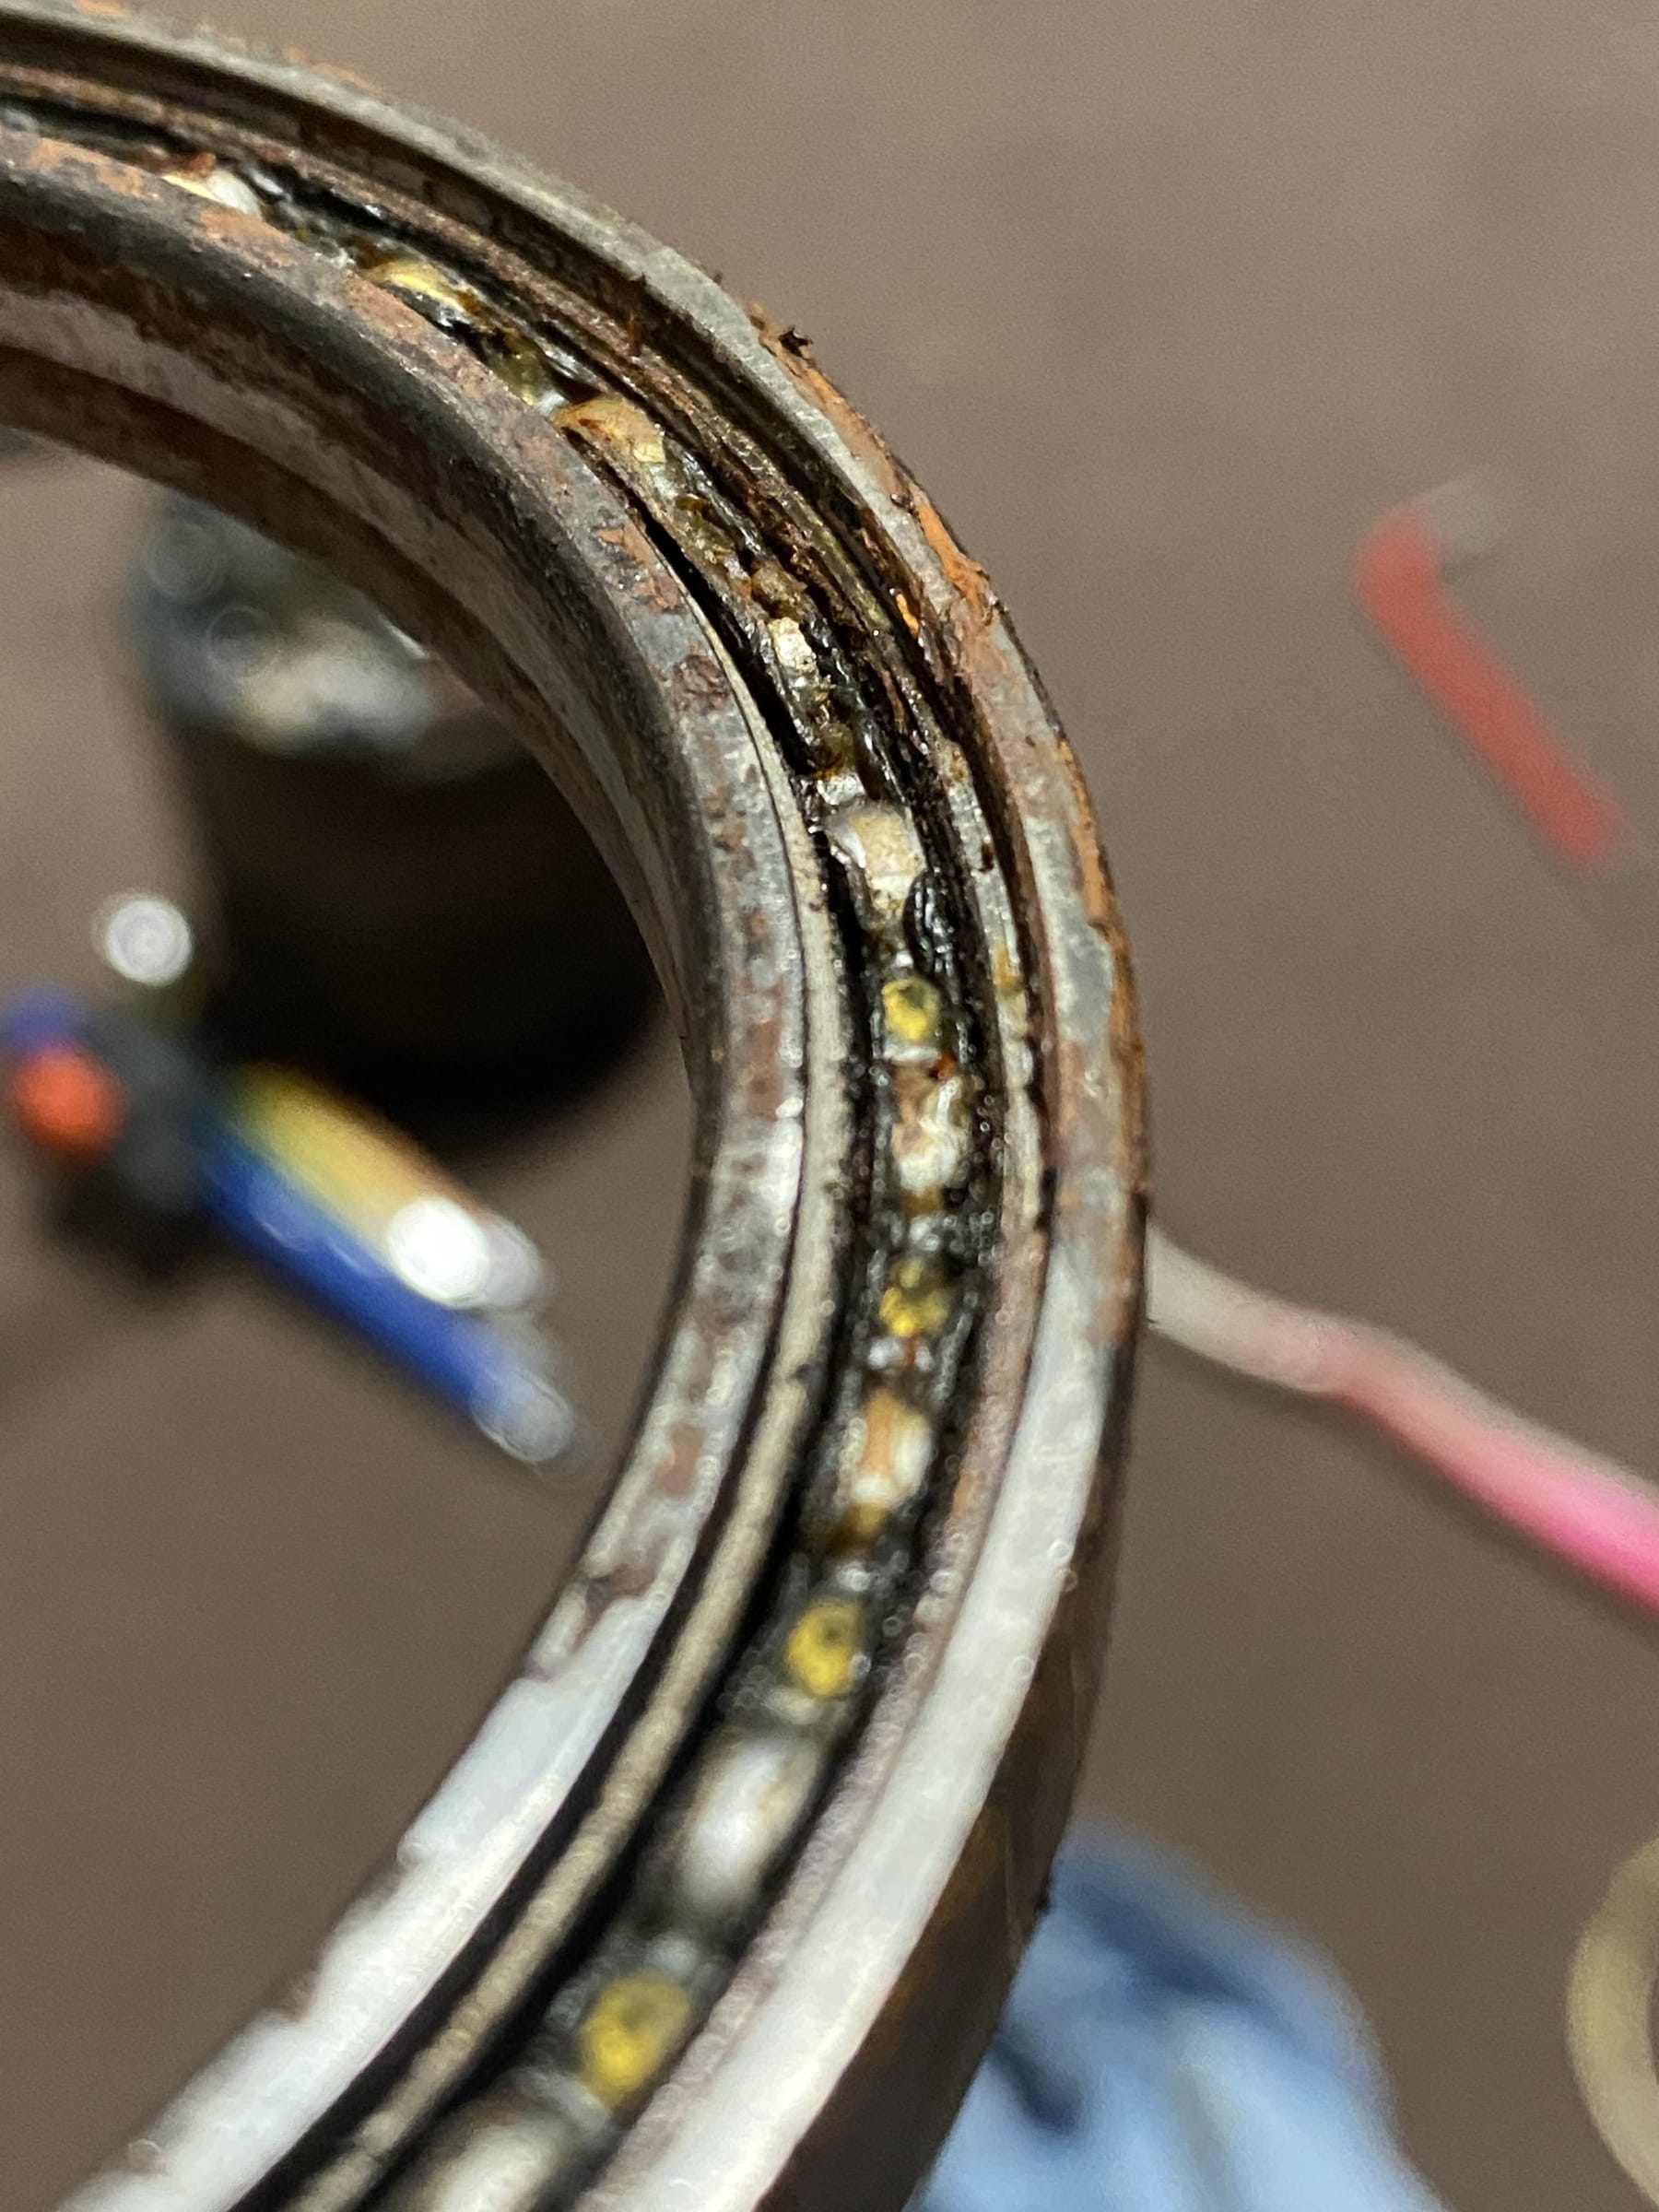
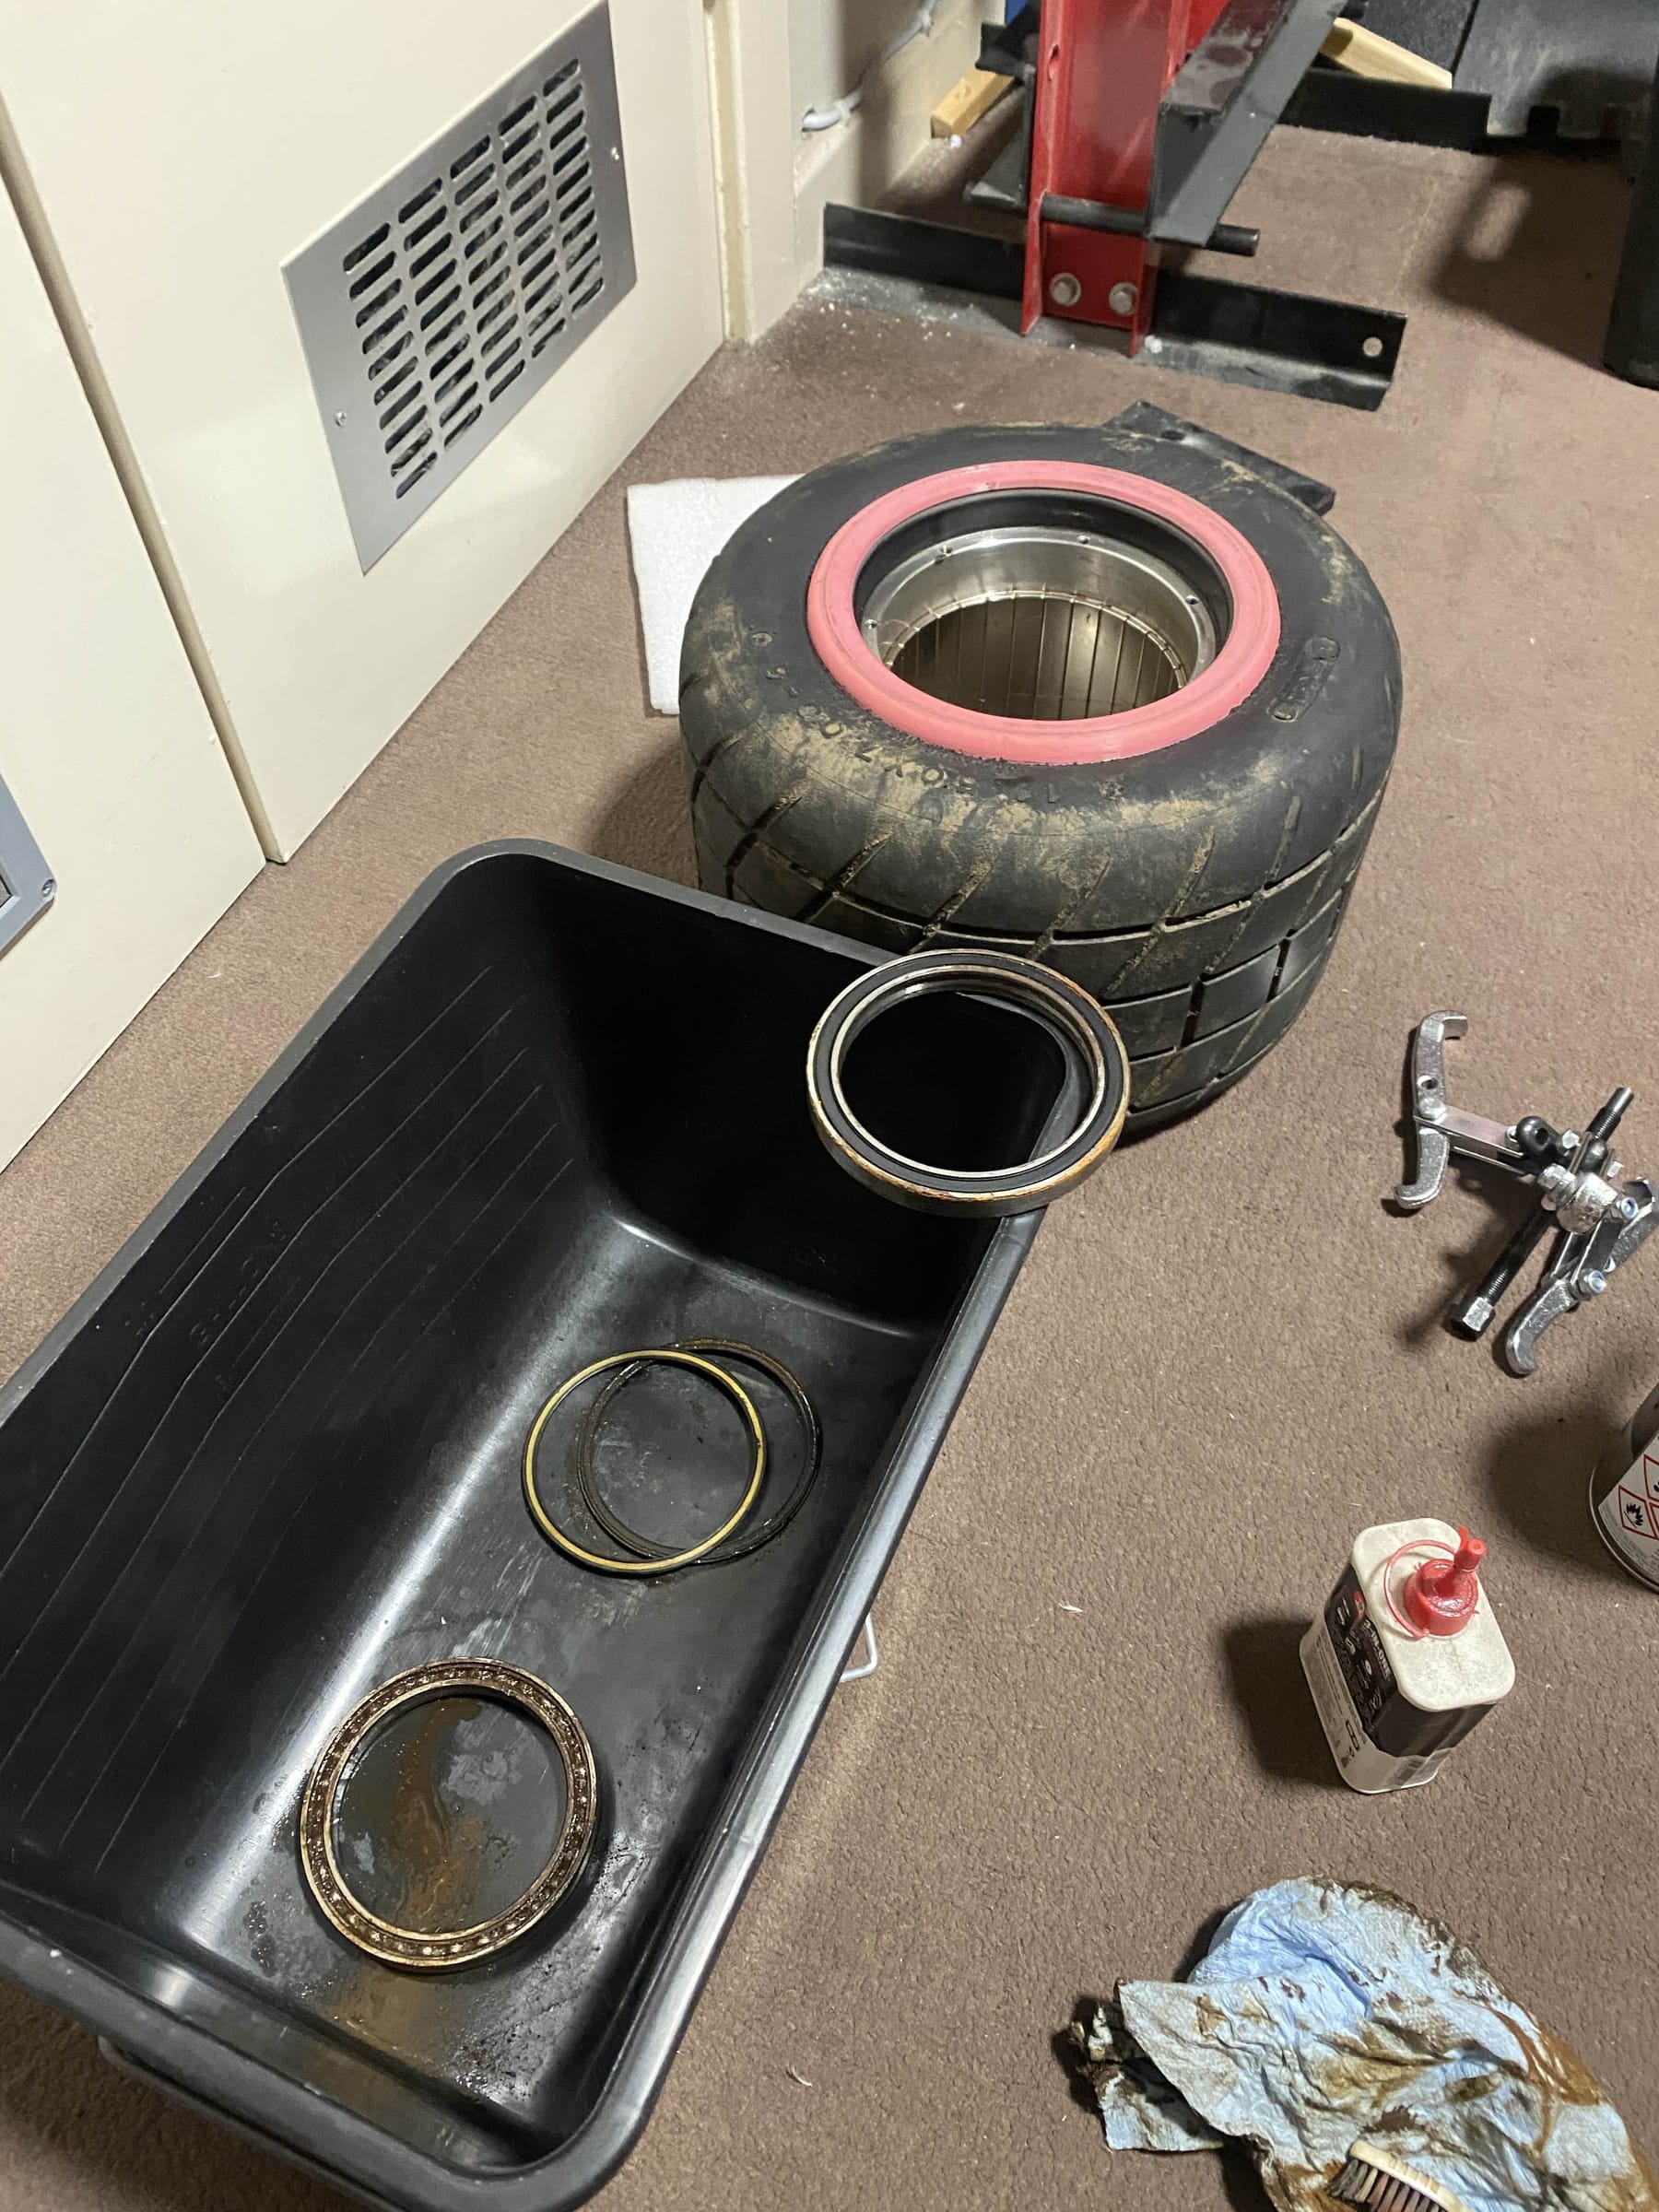
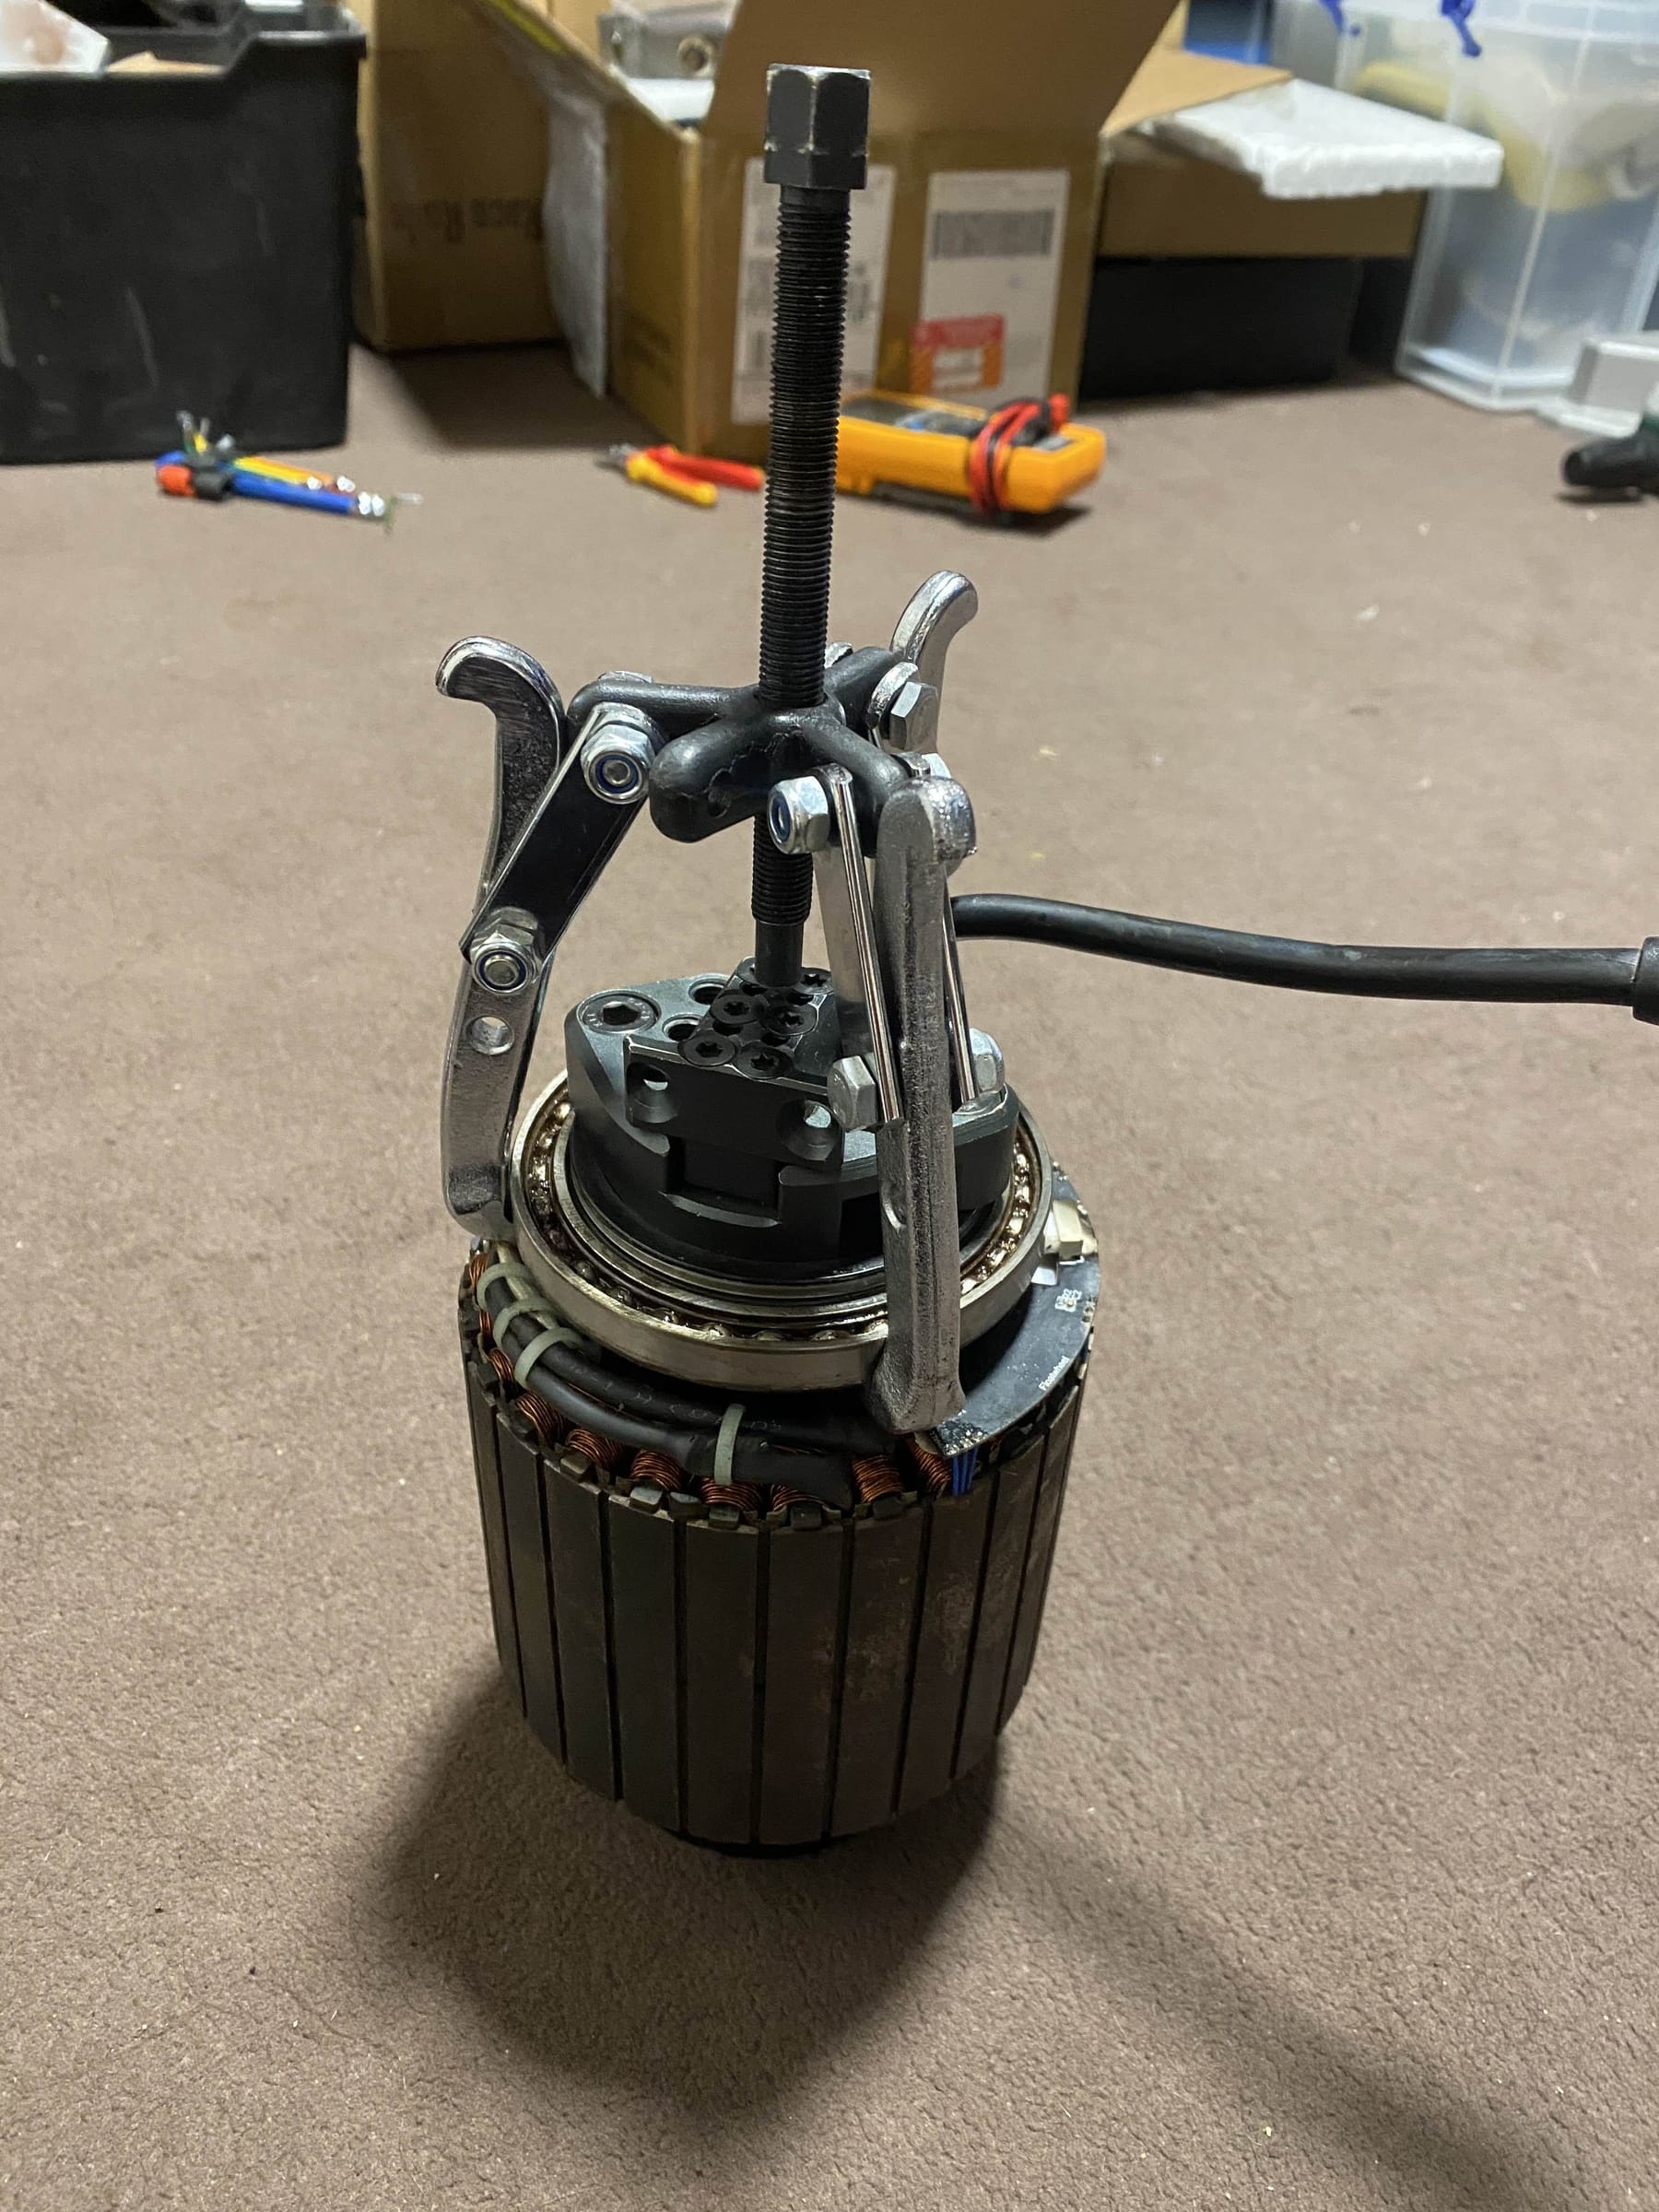
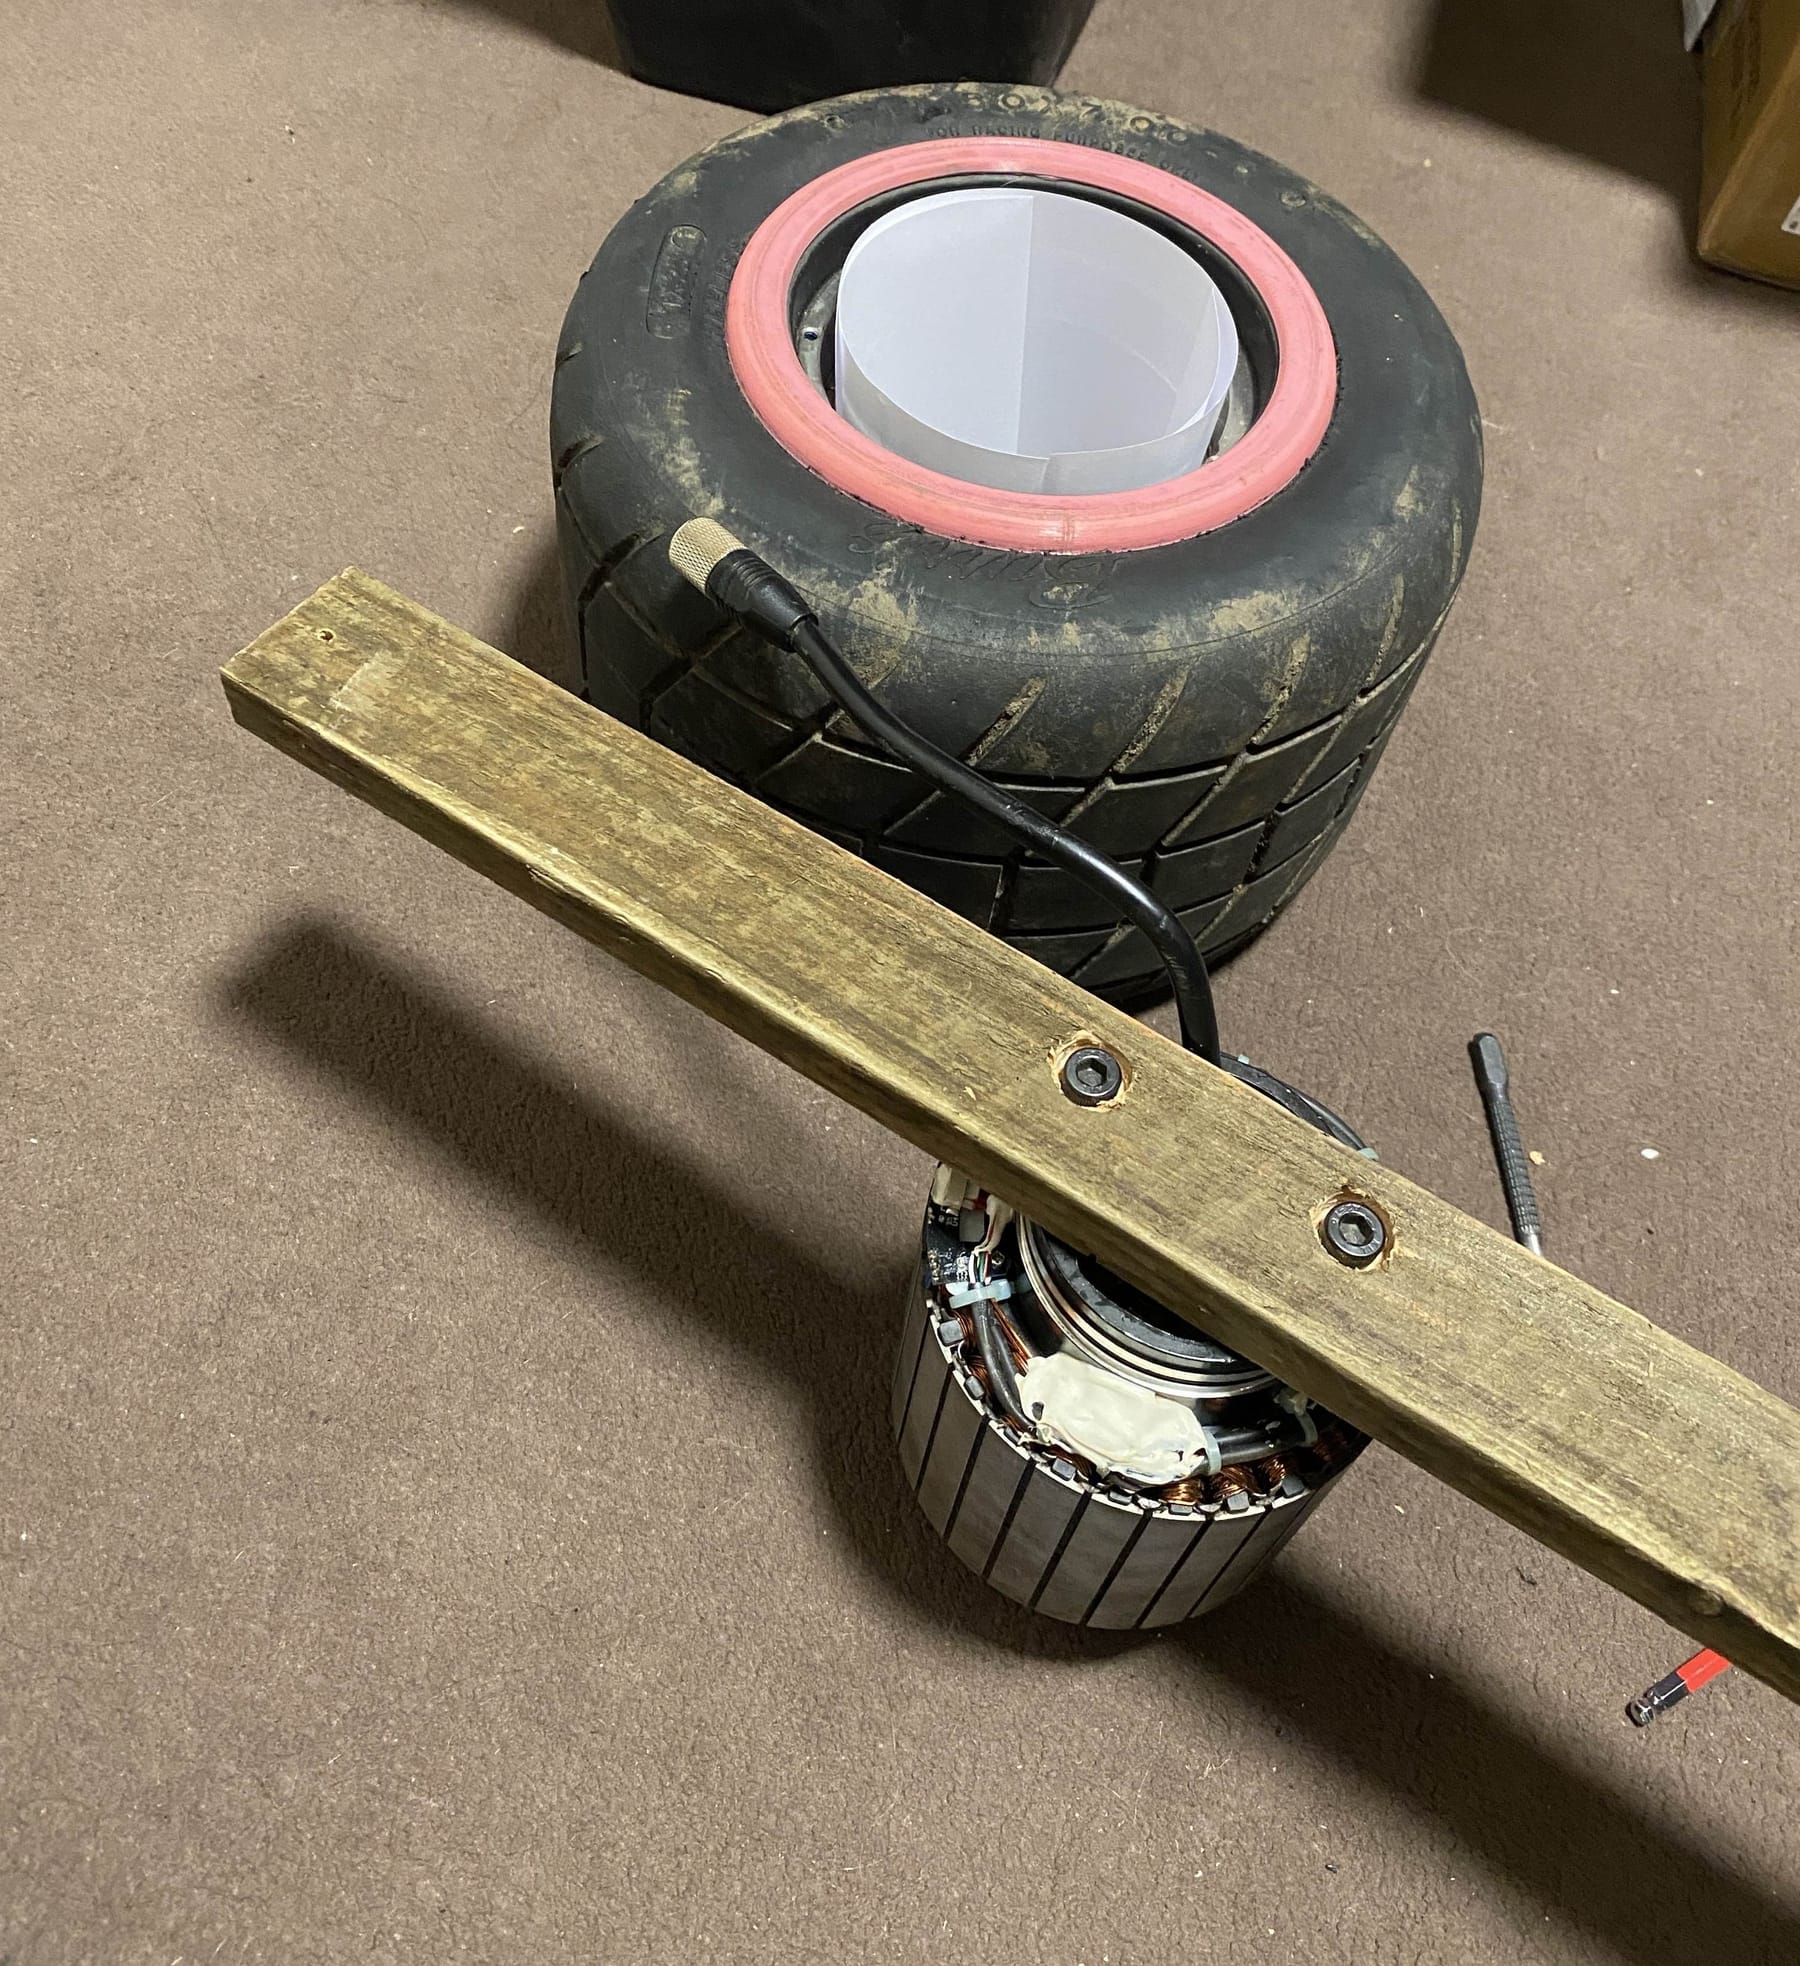
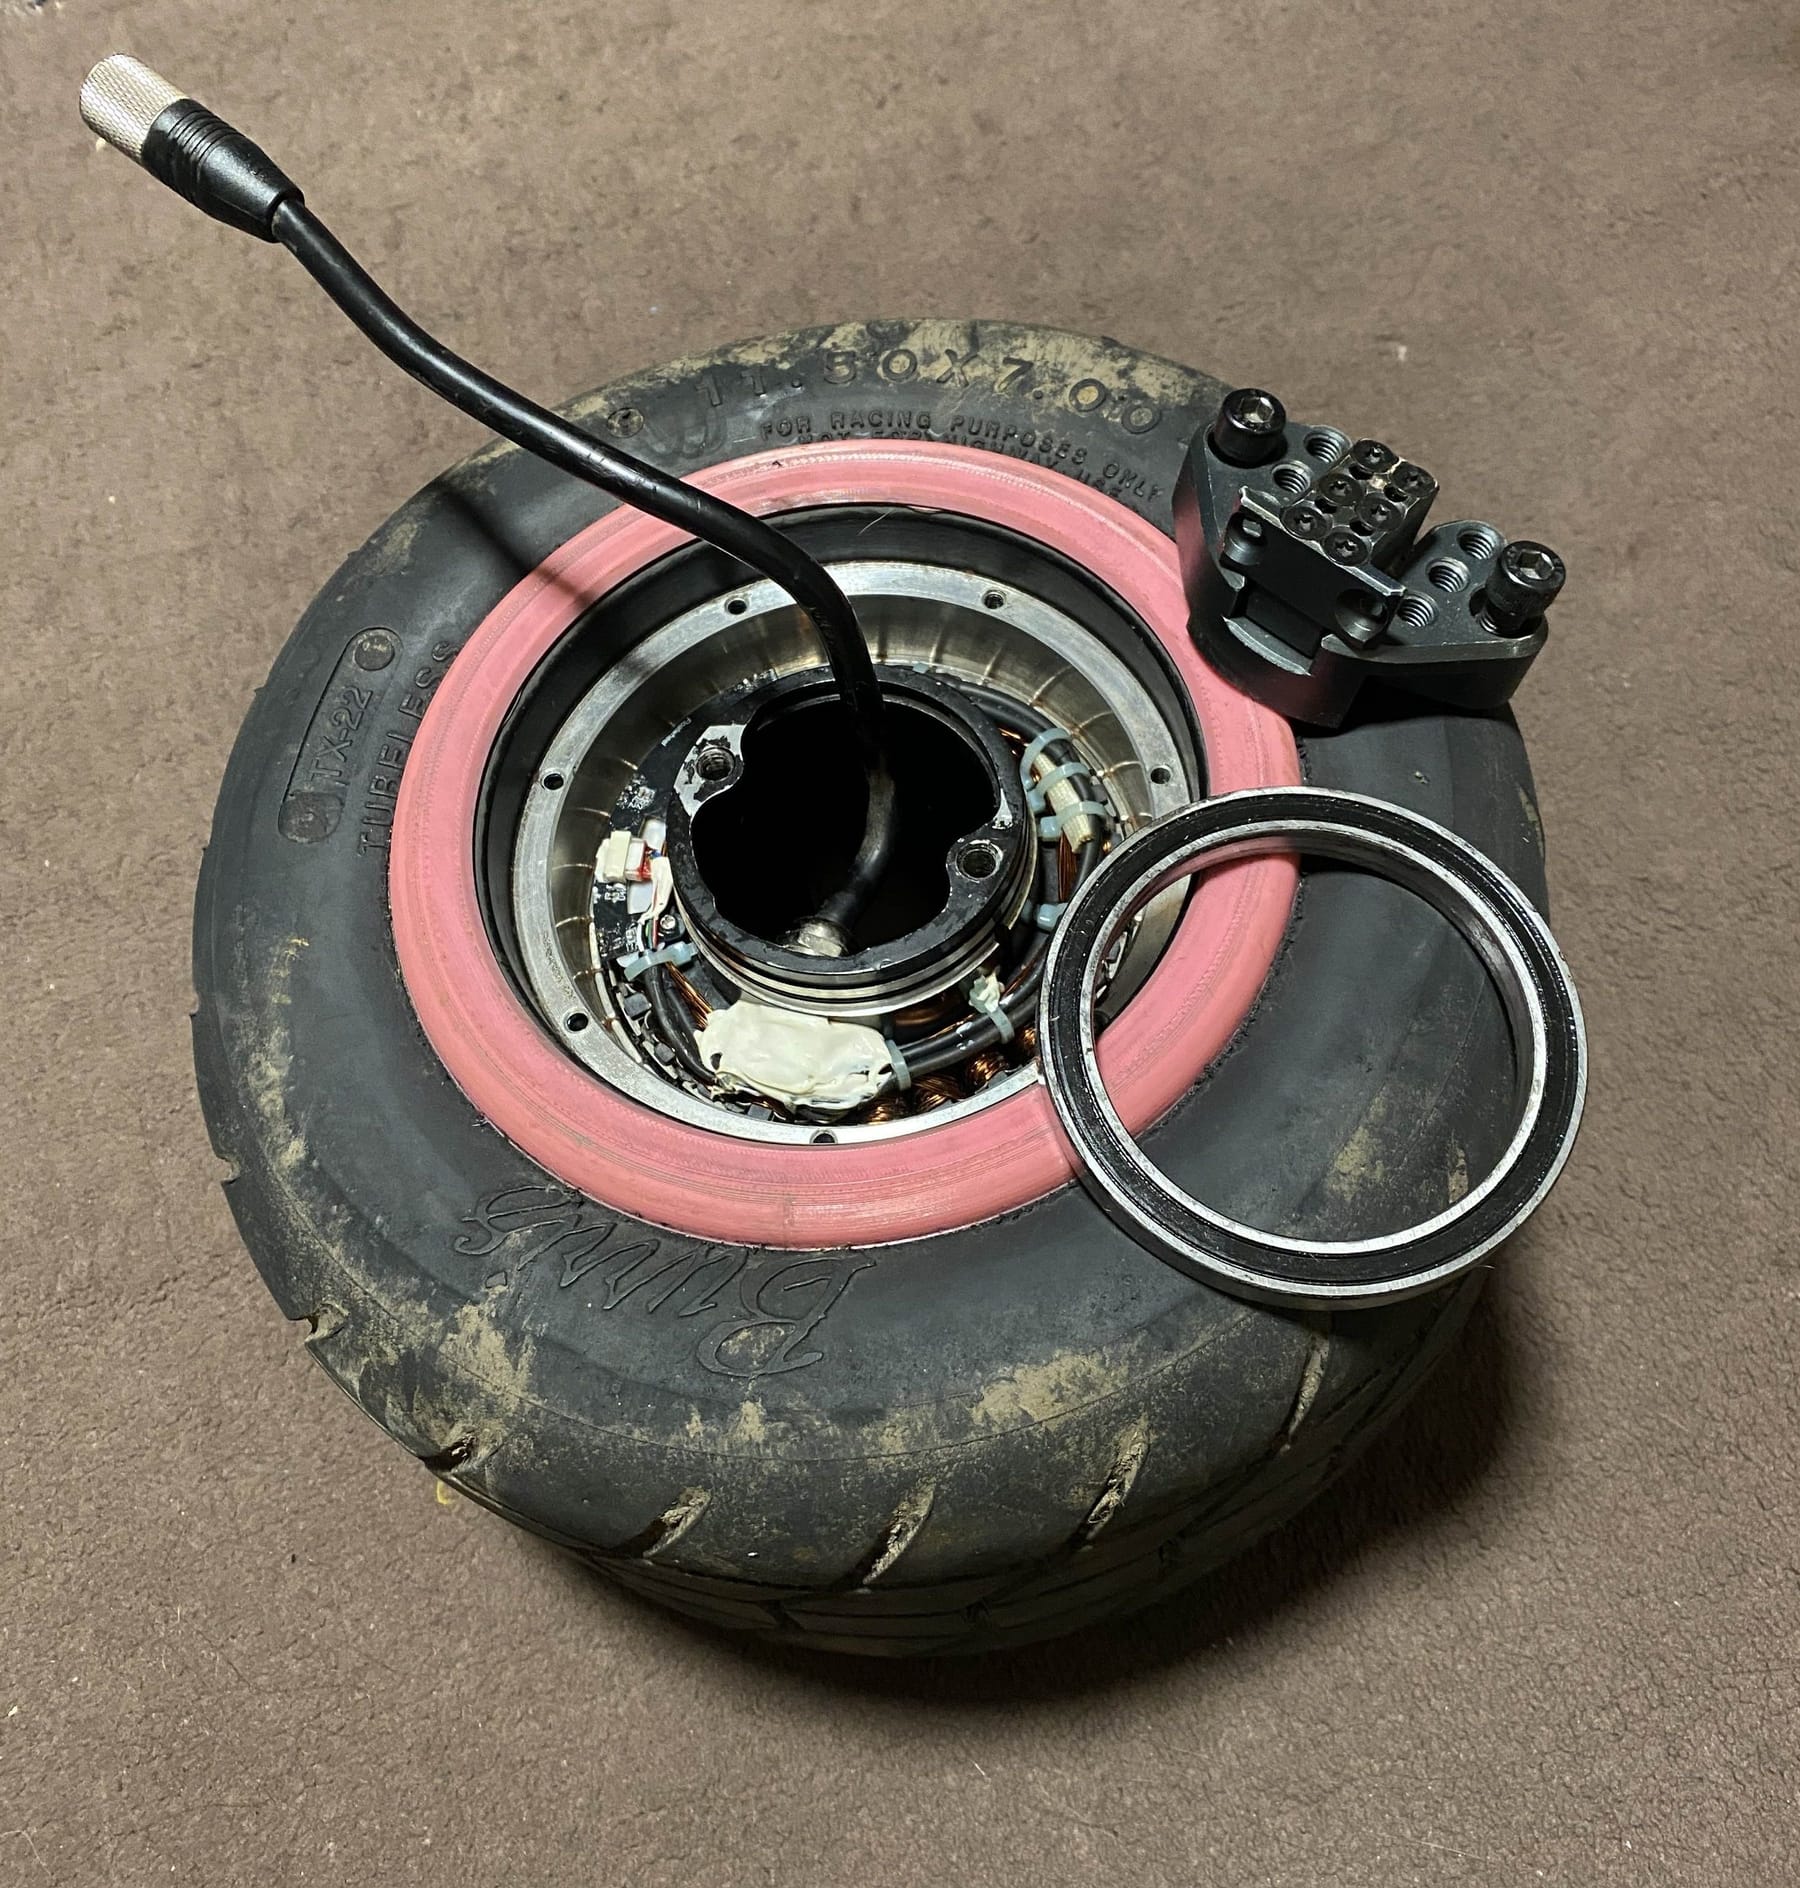
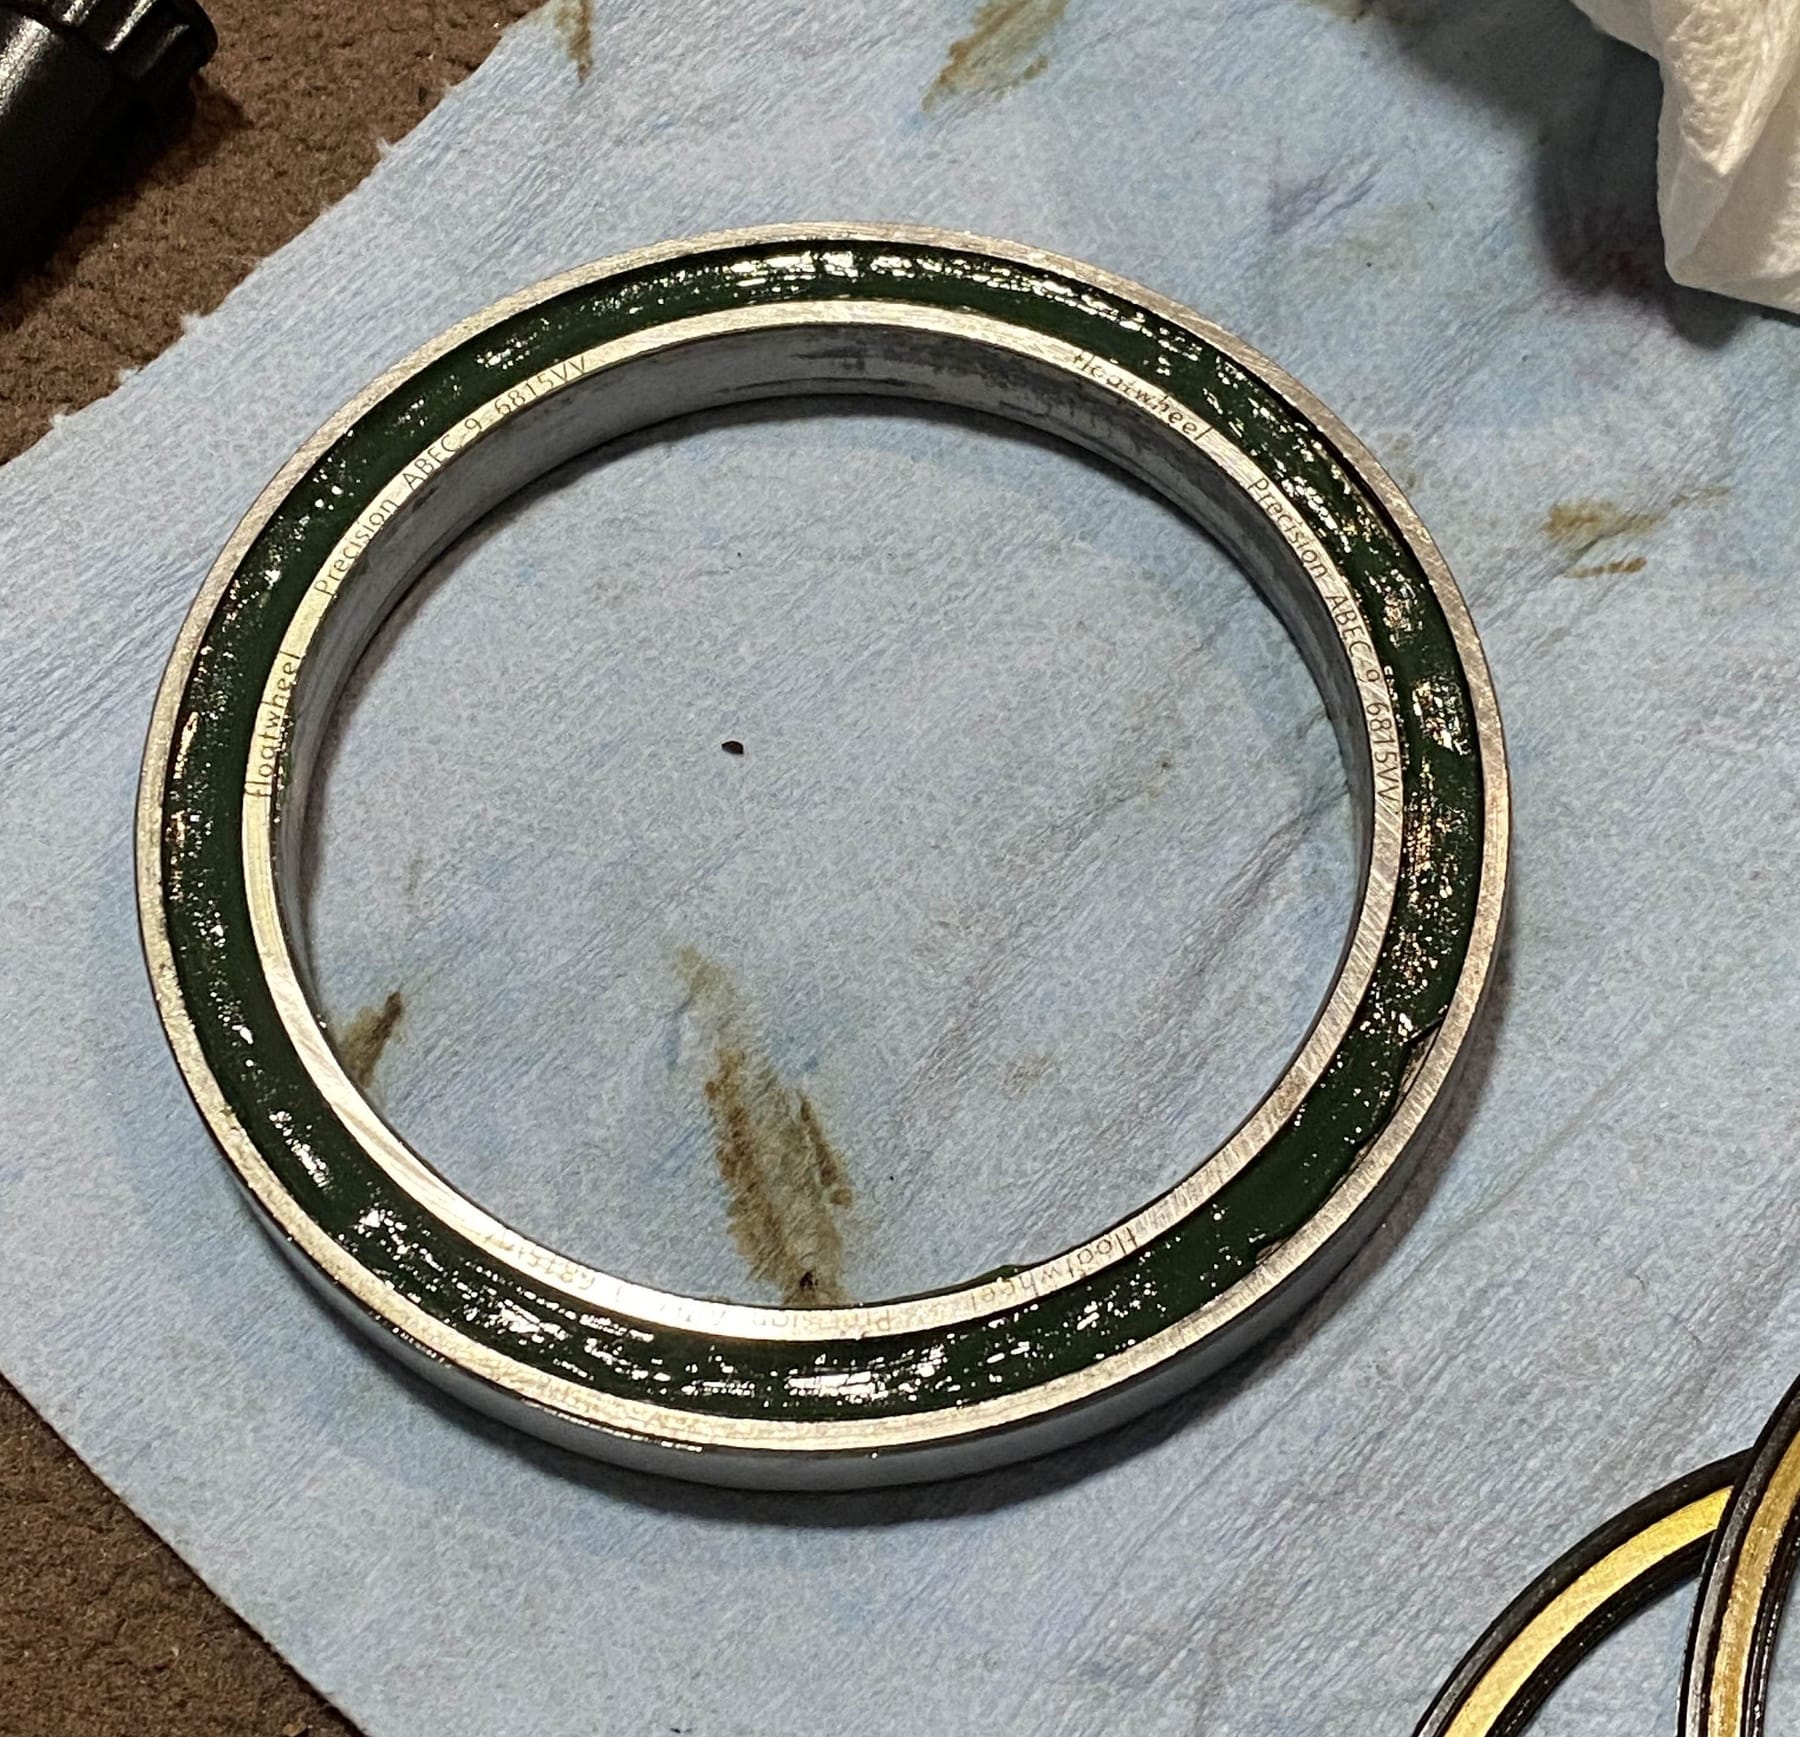
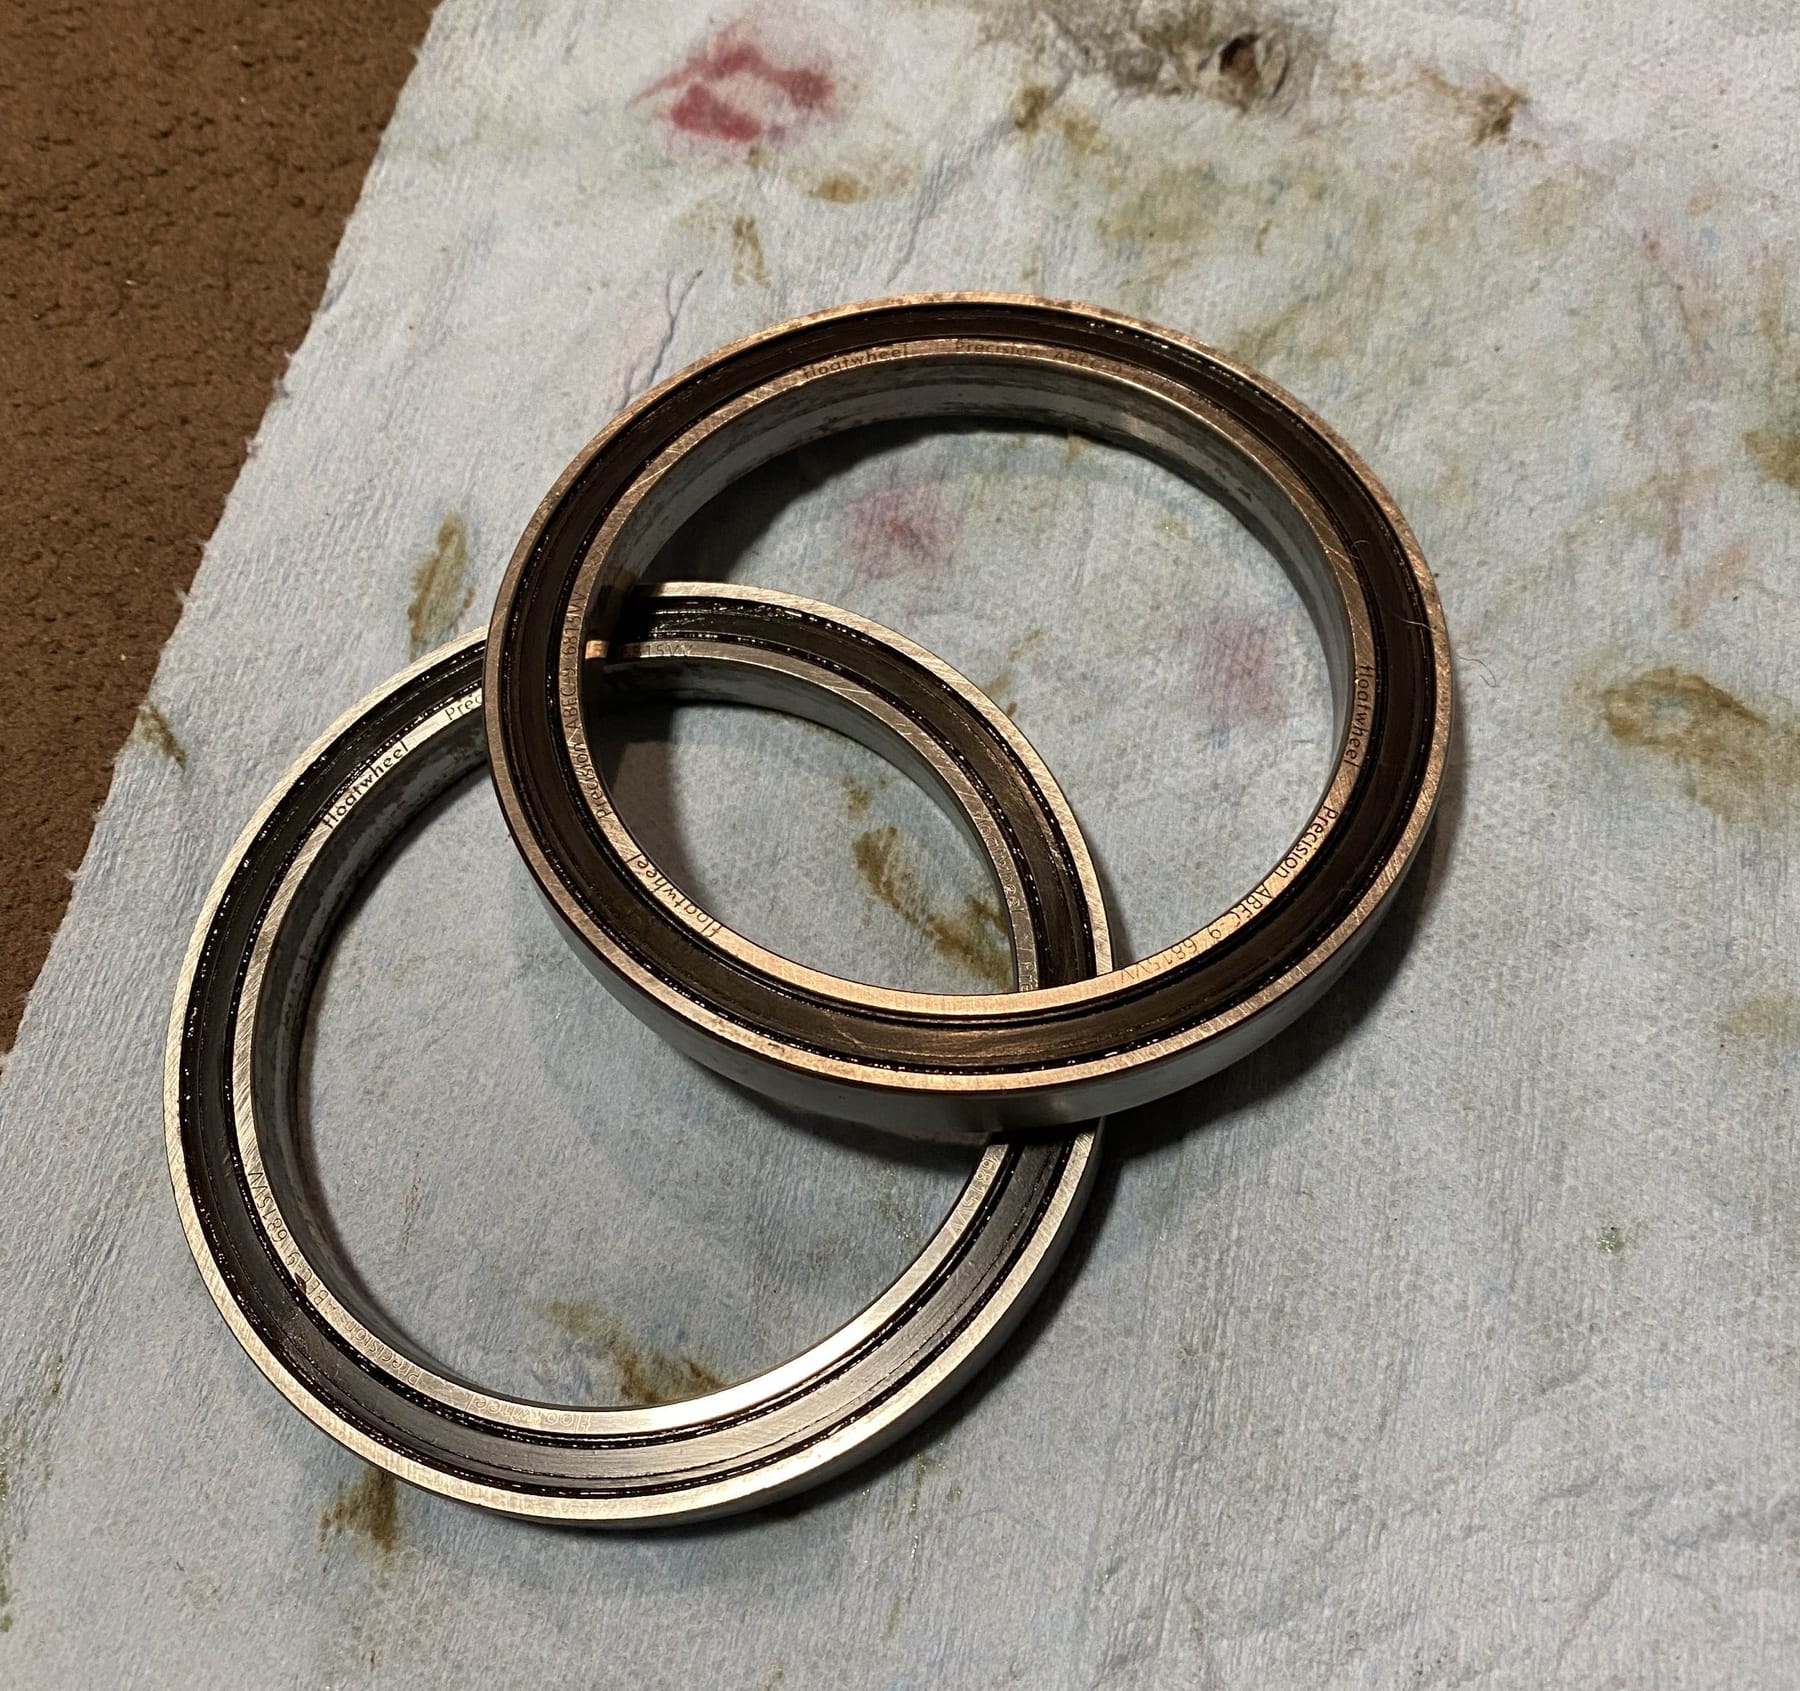
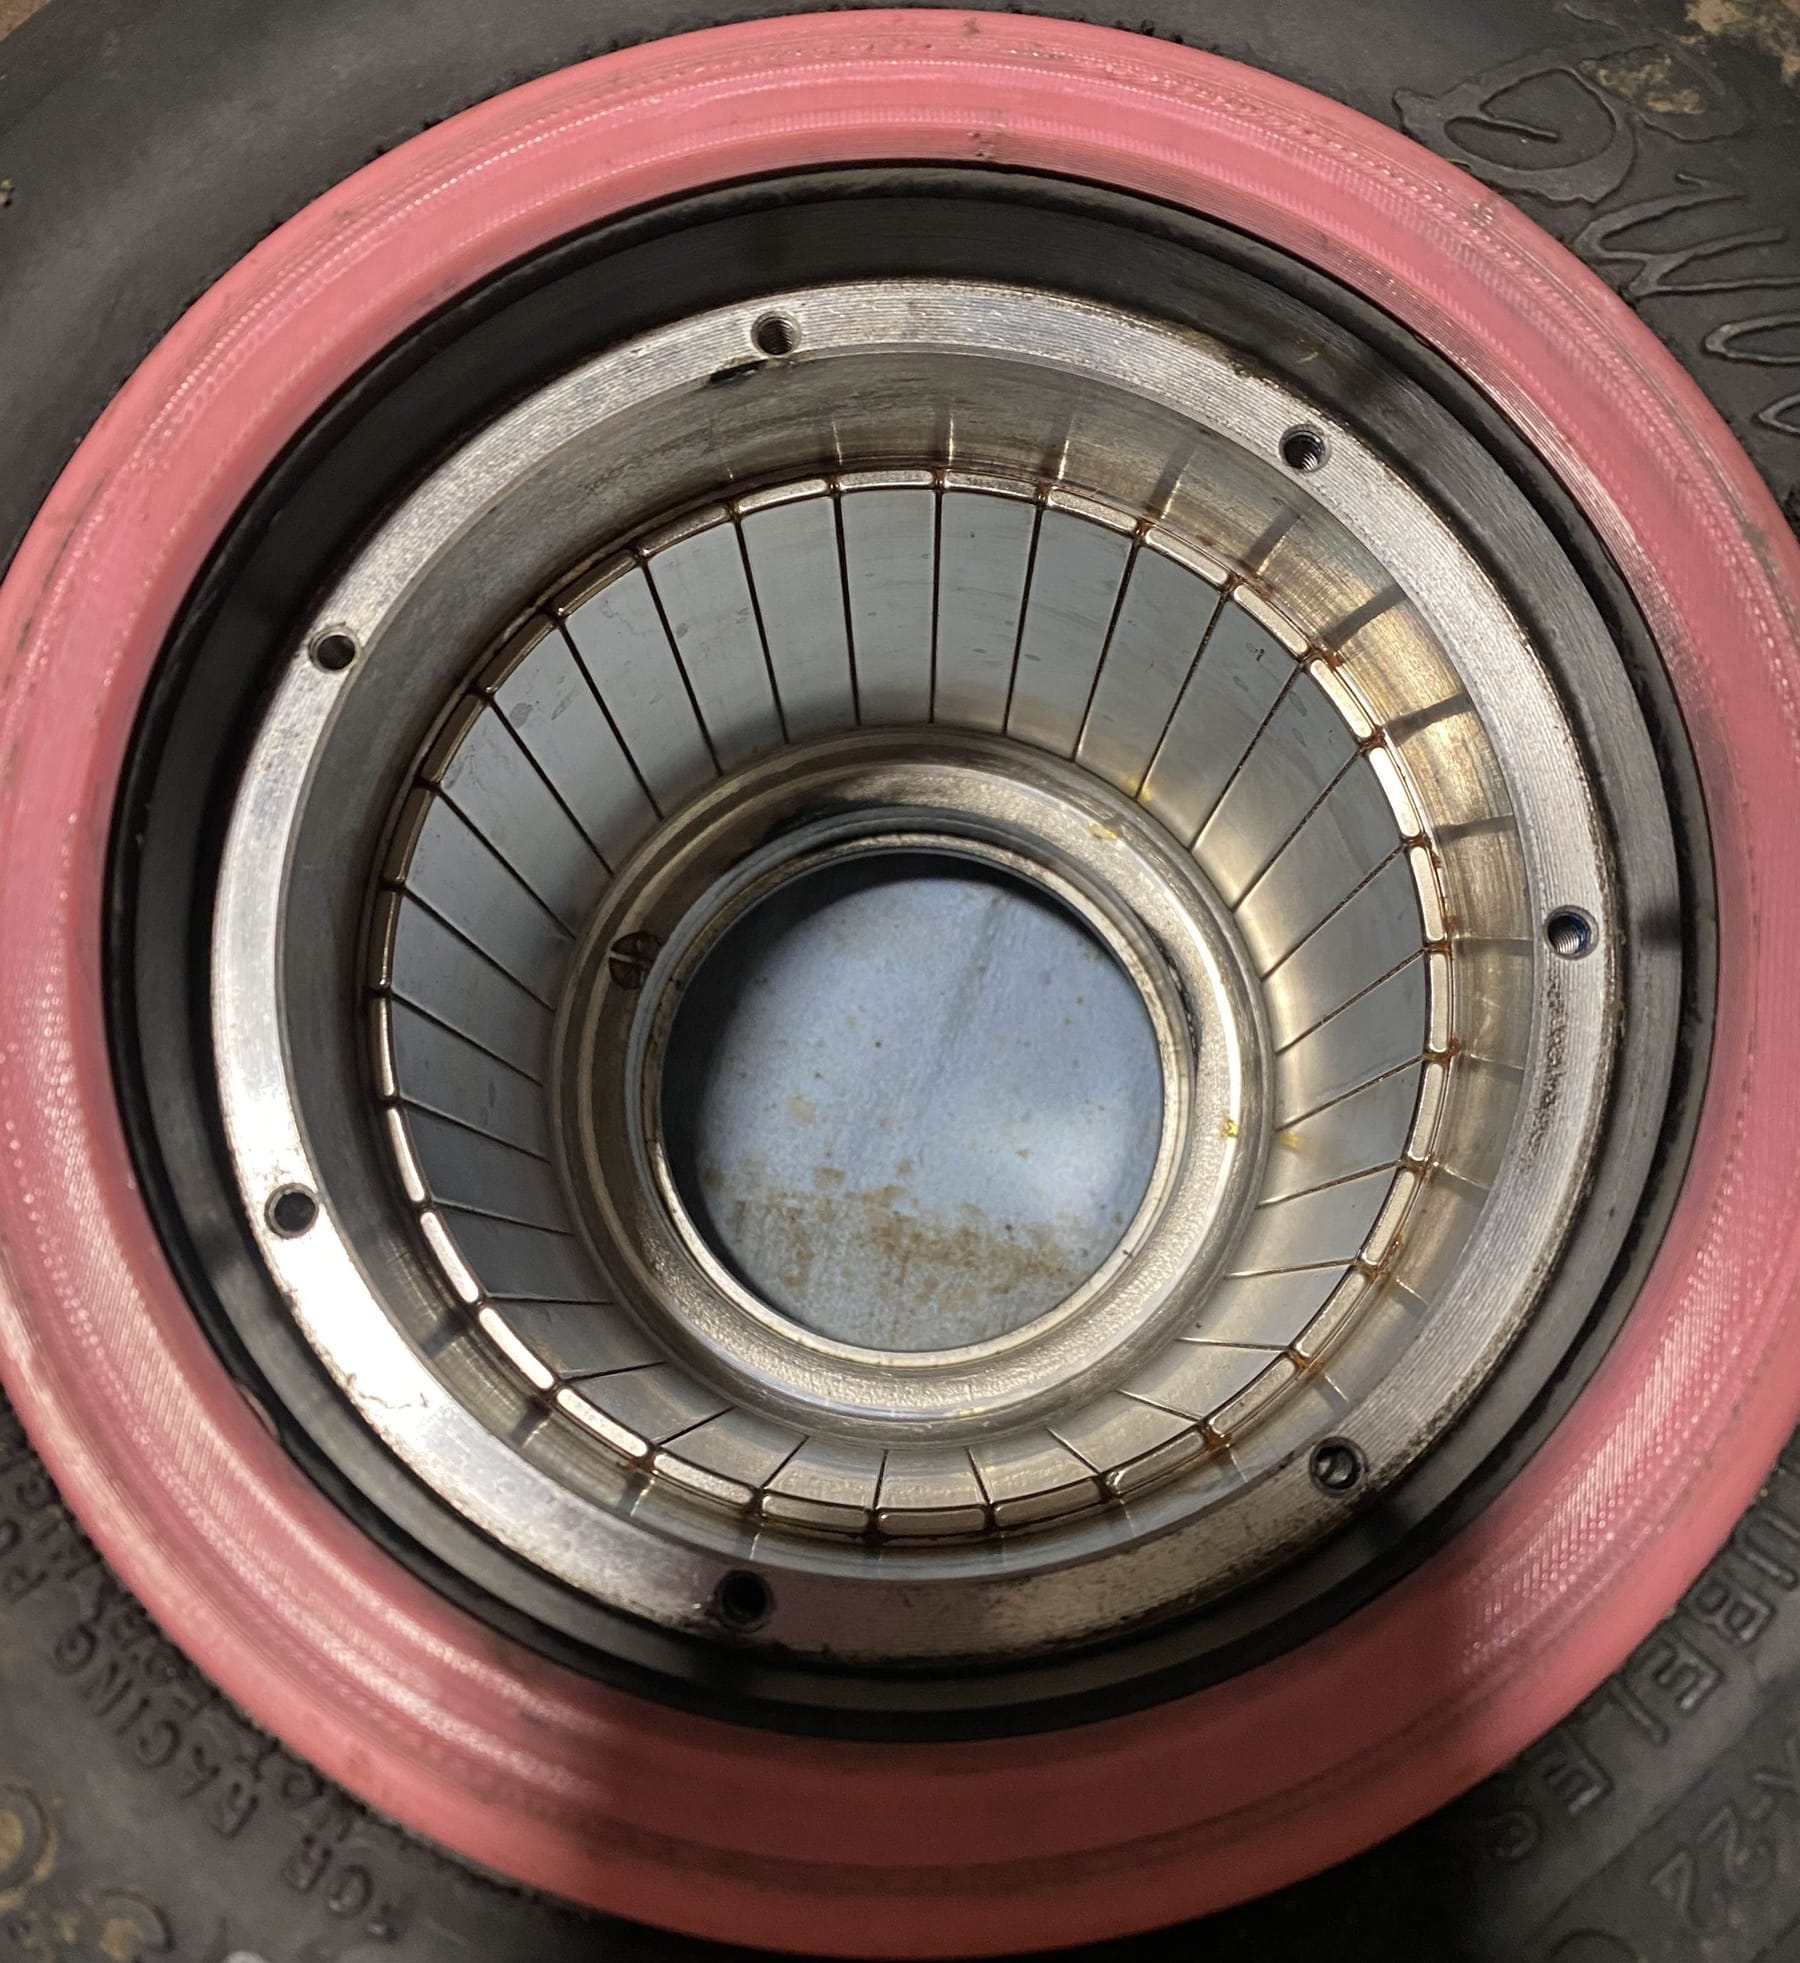
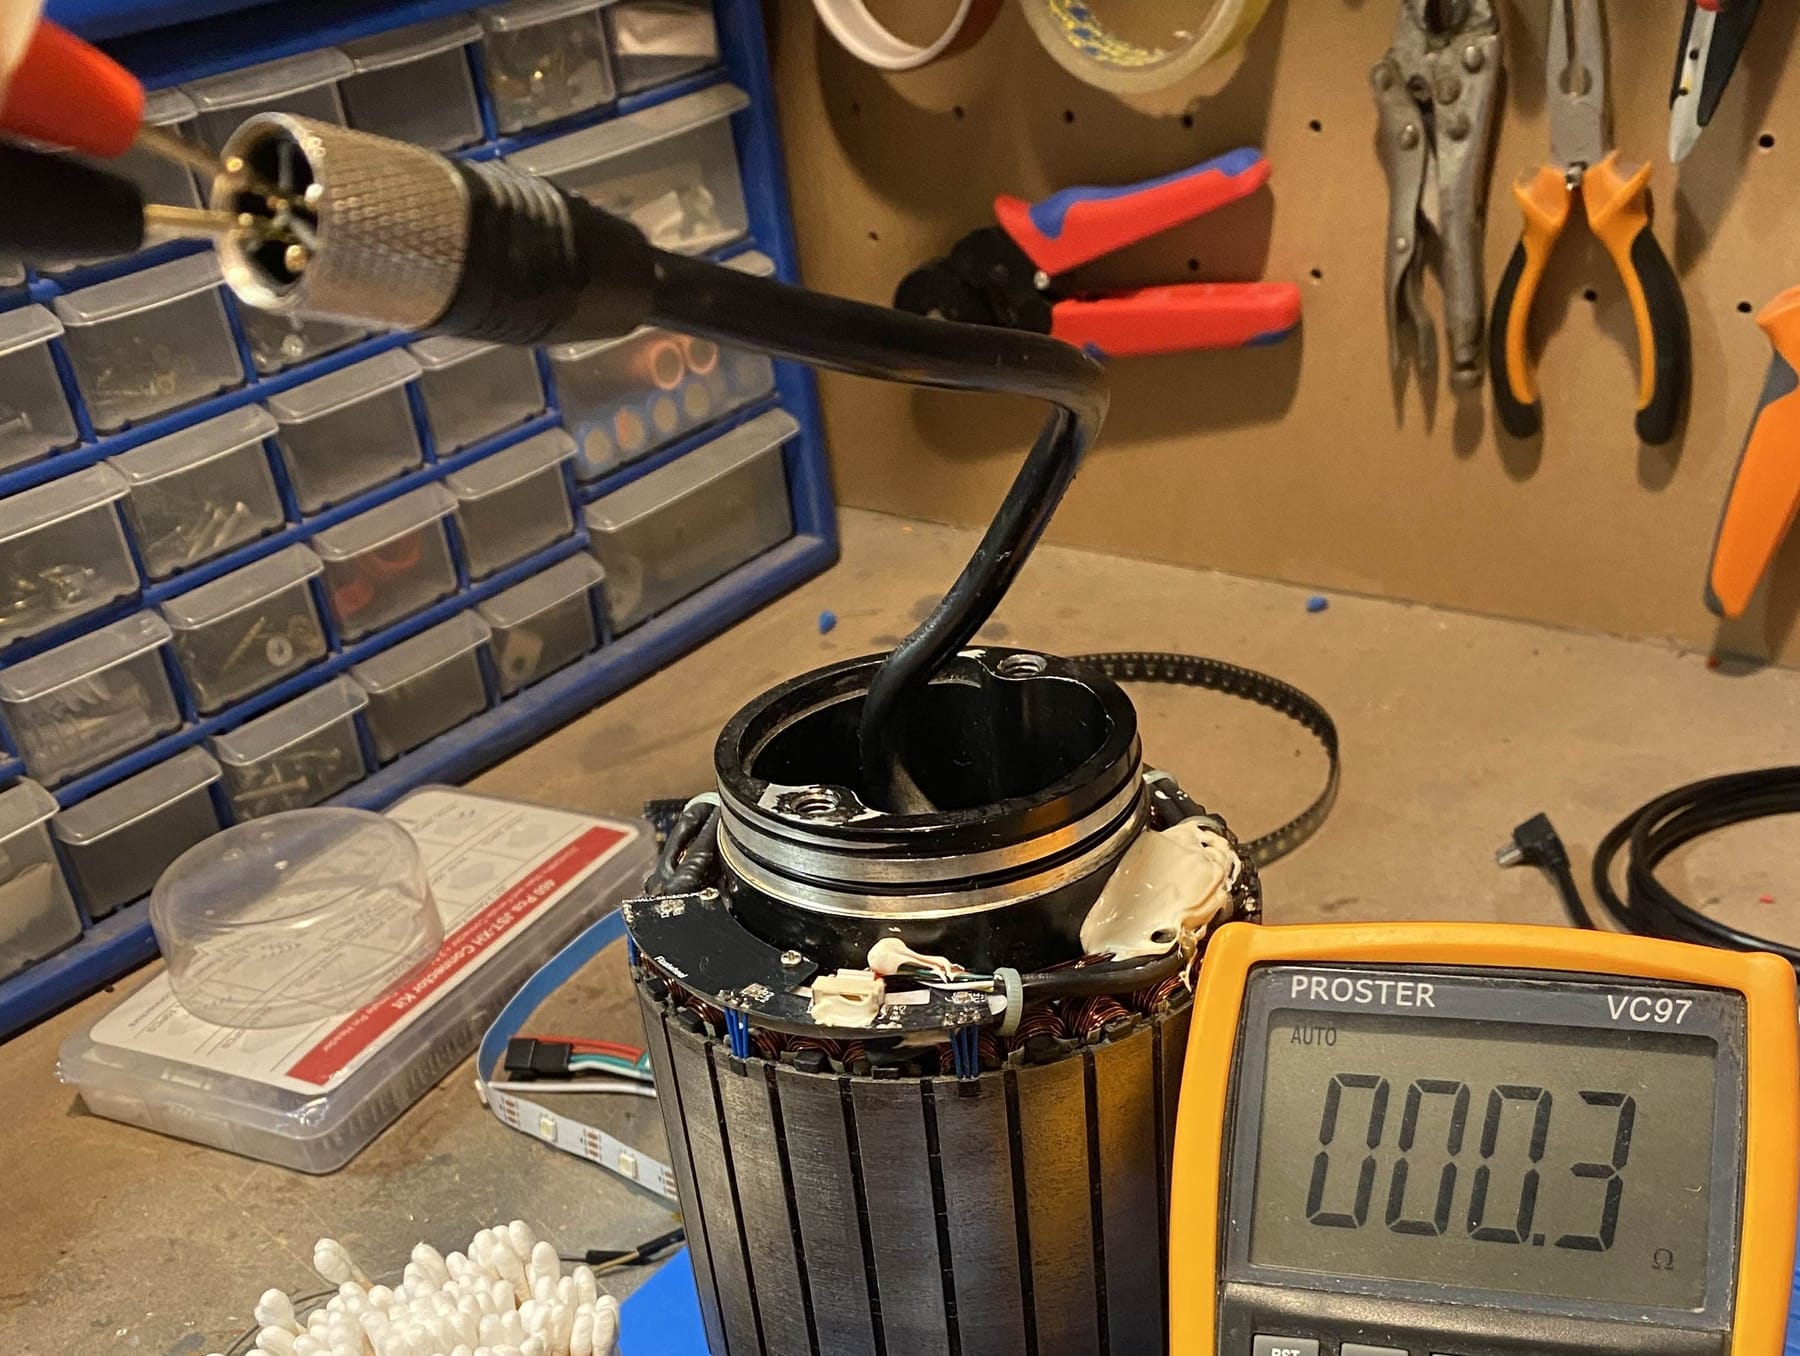
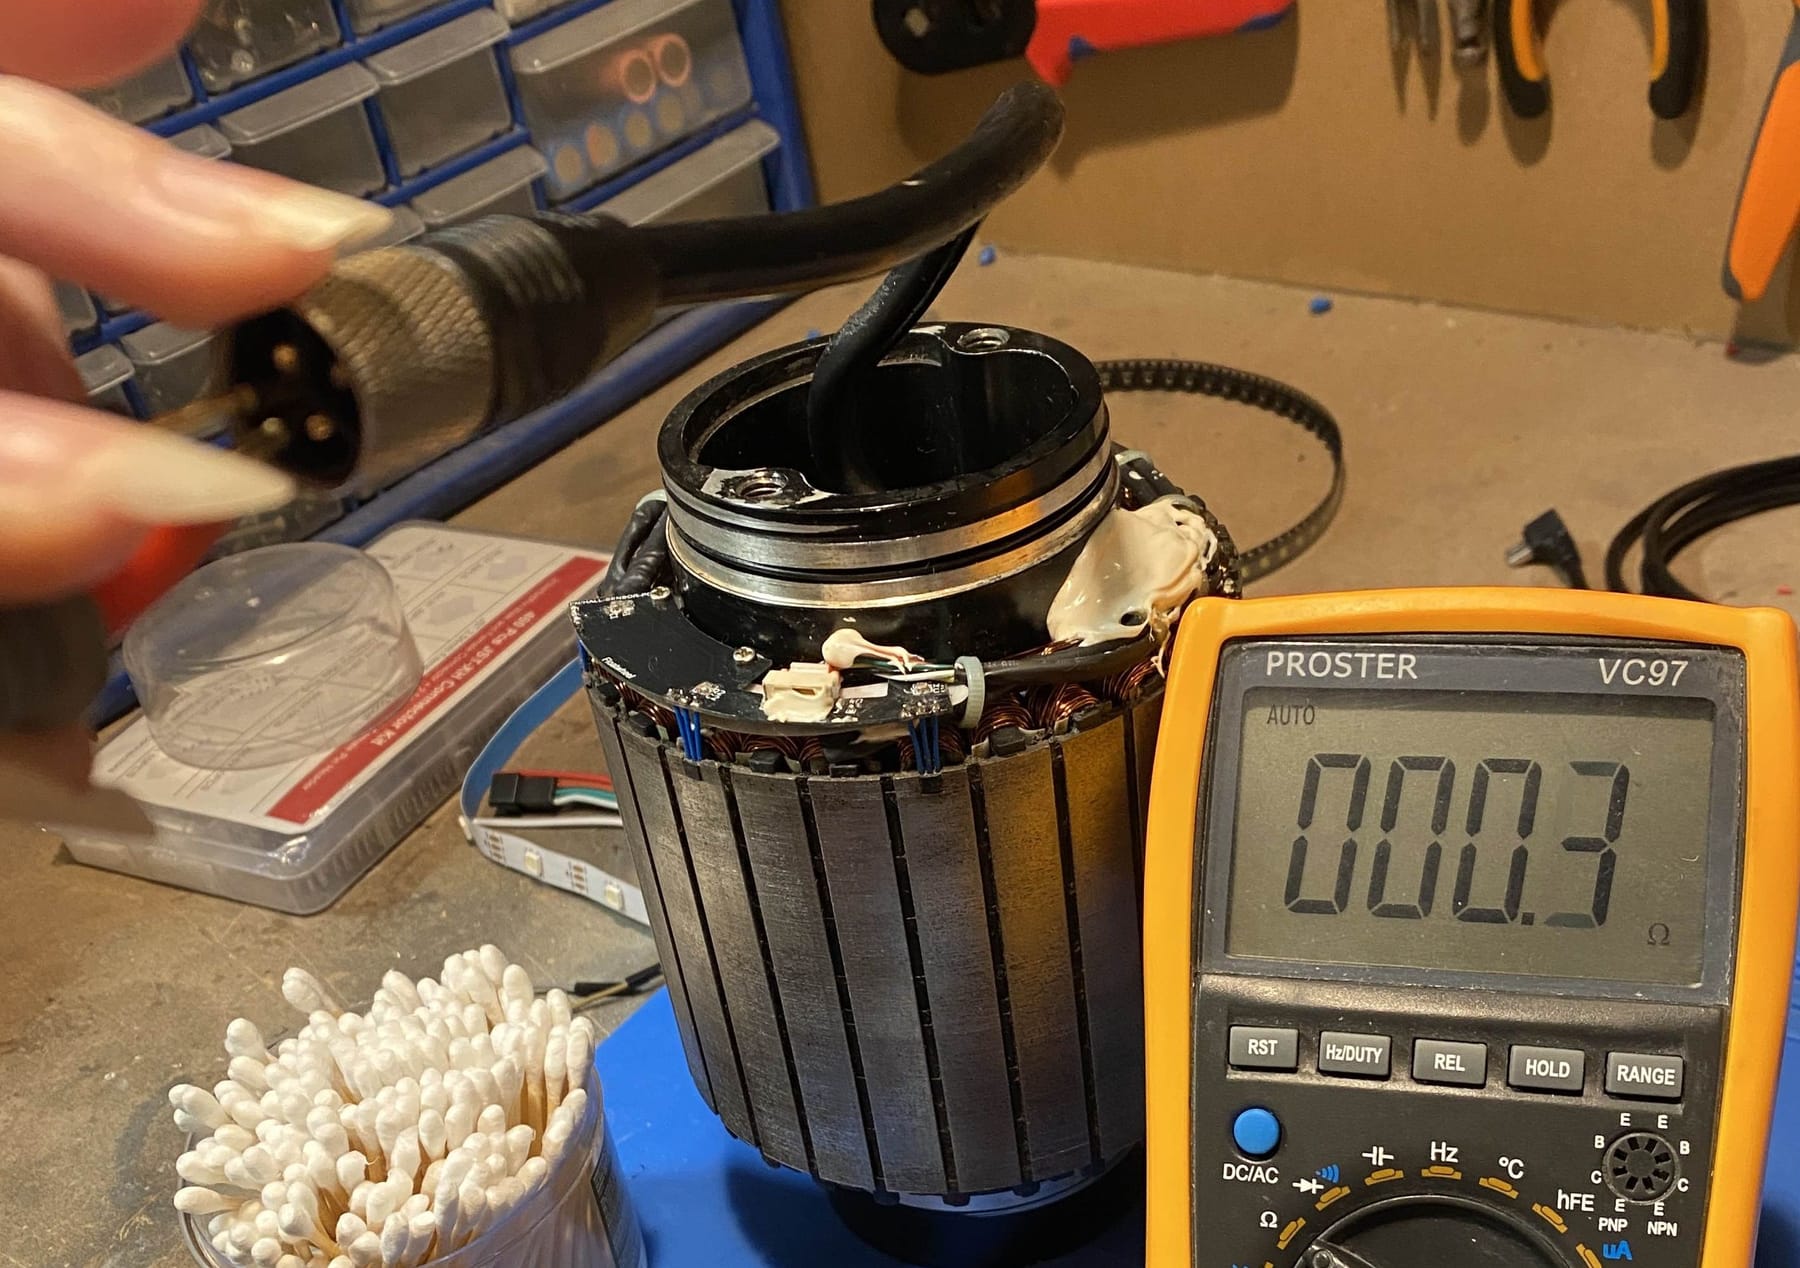
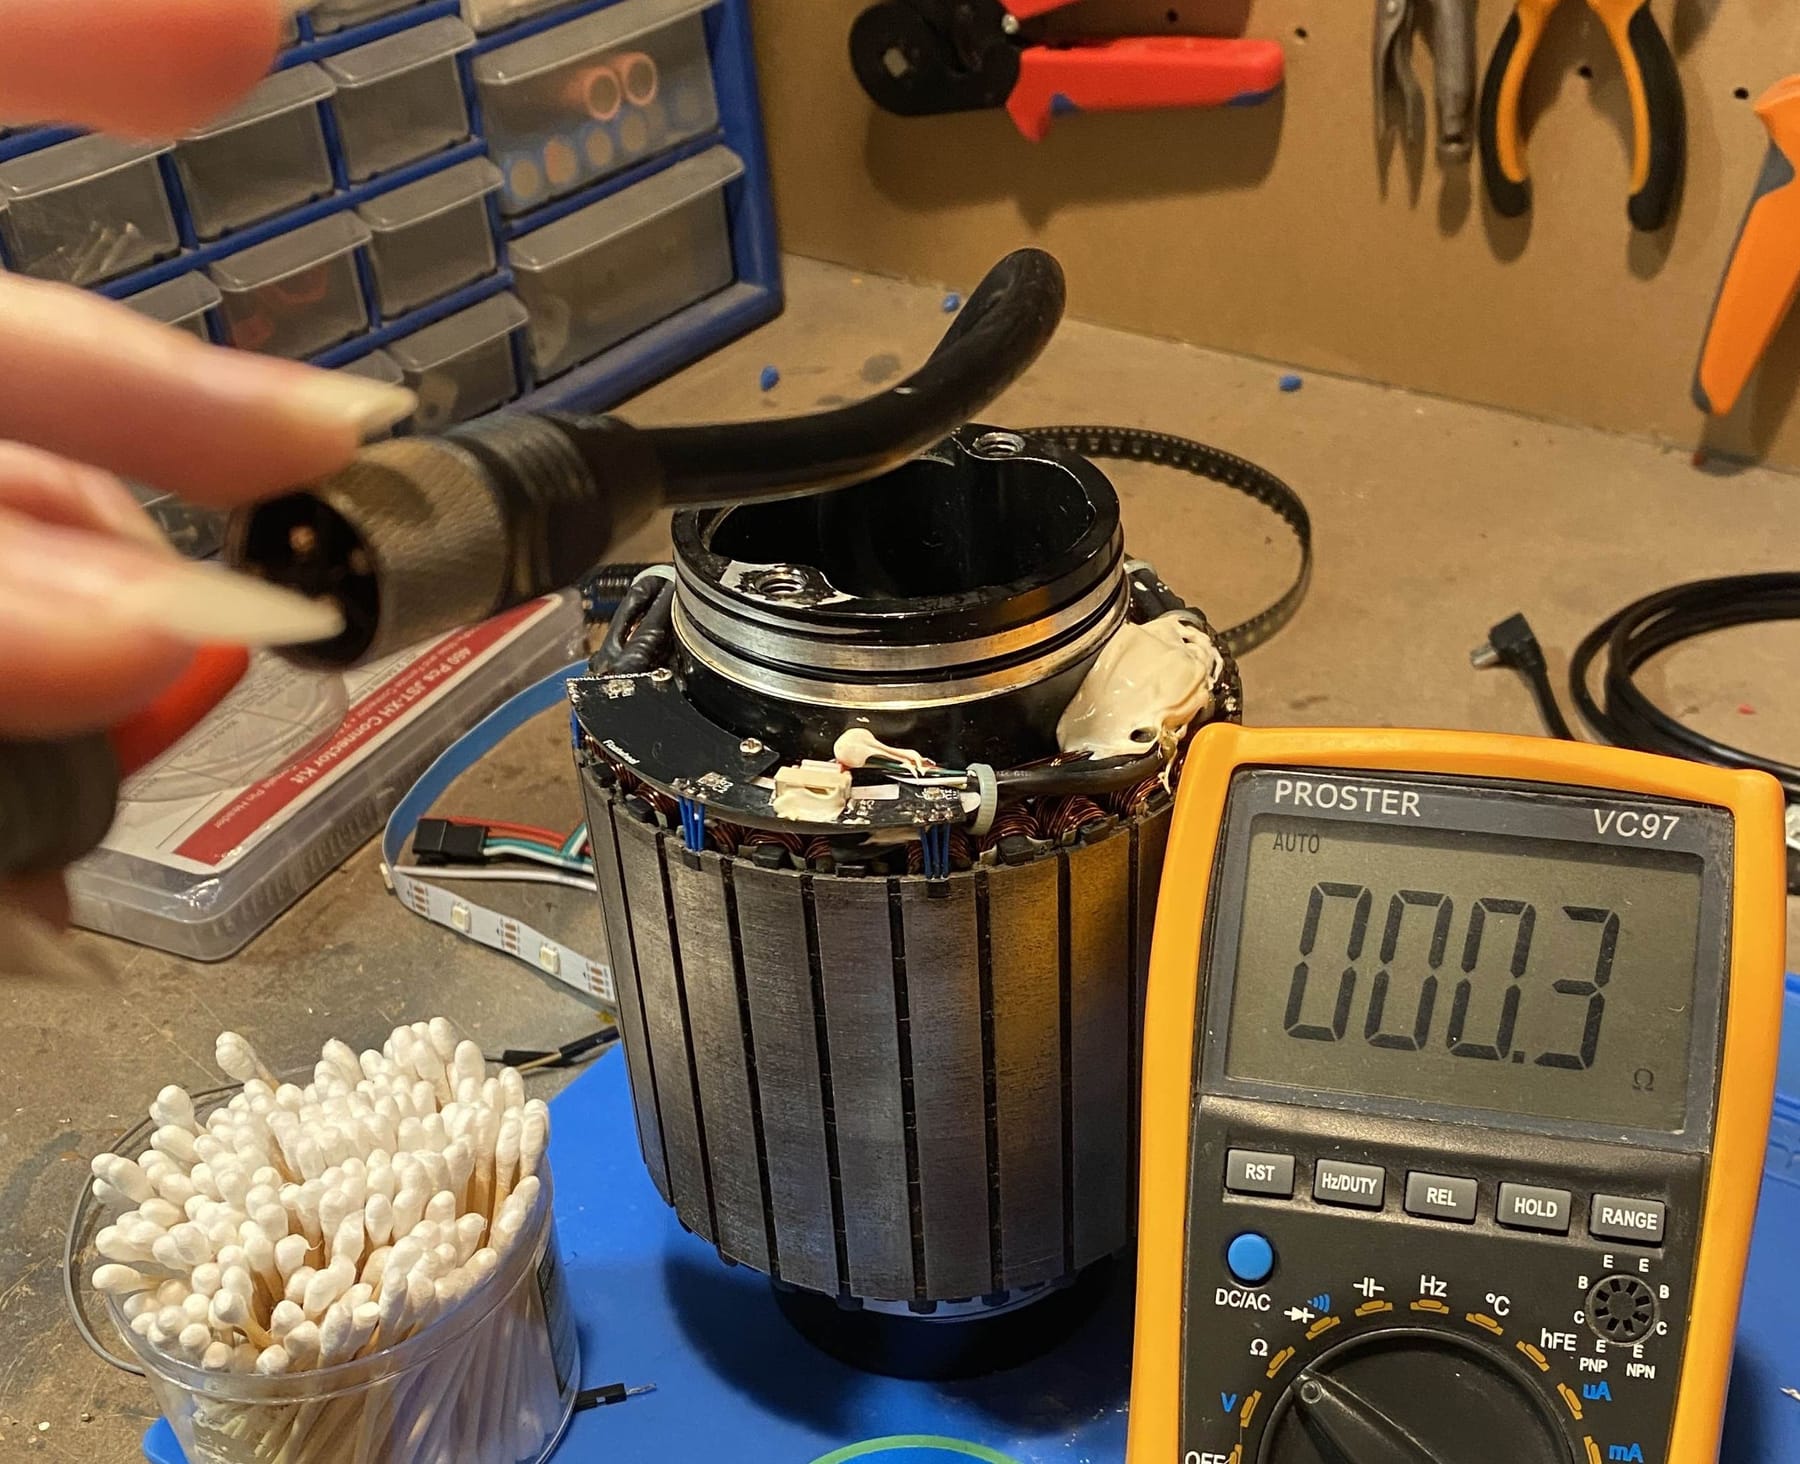
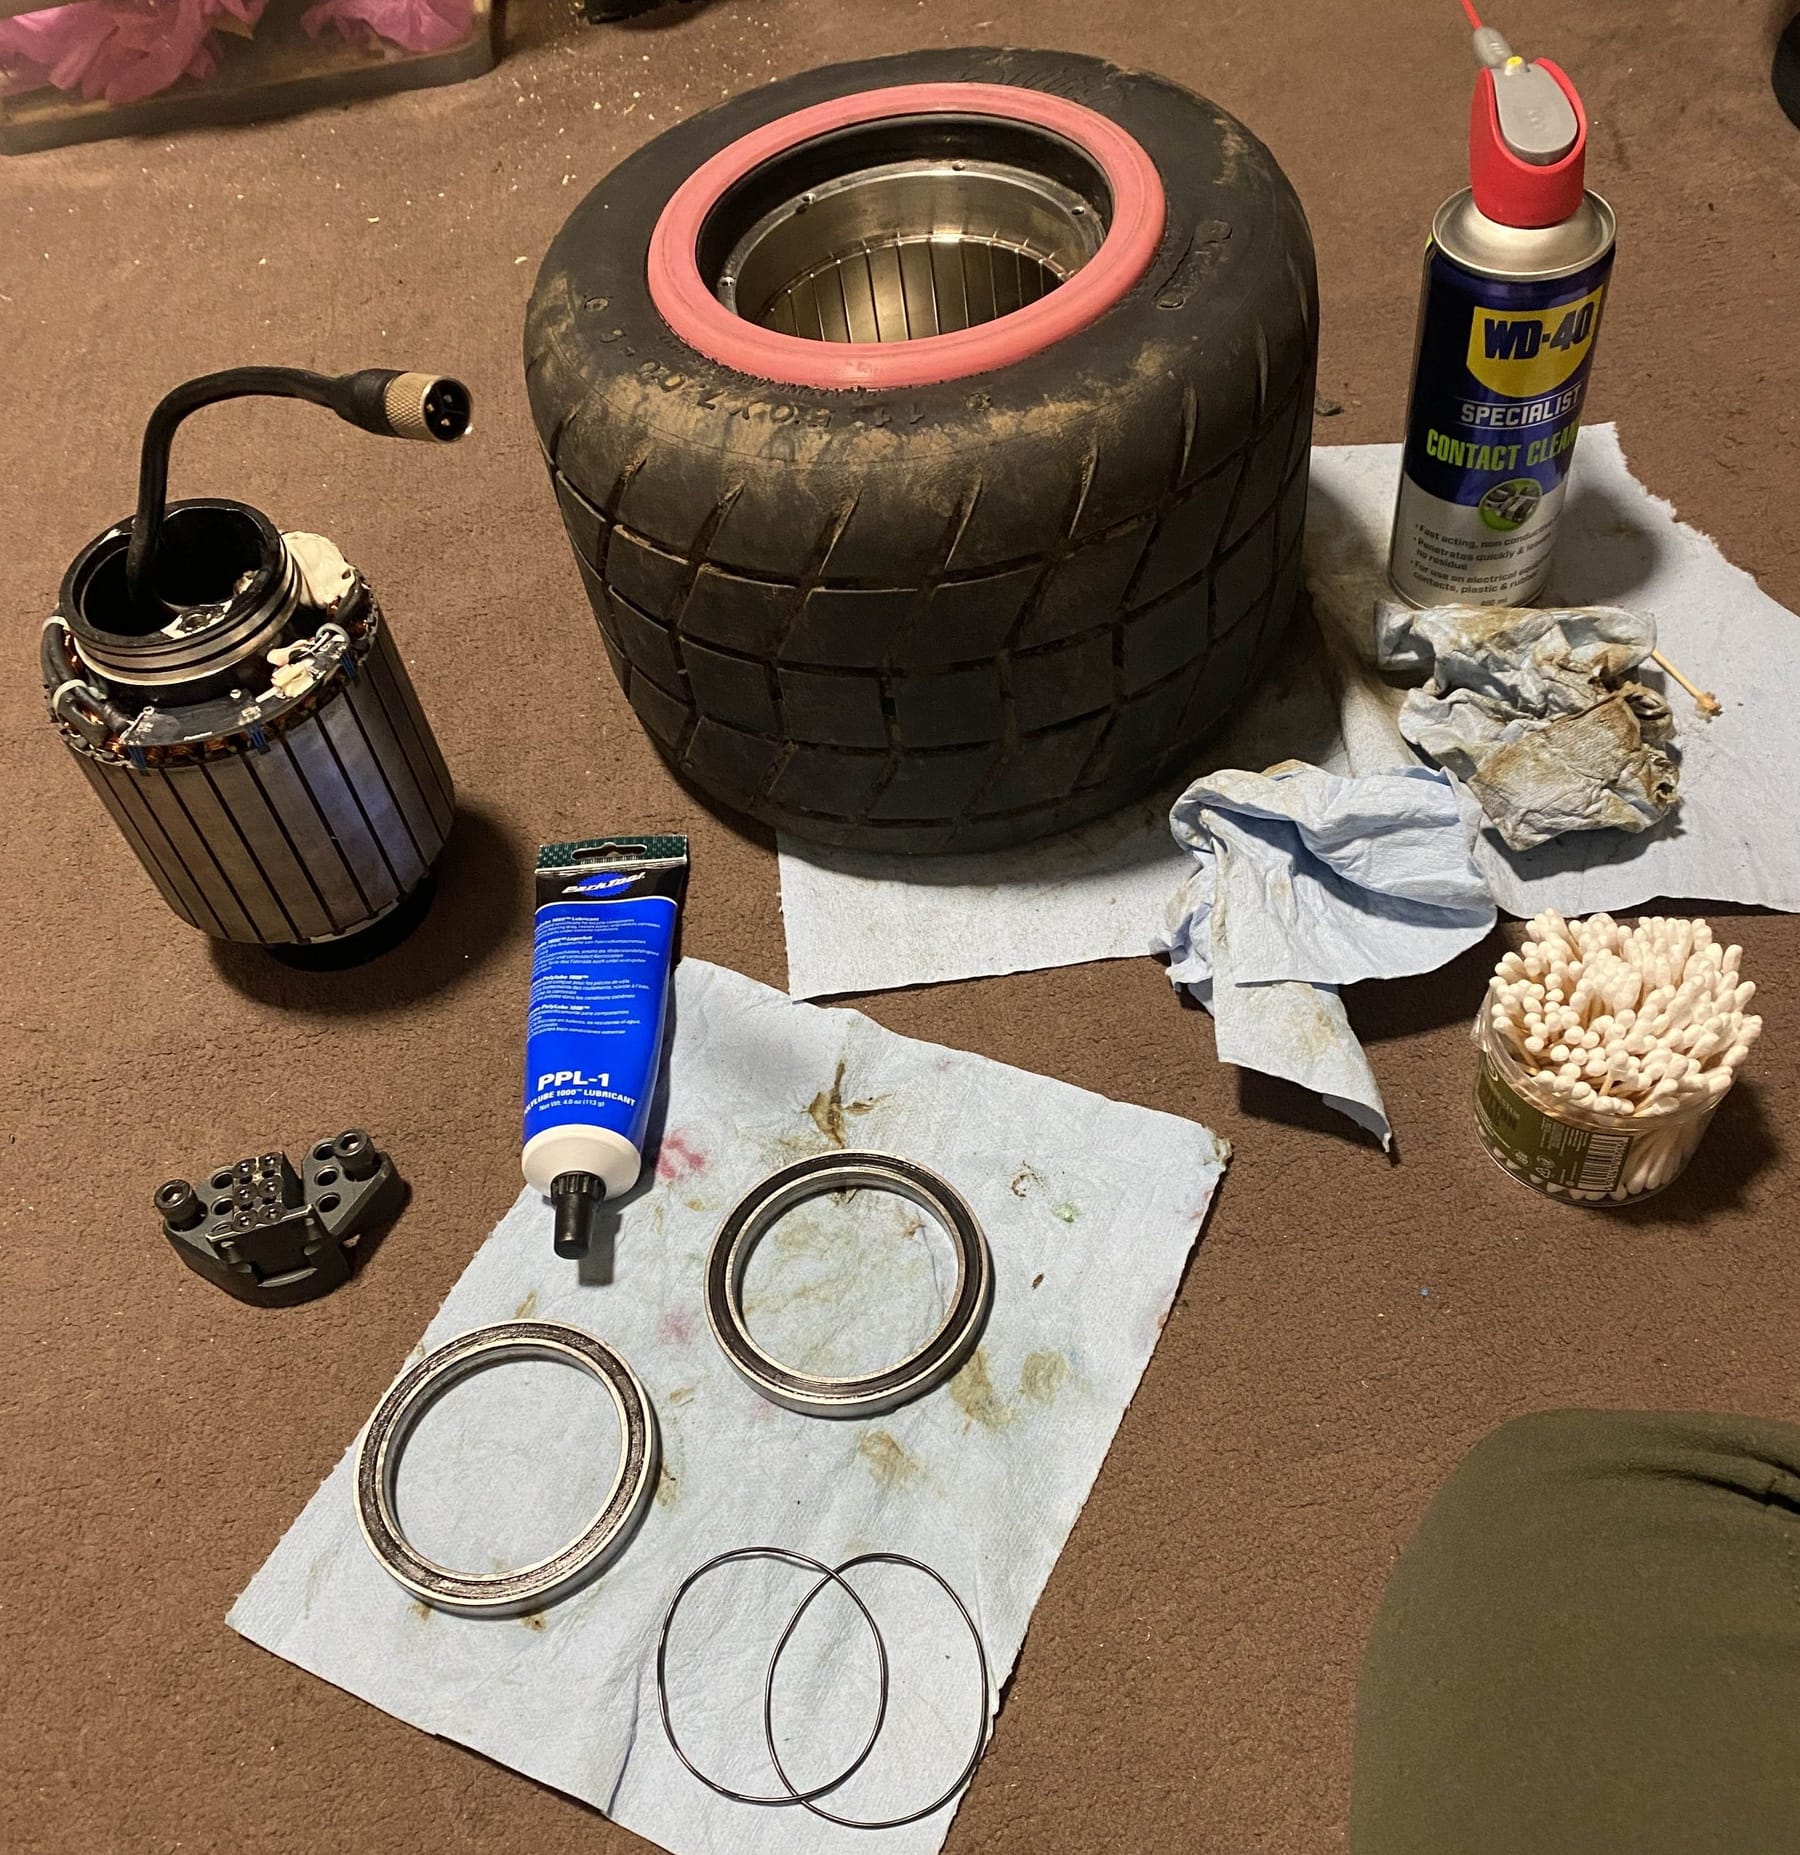
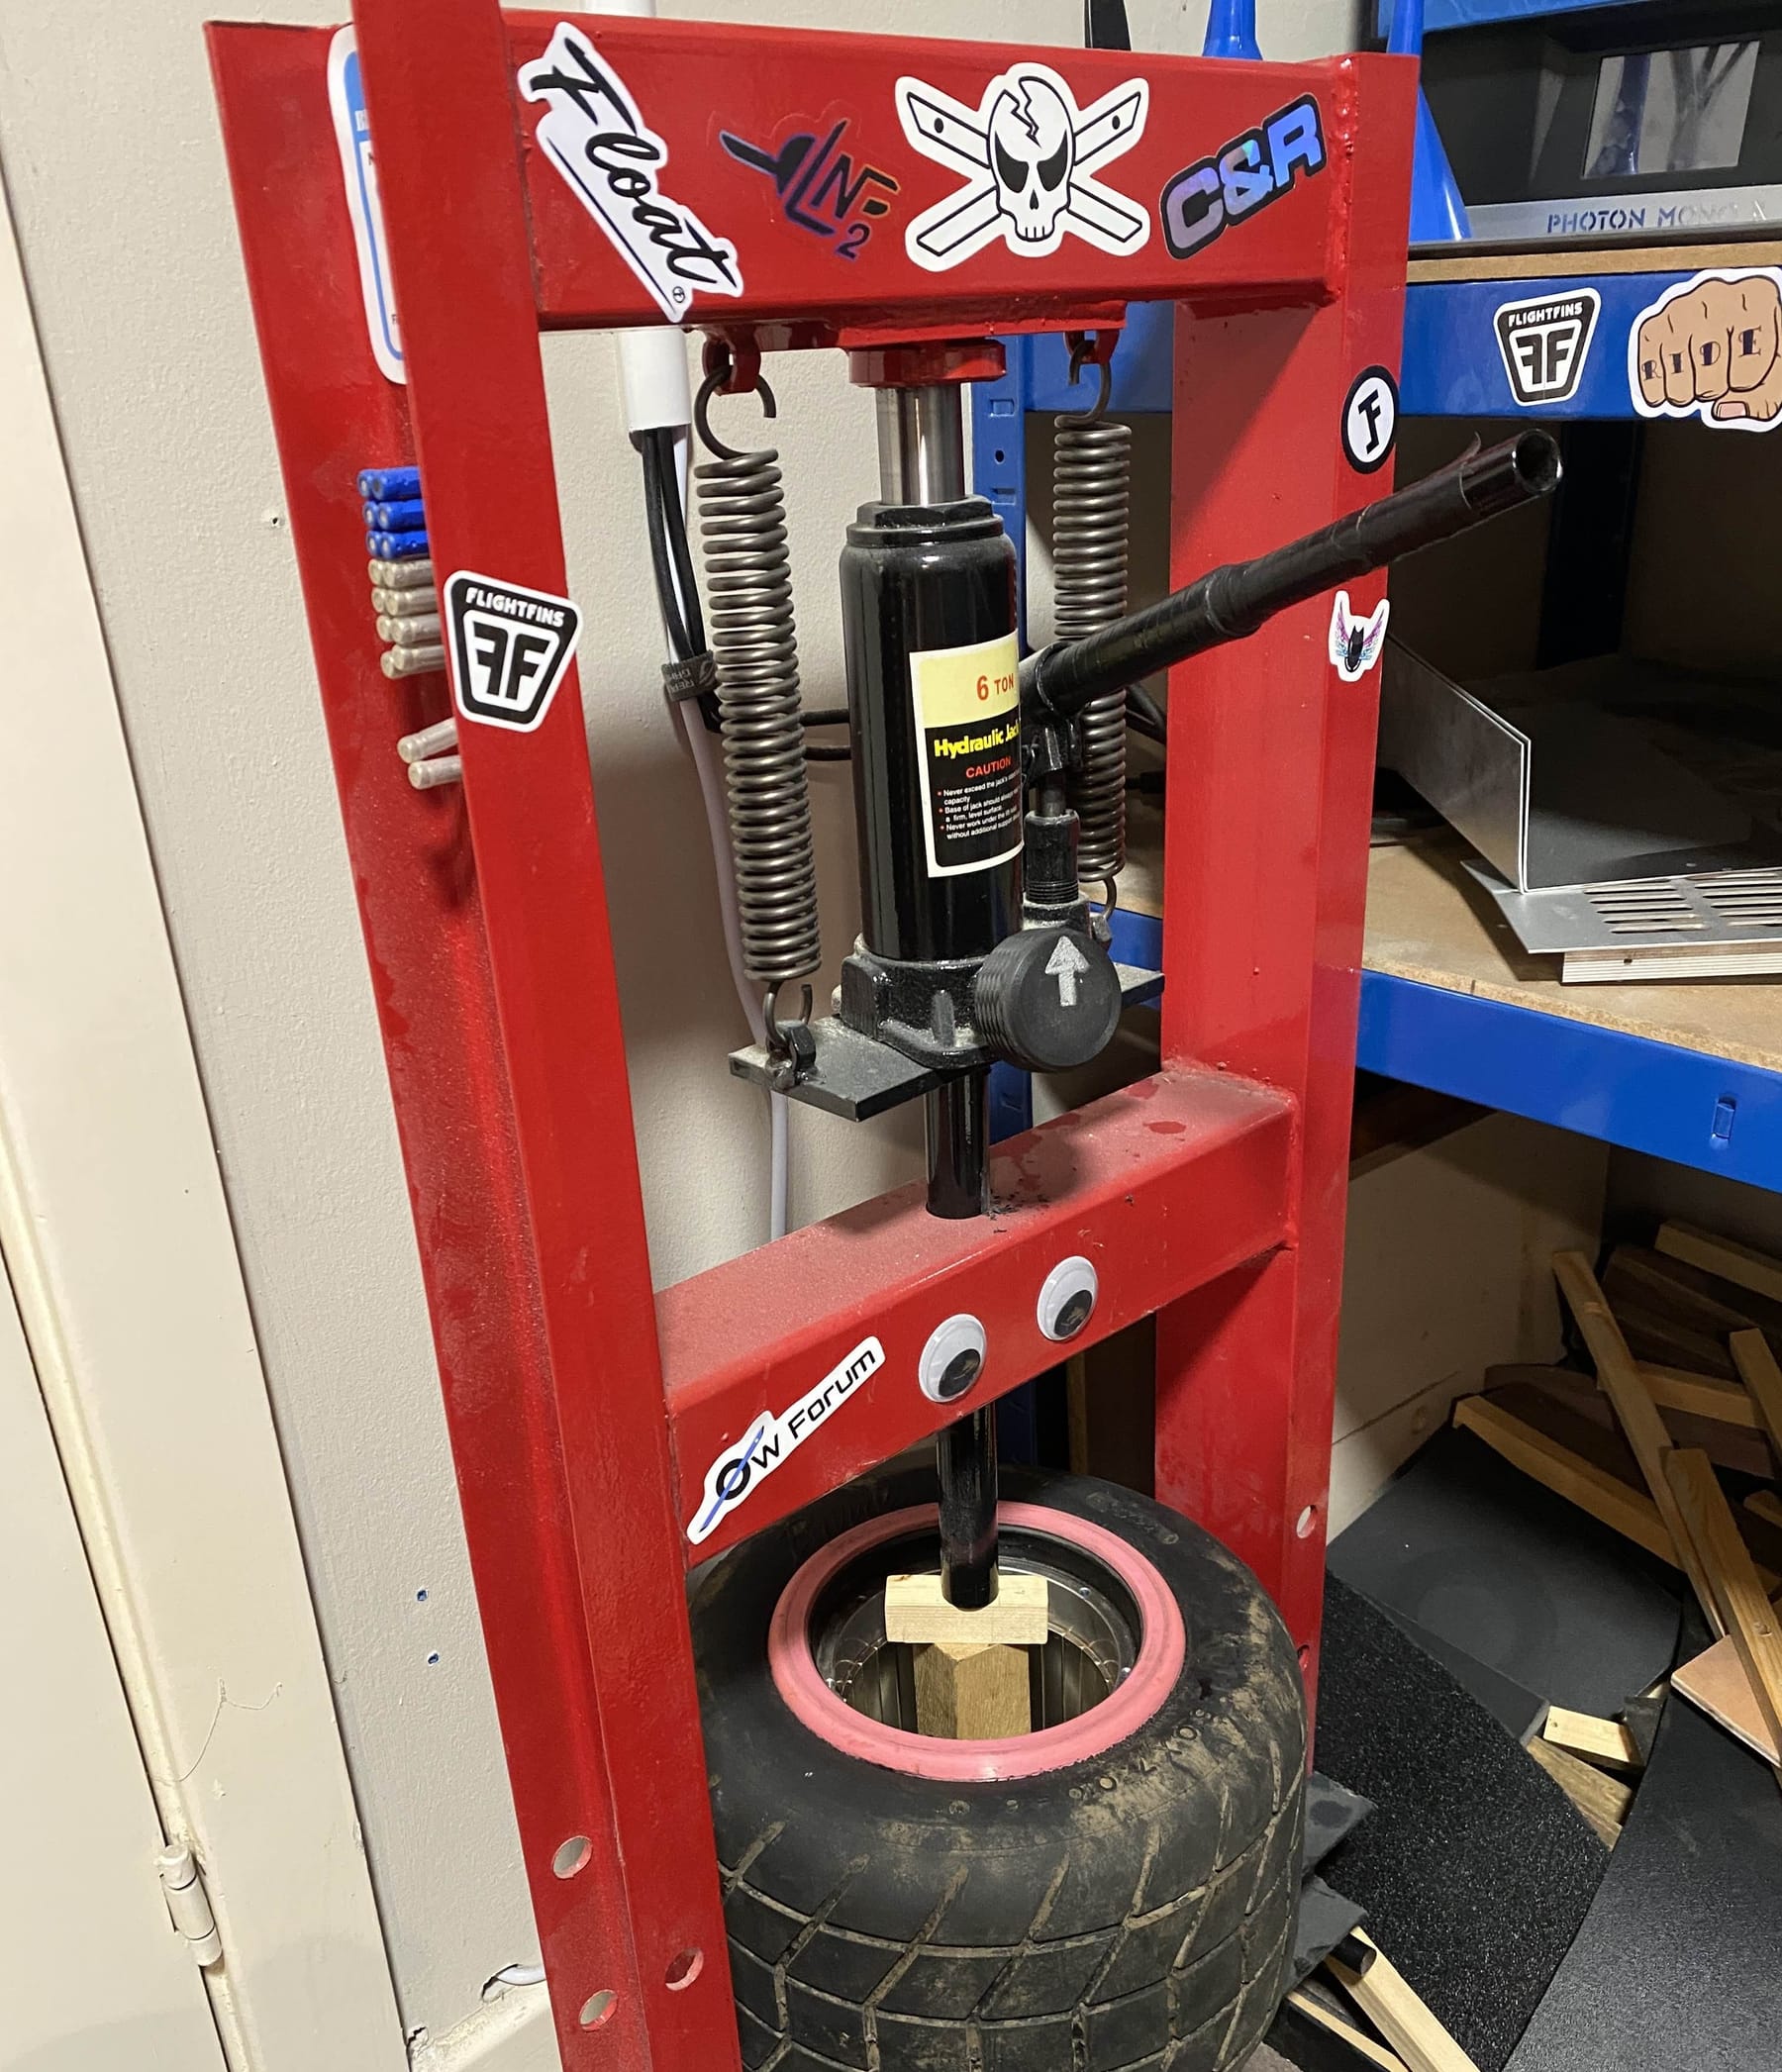
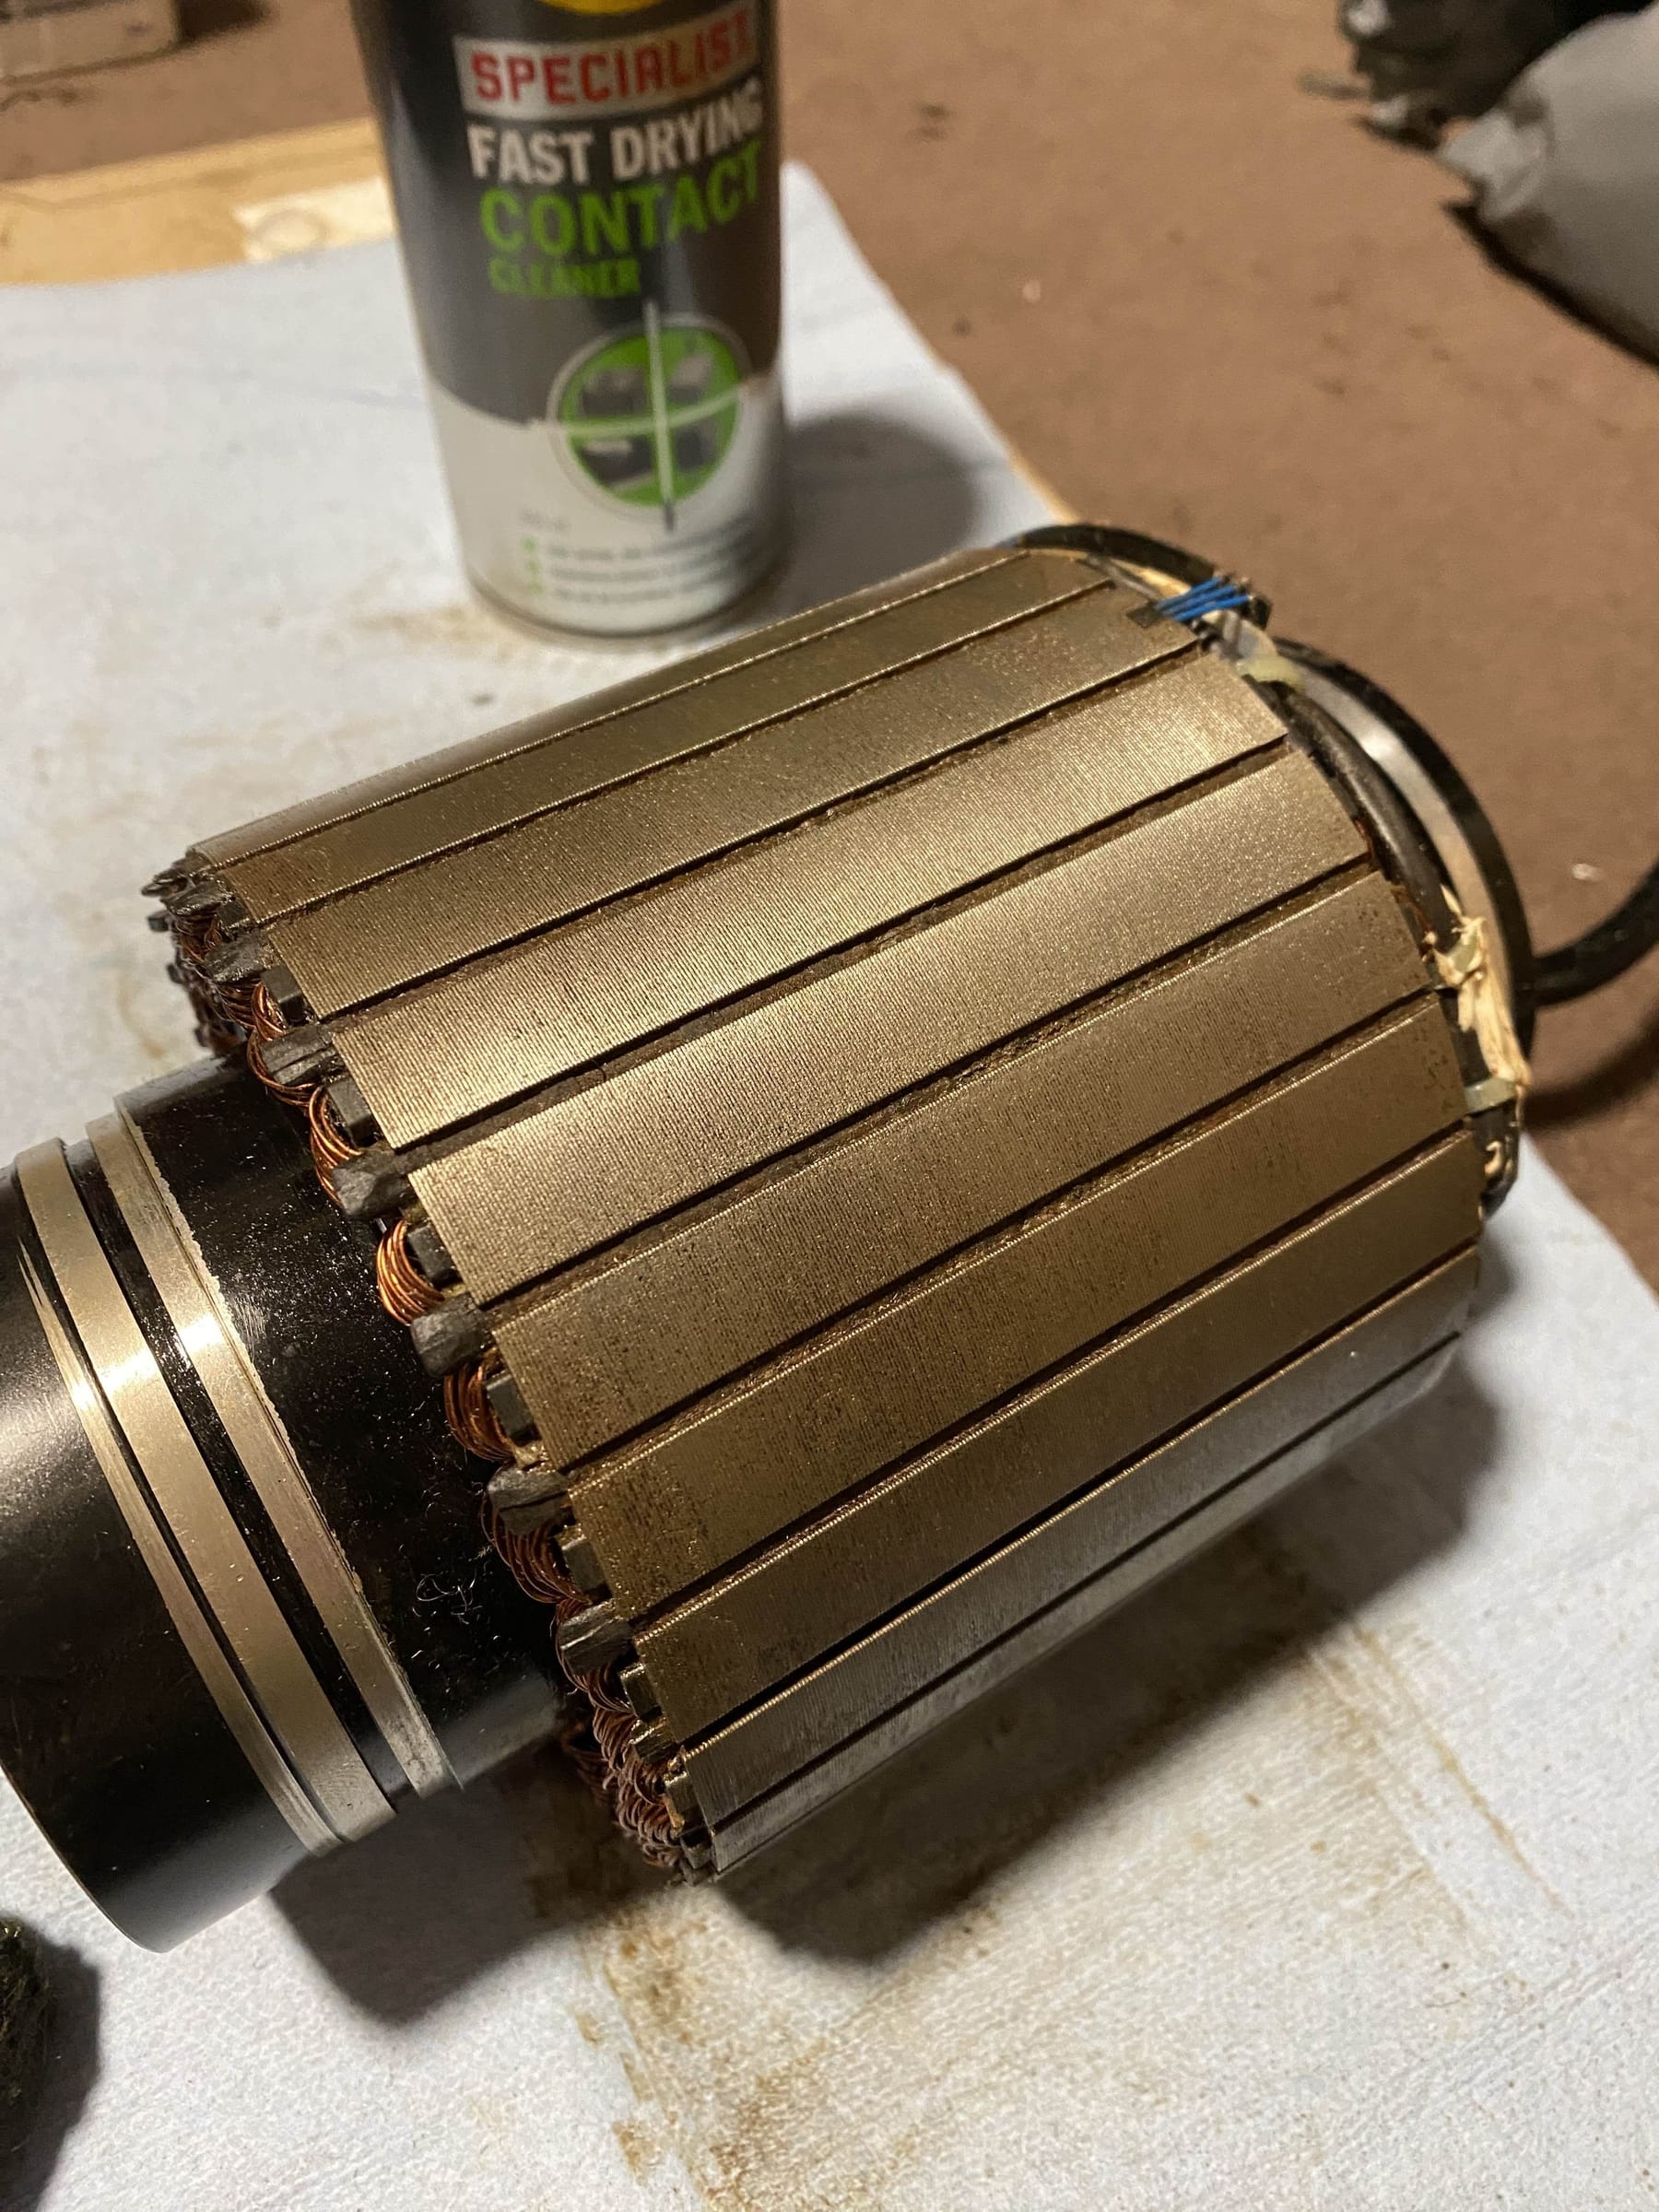
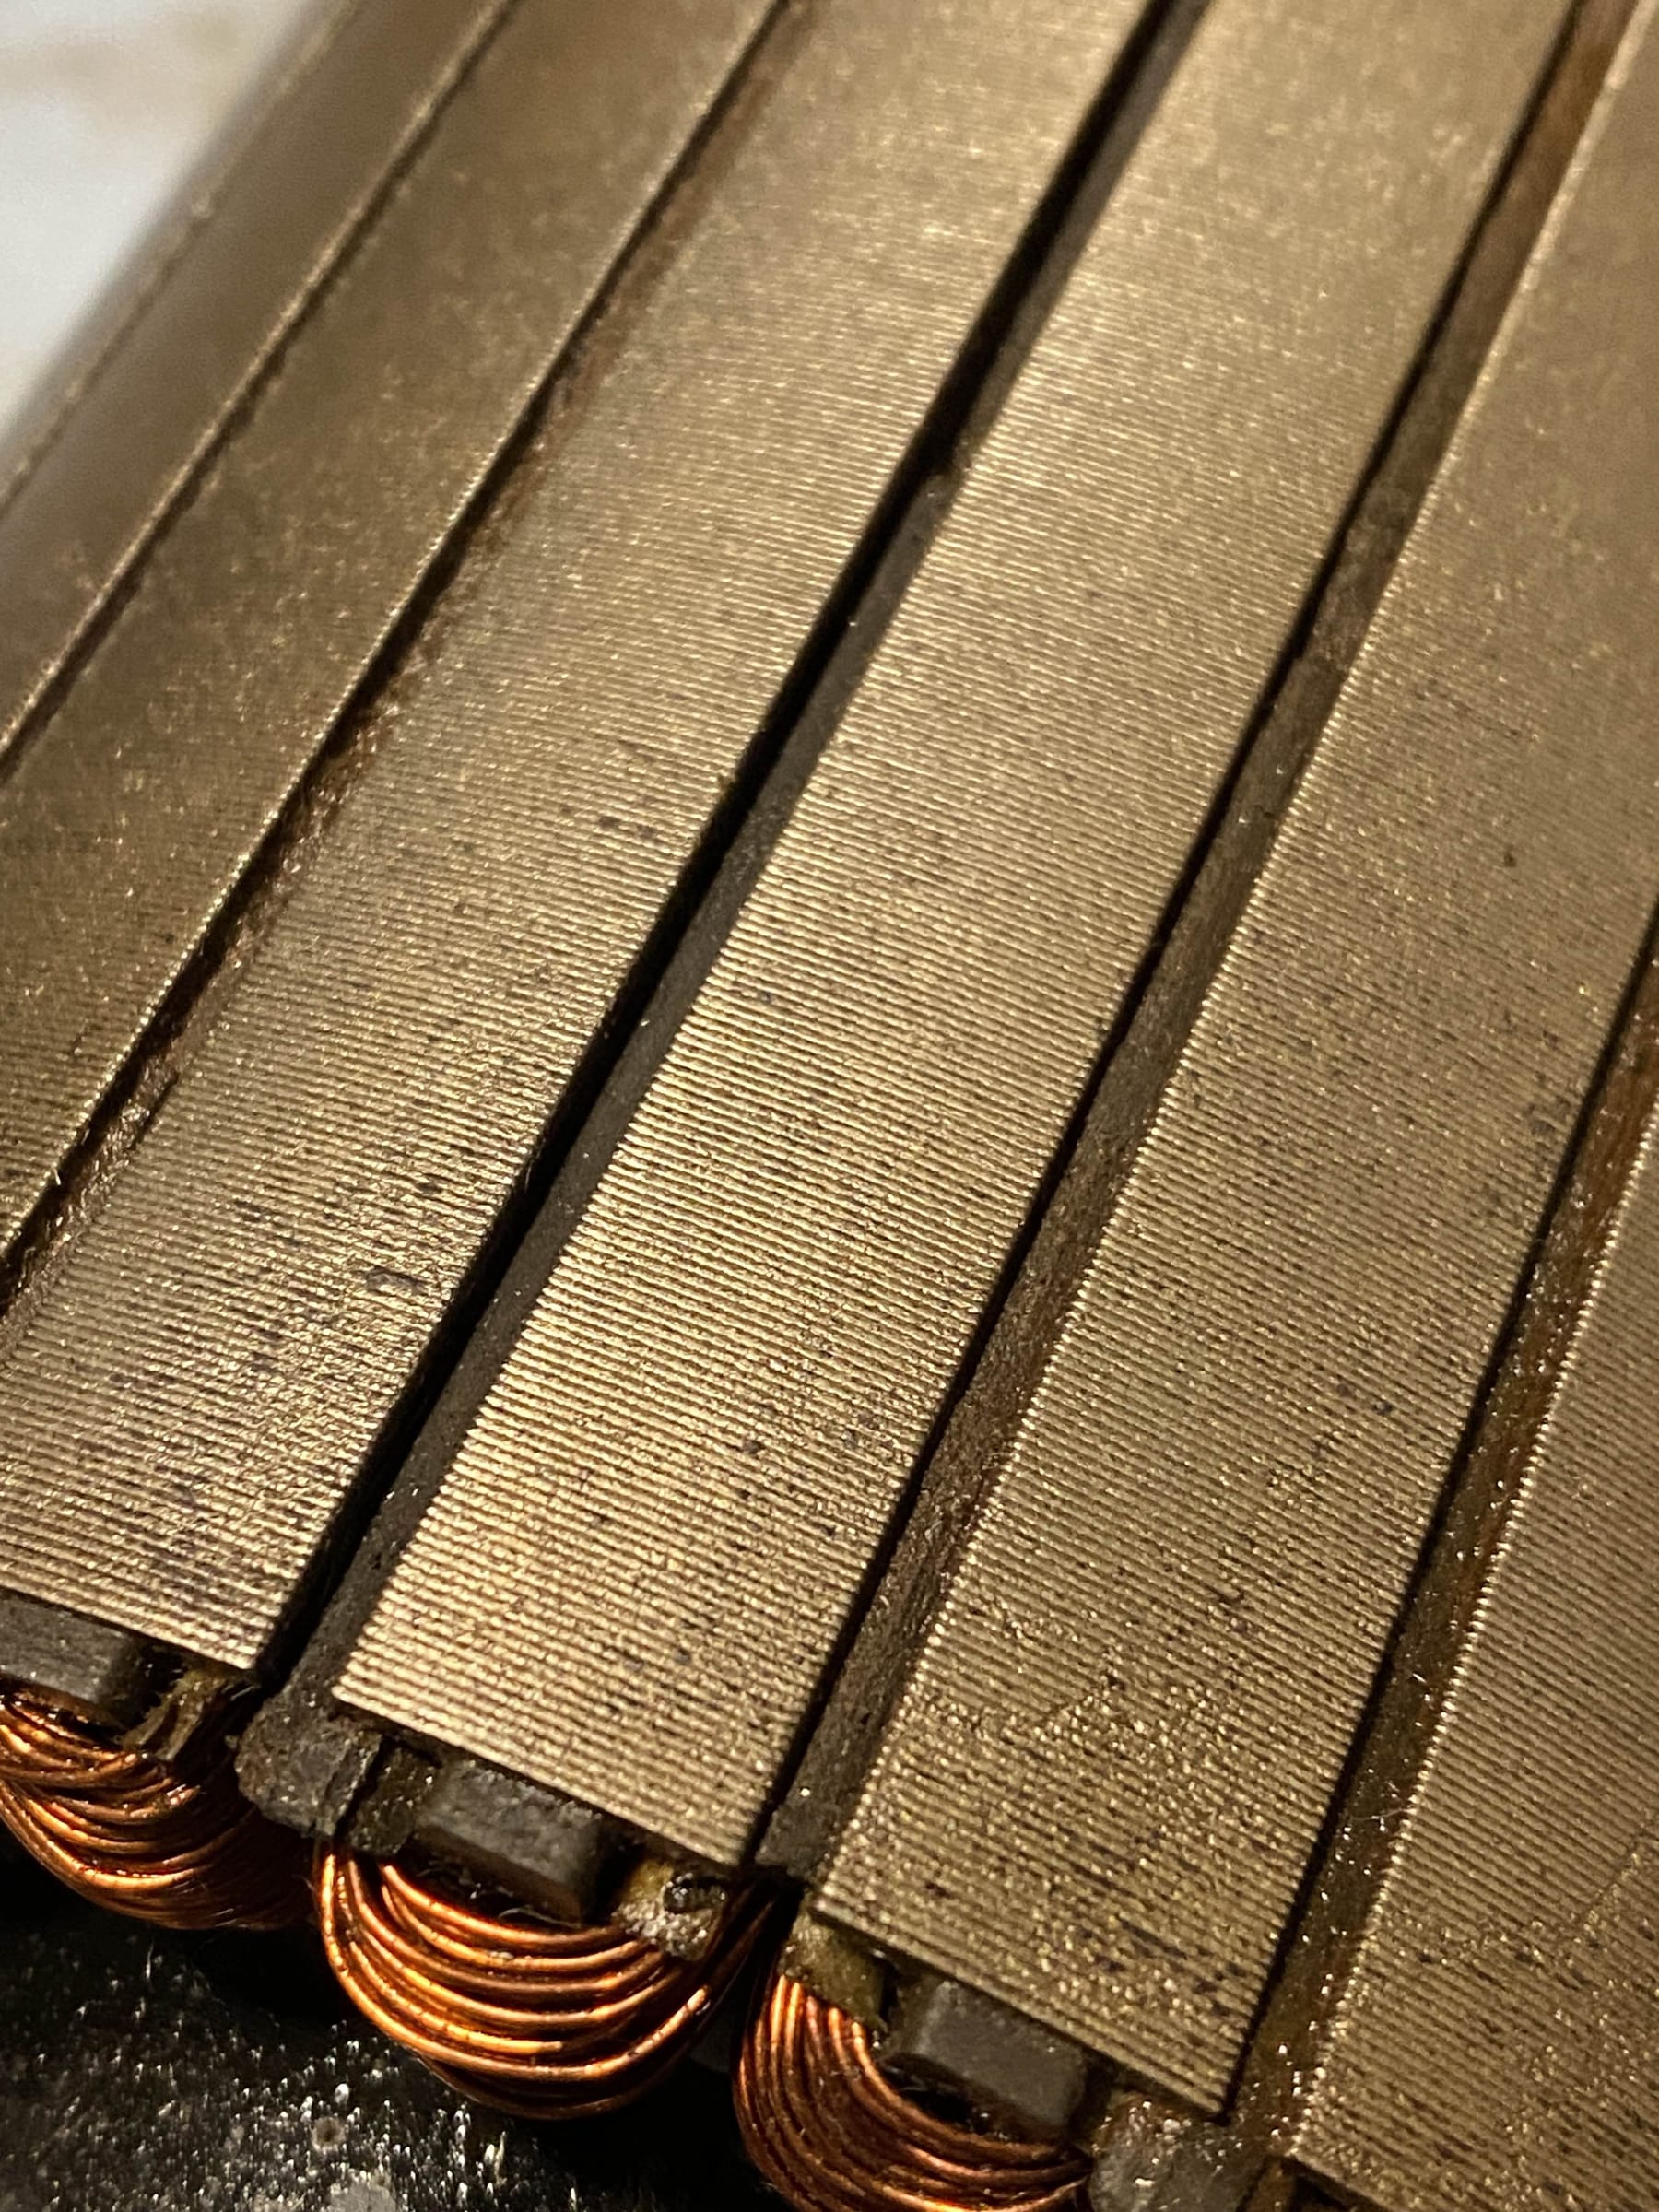
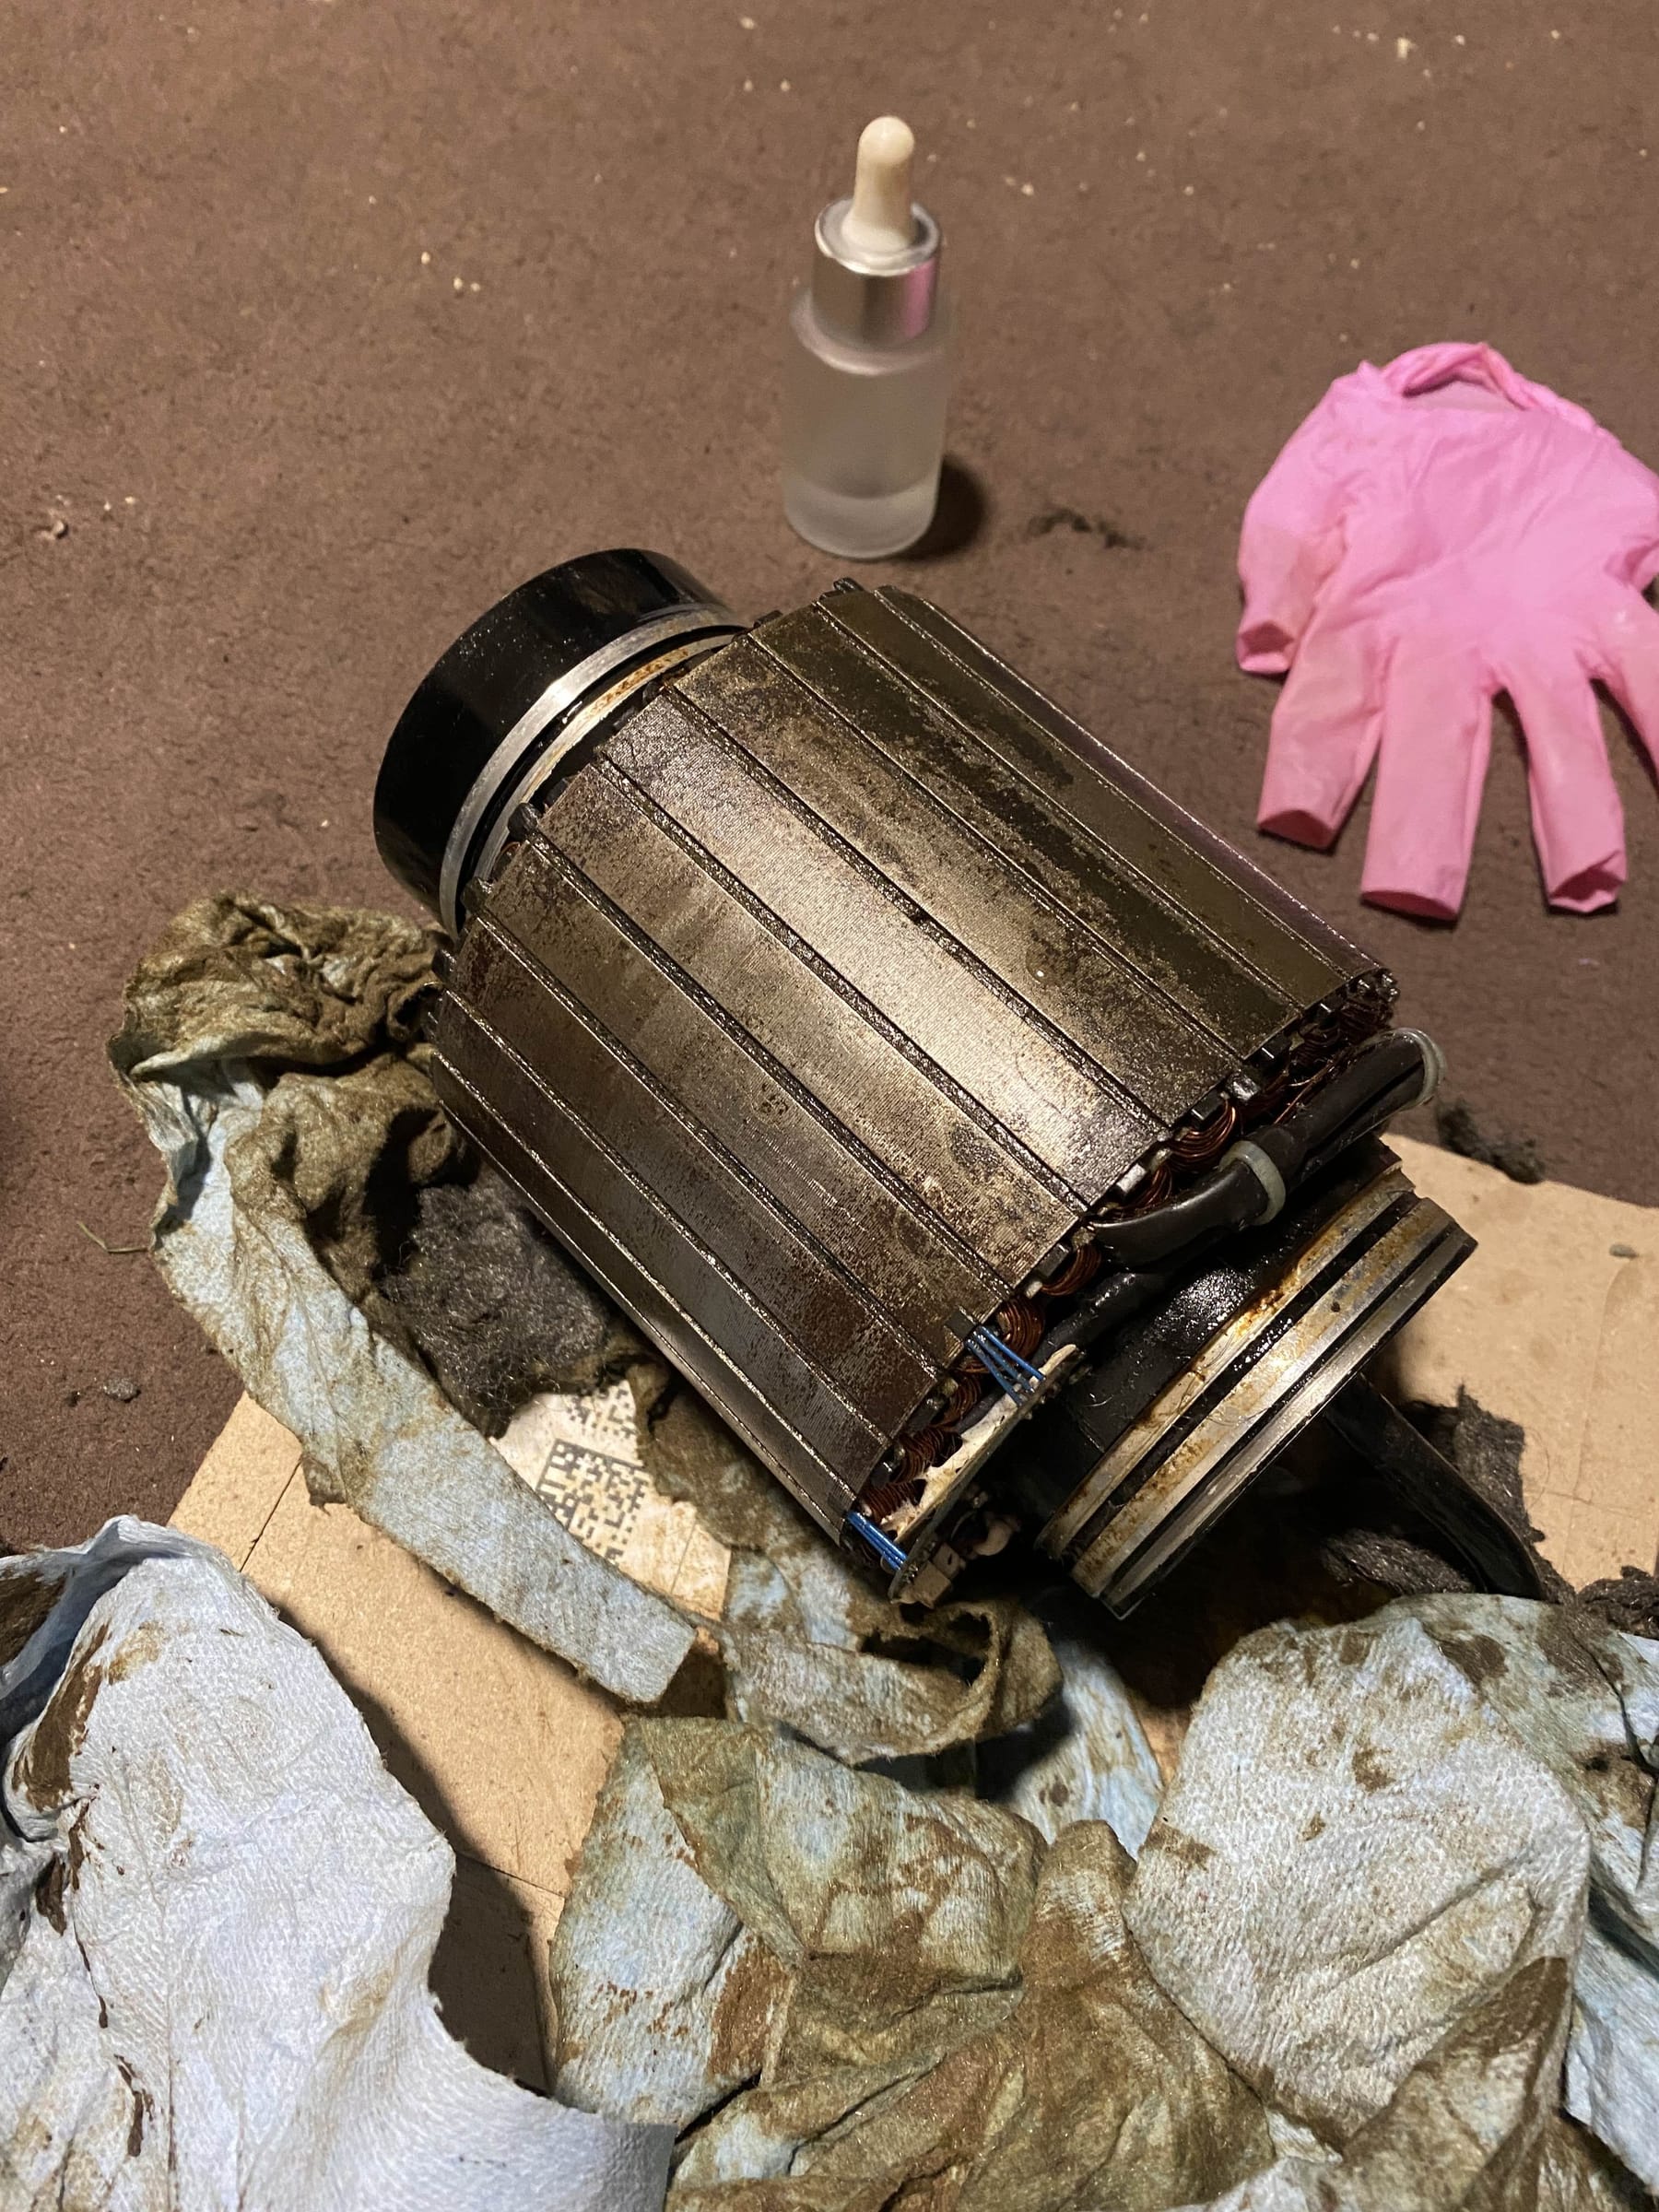
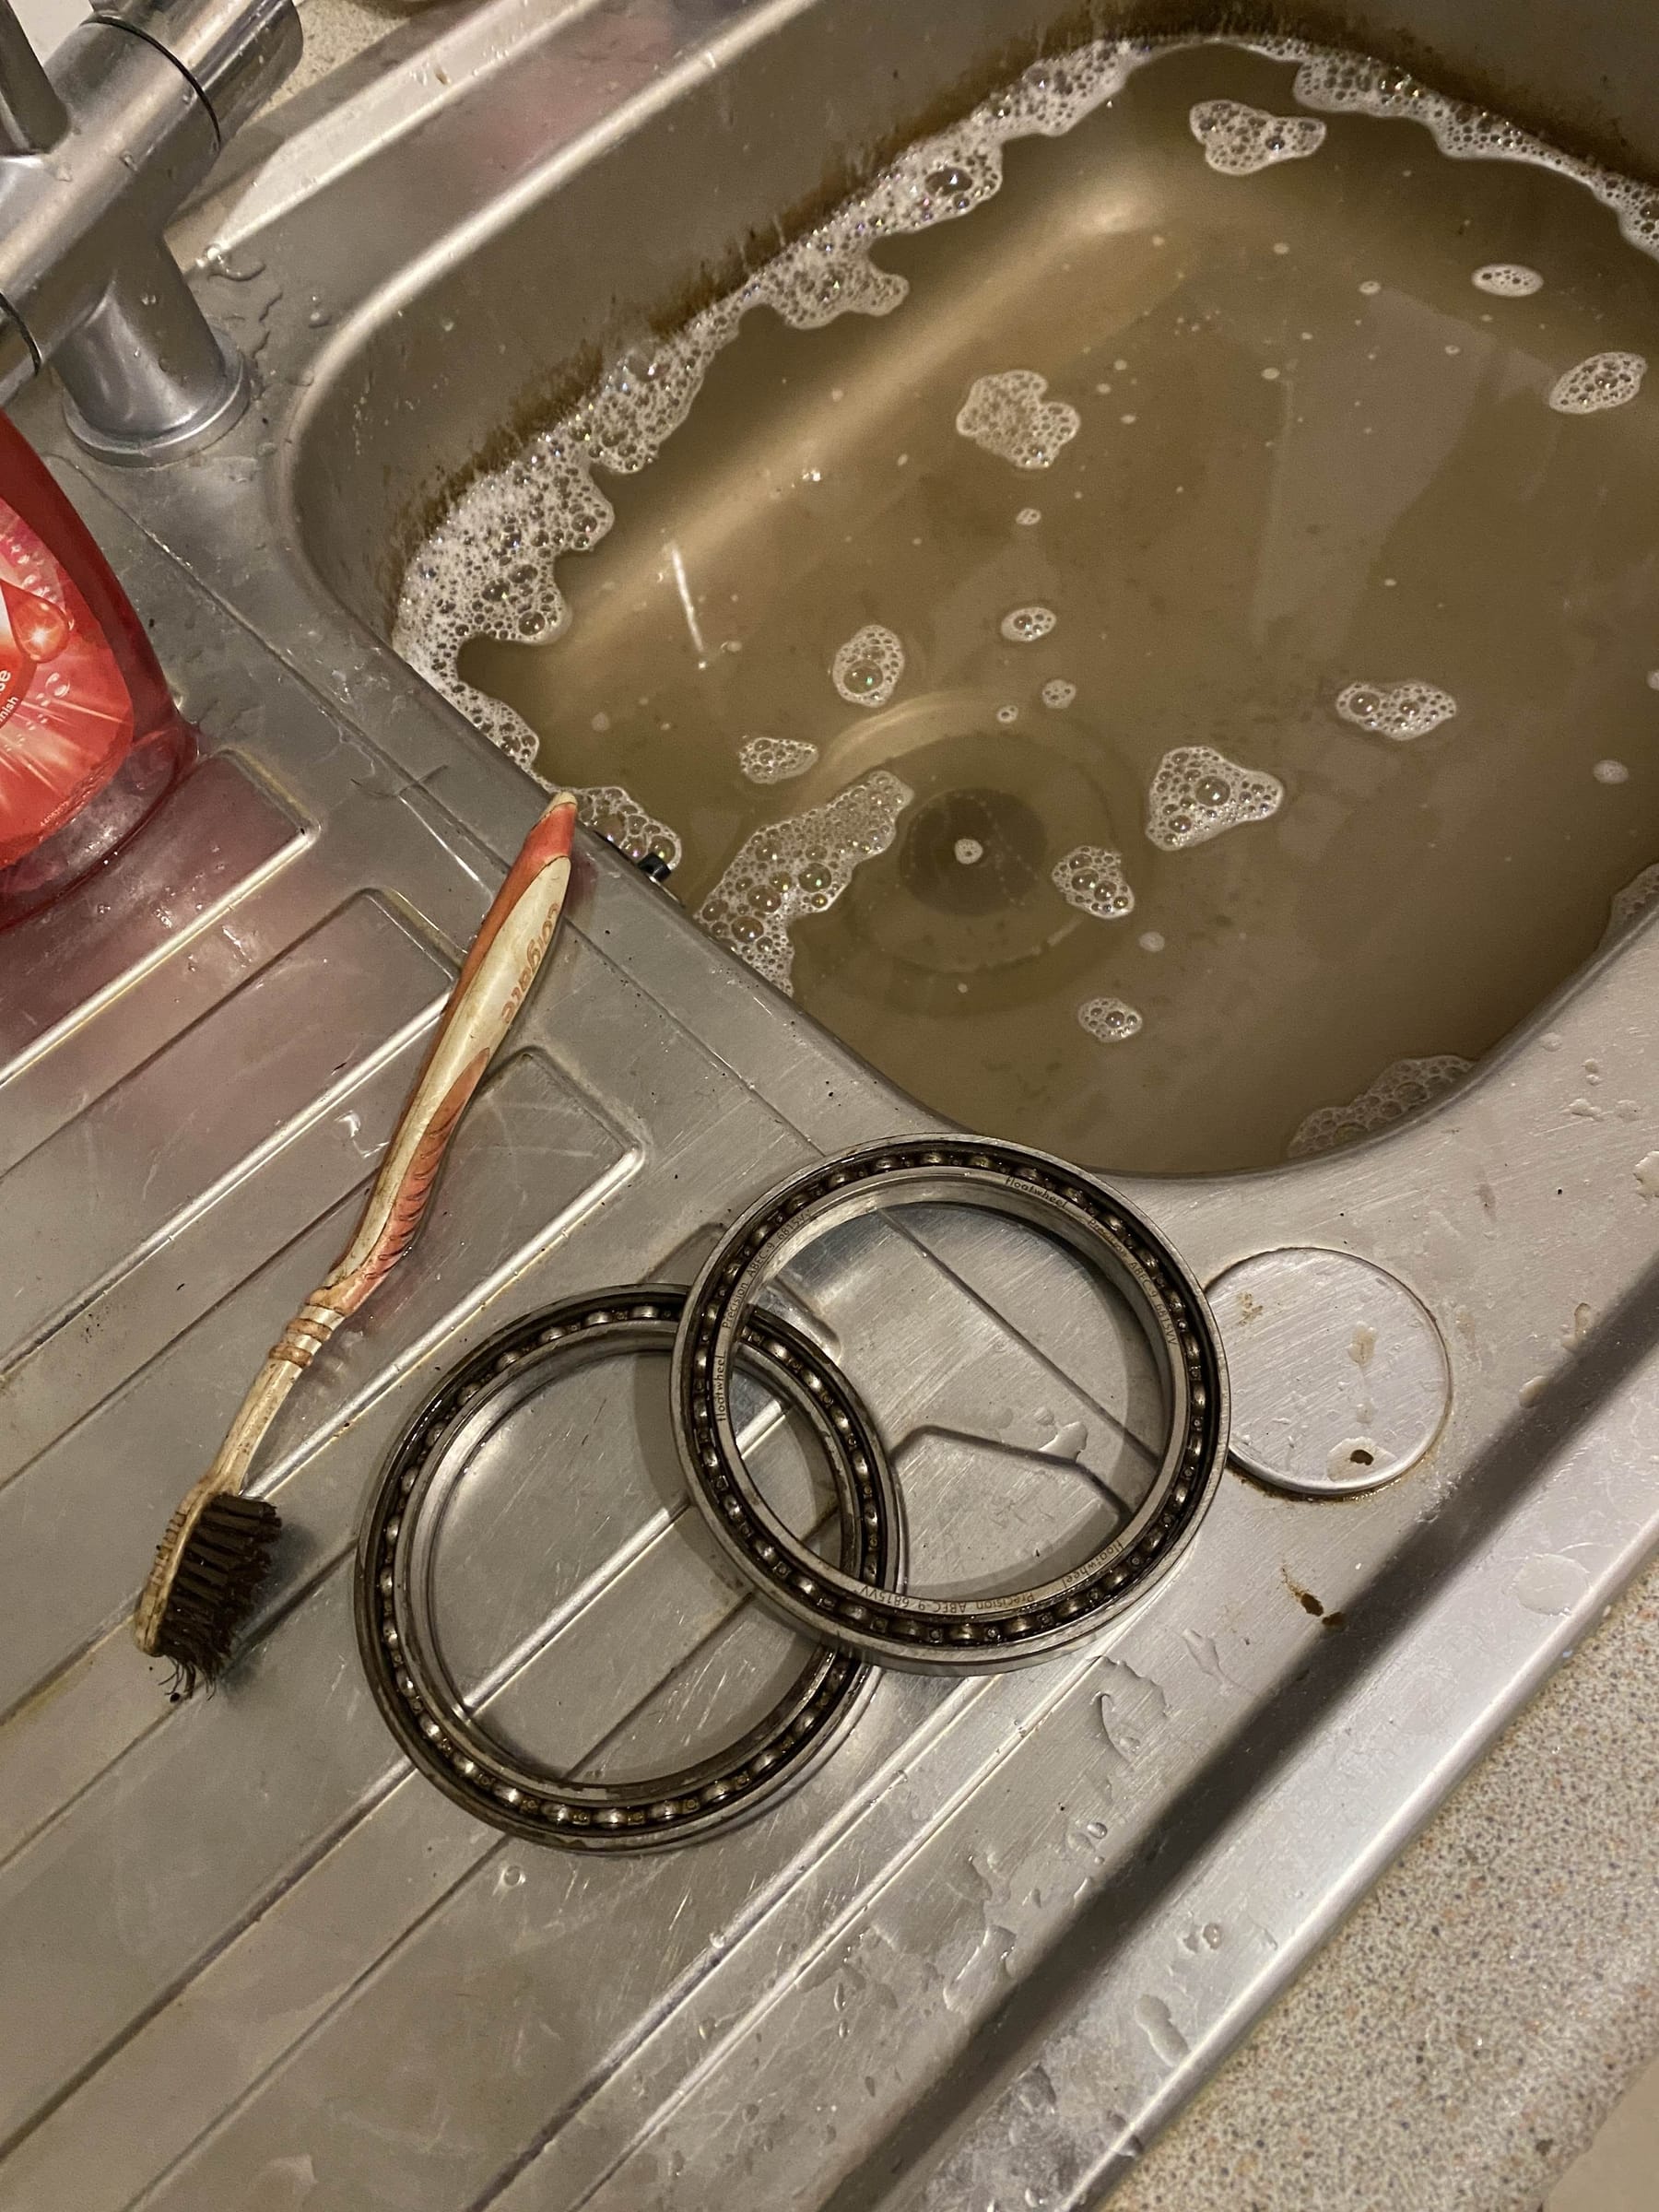
Sadly the motor I ordered wasn't great but I found an even better one and had to strip it down to make custom plates to help mount the hub plates too. Got to crack out my 6ton press to get the bearings off š
Modelled loooads of the board over a weekend and got most of the big bits done. Renders as always look utterly fab!
Controller housing printed perfectly and the controller fits!
As a bonus I cut my own phase brackets and soldered them to check the fit and how hard it might be to do.
I the managed to work on the battery box. Originally I spec'd it for a 6s1p 18650 pack but after some deep pondering of my orb (fusion) I realised I could barely... and I mean barely squeeze another cell and make it 7s1p!
It
Is
Tight!
Those are my test cells. Some dead ones recovered from an old ebike battery that I use for validating CAD. I have ordered some Molicel P28A cells as those have
But with the lid and some rails printed up it all goes together nicely.
And as teased in the pic I managed to replicate the GT Performance Treaded tire š„°
I'm going to print a master of the tire in 2 halves like on the XS. Glue them together, sand and prime so they look smooth then add some sidewall detailing like the Onewheel logo and tire specs.
22 hours later and I have me a mean looking tire to go with the little guy.
I think that covers everything up until now š„°
Apologies for not updating this all here as often. I have been teasing bits over on my insta so feel free to follow and get those as I post them ^-^ otherwise the more detailed process shall remain here!