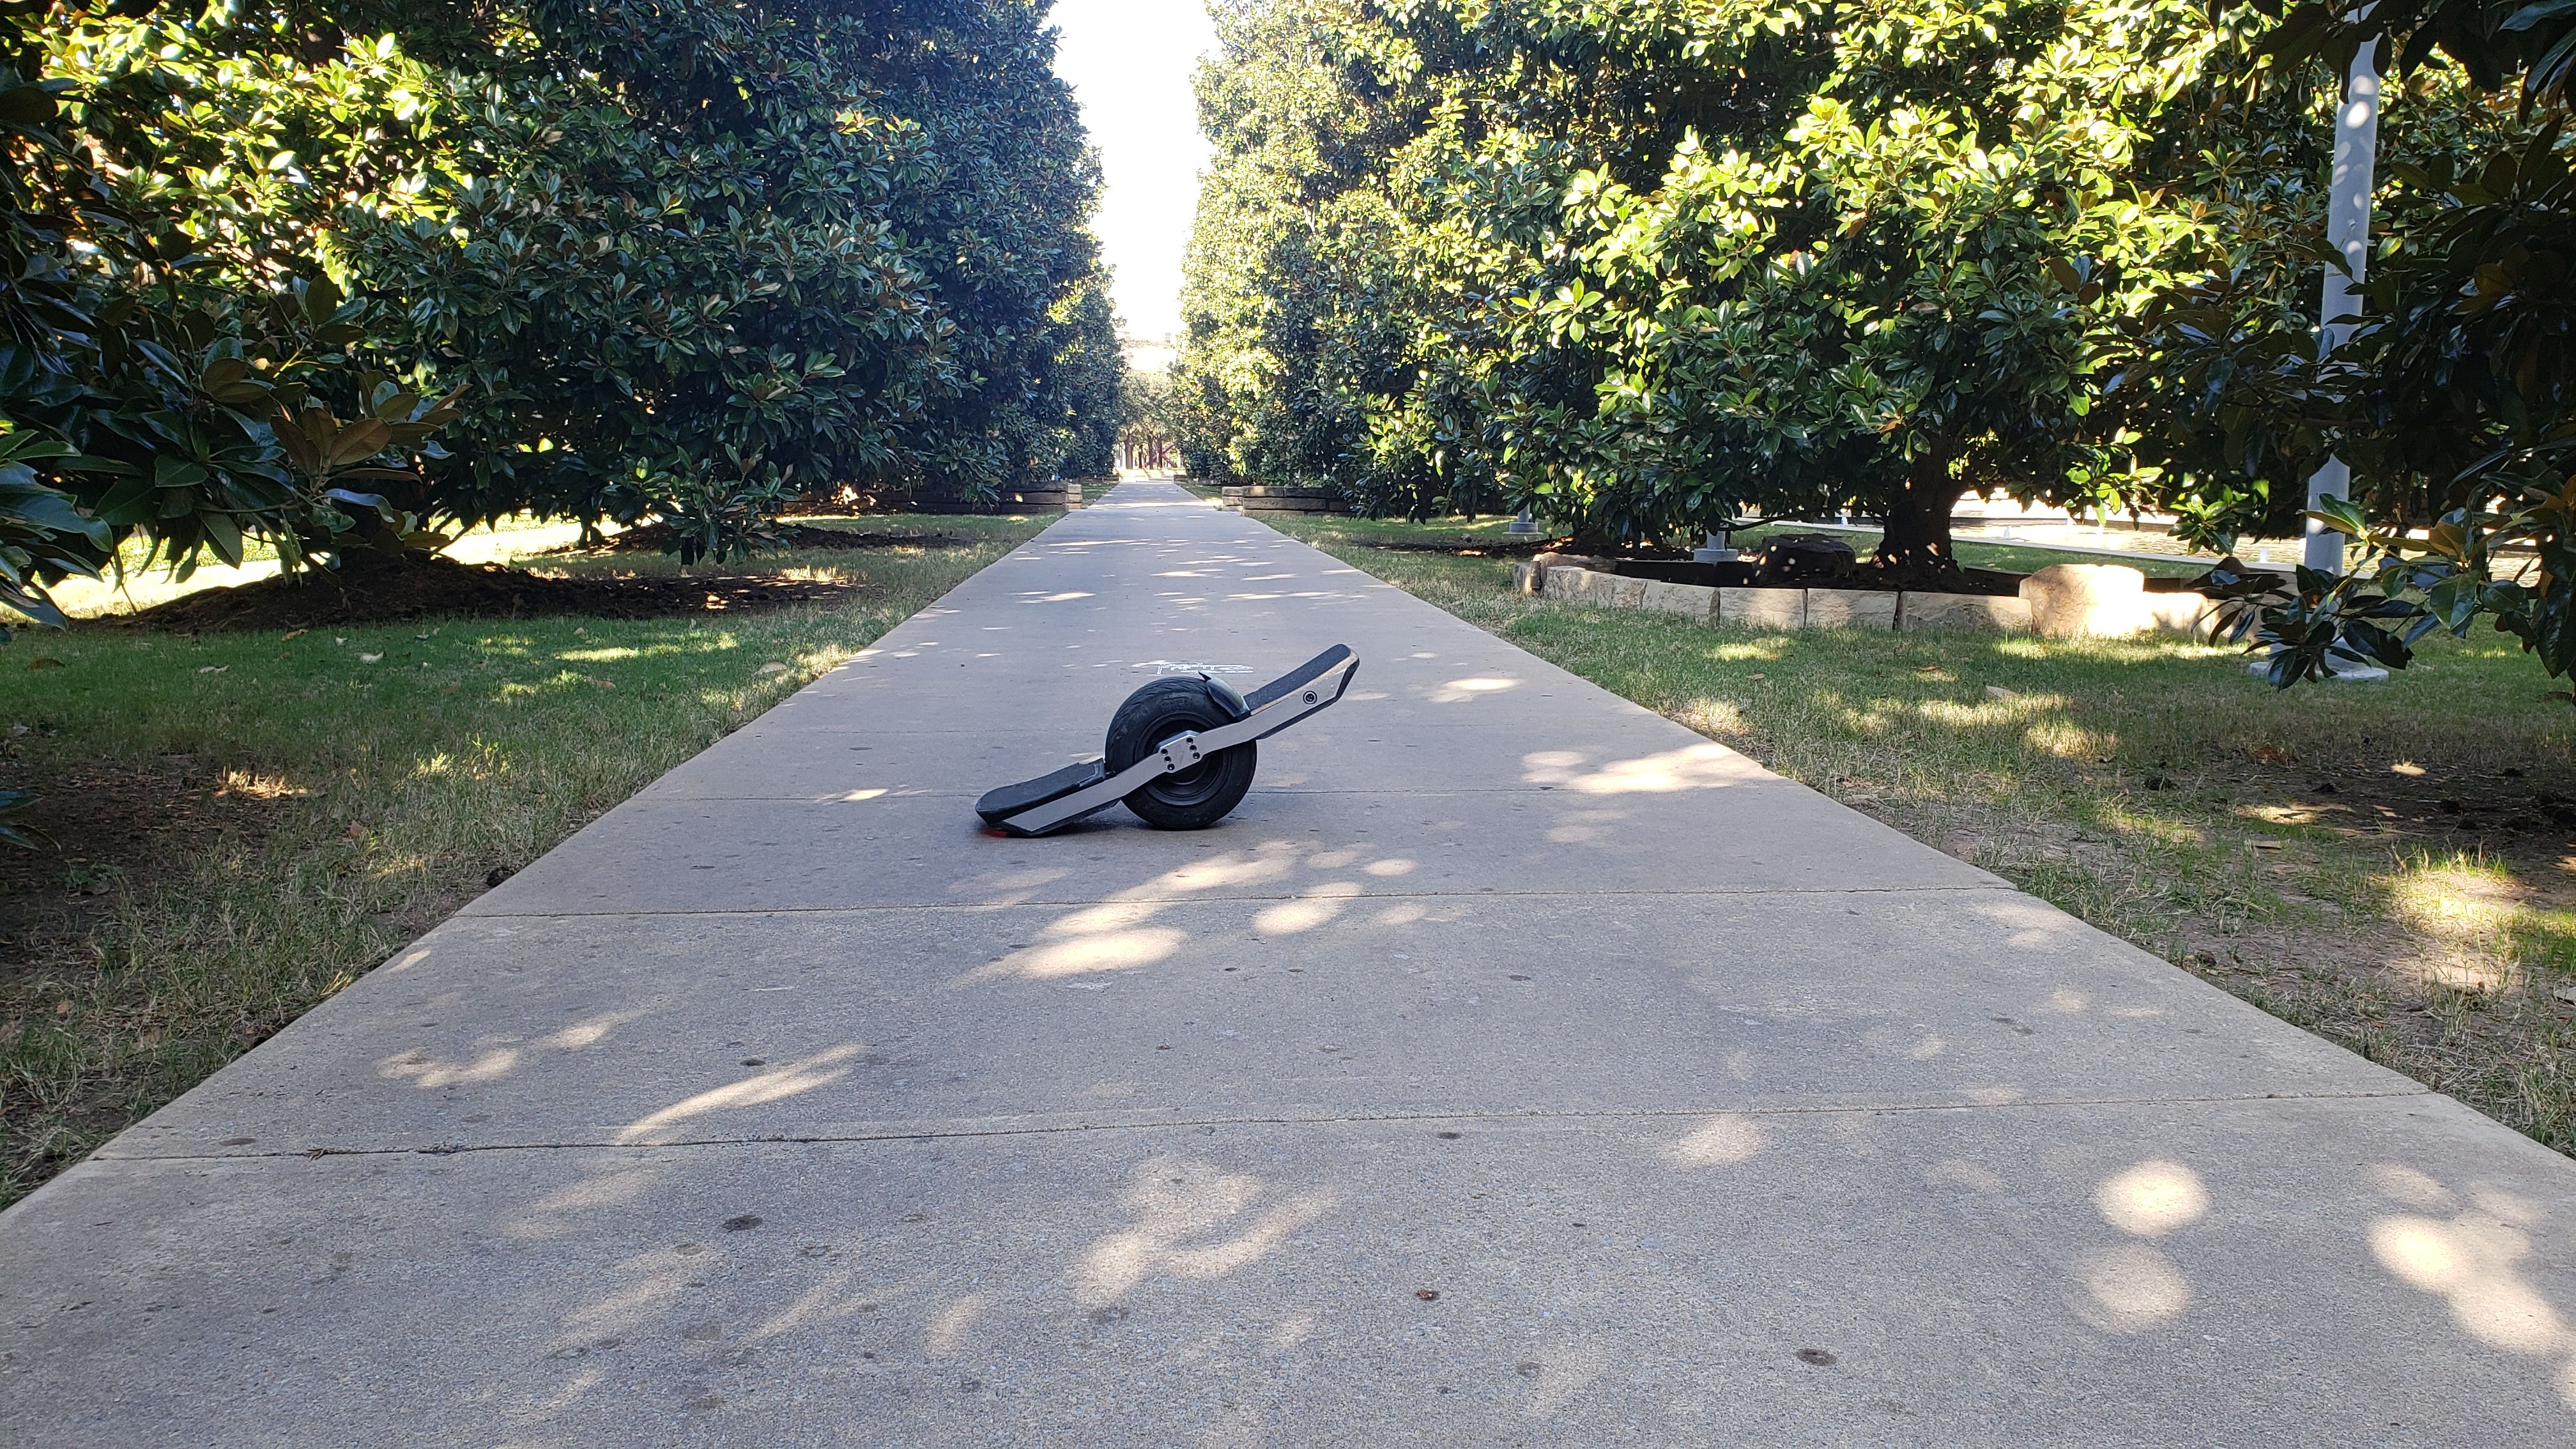
Pictute of my board on the local UTD campus
Beautiful campus, though the campus life is pretty dead

Pictute of my board on the local UTD campus
Beautiful campus, though the campus life is pretty dead
https://youtu.be/oczYnzF2Zm8?si=2m8amR5cWaZbvmCO
I saw this today.
I'm not sure if I'm going mad or what but...
damn.
Guess who's back!
so my parents bought me a 18S2P battery from the BoardGarage that runs off of 50s cells. They also got my an accompanying charger and thr XLITE-V3.
Spent all day setting it up, and it works!... after I accidentally plugged it into the stock harnesses reverse polarized connector. Had to replace the XT-60 on both the battery and the harness
gonna rip her around the neighborhood this morning, I'm excited
I'm getting the hang of the art of "going up curbs"
Super excited, just need to get it down and become more consistent
Curbs are no longer a obstacle, only a mere pebble. Next is stairs, then after that. . .
Run
Time for a Onewheel update!

(The school doesn't lock the gate to the track, so I ususally go there at night to ride around. The ground on the track makes my tire act weird, but it is fun acting like your racing other people!)
The onewheel XR has been treating me well so far! It has turned from a cool toy to a tool in my life. My bike I have is good for getting to walmart and such, but bad for getting to classes due to it's footprint and how people congest both the sidewalks and the roads (No, seriously. People just walk in the middle of the street. It's dumb.) and the onewheel, with a massive speed reduction lets me weave past people if I have enough space.
The onewheel currently has stock everything except bumpers, tire (provided by @OneDanGT (Thanks man!)) and rear footpad. Next on the list is life savers for my rims because I ride this thing like a psycho at night or when there's lots of space and I'm going to start to learn tricks. The badger provided by @S-Leon (thanks man!) will be installed this week as well. I will try to design clips to attatch the LED strip to it.
Down the road, I will look into a battery upgrade, and finally either new rails or maybe even a VESC. After that, I'll water proof the board and I should be done with it for a long while!
Also, it's icing outside so that is going to severely limit my riding time. Ice isn't as hard as I thought, but braking with the bumper causes the onewheel to slide, and turning sometimes feels wack.
@lia The only thing I can really say is that whining doesn't really help anything, and it's better to look on the bright side.
I remember hearing something like it takes more energy to frown than to smile.
But thank you for making the forum in the first place! I wouldn't have a onewheel without you guys!
went on a trip in Colorado, brought Warstick with me
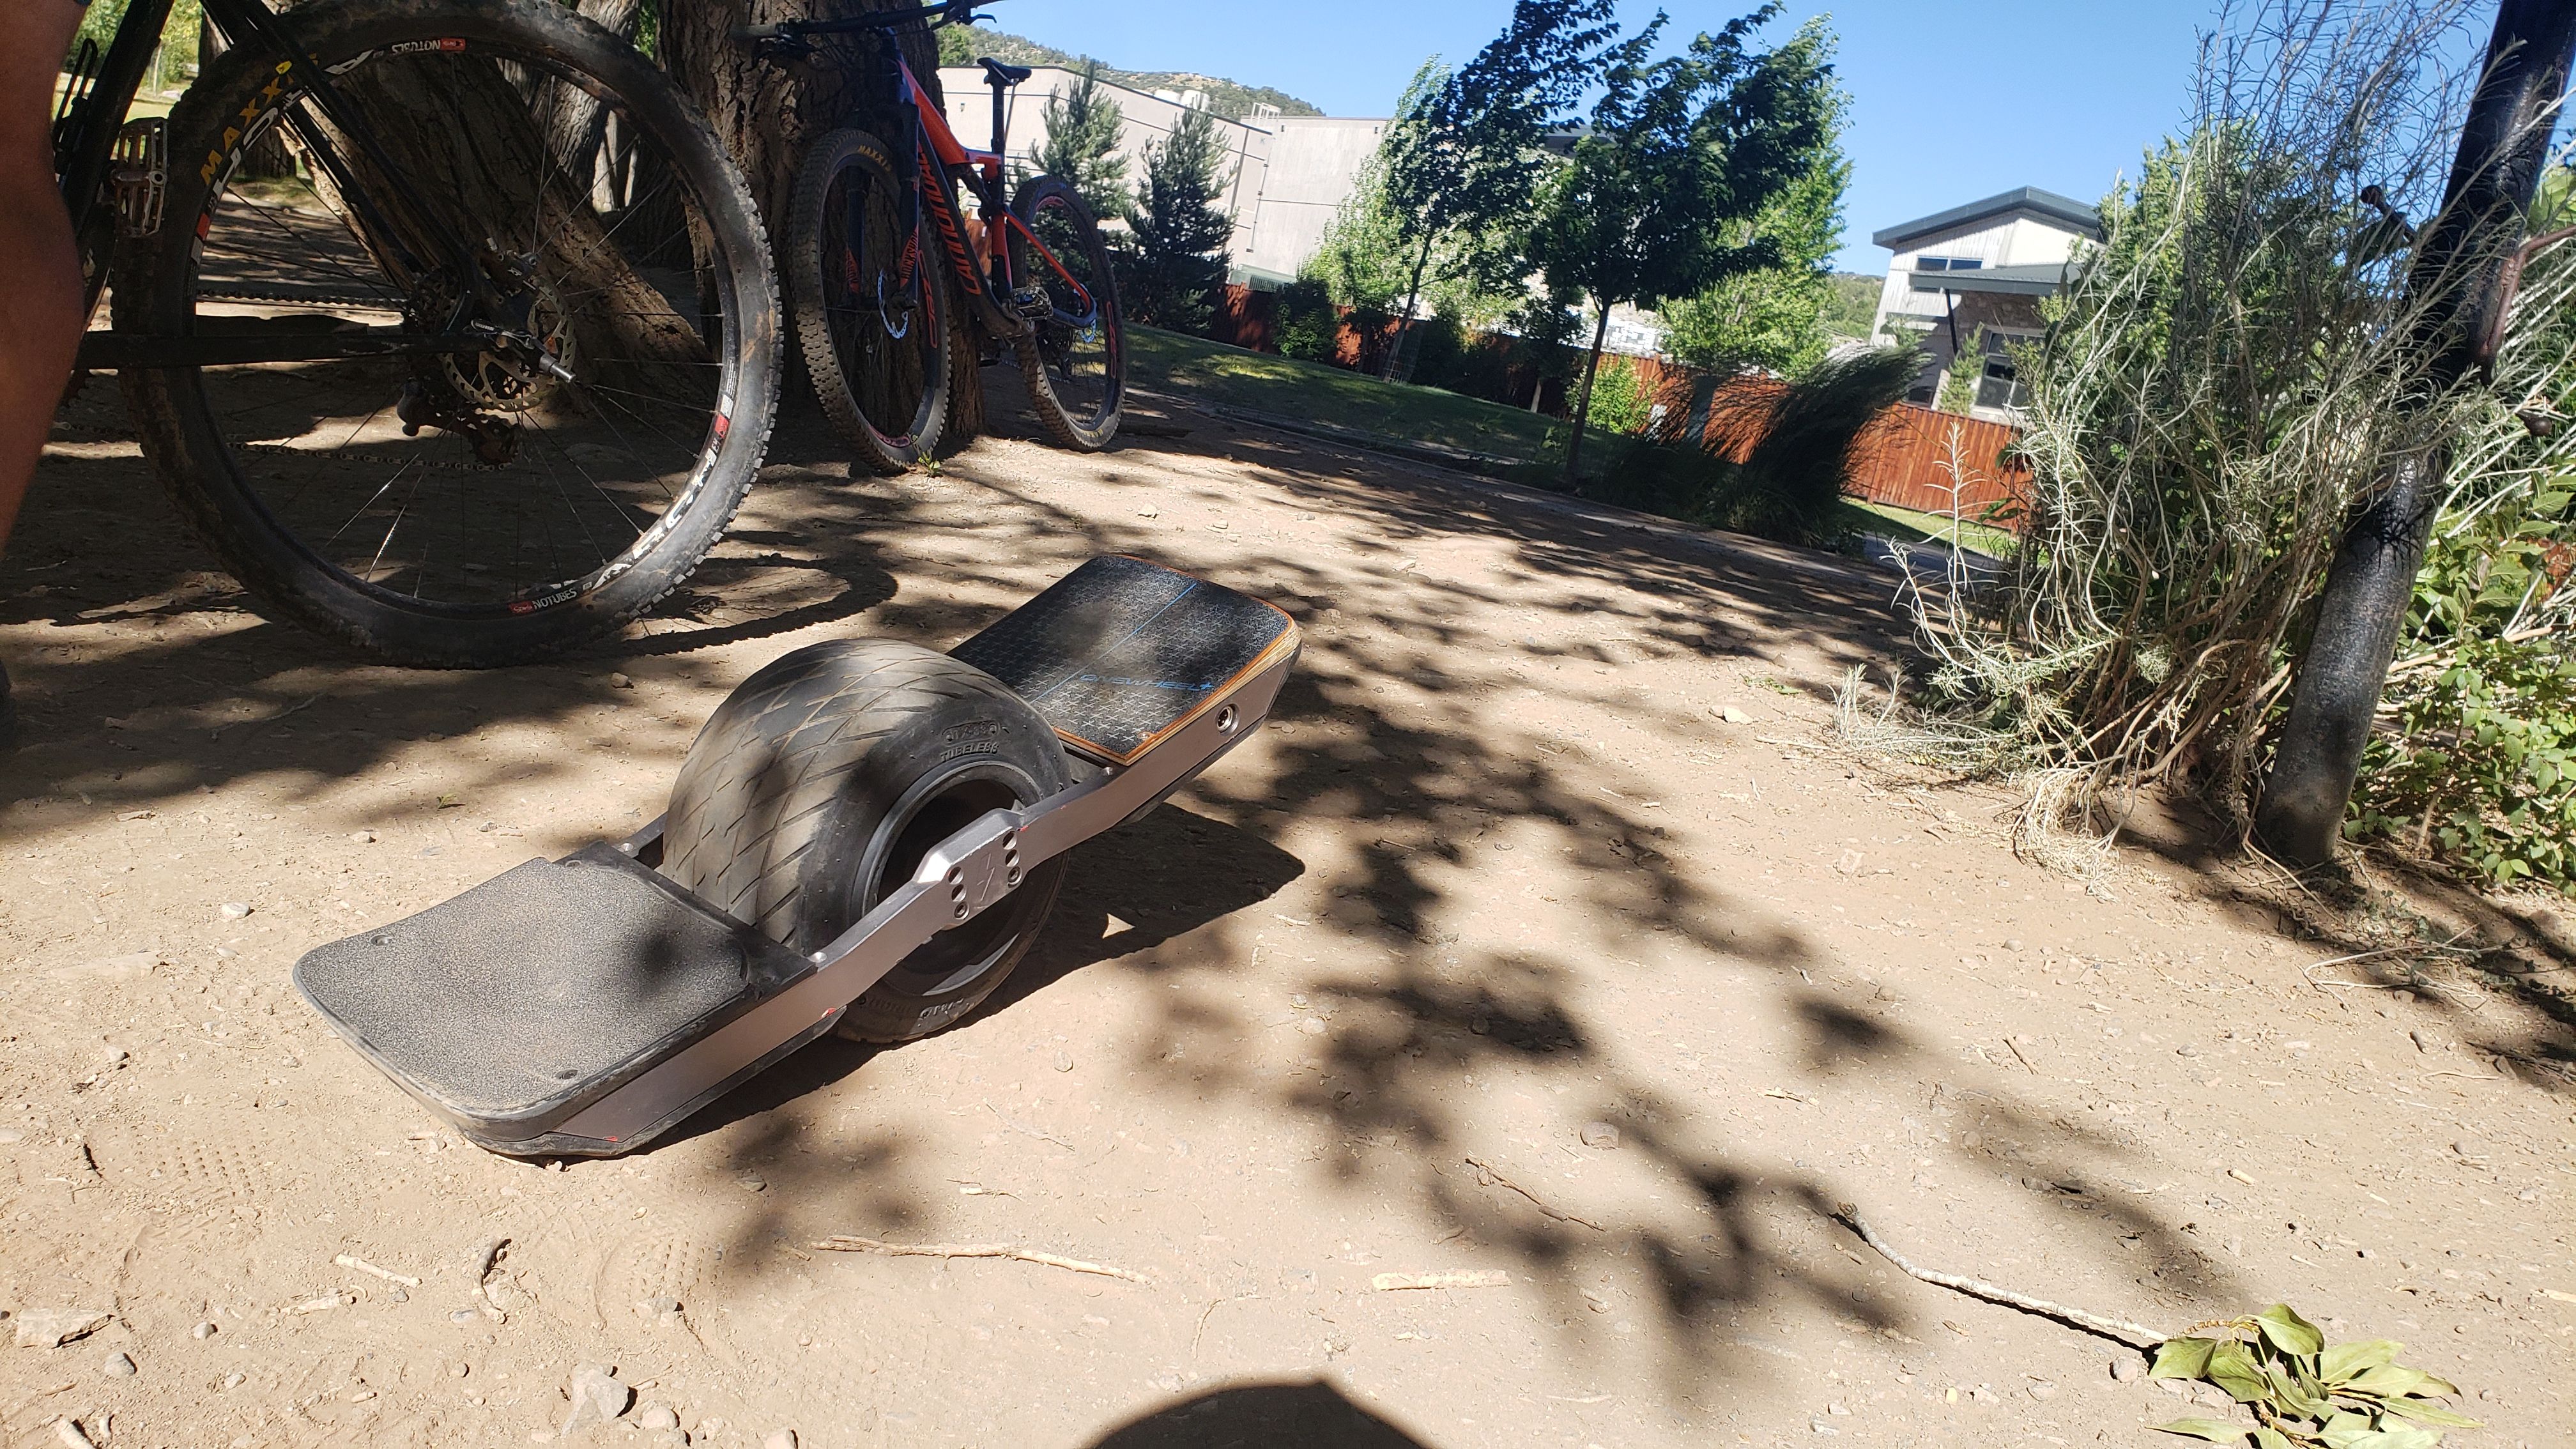
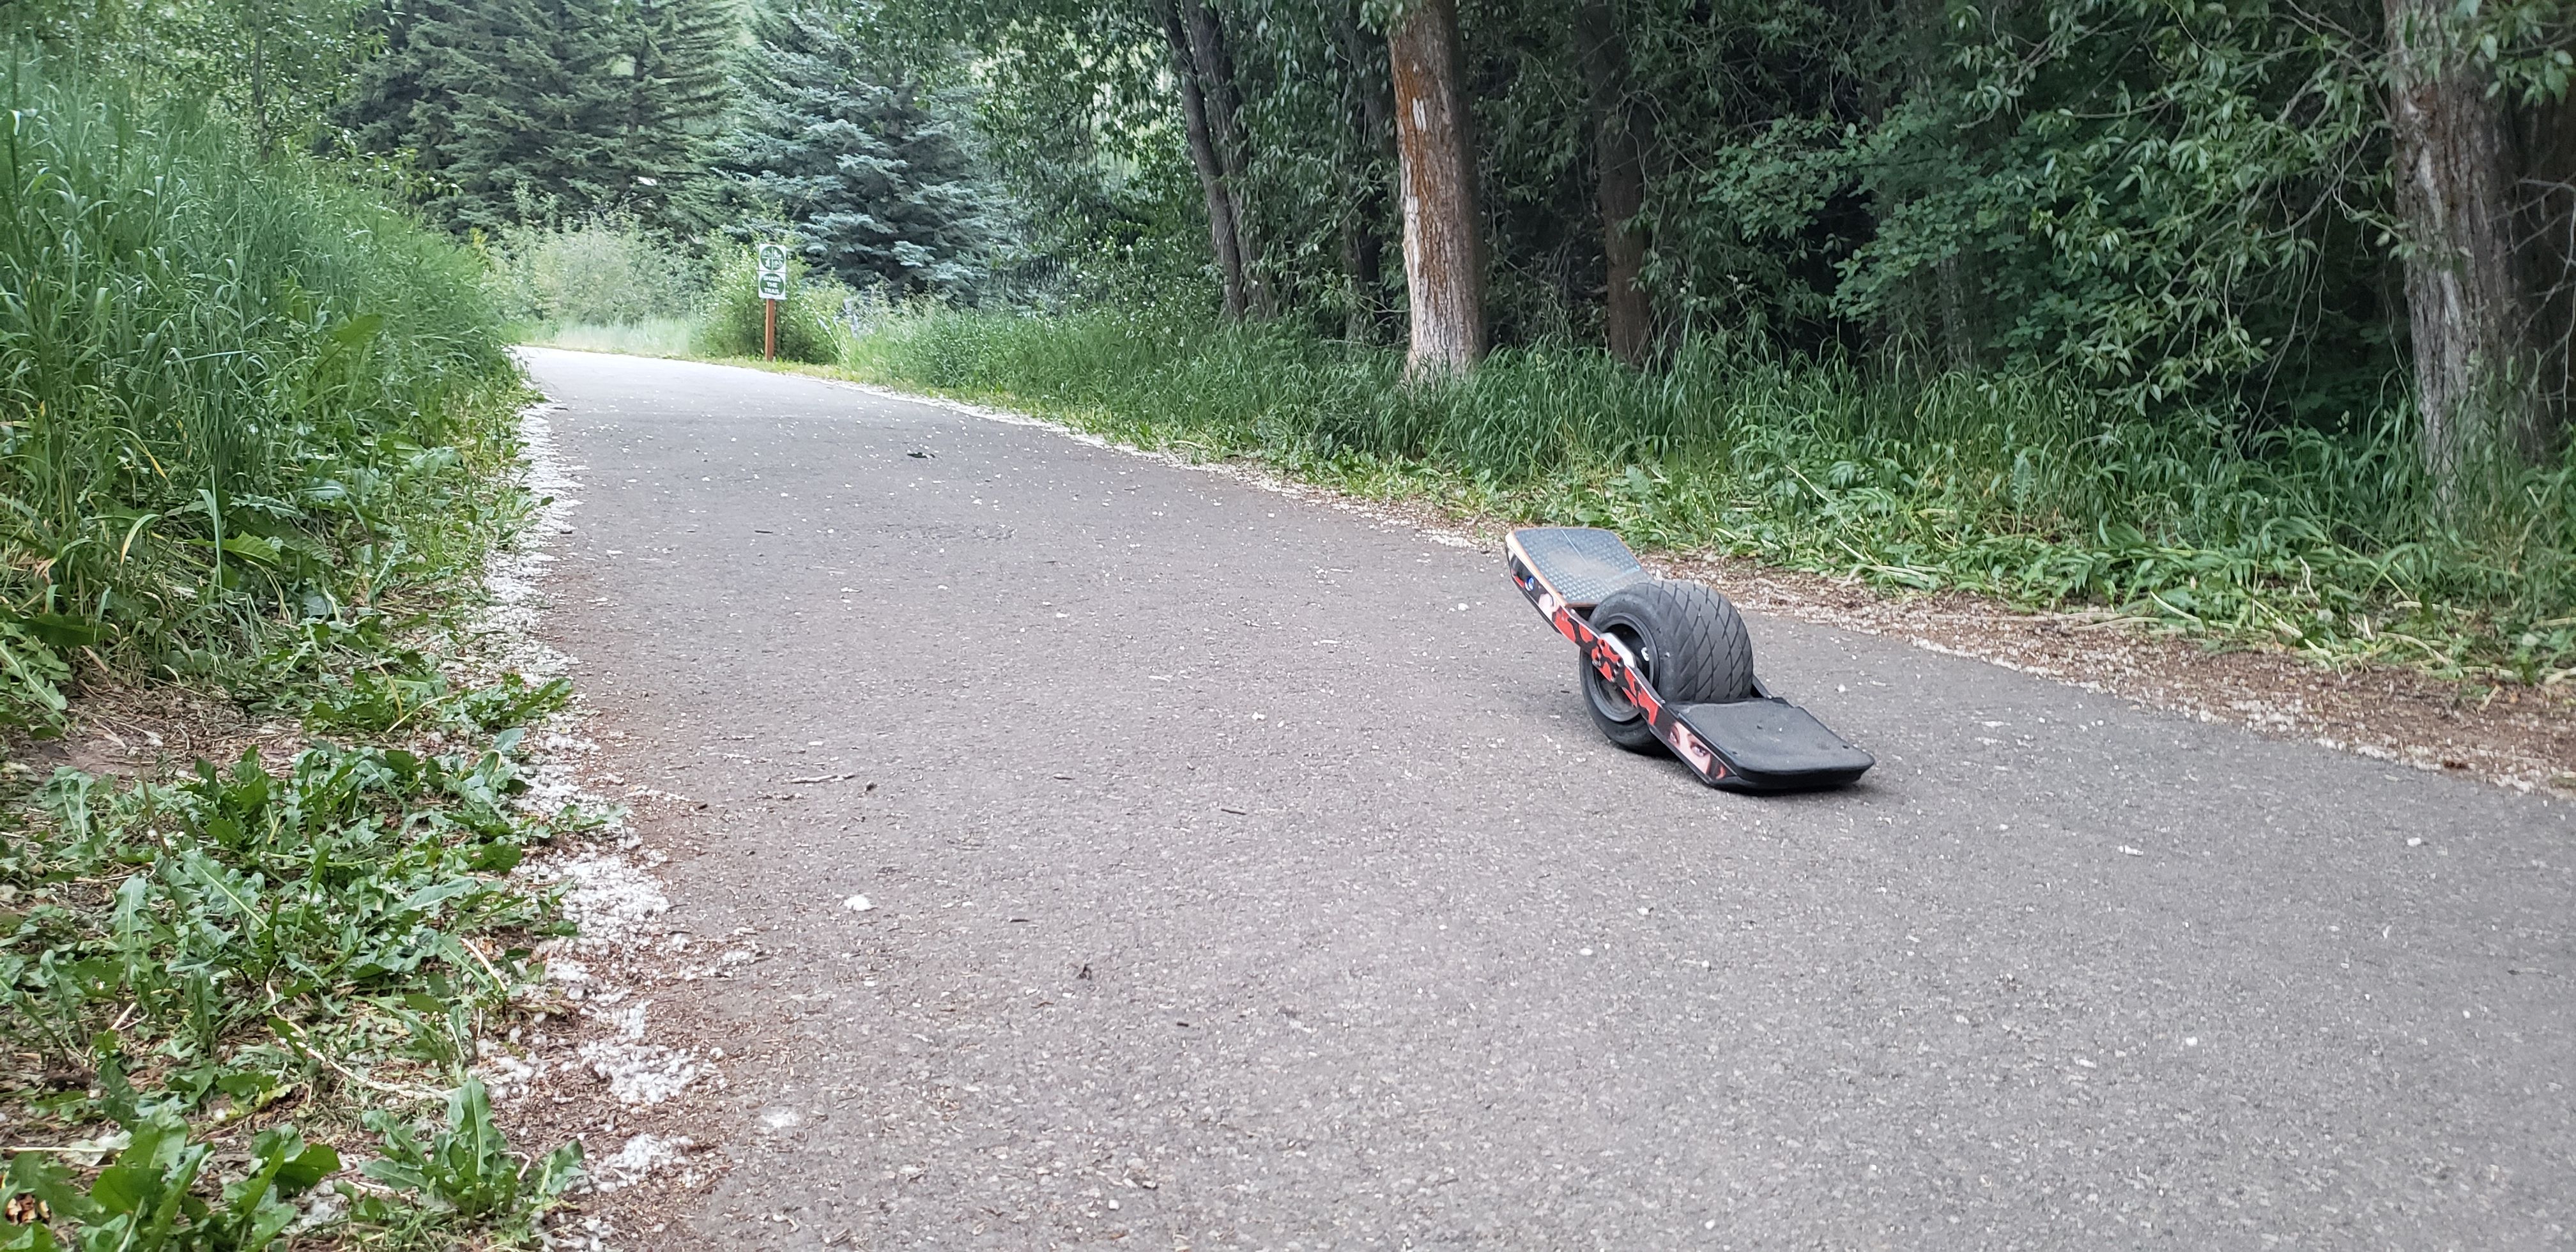
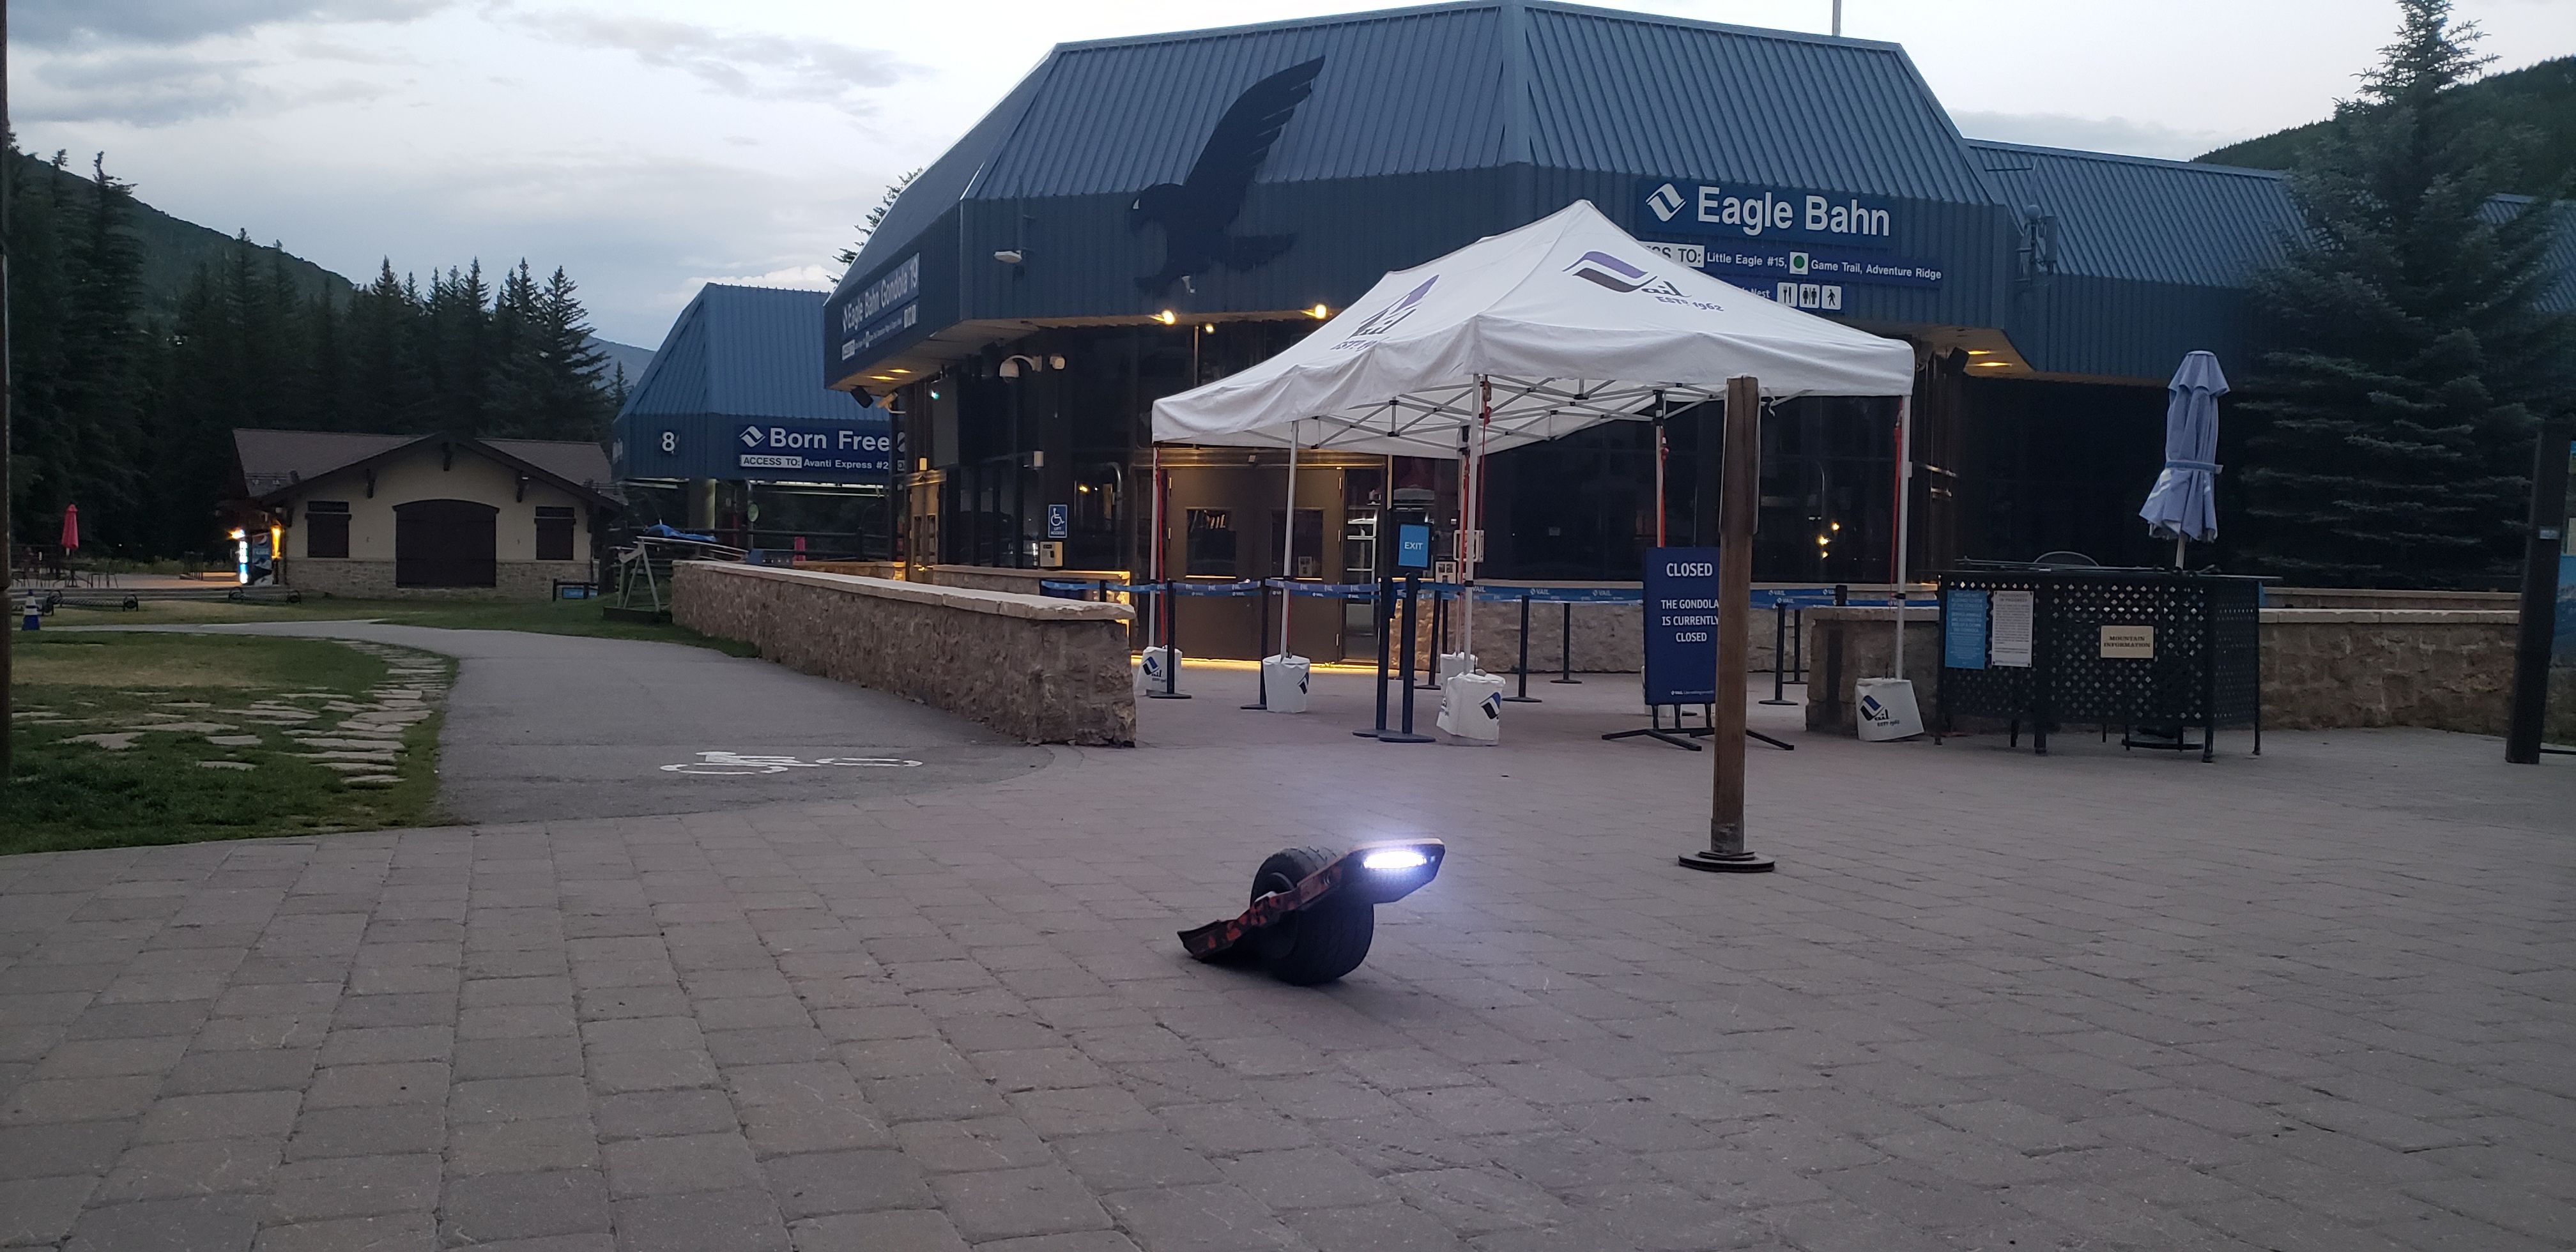
So my mom decided that she wanted a Onewheel so she could ride with me
however, she didn't want to break the bank and wanted something easy, so I helped her find a used Pint.
We got lucky, and found one that had 114 miles at 600 dollars. we got even luckier, as I found out the battery had been replaced right before I picked it off of the guy I bought it off of, so we basically had a steal.
Going to be teaching her how to ride it, but I'm not going to let her near my VESC (Warstick) as it has some problems and I need to fix a couple of things on it
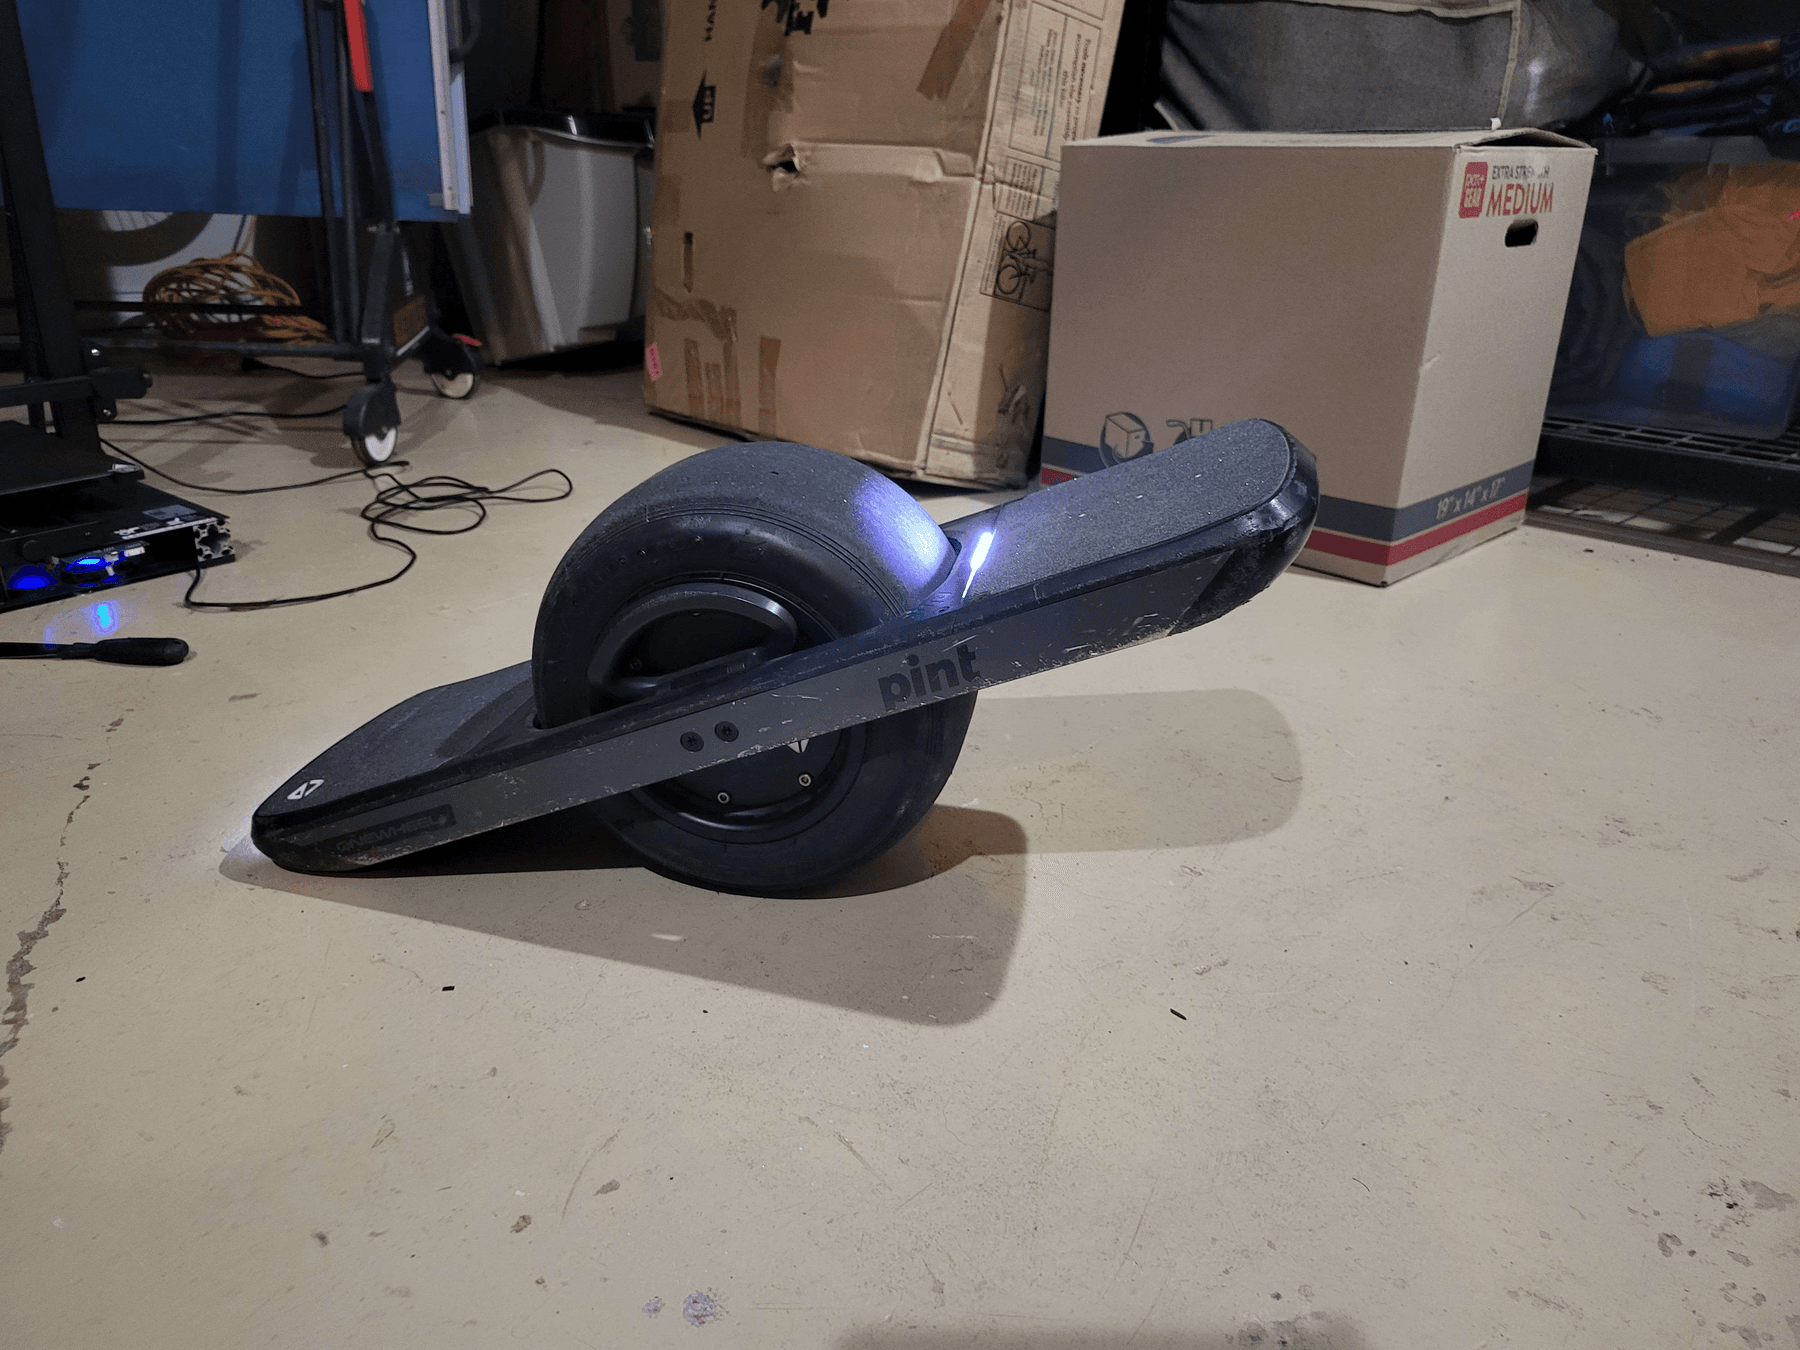
We'll keep it stock, and probably by Christmas depending on how much she uses it, I might give her floatplates and a new tire

I'm in the top 100 now
i'M cOmInG fOr ThE tOp SpOt
So, after a while of riding the stock VEGA, I started to feel like I could go for a different tire. The VEGA was nice, but going on group rides in DFW, I tired the other boards and noticed how better their tires and preformance was.
I mentioned in a previous post that I was thinking of getting a new tire, when @OneDanGT went into DMs and mentioned that he had a spare Treaded Burris tire. Lightly used, and all I would need to do is pay for shipping.
Cut to yesterday, when the tire arrived. We begin the process of getting the OW. I got my old Sony boombox I hard mostly restored, plugged my iPod Video into it and listened to tunes as I watched thr TFL video on the tire change.
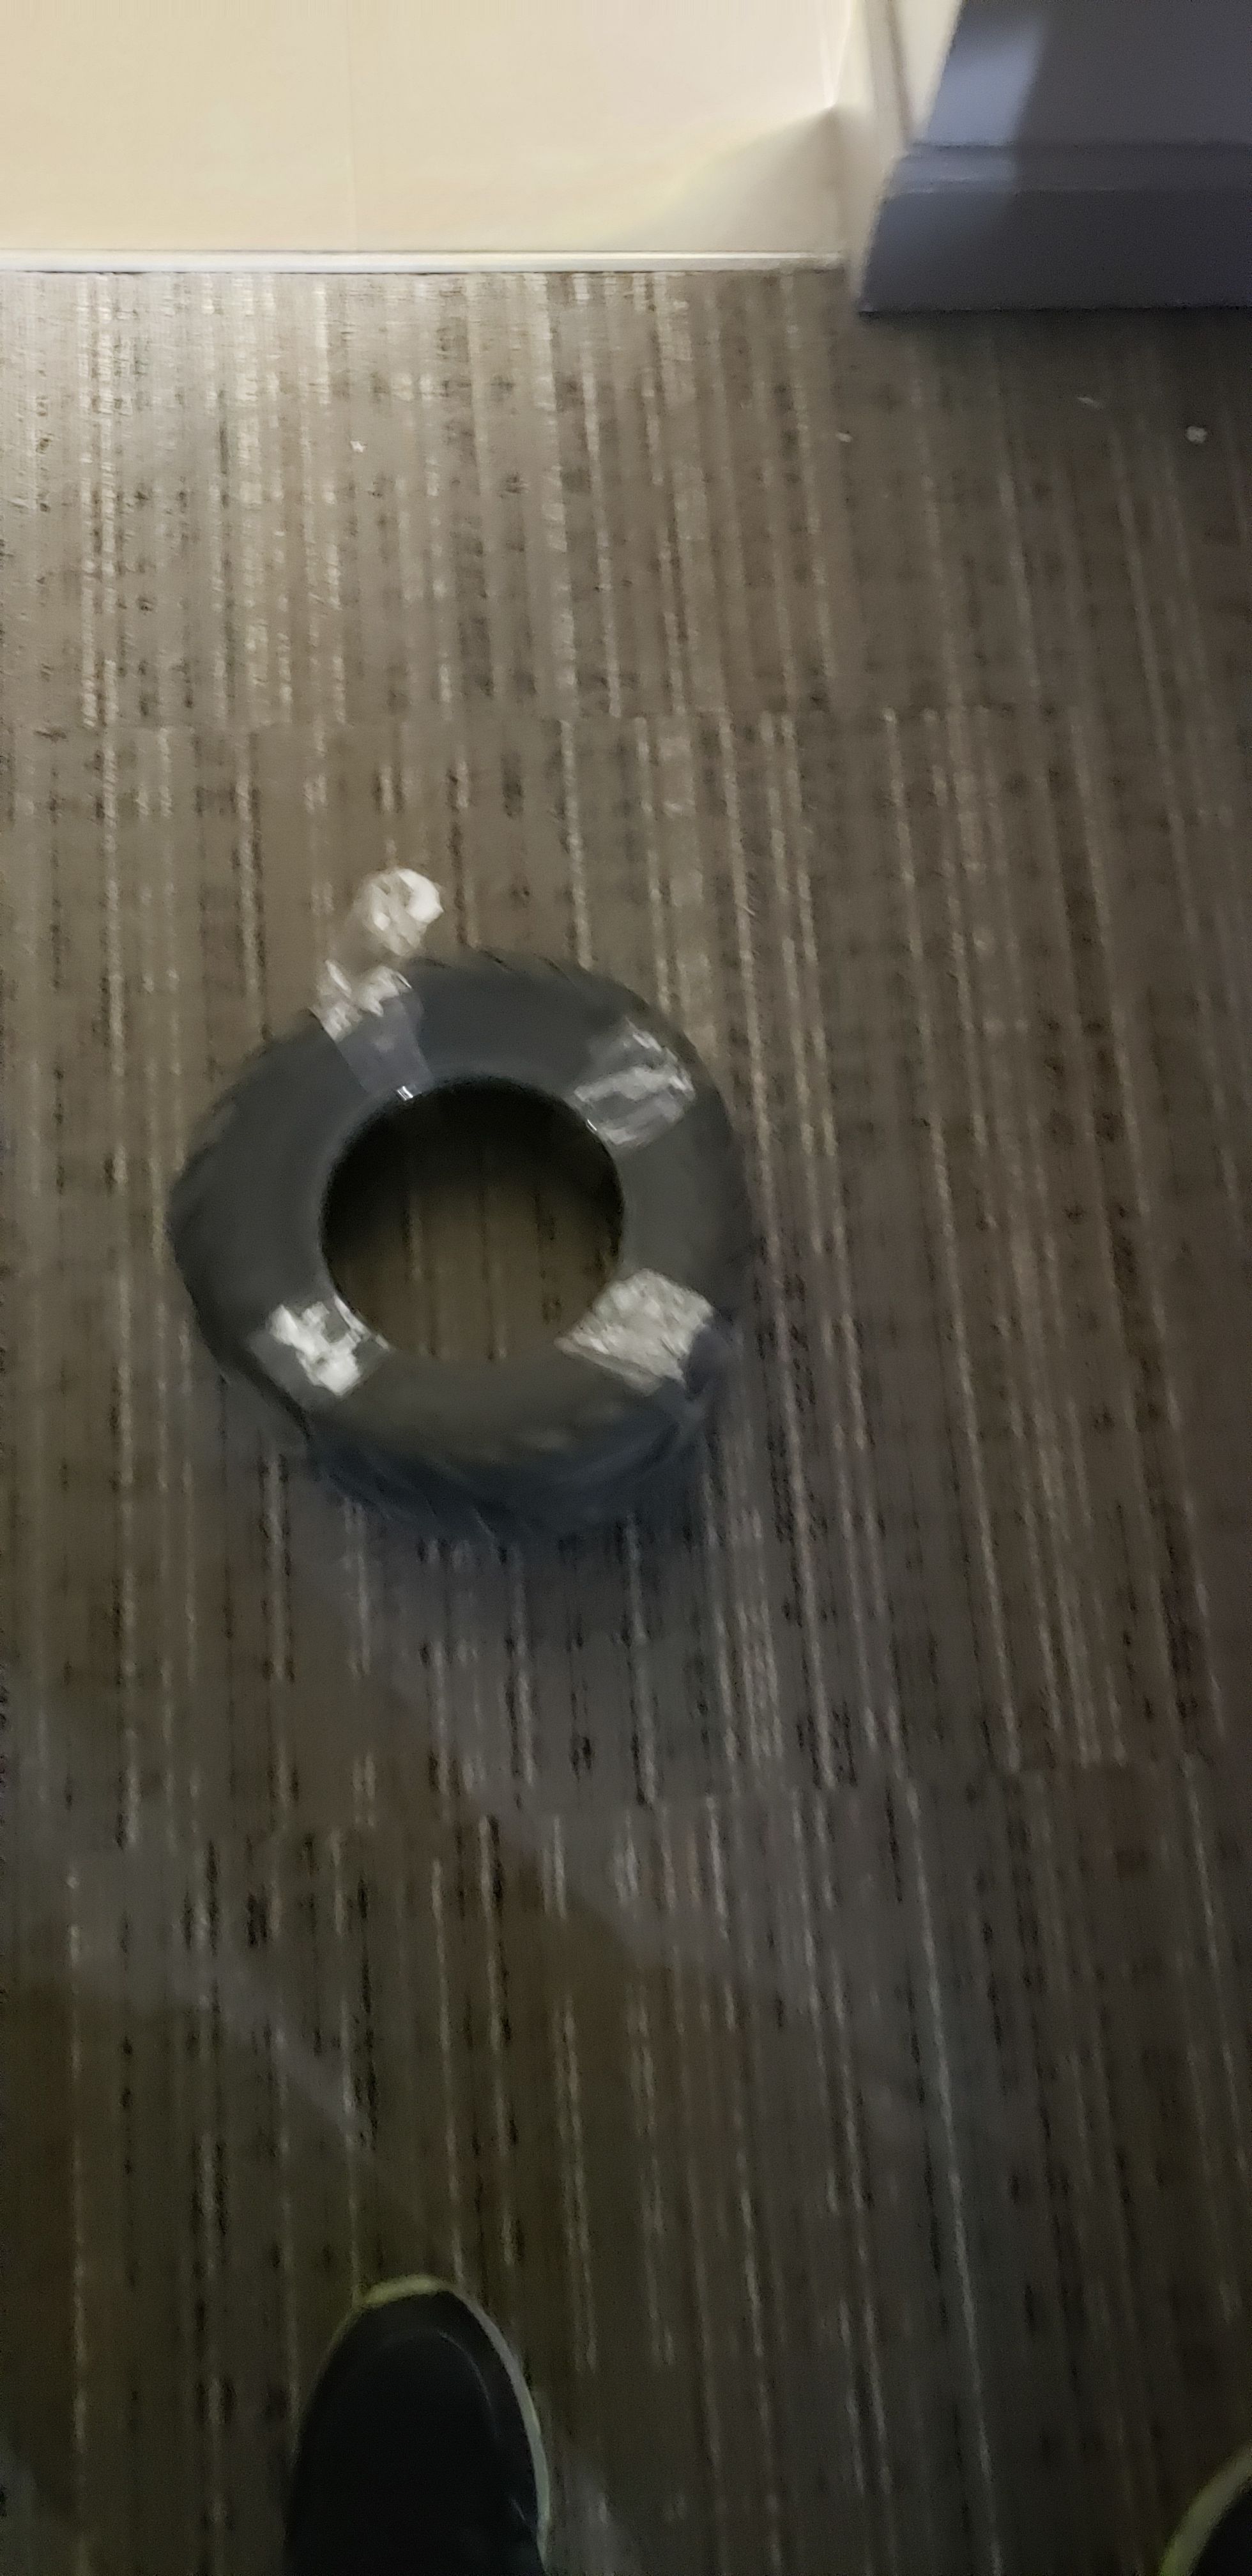
New tire! Just had to go and free it from its taped uo shape and let it fold out.
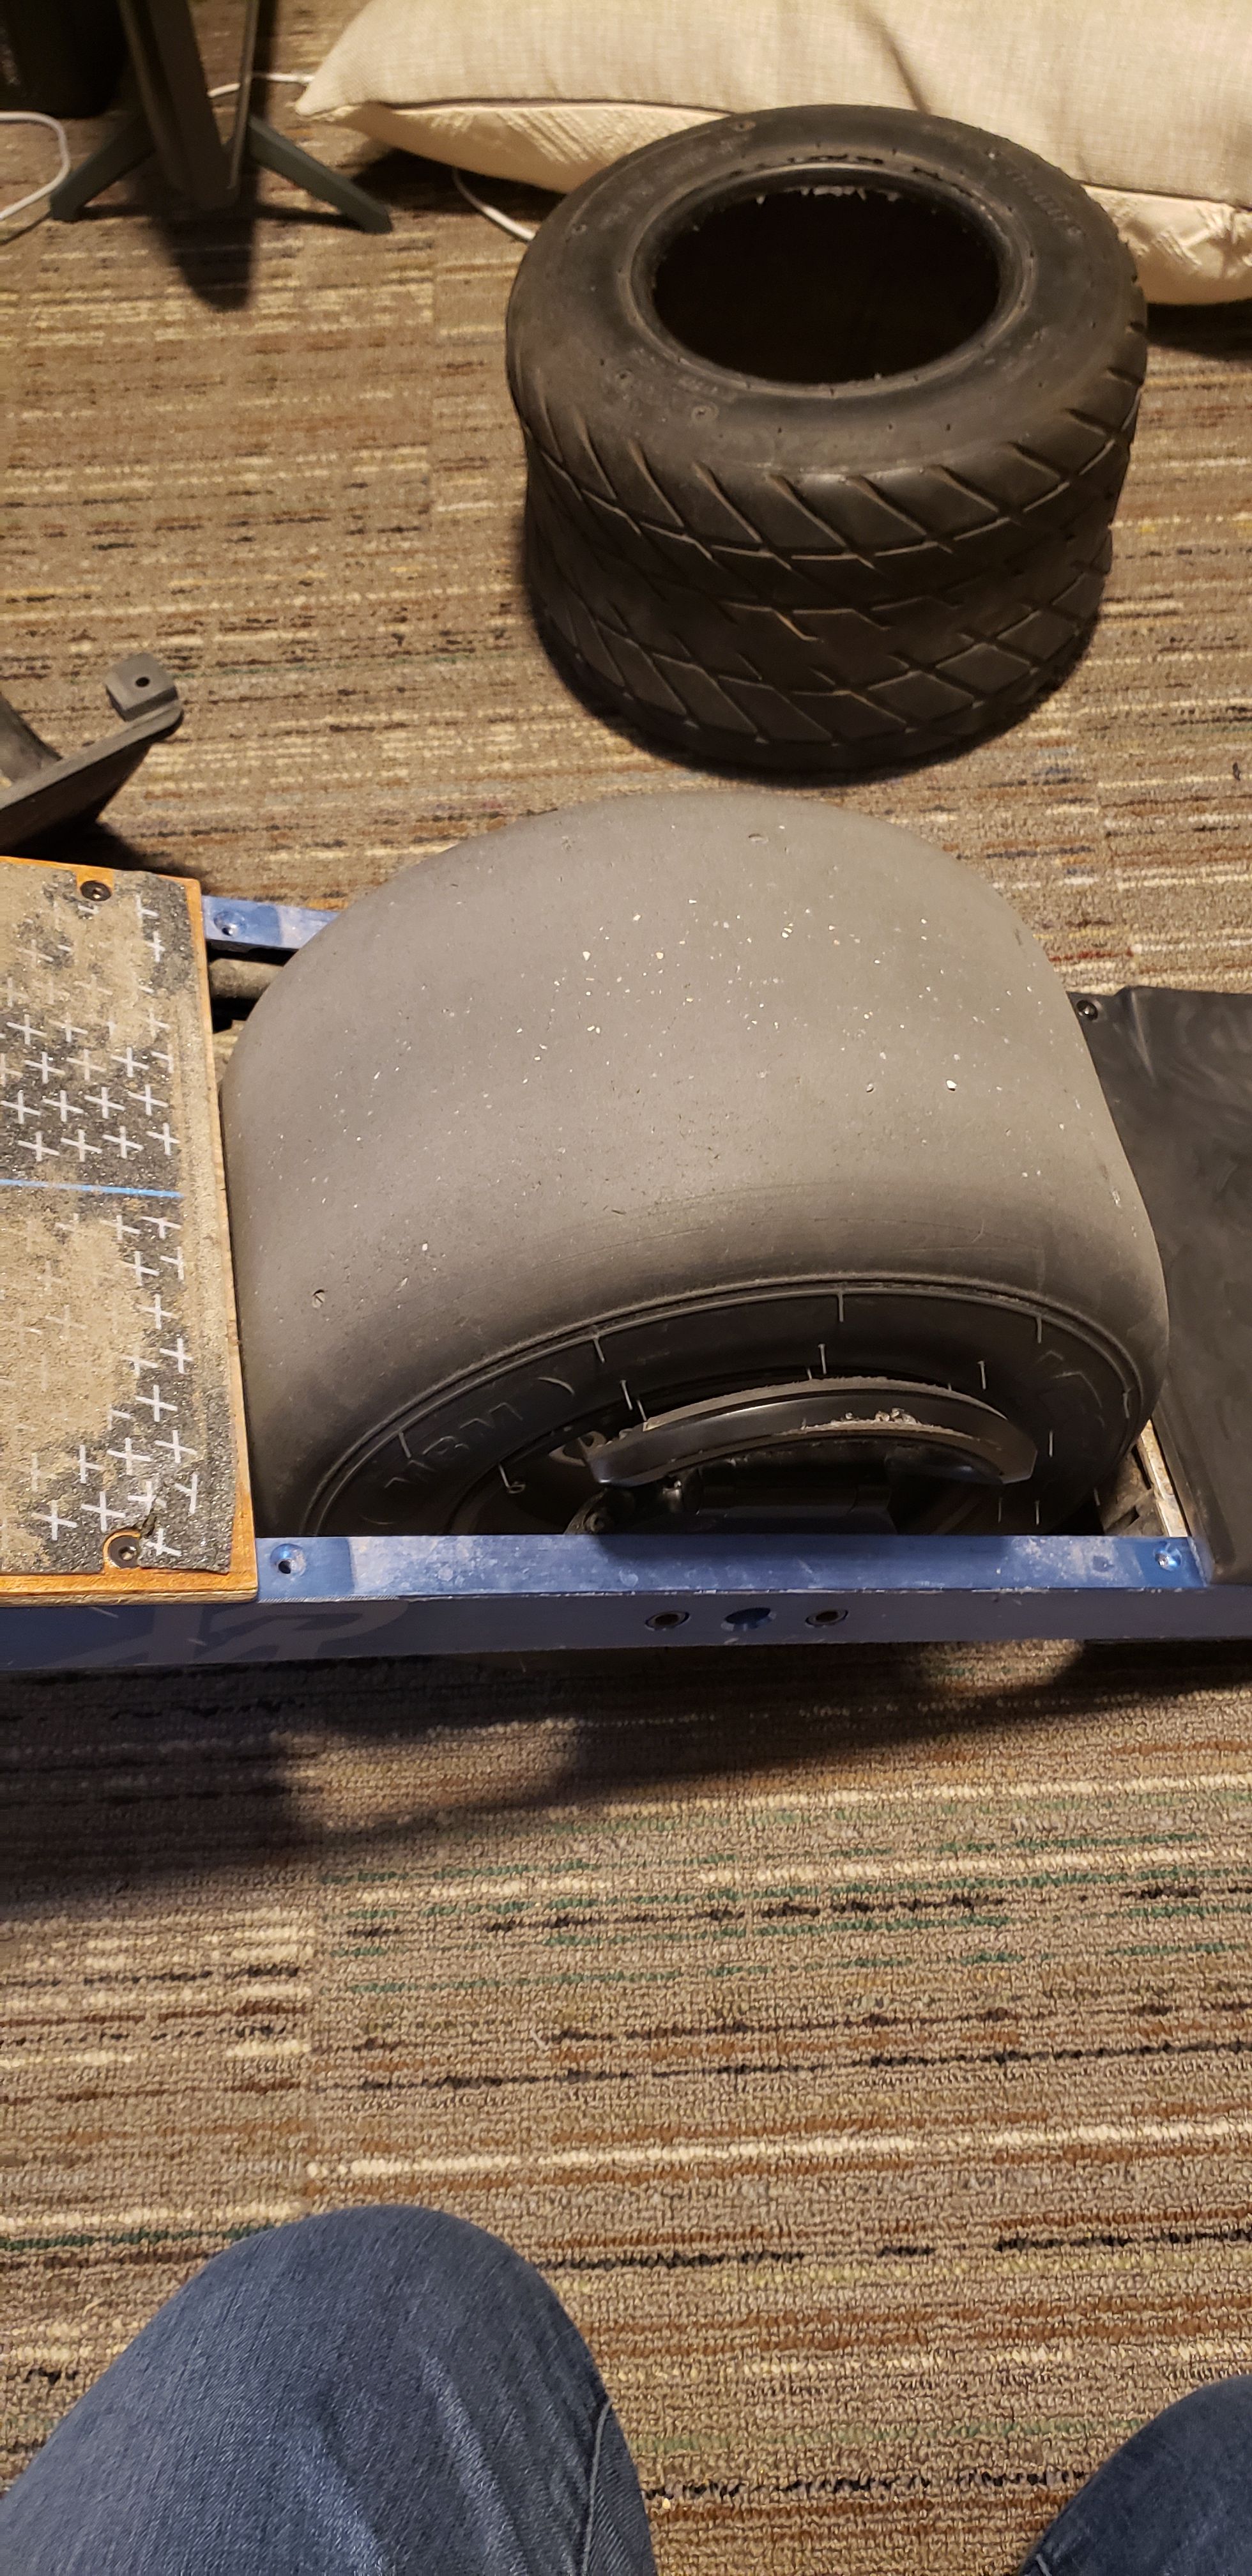
Goodbye, VEGA tire. You may not be missed.. I hope.
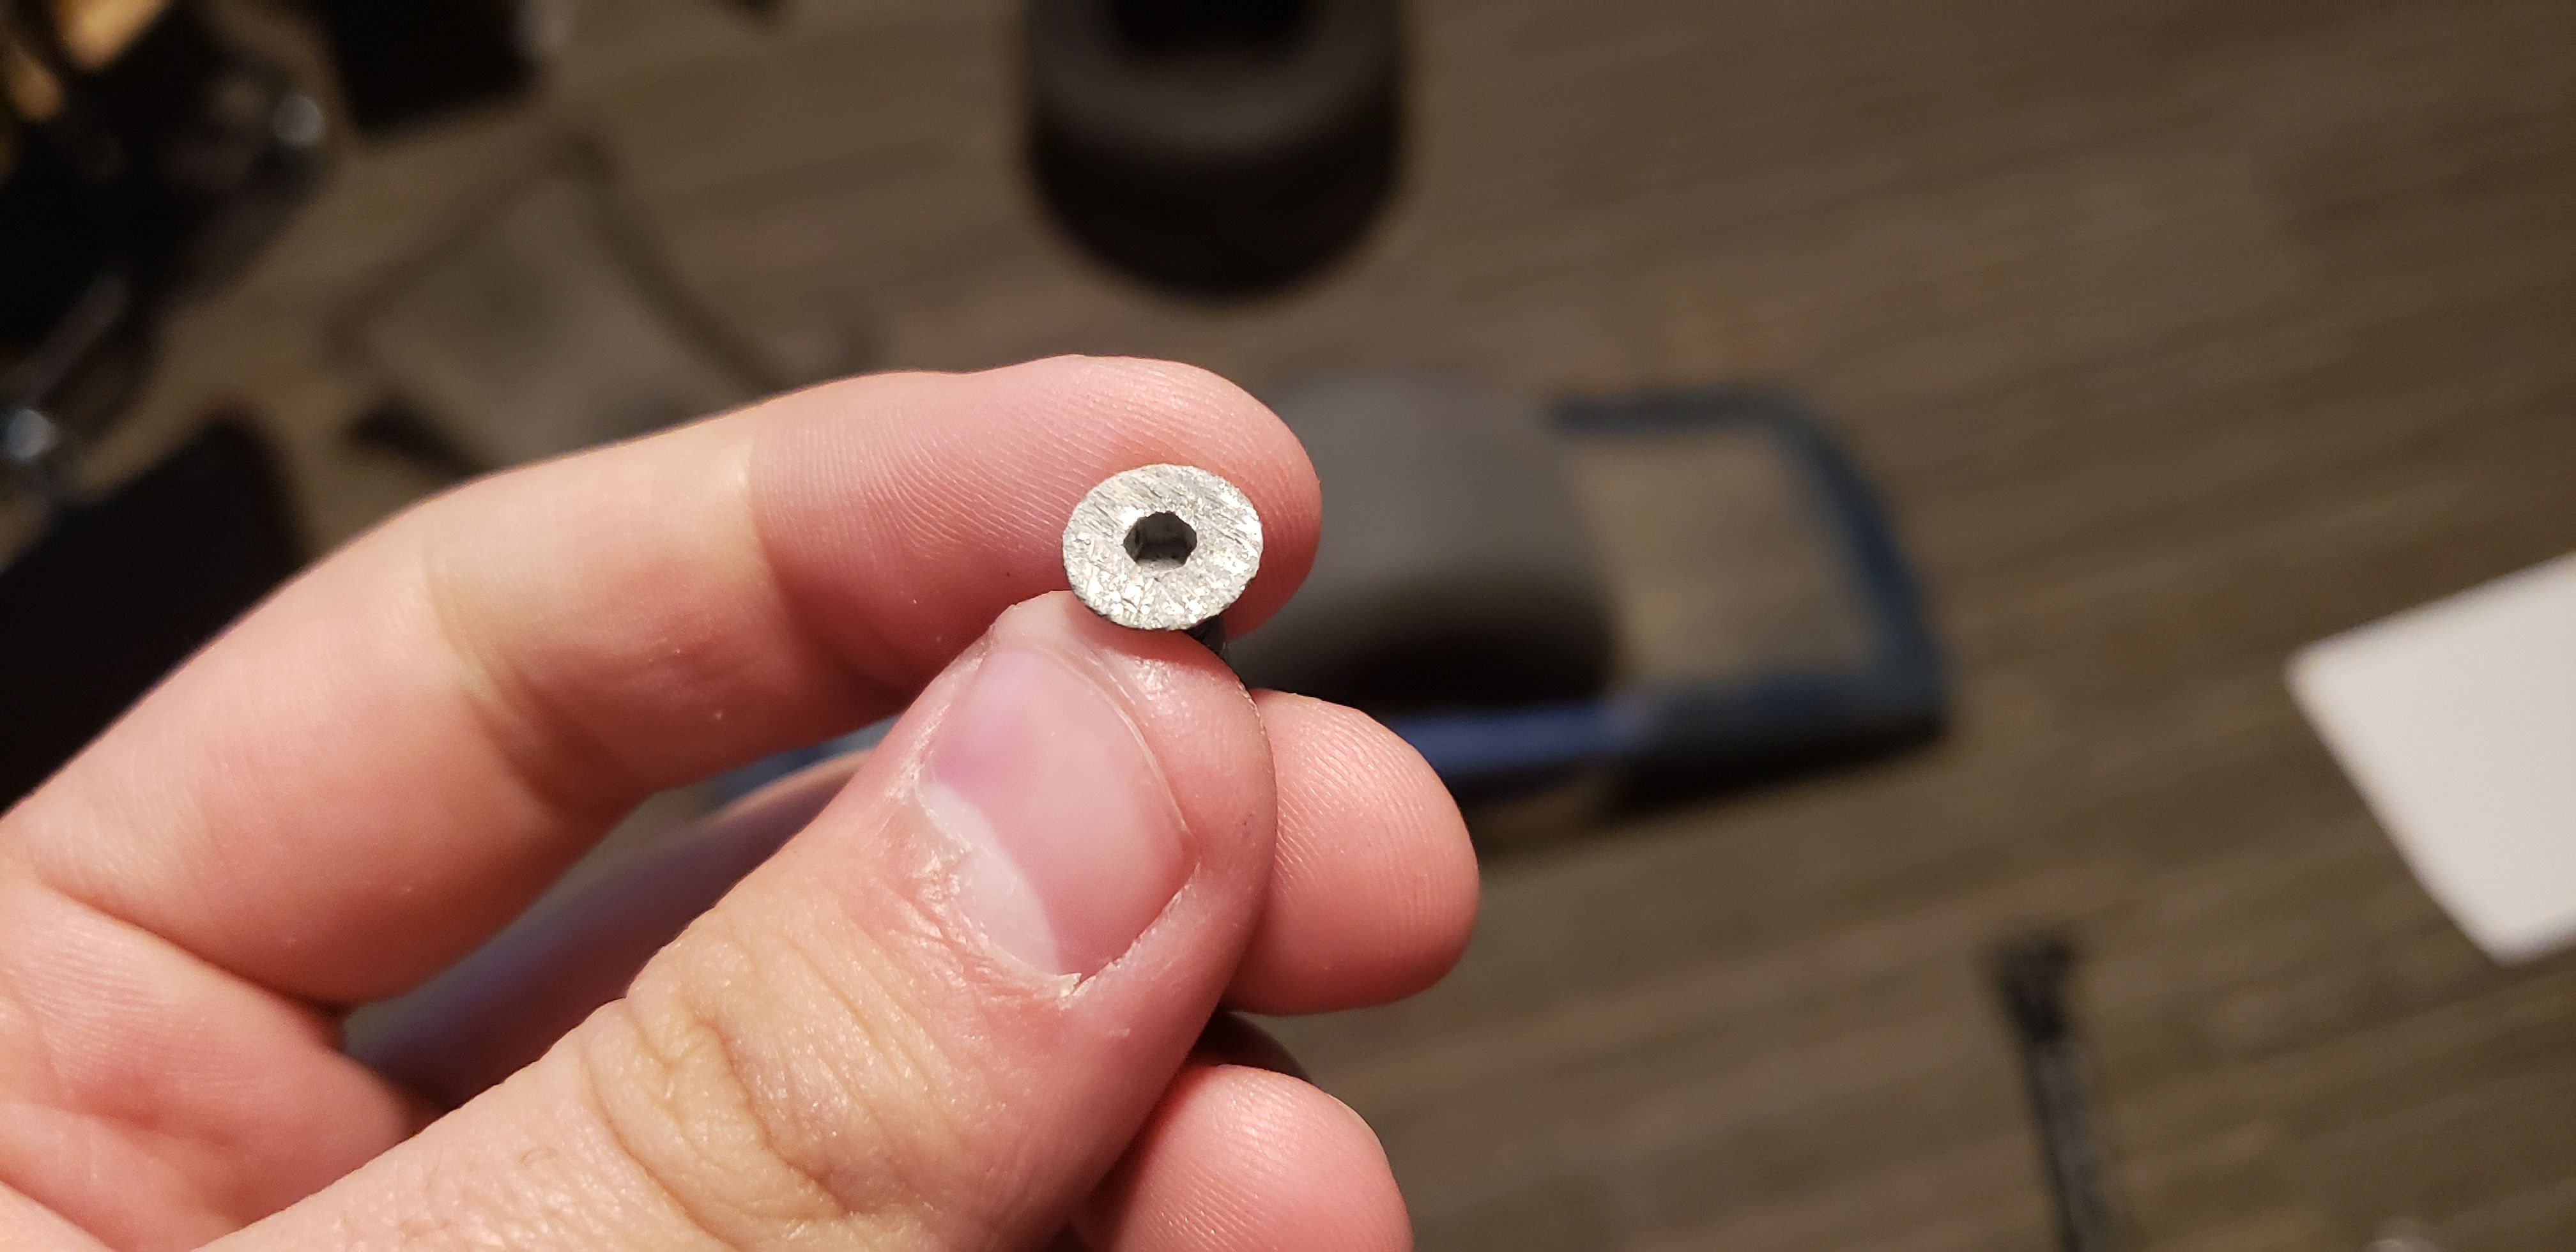
So, something interesting I did notice was that at least two of the front bumper screws had been scratched severely. One of them had a chamfer scratched into it, and I wasn't sure of where it came from. I realized that my electric driver doesn't actually put the screws all the way in, so next time I'm going to drive it in with the driver, then do the rest by hand.
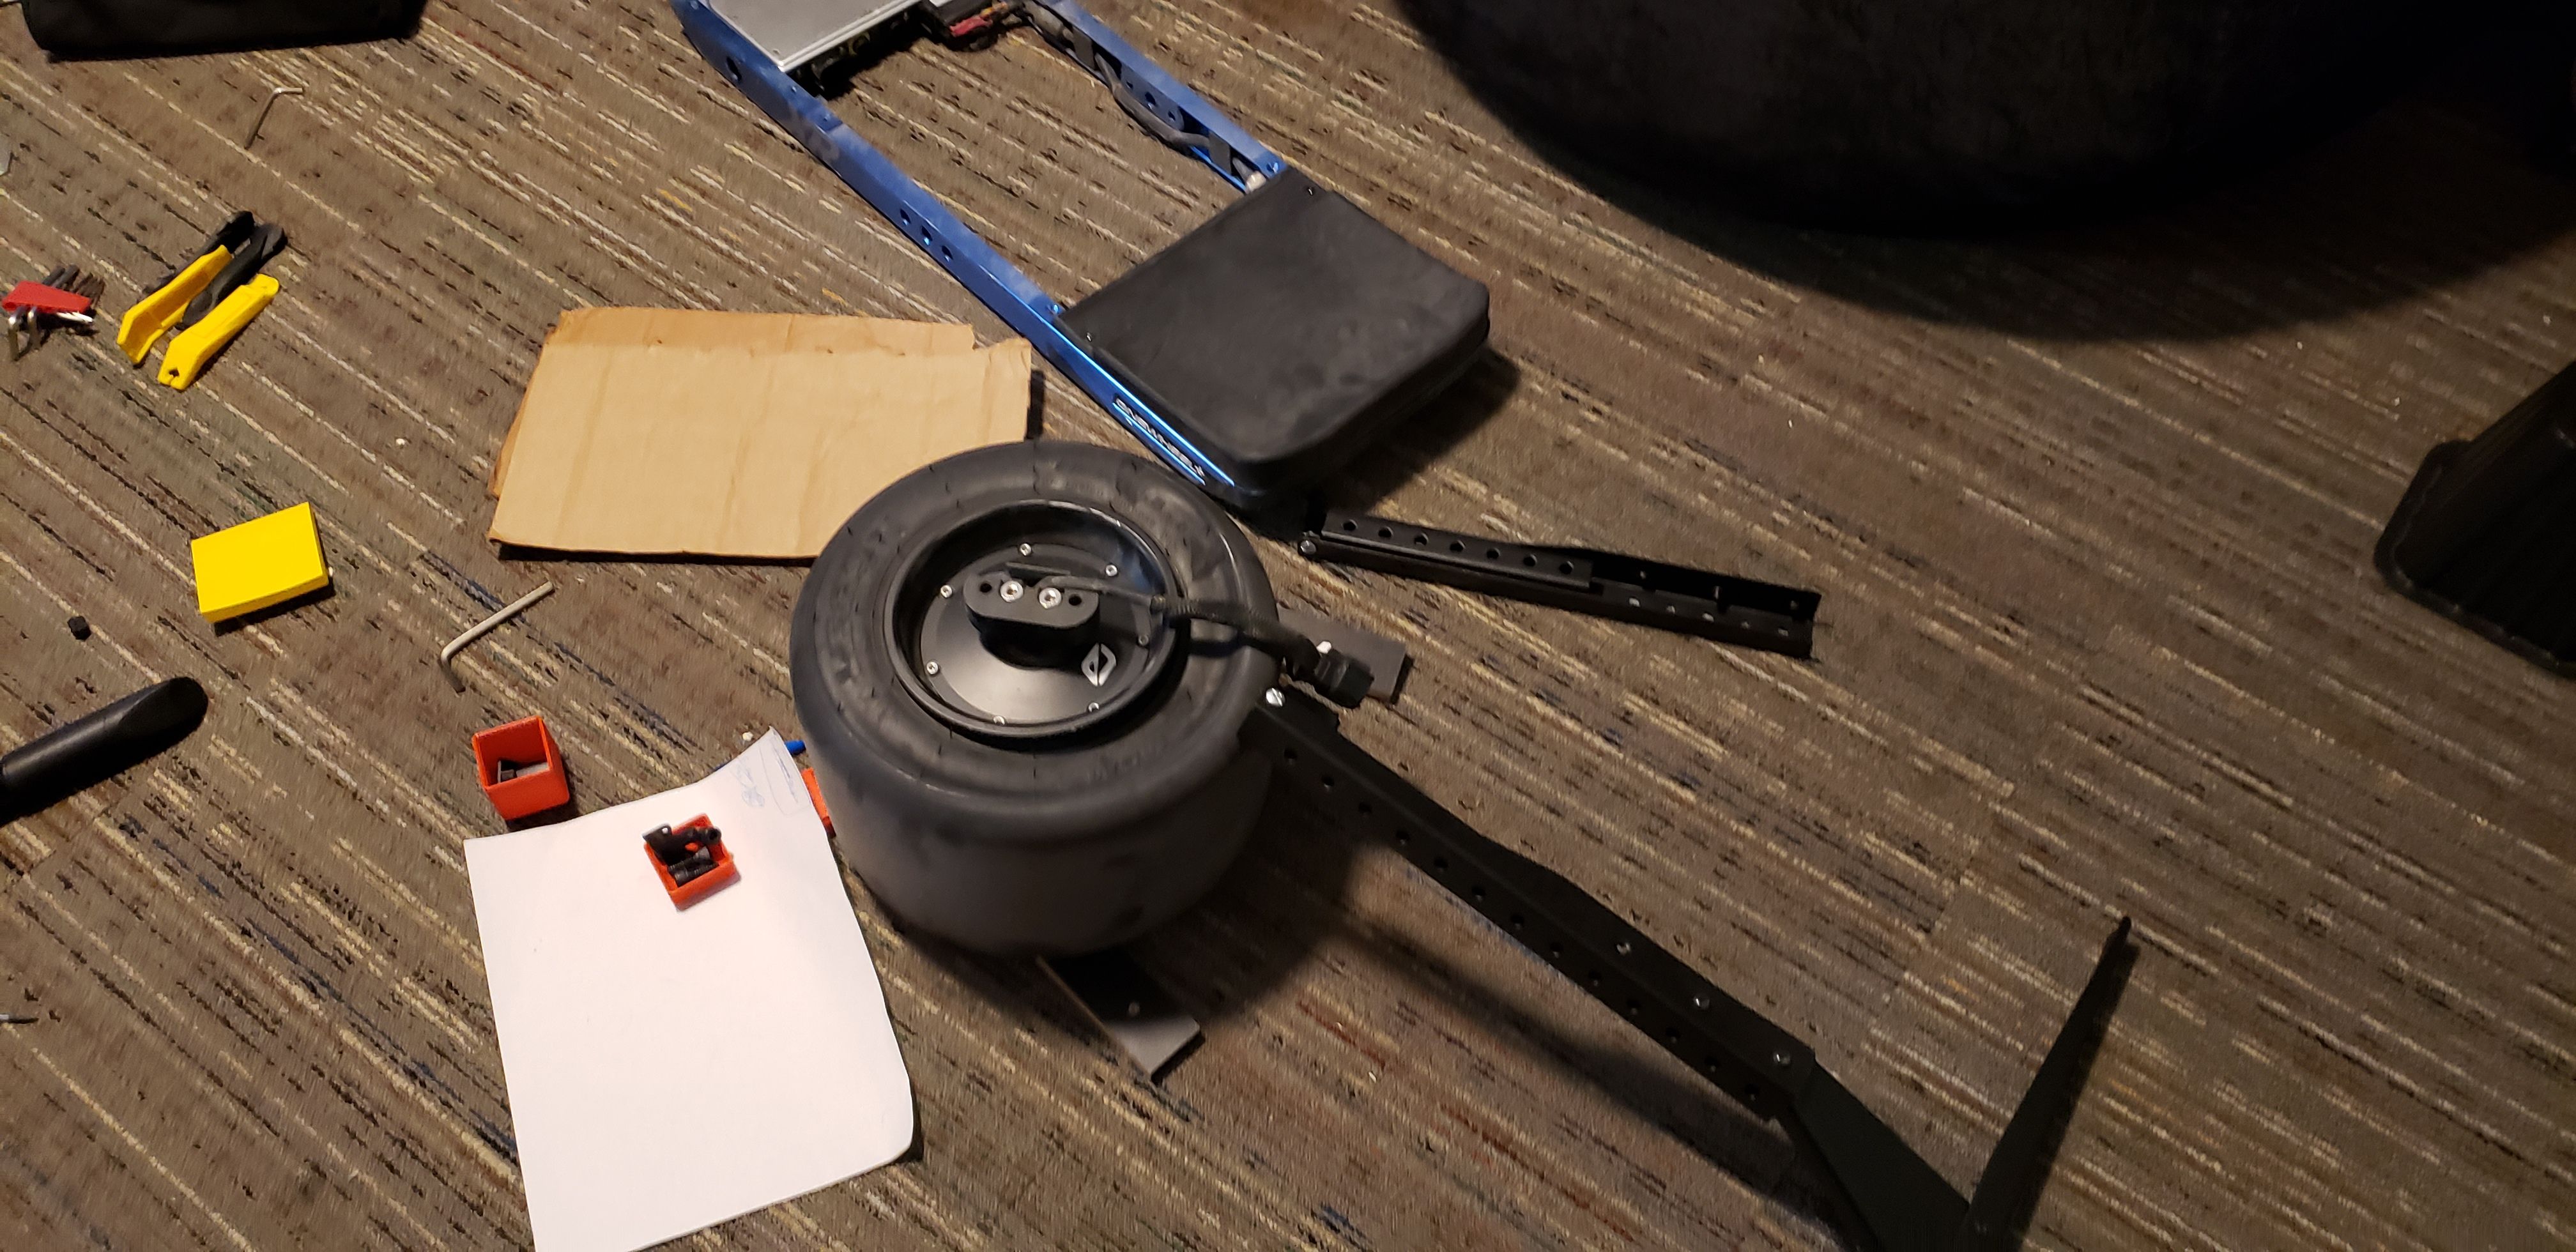
Got the wheel seperated from the body. Honestly felt like I was doing surgery on my own child.
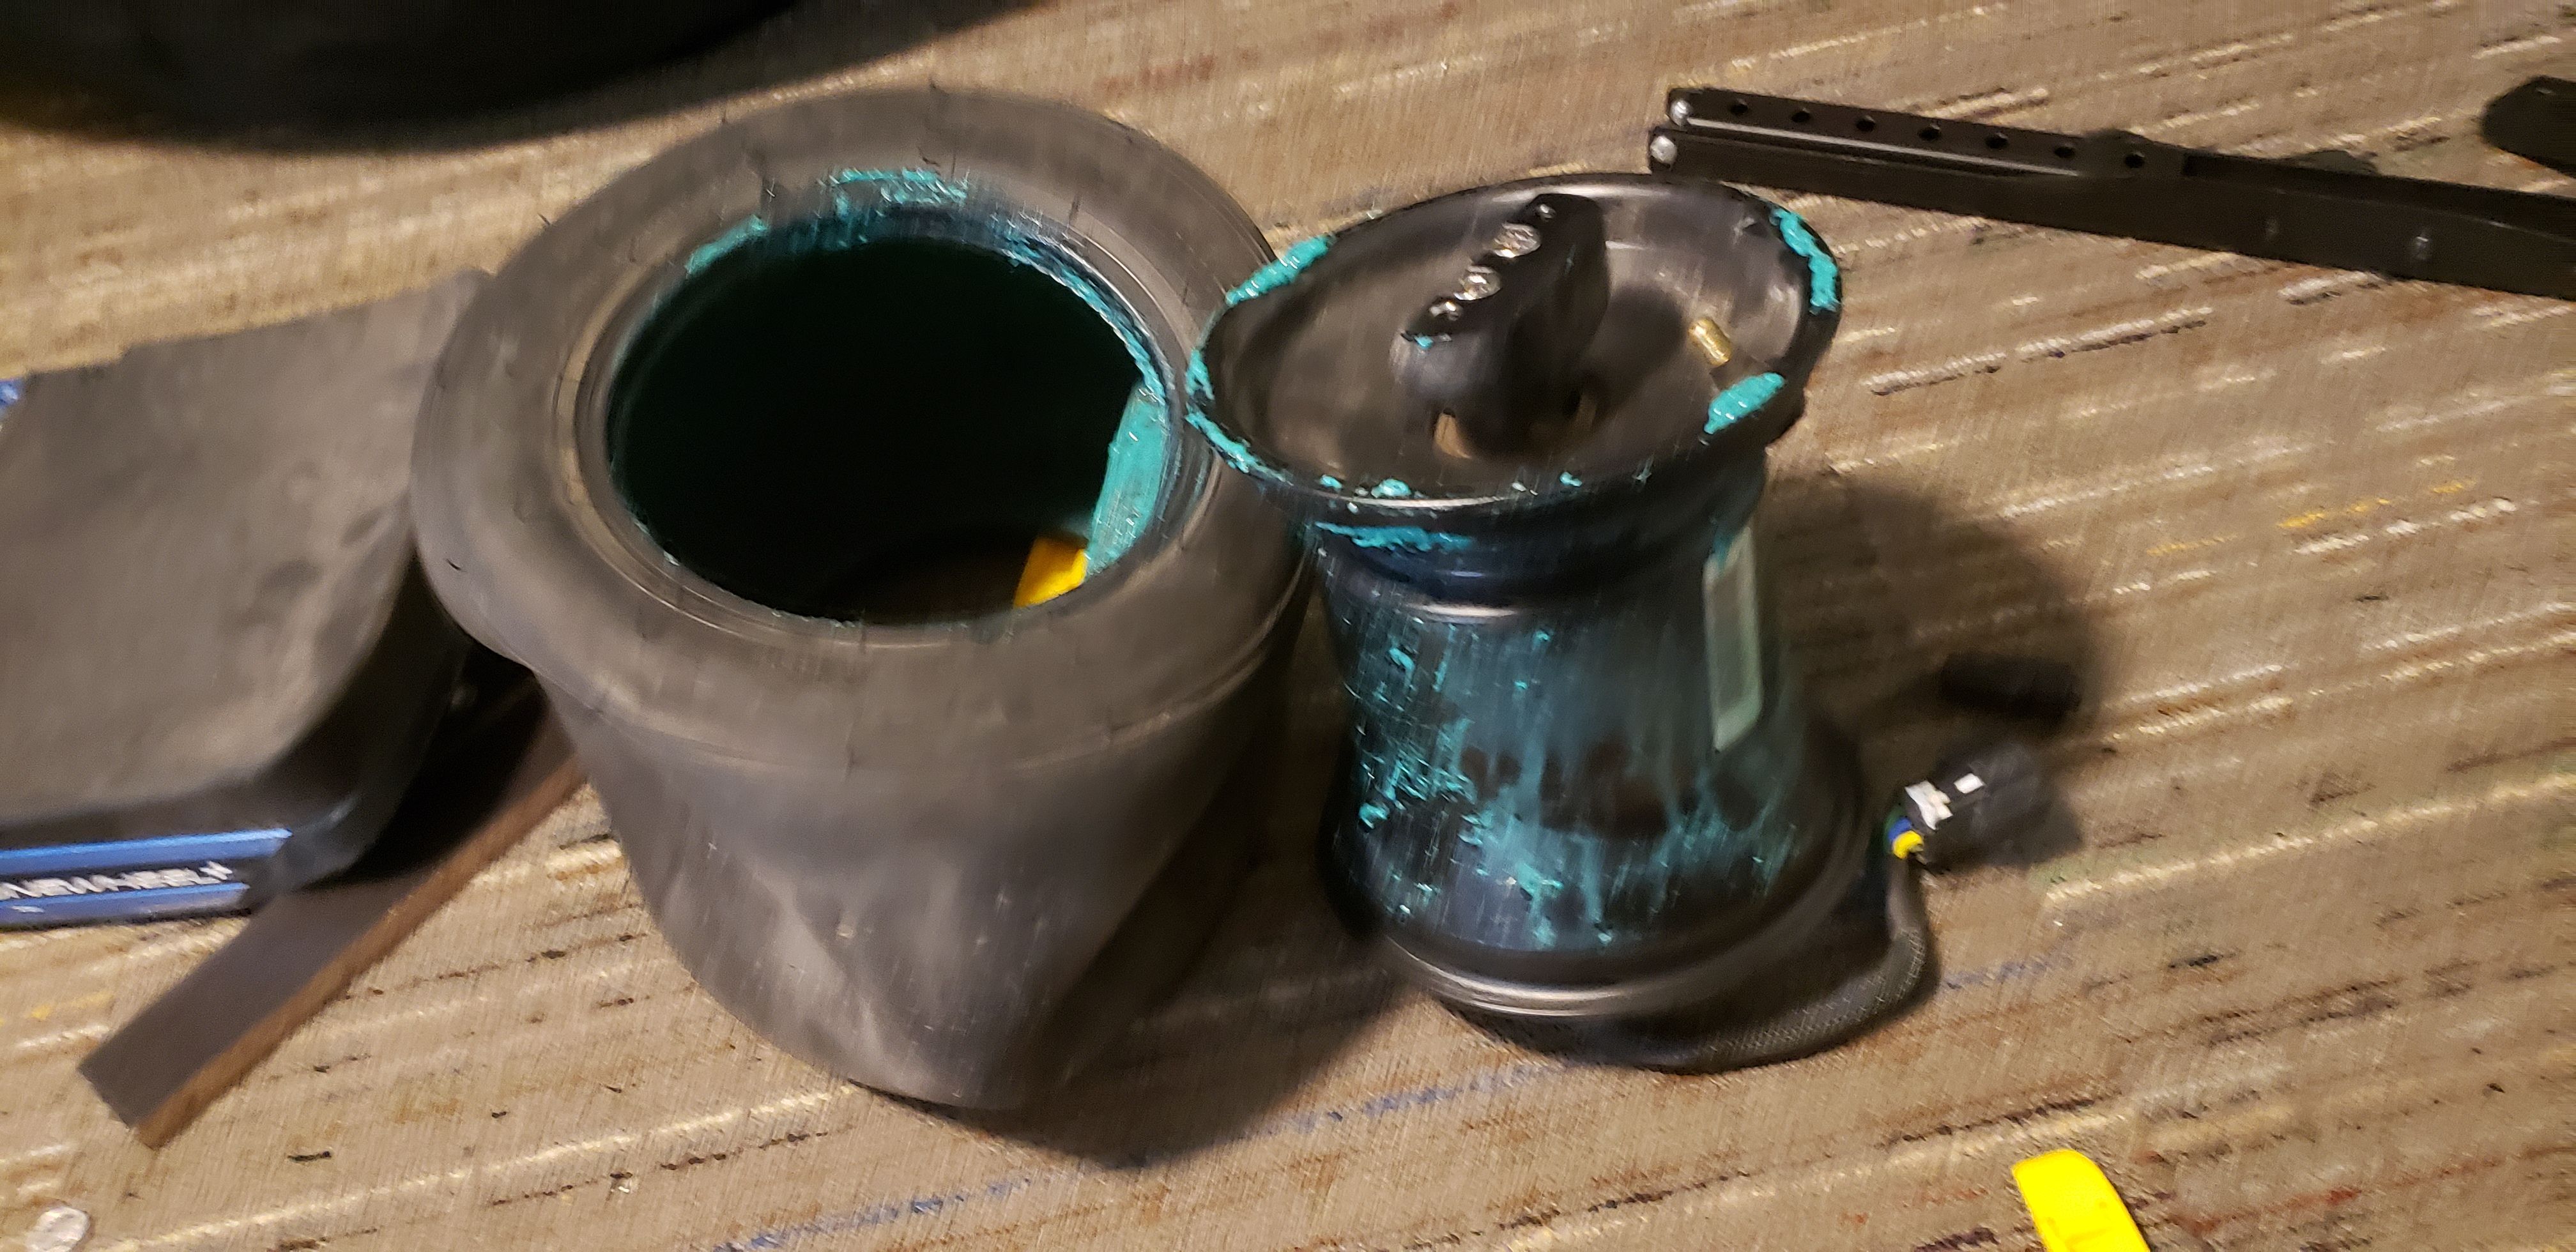
Then we got the tire off, though I had trouble breaking the bead. There isn't a hardware store within walking distance, and I didn't have a 2x4. So, I took apart some of my furniture I had at school that was going to get tossed out (It wasn't actual school property, just a cheapo side table that I hated)
Took two of the side beams off, and used them to hold up the tire. Looked around and found a spare TV stand leg that was made of aluminum and used that to break the bead. People down stairs werent happy with the noises of a metal bar sliding off the tire at some points and wracking the ground at Mach 5.
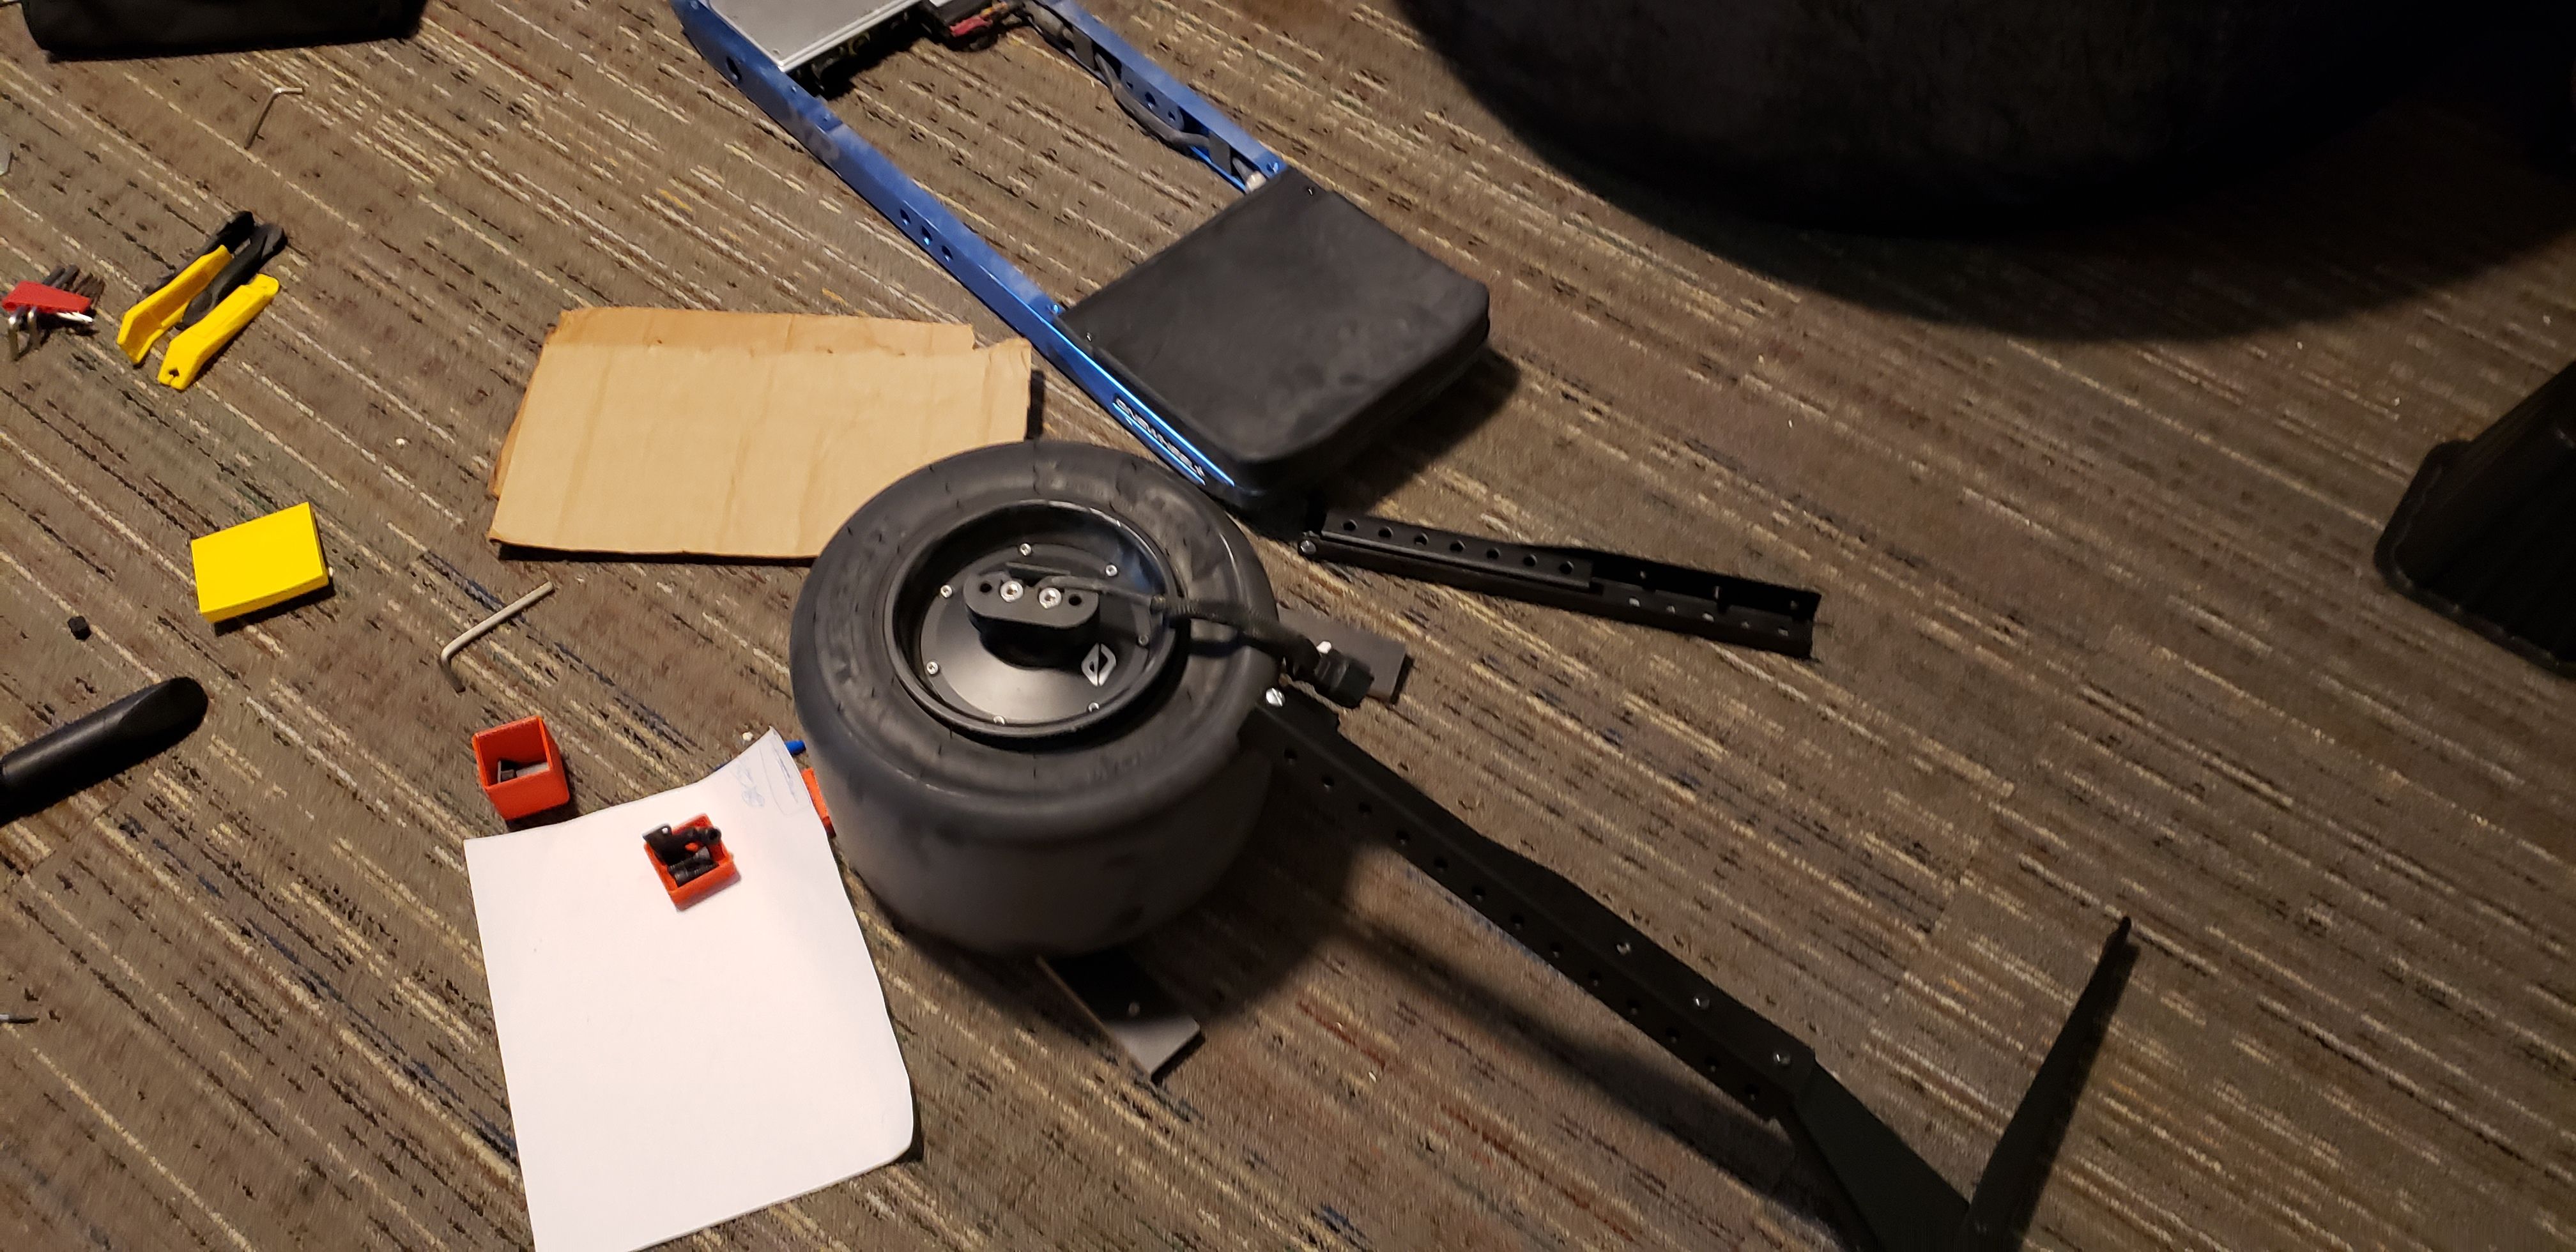
cursed
After that, I moved to putting on the Burris tire.
Holy.
Crap.
It.
Sucked.
It took me about 30 minutes to get it on there, but I finally did. I was going to air it up but my bike bump broke on me. Ran off to Walmart and to their car repair section they have at the back of the store and had them air the tire up for me at around 18 PSI.
And now..
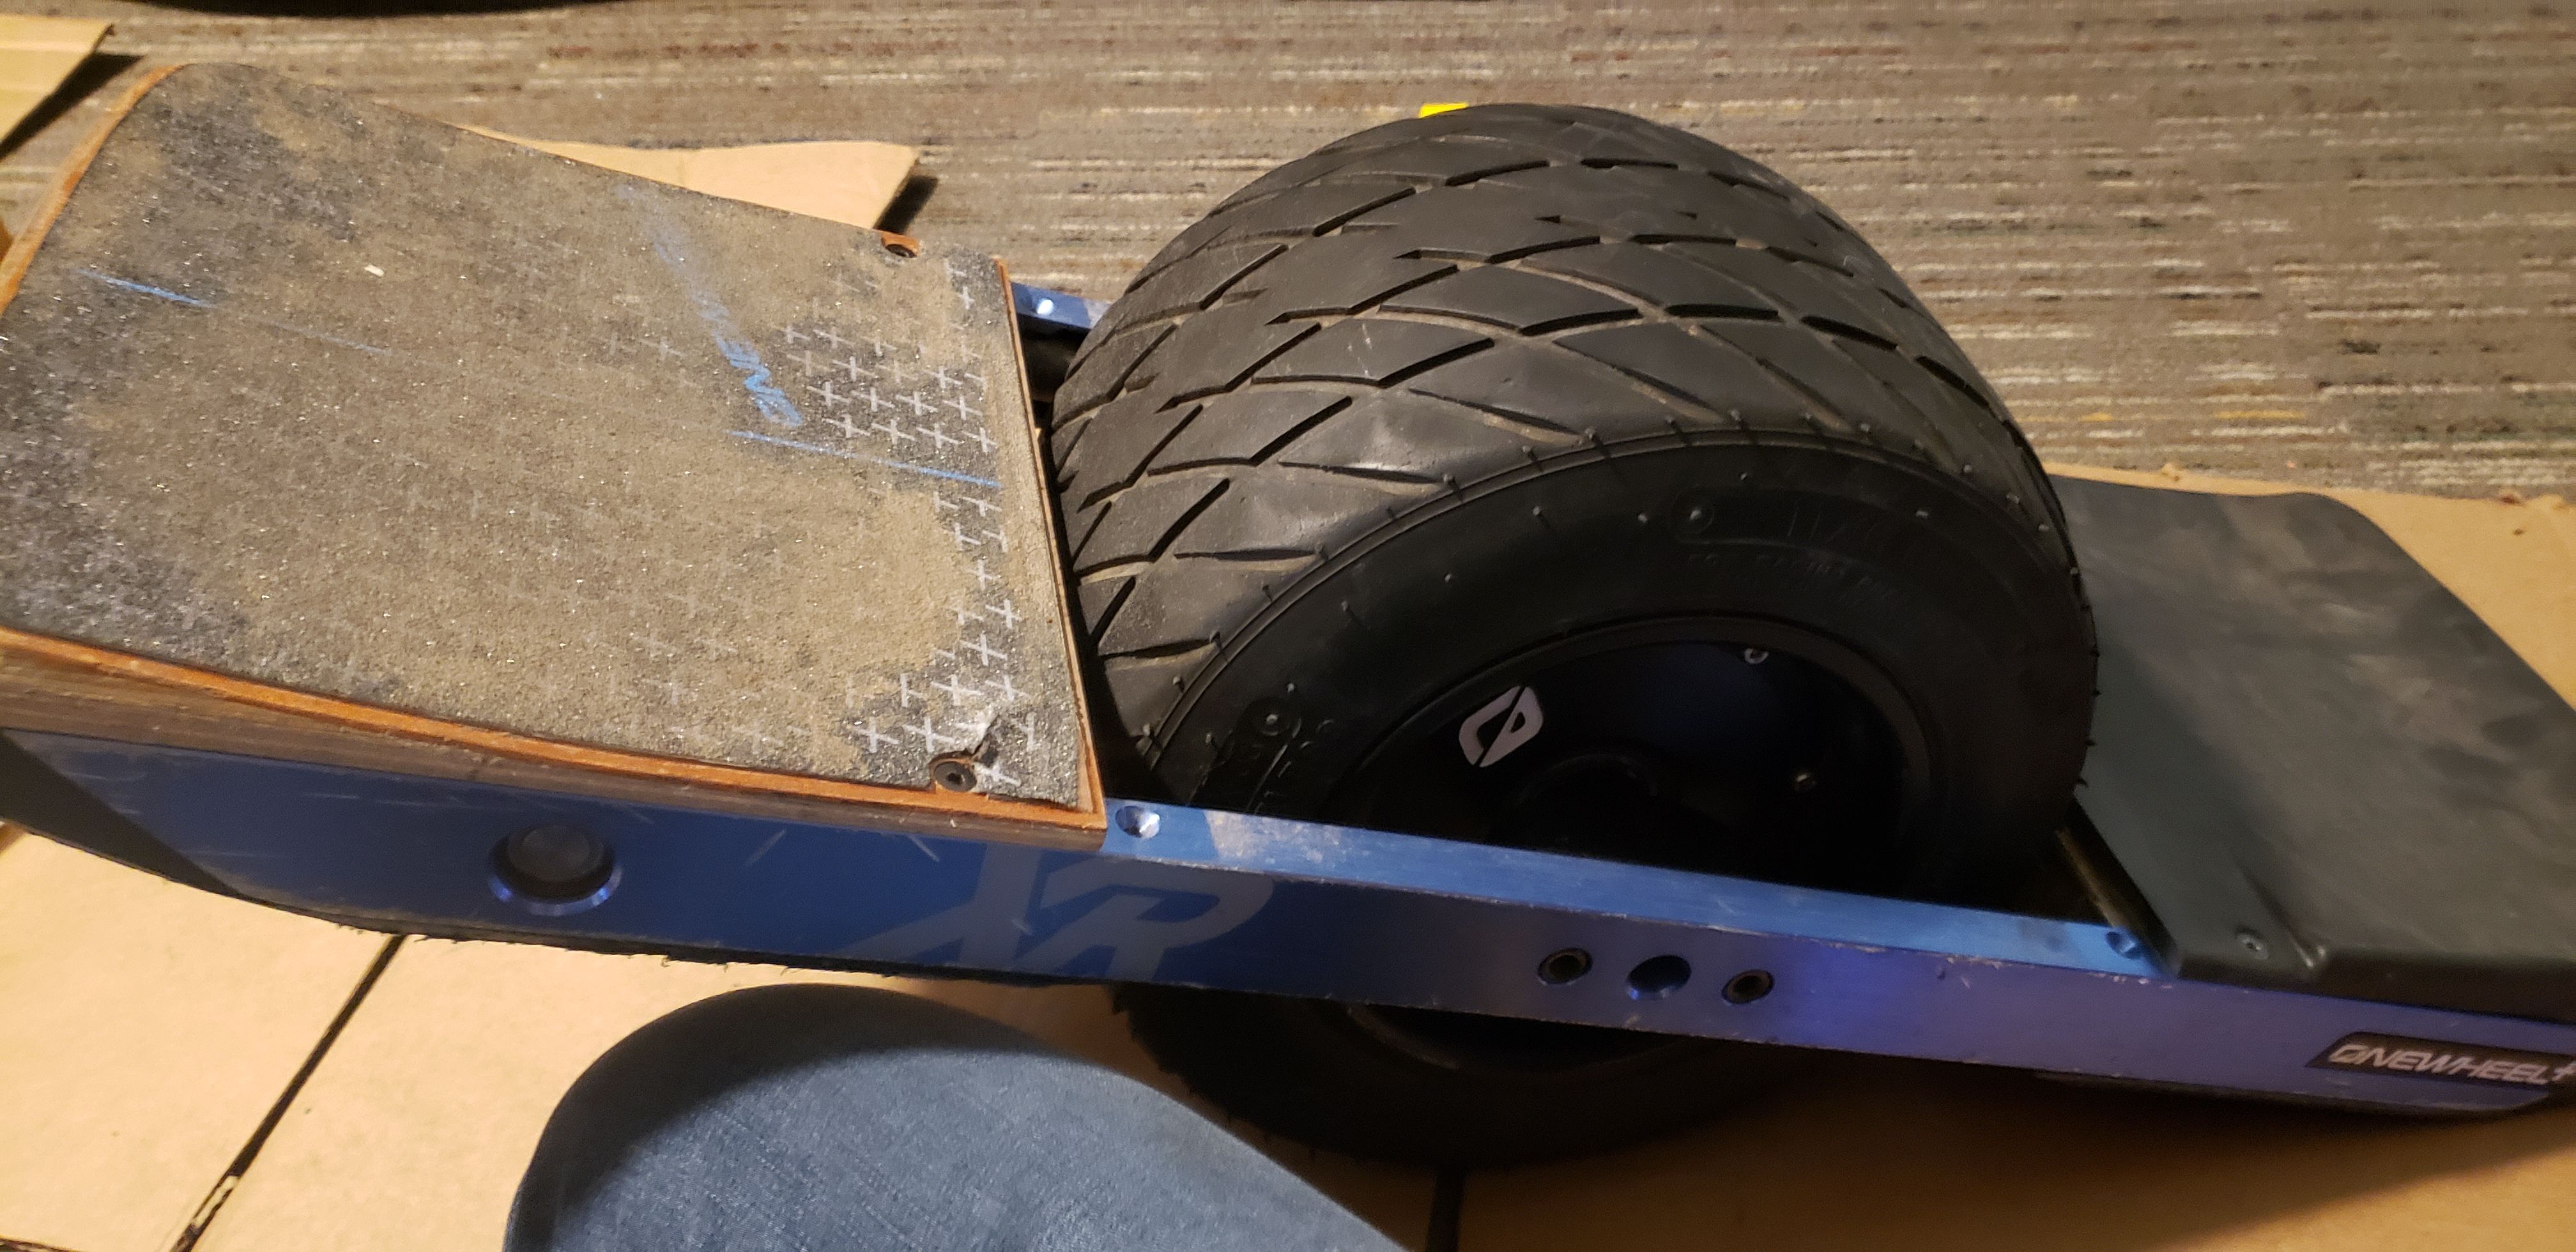
The OW works and rides a bit differently. Makes a bit more noise thanks to the treaded tire, but boy does this thing want to turn. I can turn corners harder and swing around light poles with ease.
This did give me two ideas I'll be prototyping this weekend.
Guess who has a Onewheel now?!?!?!?!?!?!?!?!?!?!!??!!??!!
AAAAAAAAAAAAAAAAAAAAAAAAAAAAAAAAAAAAAAAAAAA
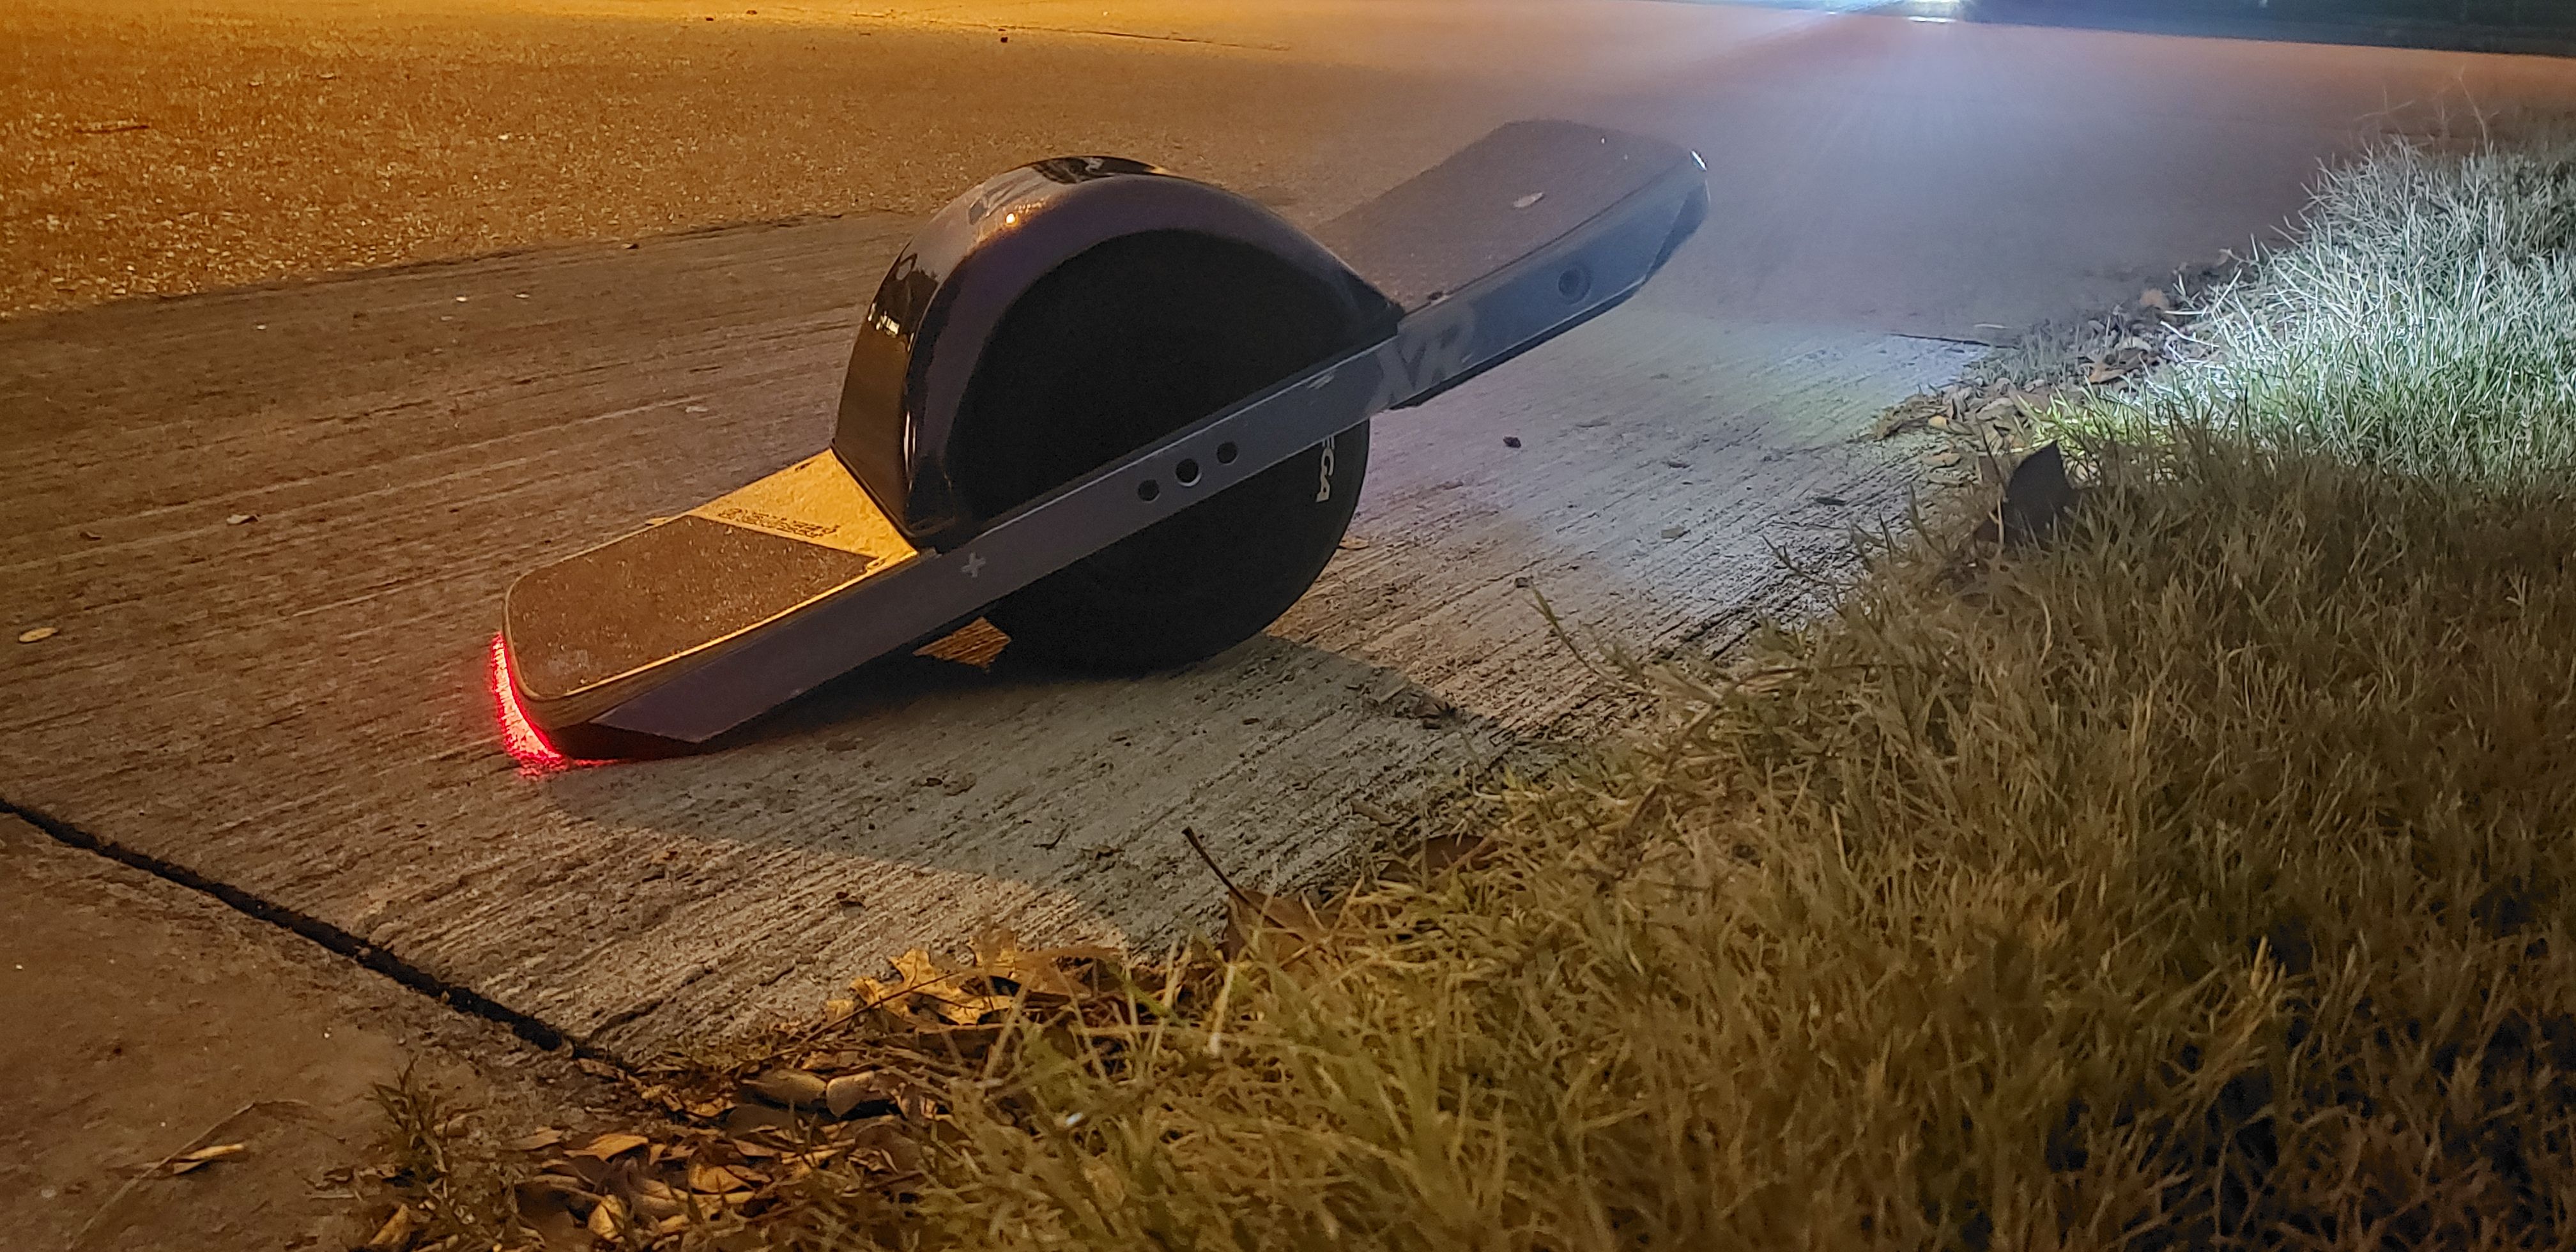
Here's a write-up of my current work on the XR to VESC conversion.
I'll go into detail on what parts I've ordered, what I've learned and what tools I needed.
BOM:
Ubox 80V 100A VESC Controller (fuse and bluetooth adaptor included) (1x)
4mm Banana bullet connector, F -> M
THE LAYOUT
This vesc conversions job was simple: Be cheap, quick yet durable. So far, most of these boxes has been checked. The Ubox sat in the middle, with the motor plugs being bent towards the motor plug, which was re-used. The motor plug only requires the three large wires. I'd reccomend joining the top three pins to their bottom counterparts, and soldering the wires to them. Cover with heat-shrink.
The BLE module, currently is stuck where the LEDs used to sit, and is covered in tape. This is to keep it from rattling around.
The XT90 connectors are shoved next to the stock XLR plug, which is unmodified. To note about the large wire gauge of the XT90 connectors: Soldering to them is a massive pain, especially to the 16 pin molex. I'd reccomend trying to get the wires connected to their respective pins, then dousing them hot glue or something.
The switching button that comes with the Ubox is not a good choice, as it won't work with the stock BMS, since it's designed to use a momentary. Using a momentary instead of a switching works, and lets you turn the board on and off by turning the BMS off and on.
The stock plugs for the hall sensors and footpad were used. Another note, both the BMS and controller is covered in a generous amount of conformal coating. I'd reccomend cuttong anything you want to reuse off of the stock controller board off instead of desoldering to save time. Pins 1 and 2 are used for the two zones, and pin 5 is voltage. Ubox requires 3V, and needs pulldown resistors for both footpad zones. (I used 4.7 Kohm)
(A thank you to Joe Z. on the Vescify discord server for posting this image.)

Here's the wiring diagram for the hall-sensor plug
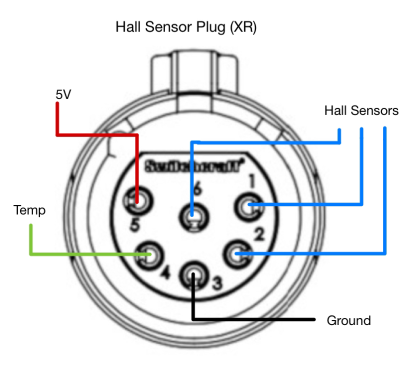
The article by Spinmagazine was helpful in getting the wiring correct. They provided the best step-by-step instruction guide on how to do a VESC conversion.
Note: remove the white plastic sheet and the two thermal pads from the lid of the controller box. They will take up space, and the white plastic sheet will limit thermal transfer. I used thermal paste on the Ubox to help transfer heat into the lid and rails.
Here's a completed look of the inside of my XR.
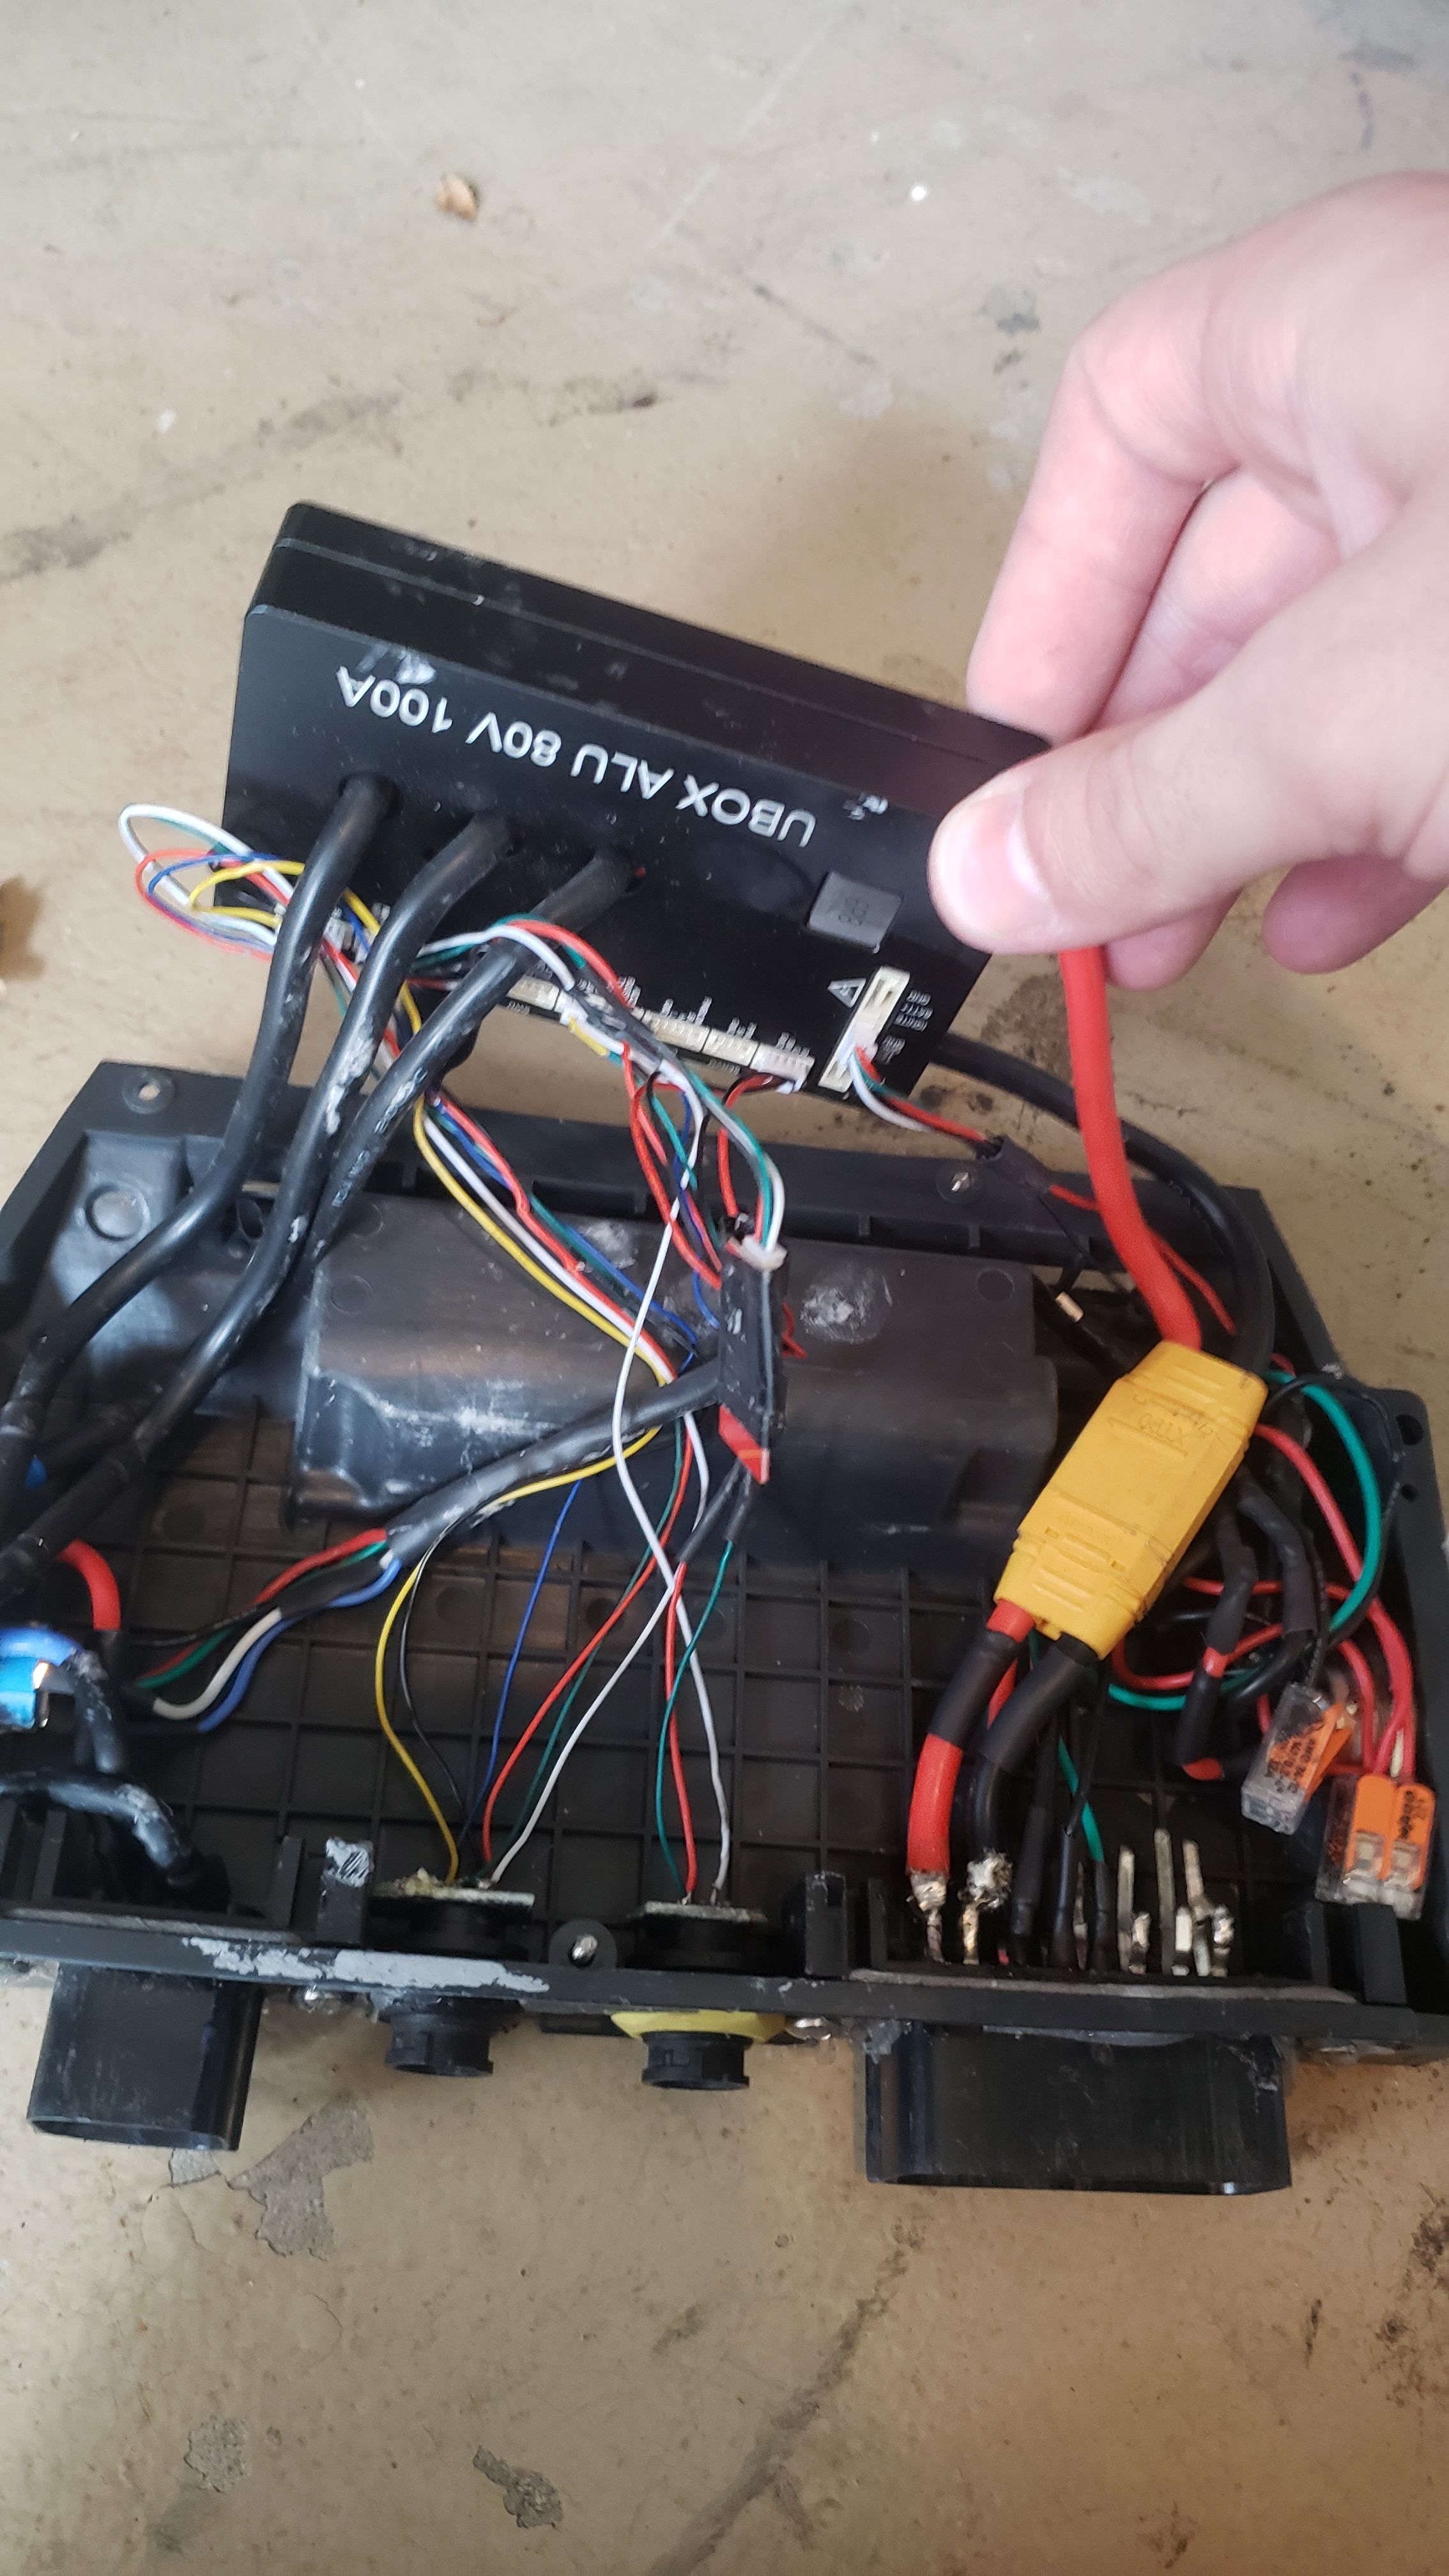
Special Notes/Considerations.
An important note that I wish I was told was that a Charge-Only mod is not required, only reccomended. The charge only mod bypasses the BMS's ability to shut off current flowing from the battery to the board. This means that you are bypassing safety features that would keep the battery from being damaged while riding (Overheating protection, overcurrent, ect.).
However, a charge-only mod is stressful and difficult. It requires lots of re-wiring, and a Y-spitter to be made. Fitting in the y-splitter is difficult, as the XR battery box is already stuffed, and there is not much room for the splitter. If you don't ever push your battery to the point of it being over-heated, I wouldn't reccomend. You seriously risk causing shorts and damaging your BMS.
However, do what you want.
The Ubox is a tight fit. Very tight. Maeve on the Vescify managed to fit hers and keep the wiring tidy in hers. Either God has blessed her with a controller box that has just the extra amount of space to fit the Ubox inside comfortably, or there's magic involved.
I had to sand down the sides of the Molex conenctors to make space, and bend the pins on both molex connectors up to fix the Ubox in barely.
Stock wiring harness was re-used.
Surfdado's 6.0 firmware video was used, however I'd follow this advice from Nico Alemen from the Vescify discord:
First, invert your motor direction from what it is currently, under Motor CFG -> General -> General

Second, go to the IMU Wizard, do IMU Orientation, skip pitch and roll, and once you get to IMU Yaw, raise the NOSE of the board up, NOT the tail. If you watched an old video, raising the tail was a workaround for a bug, but you should now raise the nose like the wizard says to. The offset should say either 180 or -180, indicating you are flipping your yaw 180 degrees from the current value, which should invert it back to how it should be.

For clarification, the reason this is done in the IMU Wizard instead of manually is that it will automatically adjust your gyro and accel values as well to match this change. Otherwise, you would have to recalibrate Gyro and Accel afterwards.

You can confirm success by doing two things. First, go to AppUI, Controls, and use the Fwd and Rev buttons to confirm correct motor direction. Then, go to the IMU section of the RT Data tab and confirm that when the tail is on the ground, the roll angle is near 0 and the pitch angle is positive 20-30 or so, not negative.

If you clear both these tests, it should be safe to test by hand, then if that checks out fine, it should be good to ride."
This will fix the negative speed, which will cause your board to go flying across your backyard, crash into your vintage sony boombox, bust a knob off and scare the shit out of you.
Don't mind the specifics. it totally didn't happen to me, no way.
Someone made a very friendly GUI app for Android phones to monitor their vescs. It's called Floaty, and it is free. It's still WIP, but it's a friendly way to get a quick glance at your board. It tells your range, speed, motor temps, controller temps, and battery amperage. A thank you to Siwoz on the Vescify discord for the app.
FUTURE PLANS
For now, if the board continues to operate like it SHOULD knock on wood, it won't be opened any time soon. I plan on adding WLED, and working to see if I can add a little... funny thing.
Just..
A small
funny thing.
I wanna add engine noises to the thing.
there's a github project up SOMEWHERE that's designed to be used on RC cars and other PEVs, but I'm no programmer, and I don't wanna learn programming.
I'd also like to incorporate the signalling LED idea I had, but to simplify it to small LED diodes that would flash to keep complexity and cost down.
I'm also looking to water-proof my board. I am planning on filling my battery box with an ungodly amount of hot glue and sealing the lid with some adhesive to keep it water tight. I'm not touching that battery. If it goes bad, I'm just buying a whole new battery box.
The controller box is more complicated. I'm suspecting that I may be opening it open a few more times, and would like to keep it serviceable. I'm looking to see if there's an epoxy or glue that I can use to seal the lid to the body that can be softened up or remove using heat. I may look into sealing the ports with some silicone of glue to keep it watertight, and I am looking into how to waterproof the electronics themseleves. Maybe a conformal coating that can be removed easily, idk.
If there are any questions, or if I need to elaborate on something, let me know and I'll add it
so at my college, we have something called the purple poo
they are about 18 people dressed up as multicolored cows, covered head to toe.
I asked them to sign my board
so they did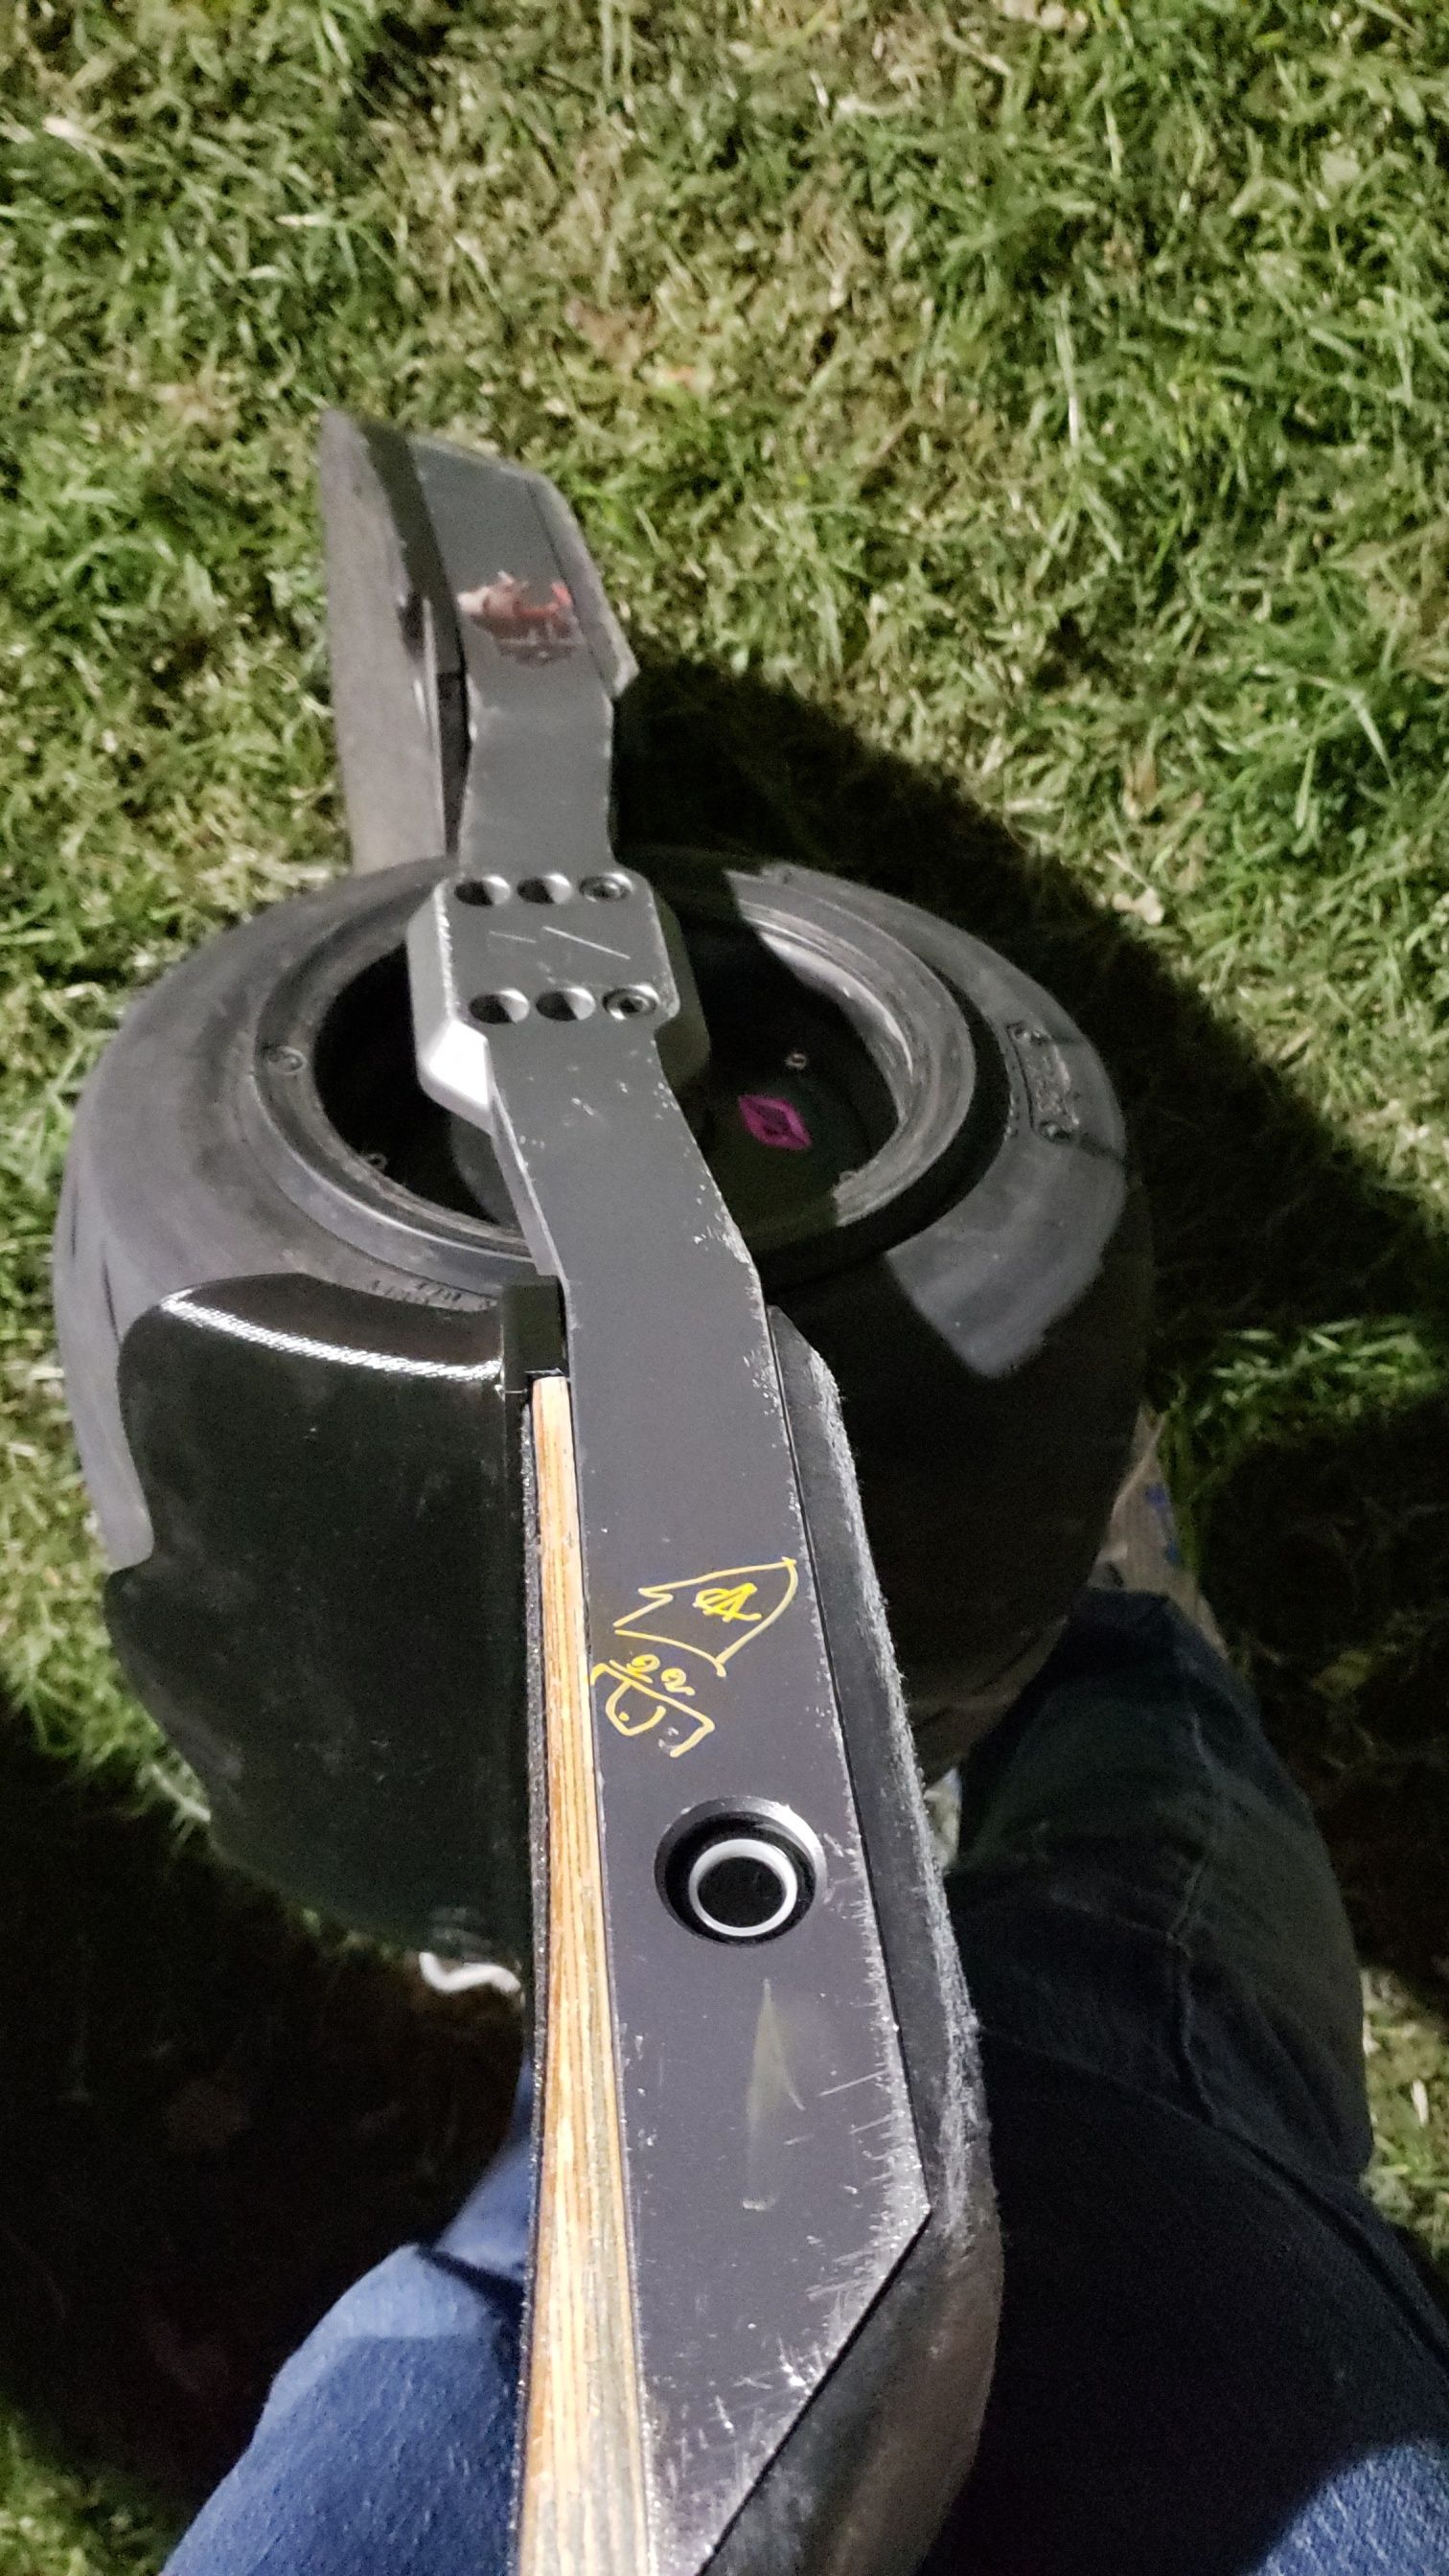
UPDATE 2:
Figured out my footpad was busted. I'm out 150 but it means I have a working board now.
Board rides great, with a top speed of around 22-23 MPH. O figured out the hard way that certain tunes affect the top speed, so if your having trouble pushing 20 with a high duty cycle, check your tune.
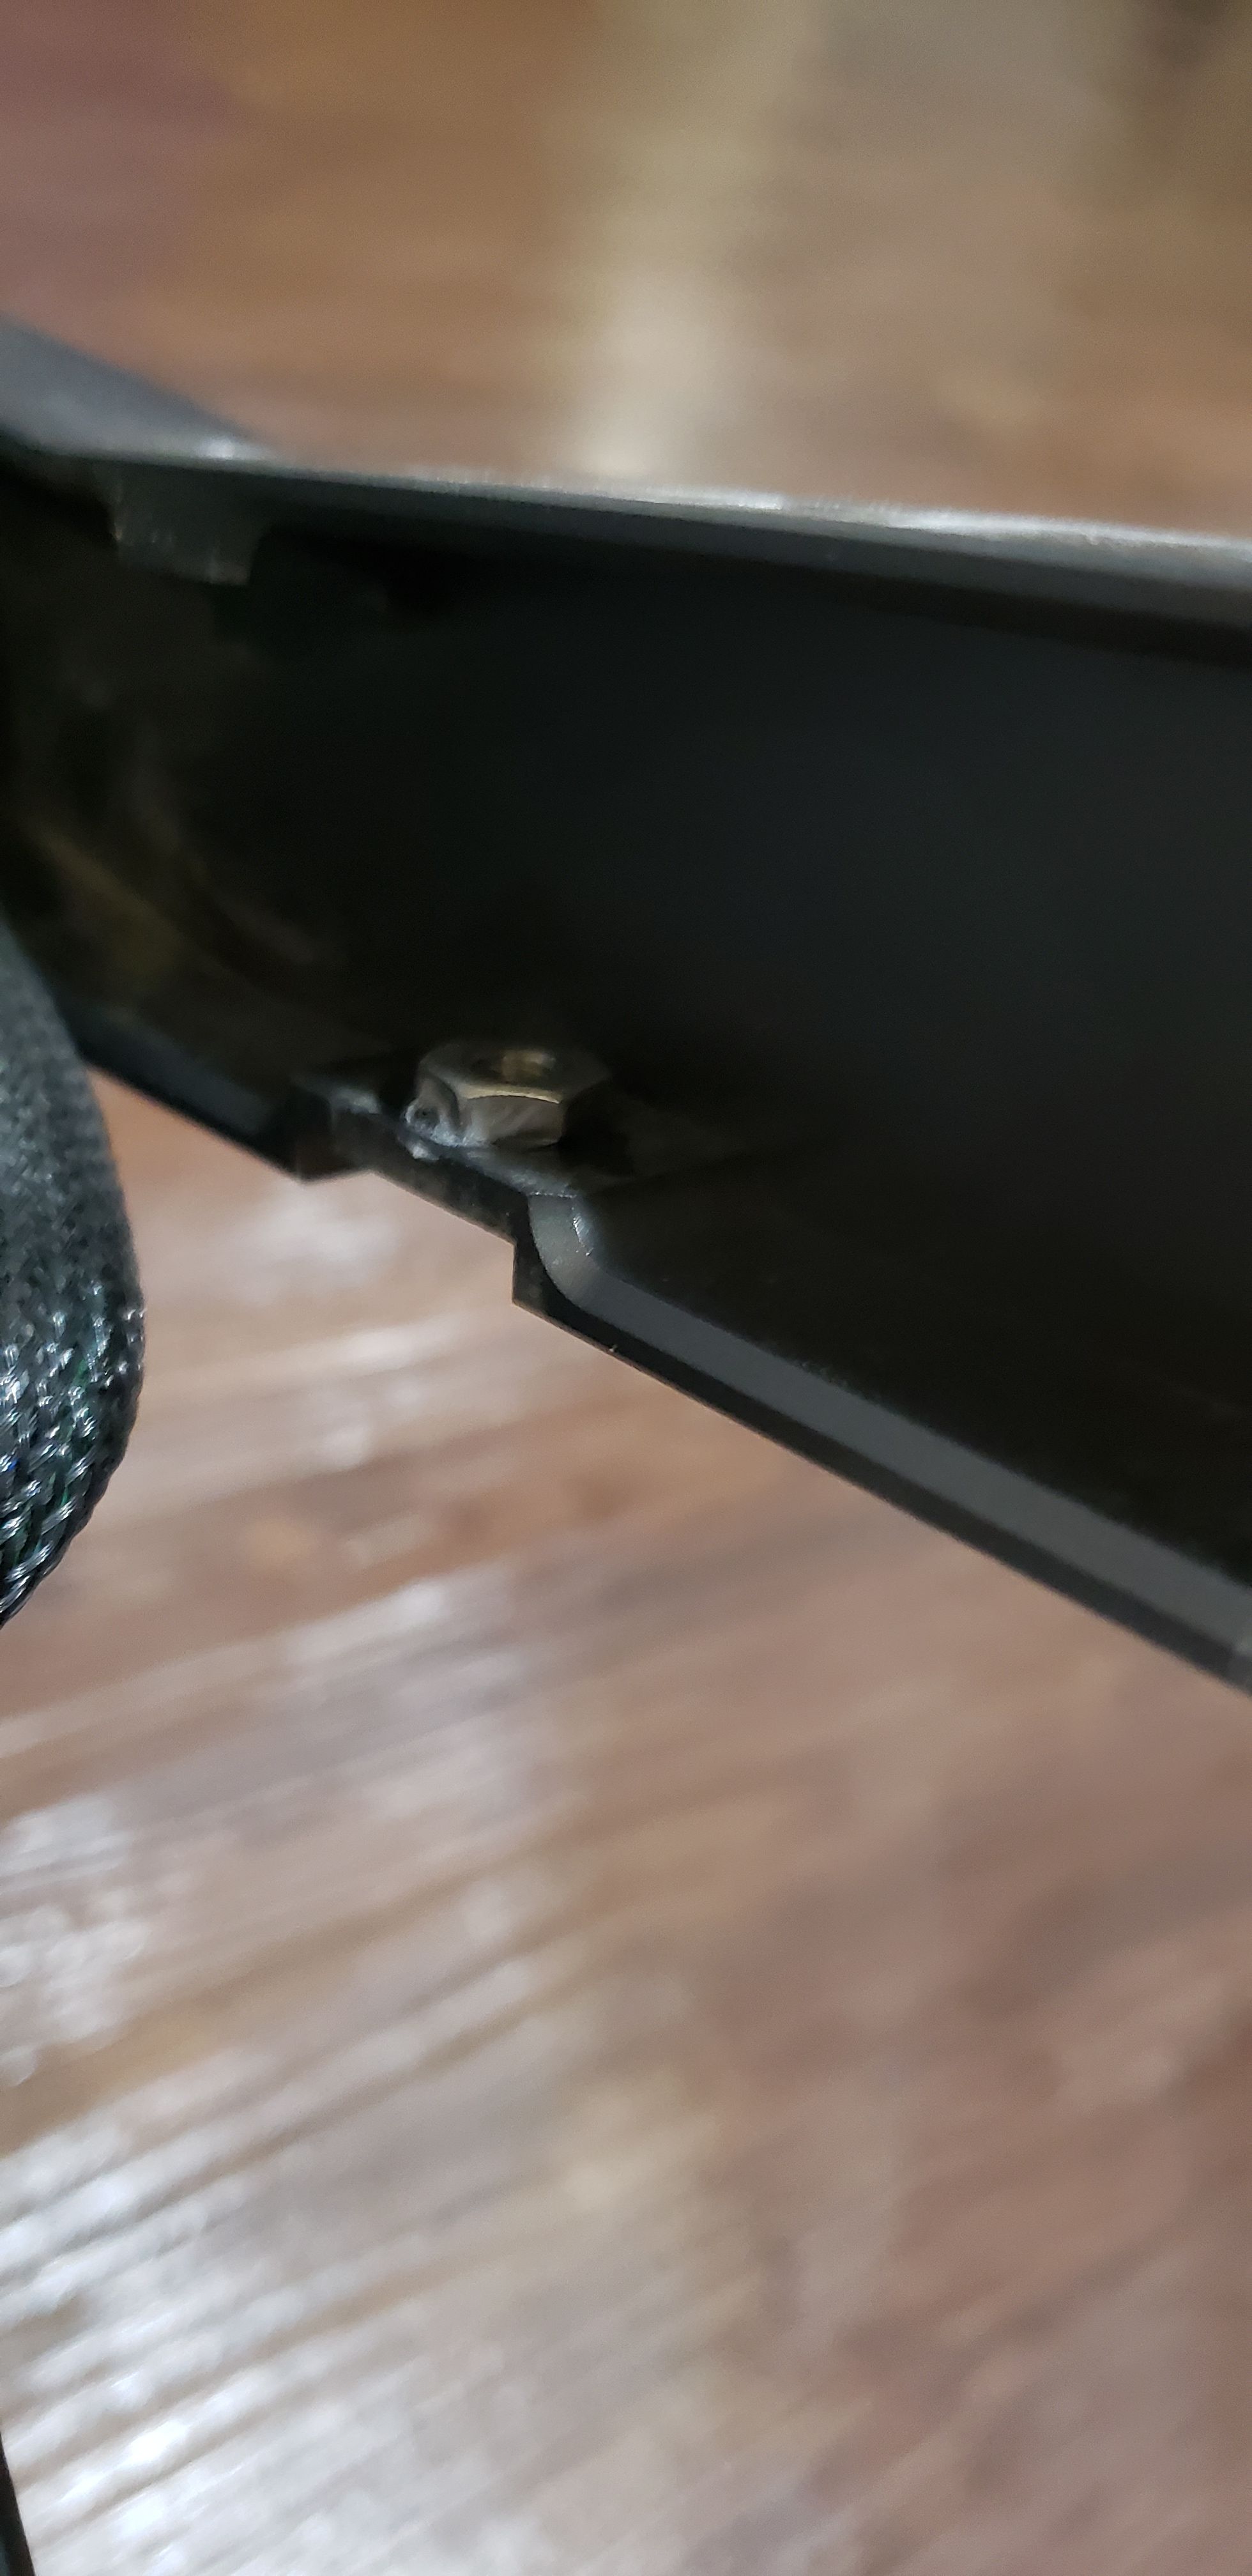
Also, my rails are having stripped screw holes. I don't want to drill holes into my rails, so I got some 10-32 nuts and adhered them to the inside of the rail to act as a new set of threads.
This project is for compiling a complete database of every question concerning VESC in the onewheel space. It's slowly becoming apparent that PEV.dev is cumbersome to sift through, and questions often get left unanswered in the discord. This should be a place where every question and answer should be catalogued for easy access. Currently, the goal is to provide easy to understand answers for the most commonly asked questions and to provide detailed yet understandable resources and images for those questions. Down the line, I'll start catalouging the more specific and niche questions and their answers
For now, it will all be typed-up on a google doc that will be added to as questions are answered and new information arises. I'm currently filling out the most commonly asked questions, and hoping to provide wiring diargams and pictures as well
https://docs.google.com/document/d/1y5DE9L5yhdDEm40JSniy0a5OpNevA6mnRMJWG39_kCM/edit?usp=sharing
This link is for commenting. If you wish to edit or add information, DM me and I'll make you an editor
I'm back, and I have some news about the board.
The housing that holds the controller is also breaking, as it was printed with PLA that I had lying around.
Another issue is that the motor was acting up, making a “chugging” noise and motion with each rotation. Essentially, at low speeds the motor would drip the nose suddenly before catching the nose and raising it back up. This can be caused by a broken sensor in the motor or a broken cable in the controller.
First we need to print off the new controller box to replace the damaged controller box. As pictured below, the box has a split running across the ports, which could spread and cause the
entire controller box to split and separate while riding, which is not ideal.

I managed to buy some PETG Carbon Fibre filament which should hold up to the abuse this board will inevitably see and make it look less visually offensive. (I mean, rainbows are cool and all but I don’t know if that is the color scheme I want to run with.)

As pictured above, this is the new box that was 3D printed. I am genuinely impressed with the quality of the print. The printer I’m using is a Creality Cr-10 Smart with the hot-end swapped and running direct drive. I would not recommend the Cr-10 Smart, as it has… problems…
While that prints, we should prepare the cable. First we need to add the proper connector that will feed the battery power to the controller, which is a beefy XT-90. I should invest in some soldering flux, but I will wait until I have a proper work table and not an apartment bedroom and kitchen.


We will use heat shrink to cover the soldered connections to prevent shorting.
On the battery end, we will use some dunpout connectors to create a connector for the back headlights. It took some trial and error, but I finally got the hang of using cheap crimpers!

After that, we can finally get inside the controller box and take a look inside! It’s a rats nest, but I currently don’t have the time to properly measure out and plan a routing path for each wire. I may try and look into getting custom-made PCBs in order to clean up the wiring or at least make it look a little nicer, who knows.

The controller in the center is held in with pressure from the lid and two of those command strips.
I have no regrets for the jank.
The old automotive Molex connector was removed, and after +3000 miles of use, it can finally be retired. This was pulled off of the original XR controller board, along with the motor connectors and the footpad connector.

Moving the charge plug from the old controller box into the new carbon fiber one, we can get a better idea of what kind of mess I’ll be dealing with. I should also mention that I had a cable made, along with an adaptor plate cut from a plate of aluminum. It adapts a cable gland to the Molex connector provided by a community member (thanks Pickles!) The cable gland should better seal the cable to keep the water from leaking in while riding through water. The controller box I printed out was modified to fit the acrylic headlight panel from a stock XR box, along with making some extra space inside. (I also tried to remove the flow glider logo since on the previous box it caused some issues with the Ubox and the wiring, but I failed to remove all of them. Don’t worry, I won’t be uploading the CAD model with the text removed. When I upload it, the flowglider logo will be back on there!)


The headlight panel is held in with superglue and a lot of flowable silicone.
At this point of the project, every surface of my room has turned into a workspace. I’m currently using my bed with a bunch of paper towels to work on the controller box.
With some rewiring and some continuity testing using my multimeter, I figured out that one of the sensor wires came loose on the motor hall connector. It is not pictured, but I re-wired the connector to make sure this never happened again.

After double checking my wiring and making sure I didn’t break anything, I sealed up the controller box. I measured the circumference of the board, and divided it by π to get the diameter since the tire has seen some significant wear since I last got an accurate tire measurement and the air pressure inside the tire changed, and I forgot what tire pressure I used.

I also added threaded insets so the box could be screwed into using my soldering iron.

Also, a careful look at the picture above and you may notice a 4-pin JST connector. This is planned to be used so I can use external LED attachments without having to use their own batteries. This should let me make a LED fender that I hope to build at some point.
I unfortunately found out that I had to undo some of the lid screws as they intefered with the fitment on the rails of the board. I probably should invest in some counter-sink screws, but that’ll be for later.

The board has been problem free ever since, minus some slight motor crunch while breaking that I can't seem to fix. The board has a ton of kick to it, especially with the 18S battery built by @TheBoardGarage !
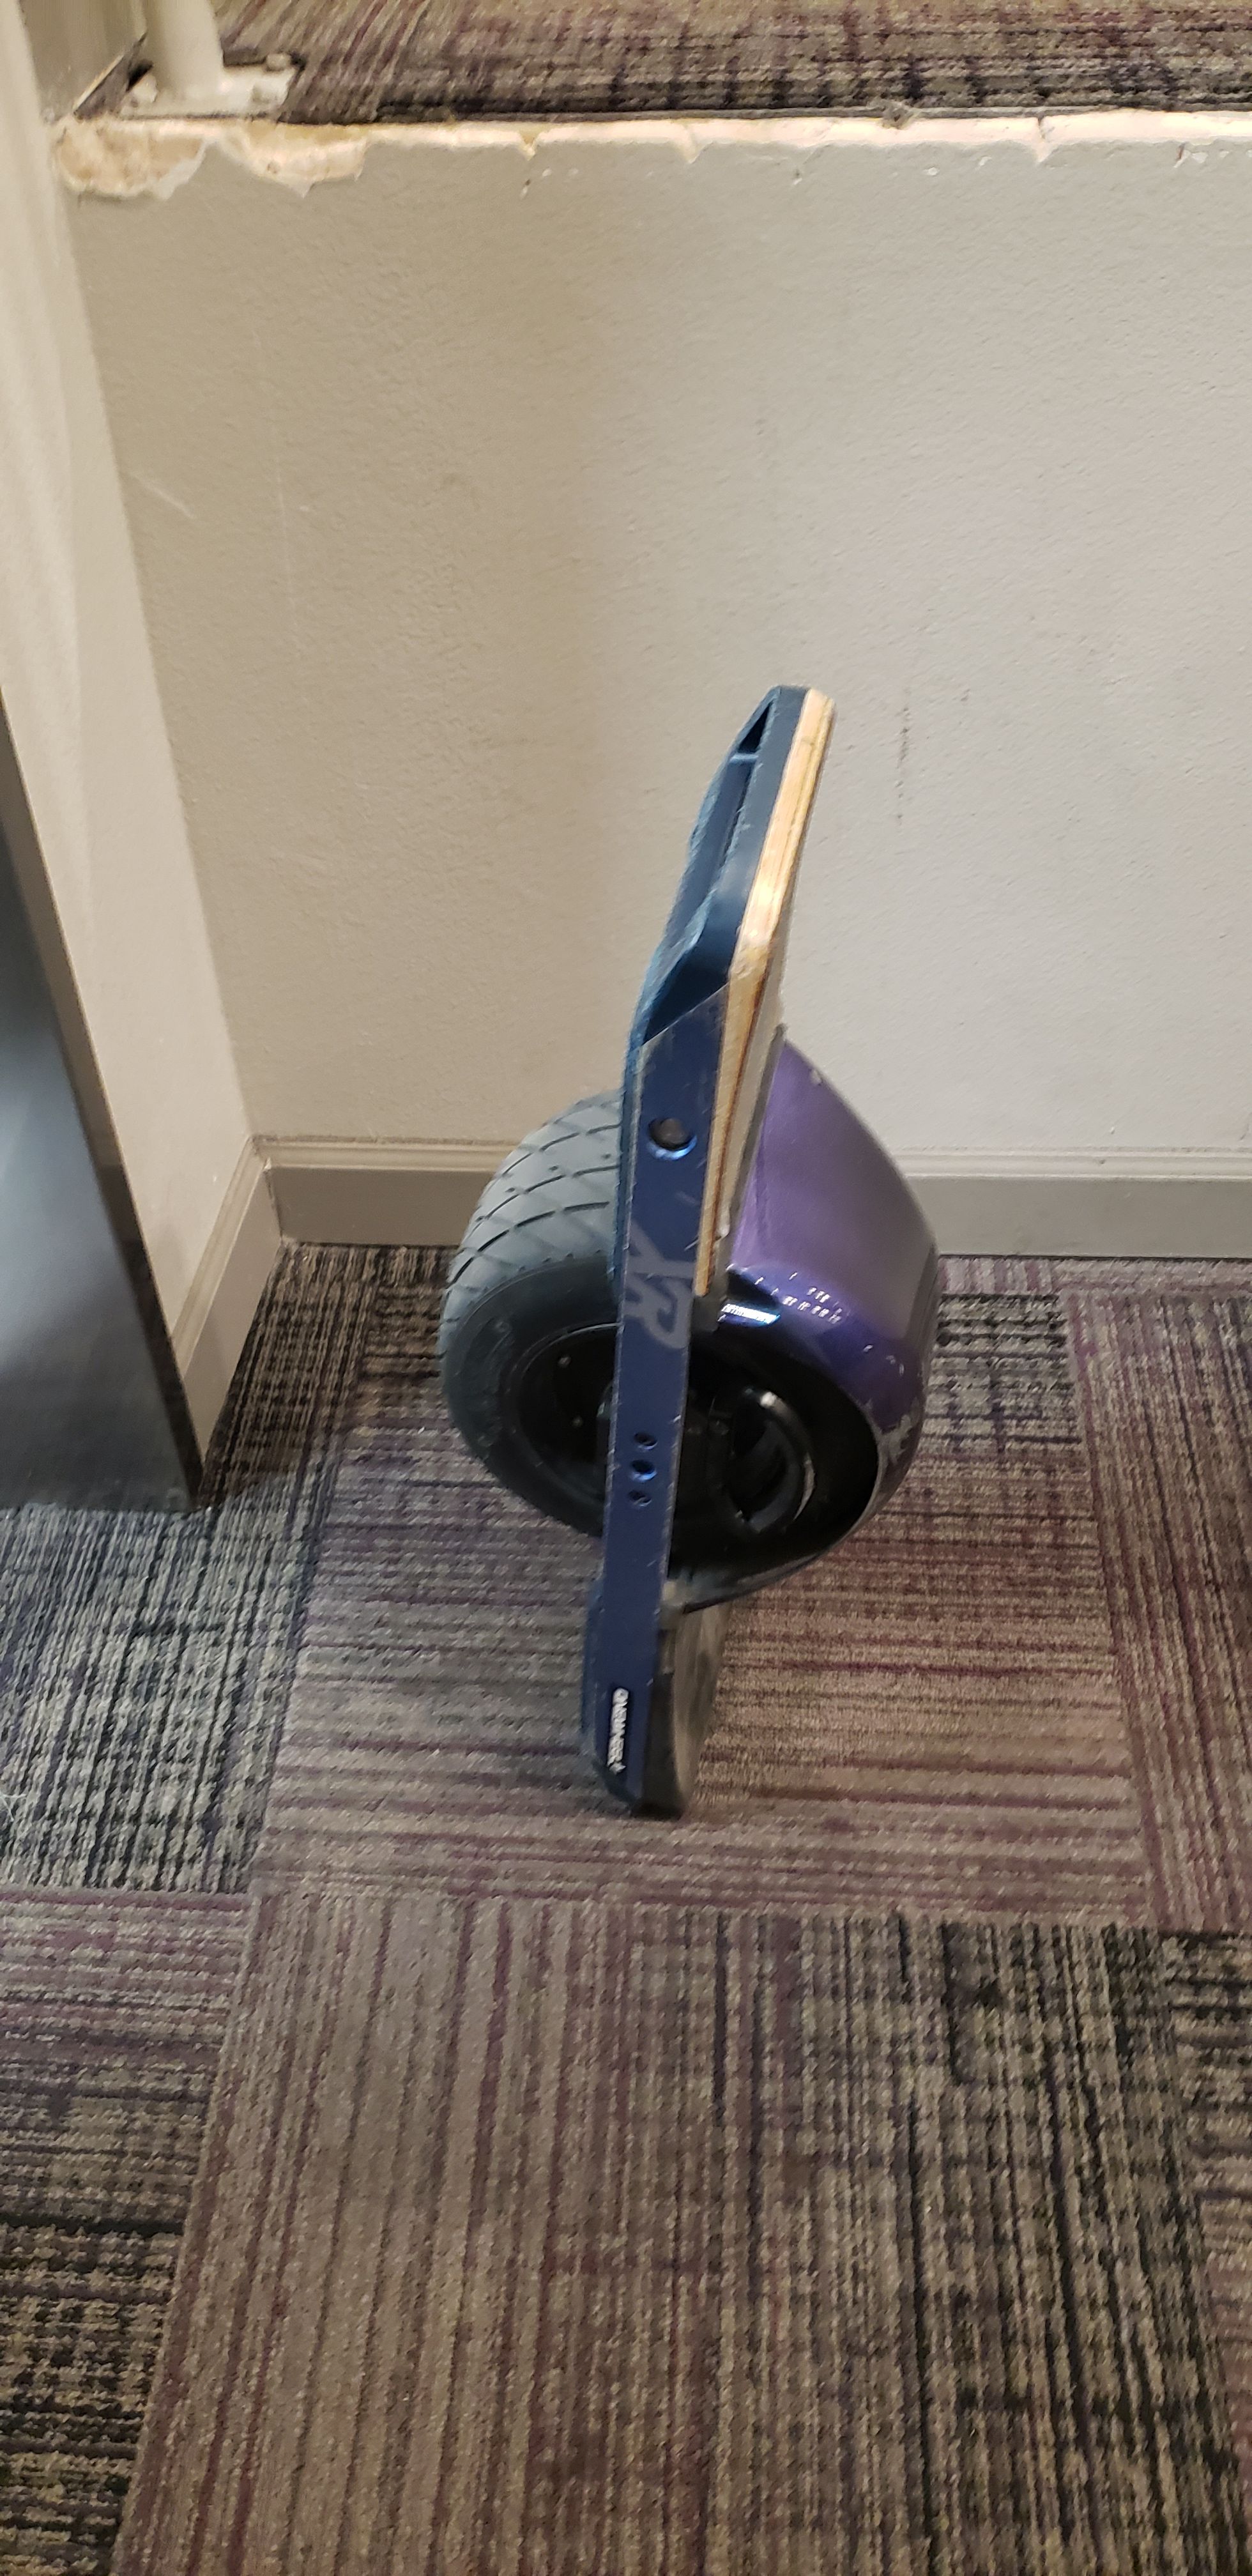
My onewheel (still need a name for it) that has had a new back footpad and tire lookin a bit fresh. The carbon fiber fender has a few new dings in it. Here's a picture of what it looks like so far!
 !
!
And yes, it is standing up on its own.